

Chapter Three: The Backyard
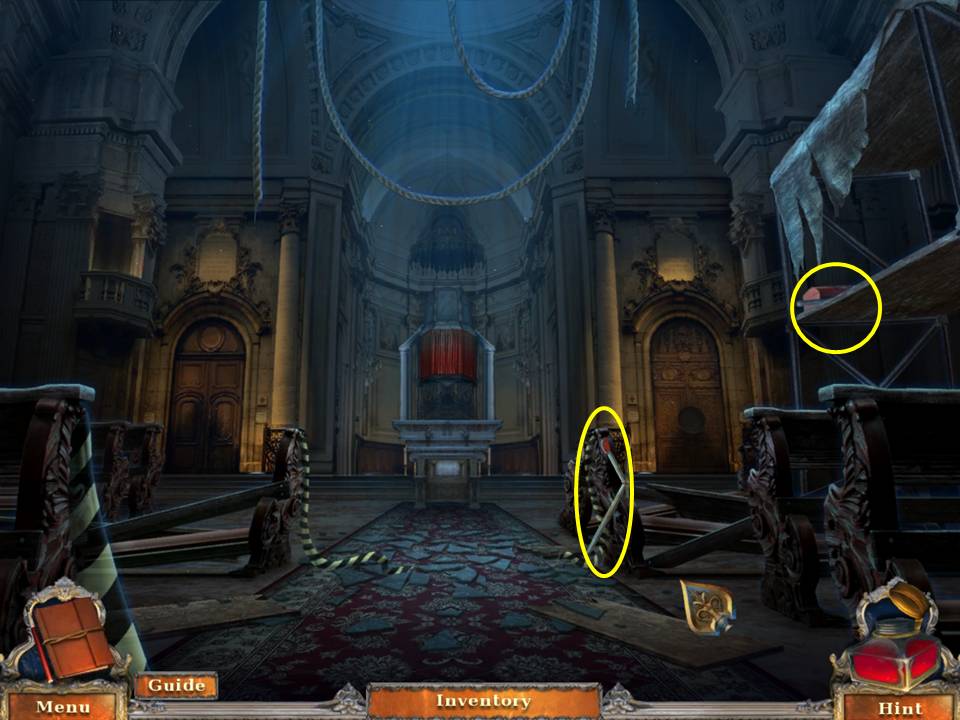
- Go in the church.
- Take the MECHANICAL ARM.
- Zoom into the scaffolding.
- Click the toolbox.
- Take the BATTERIES.
- Tape the MECHANICAL ARM on the pole to get the REACHING TOOL.
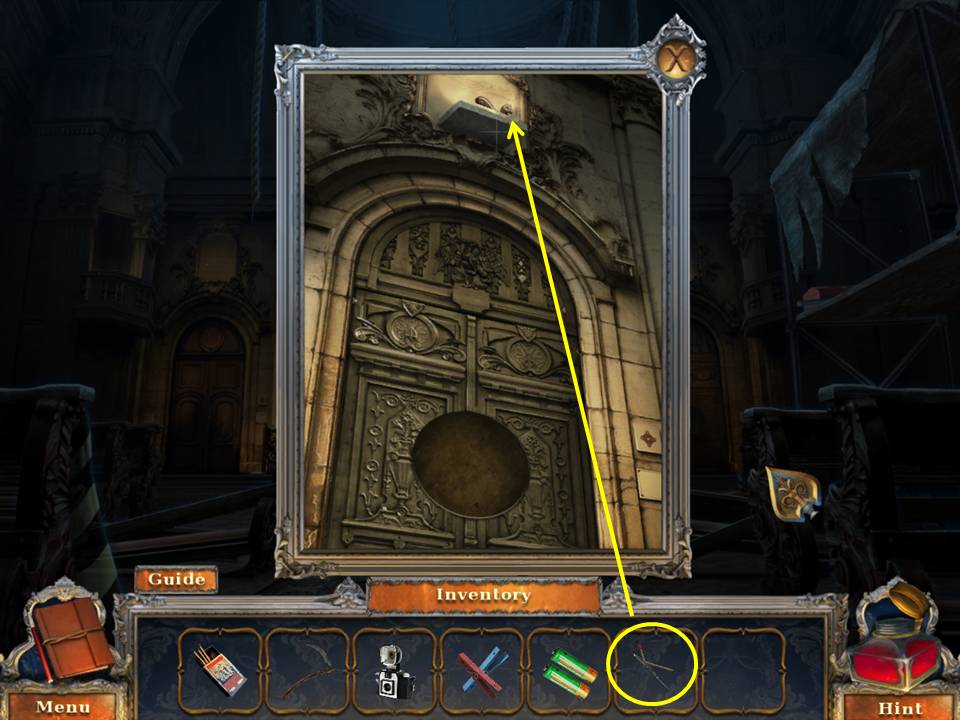
- Zoom into the door at right.
- Grab the DOOR HANDLE with the REACHING TOOL.
- Zoom into the door at left.
- Put the DOOR HANDLE on the door.
- Then click to turn it. Leave the church and follow the path.
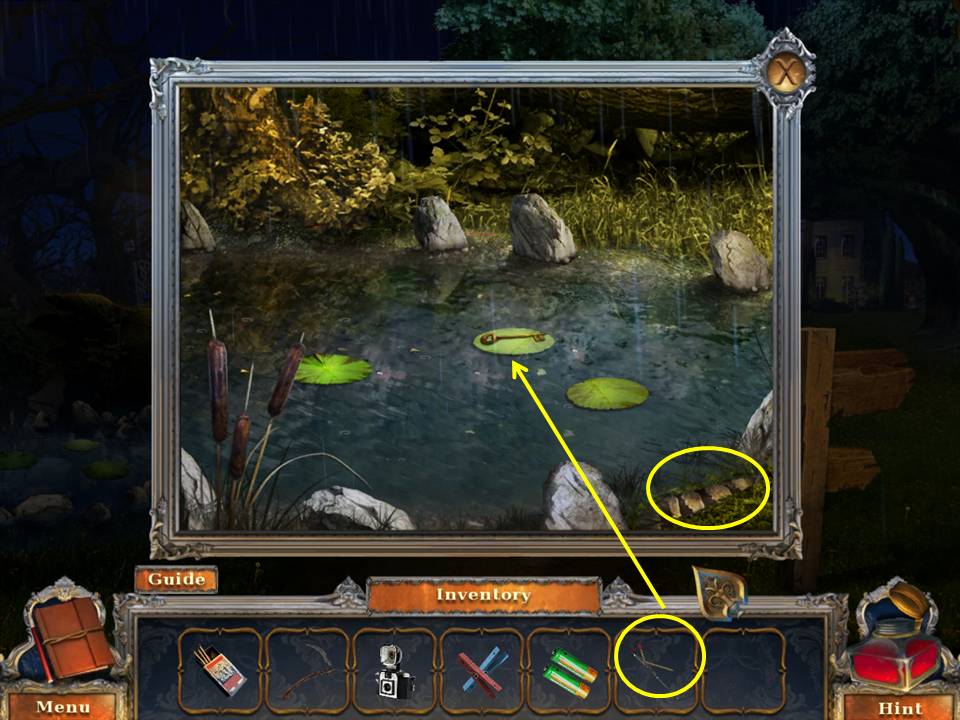
- Zoom into the pond at left.
- Grab the LOCKBOX KEY with the REACHING TOOL.
- Take the first STONE FEATHER.
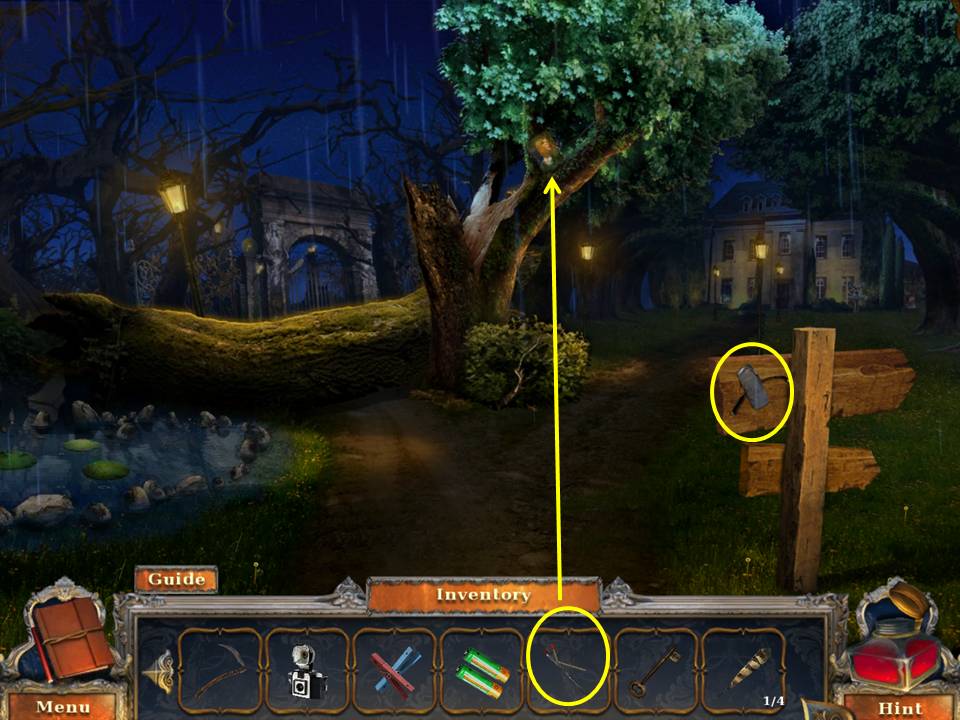
- Zoom into the tree.
- Grab the LEFT HALF OF PORTRAIT with the REACHING TOOL.
- Zoom into the sign.
- Click the sign.
- Take the INTERCOM CABLE.
- Go to the front of the house.
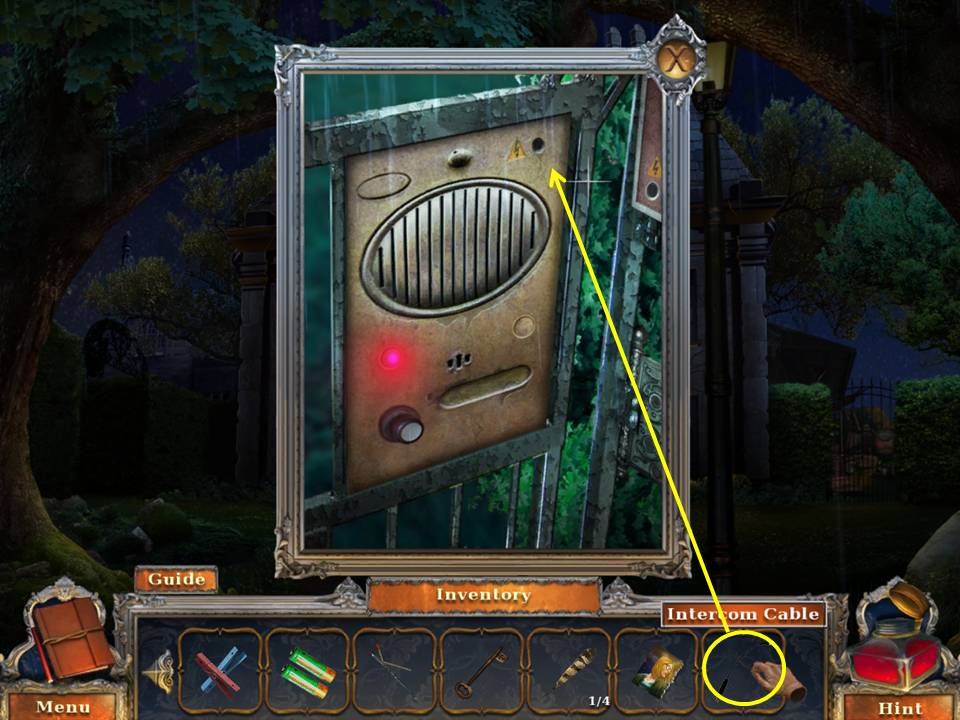
- Zoom into the gate at right.
- Put the INTERCOM CABLE on the speaker.
- Click the button. Go to the back yard.
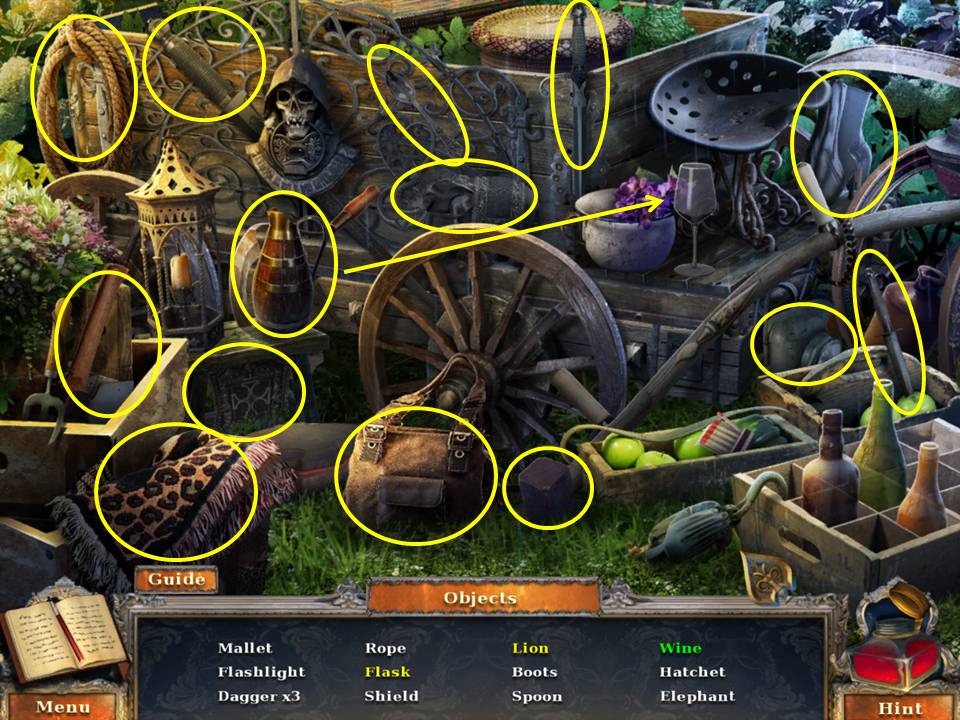
- Talk to Rosaria.
- Play the HOA.
- Find the items listed.
- Move the rug to get the lion.
- Click the satchel to get the flask.
- Pour the pitcher into the glass to get the wine.
- Receive the HATCHET.
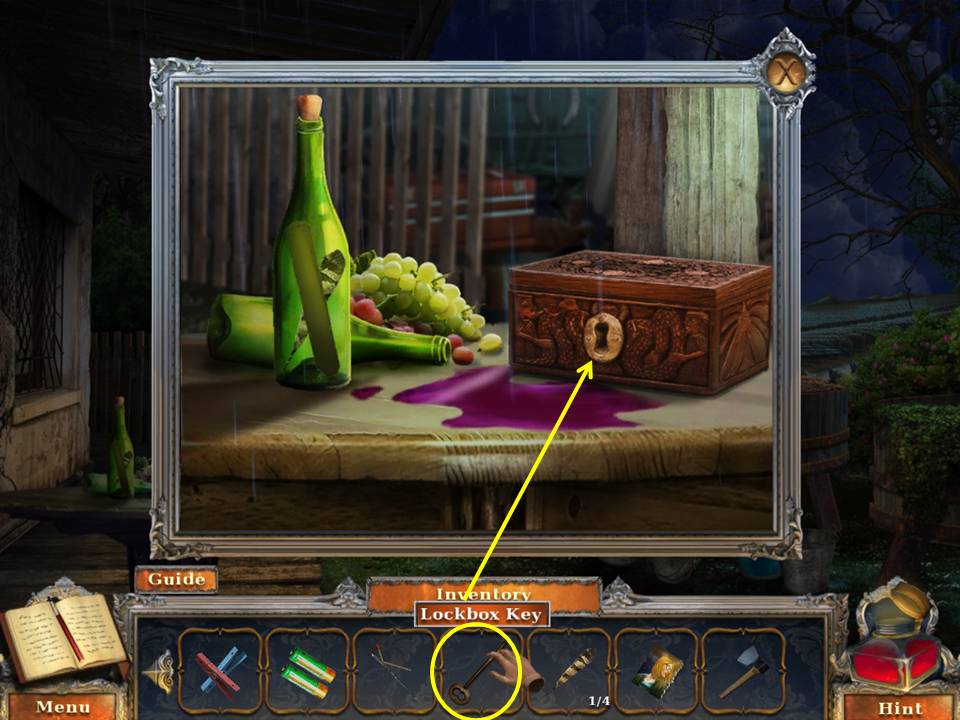
- Zoom into the table.
- Open the box with the LOCKBOX KEY.
- Take the DIMME R SWITCH.
- Go to the front yard.
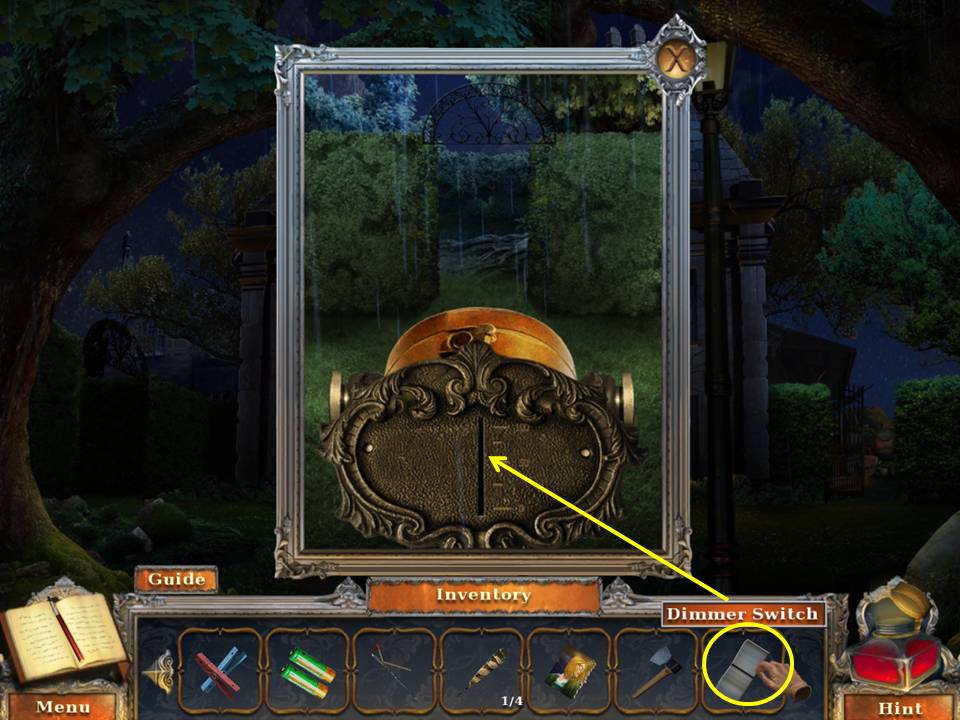
- Zoom into the spotlight.
- Put the DIMMER SWITCH in the space.
- Click to move it up.
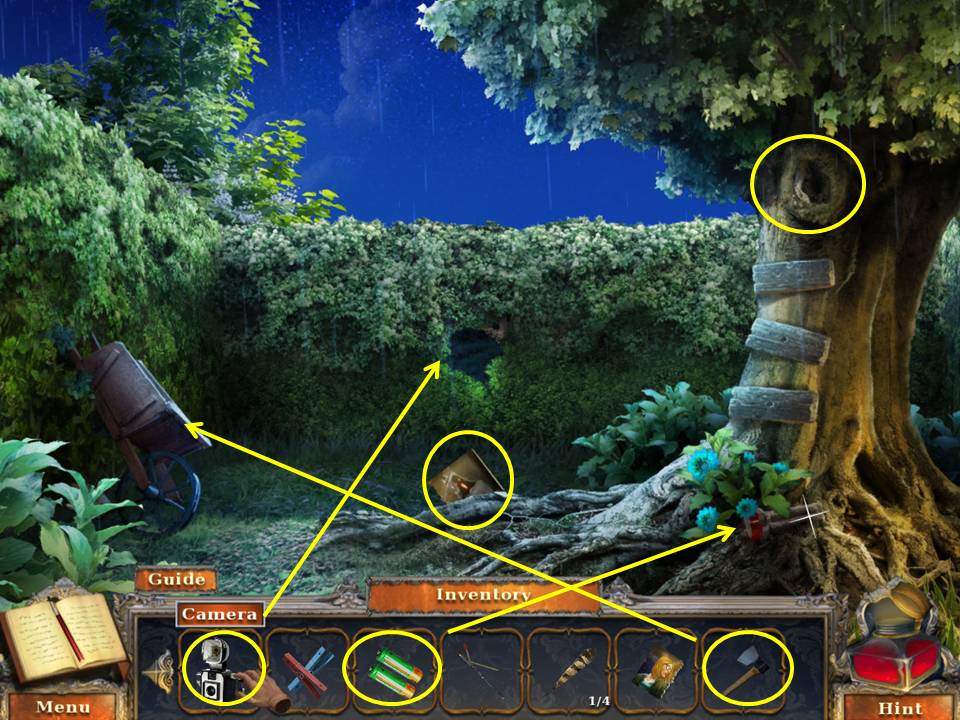
- Go to the side yard.
- Take the RIGHT HALF OF PORTRAIT.
- Zoom into the bushes.
- Take a picture of the Silhouette with the CAMERA.
- Receive the first UNDERDEVELOPED PHOTO.
- Zoom into the painting the Silhouette was working on.
- Zoom into the wheelbarrow.
- HATCHET the lid.
- Take the CORKSCREW and ROPE LADDER.
- Zoom into the base of the tree. Insert the BATTERIES in the FLASHLIGHT.
- Take the FLASHLIGHT.
- Zoom into the knothole in the tree.
- Illuminate the hole with the FLASHLIGHT.
- Take the GOLDEN PEN, the second STONE FEATHER and the clue.
- Go to the backyard.
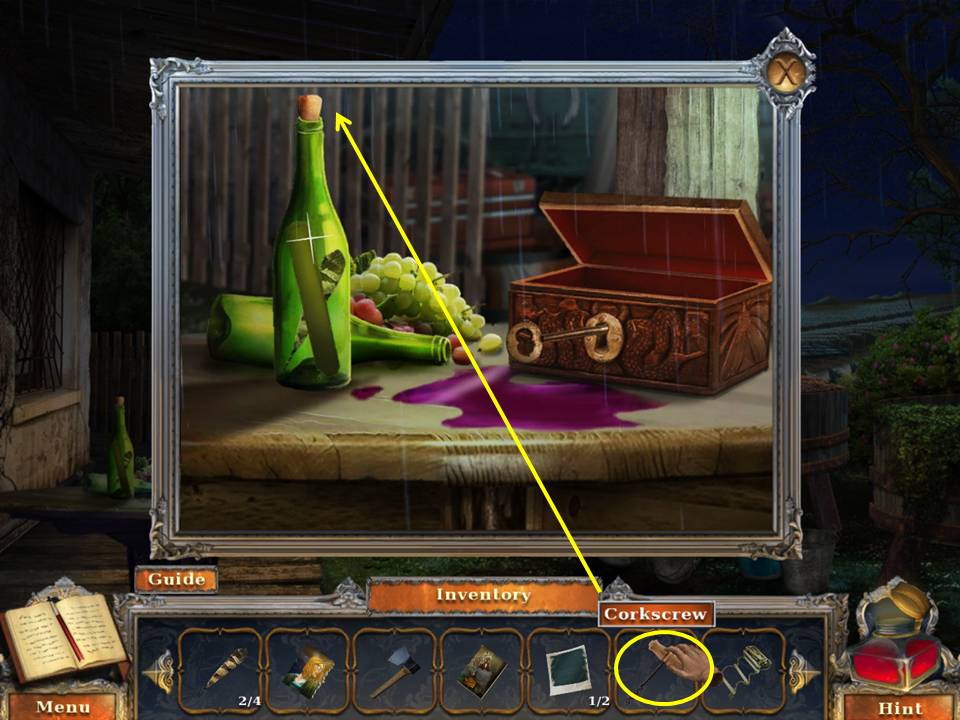
- Zoom into the table.
- CORKSCREW the bottle.
- Take the clue and the third STONE FEATHER.
- Go back to the path.
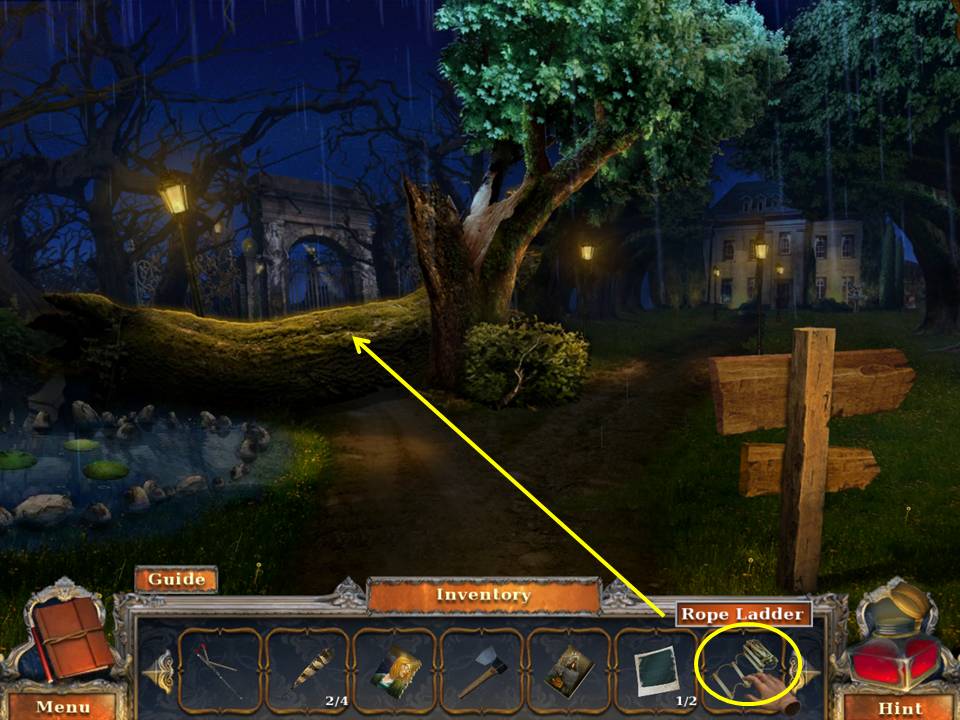
- Drape the ROPE LADDER over the fallen tree.
- Go to the cemetery gate.
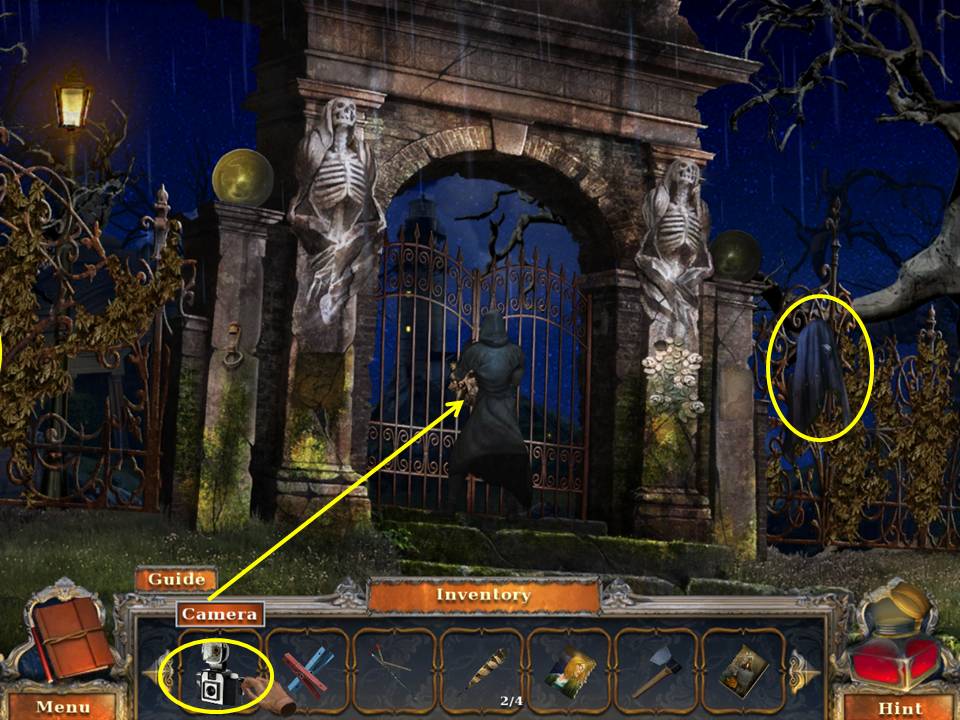
- Snap a picture of the Silhouette with the CAMERA to get the second UNDERDEVELOPED PHOTO.
- Zoom into the cloak.
- Take the CAMERA CREST and RIPPED CLOTH.
- Go back to the path.
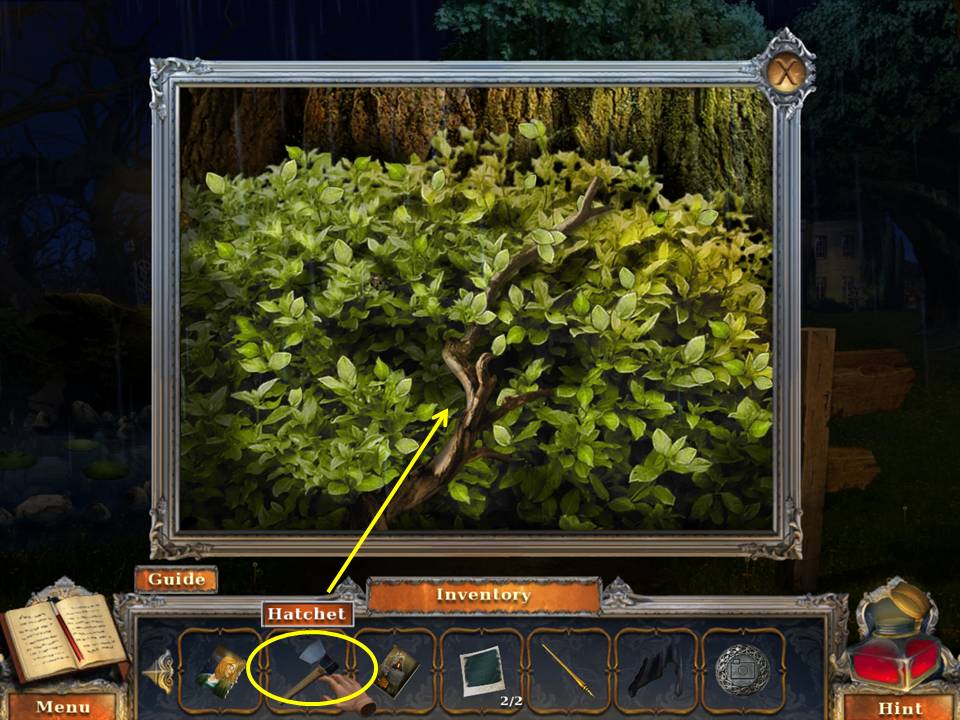
- Zoom into the base of the tree.
- HATCHET the branch.
- Wrap the RIPPED CLOTH on the branch.
- Receive the DRY TORCH.
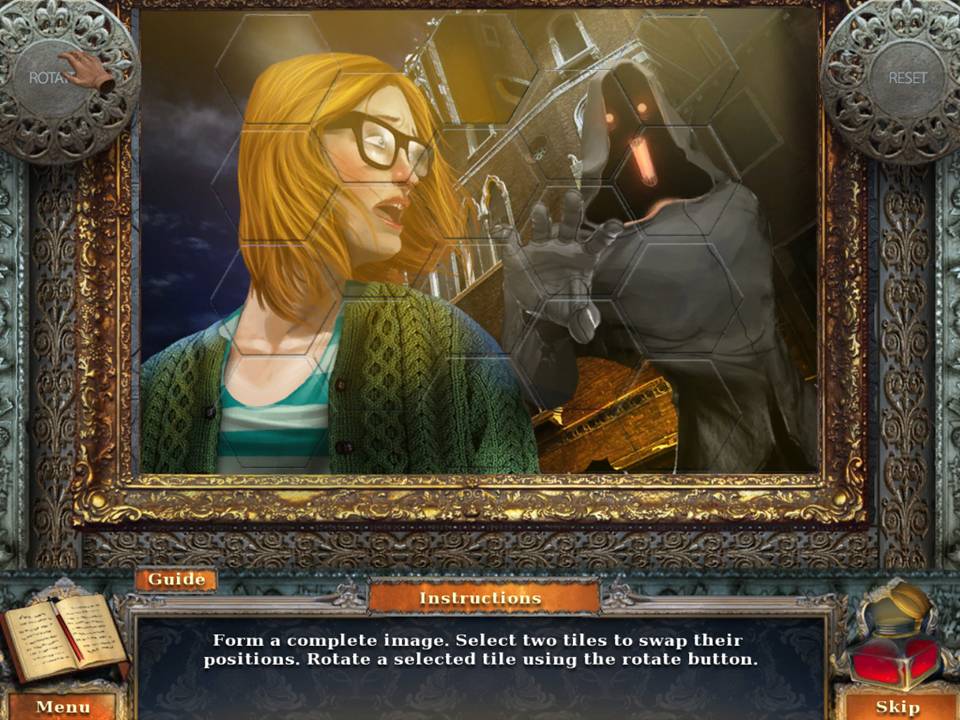
- Enter the church.
- Zoom into the panel.
- Insert the LEFT HALF OF PORTRAIT and RIGHT HALF OF PORTRAIT in the frame to initiate a mini-game.
- The object of the game is to assemble an image.
- Select two tiles to switch them.
- Rotate any tile with the rotate button.
- See Screenshot for solution.
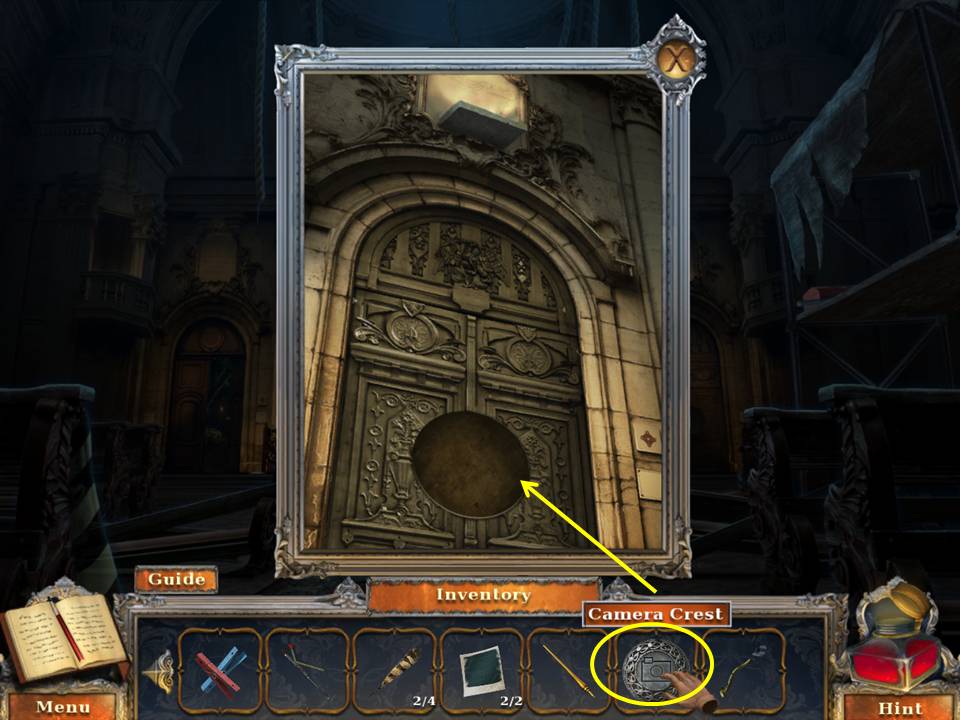
- Zoom into the door at right.
- Insert the CAMERA CREST in the space.
- Go into the dark room.
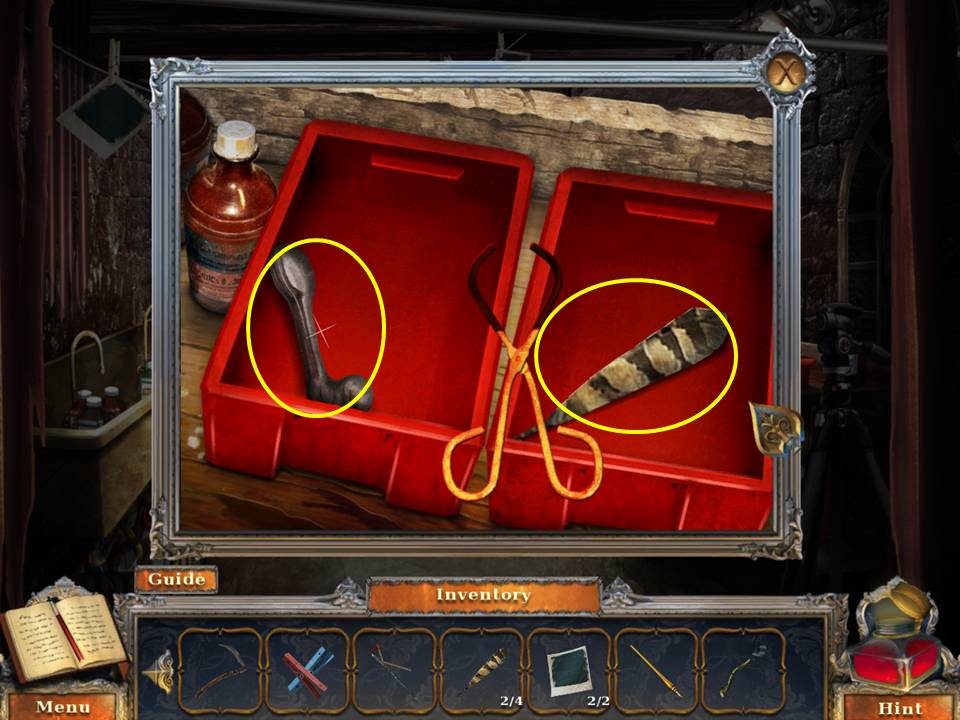
- Zoom into the developer trays.
- Take the GRAPE PRESS CRANK and the fourth STONE FEATHER.
- Go back to the front of the house.
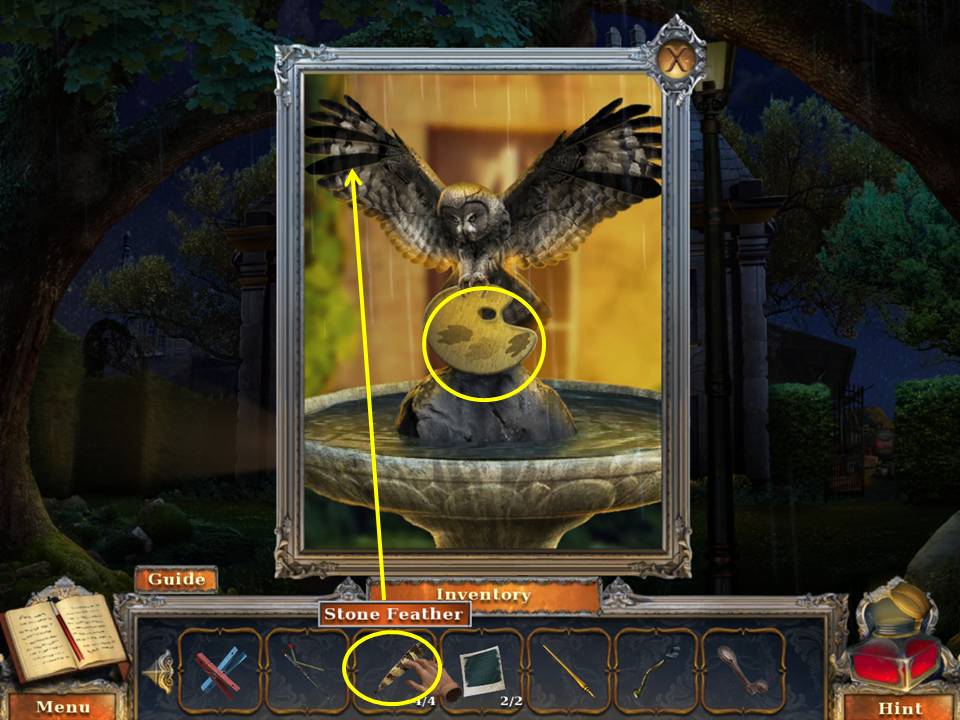
- Zoom into the birdbath.
- Place the STONE FEATHERS on the owl.
- Take the GOLDEN PALETTE.
- Go to the back yard.
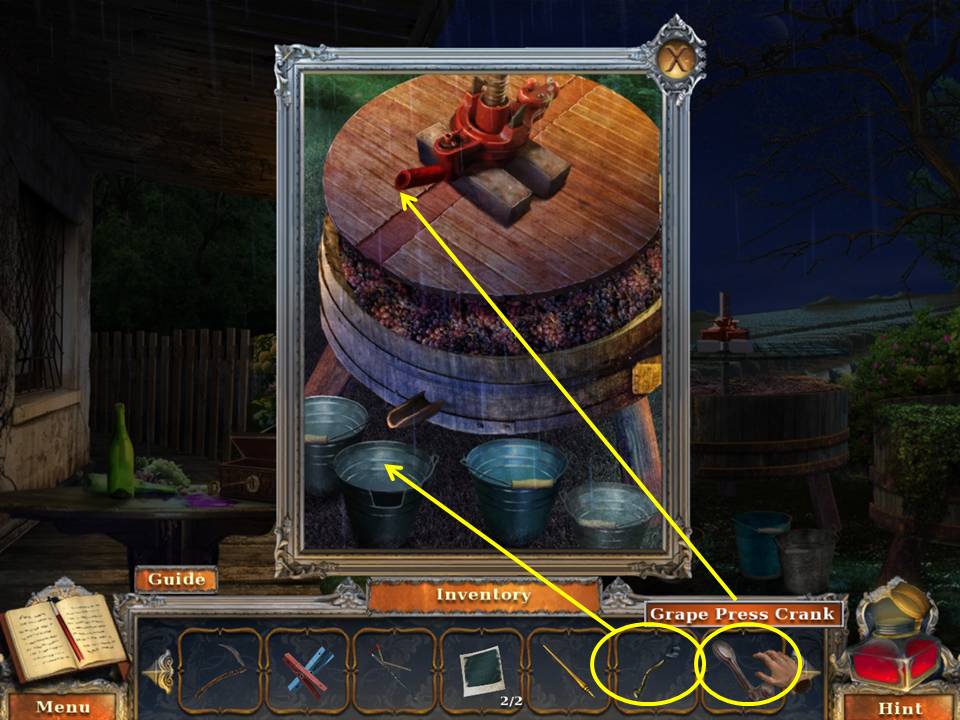
- Zoom into the grape press and add the GRAPE PRESS HANDLE.
- Dunk the DRY TORCH in the wine to get the FLAMMABLE TORCH.
- Go back to the cemetery gate.
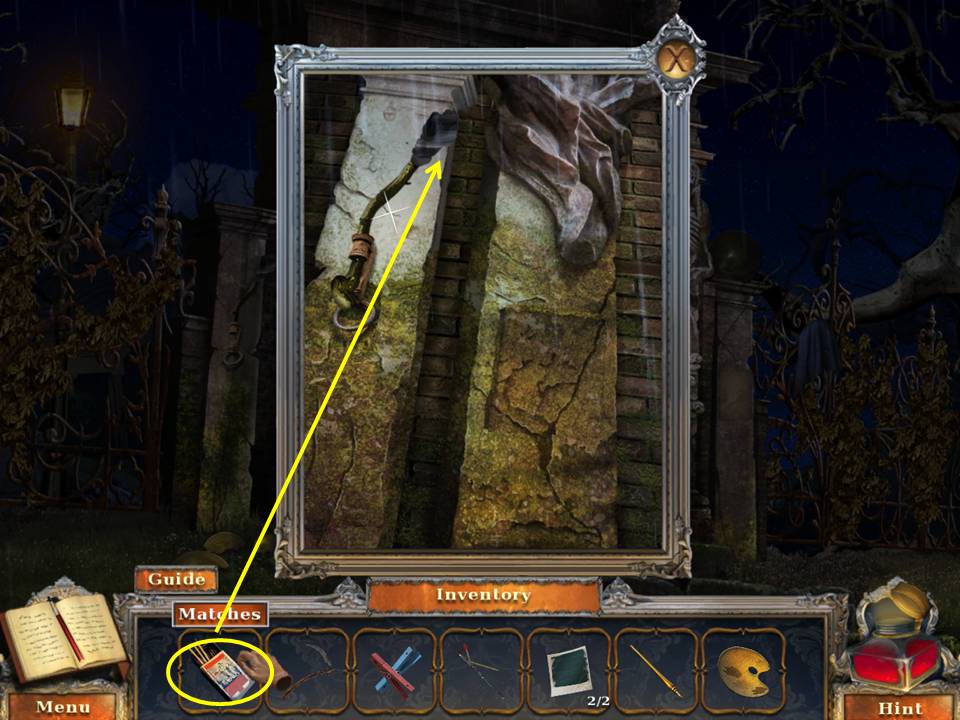
- Zoom into the left side of the gate.
- Place the FLAMMABLE TORCH into the holder.
- Light the torch with the MATCHES.
- Take the RED LIGHT BULB and ELECTRICAL TAPE.
- Go back to the darkroom.
Comments will load when you reach this part of the walkthrough.