

Chapter Two
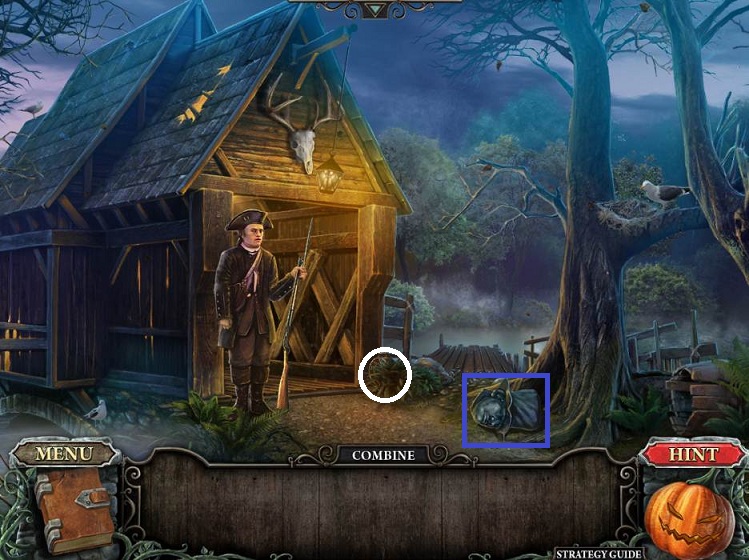
- Go forward and talk to the boy who wants his sword
- Note the headless statue, empty well, locked door, and strange locked gate
- Go forward to the left
- Pick up the STATUE HEAD
- Note the fishing pier and something in the nest.
- You need a pass to leave
- town-square
- Return to the square
- Place the STATUE HEAD on the statue
- Pick up the now exposed SWORD and give it to the boy
- Receive the TAVERN KEY
- Examine the door and use the KEY
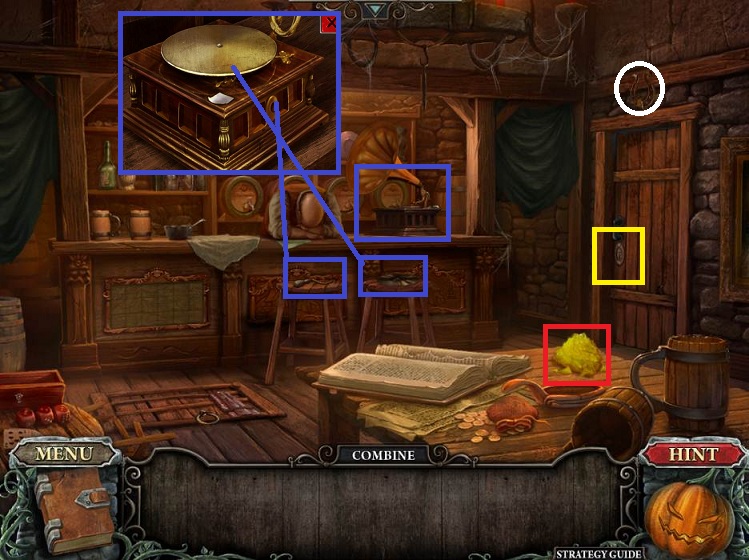
- Enter the tavern
- Pick up the PHONOGRAPH CRANK and PHONOGRAPH
- Examine the record player and place the PHONOGRAPH and CRANK
- Click on the record player
- A key will drop out and the bartender will wake up
- He needs his pince-nez, which are at the midwife's house
- Pick up the KEY TO THE BACKDOOR and the SULFUR on the table
- Examine the door and use the KEY
- Go out the back door
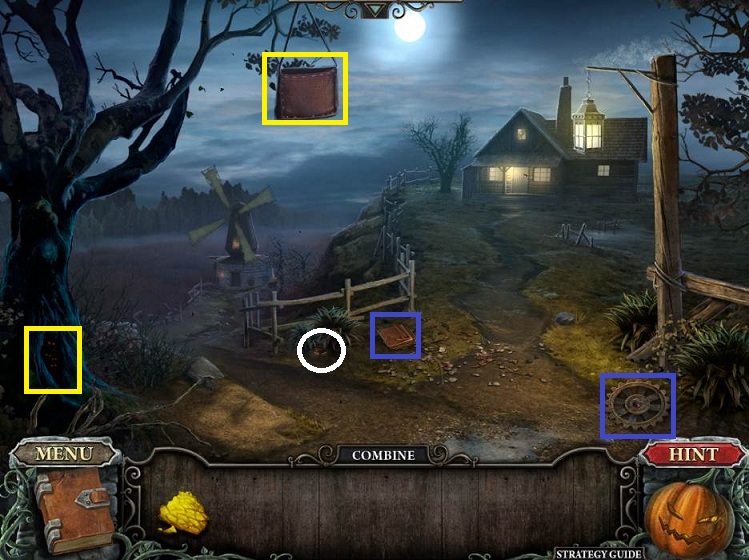
- Pick up the GEAR WHEEL and TABLEUX PIECE
- After a bit, the headless horseman will knock the lantern down and a little boy will pop out from behind the tree; he wants you to save the midwife
- Note the pouch in the tree and hole in the tree roots
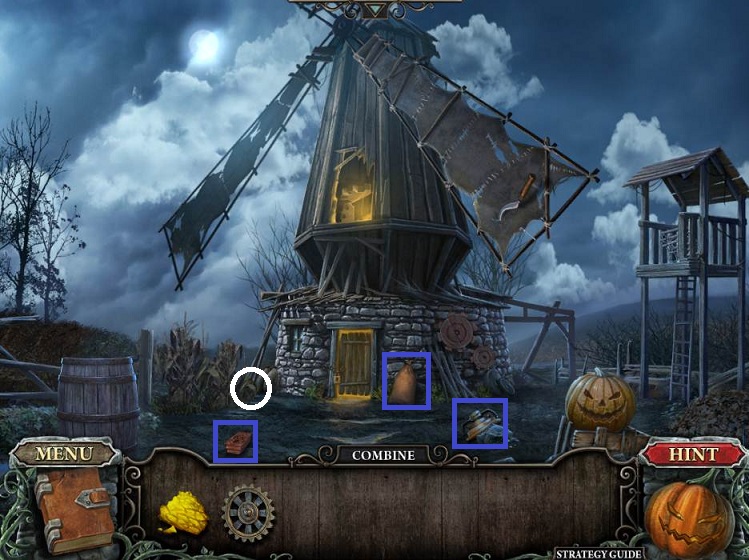
- Go forward to the windmill
- Pick up the LATCH, LAMP PART, and SACK
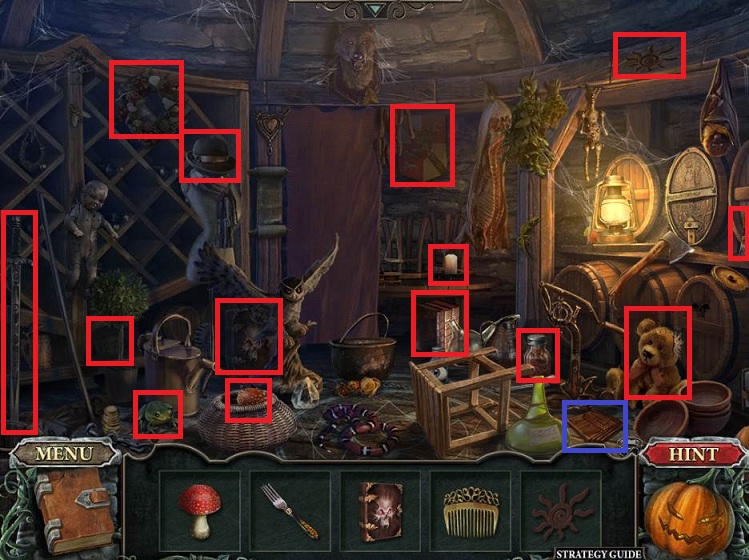
- Return to the tavern
- Examine the cellar door and place the LATCH
- Click on the latch
- Do the Hidden Object Scene
- Receive another TABLEUX PIECE
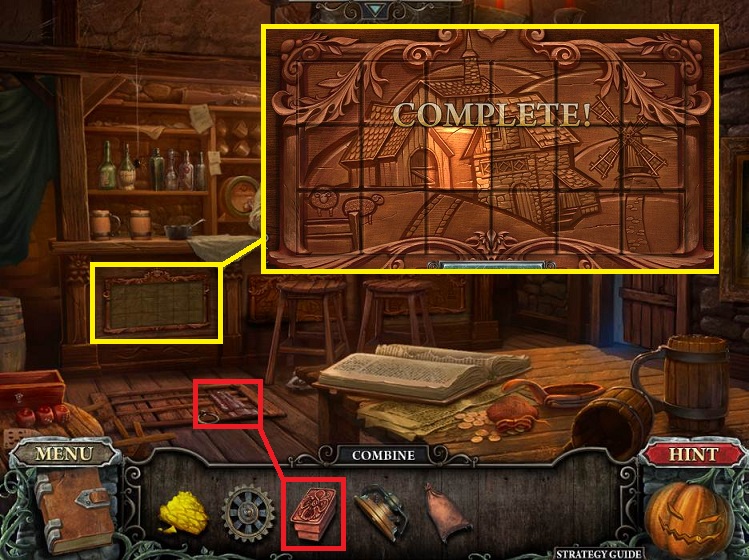
- Examine the board on the front of the bar
- Place the puzzle pieces to match the pattern and rotate as needed
- Pick up the KEY TO THE MILL
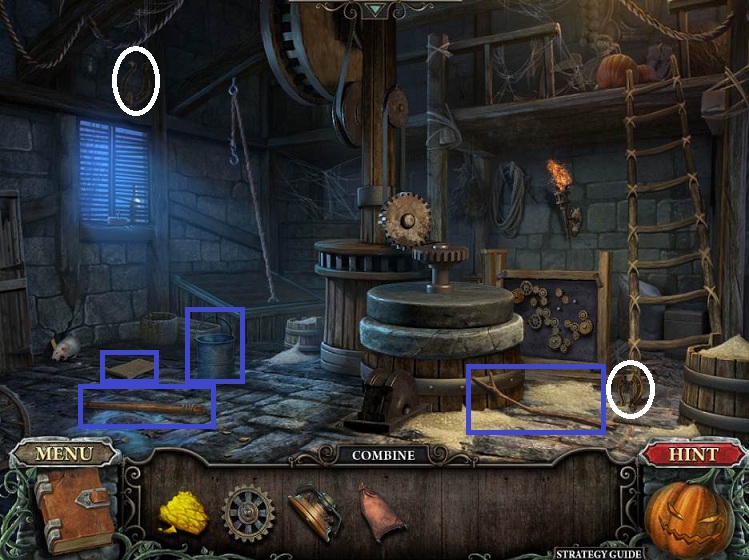
- Return to the mill and use the KEY
- Pick up the HANDLE, BUCKET, STICK, and page for your book
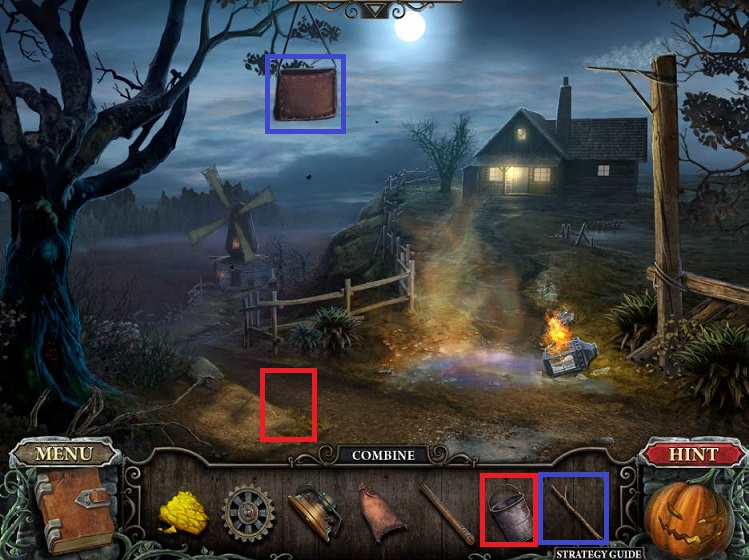
- Back up twice
- Use the STICK to get the bag down out of the tree
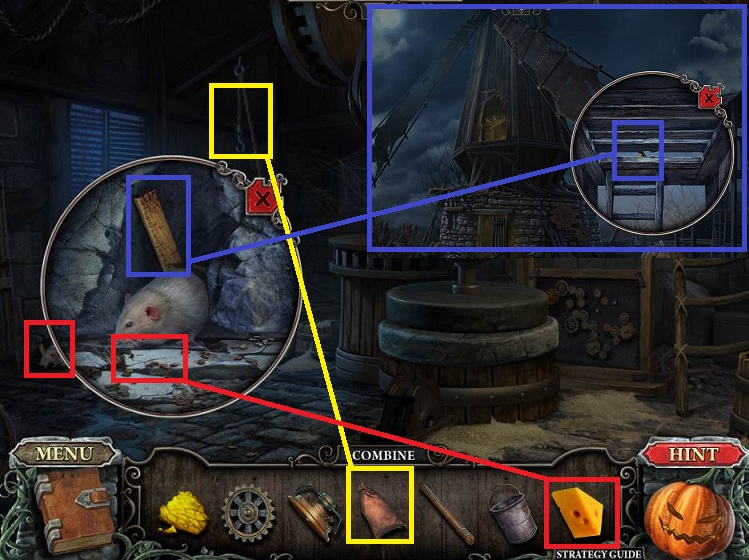
- Pick up the CHEESE
- Place the BUCKET next to the sand pile
- Return to the mill
- Examine the mouse and place the CHEESE
- Pick up the RULER
- Hang the SACK on the hook over the cellar door
- There is a nail puller that is unreachable
- Go outside
- Examine the tower
- Use the RULER to open the hatch
- Pick up the ROPE LADDER
- Return to the mill
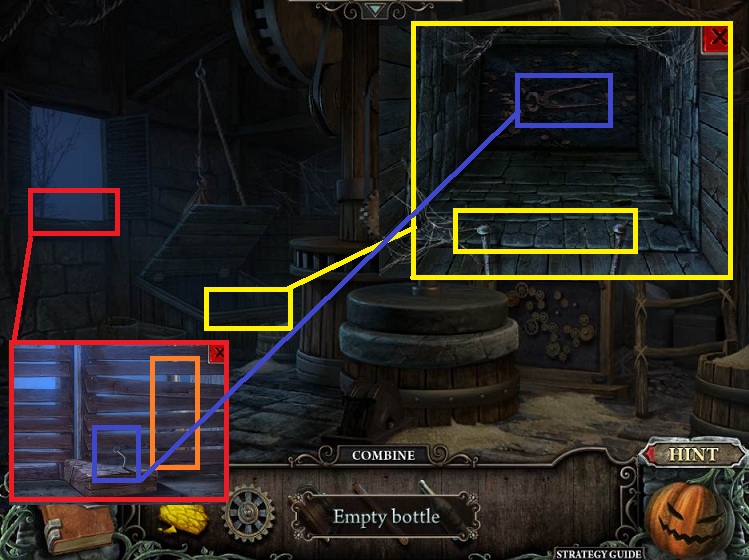
- Examine the cellar door
- Place the LADDER
- Pick up the NAIL PULLER
- Examine the window
- Use the NAIL PULLER
- Pick up the EMPTY BOTTLE
- Return to the tavern
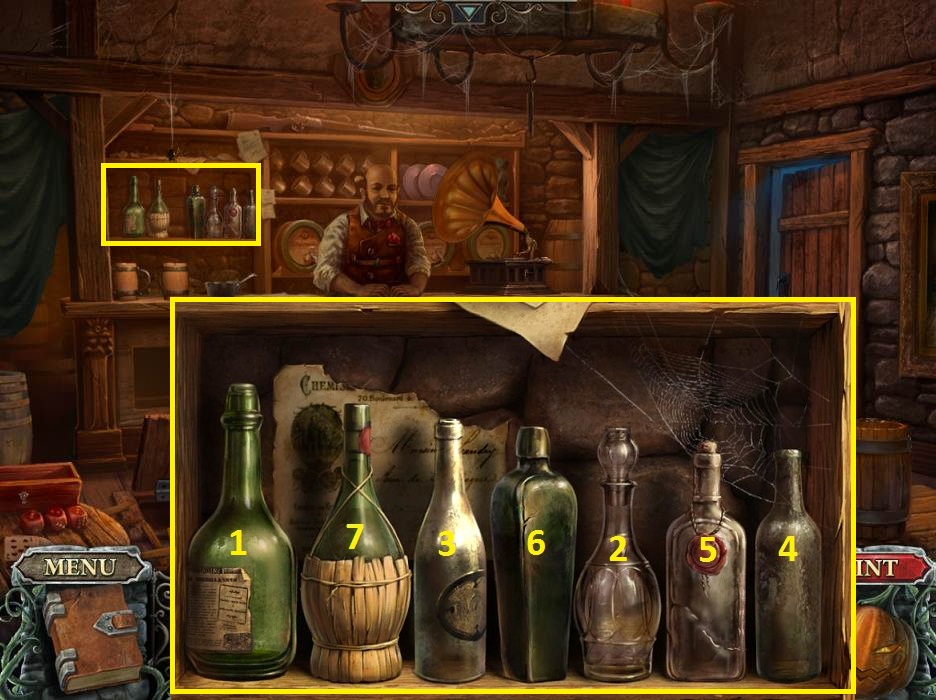
- Place the EMPTY BOTTLE on the shelf
- Examine the shelf; you need to replay the tune.
- When you make a mistake, the bottle will turn red; just build up the tune piece by piece until you have it down
- Pick up the GEAR WHEEL
- Return to the mill
- Examine the gear board to the left of the ladder
- Place the GEAR WHEELS
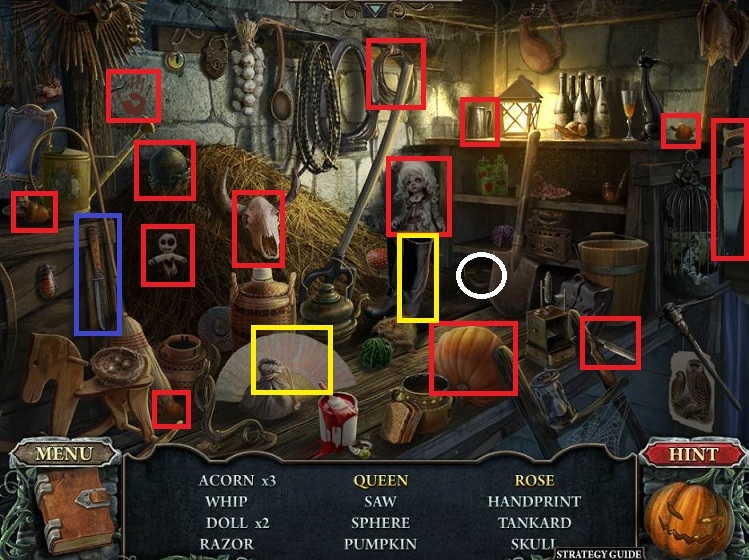
- Do the Hidden Object Scene at the top of the ladder
- Receive the KNIFE
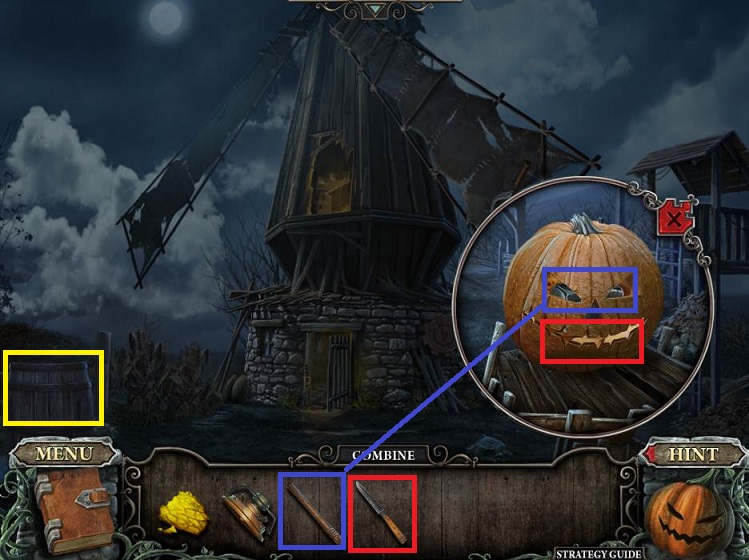
- Go outside
- Examine the pumpkin and use the KNIFE
- Pick up the HAMMER HEAD
- Combine the HAMMER HEAD and HANDLE to get the SLEDGEHAMMER
- Use the SLEDGEHAMMER on the barrel
- Pick up the GEAR LEVER
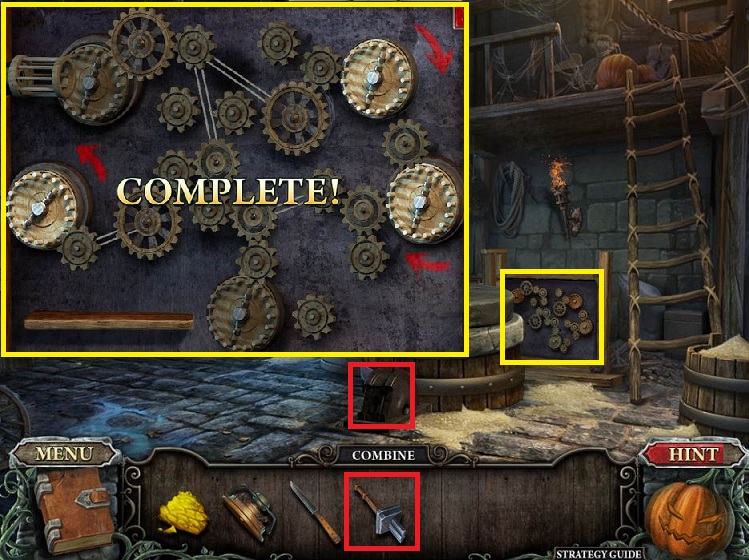
- Go inside the mill
- Place the GEAR LEVER and click
- Examine the gear board
- Place the pulleys as indicated
- Receive the PULLEY
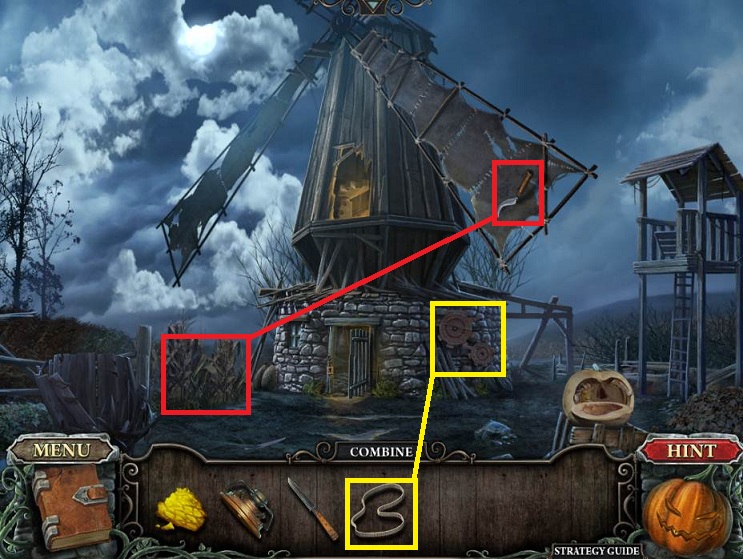
- Go outside
- Place the PULLEY on the gears; the windmill will turn
- Pick up the SICKLE
- Examine the corn to the left and use the SICKLE 3 times
- Pick up the SHOVEL
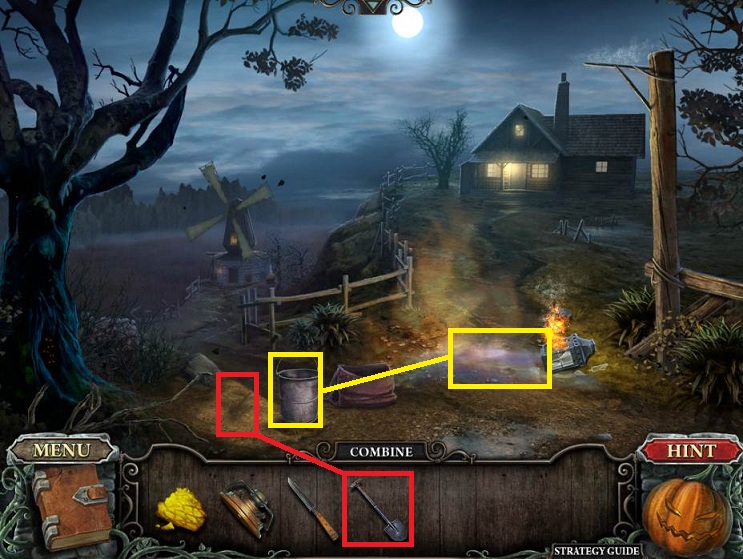
- Back up and use the SHOVEL to place sand in the BUCKET
- Pick up the BUCKET and use on the fire
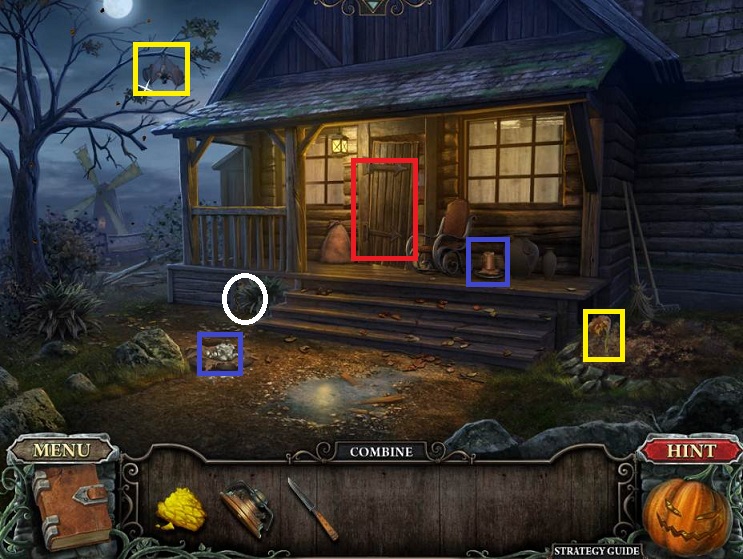
- Go forward
- Pick up the NITER and CANDLE
- Note the bat in the tree and the dry flower
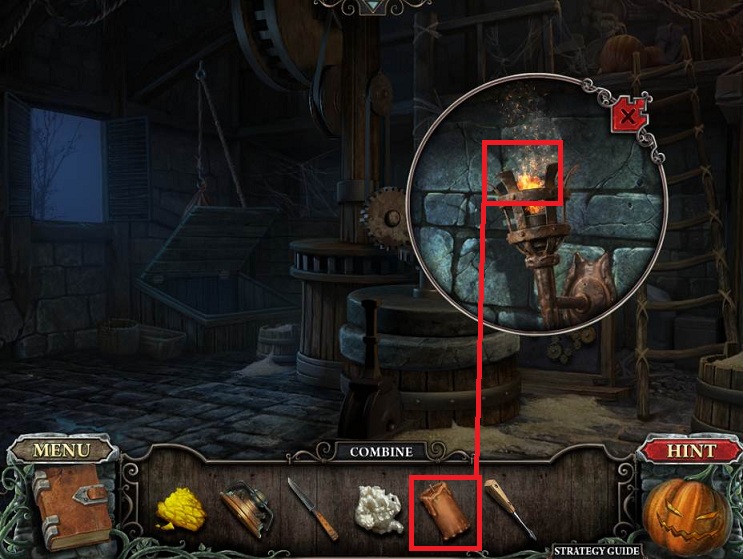
- Return to the mill
- Examine the torch on the wall
- Use the CANDLE to get a LIT CANDLE
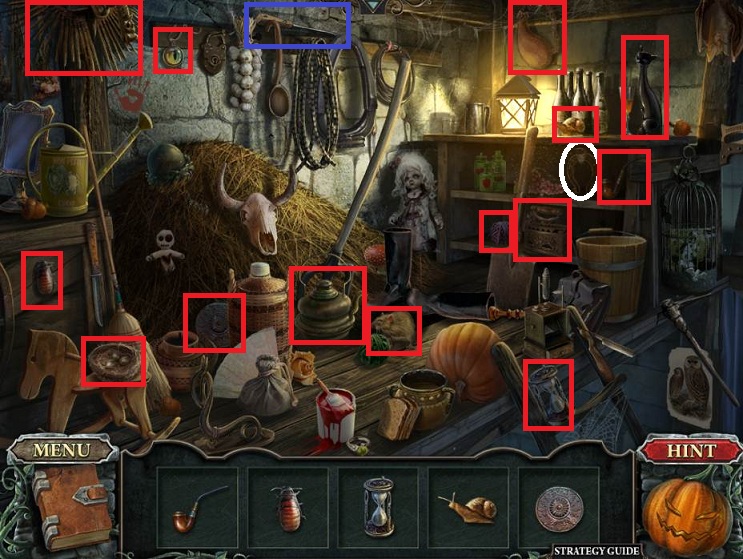
- Do the Hidden Object Scene at the top of the ladder
- Receive a SCREWDRIVER
- Return to the house and examine the door
- Use the SCREWDRIVER
- Enter the house
- Click on the body on the floor
- The female ghost wants you to find her son in the cellar
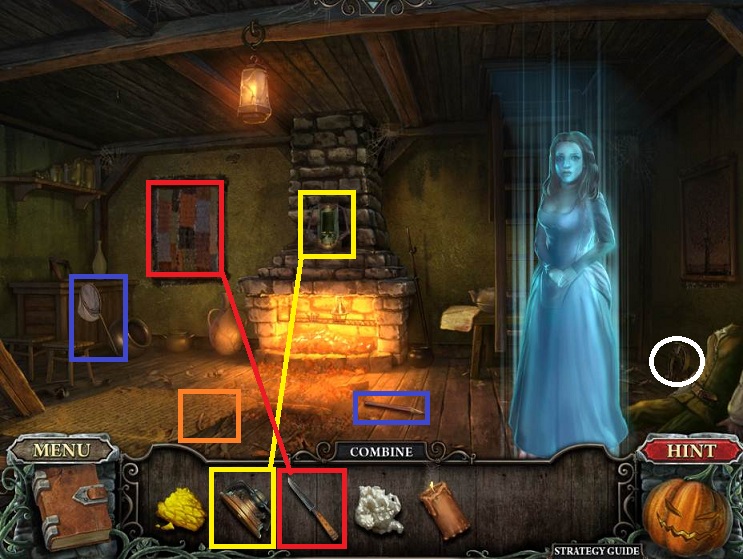
- Examine the lantern on the mantle
- Place the LANTERN PIECE
- Pick up the BUTTERFLY NET and PENCIL
- Click on the rug to expose the lock on the cellar door
- Use the KNIFE on the frame to expose a number lock safe
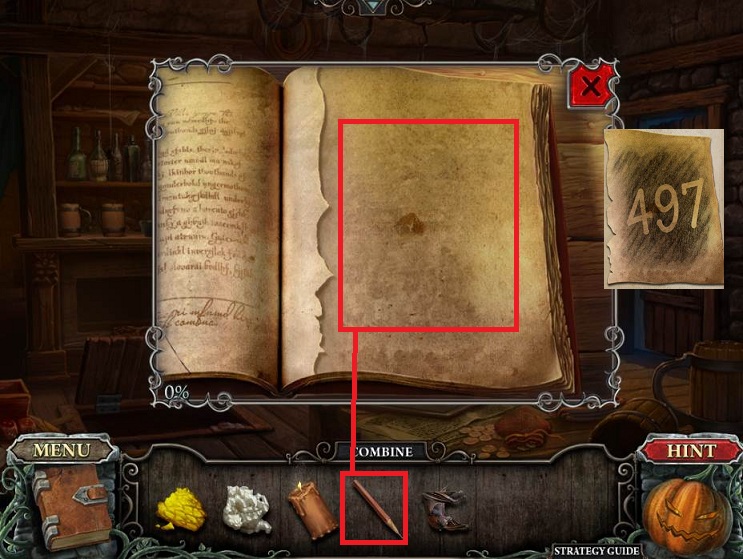
- Return to the tavern
- Use the PENCIL on the book to rub the indentation
- Receive the number for the safe
- Return to the house
- Examine the safe
- Enter the number and click on the handle
- Pick up the KEY TO THE BASEMENT
- Examine the floor
- Use the KEY
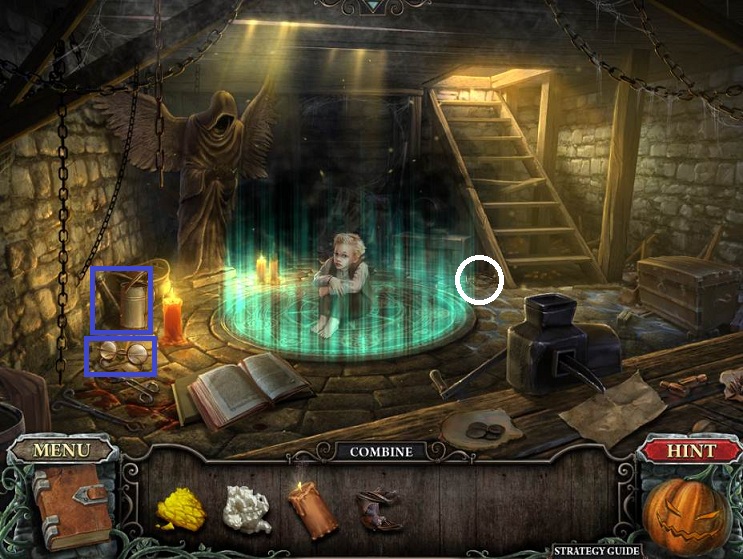
- Enter the basement
- Notice the locked chest, crusher, statue with empty hands, and a recipe book
- Pick up the PINCENEZ and WATERING POT
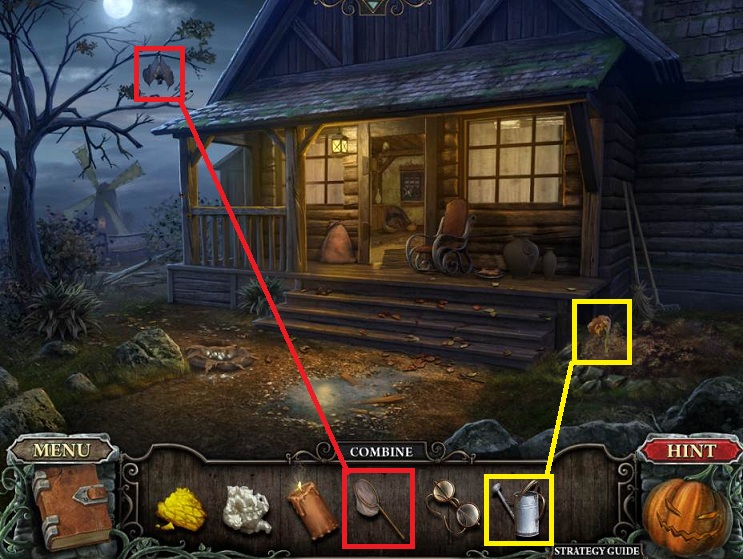
- Go outside
- Use the WATERING POT on the dead flower
- Pick up the LILY FLOWER
- Use the BUTTERFLY NET on the bat
- Receive the BAT
- Return to the tavern
- Give the PINCNEZ to the bartender
- Receive a GINSENG ROOT
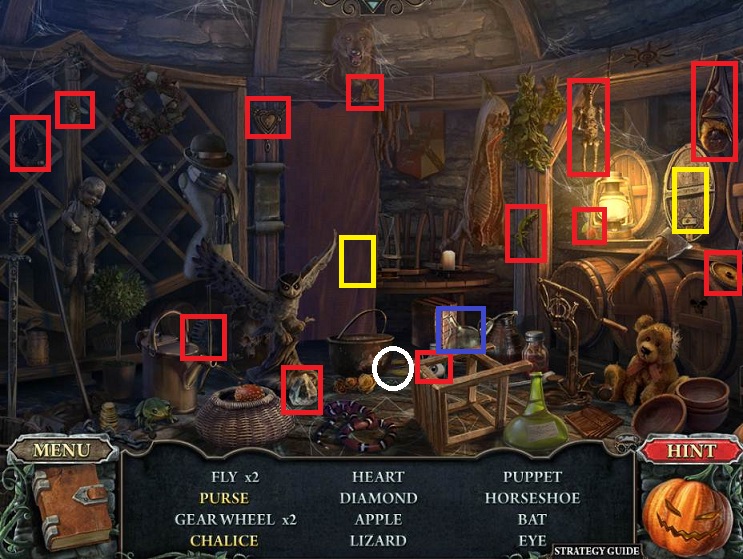
- Do the Hidden Object Scene in the cellar in the tavern
- Receive the RETORT
- Note you can't pick up the horseshoe (hidden) until you pick up the eye
- Return to the house
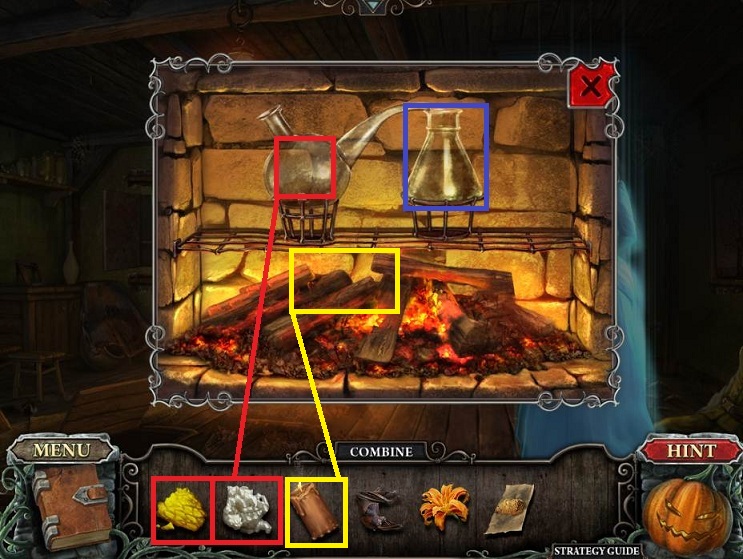
- Examine the fireplace
- Place the RETORT in the open holder
- Put the NITER (white) and SULFUR (yellow) into the retort
- Use the LIT CANDLE to light the fire
- Pick up the SULFURIC ACID
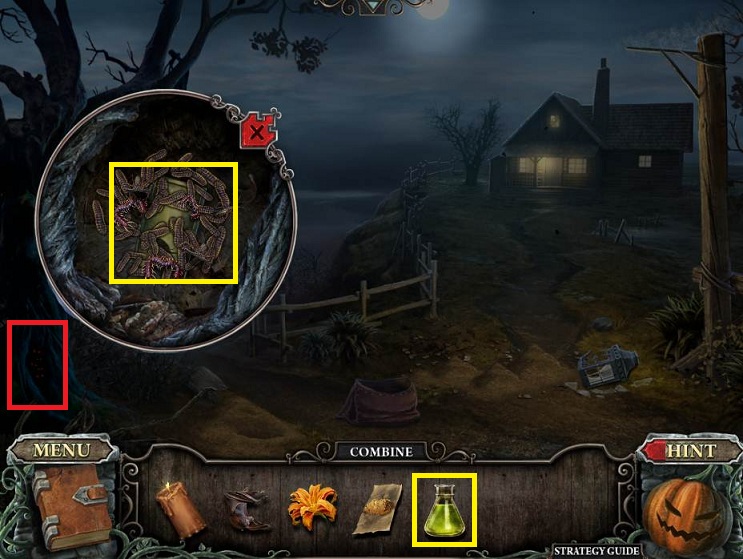
- Back up twice
- Examine the tree roots
- Use the SULFURIC ACID
- Pick up the LAMP PART
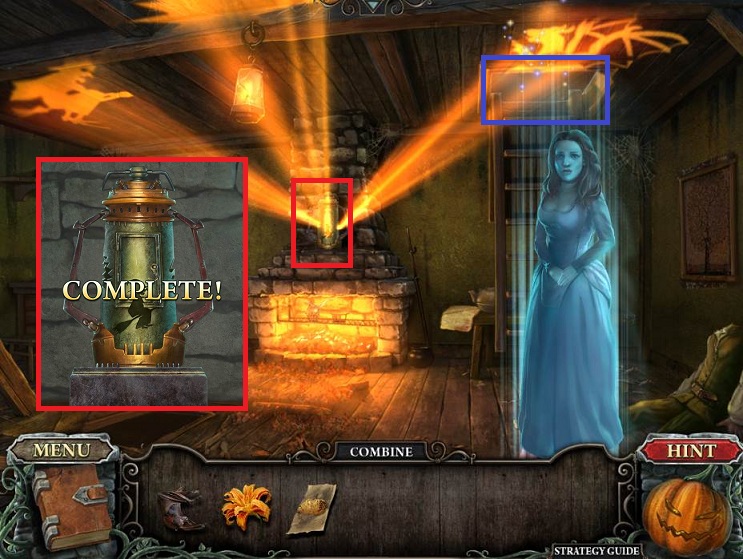
- Go back into the house and examine the mantle
- Place the LAMP PART on the lantern which triggers a puzzle
- Assemble the lantern from bottom to top
- Examine again
- Click on the door
- Place the CANDLE
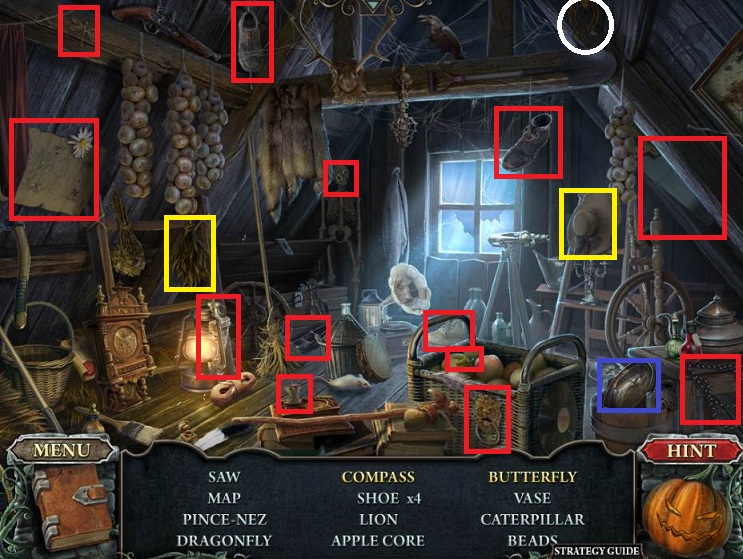
- Do the Hidden Object Scene at the top of the ladder to the right
- Receive the RITUAL BOWL
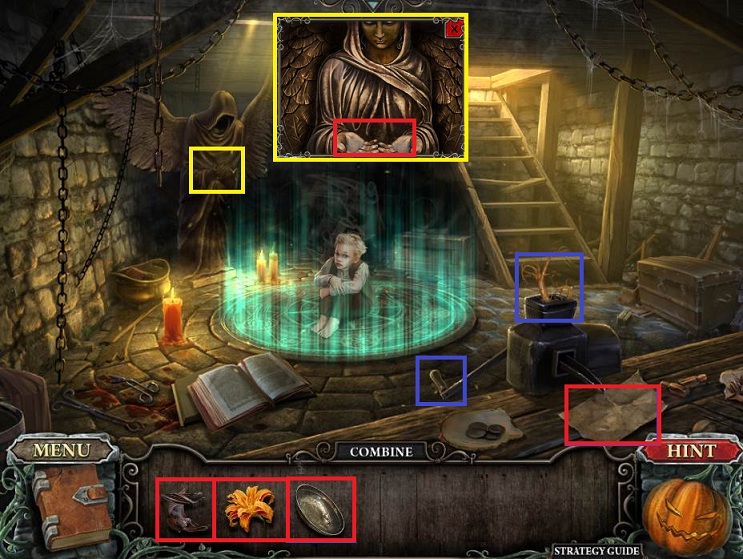
- Go into the basement
- Put the GINSENG ROOT in the crusher and click the handle
- Pick up POWDERED GINSENG ROOT
- Examine the statue
- Place the BOWL in the statue's hands
- Place the BAT, GINSENG, and LILY in the bowl
- The little boy is released and gives you his TOY
- Go upstairs and give the ghost the BOY'S TOY
- She will give you the CHEST KEY
- Return to the Basement
- Examine the chest and use the CHEST KEY
- Pick up the PASS FRAGMENT
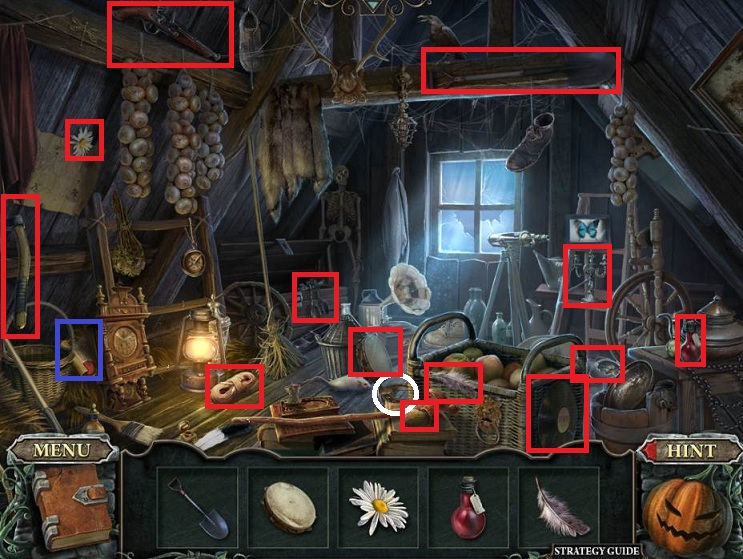
- Go upstairs and do another Hidden Object Scene at the top of the ladder
- Receive the PASS FRAGMENT
- Combine the 2 fragments together to get the PASS
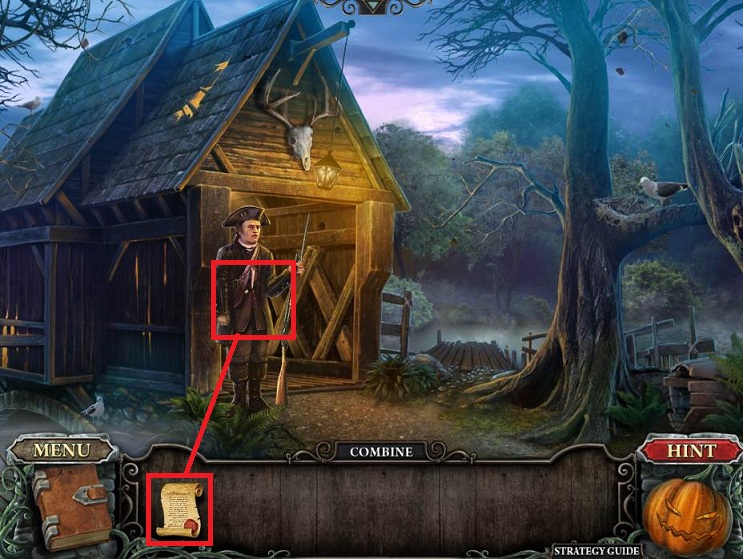
- Return to the guard at the covered bridge
- Give him the PASS
- Go into the bridge to end the chapter
Comments will load when you reach this part of the walkthrough.