
Chapter 5: Scarecrow Alley
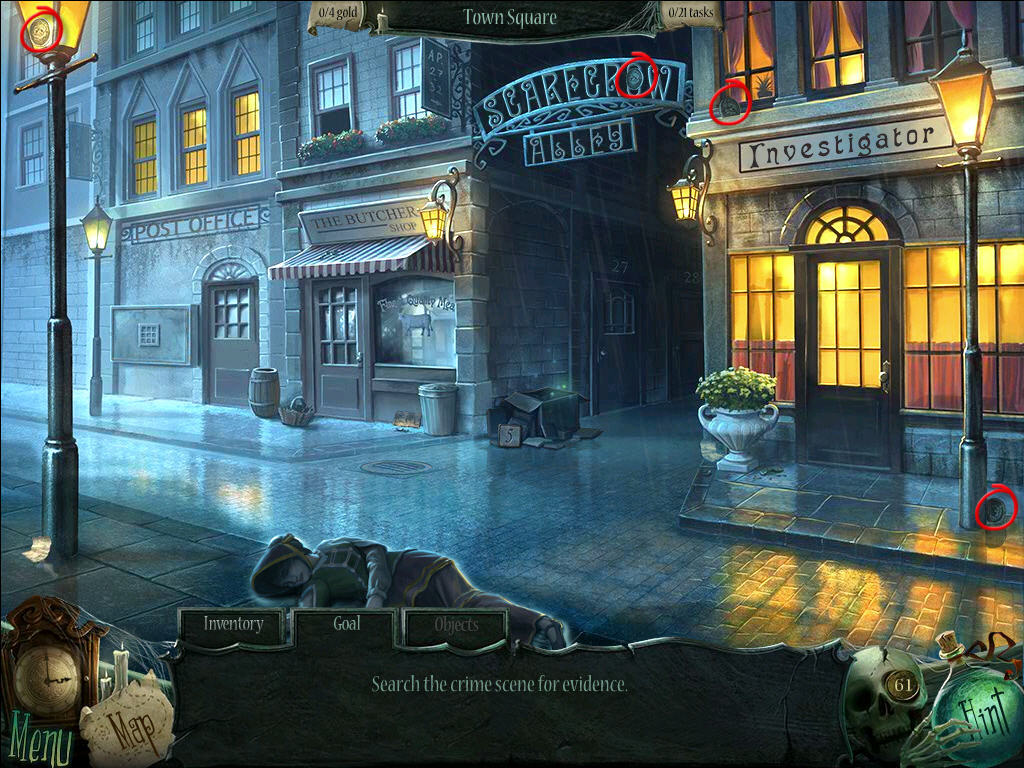
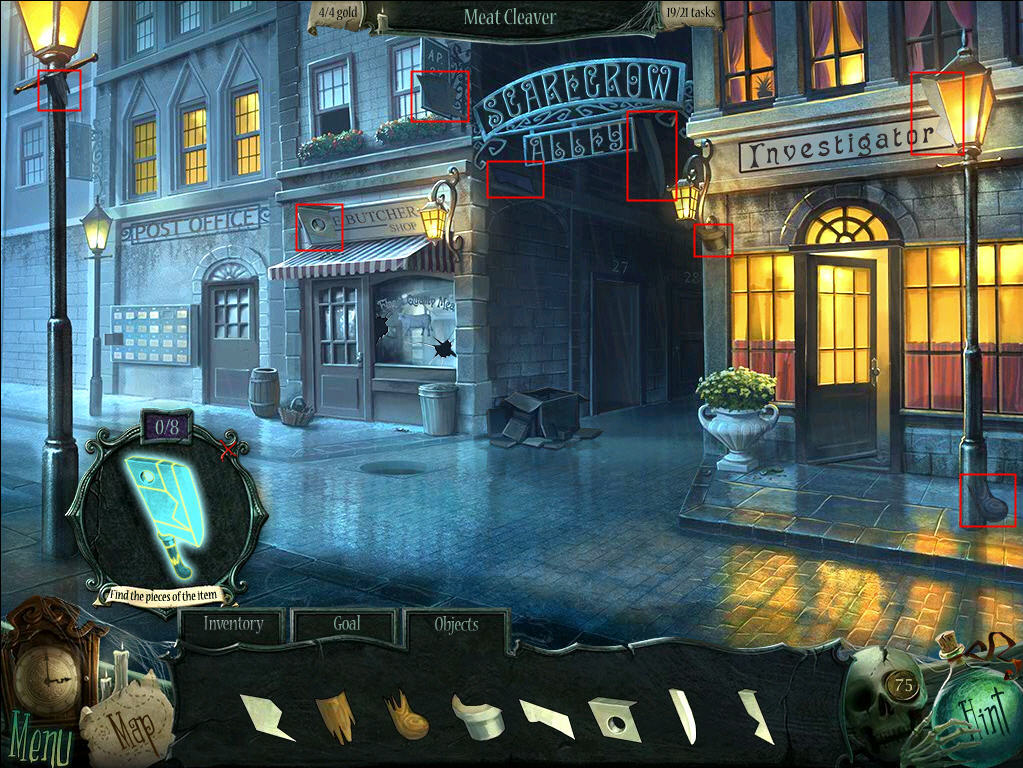
- Enter the Town Square.
- Talk to the Investigator.
- Collect the GOLD COINS to receive the MAP PIECE.
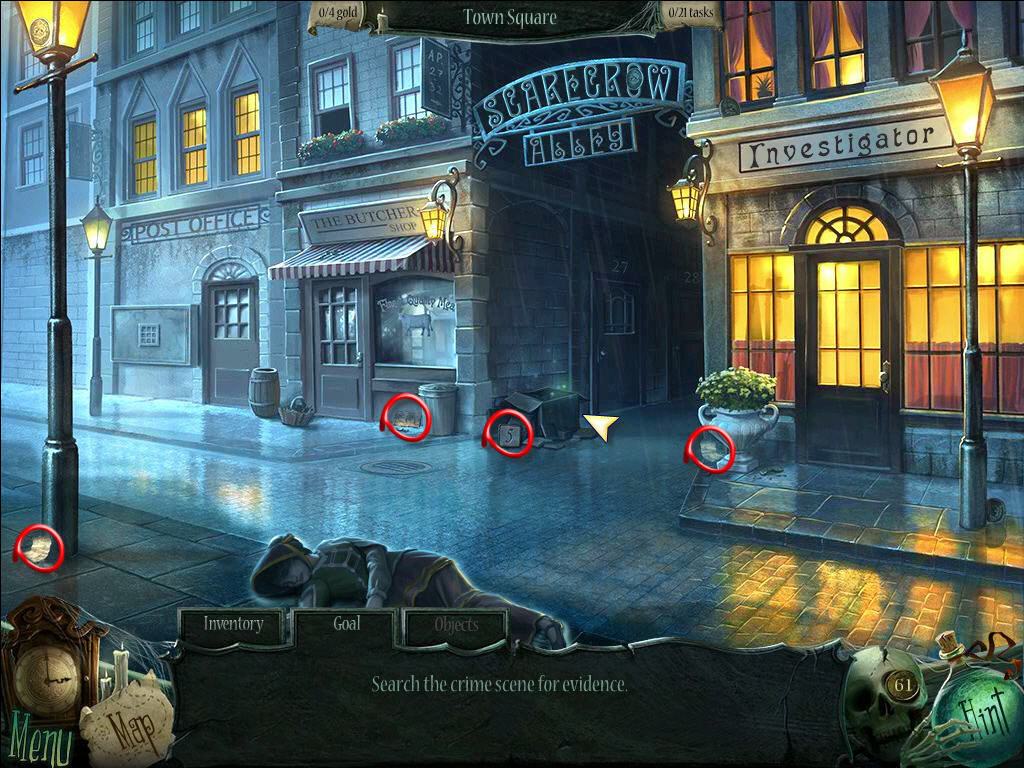
- Take the NUMBER 5 TILE.
- Take three NOTE FRAGMENTS.
- Click on the pile of trash to trigger an HOS.
- When you find all the clues, take the NOTE FRAGMENT.
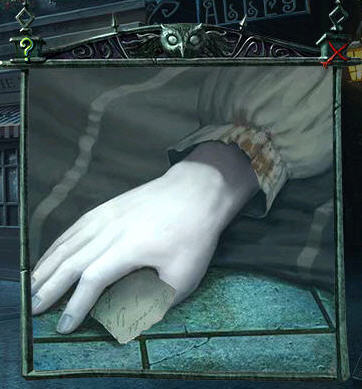
- Zoom in on the dead girl's body.
- Take the NOTE FRAGMENT.
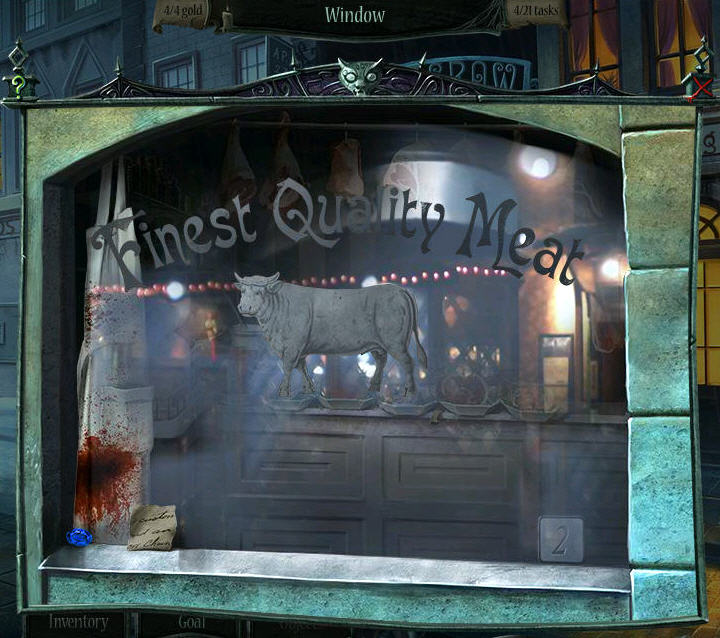
- Zoom in on the butcher shop window.
- Take the NOTE FRAGMENT.

- Talk to the Inspector and receive the OFFICE KEY.
- Zoom in on the investigator's door.
- Use the OFFICE KEY to enter.
- Take the NUMBER 9 TILE.
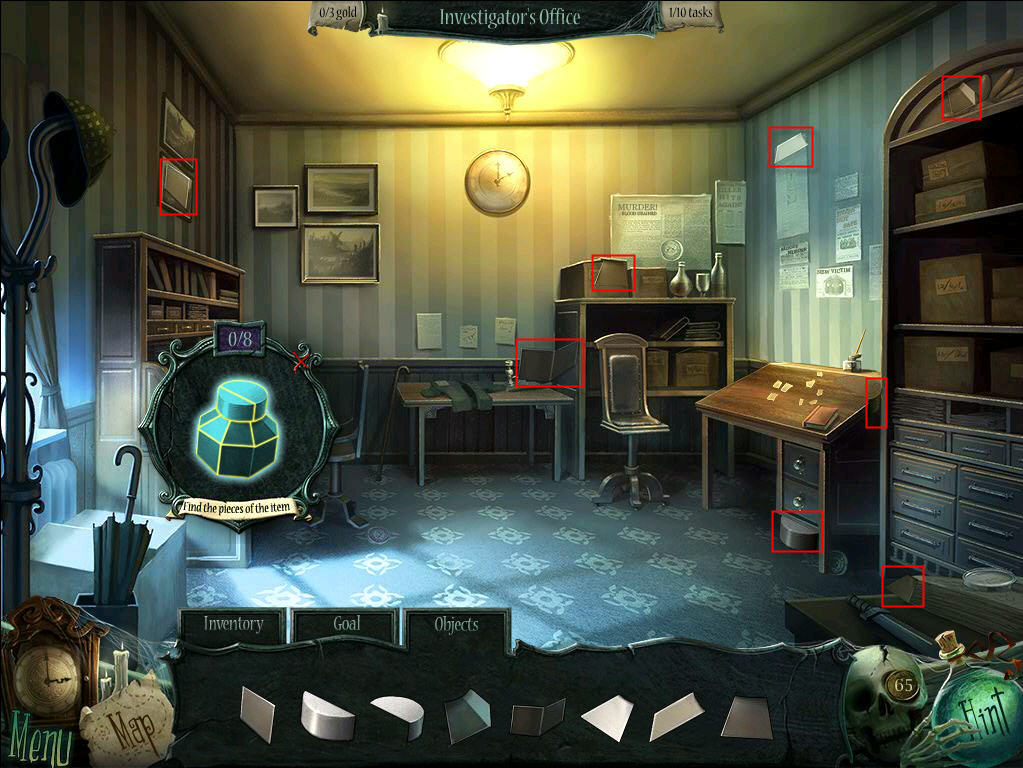
- Click on the BOTTLE.
- Find its fragments and receive the INK REMOVER.
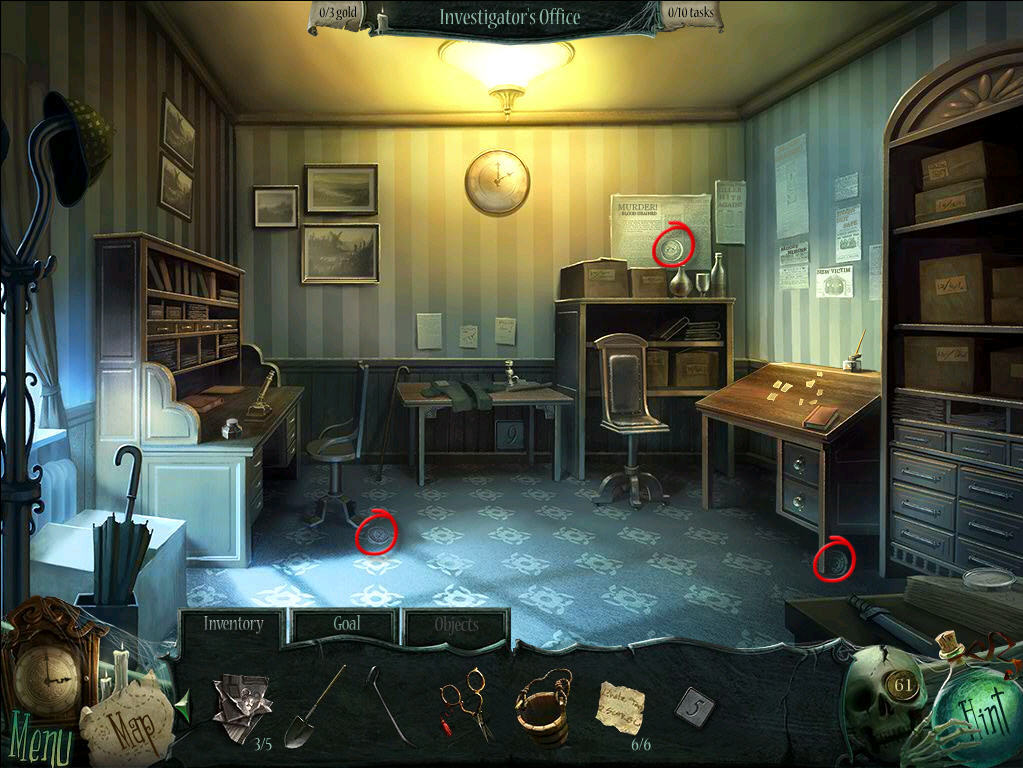
- Collect the GOLD COINS and receive the MAP PIECE.
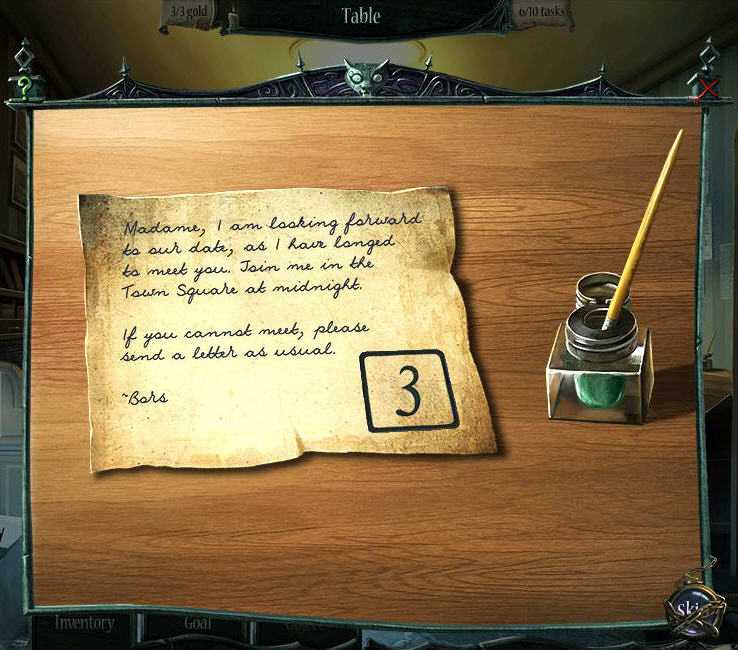
- Zoom in on the writing table.
- Pour the INK REMOVER into the empty bottle.
- Place the six NOTE FRAGMENTS on the table and trigger a mini-puzzle.
- Arrange the paper to form a note.
- Use the INK REMOVER BRUSH four times to reveal a number tile.
- Use Scissors to cut out the NUMBER 3 TILE.
- Return to the Town Square.
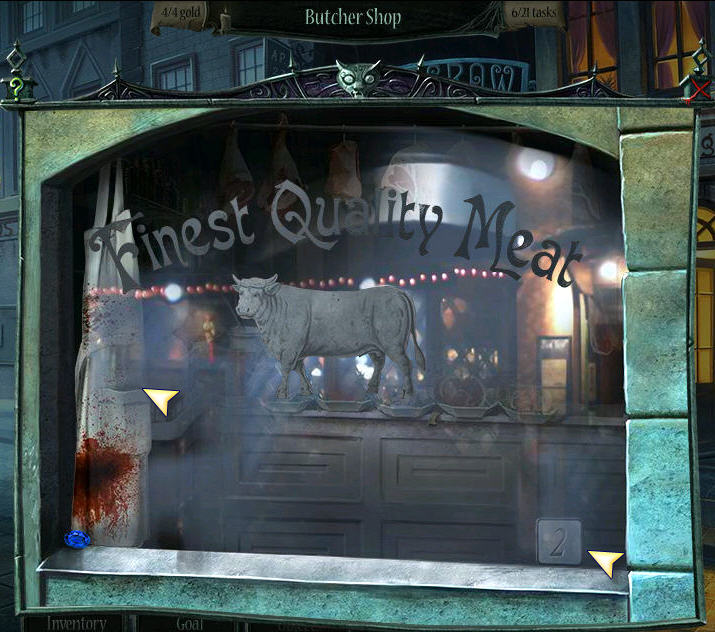
- Zoom in on the butcher shop window.
- Use the CROWBAR two times to break the window.
- Take the NUMBER 2 TILE.
- Take the POST OFFICE KEY from the apron pocket.
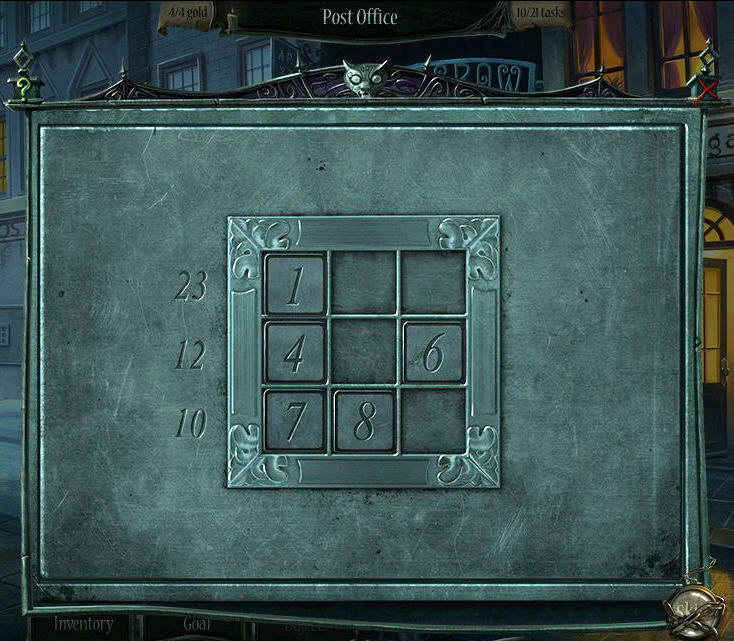
- Zoom in on the Post Office Boxes.
- Place the NUMBER TILES (2, 3, 5 and 9) to trigger a mini-puzzle.
- Swap the numbers until the sum of a row totals the number to the left of the row. One suggestion is to place 9, 8 and 6 across the top row; 4, 5 and 3 across the middle row; and 7, 2 and 1 across the bottom row.
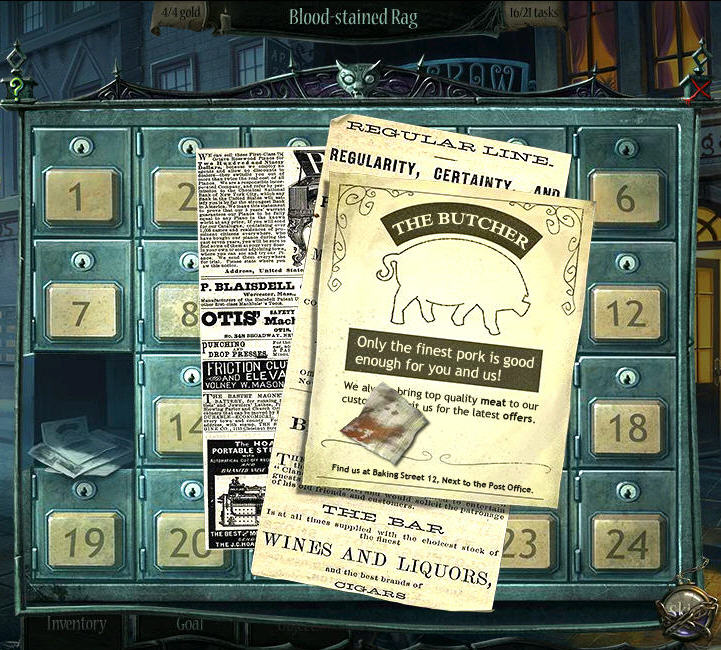
- Use the POST OFFICE KEY to open box 13.
- Zoom in on the mail.
- Take the BLOODSTAINED RAG.
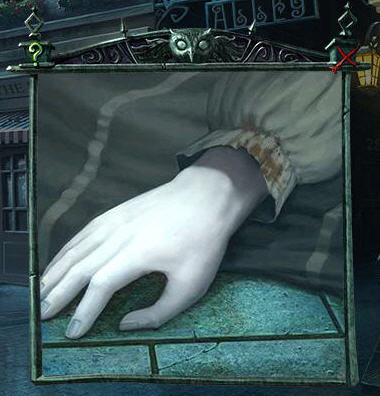
- Zoom in on the girl's body.
- Use the SCISSORS to cut a DRESS FRAGMENT from the sleeve.
- Return to the Investigator's Office.
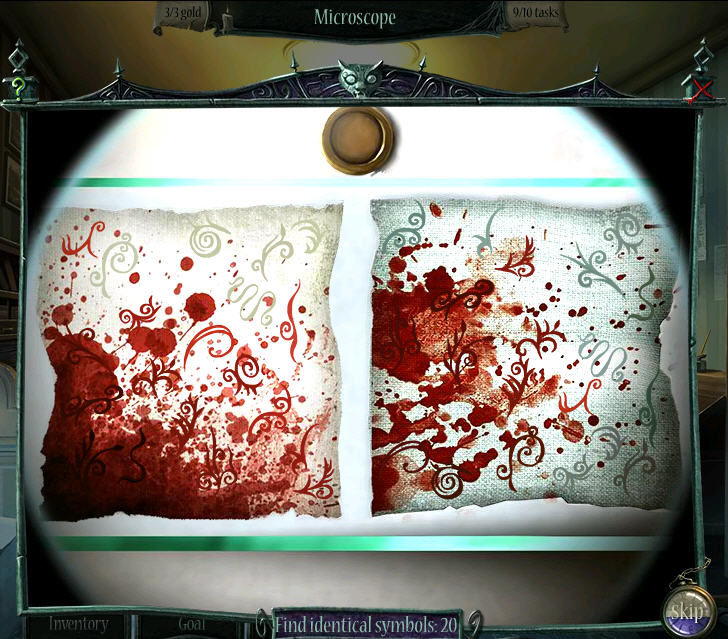
- Zoom in on the Microscope.
- Click the button to turn on its light.
- Place the BLOODSTAINED RAG and DRESS FRAGMENT onto the slide to trigger a mini-puzzle.
- Match all the shapes.
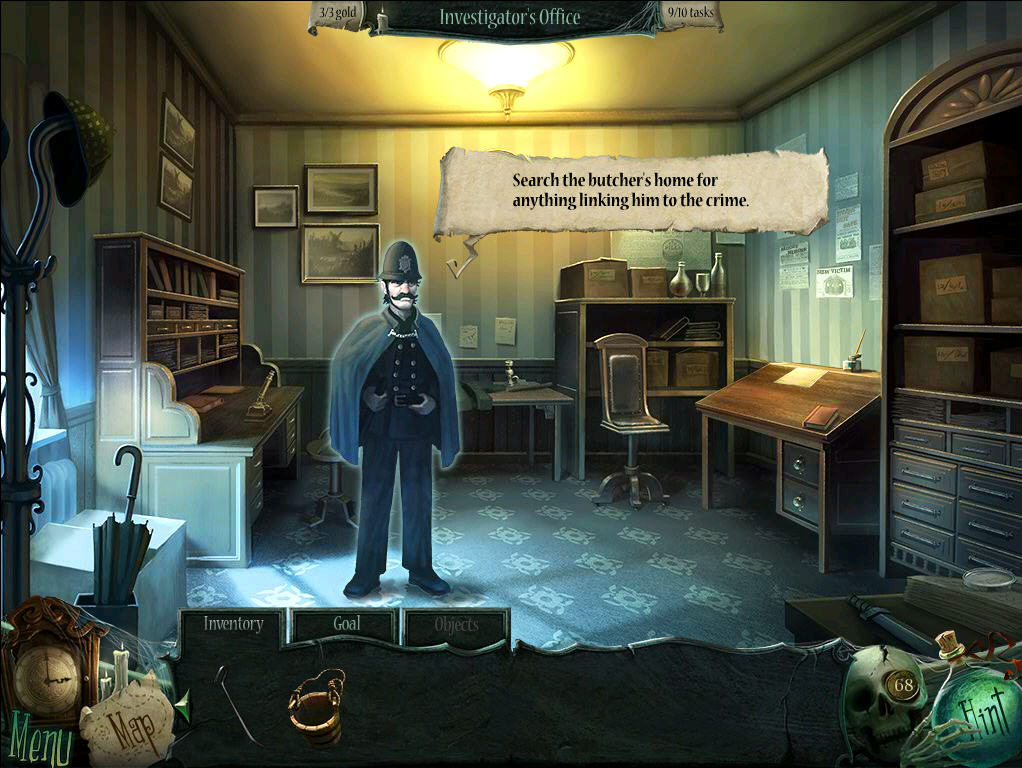
- The Inspector enters and tells you that the blood samples match.
- He asks you to search the Butcher's house.
- Return to Scarecrow Alley and zoom in on door 27.
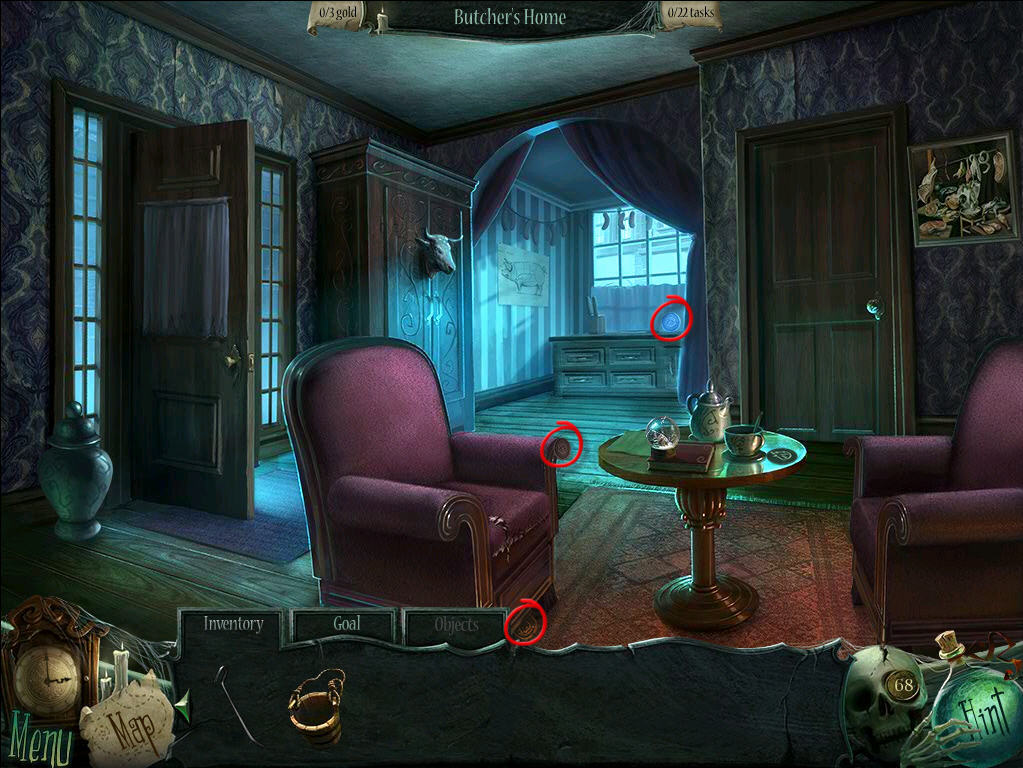
- Enter the Butcher's house.
- Collect the GOLD COINS to receive the MAP PIECE.
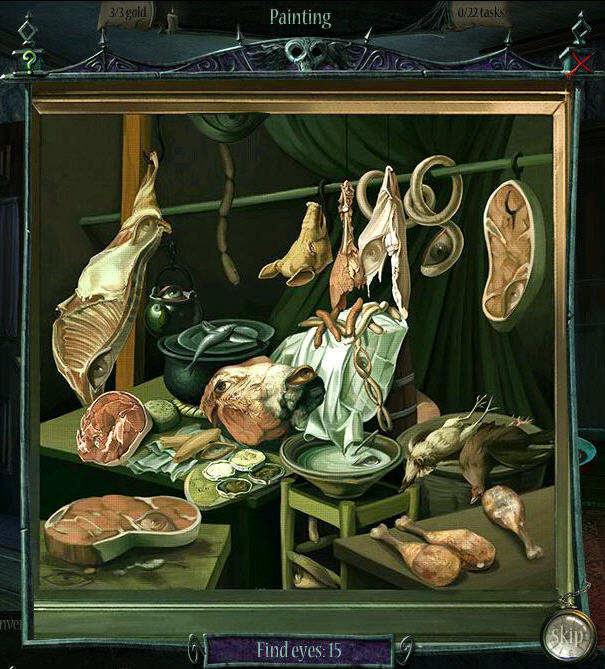
- Zoom in on the painting that hangs next to the basement door. This triggers a mini-puzzle.
- Find all 15 eyes in the picture.
- When completed, a wall safe is revealed.
- Zoom in on the urn beside the front door.
- Use the CROWBAR to break the urn.
- Take the SPIDER LOCK PIECE that falls out of the urn.
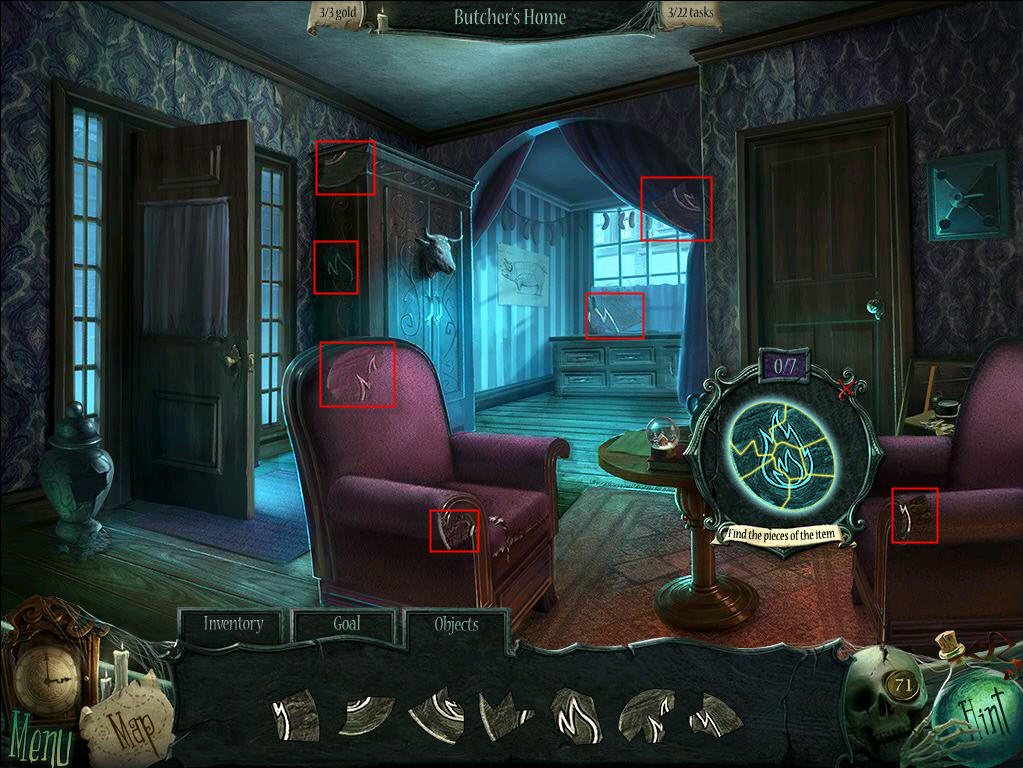
- On the table, click on the LOCK PIECE.
- Find its fragments to add the FIRE LOCK PIECE to your inventory.
- Zoom in on the kitchen drawer.
- Take the CAN OPENER.
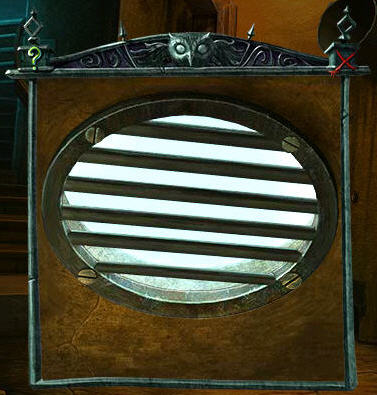
- Return to the Shed.
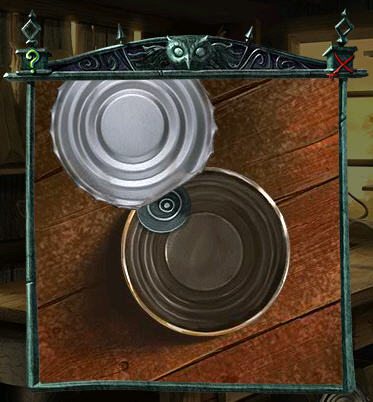
- Zoom in on the sealed can.
- Use the CAN OPENER on the can.
- Take the EYE LOCK PIECE.
- Return to the Butcher's House.
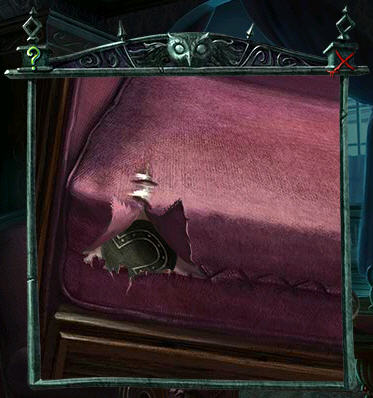
- Zoom in on the loosely-sewn chair cushion.
- Pull open the stitches to reveal LOCK PIECE.
- Take the HORSESHOE LOCK PIECE
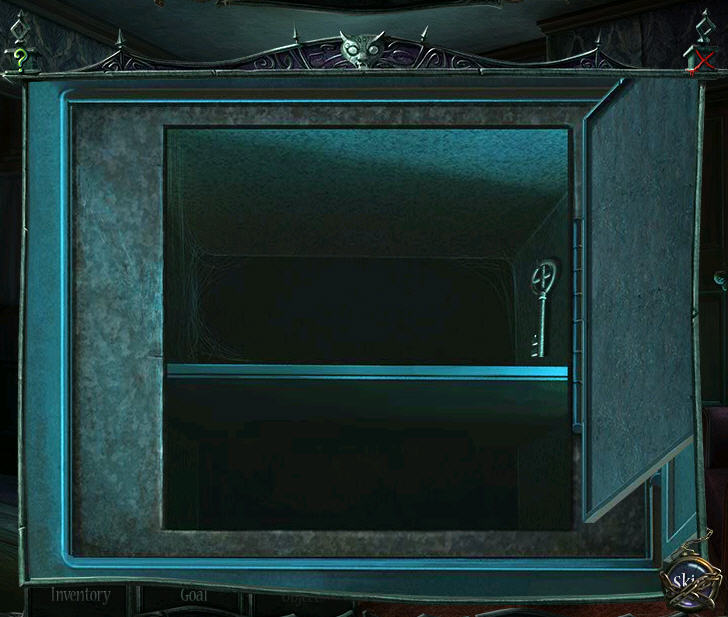
- Zoom in on the wall safe.
- Place the LOCK PIECES in the appropriate slots.
- Click on the handle to trigger a mini-puzzle.
- Swap the pieces so there are no pieces duplicated in any row or column.
- When you complete the puzzle, take the BASEMENT KEY from the safe.
- Zoom in on the basement door.
- Use the BASEMENT KEY to unlock it.
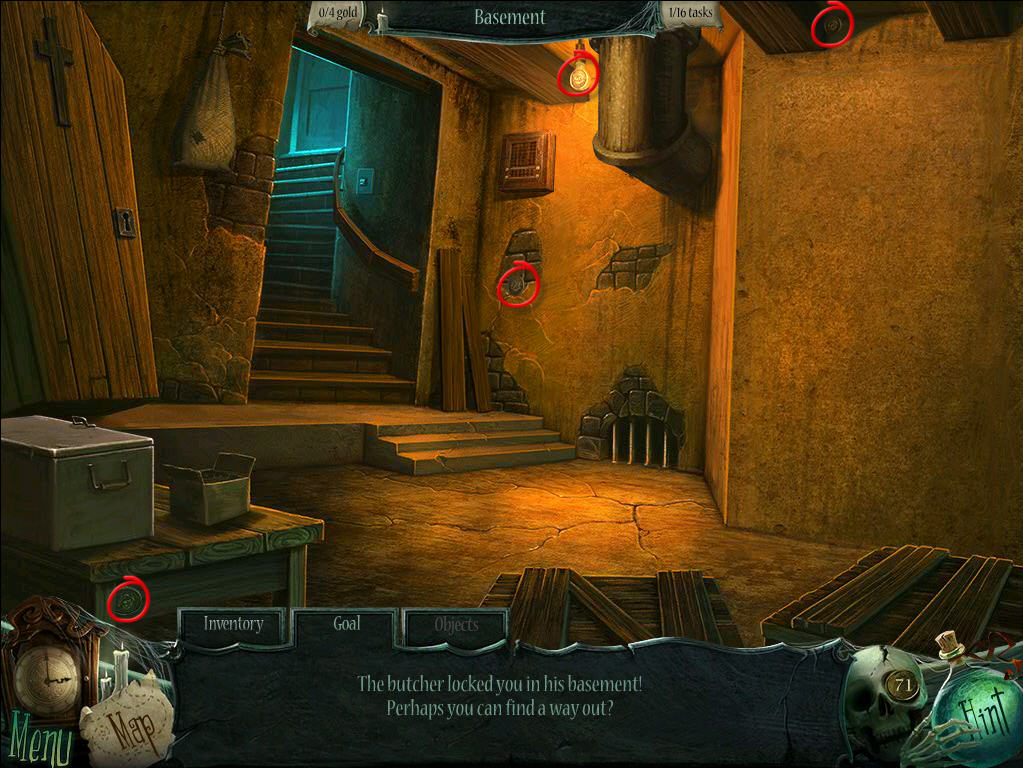
- Enter the basement.
- Click on the light switch to turn on the light.
- The butcher slams the door shut and locks you in.
- Collect the GOLD COINS and obtain the MAP PIECE.

- Click on the wooden box to trigger a mini-puzzle.
- Place the runes in the correct slots.
- When the runes are gone, take the PHOTO FRAGMENT.
- Zoom in on the metal box on the table.
- Click on the empty vial to break it.
- Take the GLASS SHARD.
- Use the GLASS SHARD to cut down the burlap sack.
- Zoom in on the bag and take the ACID.
- Use the ACID on the bars at the base of the wall.
- Push the green button.
- A portrait appears on the wall.
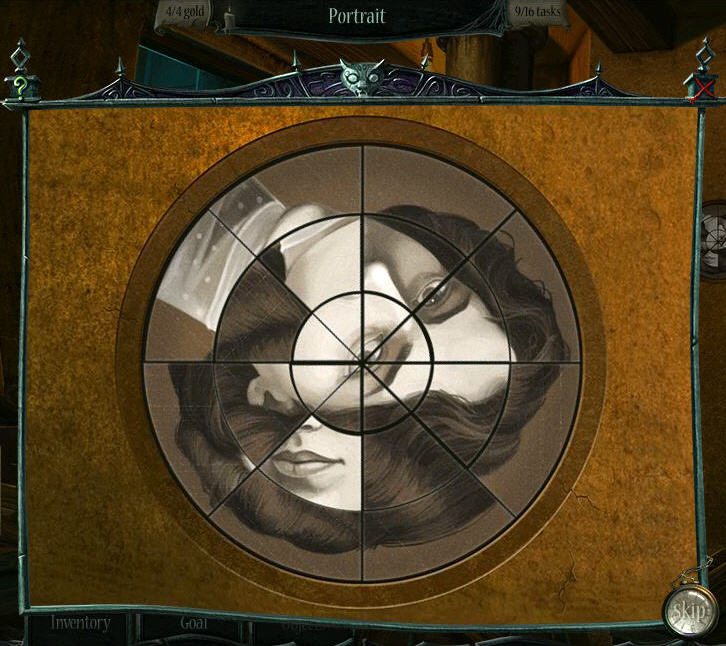
- Zoom in on the portrait to trigger a mini-puzzle.
- Swap the sections to make a complete picture.
- The wall disappears revealing a secret room.
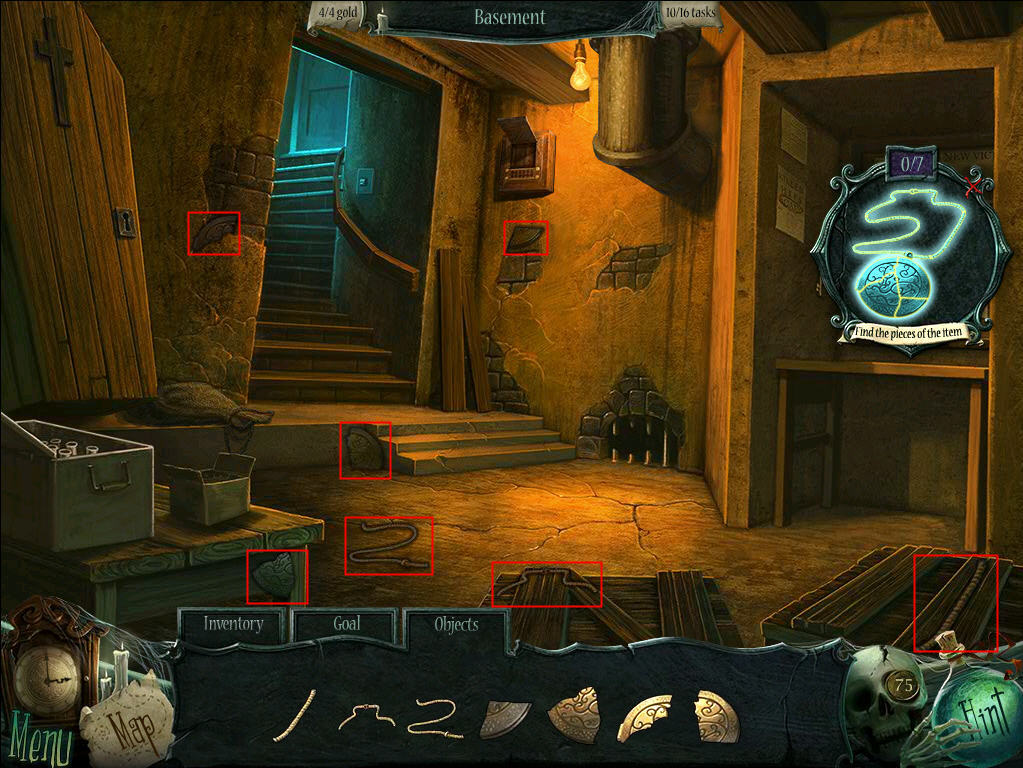
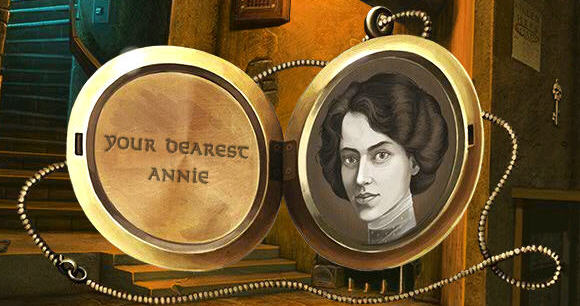
- Click on the LOCKET.
- Find the fragments to add the LOCKET to your inventory.
- Take the COFFIN KEY from the secret room.
- Use the COFFIN KEY to open the coffin.
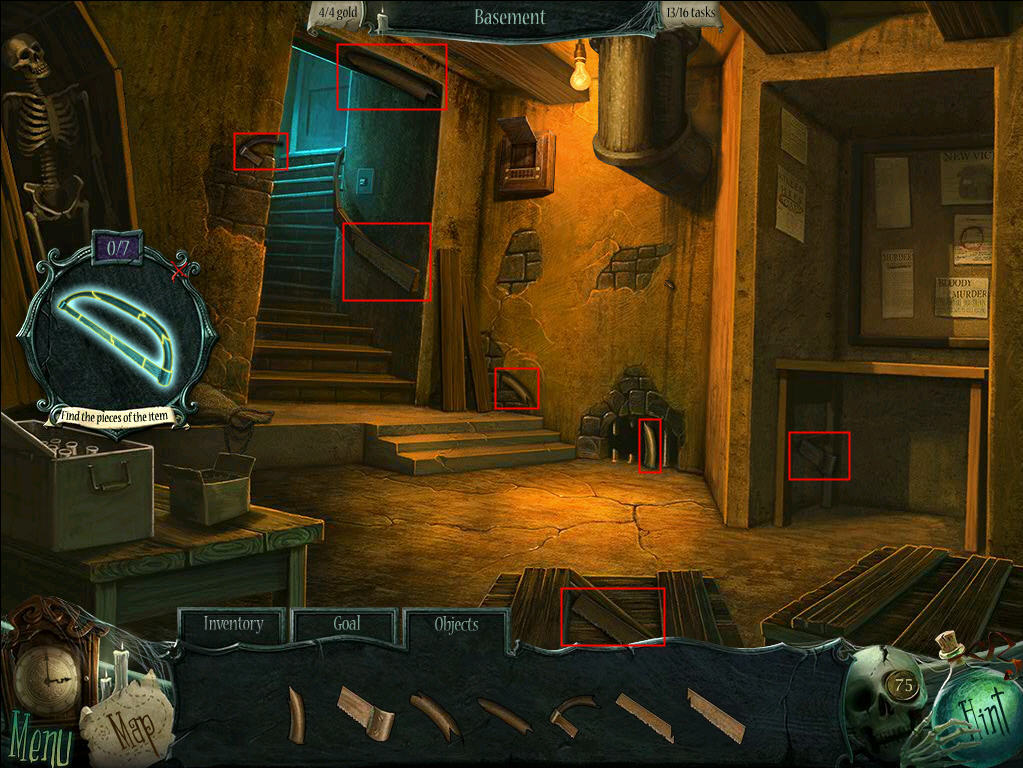
- Click on the SAW.
- Find the fragments of the SAW and add to your inventory.
- Use the SAW on the large pipe.
- Reveal a grate.
- Zoom in on the grate.
- Use the SCREWDRIVER to remove the four screws.
- Click on the grate.
- When it falls through the floor, climb out to return to Scarecrow Alley.
- Give the LOCKET to the Inspector.
- He arrests the Butcher and takes him away.
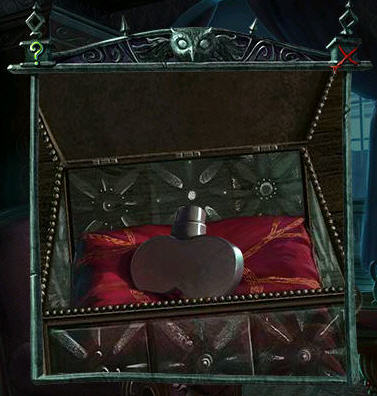
- The Butcher drops a MEAT CLEAVER.
- Click on the CLEAVER to find its fragments.
- Add the CLEAVER to your inventory.
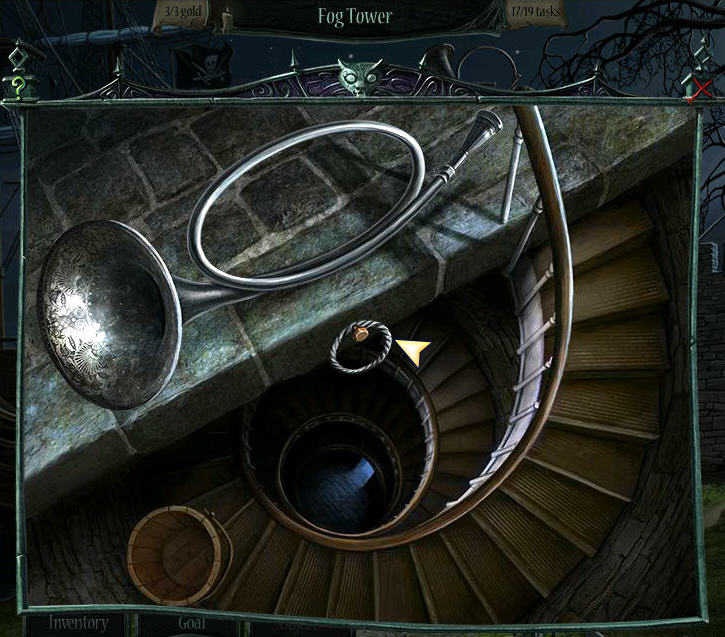
- Return to the Pier.
- Zoom in on the Fog Tower.
- Use the ACID on the metal ring.
- Take the BULL'S RING.
- Return to the Butcher's home.
- Zoom in on the armoire.
- Use the BULL'S RING on the Bull's head to open the armoire.
- Zoom in on the Armoire.
- Place the CLEAVER in the Knife Block.
- This will open the Jewelry Box.
- Take the TURNKEY from the Jewelry Box.
- Zoom in on the SNOW GLOBE on the table.
- Use the TURNKEY to unlock the Snow Globe.
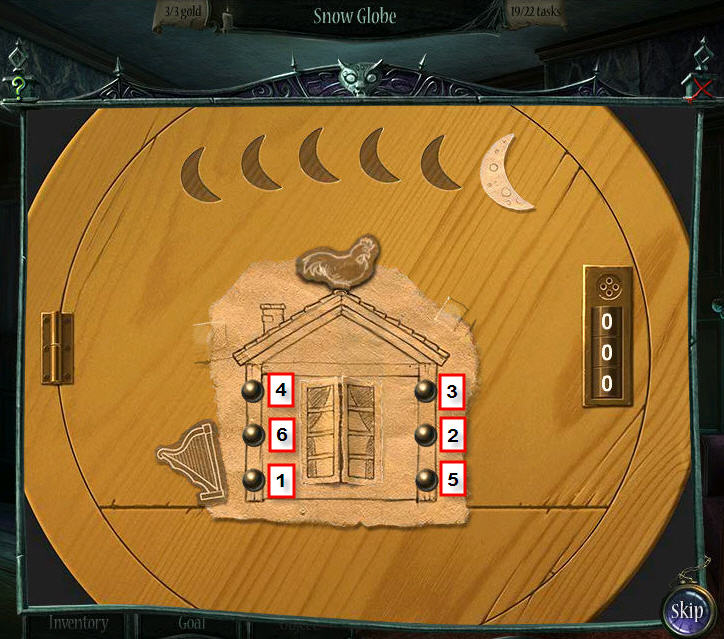
- Zoom in on the SNOW GLOBE to trigger a mini-puzzle.
- Click on the lights in the right order.
- Click on the harp to reveal a clock with the time 9:30.
- Move the combination button to the combination lock.
- Set the combination lock to 930.
- Push the combination button.
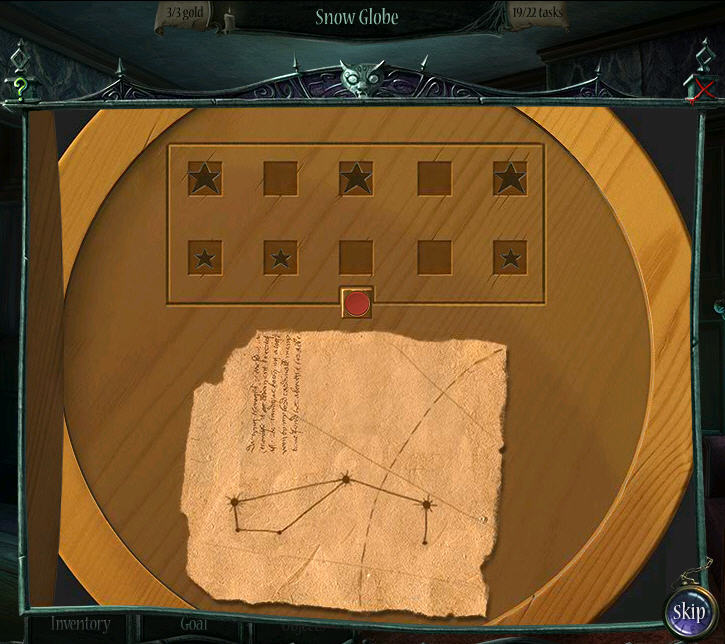
- Click on the star boxes to match the constellation on the map.
- When completed, press the red button.
- The curse is removed and the SNOW GLOBE becomes part of your inventory.
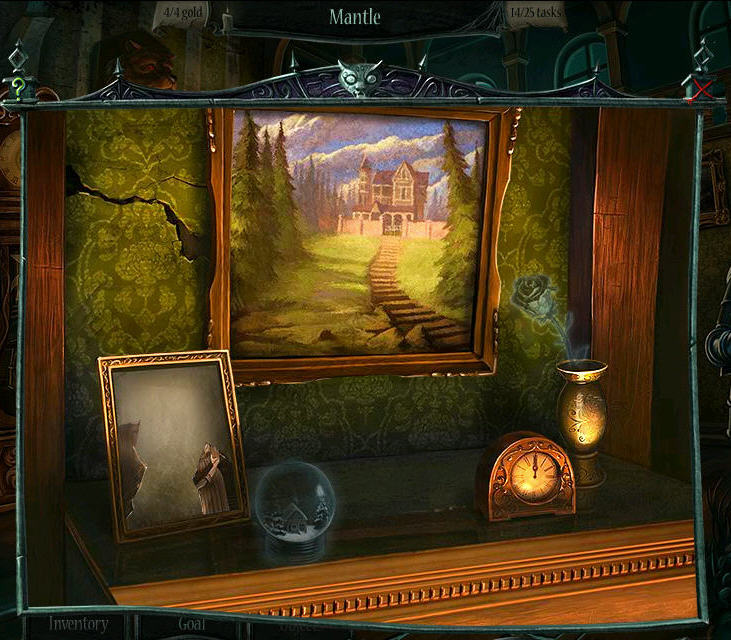
- Return to the Grand Room.
- Zoom in on the mantle.
- Place the SNOW GLOBE on the mantle.
- Zoom in on the reeds in the urn next to the fireplace.
- Take the TEAR SHAPE.
- Return to the Hallway.
- Zoom in on the door with the TEAR-SHAPED INDENTATION.
- Use the TEAR SHAPE to unlock the door.
Comments will load when you reach this part of the walkthrough.