
Chapter Four: Inside Close Quarters
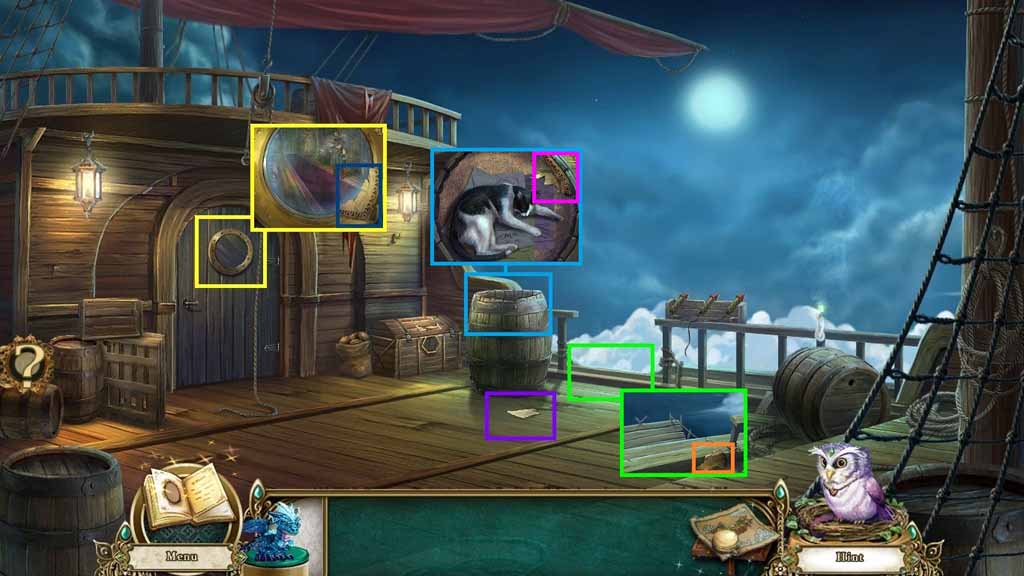
- Zoom into the porthole; collect the 1 /4 blueprint pieces.
- Collect the 2 / 4 blueprint pieces.
- Zoom into the side of the ship; collect the 3 / 4 blueprint pieces.
- Zoom into the barrel; collect the 4 / 4 blueprint pieces.
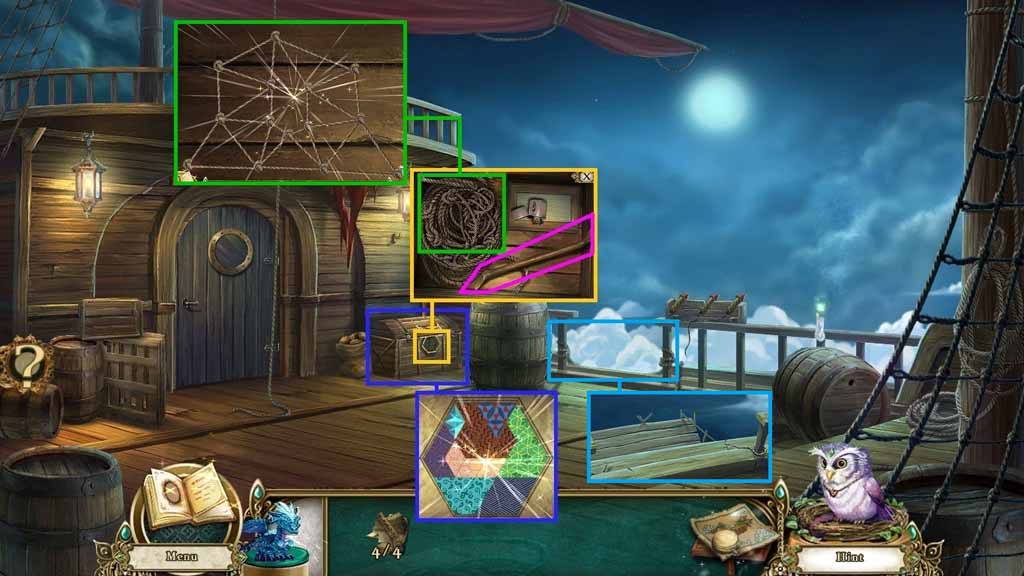
- Zoom into the chest and insert the blueprint pieces into the top to trigger a mini-game.
- Arrange the pieces to create a hexagon to solve the game.
- Collect the goblin relic; insert the goblin relic into the chest lock.
- Collect the crowbar.
- Click the rope ladder to trigger a mini-game.
- Solve the game by clicking and dragging the knots so that they do not cross one another.
- Collect the rope ladder.
- Zoom into the side of the ship and hang the rope ladder.
- Move down the Side of the Ship.
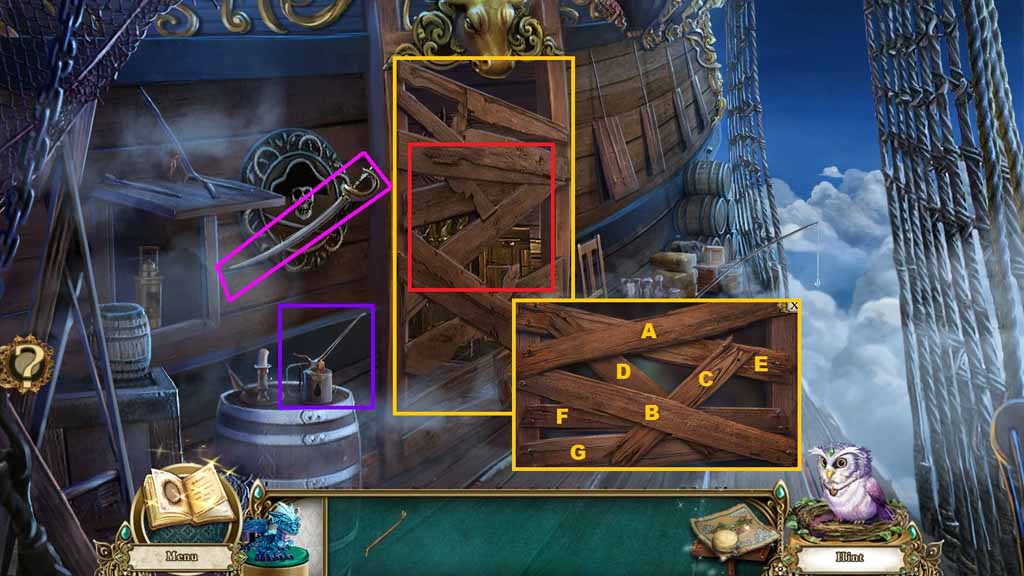
- Collect the lighter fuel.
- Collect the cutlass.
- Zoom into the boarded up area.
- Select the crowbar to remove the boards to trigger a mini-game.
- Solve the game by clicking the boards in ABC order.
- Zoom into the opening to trigger a hidden objects area.
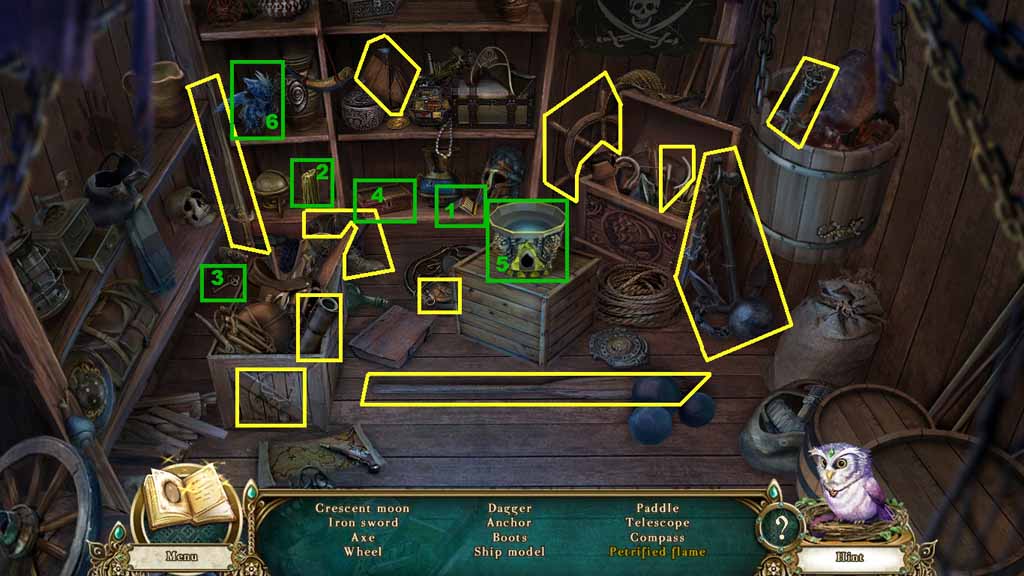
- Find the listed items.
- Select the matches to light the candle; pick up the key and insert it into the lock box.
- Collect the dragon crest and insert it into the altar.
- Select the dragon and place him onto the altar, then use him on the candle.
- Collect the petrified flame.
- Collect the anchor.
- Move down once.
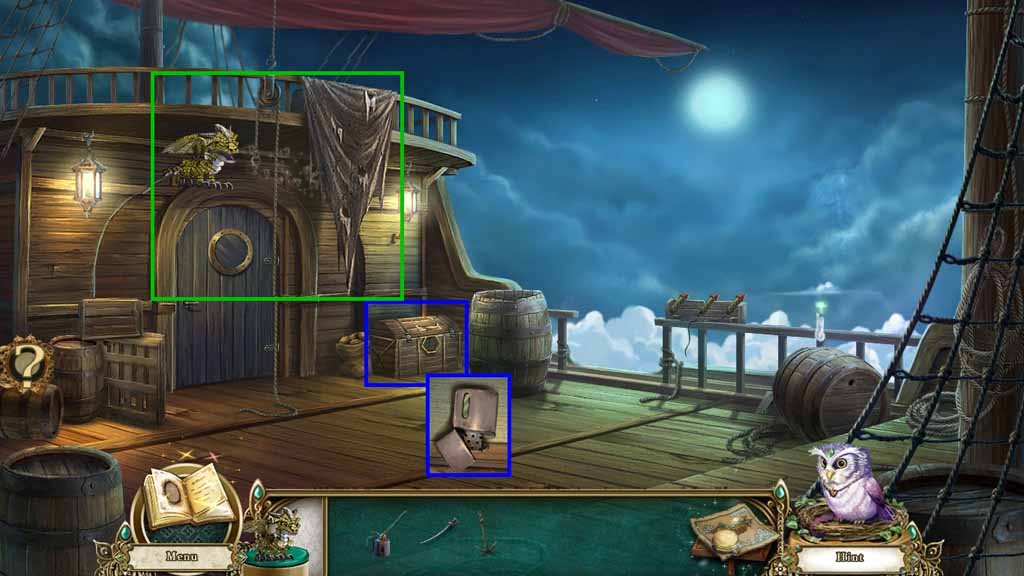
- Zoom into the chest.
- Pour the lighter fuel into the lighter; collect the lighter.
- Select the stone dragon to use on the sail.
- Move up the sail.
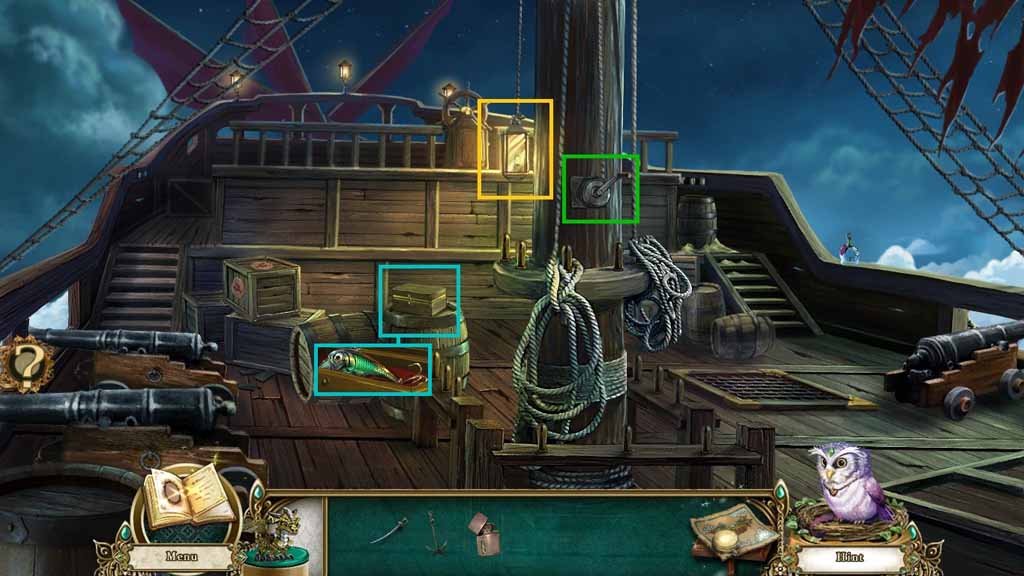
- Select the lighter and use it to ignite the lamp.
- Click the winch 2 times.
- Click the wooden box and collect the fishing lure.
- Move to the Side of the Ship.
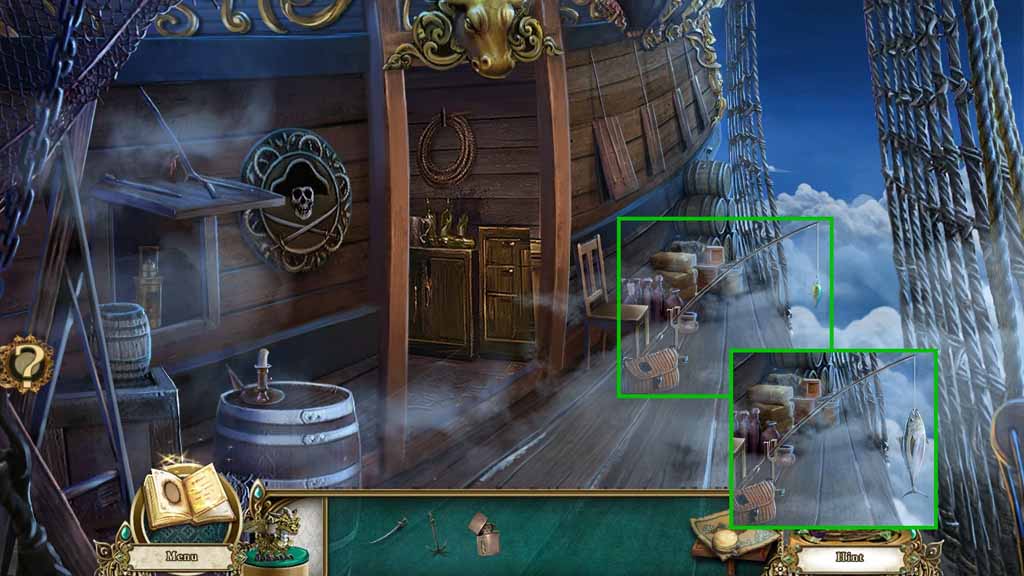
- Attach the fishing lure onto the fishing rod; click the rod.
- Click the rod again to collect the fresh fish.
- Move down once.
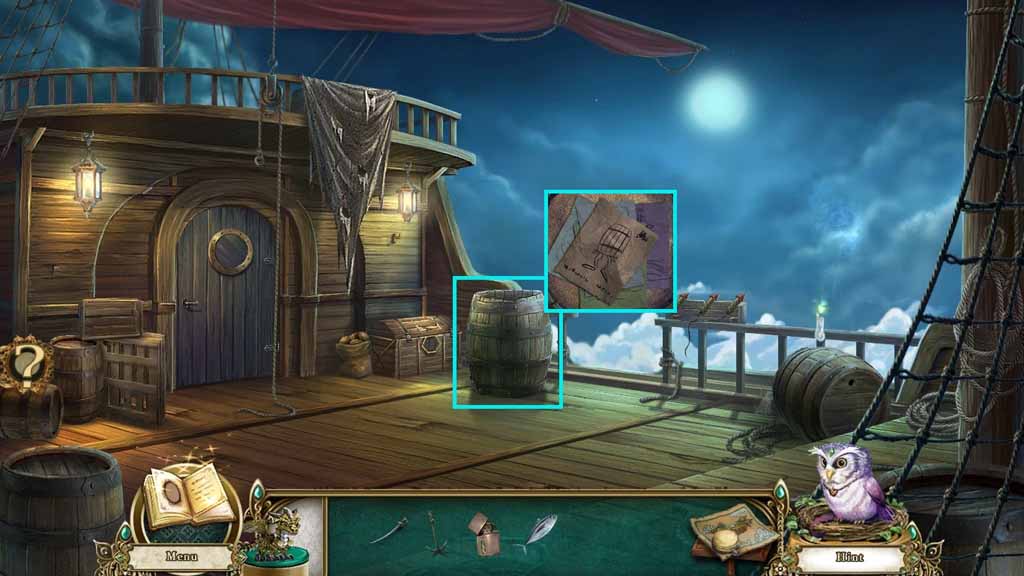
- Zoom into the barrel.
- Give the cat the fresh fish.
- Examine the humorous drawing; collect the barrel.
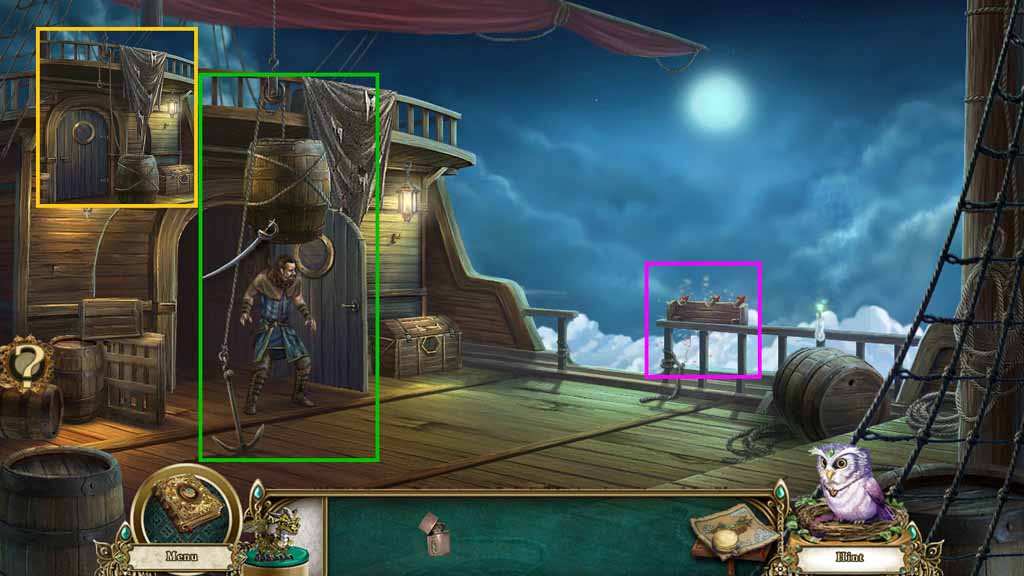
- Place the barrel next to the rope; attach the anchor to the rope.
- Select the lighter to ignite the fireworks.
- Select the cutlass to cut the rope.
- Move into the Ship Hallway.
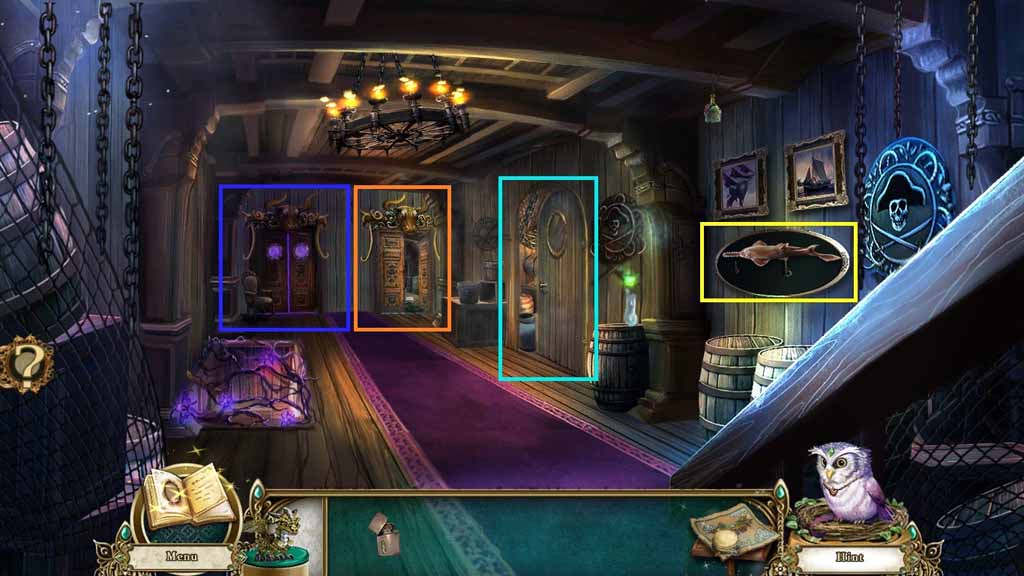
- Examine the door to the Captain’s Cabin.
- Collect the sawfish.
- Notice the door to the Galley.
- Move to the Brig.
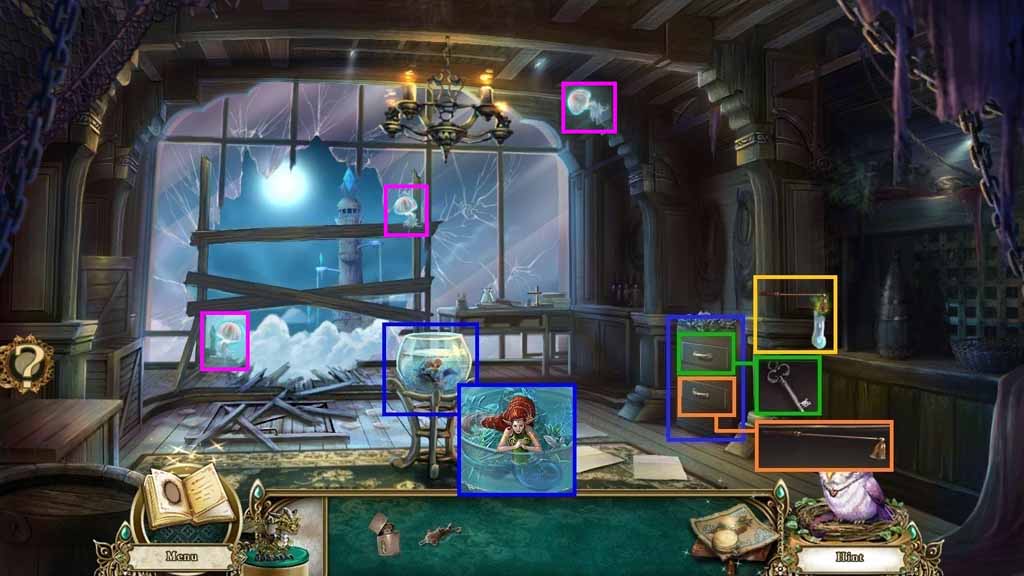
- Zoom into the drawers.
- Click the top drawer; collect the galley cabinet key.
- Click the bottom drawer; collect the candle snuffer.
- Speak to Shelsea.
- Select the candle snuffer and use it on the spirit candle.
- Collect the 1 / 8, 2 /8 and 3 /8 ghost mushrooms.
- Move down once.
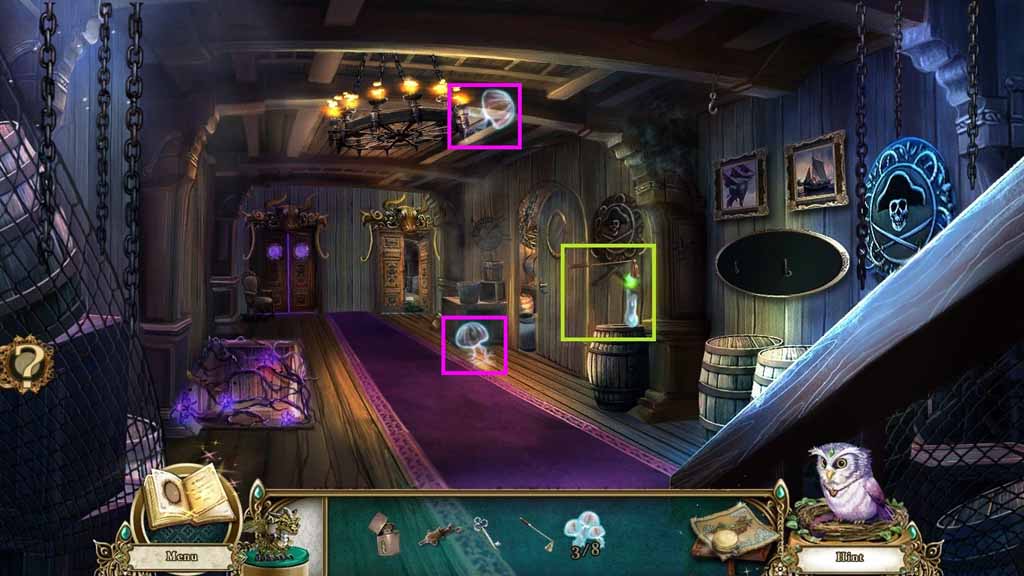
- Select the candle snuffer and use it to snuff the spirit candle.
- Collect the 4 /8 and 5/ 8 ghost mushrooms.
- Move down once.
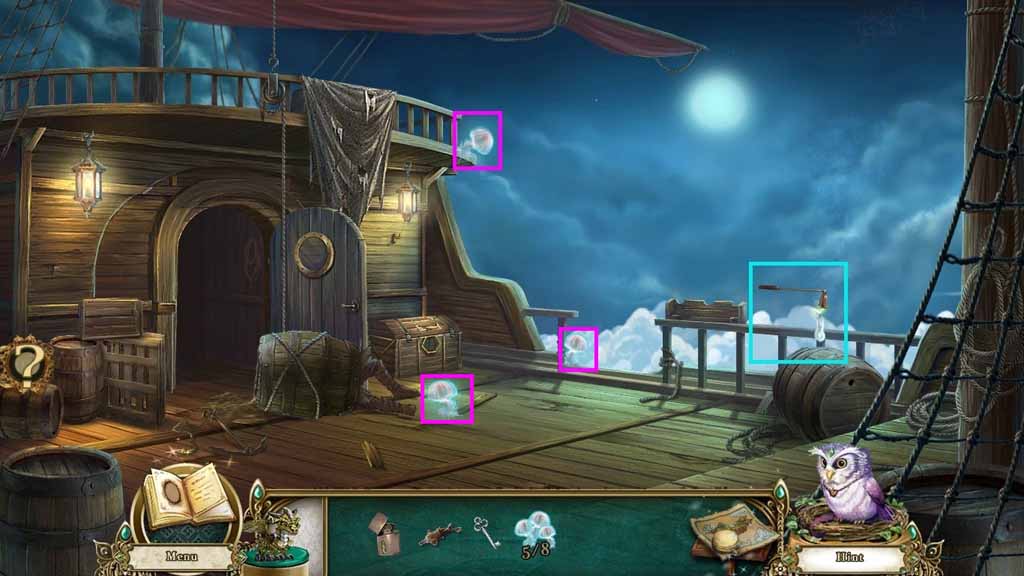
- Select the candle snuffer and use it to snuff the spirit candle.
- Collect the 6 / 7, 7/ 8 and the 8 / 8 ghost mushrooms.
- Move to the Galley.
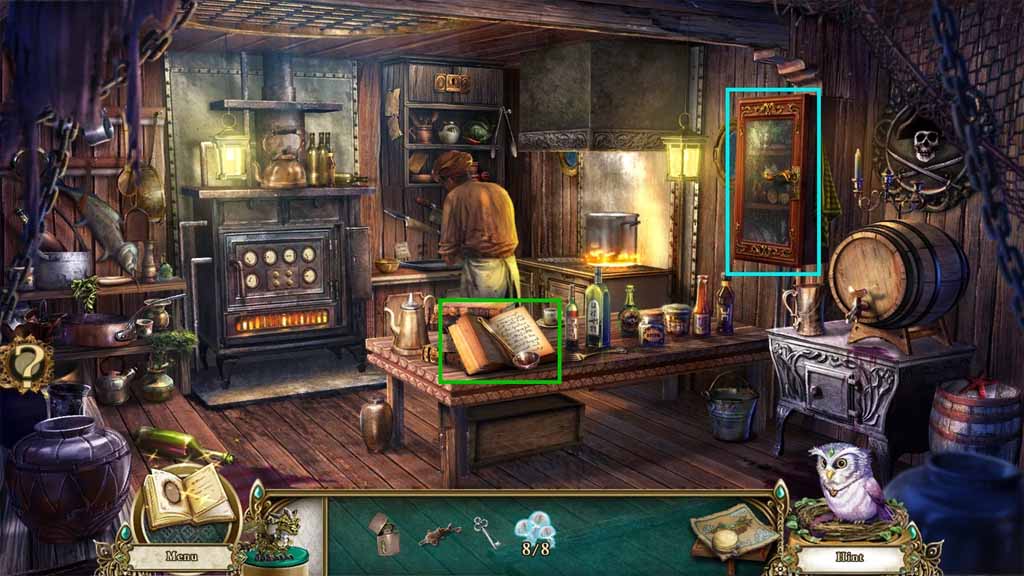
- Collect the ladle and read the cookbook.
- Select the galley cabinet key and insert it into the cabinet.
- Zoom inside to trigger a mini-game.
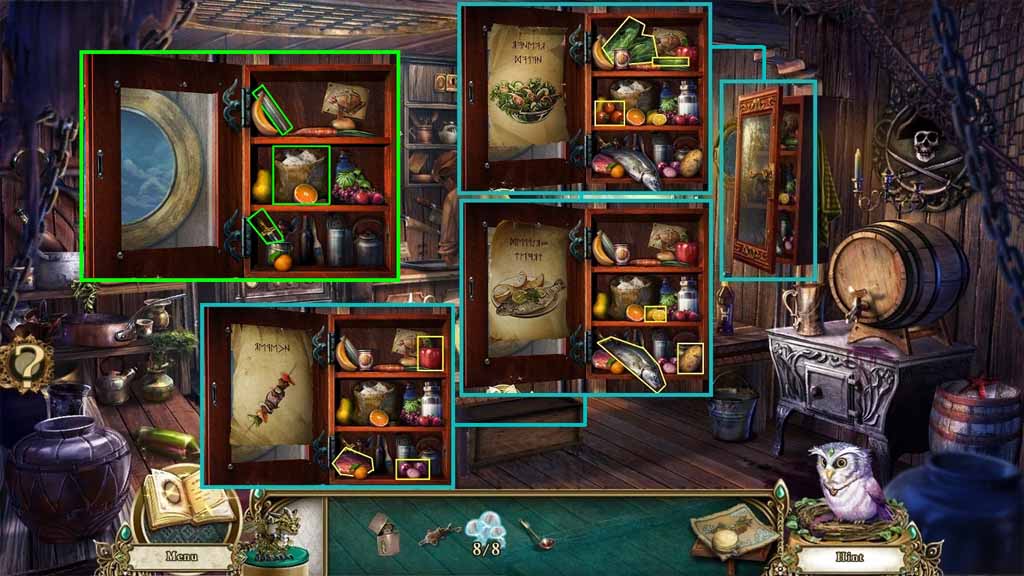
- Solve the game by finding the ingredients as shown in the picture on the left.
- Collect the flour, the pestle and the cooking knife.
- Move down 2 times and move to the Upper Deck.
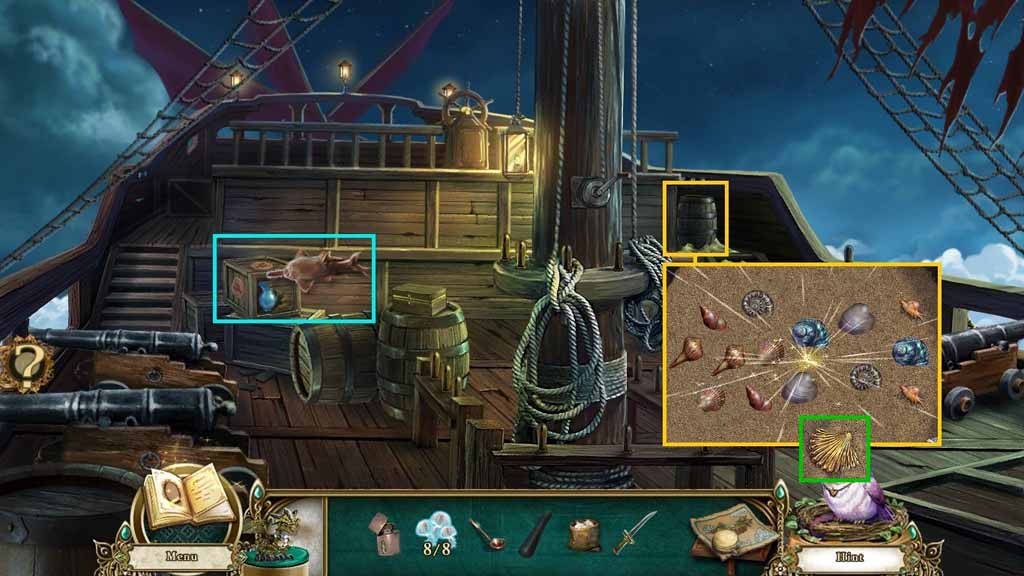
- Zoom into the cargo; use the sawfish to open it up.
- Collect the pitcher.
- Zoom into the barrel of sand.
- Select the ladle to uncover the shells and trigger a mini-game.
- Solve the game by selecting the matching pairs.
- Collect the golden shell.
- Move to the Brig.
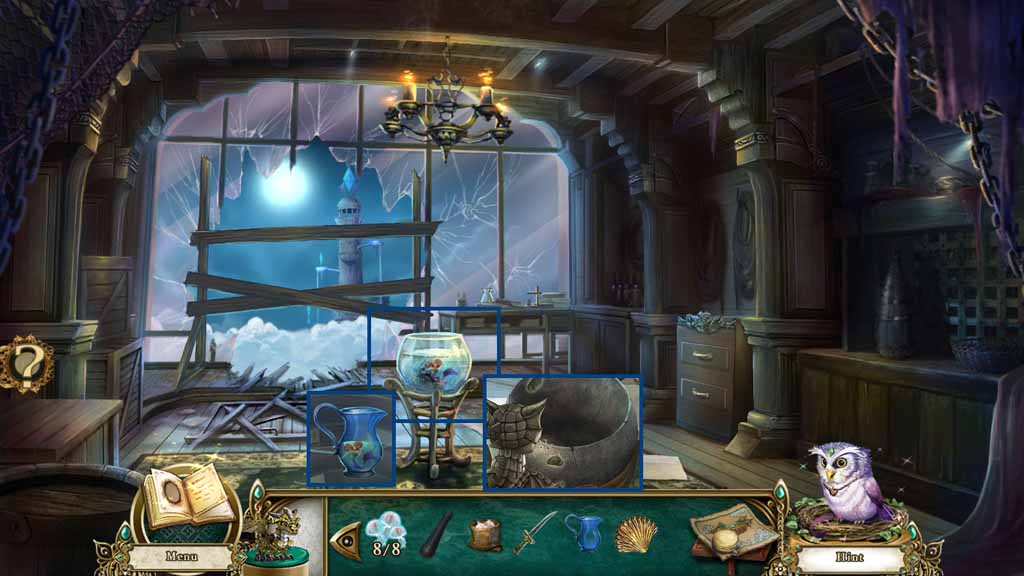
- Zoom into Shelsea.
- Select the pitcher to collect Shelsea.
- Select the stone dragon to use on the bowl.
- Move to the Side of the Ship.
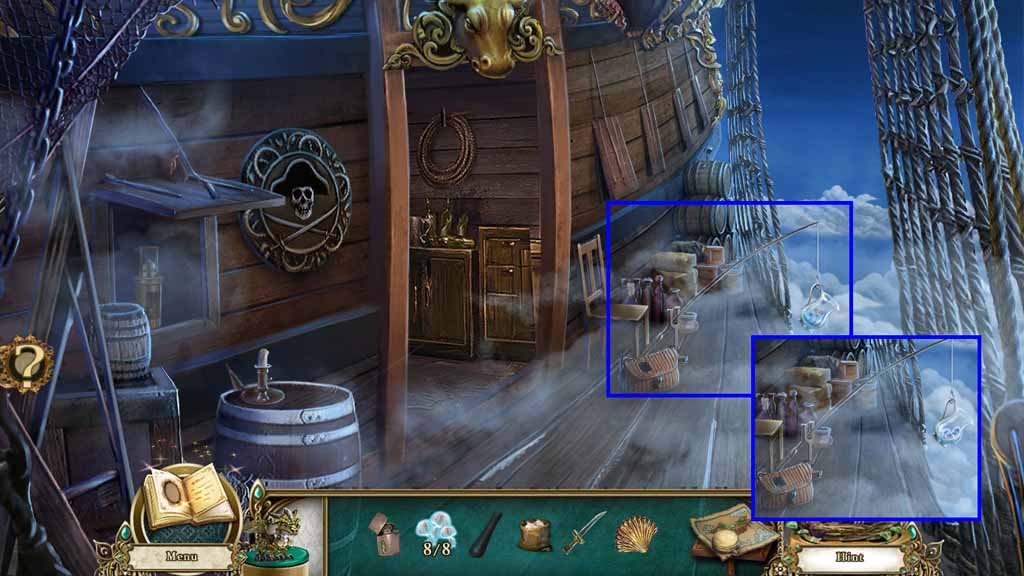
- Zoom into the fishing pole and place Shelsea onto it; click the rod.
- Click the rod again; collect the sea water and the mermaids’ tears.
- Move to the Brig.
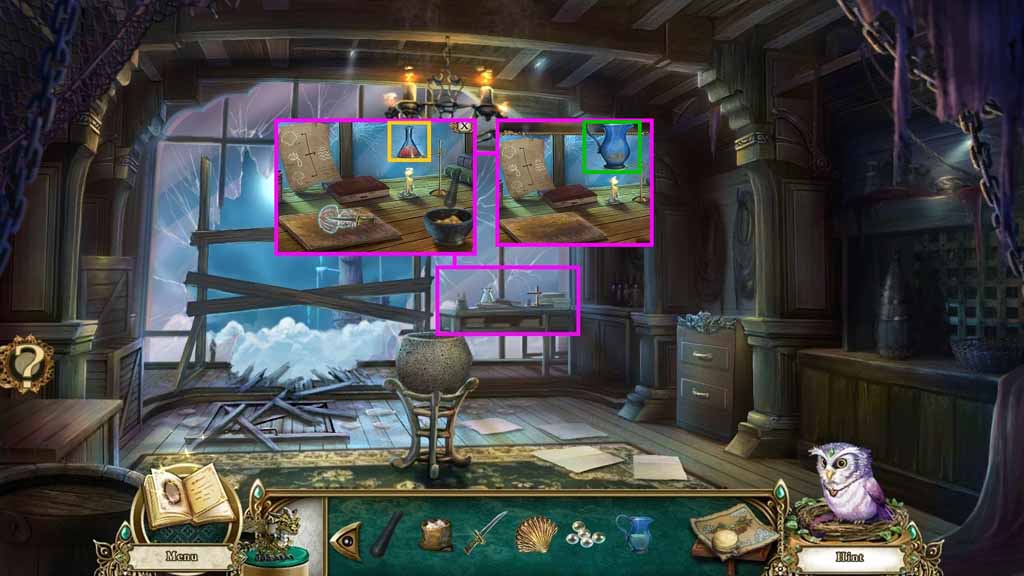
- Zoom into the counter.
- Place the mushrooms onto the cutting board.
- Select the cooking knife to slice them.
- Select the golden shell and place it into the mortar and insert the pestle.
- Place the chopped mushrooms and the shell powder into the flask.
- Pour in the mermaid tears.
- Select the lighter to ignite the candle; collect the flask of Curse be Gone.
- Select the sea water and place it onto the burner; collect the sea salt.
- Move to the Upper Decks.
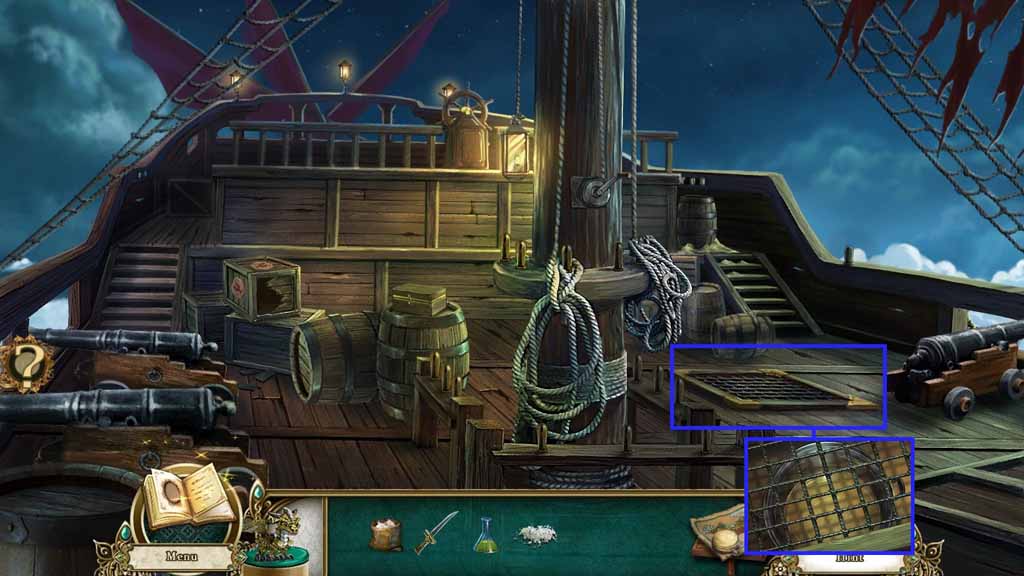
- Zoom into the grate and pour the Curse be Gone into the stew.
- Move down once and go into the Ship Hallway.
- Examine the door to the Captain’s Cabin; then enter the cabin.
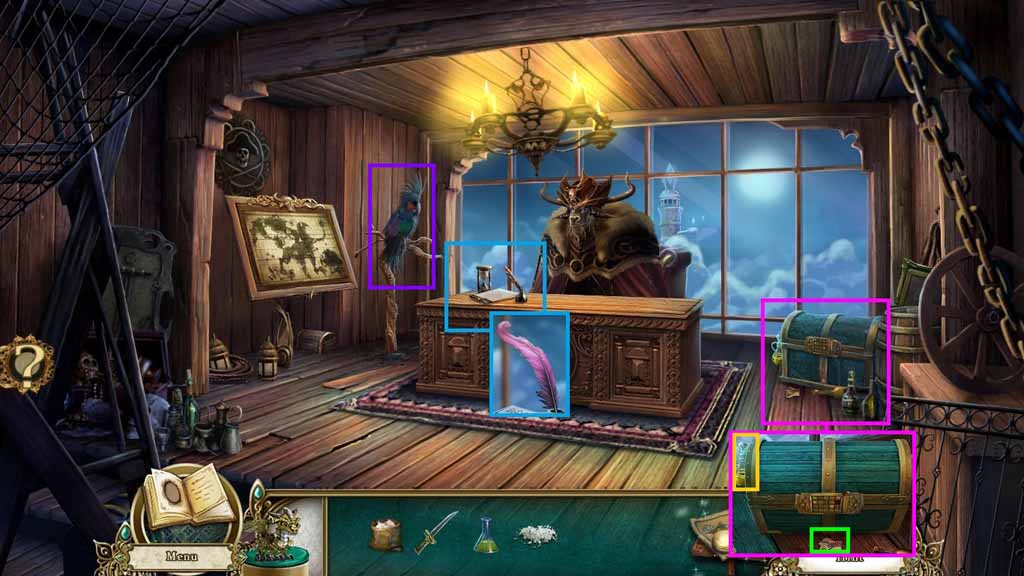
- Zoom into the desk; collect the quill.
- Zoom into the chest; collect the oil and the bottle label.
- Notice the evil parrot.
- Move down once and go into the Galley.
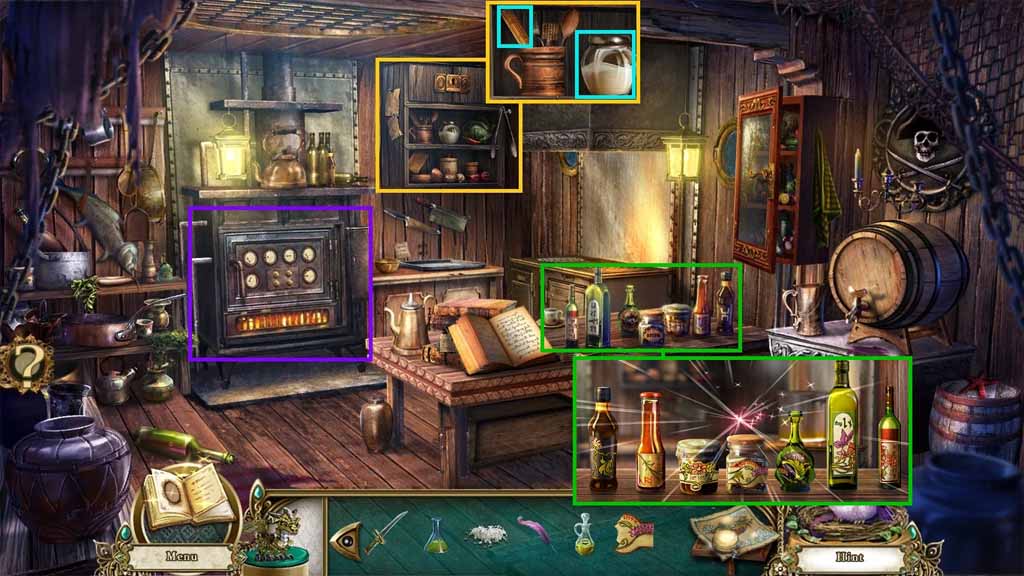
- Zoom into the shelf.
- Collect the ruler and the sugar.
- Notice the oven.
- Zoom into the bottles.
- Attach the bottle label onto the middle bottle to trigger a mini-game.
- Solve the game by aligning the bottles based on the pictures on the labels.
- Collect the catoblepas acid.
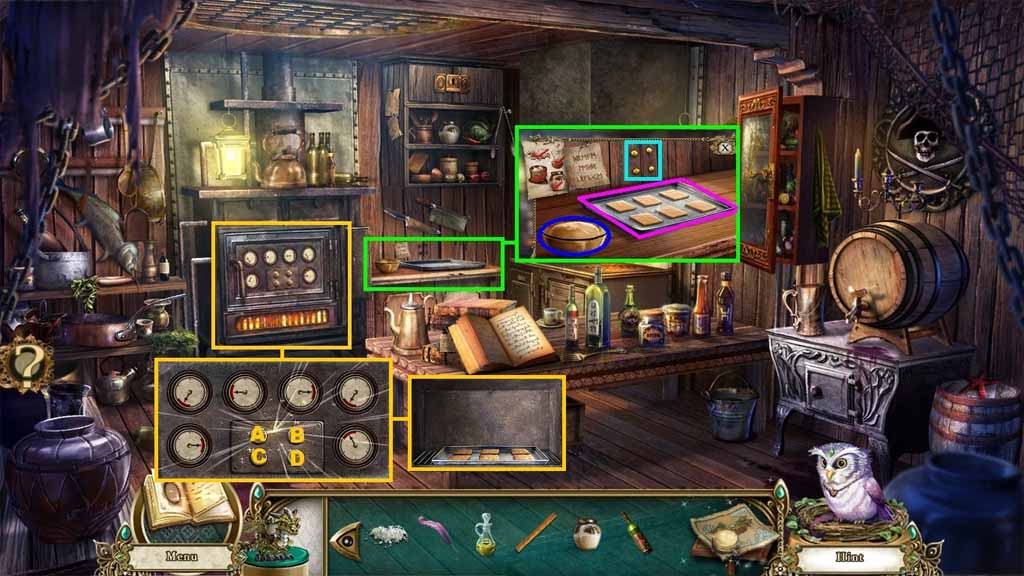
- Zoom into the counter; collect the pins.
- Select the flour, sea salt, oil, sugar and curse begone and place them into the bowl.
- Move the dough from the bowl and place it onto the tray.
- Select the cooking knife and use it to slice the dough.
- Select the tray and click the oven to trigger a mini-game.
- Solve the game by moving the needles to the red zone.
- Click the buttons as follows: A – A – A – A – A – B- B- B – B – B – C –C – C –C – C – D- D – D – D – D
- Insert the tray into the oven; collect the Curse Begone crackers.
- Move to the Captains’ Cabin.
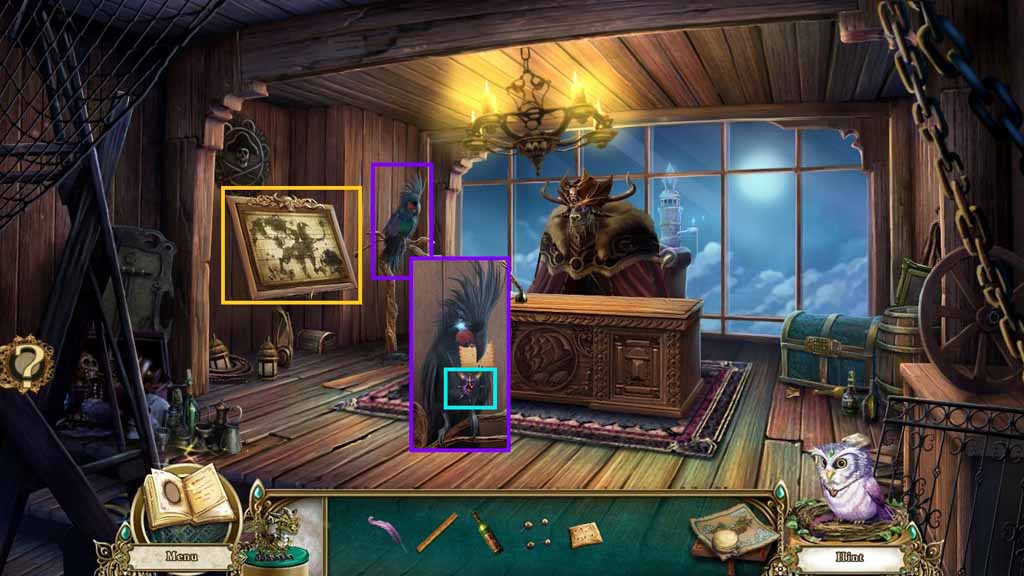
- Notice the strategy board.
- Give the curse begone crackers to the evil parrot; collect the grimbles trinket.
- Move to the Brig.
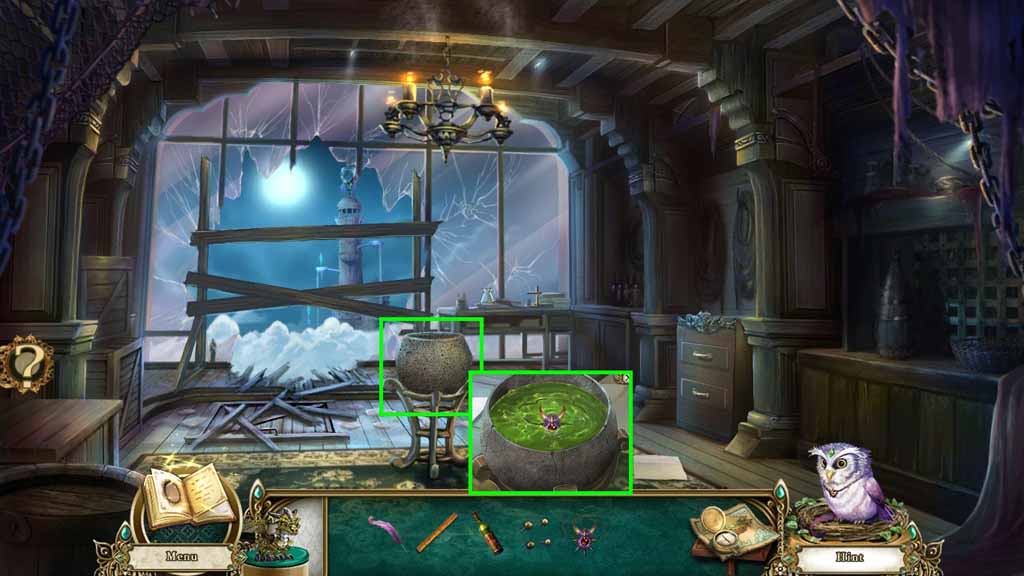
- Zoom into the stone bowl.
- Select the grimbles trinket and the catoblepas acid and place them into the bowl.
- Collect the trinket in the bowl.
- Move to the Galley.
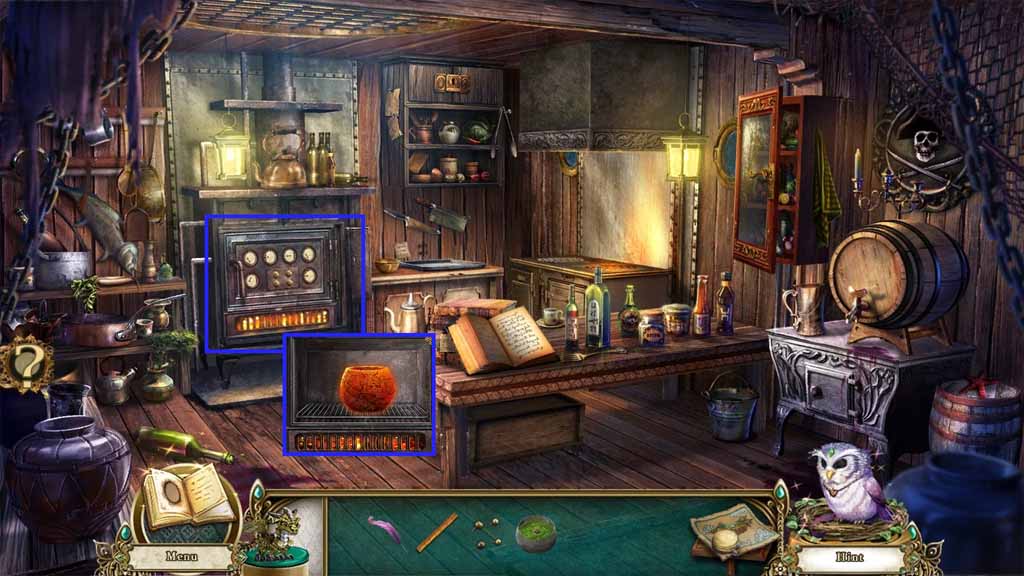
- Insert the trinket bowl into the oven.
- Move down once.
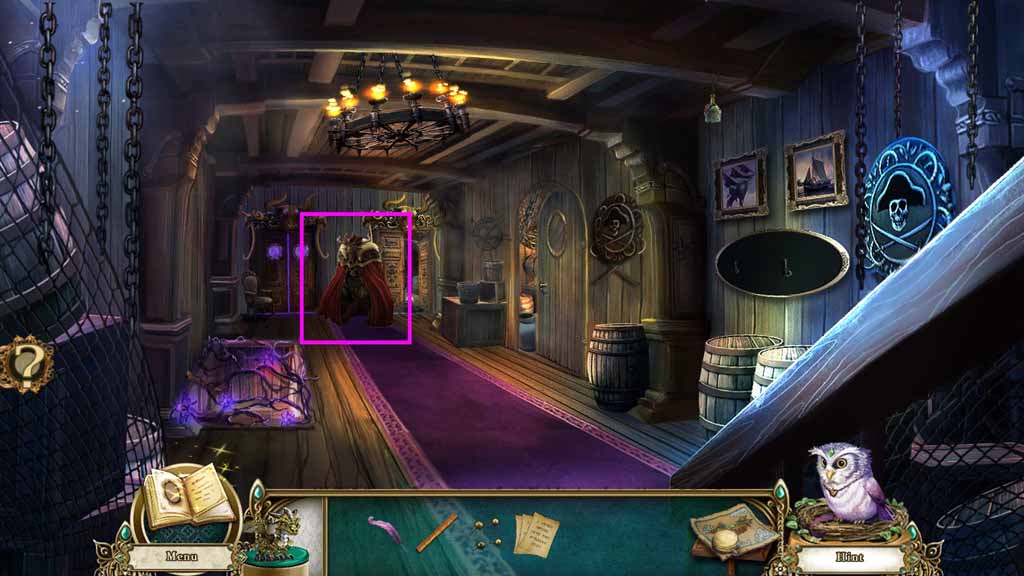
- Speak to the Captain; collect the Ironhoof’s Guide to Riches.
- Move into the Captain’s Cabin.
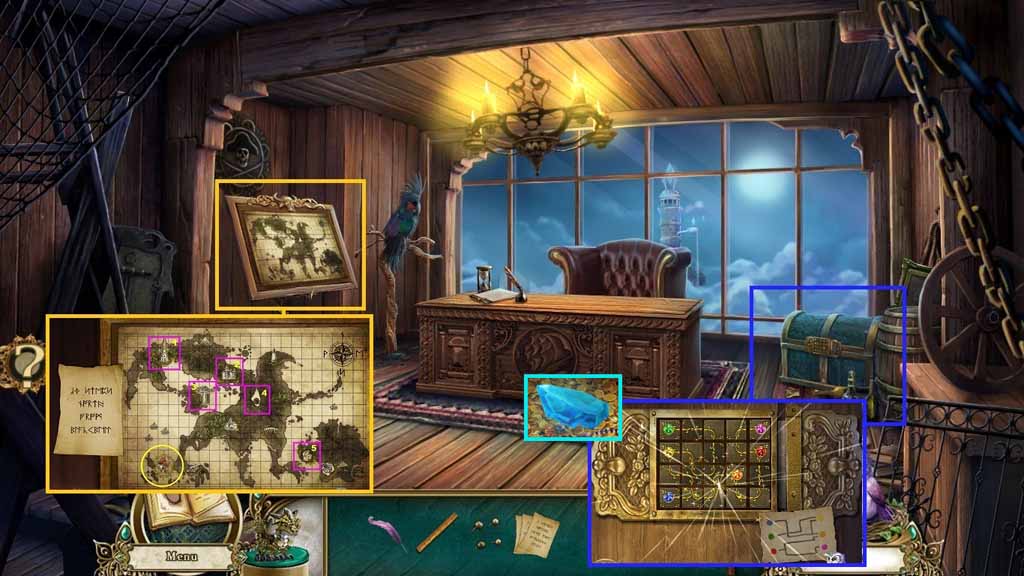
- Zoom into the strategy board.
- Place Ironhoof’s Guide to Riches, the ruler, pins and the quill onto the board to trigger a mini-game.
- Move the boat by reviewing the clues then clicking the items on the map to solve the game.
- Collect the chest tile.
- Zoom into the Captain’s Stash; insert the chest tile to trigger a mini-game.
- Solve the game by connecting the gemstones.
- Collect the light crystal.
- Move down once.
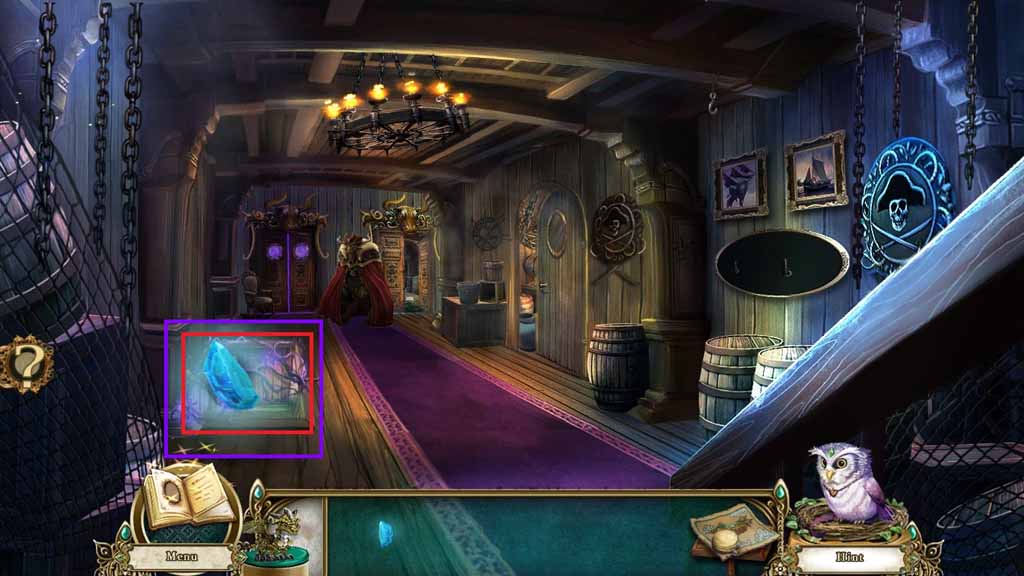
- Zoom into the Cursed Door and insert the light crystal.
- Examine the Cargo Hold to trigger a hidden objects area.
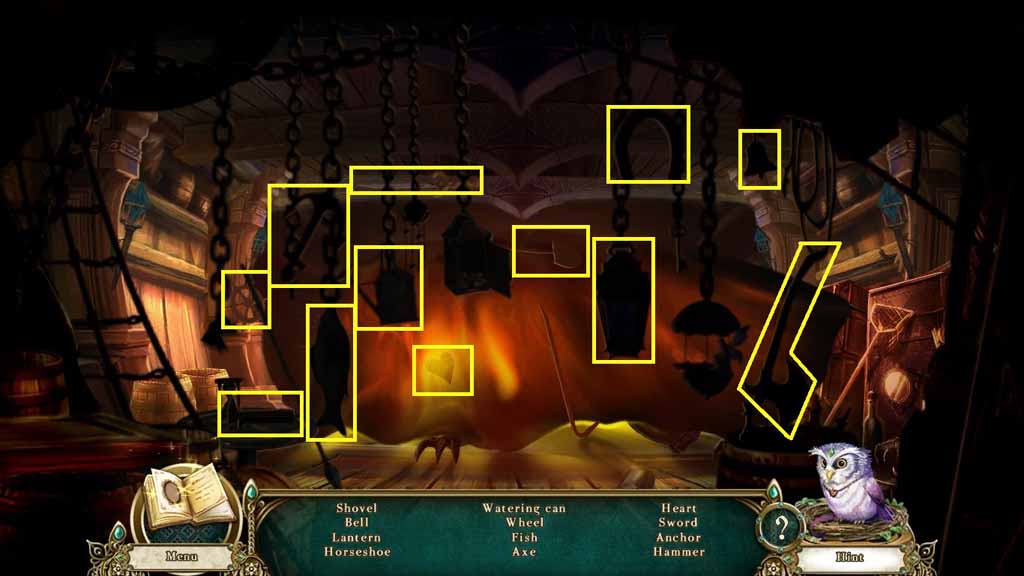
- Find the listed items.
Comments will load when you reach this part of the walkthrough.