
Portal of Evil: Stolen Runes: Chapter Four: Enter the Temple
Our Portal of Evil: Stolen Runes Walkthrough will guide your steps as you join Vanessa, granddaughter to Abraham Van Helsing, and next in line as guardian for the Order of the Light. Use our detailed chapter-by-chapter instructions, our stunning custom screenshots, and our simple puzzle solutions in our Portal of Evil Walkthrough to help find the stolen runes and stop an ancient evil from escaping before it's too late.
- Click anywhere to speak with Tepeu.
- Collect the message.
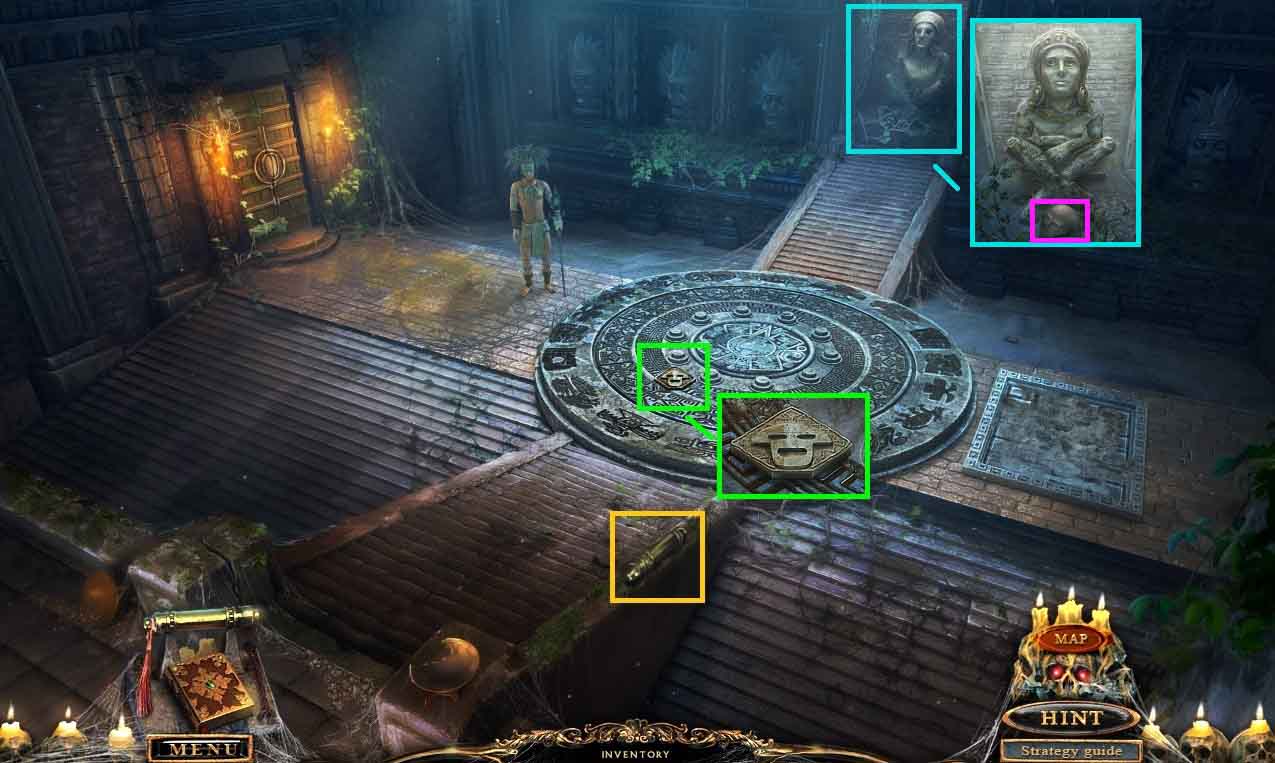
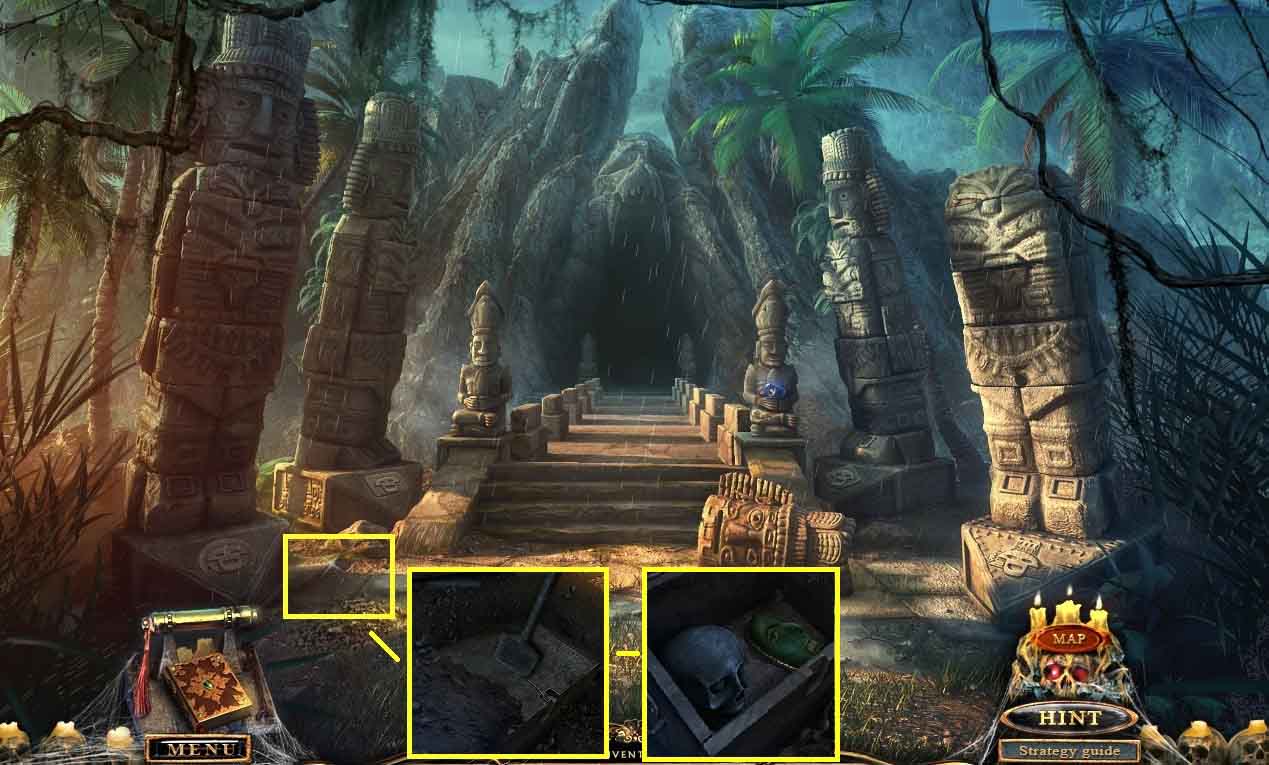
- Click the middle pedestal; collect the 3rd stone figurine.
- Click the statue and insert the 2 eyes.
- Collect the skull 2 / 10.
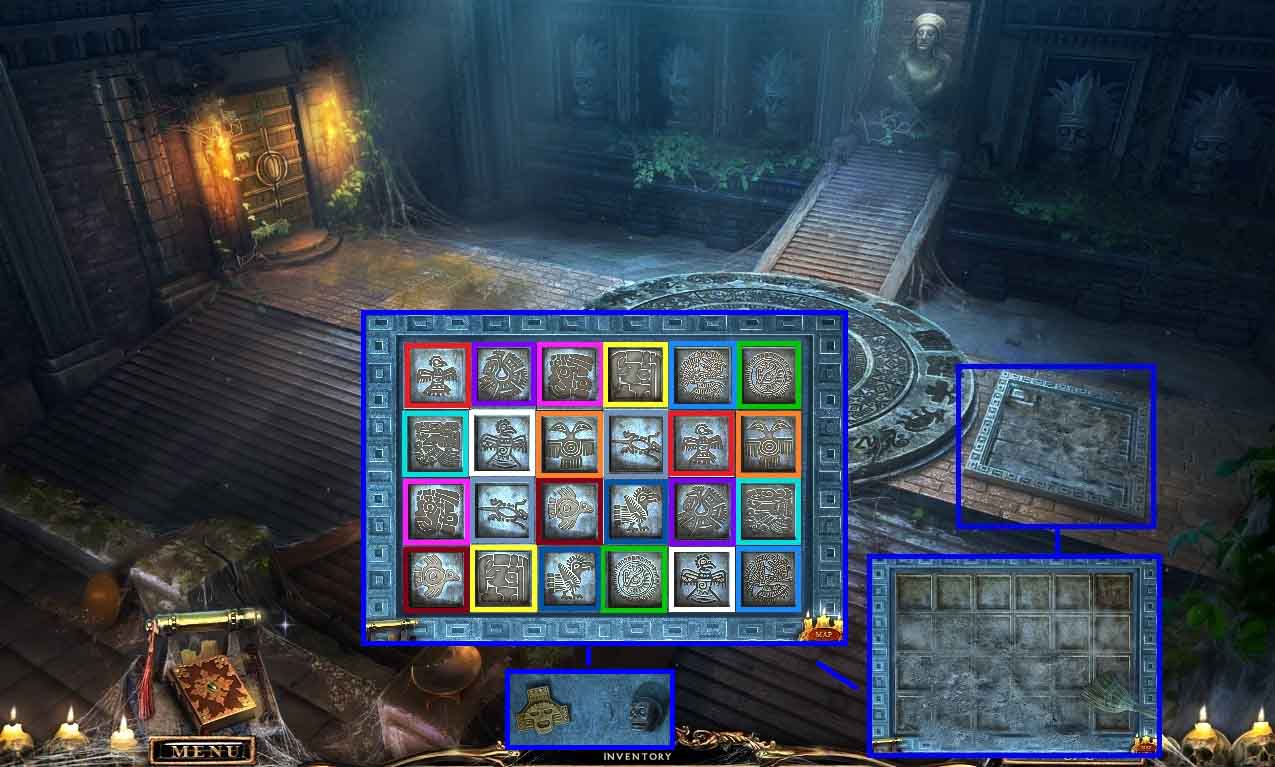
- Click the square tiles and the broom to trigger a puzzle.
- Click the matching pairs.
- Collect the 4th stone figurine and skull 3 / 10.
- Move to the waterfall.
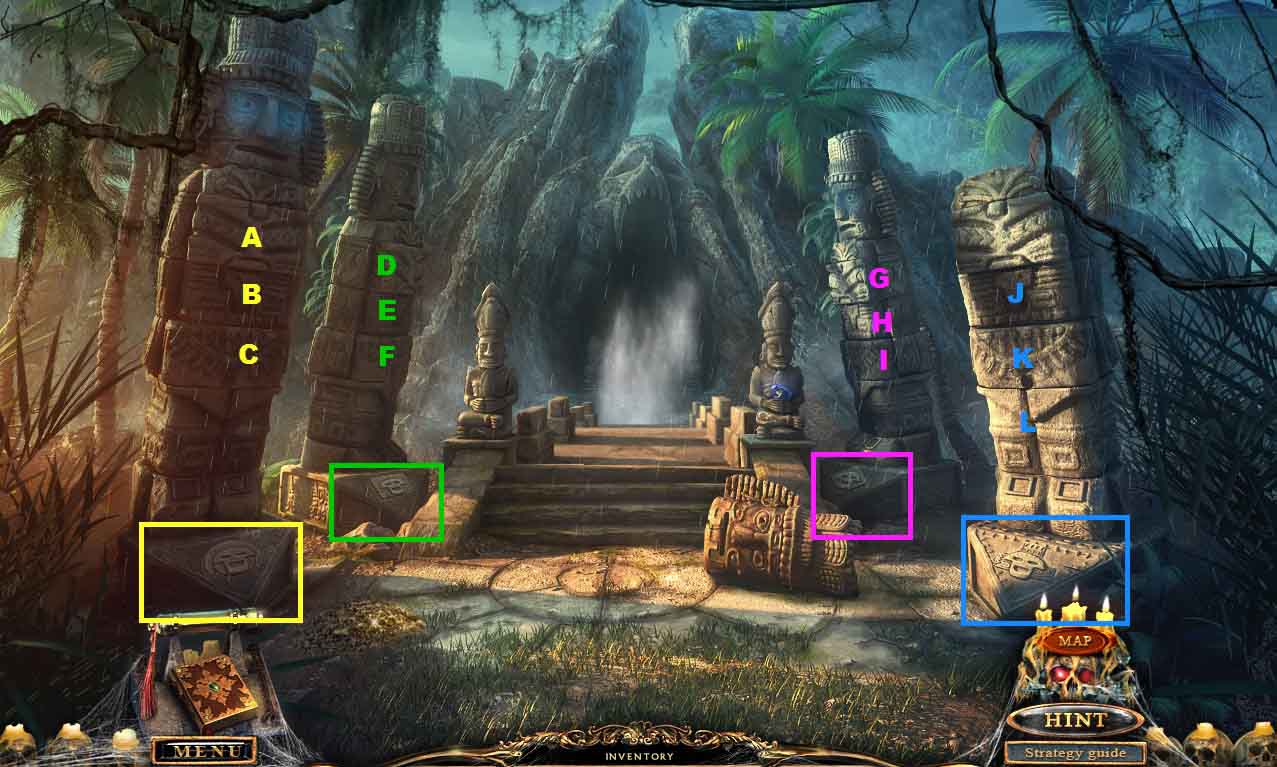
- Click the totem bases and insert the 4 matching figurines.
- A puzzle will trigger.
- Click the totem parts to complete the patterns.
- Click the parts as follows to solve the puzzle.
- A – B – B – C – C – C
- D – D – E – E – E – F
- G – G – G – H – I – I
- J - K – K – L – L - L
- Move ahead.
- Collect the message.
- Collect the skull 4 / 10.
- Click the doorway to access a hidden objects area.
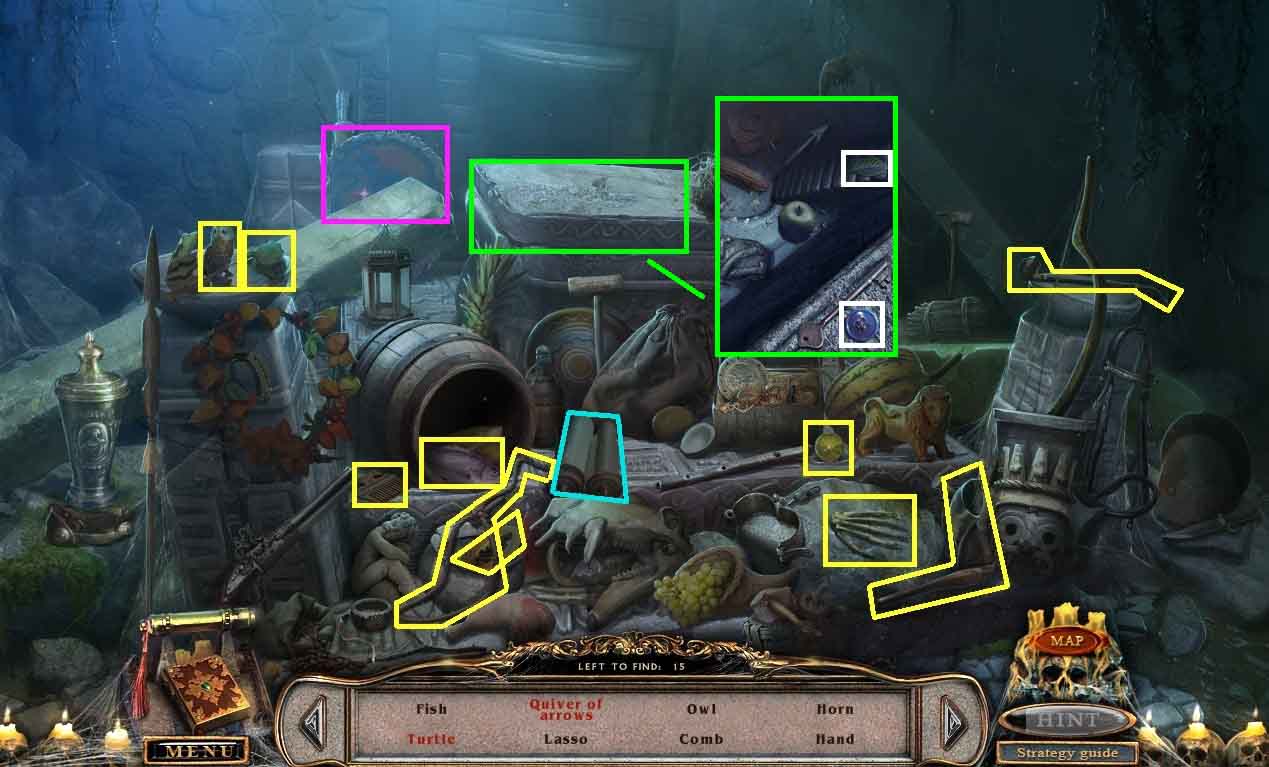
- Find the listed items.
- Click the lid and click the container once again.
- Collect the leaf and button.
- Click the disk to collect the quiver of arrows.
- Click the scroll to collect the turtle.
- Collect the lasso.
- Move to the bridge.
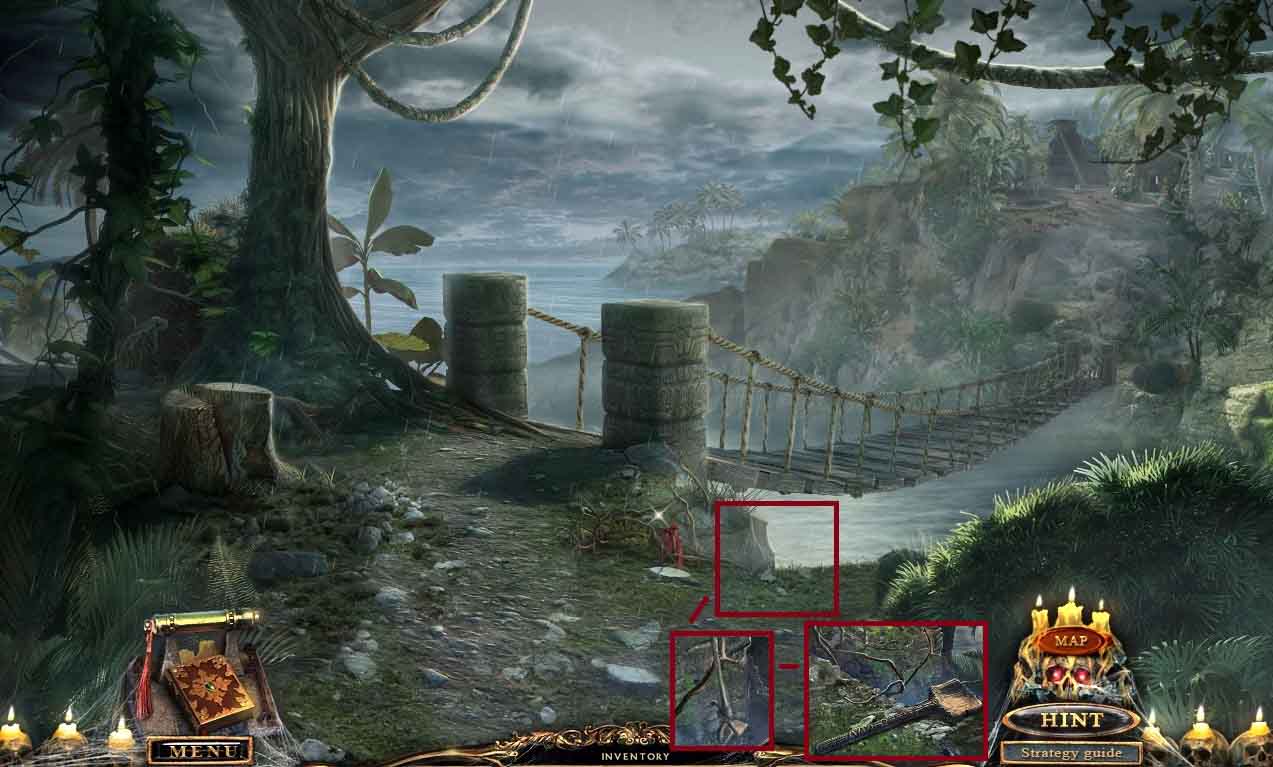
- Click the ledge.
- Use the lasso on the spade; collect the spade.
- Move across the bridge.
- Click the ruins to access a hidden objects area.
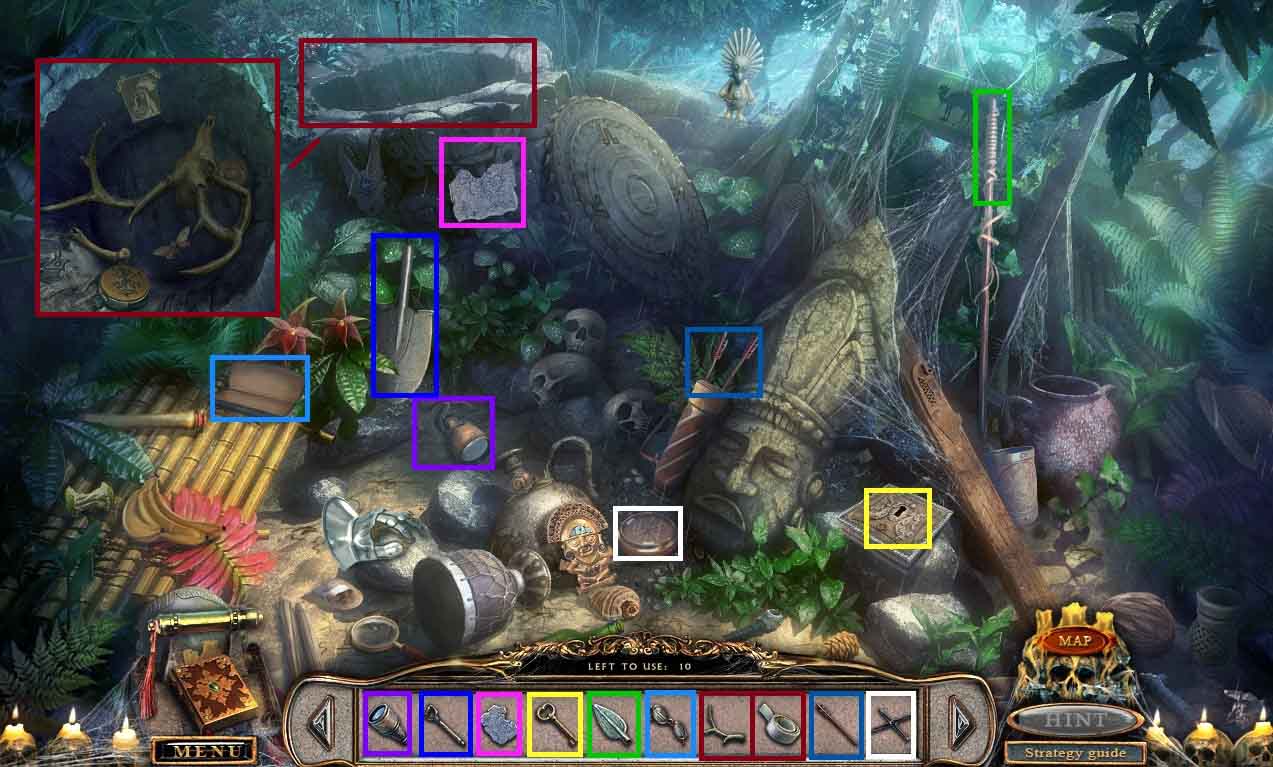
- Arrange the items where they belong.
- Click the container to place certain items.
- Collect the breadcrumbs.
- Move to the waterfall.
- Click the ground and dig it up using the spade.
- Click the box lid and collect the mask half and the 5 / 10 skulls.
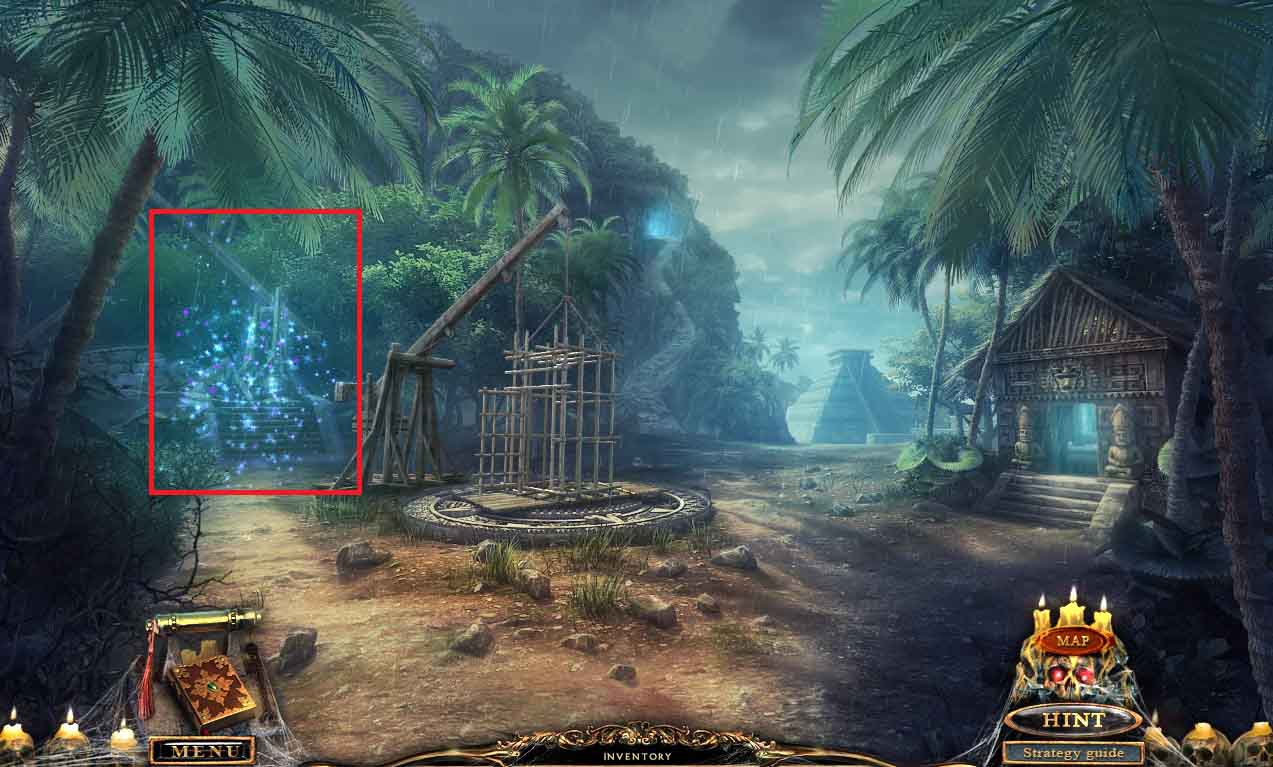
- Move to the garden.
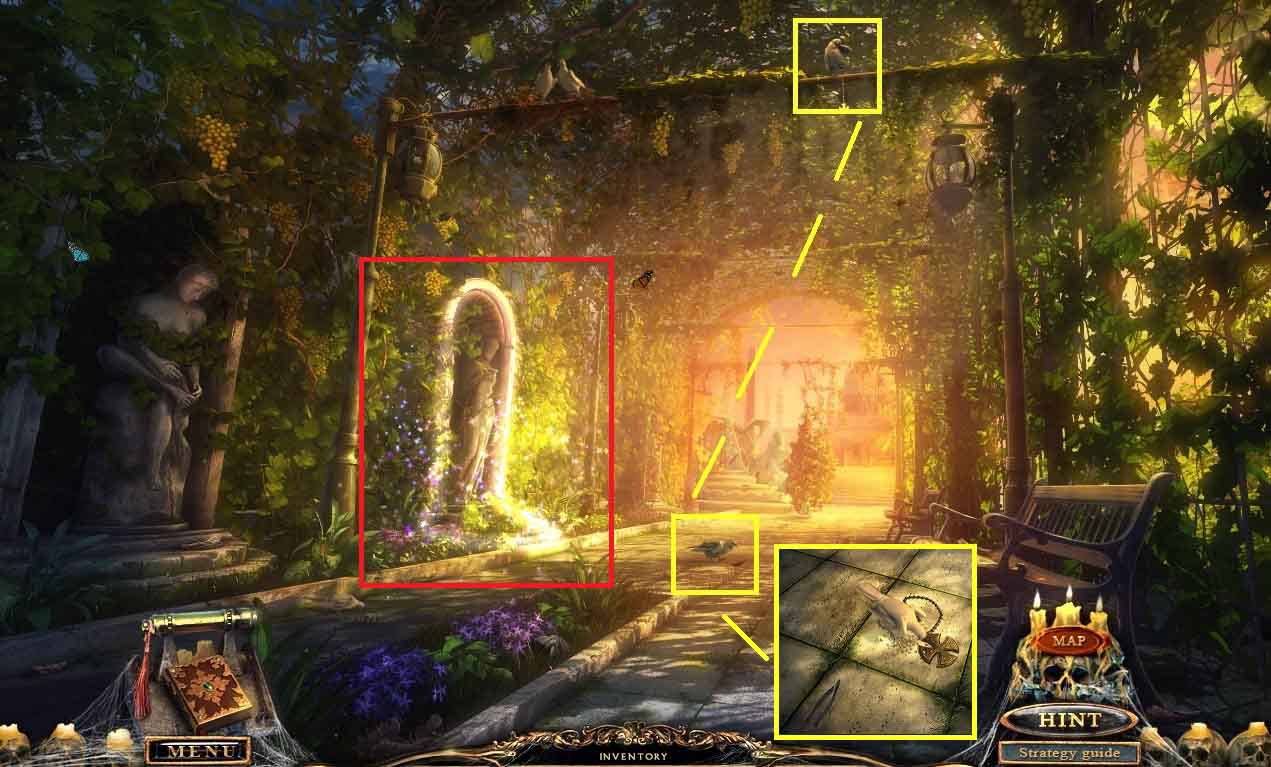
- Click the bird and give him the breadcrumbs.
- Click the ground near the bird; collect the cross and tweezers.
- Click the statue to access a hidden objects area.

- Arrange the items where they belong.
- Click the container to place certain items.
- Collect the pickaxe.
- Move to the right at the end of the walkway.
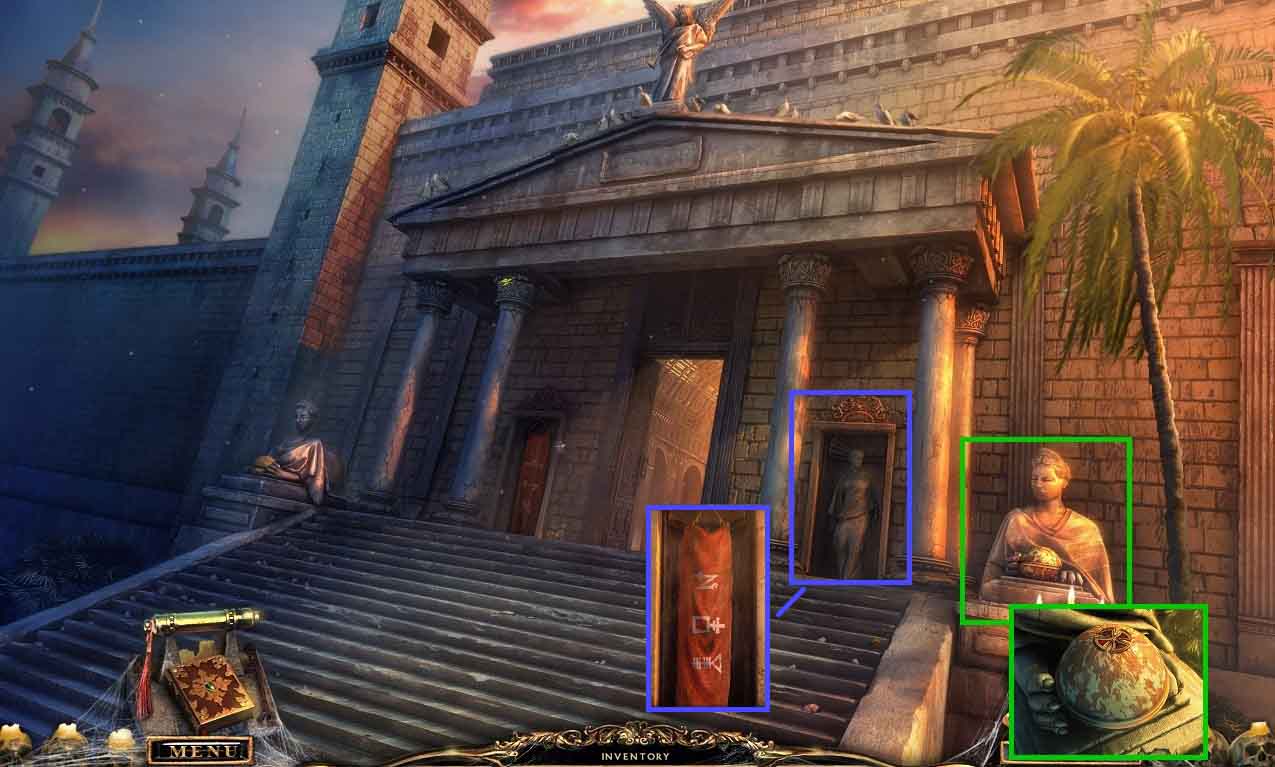
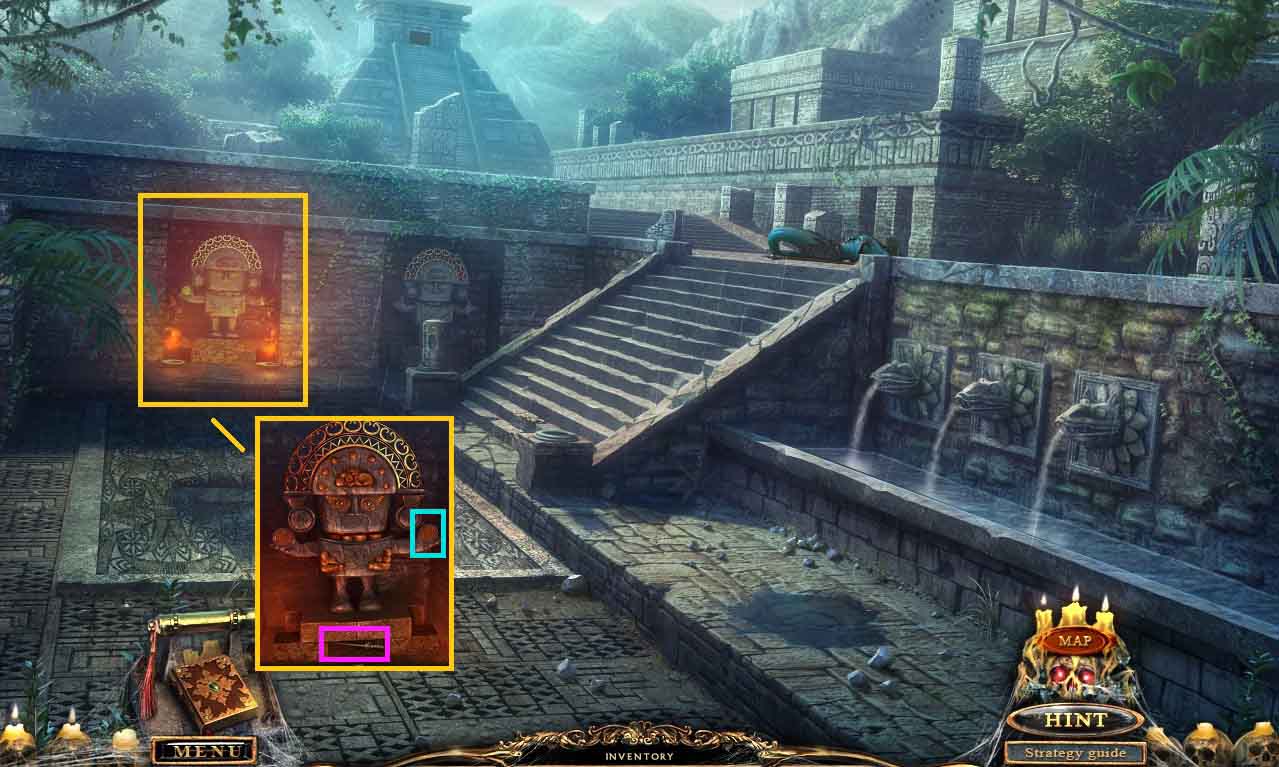
- Click the statue and insert the cross.
- Click the alcove and notice the symbols on the banner.
- Move to the basement.
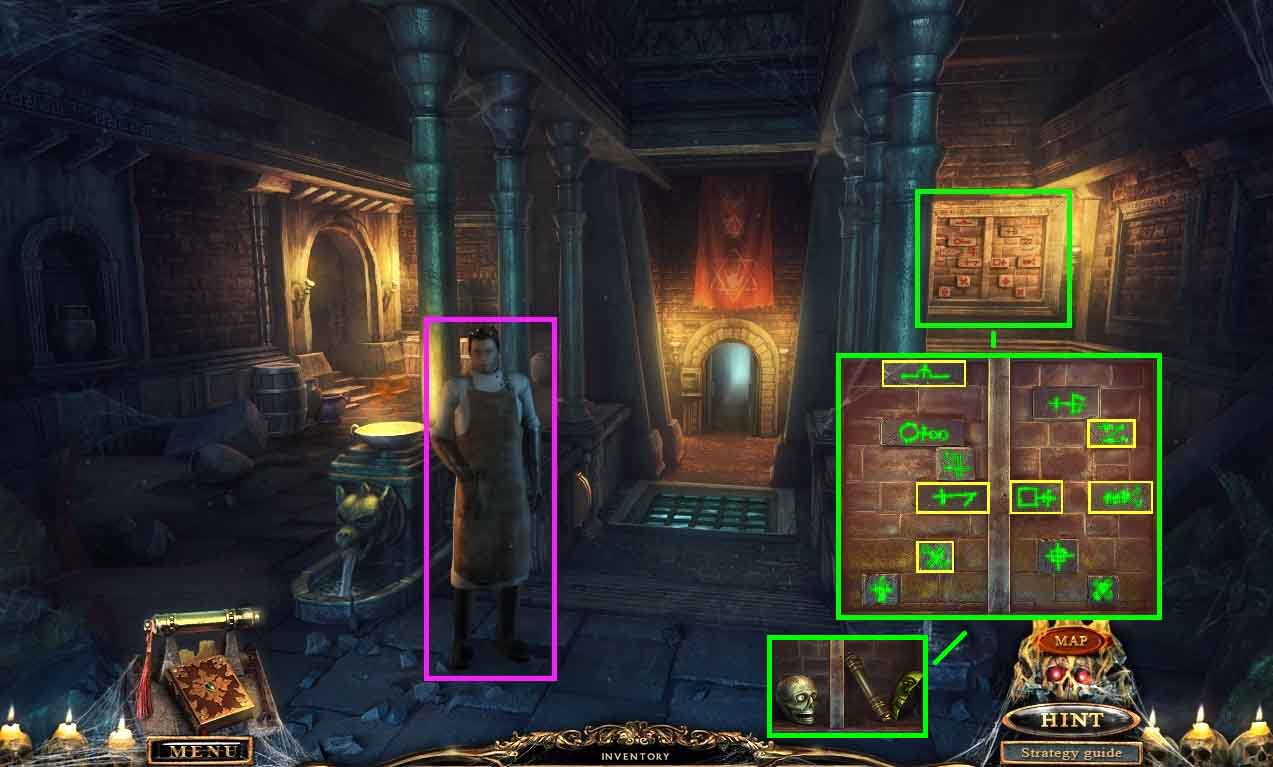
- Click anywhere; speak to the man.
- Click the symbols to trigger a puzzle.
- Click the correct symbols.
- Collect the skull 6 / 10, the message and the 2nd mask half.
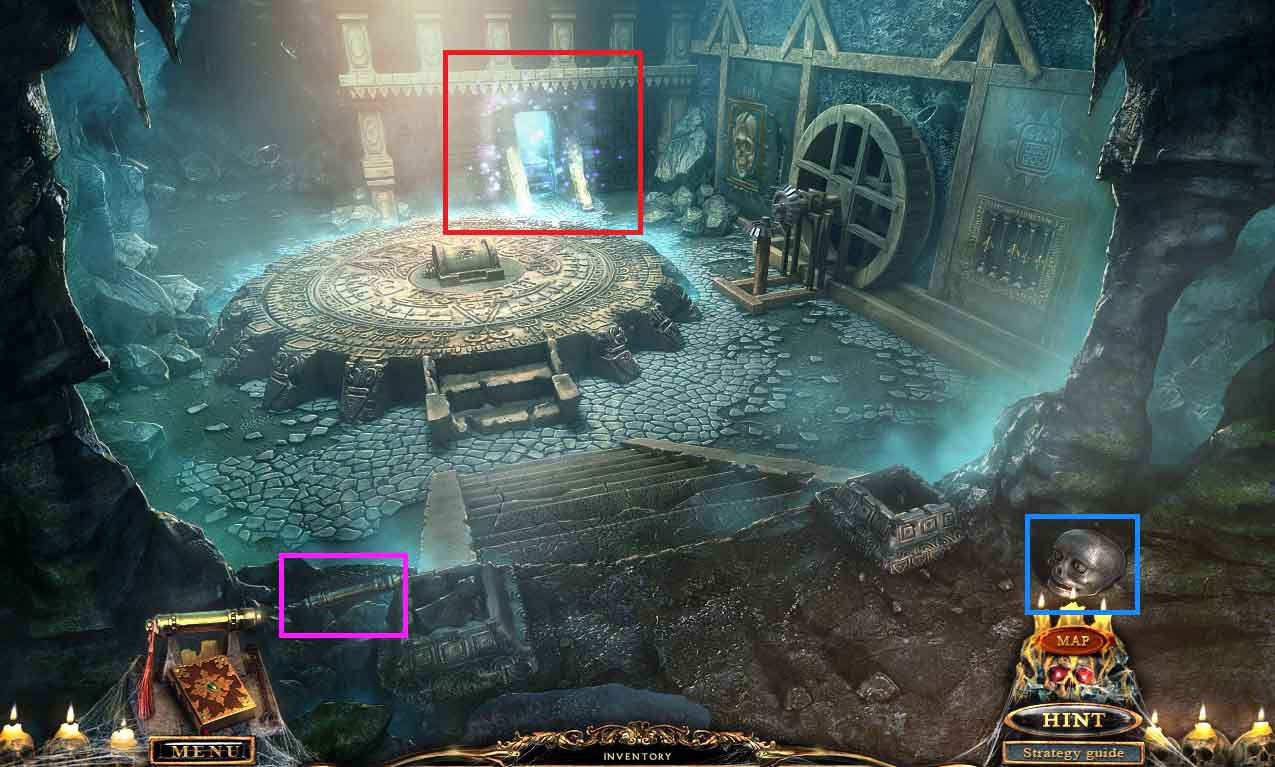
- Move to the cave.
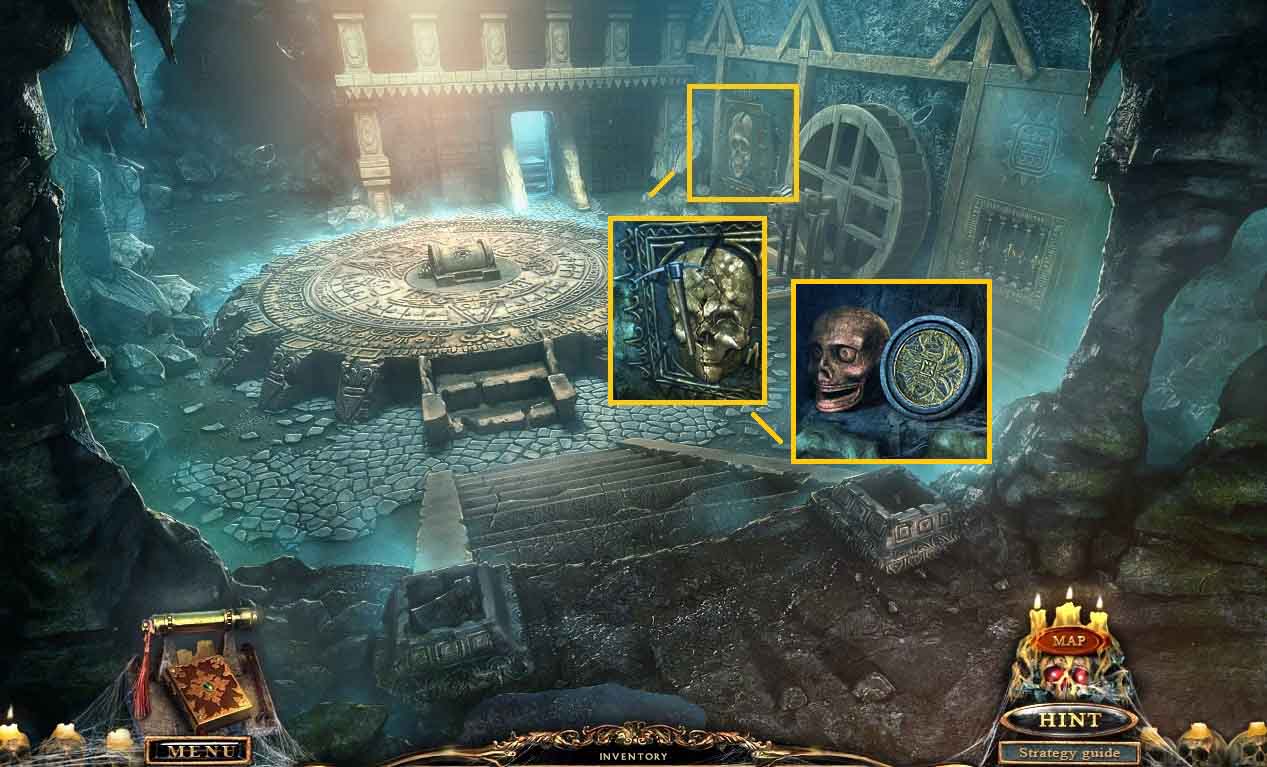
- Click the bas-relief.
- Select the pickaxe to smash it and collect the skull 7 / 10 and the medallion.
- Move to the temple entrance.
- Click the idol and insert the medallion into its hand.
- Collect the lever.
- Move to the cave.

- Click the doorway to access a hidden objects area.

- Arrange the items where they belong.
- Click the container to place certain items.
- Collect the 2nd symbol.

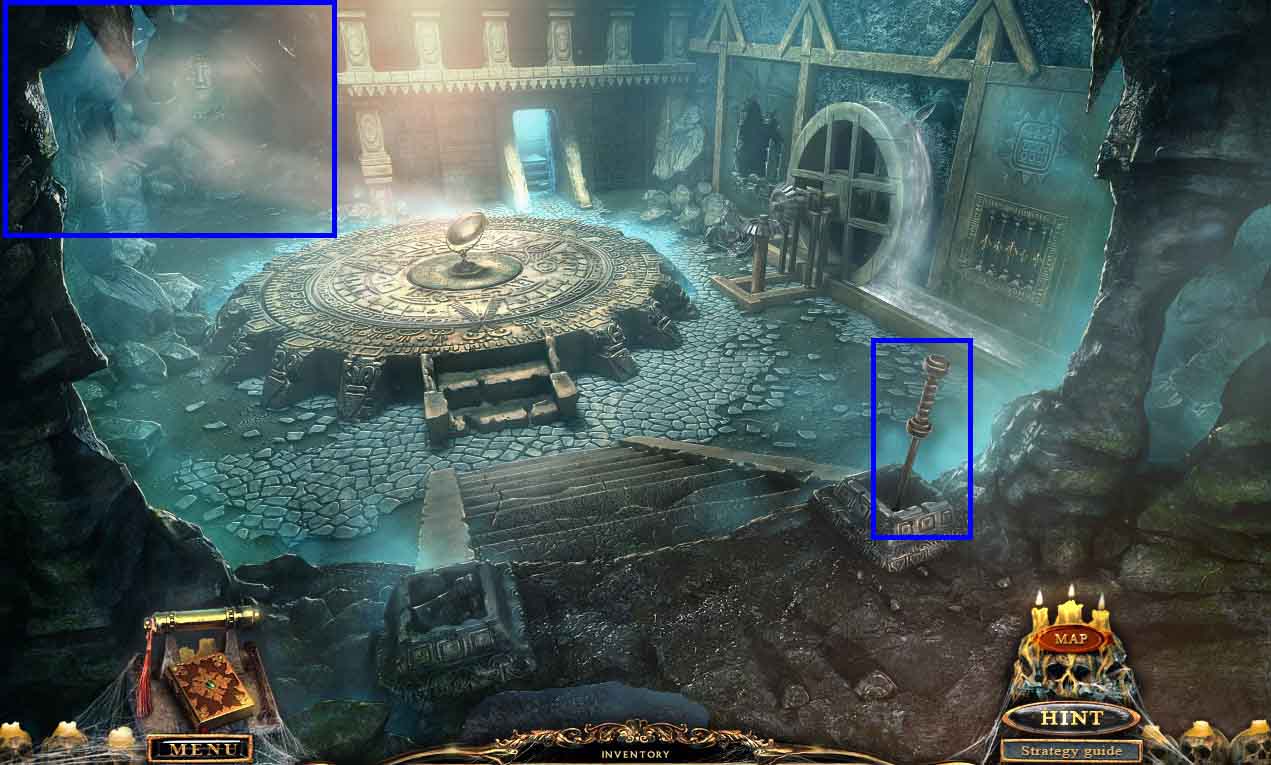
- Click the mechanism and insert the lever; click the lever to an open space and insert the matched symbol.
- Click the middle and collect the airplane.
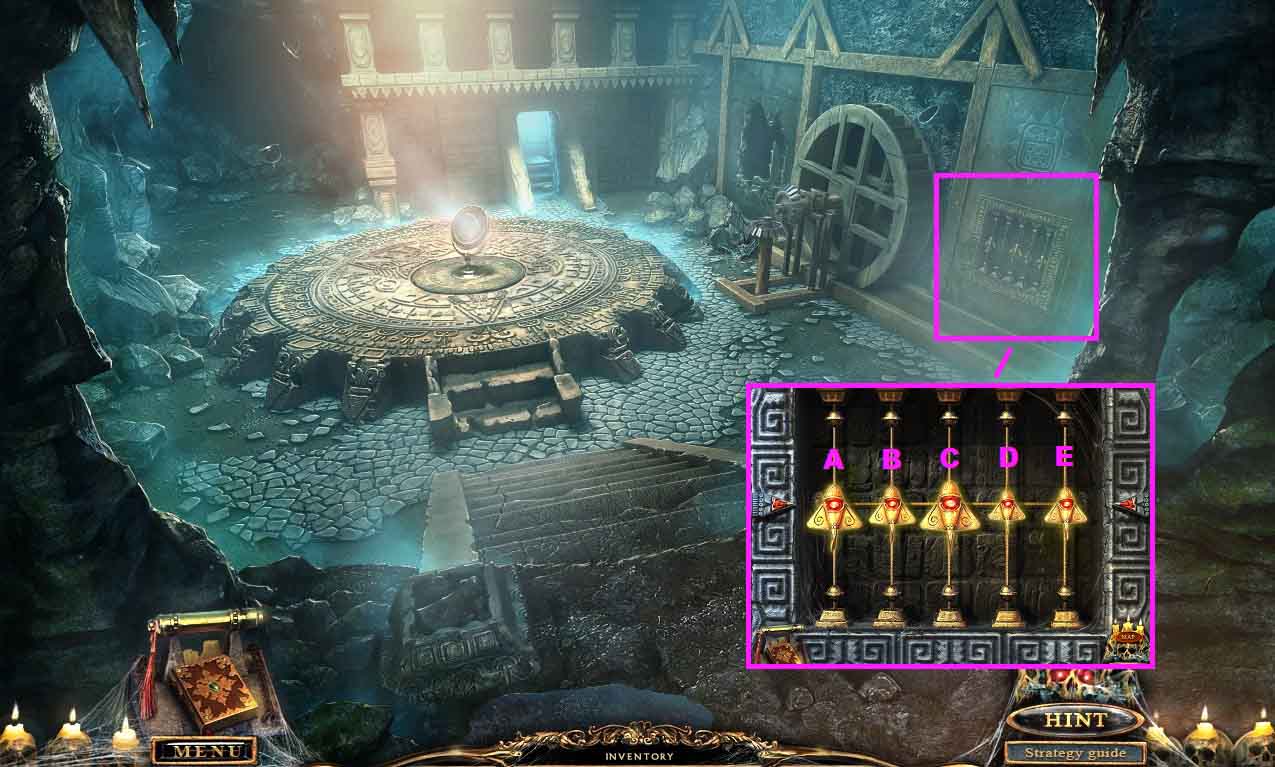
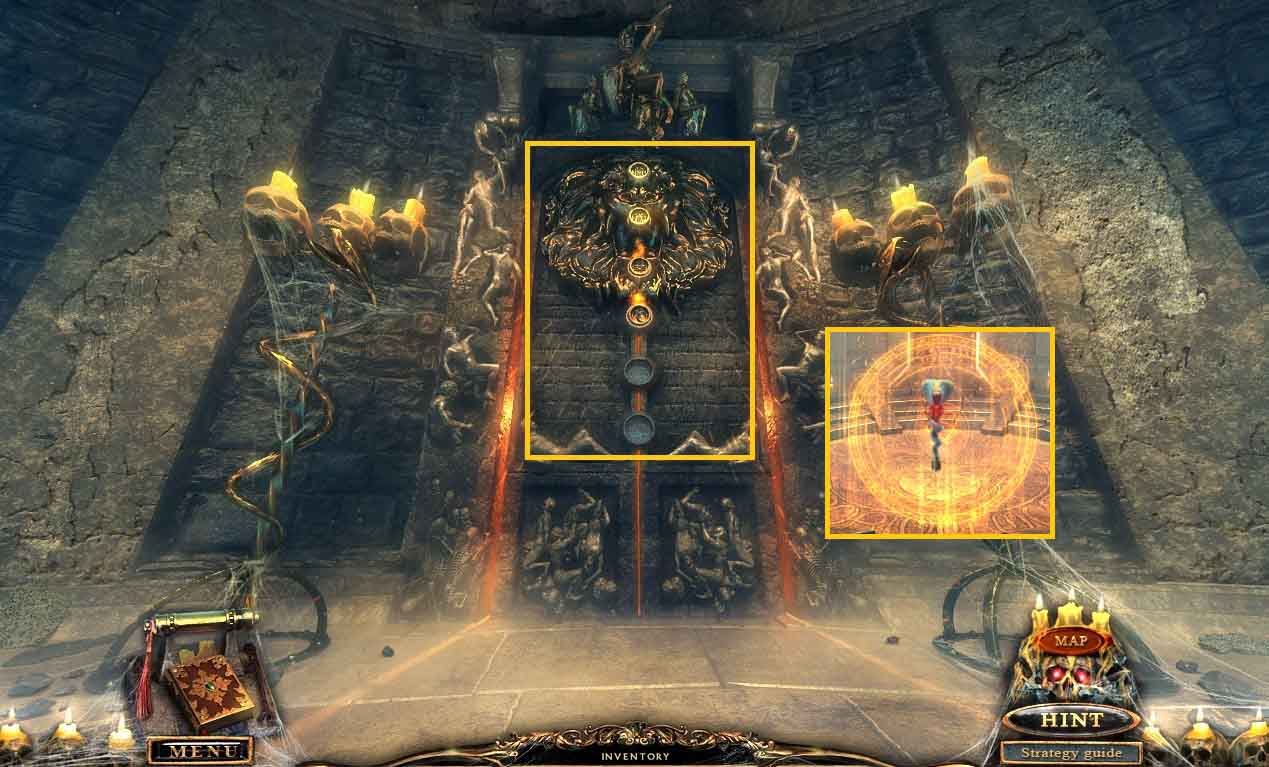
- Click the wall mechanism and insert the airplane to trigger a puzzle.
- Align the rubies to the middle of the bars.
- Click A up until the rubies illuminate.
- Click B down until B and D illuminate.
- Click E up until it illuminates.
- Click D down until it illuminates.
- Click A all the way up to align with ruby C.
- Click C down until all the rubies illuminate.
- Click the lever 2 times to bounce the beam to the left corner.
- Click the left corner to trigger a puzzle.

- Click the mirrors to shine on the mask.
- Collect the skull 8 /10.
- Move to the temple.
- Click the doorway; insert the 2 mask halves.
- Collect the cylinder and the skull 9 /10.
- Click the upper left staircase.
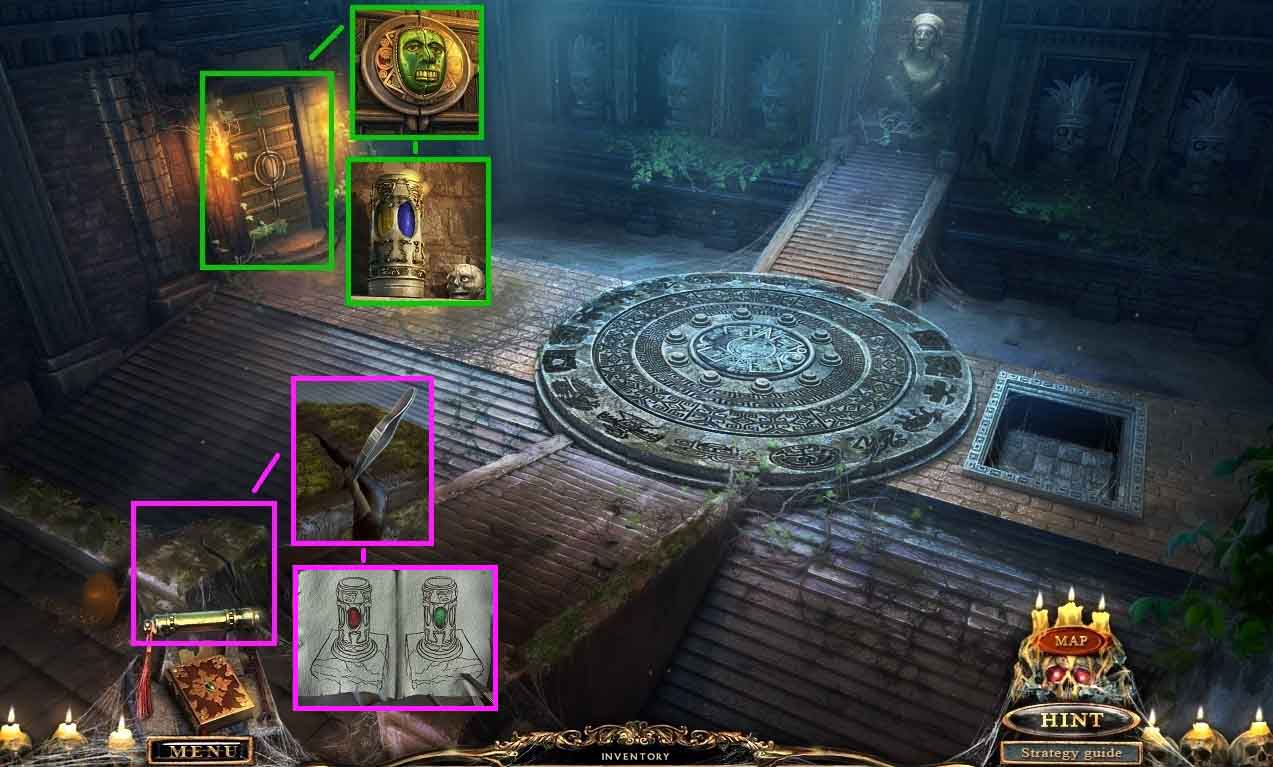
- Place the tweezers into the crack; collect the clue.
- Move back 2 times.
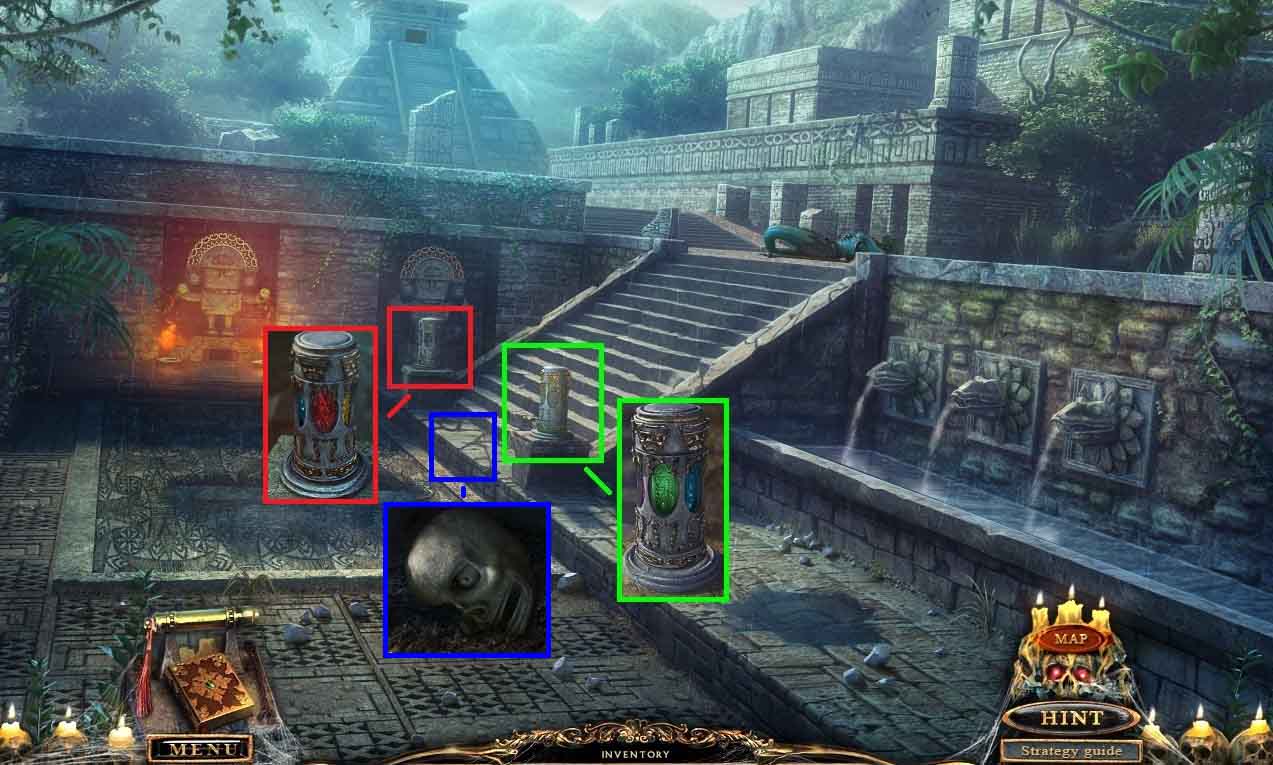
- Click the pedestal and place the cylinder on top to trigger a puzzle.
- Arrange the cylinders as shown on the clue from the temple pedestal.
- Click the left cylinder and click it to red.
- Click the right cylinder and click it to green.
- Click the opening at the bottom of the stairs; collect the 10 / 10 skulls.
- Move to the temple.

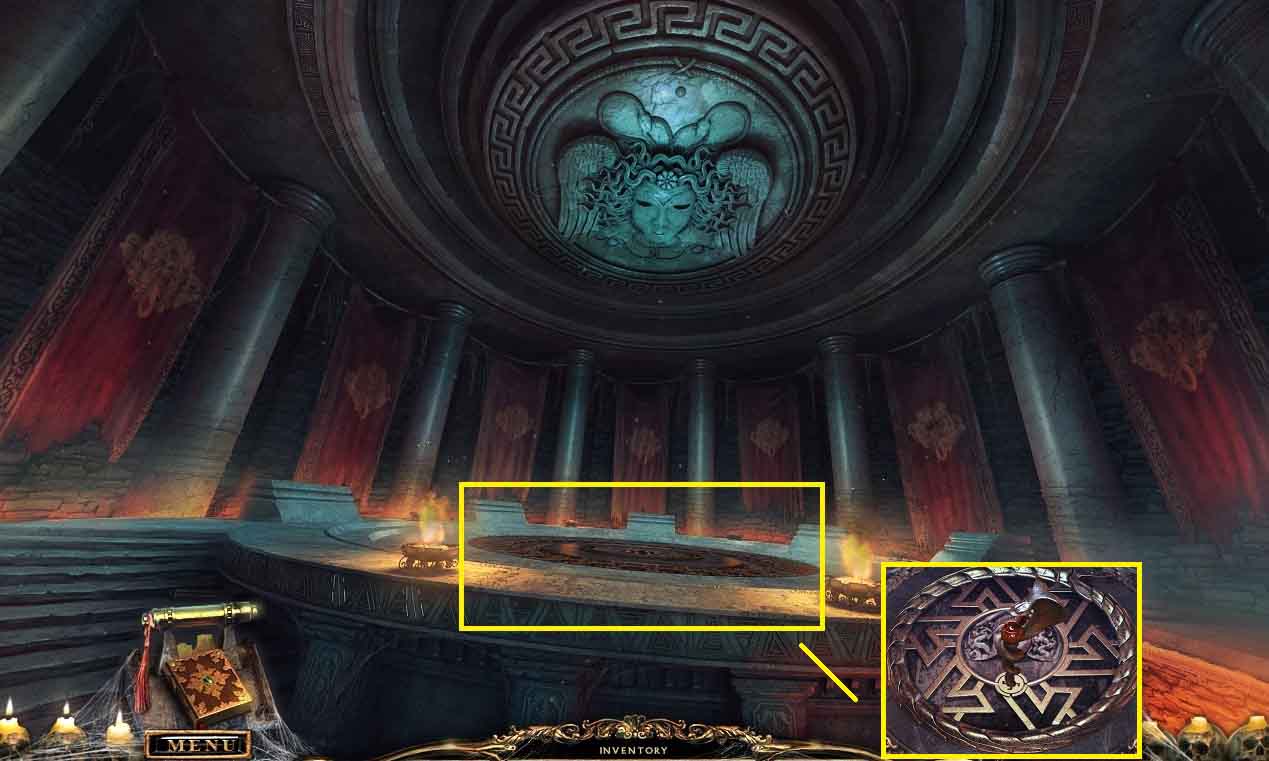
- Click the middle pedestal and insert the 10 / 10 skulls to trigger a puzzle.
- Adjust the skulls so they all are facing the center.
- Click the skulls as shown to solve:
- G – A , A – E , H – D , H – B , I – C, A – G, C – G, D- J, J – F , J – D , H – D , J – D, D – H, I – E , E – A , I – E.
- Collect the seal.
- Move toward the gates.
- Insert the seal into the gates.
- Collect the key.
- Move to the portals.
- Click the portal and insert the key.
- Step into the portal.