

Chapter Two: The Bell Tower
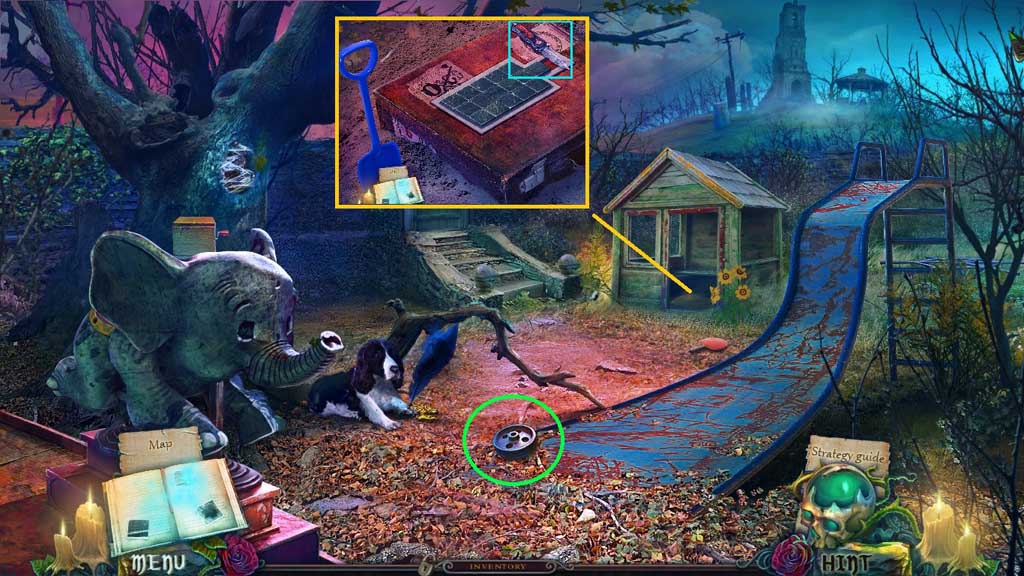
- Collect the wheel.
- Select the spade to uncover and collect the knife.
- Move to the Main Hall.
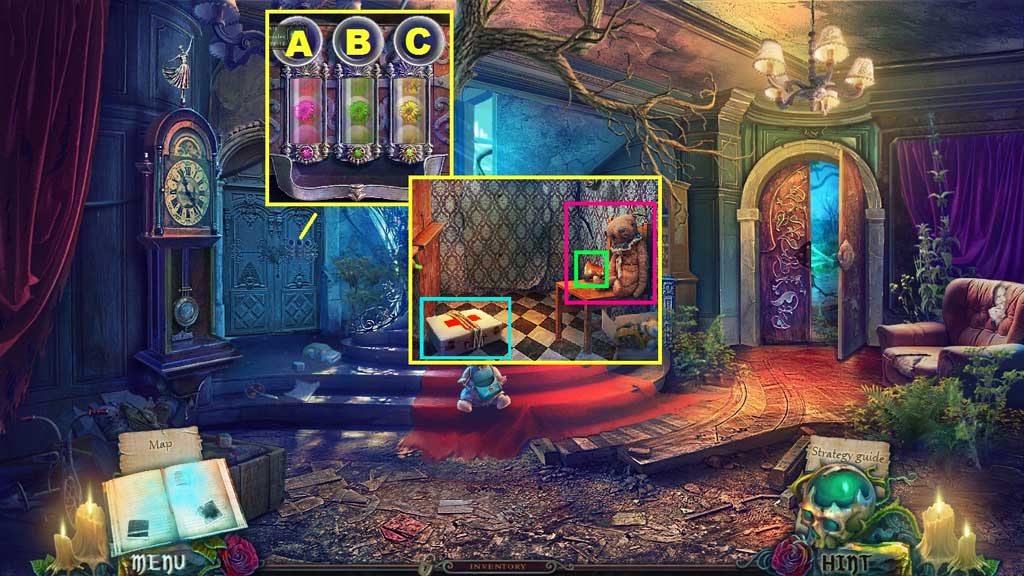
- Insert the marble to trigger a mini game.
- Solve the game by sorting the marbles into the correct tubes.
- Use the following sequence to solve: B – A – C – B – C – A – B – A – C – B
- Click the bear; collect the golden bell and the first aid kit.
- Move to the Courtyard.
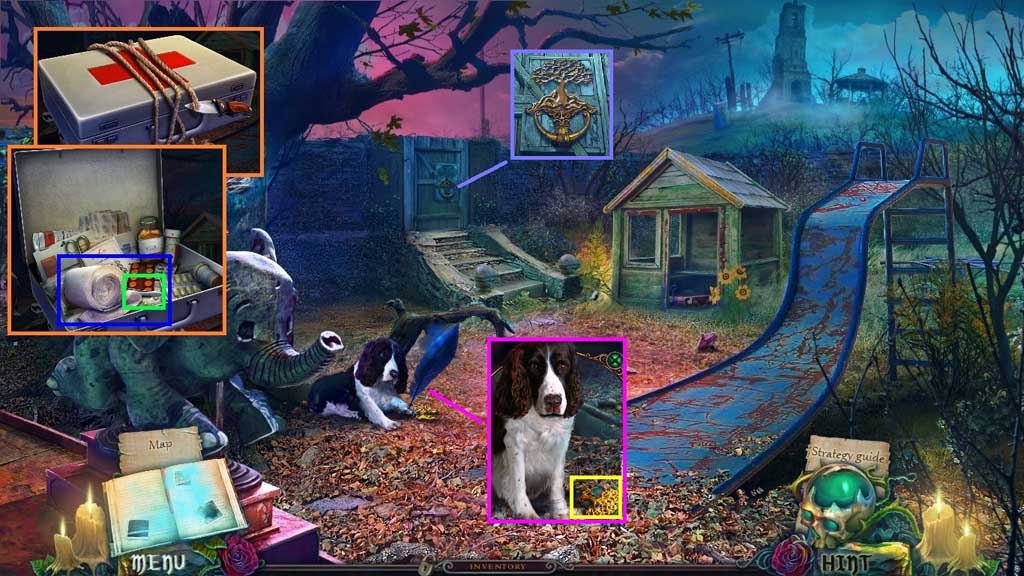
- Click the first aid kit and use the knife to slice the ropes.
- Click the kit and collect the bandage and tweezers.
- Select the tweezers to remove the feather; wrap the bandage on the dog’s paw and collect the tree emblem.
- Insert the tree emblem.
- Enter the area Near the Bell Tower.
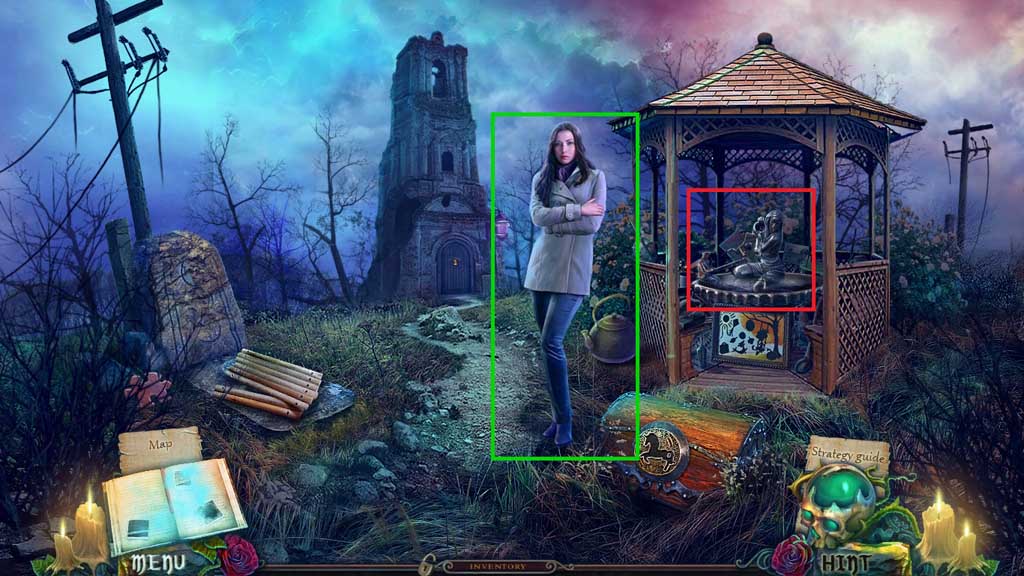
- Speak to Abigail.
- Click the hidden objects area.
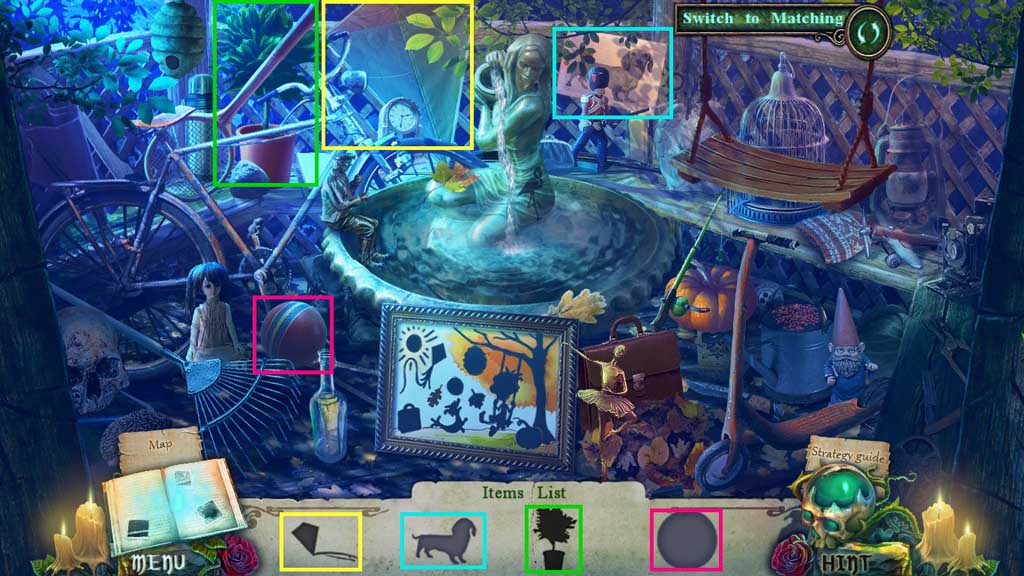
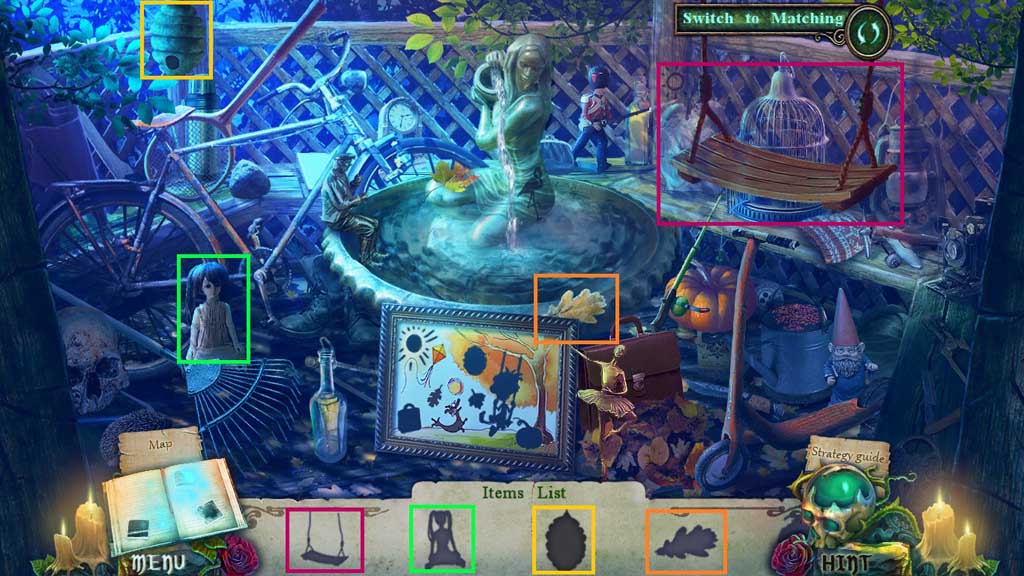
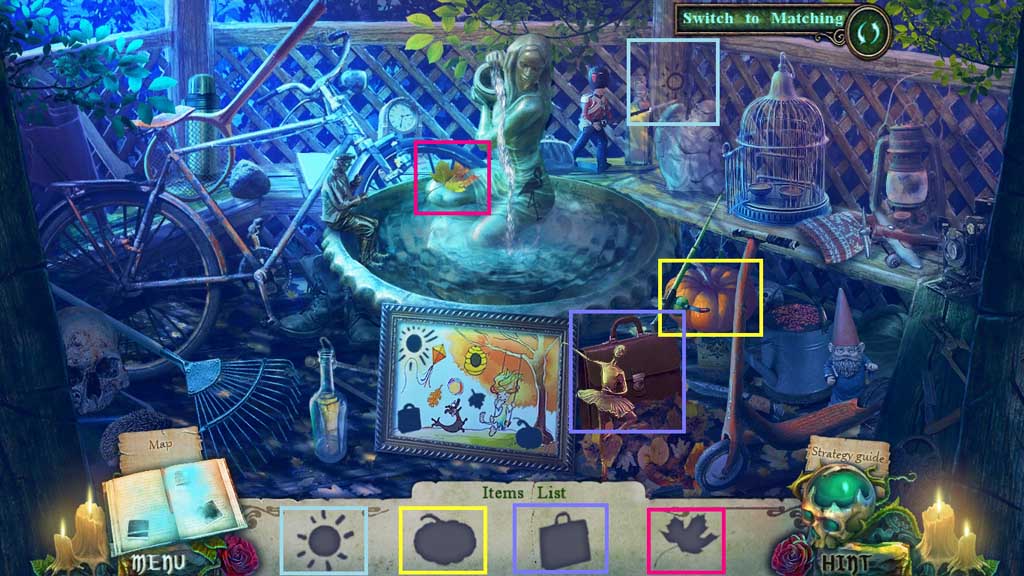
- Find the items.
- Collect the small drum.
- Move to the Main Hall.
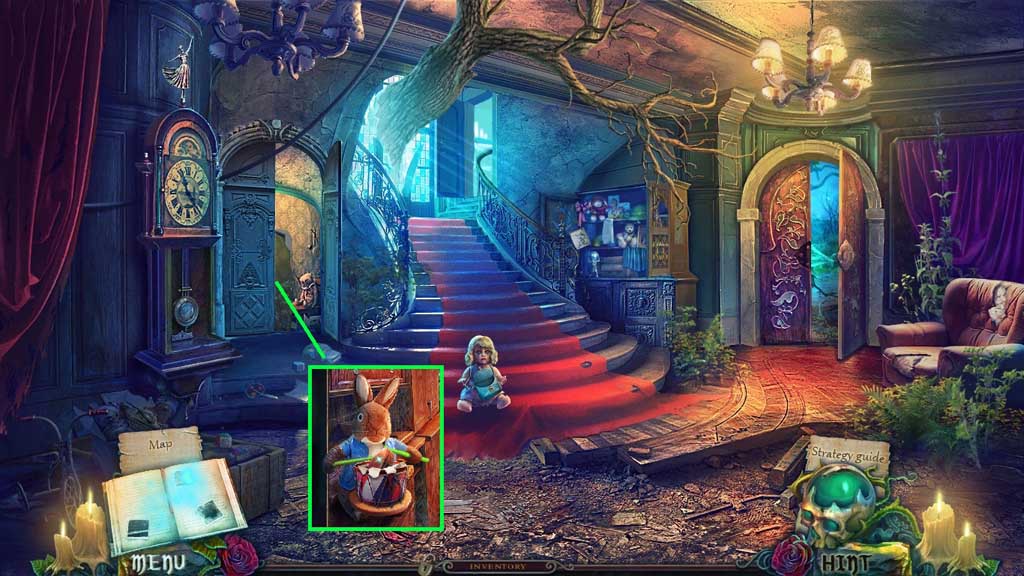
- Place the drum onto the rabbit; collect the brush.
- Move to the area Near the Bell Tower.
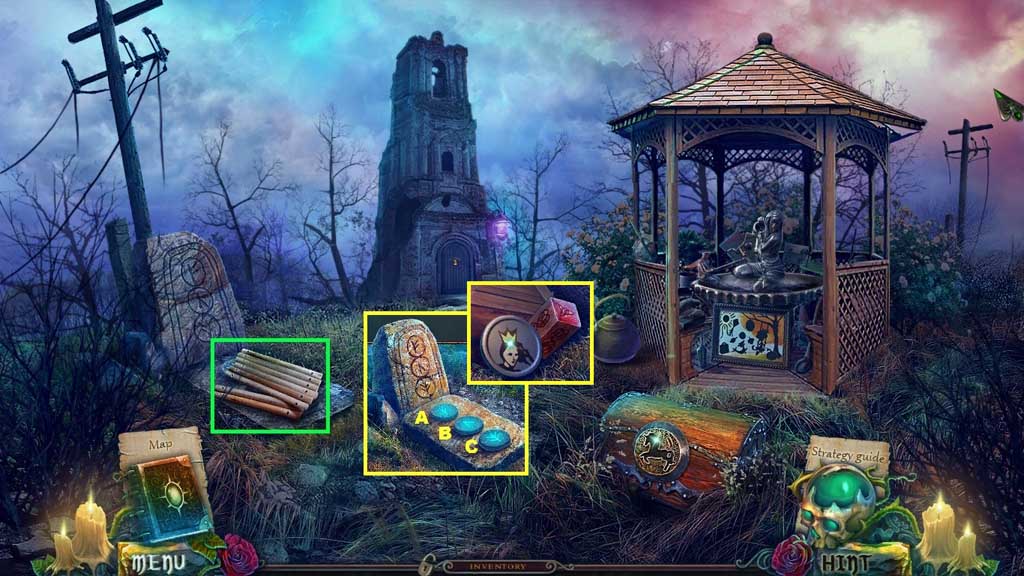
- Collect the wooden planks; select the brush to scrub the tombstone.
- Click the buttons as follows: A x 6 – B x 3 – C x 2; collect the princess token and the patterned bar.
- Move down once.
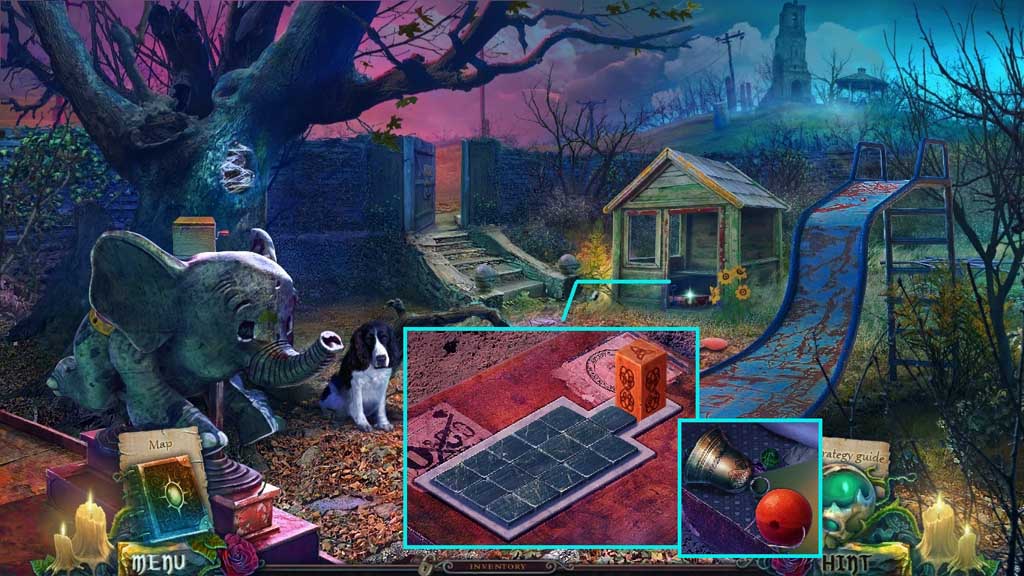
- Insert the patterned bar to trigger a mini game.
- Solve the game by moving the bar to the open space.
- Collect the golden bell and the clown nose.
- Move to the area Near the Bell Tower.
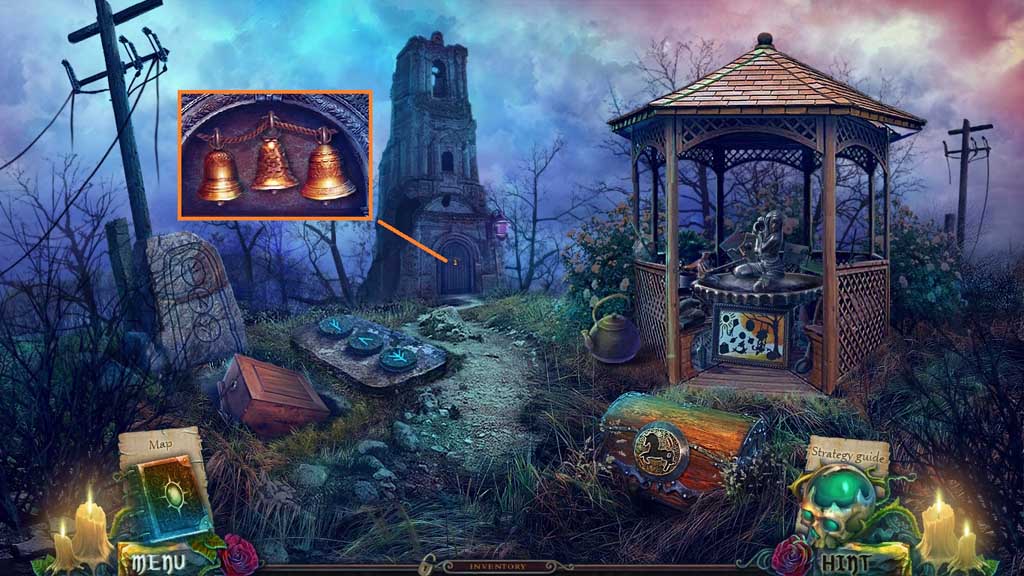
- Insert the golden bells.
- Move into the Bell Tower.
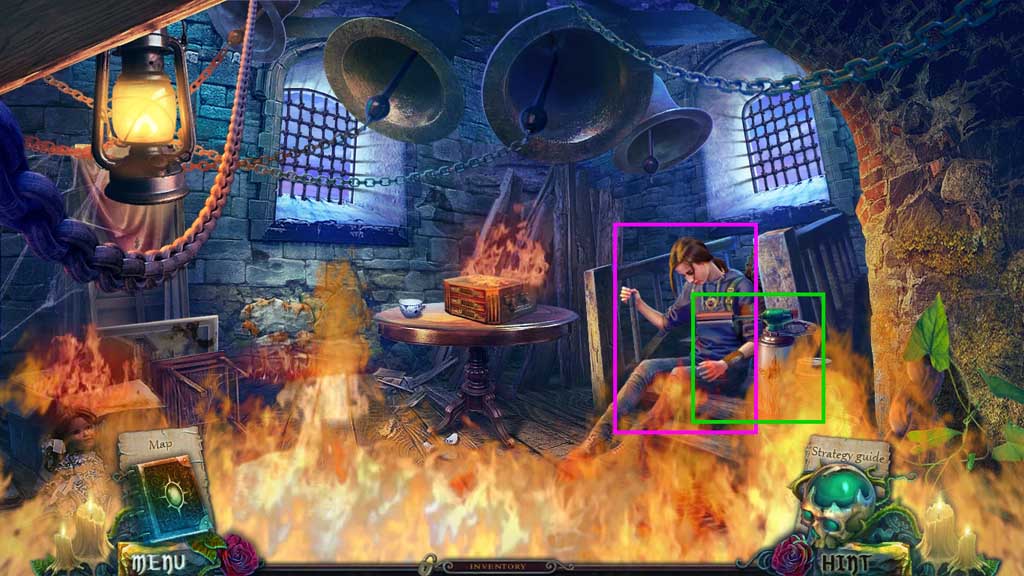
- Speak to Lynn.
- Collect the blowtorch.
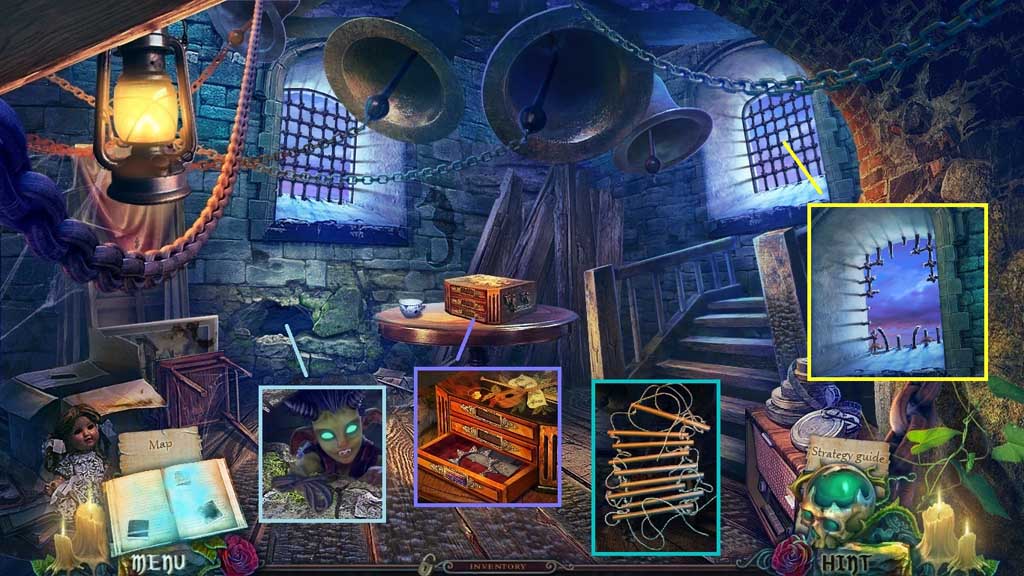
- Select the knife to remove the stone from the wall; click the rope 2x’s.
- Insert the violet brooch; collect the sun.
- Click the wooden planks and attach the rope; collect the rope ladder.
- Select the blowtorch to remove the bars and place the ladder.
- Exit the window and move to the Main Hall; click the hidden objects area.
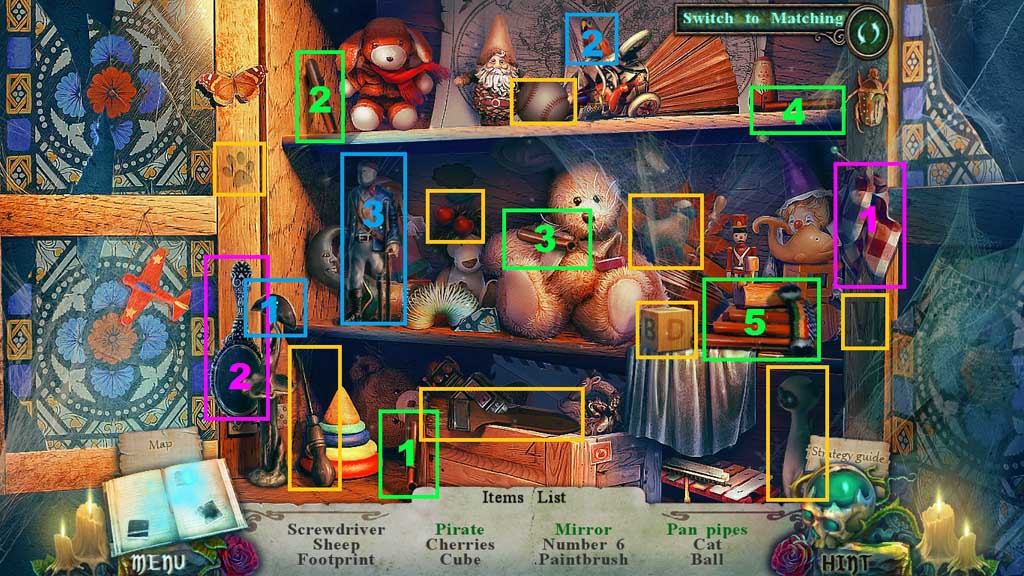
- Find the items.
- Select the hat and the parrot to place onto the man; collect the pirate.
- Select the cloth to clean and collect the mirror.
- Collect the pipes and place them together; collect the pan pipes.
- Collect the screwdriver.
- Move to the Courtyard.
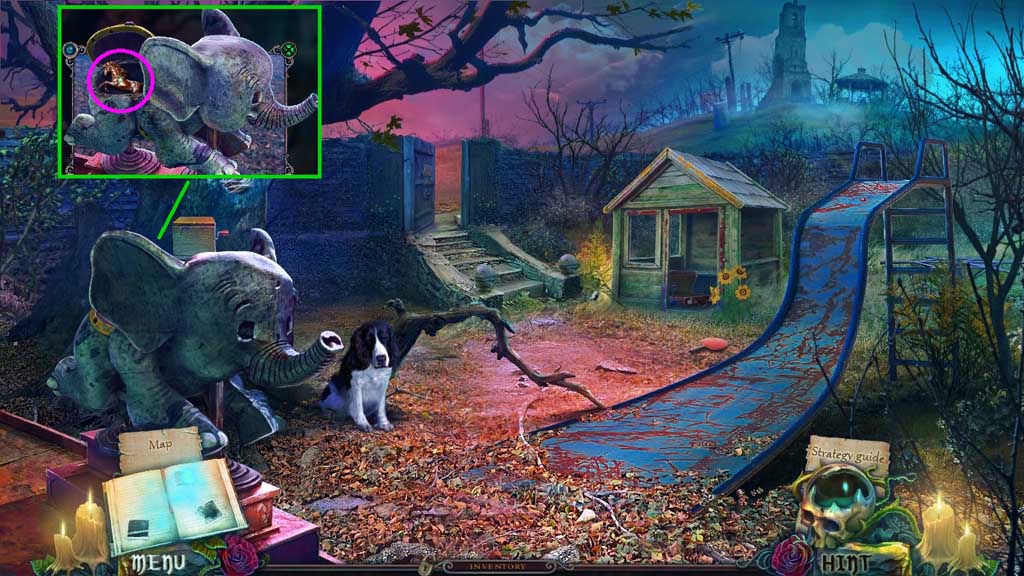
- Select the screwdriver to remove the seat; collect the unicorn figure.
- Move ahead.
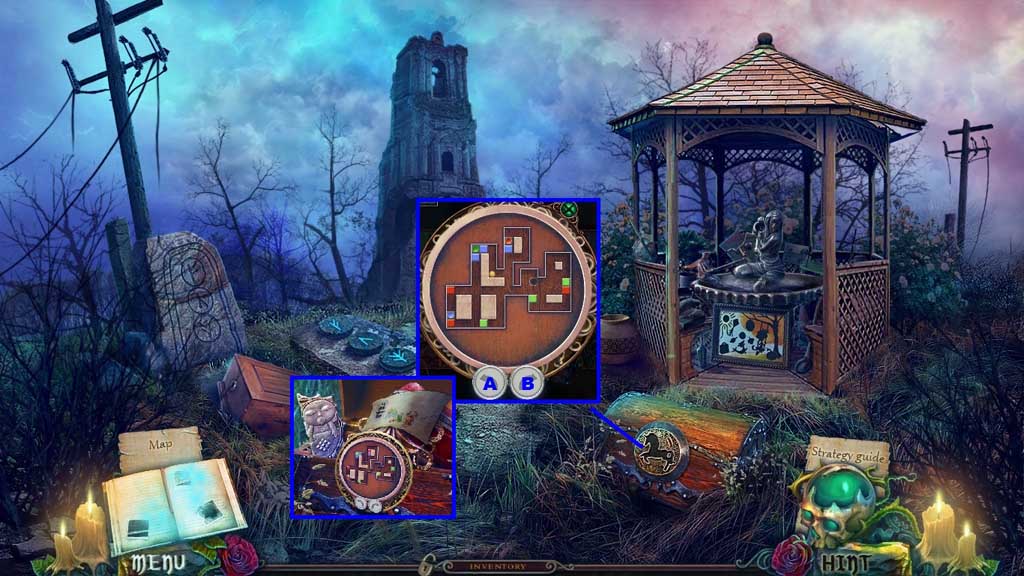
- Insert the unicorn figure into the chest and click it once to trigger a mini game.
- Solve the game by guiding the ball toward the hole.
- Use the following sequence to solve: B x 2 – A – B x 3 – A x 5 – B – A – B x 3 – A – B – A – B – A x 3
- Examine the drawings.
- Collect the octopus and the sleeping child figurine.
- Move to the Orphanage Yard.
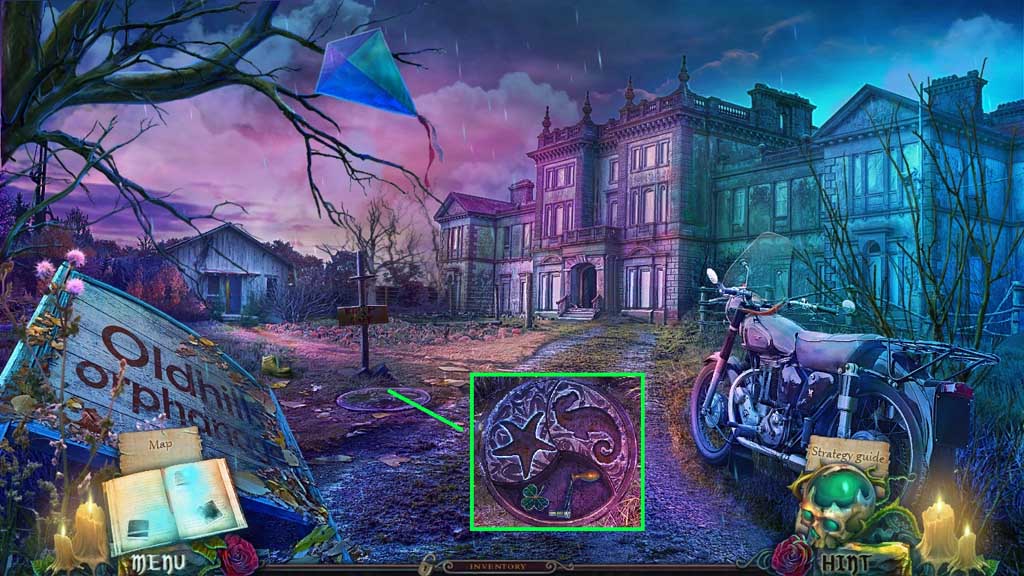
- Insert the octopus; collect the 3-leaf clover and the handle.
- Move to the area Near the Bell Tower.
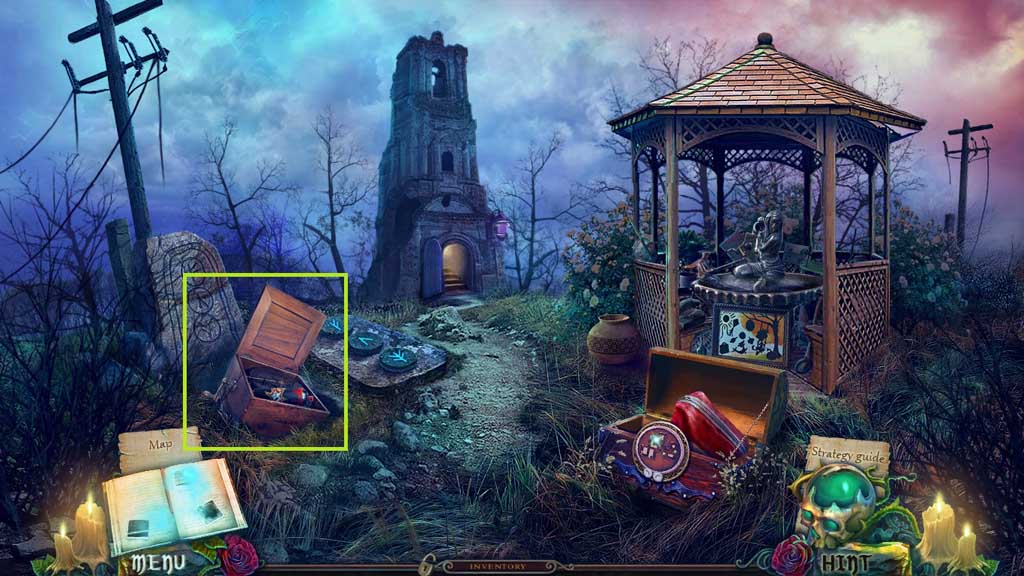
- Select the handle to open the box; collect the bug repellent.
- Move down once.
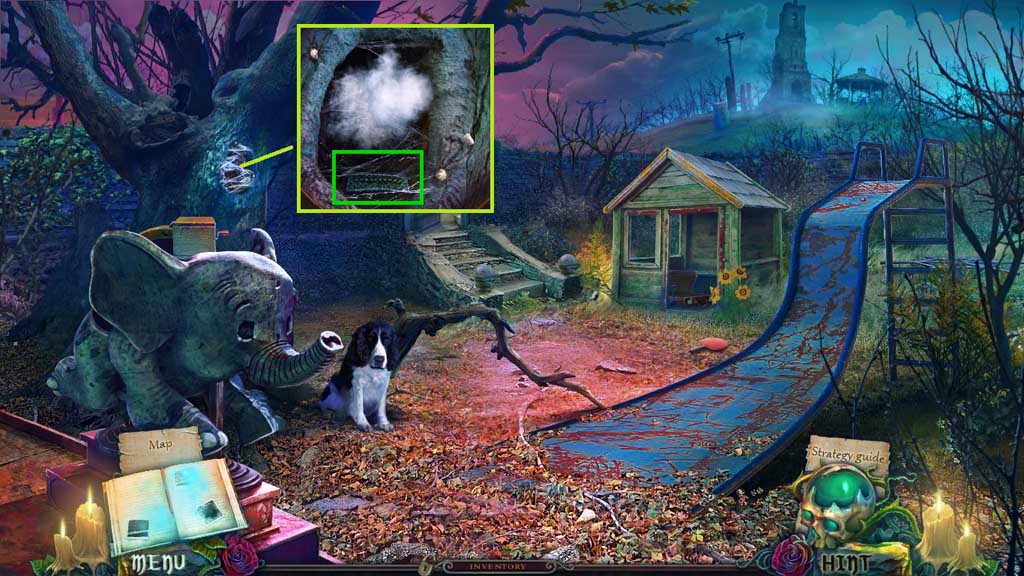
- Select the bug repellent to use on the spiders; collect the green brooch.
- Move into the Bell Tower.
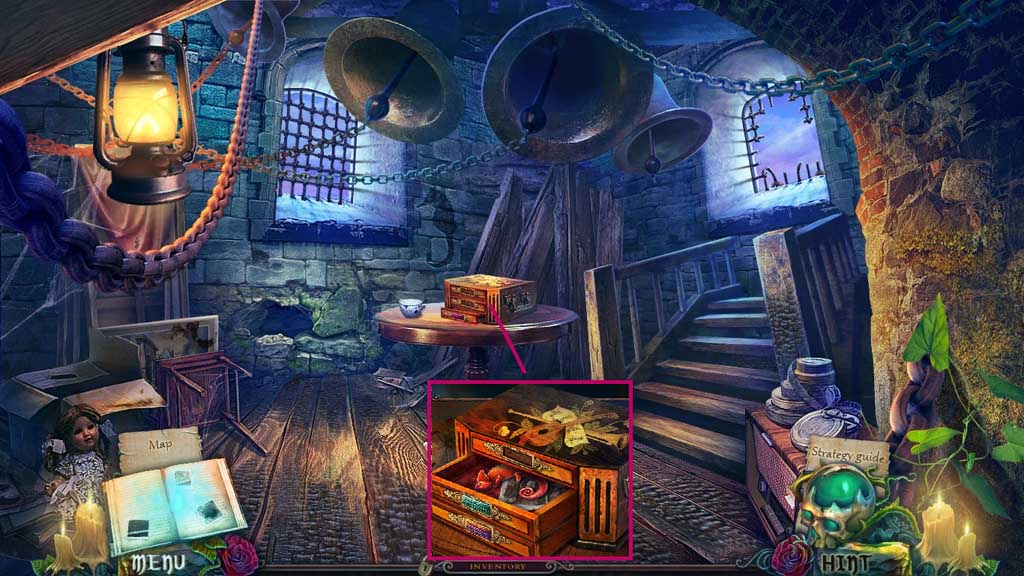
- Insert the green brooch; collect the red chameleon.
- Move to the Courtyard.
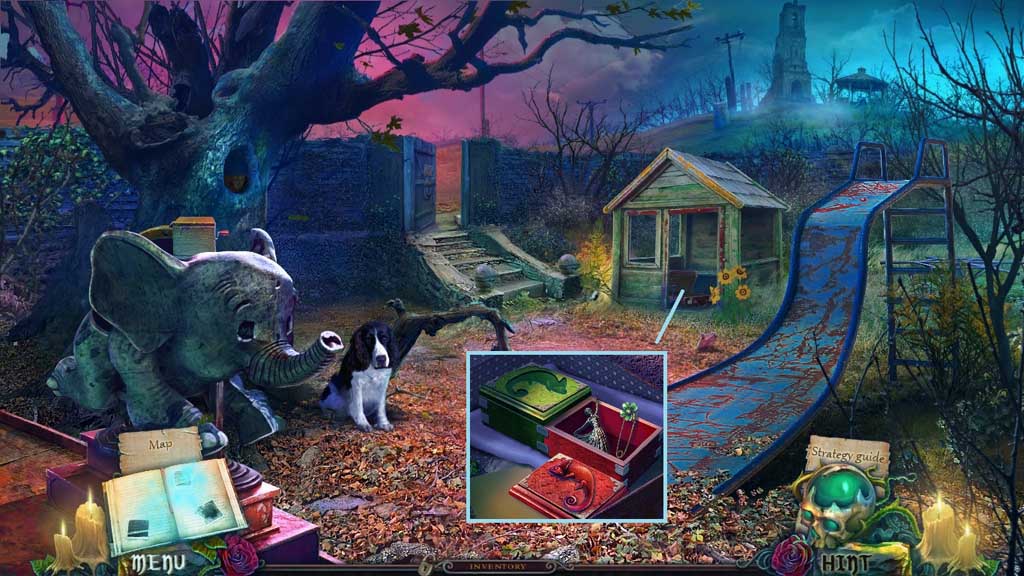
- Insert the red chameleon; collect the dancing figure and the pin.
- Move ahead and click the hidden objects area.
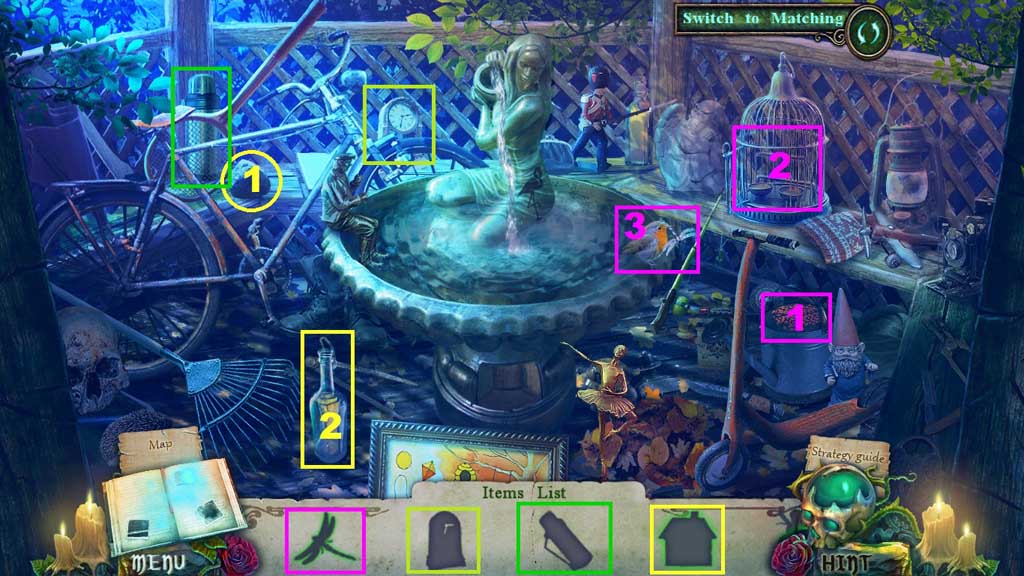
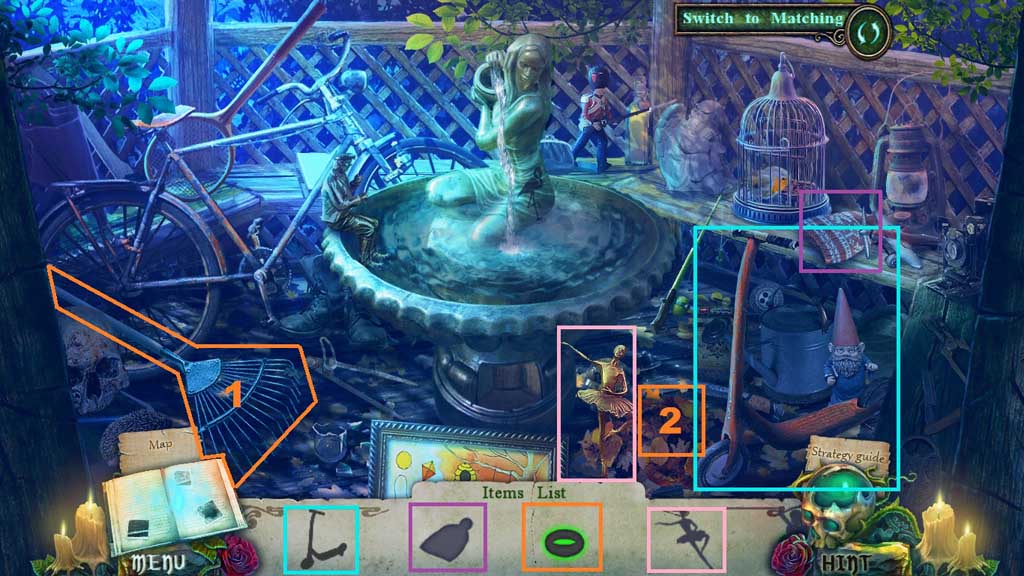
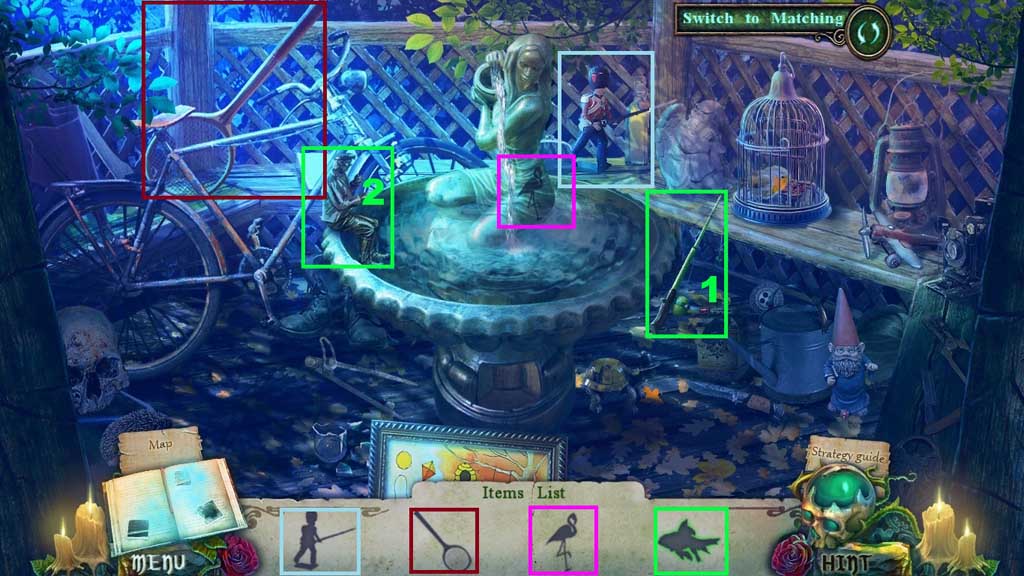
- Find the items.
- Collect the paintbrush.
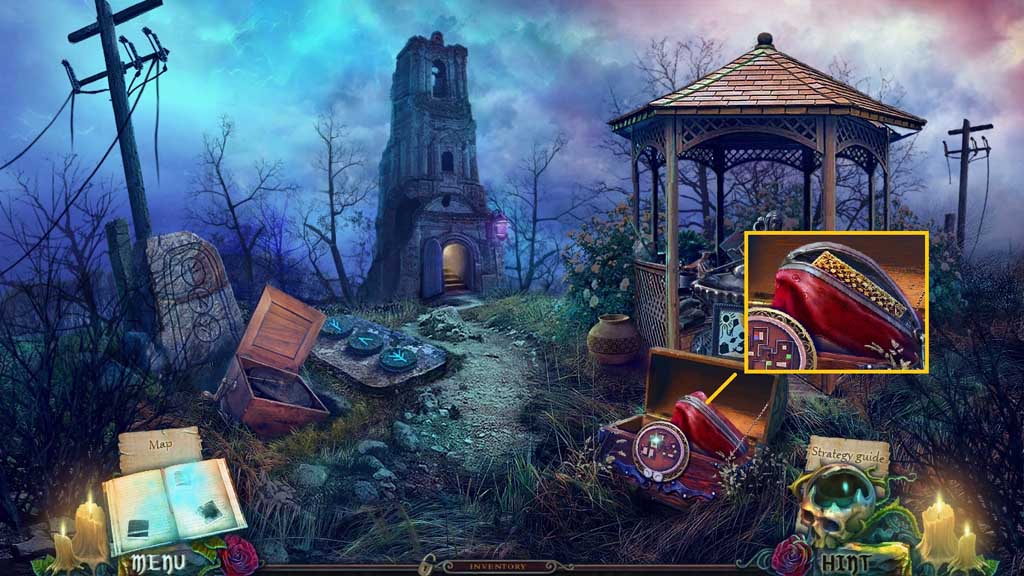
- Attach the pin and click it once; collect the yellow brooch.
- Move into the Bell Tower.
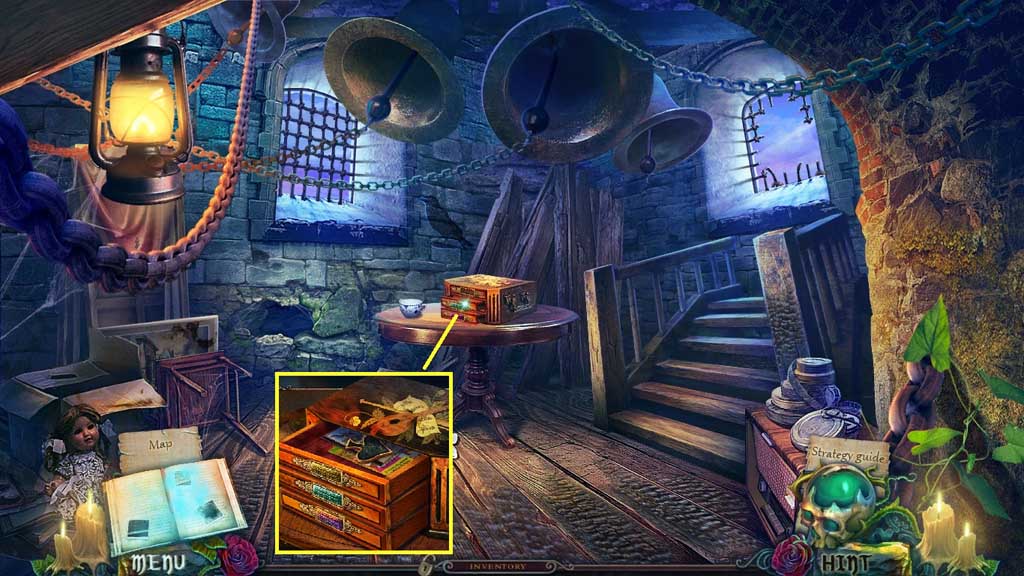
- Insert the yellow brooch; collect the spade emblem.
- Move to the Courtyard.
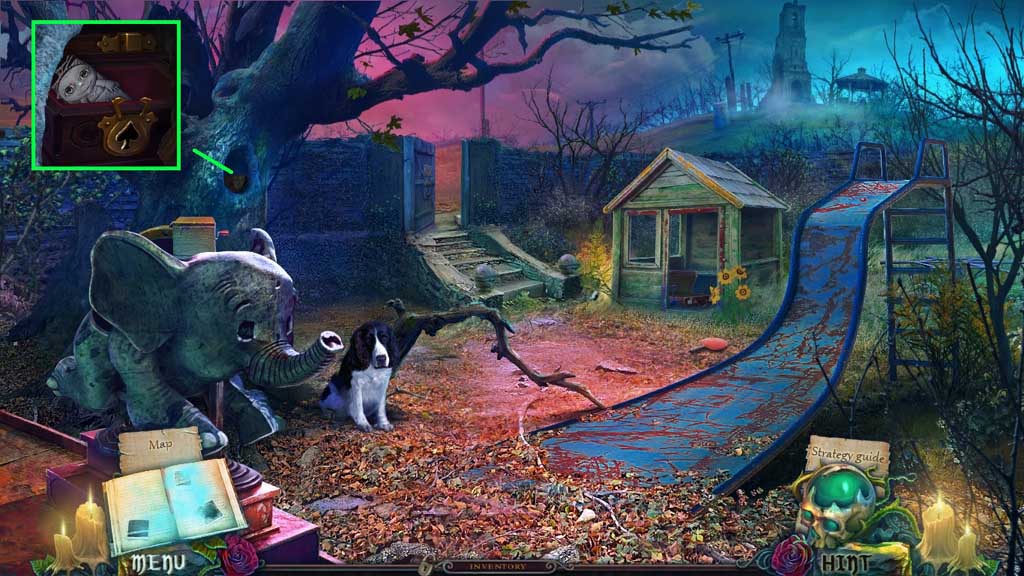
- Insert the spade emblem; collect the smiling child.
- Move to the 2nd Floor.
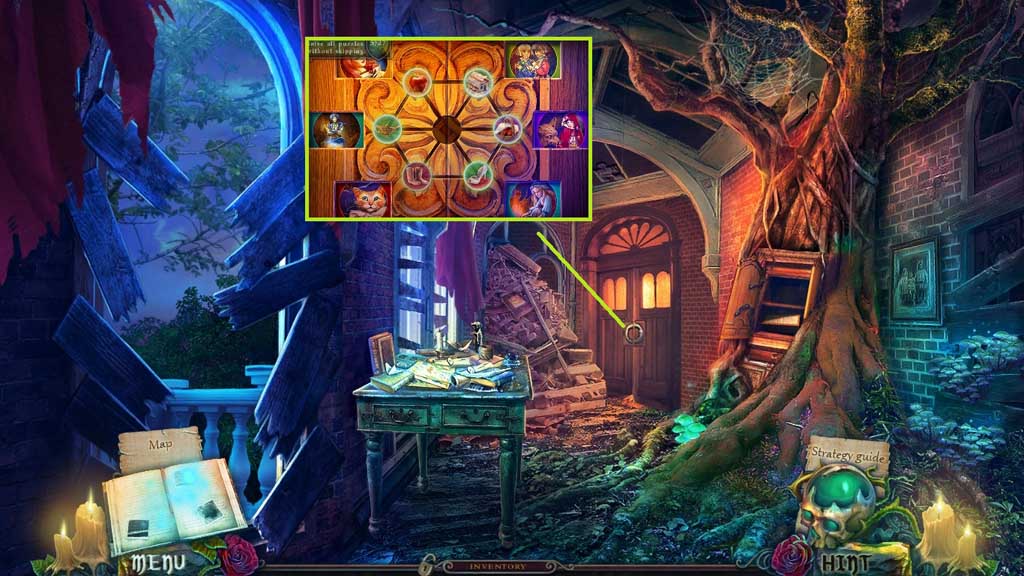
- Insert the sleeping and smiling child figurines to trigger a mini game.
- Solve the game by matching the objects with their fairy tale characters.
- Move into the Children’s Room.
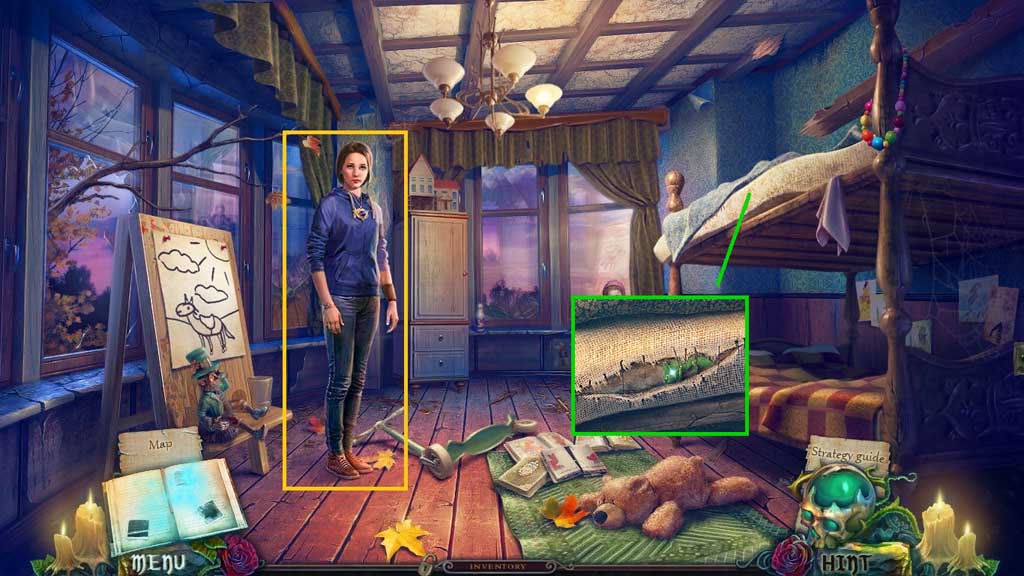
- Speak to Lynn.
- Click the cover.
- Select the knife to slice the stitches; examine the drawing and collect the green chameleon.
- Move to the Courtyard.
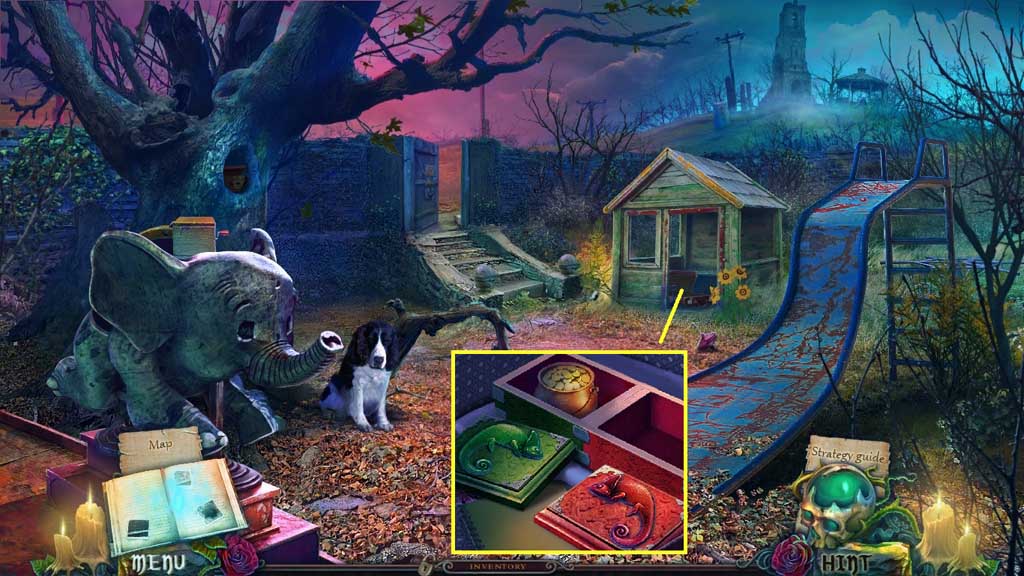
- Insert the green chameleon; collect the pot of gold.
- Move to the Children’s Room.
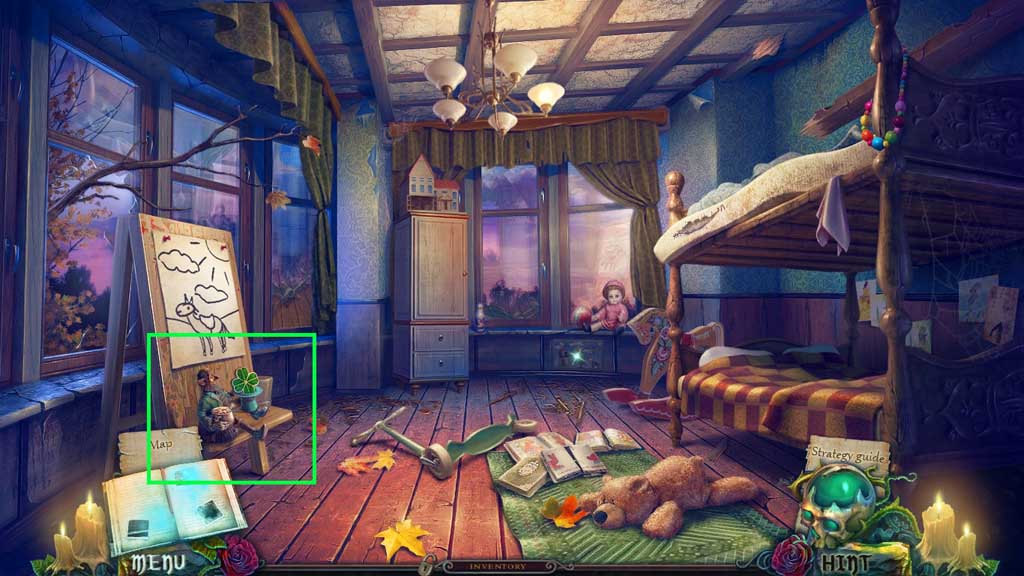
- Place the pot of gold onto the leprechaun; collect the 4 leaf clover.
- Move down once.
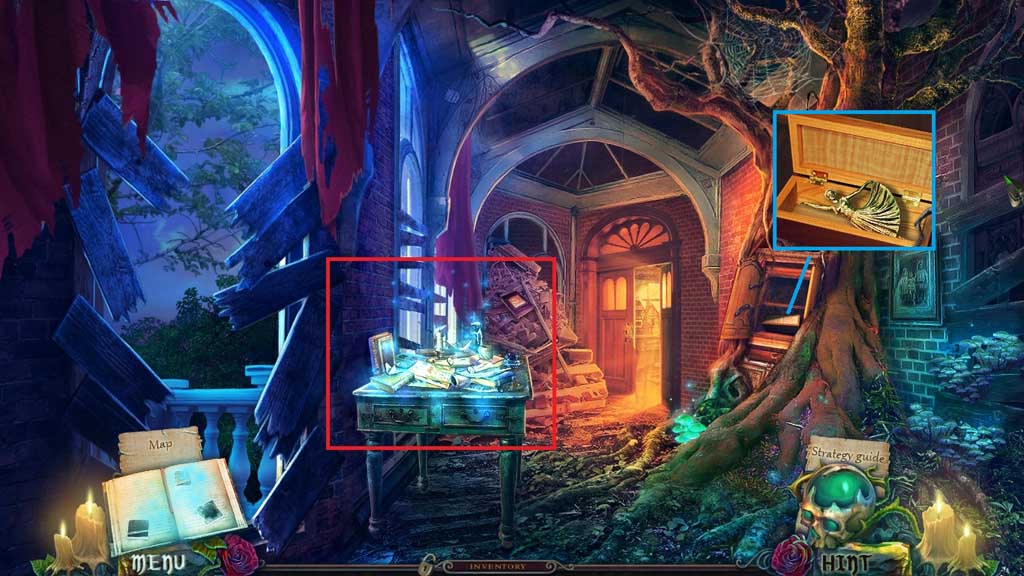
- Insert the 3 and 4 leaf clovers; collect the dancing figure.
- Click the hidden objects area.
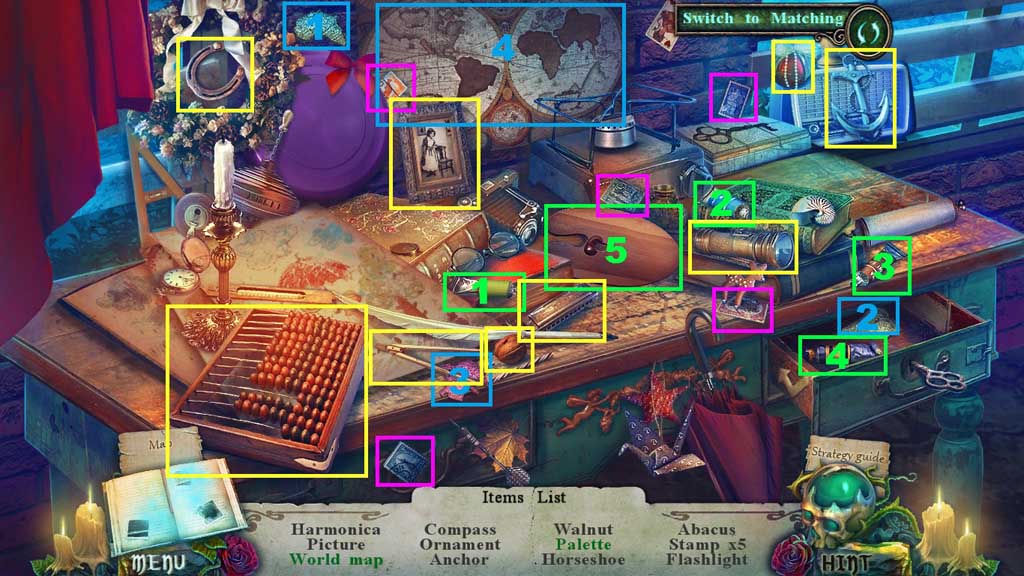
- Find the items.
- Select the continents and place them into the map; collect the world map.
- Select the paints and squeeze them onto the palette; collect the palette.
- Collect the palette.
- Move ahead.
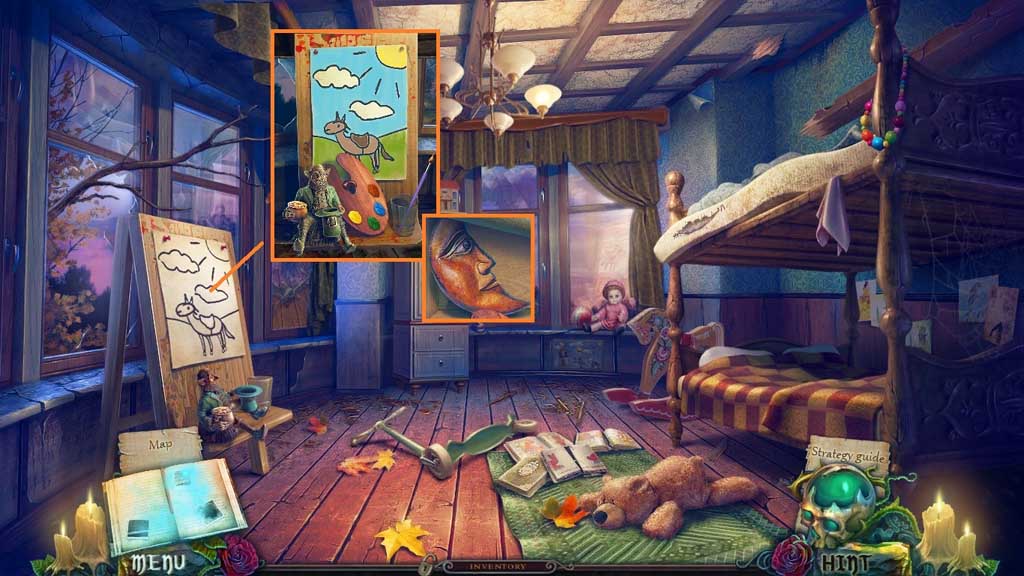
- Place the paintbrush and the palette down to trigger a mini game.
- Solve the game by painting the picture.
- Collect the moon.
- Move to the Main Hall.
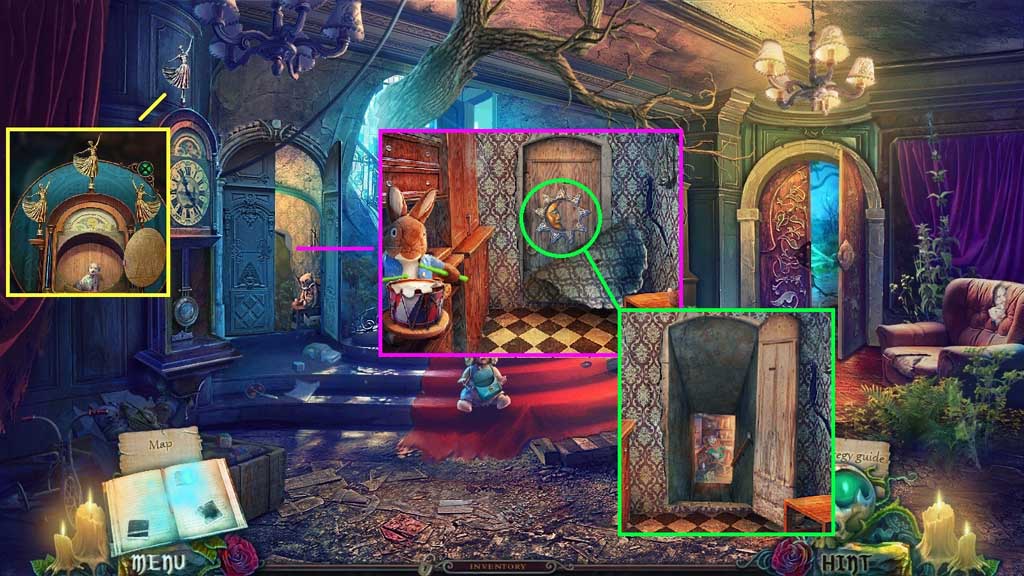
- Place the dancing figures; collect the toy dog.
- Click the paper; insert the sun and the moon.
- Move into the Orphanage Basement.
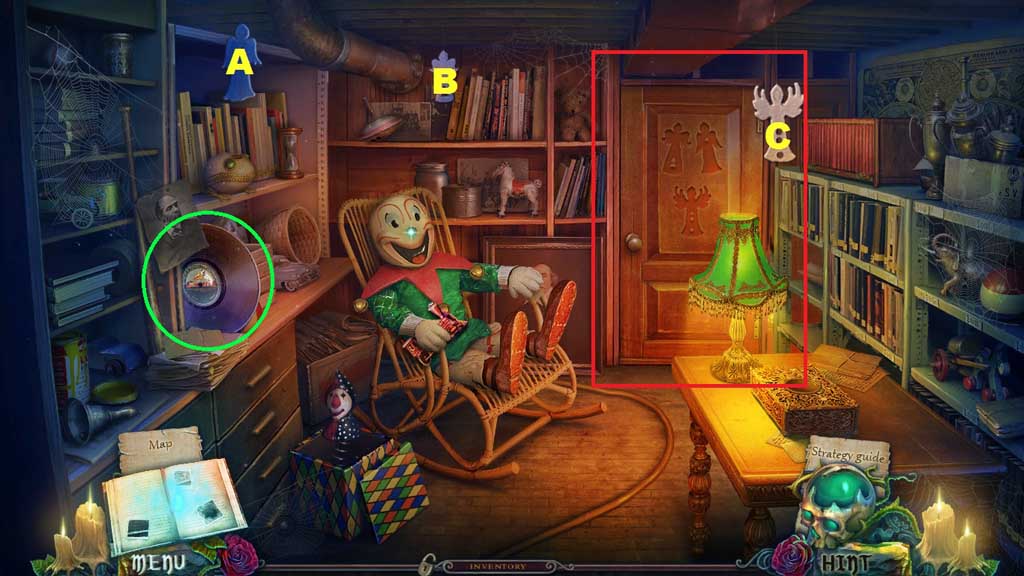
- Collect the record.
- Click the angels in ABC order.
- Click the hidden objects area.
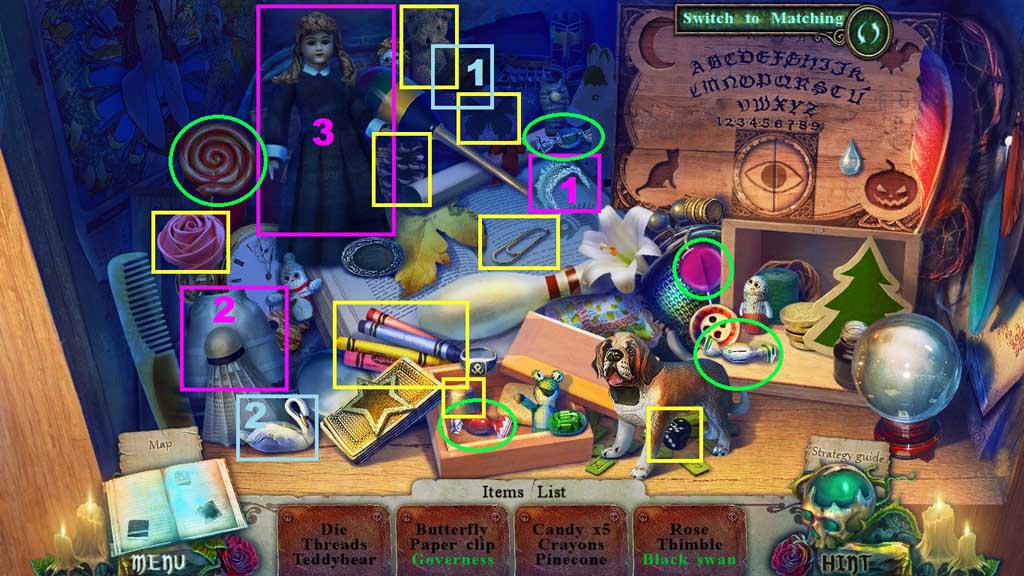
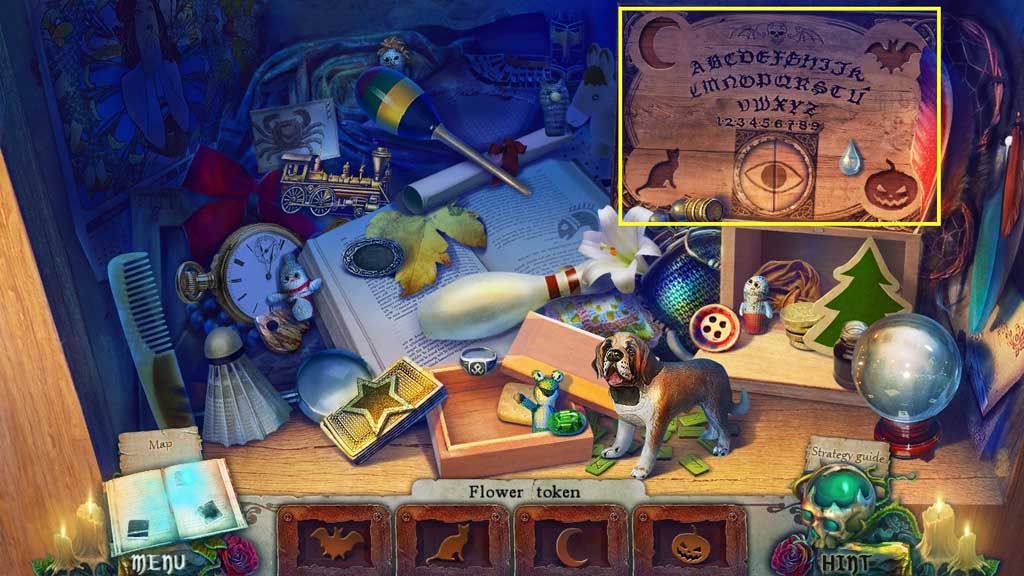
- Find the items.
- Select the cap and the apron and place it onto the doll; collect the governess.
- Select the coal and use it on the swan; collect the black swan.
- Insert the items correctly.
- Collect the flower token.
- Move to the Children’s Room.
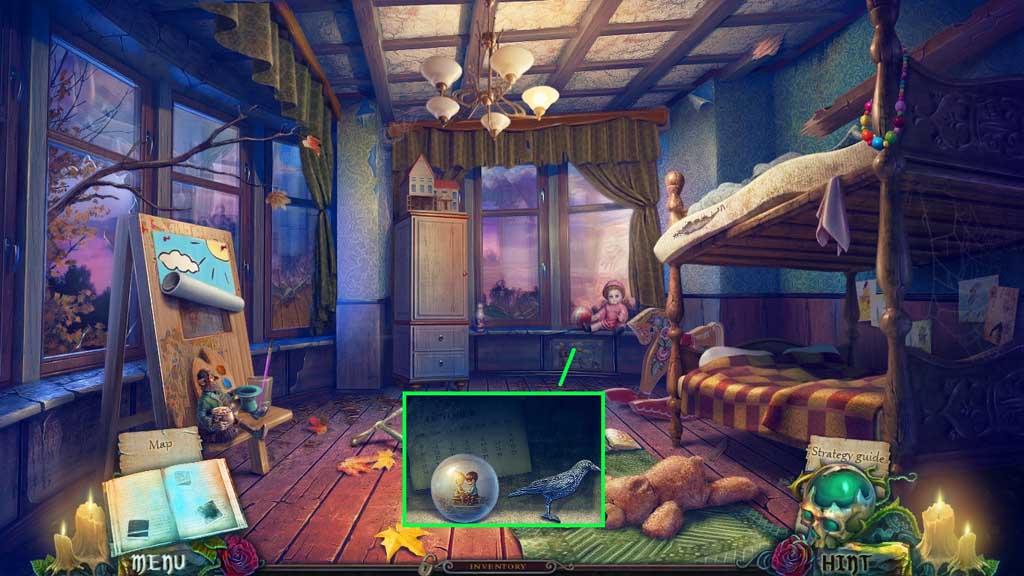
- Insert the princess and the flower tokens to trigger a mini game.
- Solve the game by moving the token into the correct spaces.
- Collect the crystal ball and the raven figure.
- Move to the Orphanage Basement.
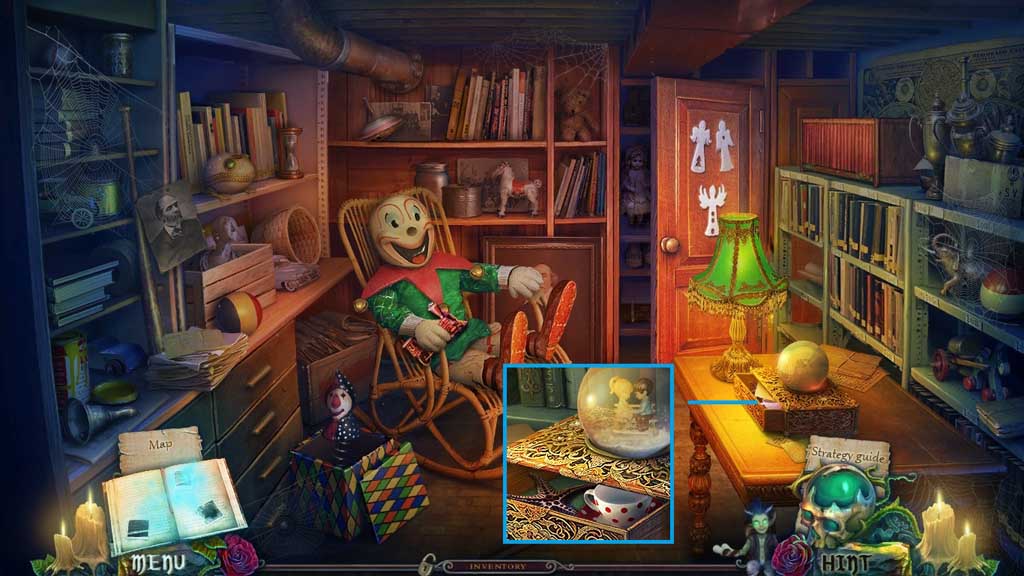
- Place the crystal ball onto the box; examine the drawing.
- Collect the starfish and the toy cup and saucer.
- Move to the Children’s Room.
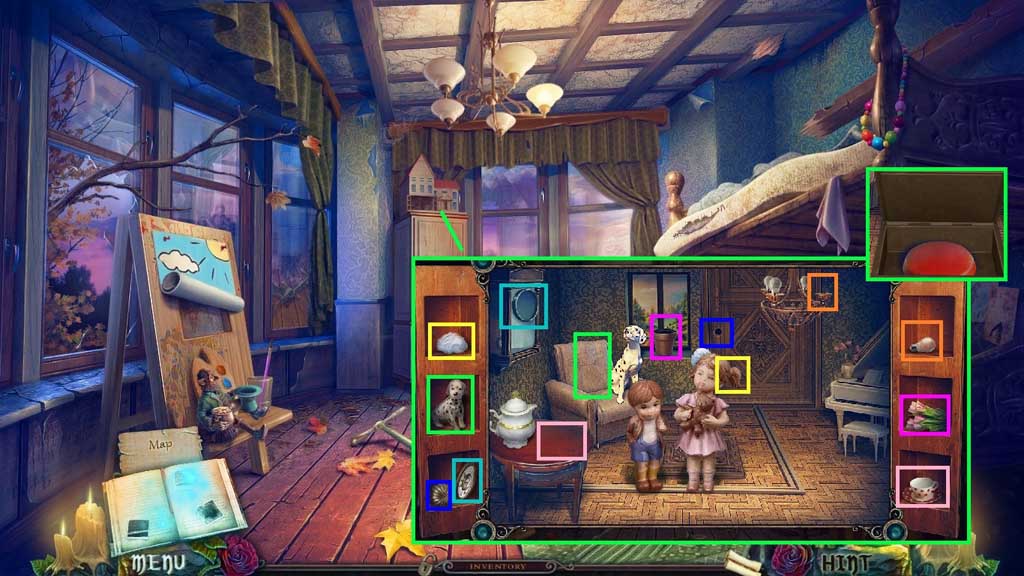
- Place the toy dog and toy cup and saucer into the dollhouse.
- Place the toys correctly into the scene.
- Collect the control button.
- Move to the Orphanage Yard.
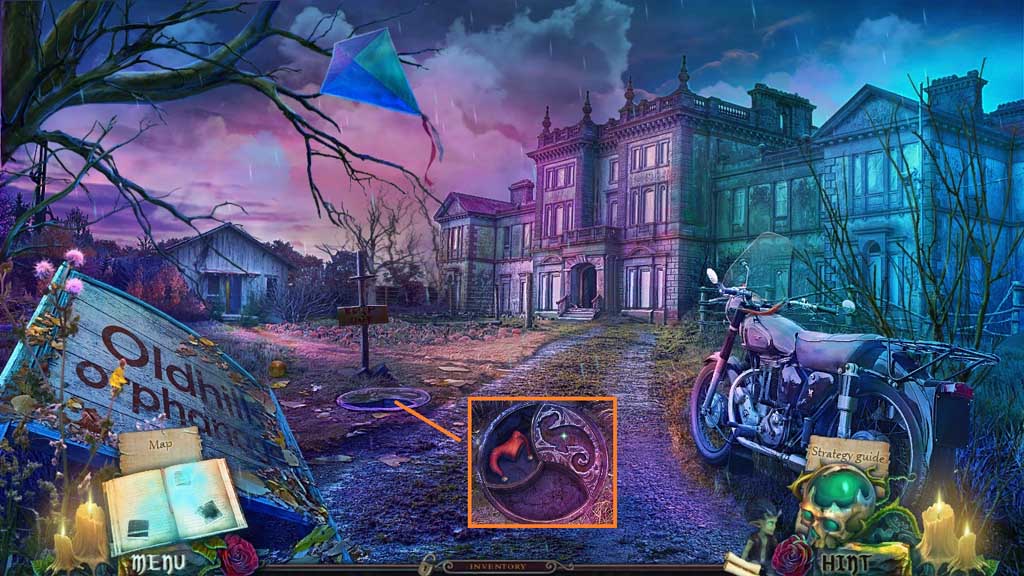
- Insert the starfish figure; collect the clown hat.
- Move to the Orphanage Basement.
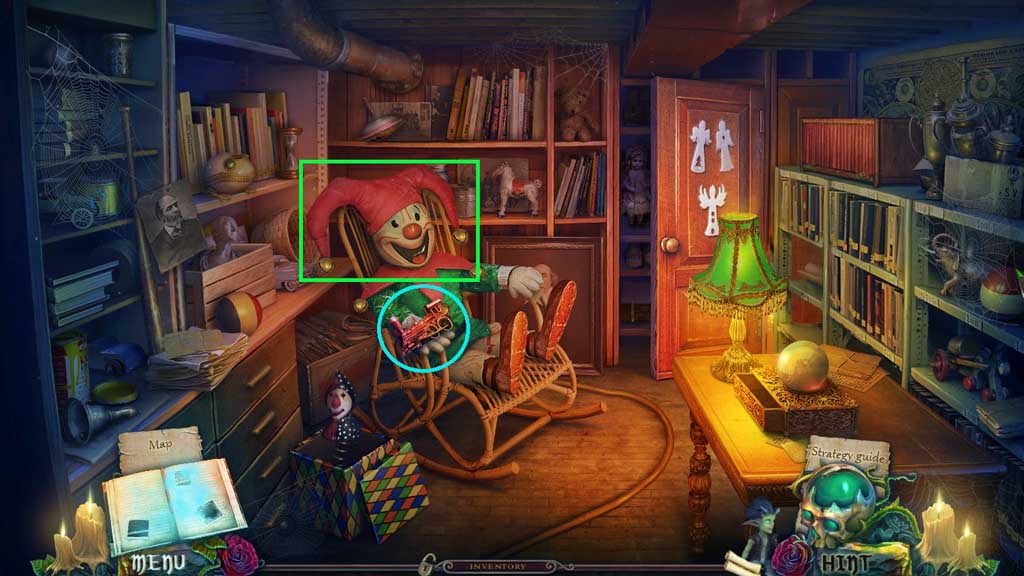
- Place the clown nose and hat onto the clown; collect the train.
- Move to Oldhills City and click the hidden objects area.
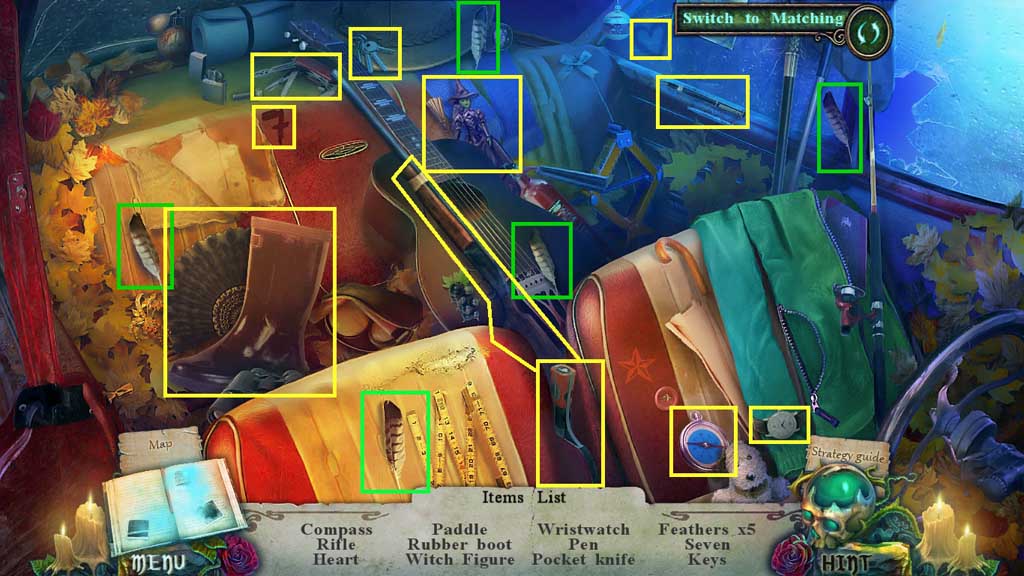
- Find the items.
- Collect the witch figure.
- Move to the Orphanage Basement.
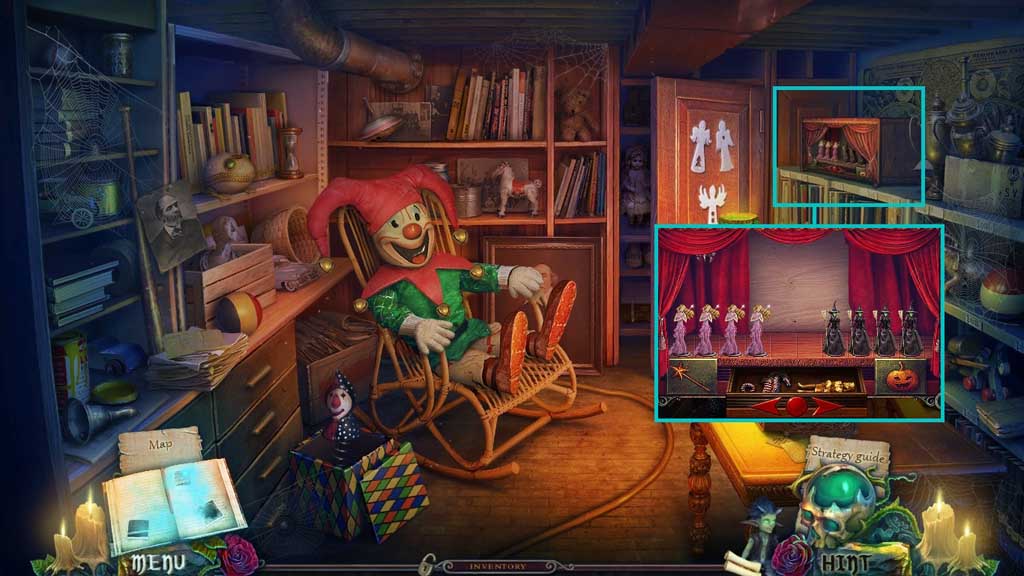
- Click the curtains and place the witch figure and the control button to trigger a mini game.
- Solve the game by rearranging the witches and the fairies.
- Collect the seahorse and the female conductor figure.
- Move to the Orphanage Yard.
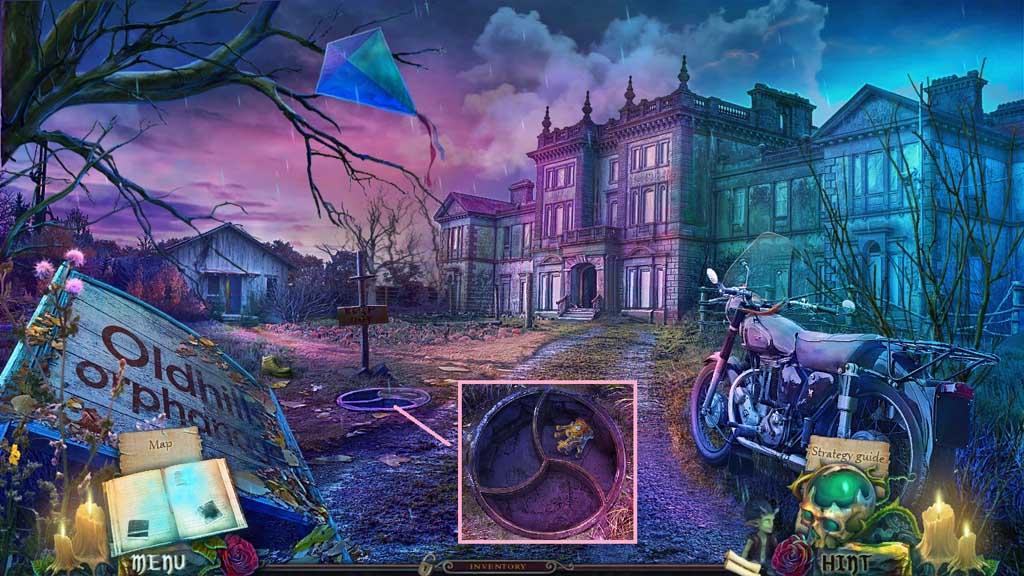
- Insert the seahorse; collect the small crown.
- Move to the Orphanage Basement and click the hidden objects area.
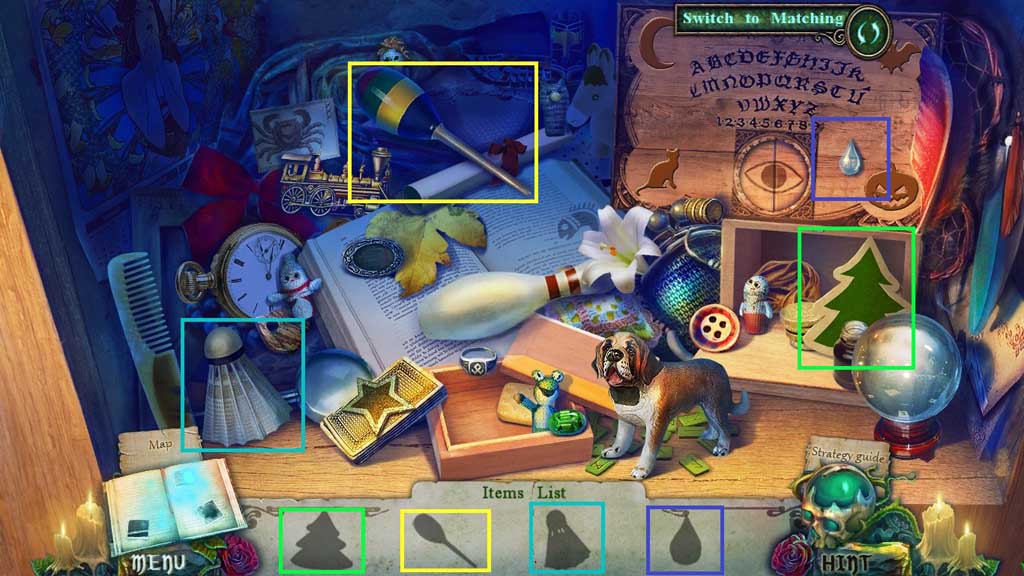
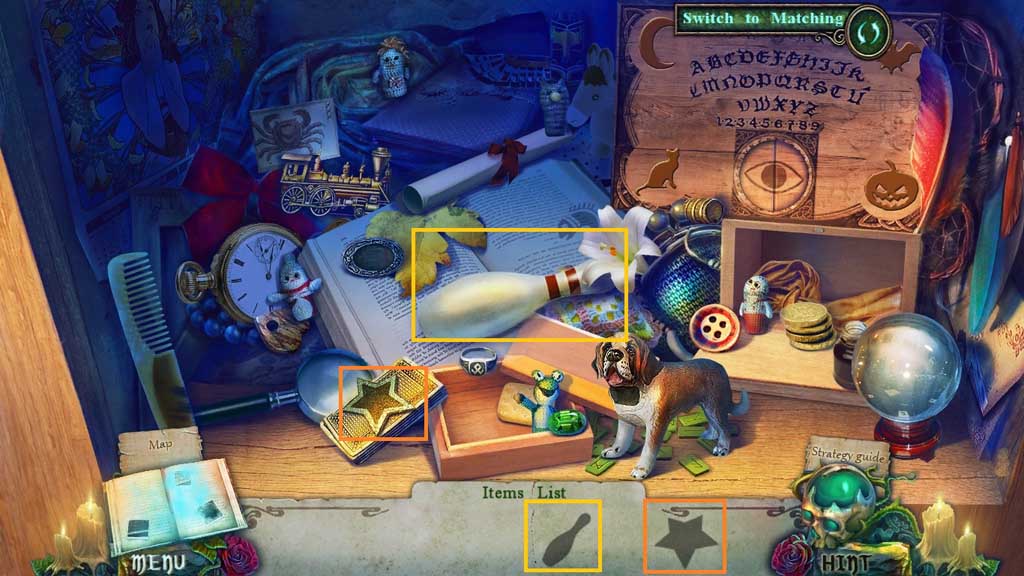
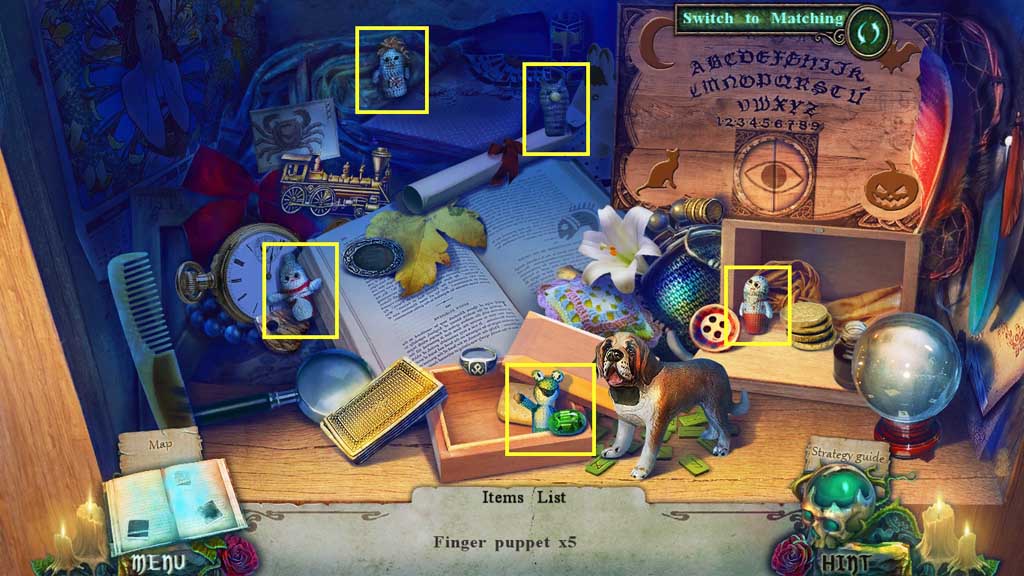
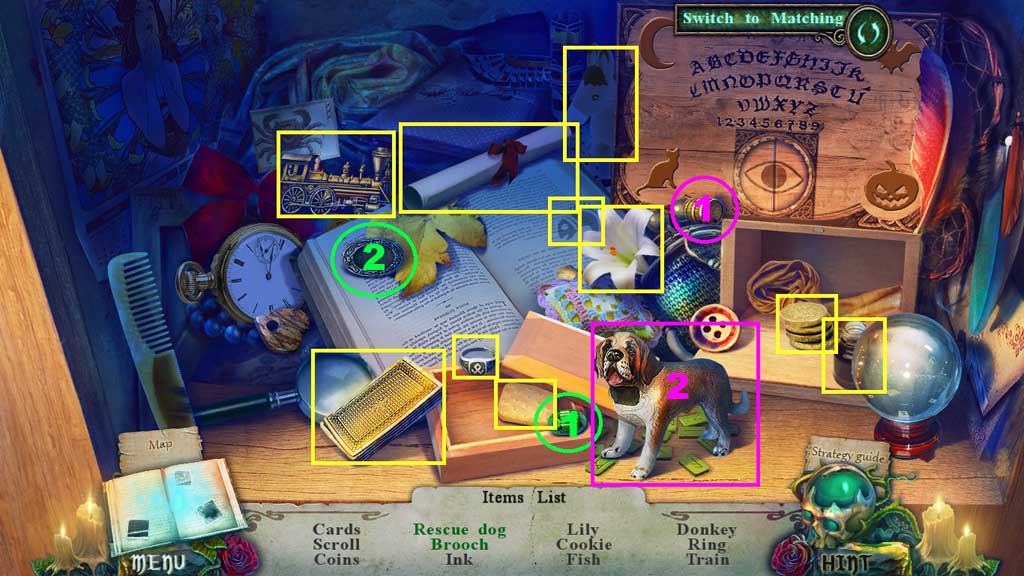
- Find the items.
- Select the barrel and place it onto the dog; collect the rescue dog.
- Select the gem and place it into the setting; collect the brooch.
- Collect the train.
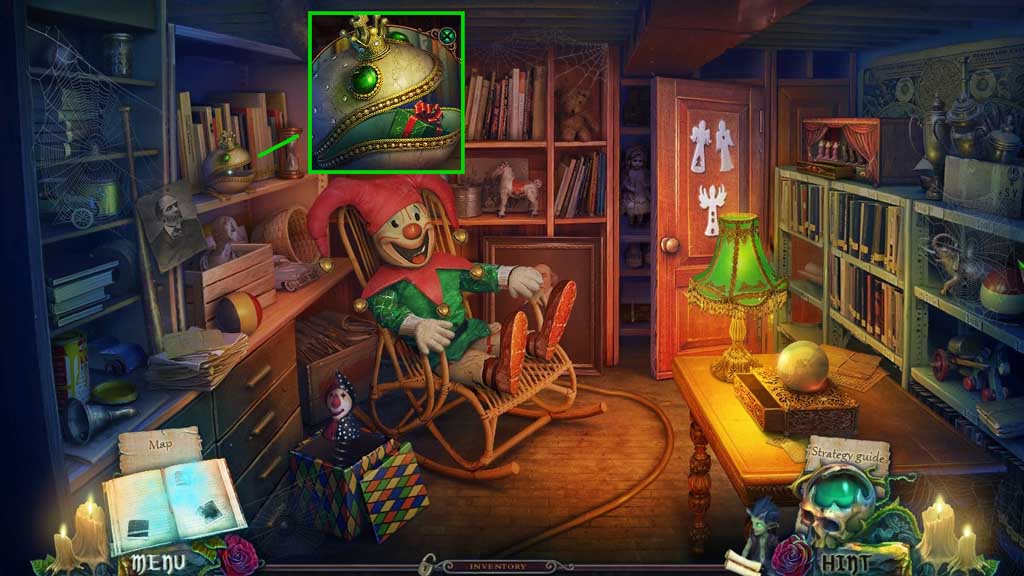
- Place the small crown onto the frog.
- Collect the gift.
- Move to Oldhills City.
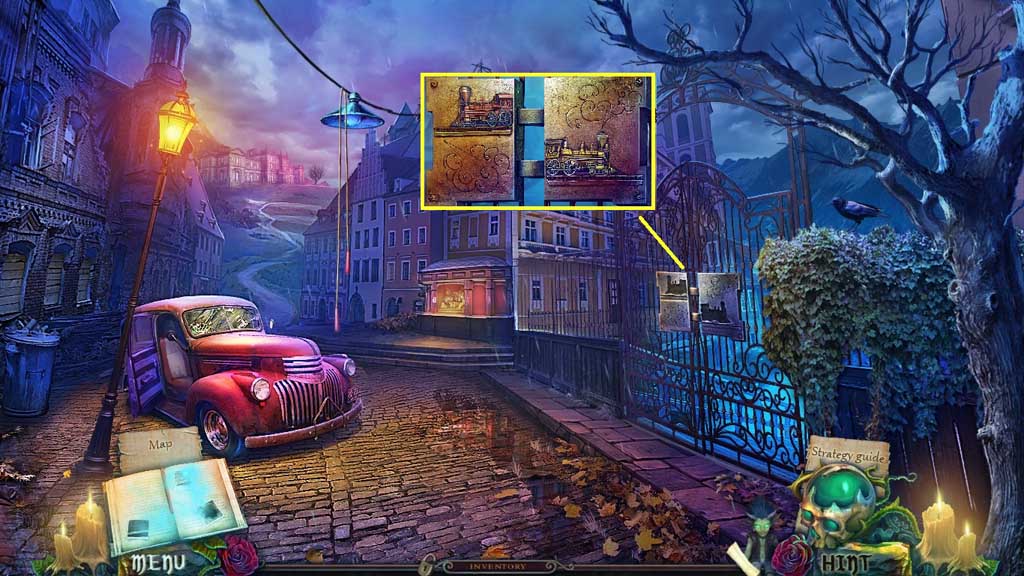
- Place the trains into the slots.
- Move into the Station Square and enter the Station Building.
Comments will load when you reach this part of the walkthrough.