

Chapter One: Visit the Orphanage
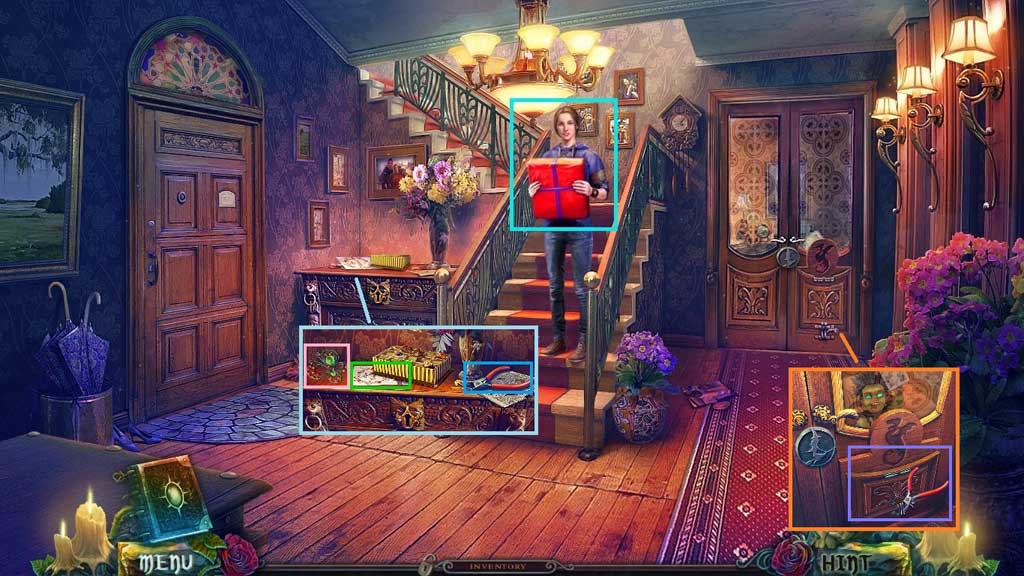
- Speak to Lynn.
- Read the invitation; collect the broken butterfly and the nippers.
- Select the nippers to clip the wires.
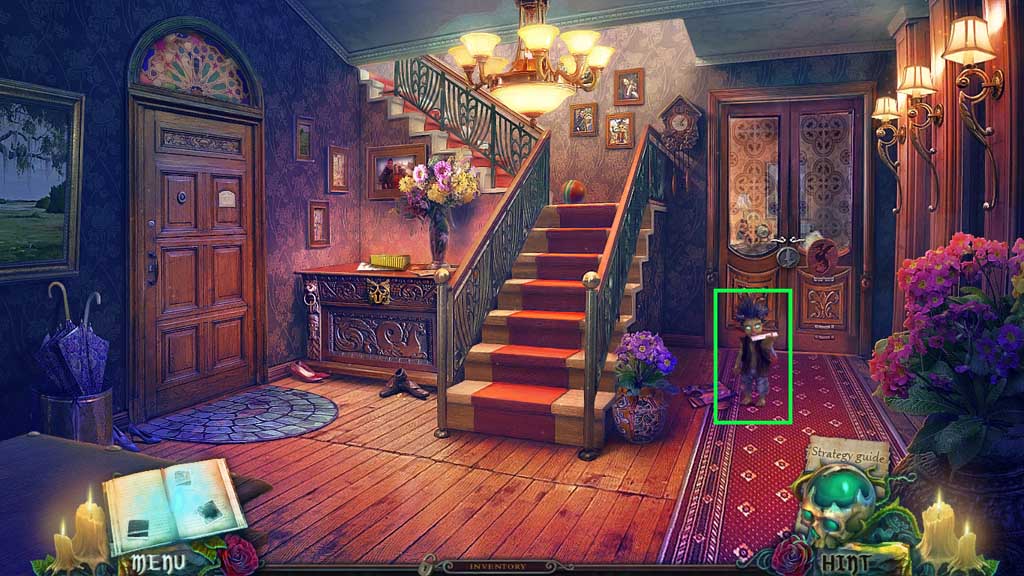
- Collect Edward’s letter.
- Move upstairs.
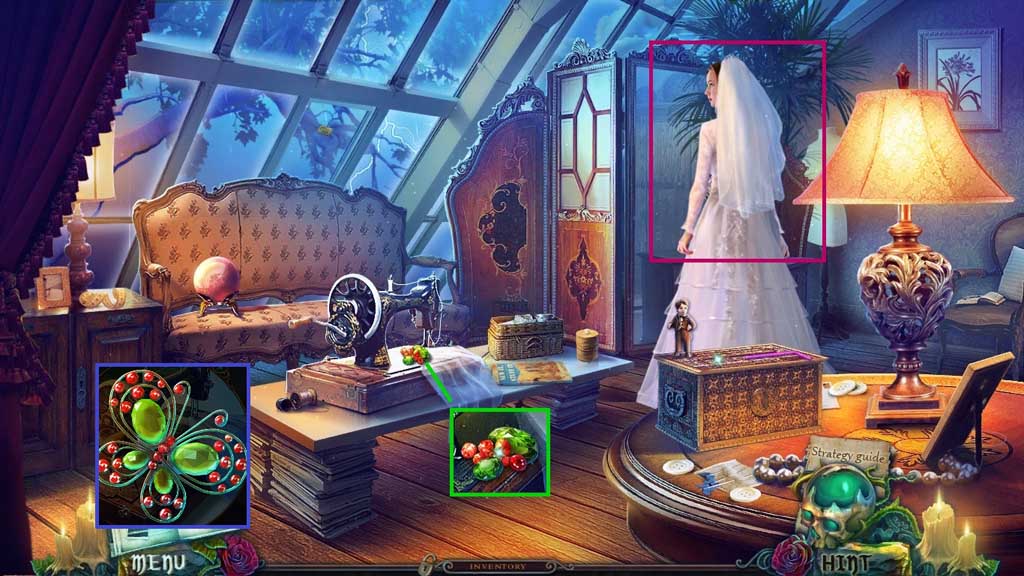
- Give Edward’s letter to Lynn.
- Collect the tiny jewels.
- Click the broken butterfly and place the tiny jewels; receive the butterfly figurine.
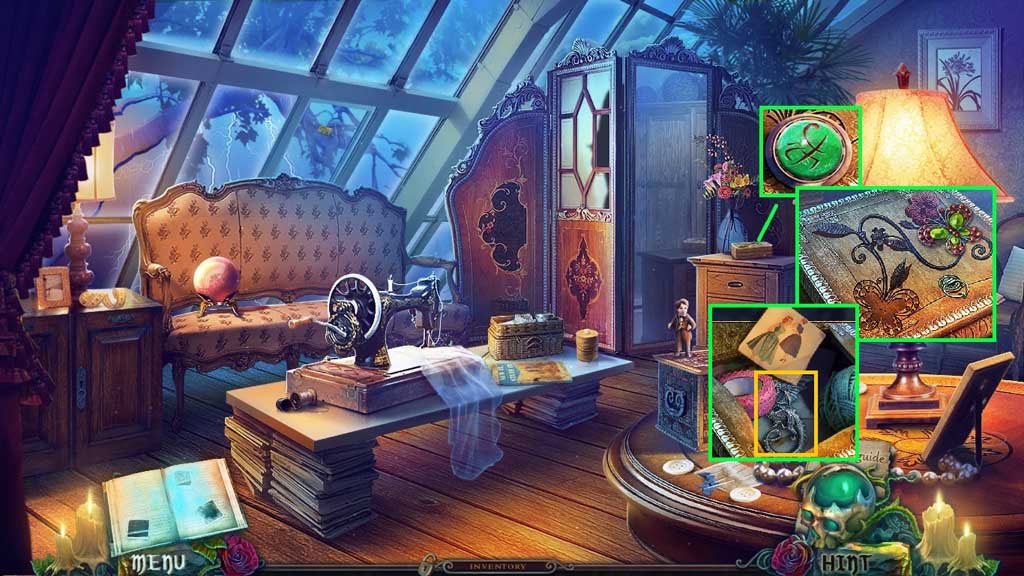
- Collect the rune.
- Insert the butterfly figurine; click the items aside and collect the dragon.
- Move down once.
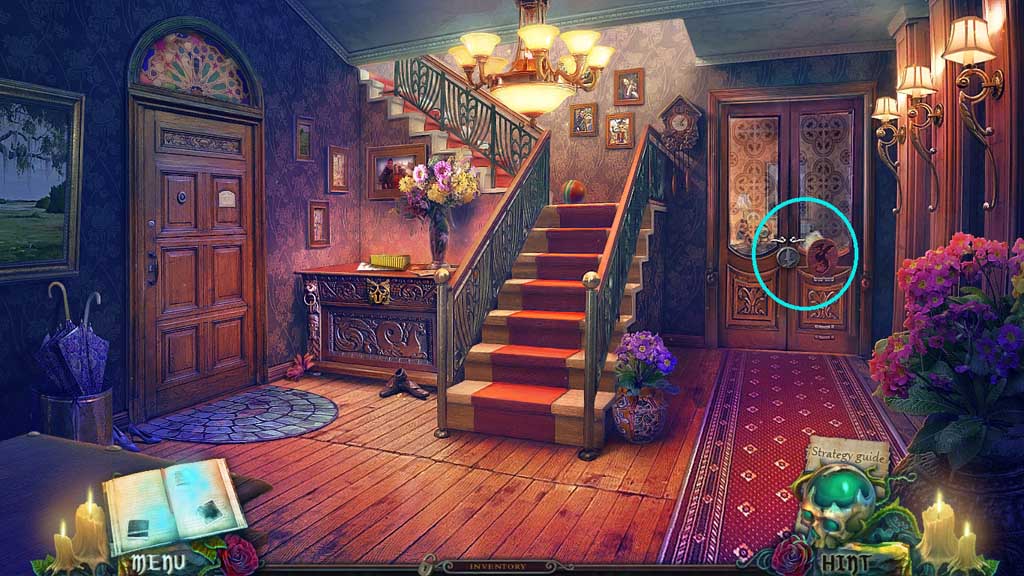
- Place the dragon into the door.
- Click the door and zoom in.
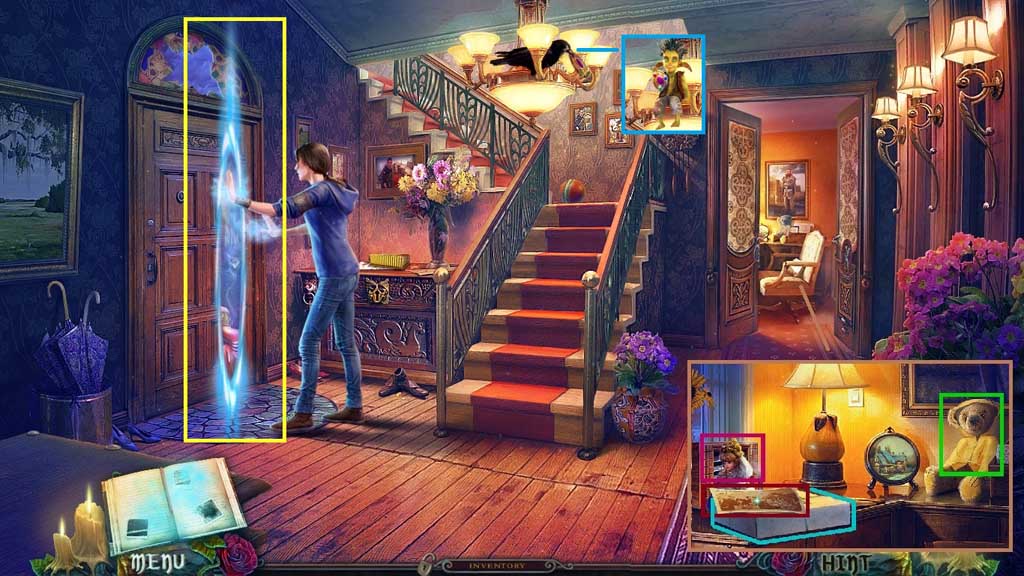
- Examine the picture; collect the gift, the bride figurine and the small slicker.
- Click the bird.
- Collect Lynn’s medallion and place it into the portal.
- Move upstairs.
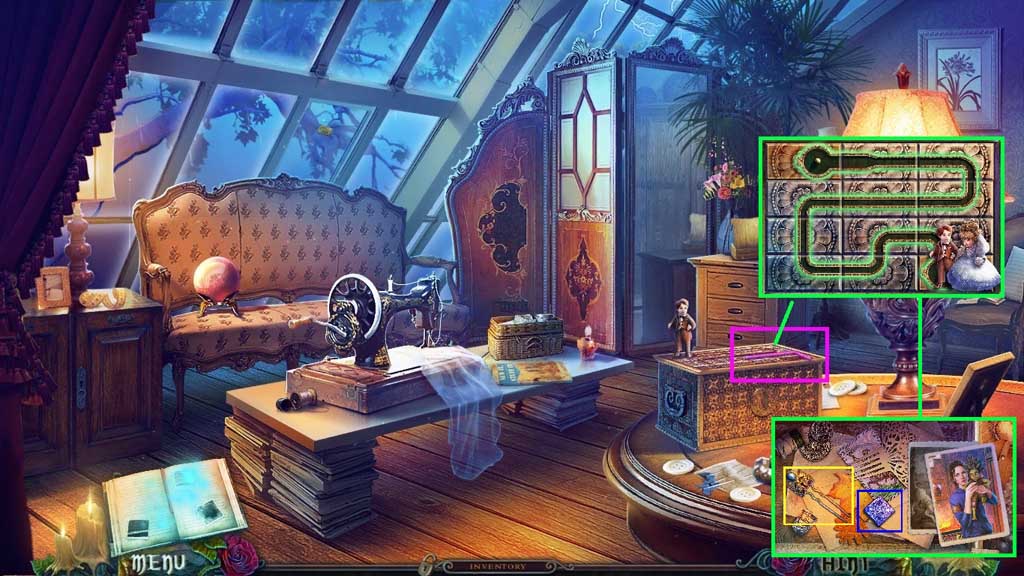
- Collect the drinking straw and place the bride figurine to trigger a mini game.
- Solve the game by arranging the pieces to make a path from the groom to the bride.
- Click the 2 photos; collect the bobby pin and the button.
- Move down once.
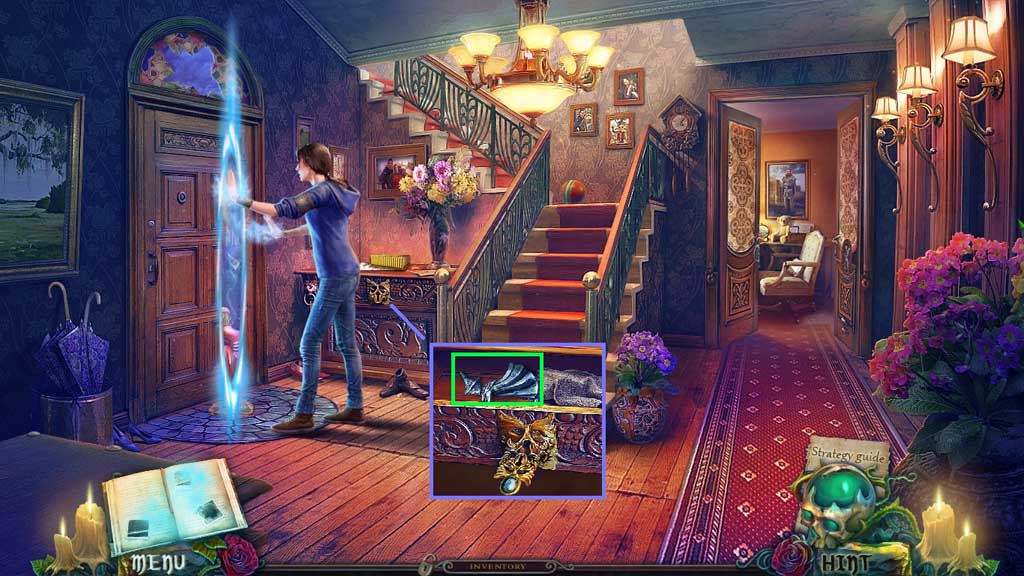
- Select the bobby pin to unlock the drawer; collect the witch figure.
- Move upstairs.
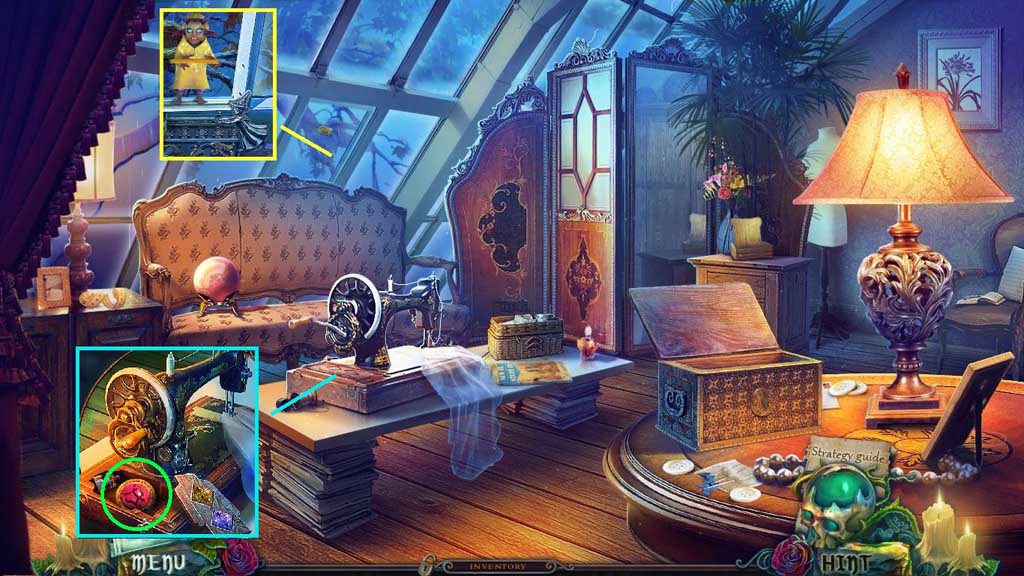
- Insert the witch figure and click the button.
- Give the Imp the raincoat.
- Collect the button.
- Insert the buttons; collect the rune.
- Move down once.
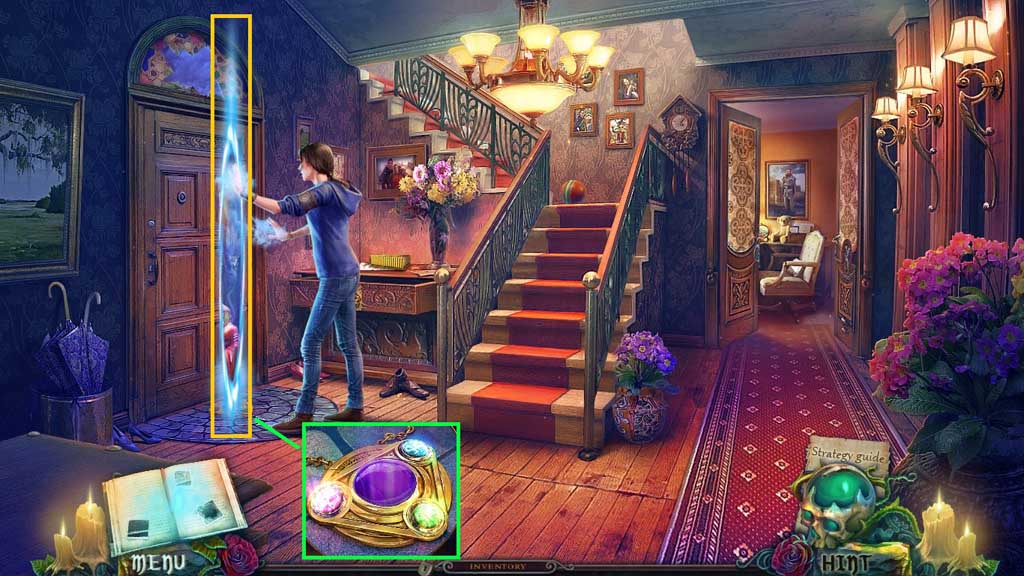
- Click the broken stones; insert the runes.
- Enter the portal.
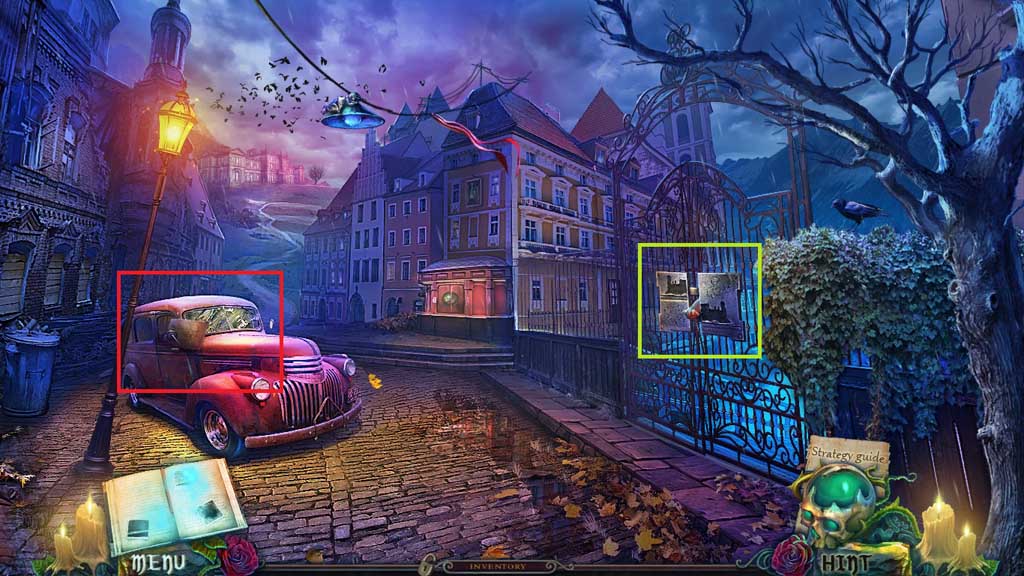
- Click the doll arm.
- Click the map to trigger a hidden objects area.
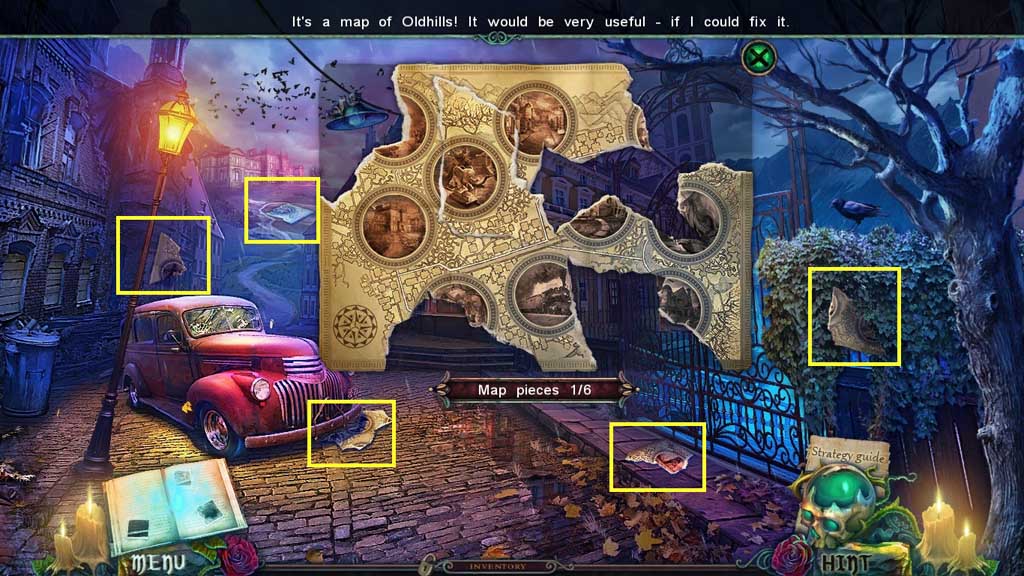
- Find the map pieces.
- Collect the map.
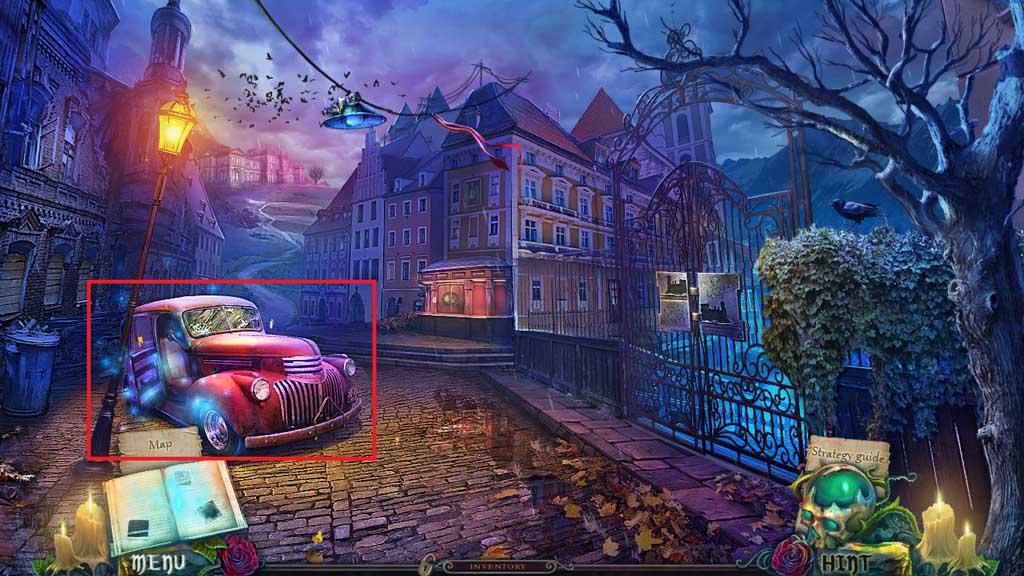
- Click the car door to trigger a hidden objects area.
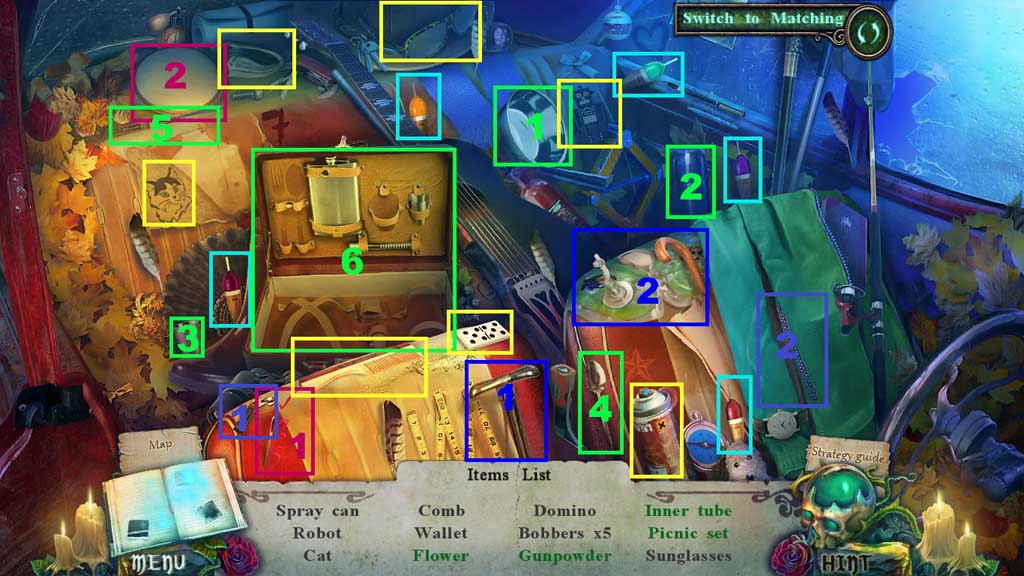
- Select the broom to sweep away the leaves.
- Find the items.
- Select the needle and thread to complete and collect the flower.
- Select the zipper pull to open the zipper and collect the gunpowder.
- Select the pump to use on the tube; collect the inner tube.
- Select the bowl, thermos, cup, spoon and fork to complete and collect the picnic set.
- Collect the gunpowder.
- Move ahead to the Orphanage Yard.
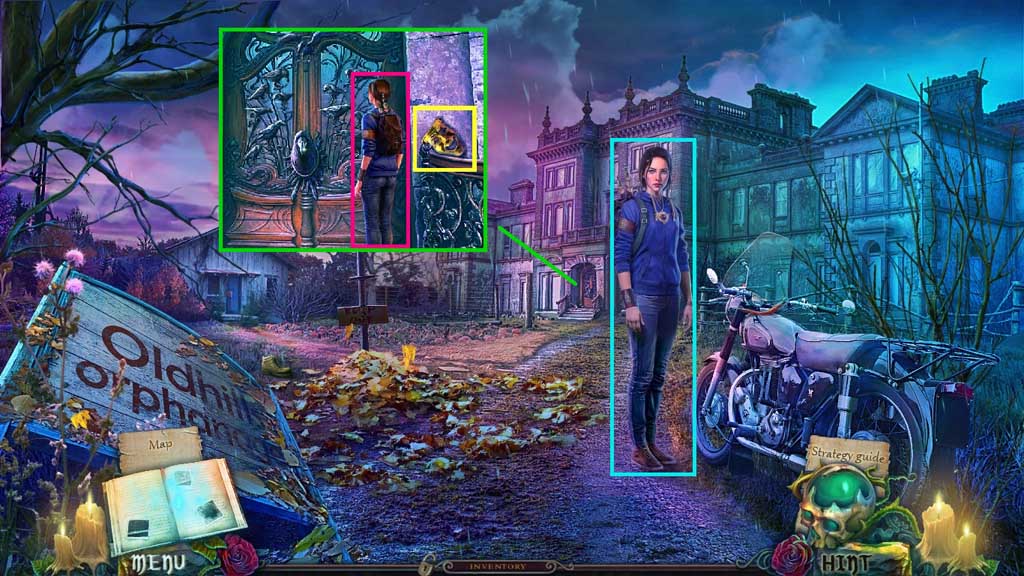
- Speak to Lynn.
- Speak to Lynn and collect the golden mask.
- Move back once.
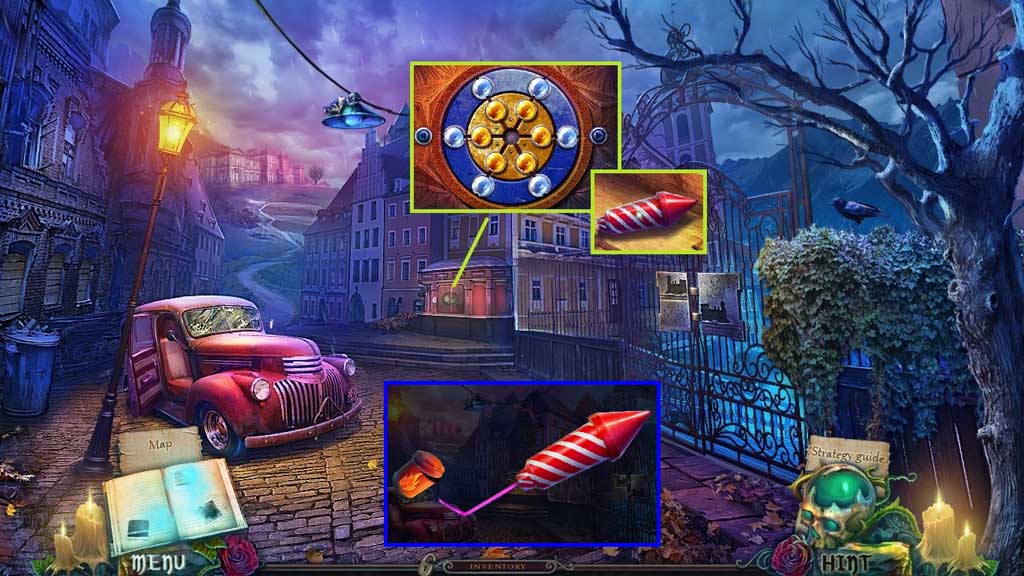
- Place the golden mask to trigger a mini game.
- Solve the game by moving the jewels to their color matched rings.
- Click the rocket casing 2x’s to collect it.
- Click the rocket casing; attach the drinking straw and the gunpowder; collect the rocket.
- Move ahead.
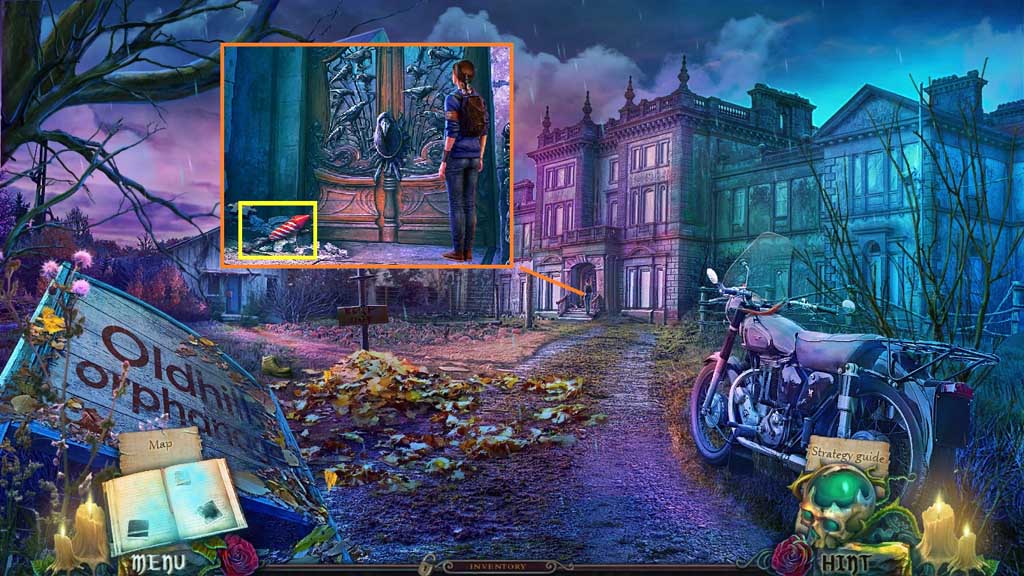
- Place the rocket in the doorway.
- Move into the Main Hall.
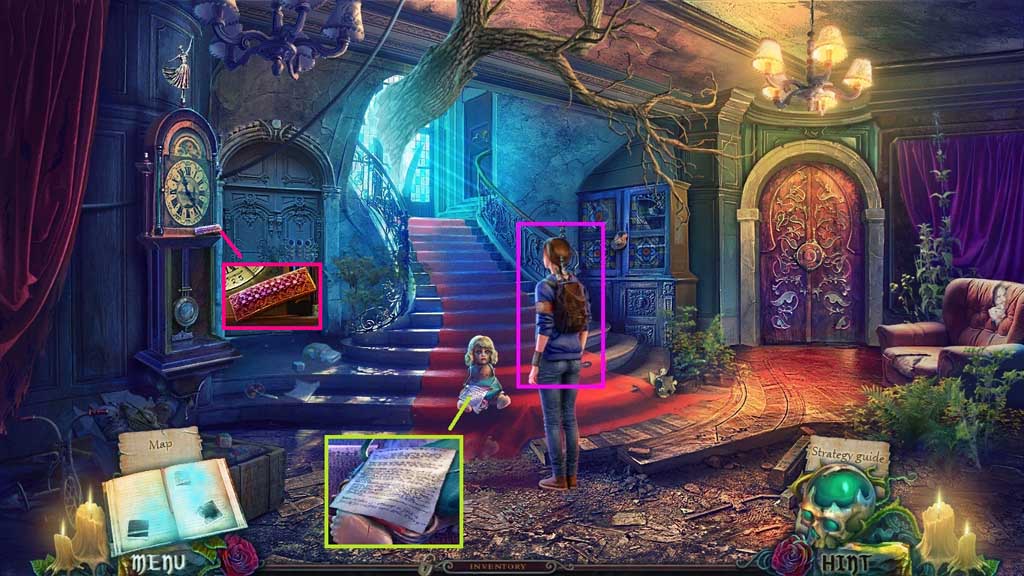
- Speak to Lynn.
- Collect the violet brooch.
- Read the note and collect the jump rope.
- Move down 2x’s.
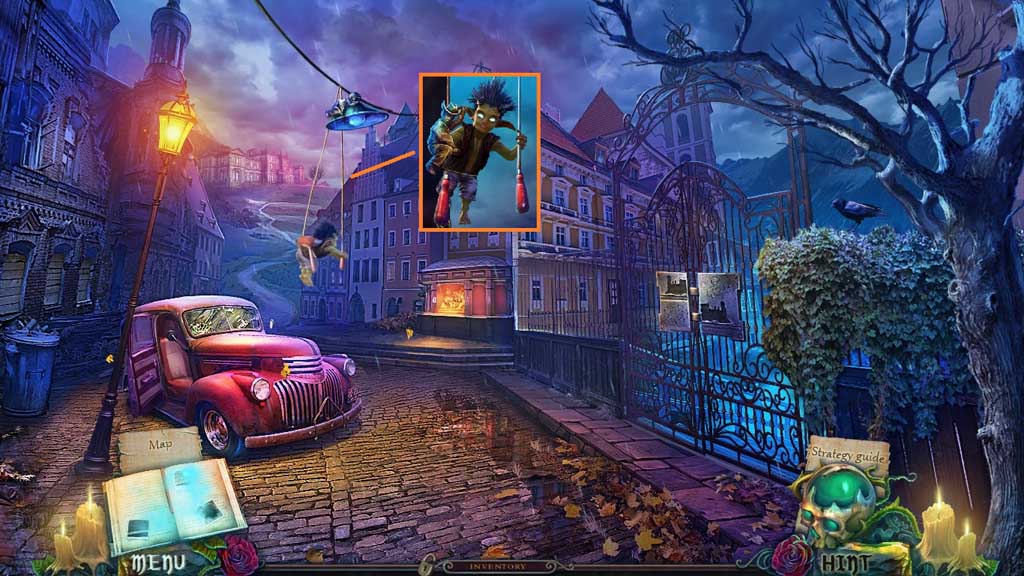
- Select the jump rope to retrieve the toy rider.
- Move to the Main Hall.
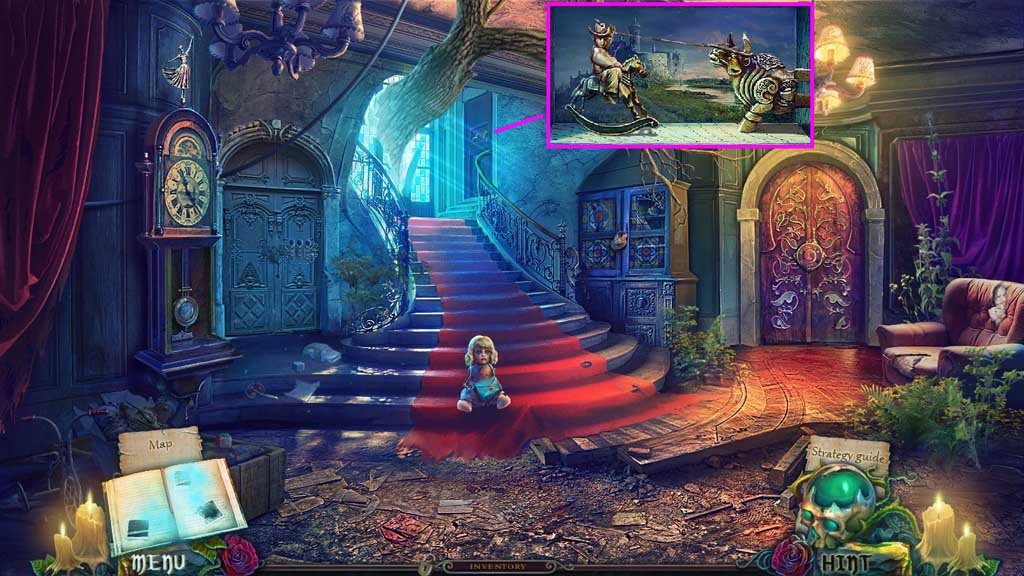
- Place the toy rider.
- Move to the 2nd Floor.
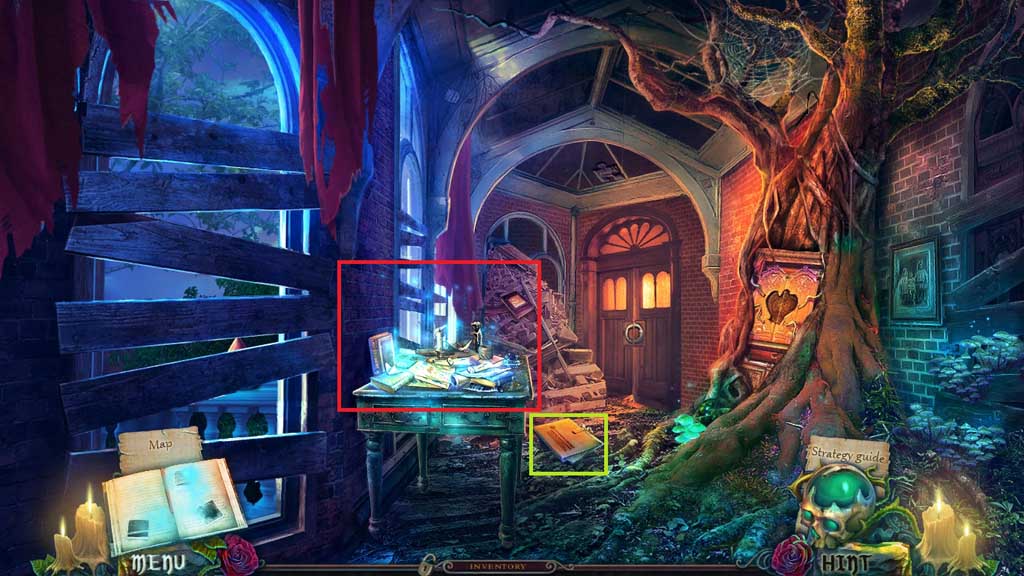
- Read the notes.
- Collect the doll arm.
- Click the hidden objects area.
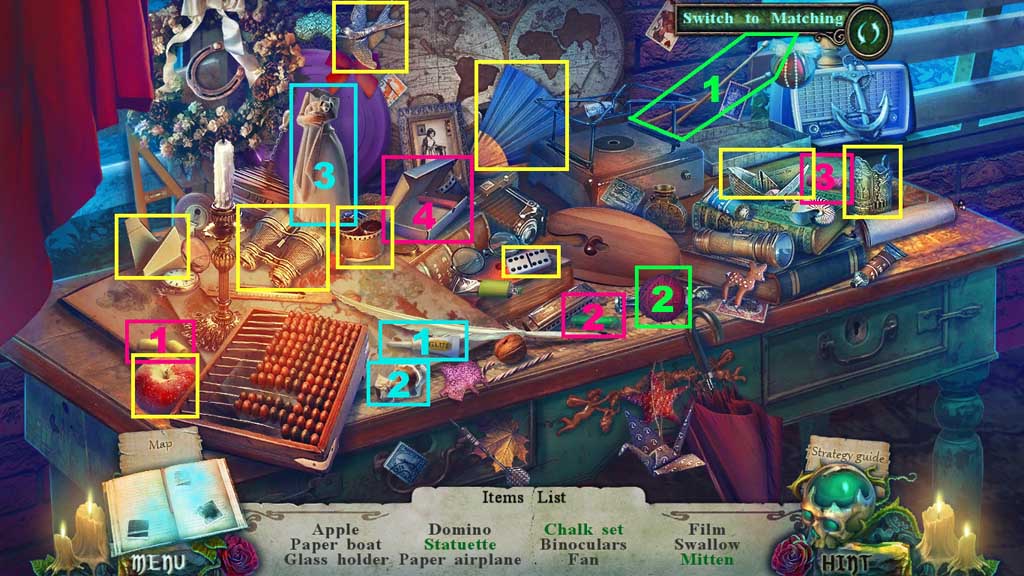
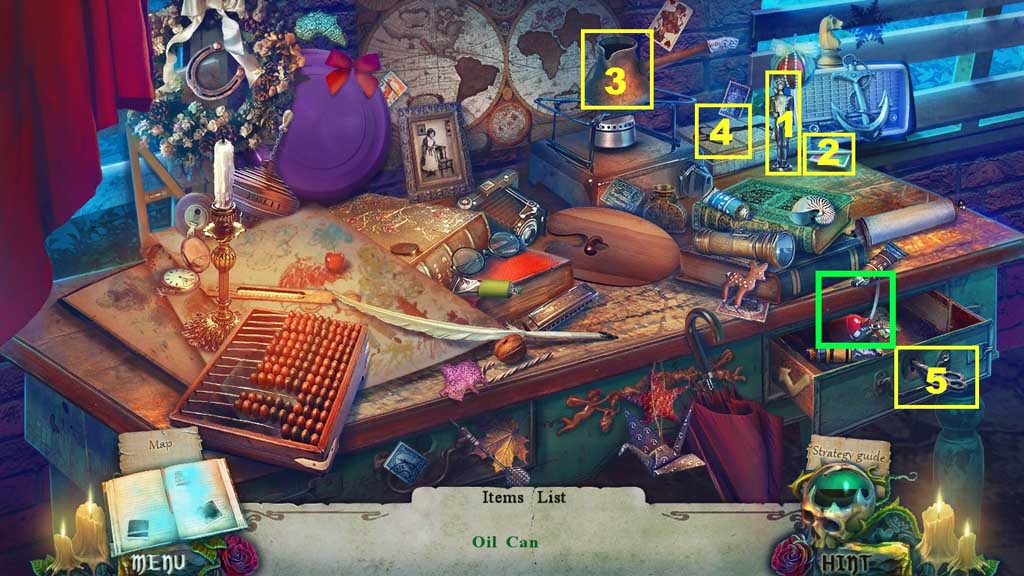
- Find the items.
- Select the glue and the statue head and place them onto the statue; collect the statuette.
- Select the chalk and place them into the box; collect the chalk set.
- Select the needles and place them into the yarn; collect the mitten.
- Click the glowing fragments to complete the mold; click the metal soldier and the matches to create the liquid metal and pour it into the mold.
- Collect the key and insert it into the drawer.
- Collect the oilcan.
- Move down once.
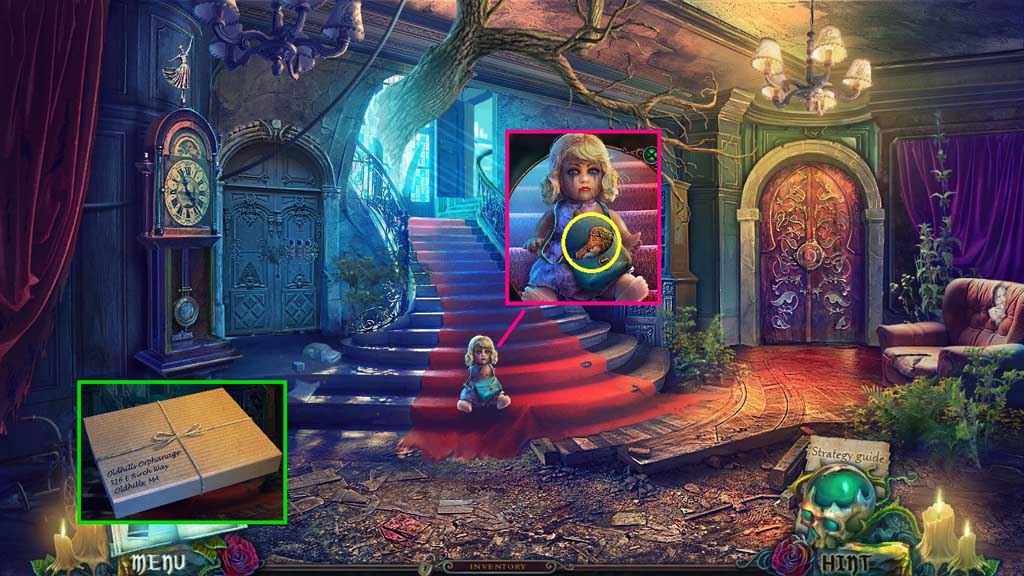
- Attach the doll arms; collect the angel emblem piece.
- Click the gift 2x’s; collect the angel emblem piece.
- Move ahead once.
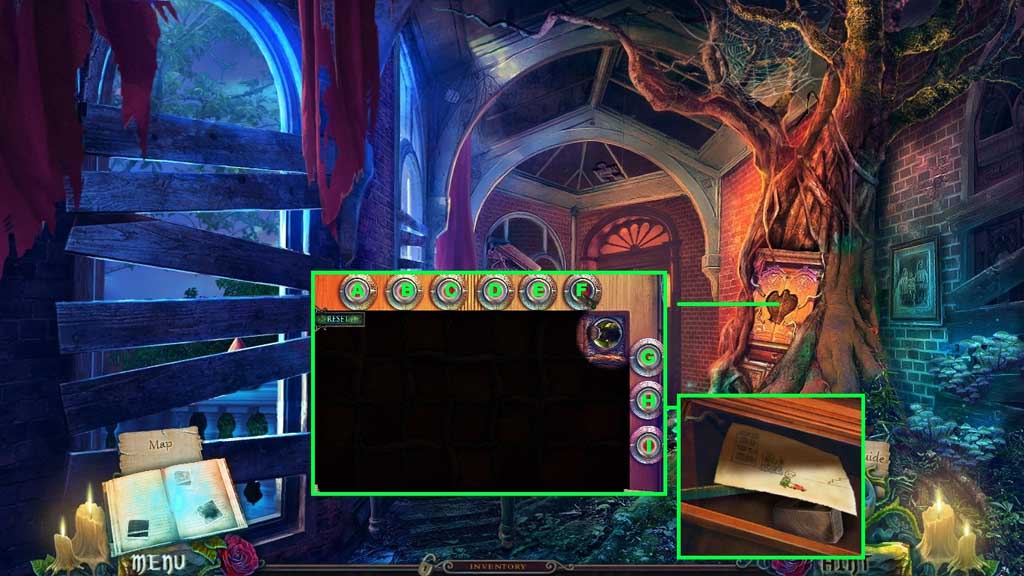
- Insert the angel emblem pieces and zoom in to trigger a mini game.
- Solve the game by guiding the Imp through the maze.
- Use the following sequence to solve: I – A- B – H – C –H – I – D – E – I – F – H – F – G - F
- Examine the picture; collect the file and the hammerhead.
- Move down once.
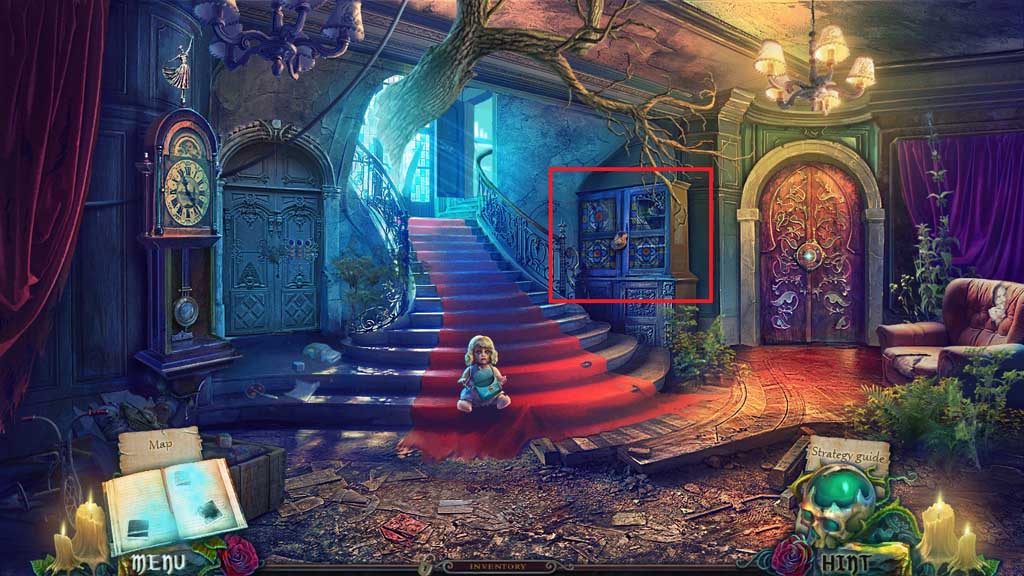
- Select the file to open the lock and trigger a hidden objects area.
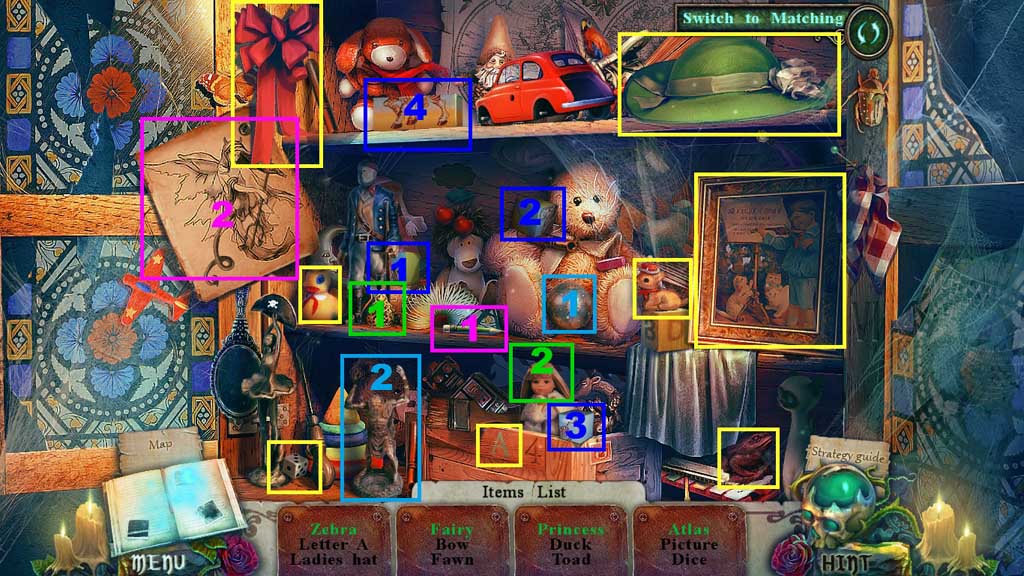
- Find the items.
- Select the blocks and stack them; collect the zebra.
- Select the pencil to erase a portion of the drawing; collect the fairy.
- Select the crown and place it onto the doll; collect the princess.
- Select the globe and place it onto the statue; collect the atlas.
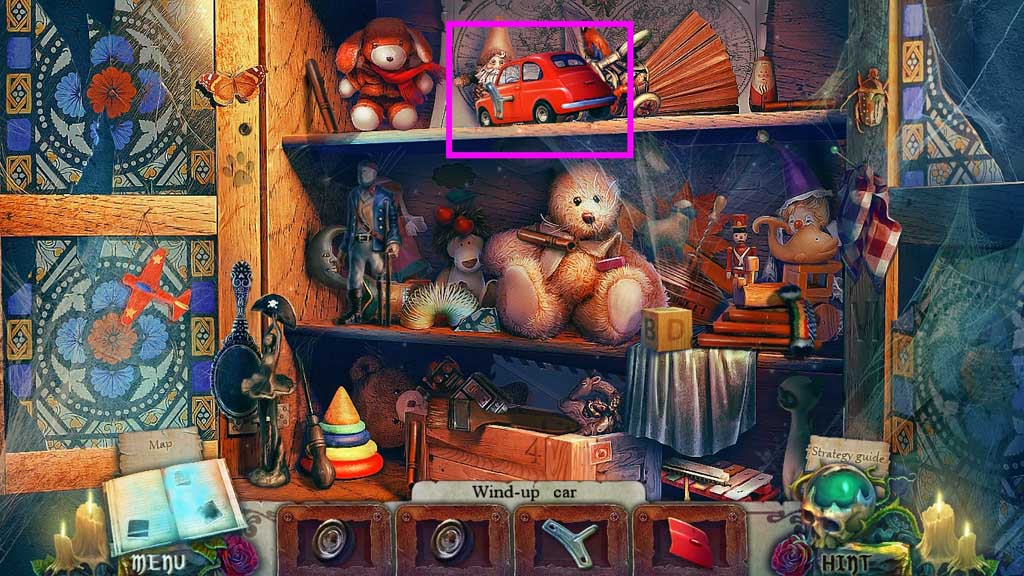
- Place the parts correctly.
- Collect the wind up car.
- Move down once.
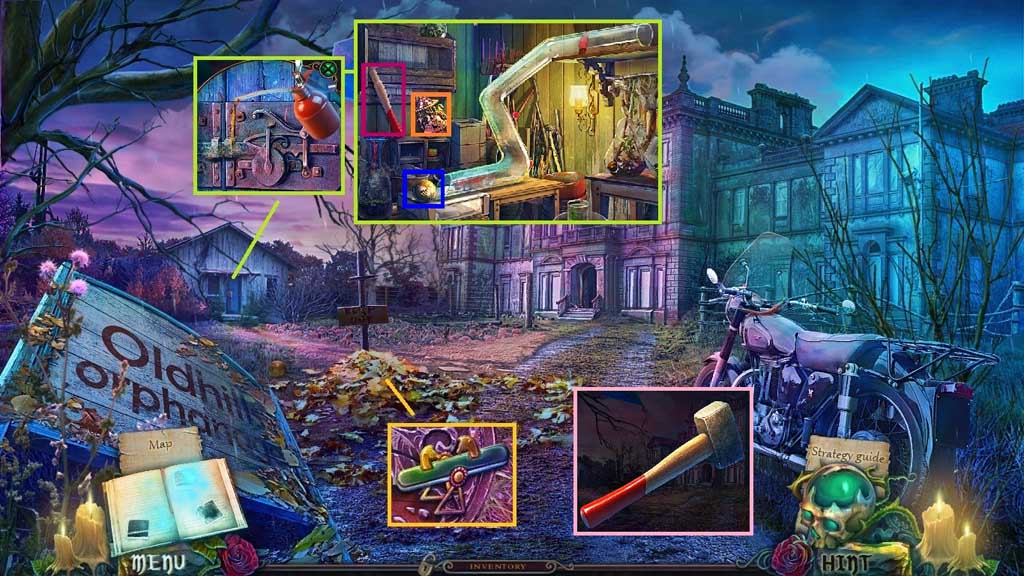
- Click the leaves; collect the seesaw symbol.
- Select the oilcan to lubricate the latch and zoom inside.
- Insert the wind up car into the tube; collect the bee marble, the handle and the carousel symbol.
- Click the hammerhead and attach the handle; collect the hammer.
- Move to the 2nd Floor.
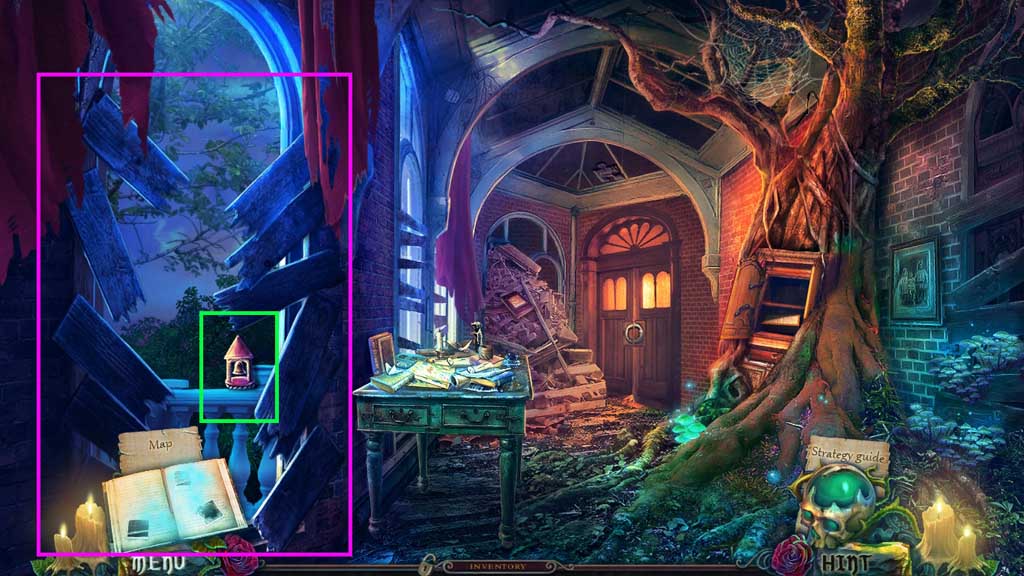
- Select the hammer to smash the boards; collect the bell tower symbols.
- Move down once.
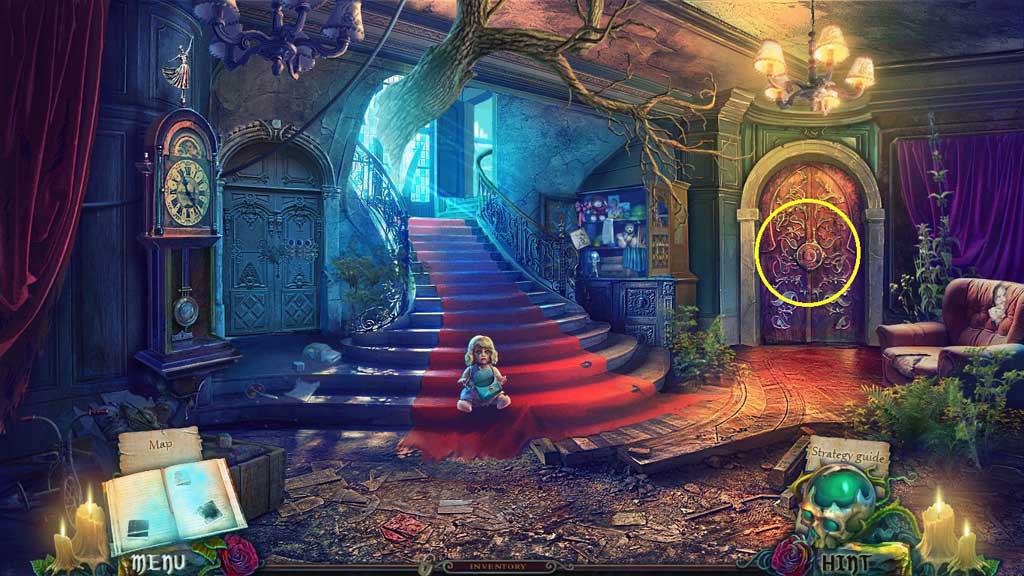
- Insert the seesaw, carousel and bell tower symbols.
- Enter the Courtyard.
Comments will load when you reach this part of the walkthrough.