

Chapter Five: Peter Pan
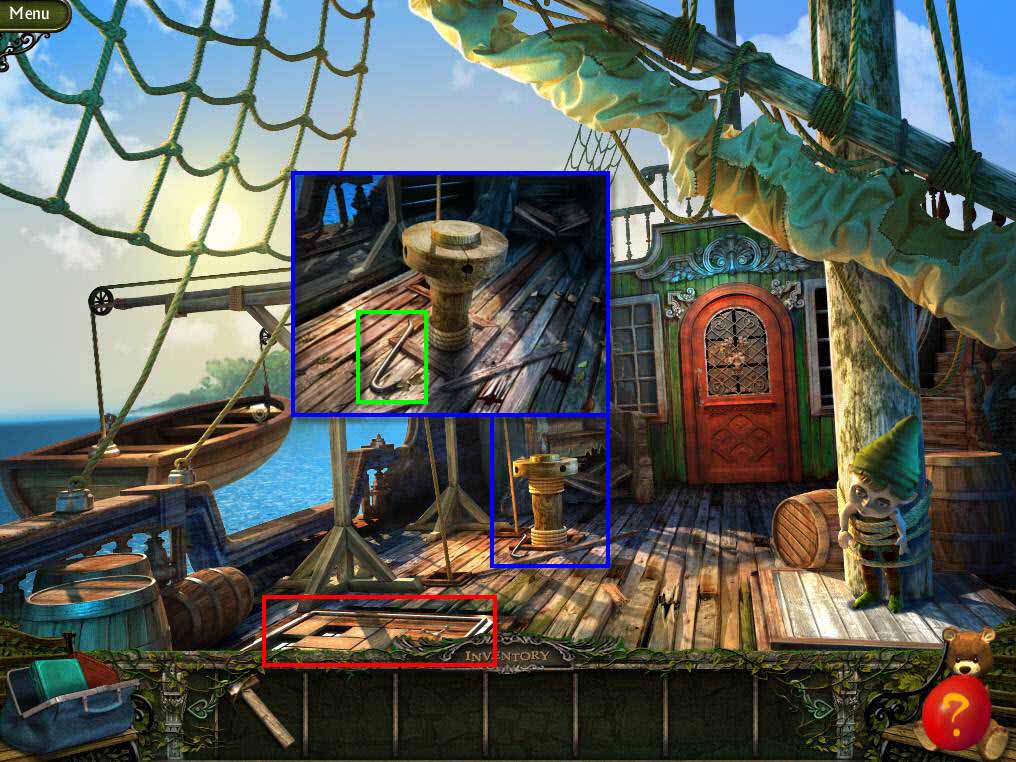
- Click on the mechanism to zoom in.
- Take the CROWBAR.
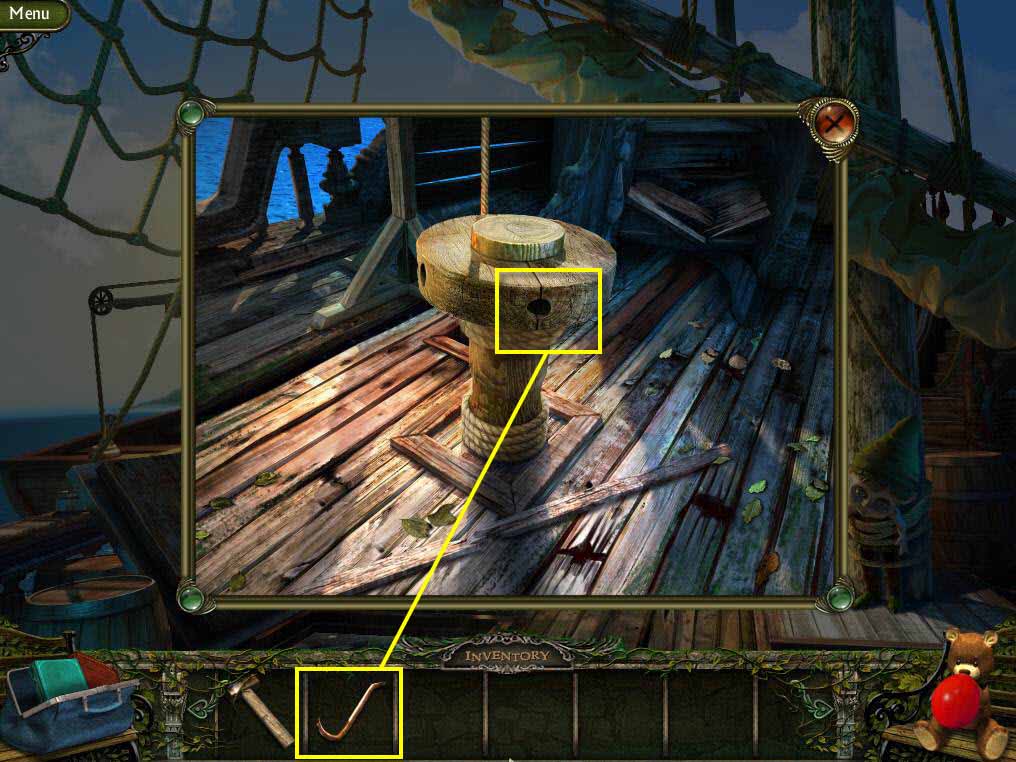
- Use the CROWBAR on the mechanism.
- Click to turn it.
- Take the CROWBAR again.
- Click on the hatch on the deck to start a mini-game.
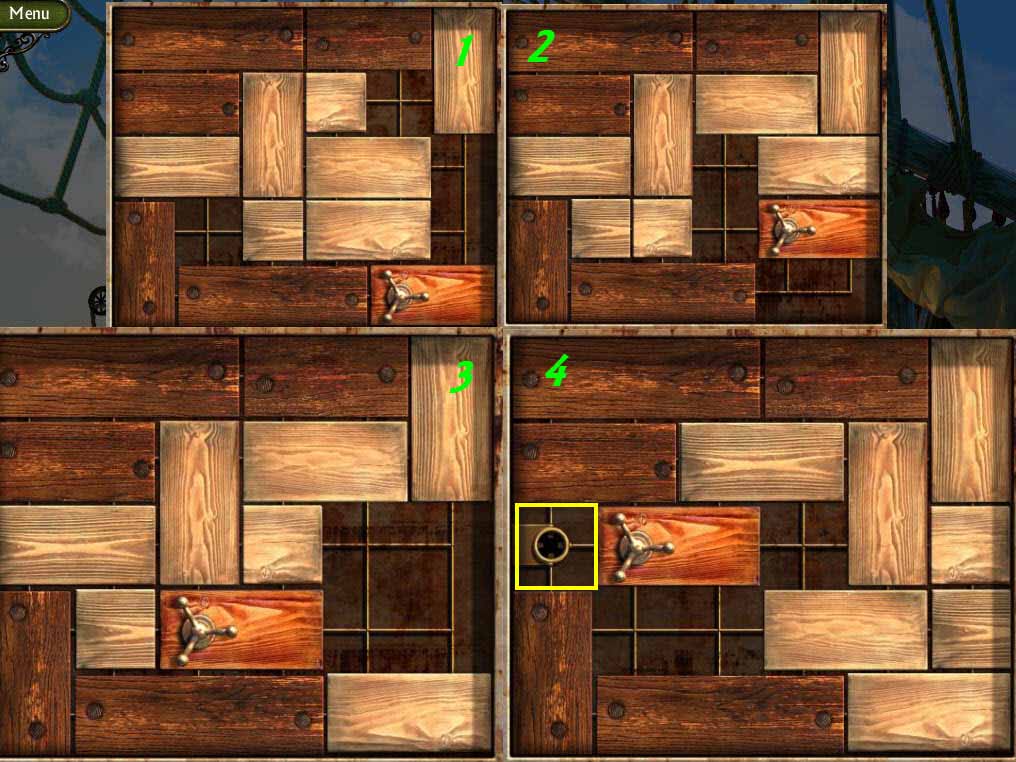
- The goal of the puzzle is to get the lock to the keyhole.
- The keyhole is hidden under one of the tiles.
- Move the blocks so that the lock meets the keyhole.
- See the screenshot for the solution.
- When complete, go down the hatch to the lower deck.
- Click on the sparkles to play the HOS.
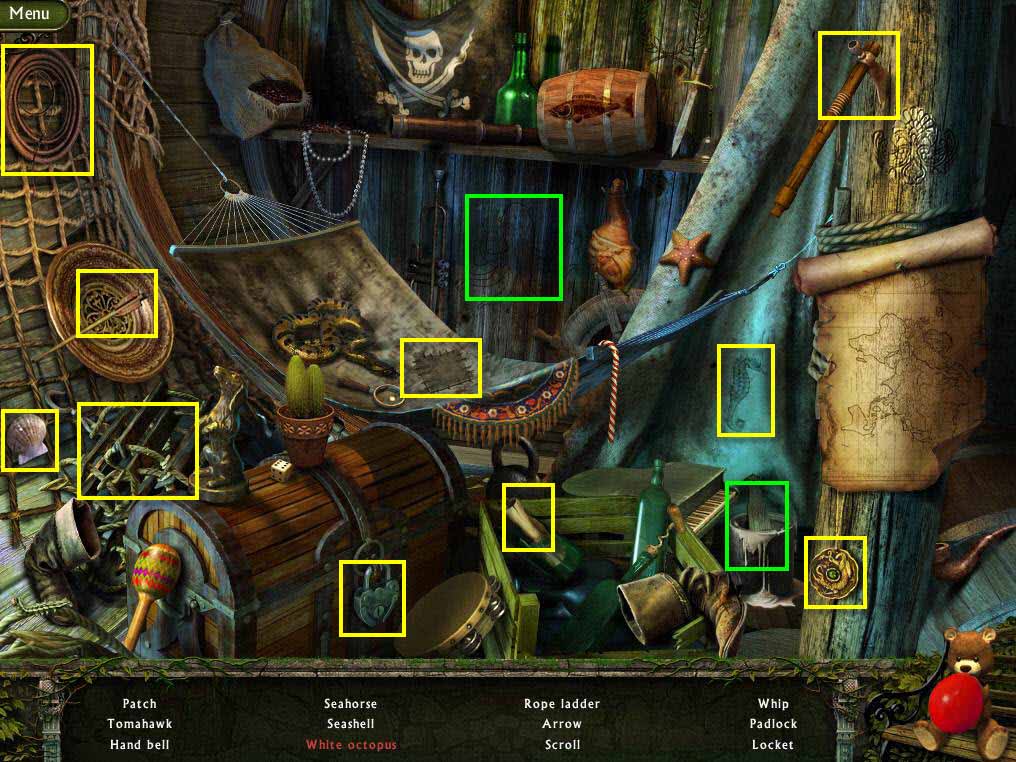
- Find all the items on the list.
- You will receive the ROPE LADDER.
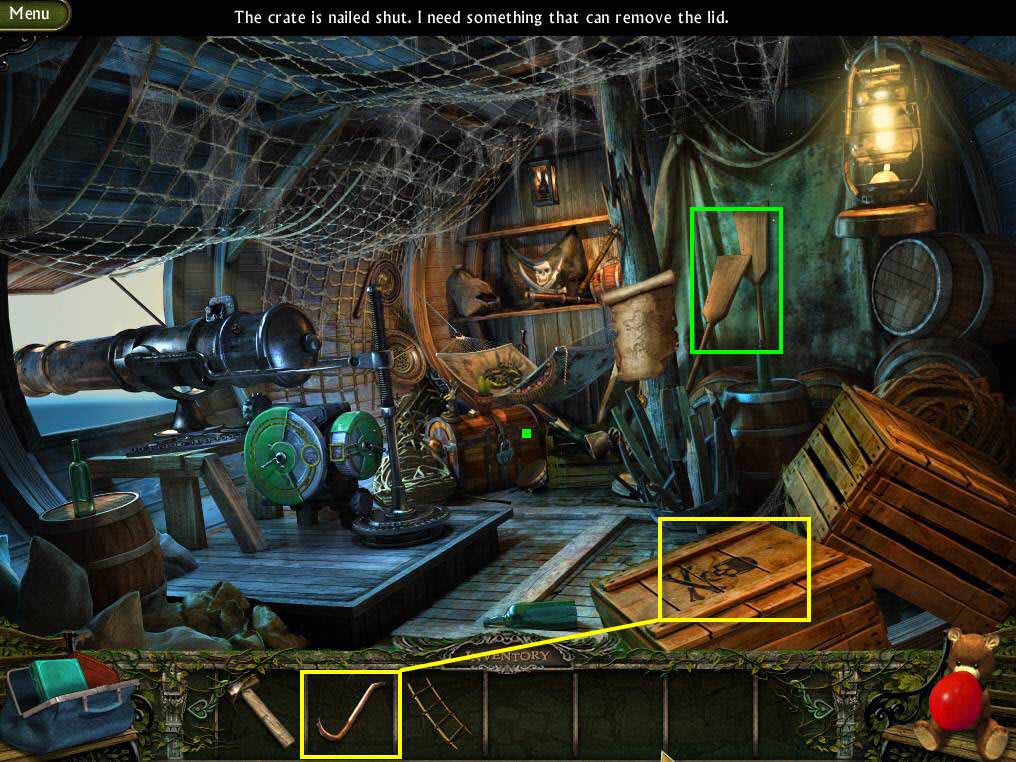
- Use the CROWBAR on the crate in front of you.
- Click to zoom in on the open crate.
- Take the CANNONBALL.
- Take the OARS.
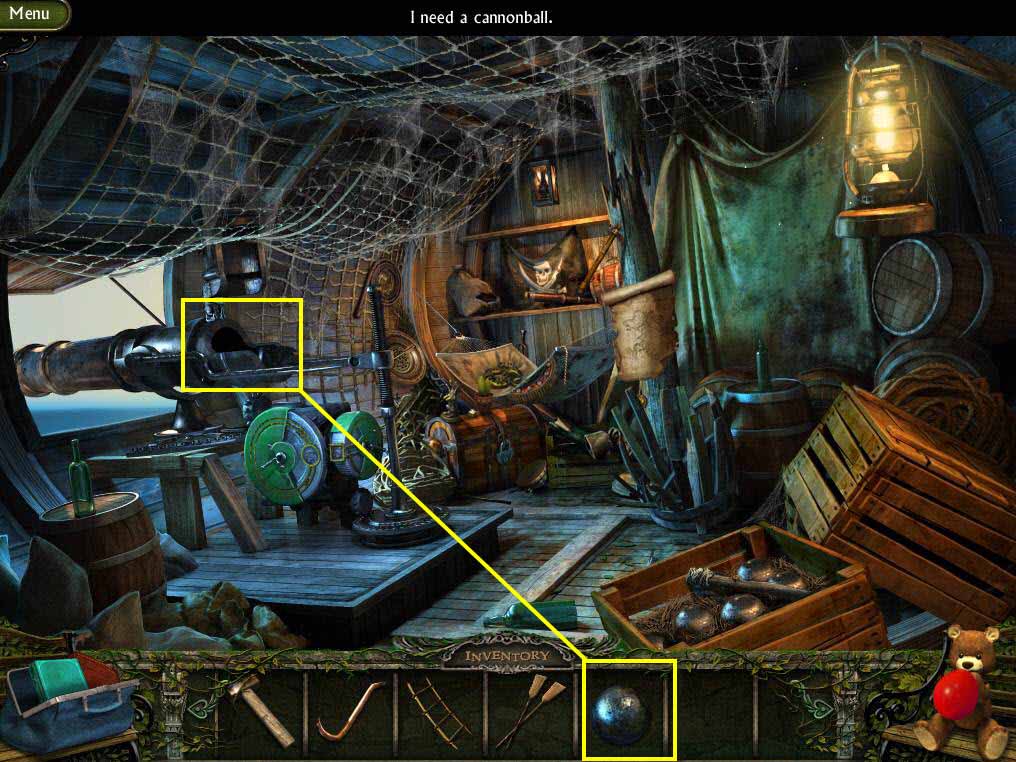
- Click on the cannon to remove the back panel.
- Use the CANNONBALL on the back of the cannon.
- Go back one screen.
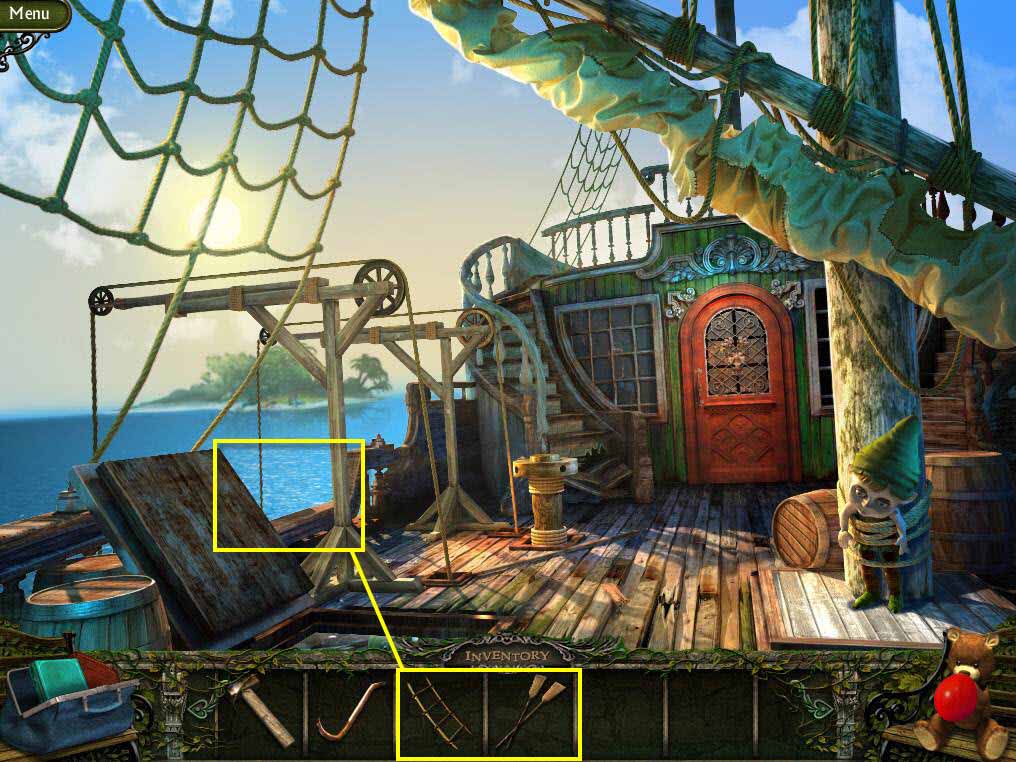
- Click on the area where the boat was lowered to zoom in.
- Use the ROPE LADDER on the side of the boat.
- Use the OARS on the boat.
- Click on the boat to go to shore.
- Go forward one screen.
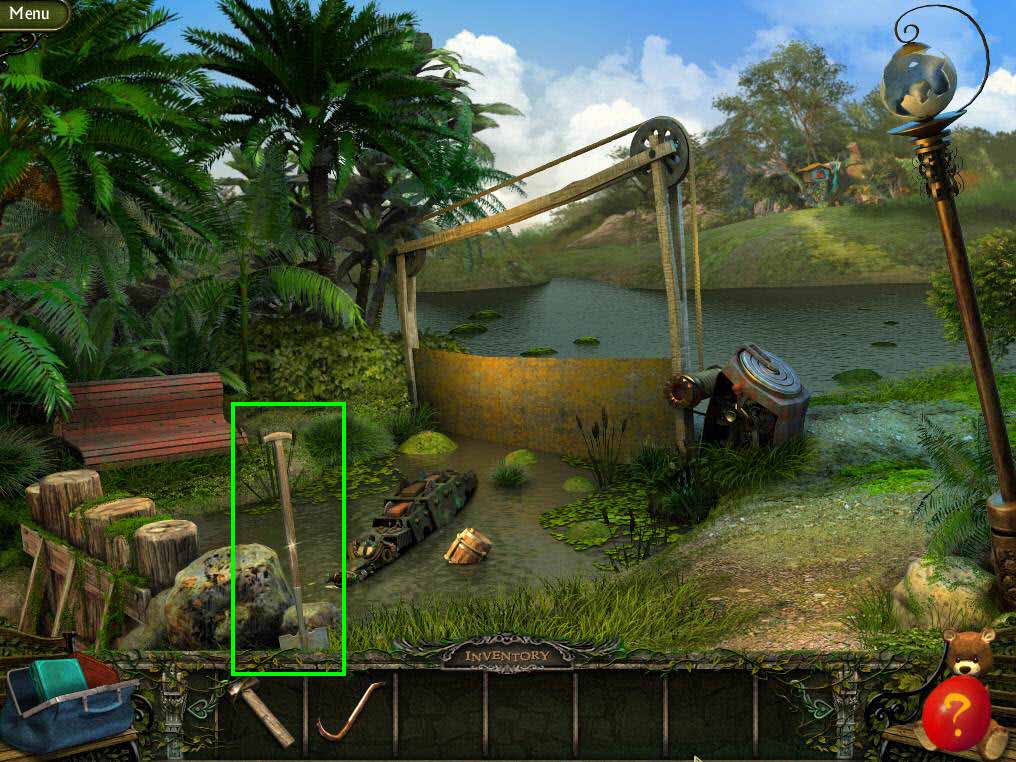
- Take the SHOVEL.
- Go back one screen.
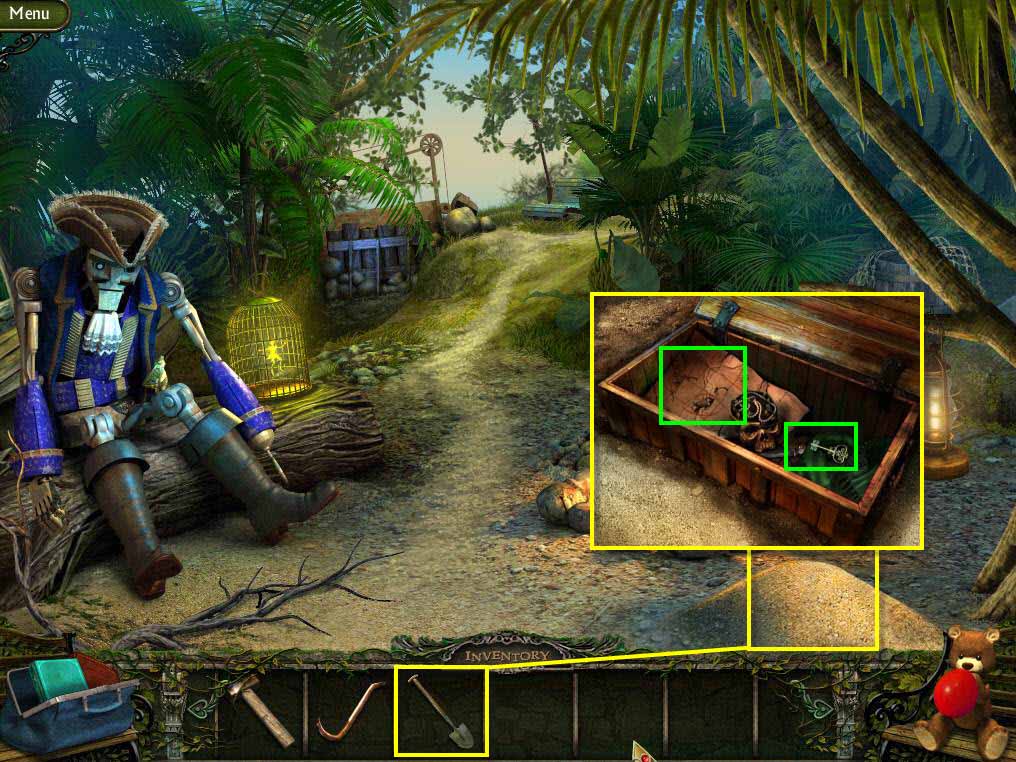
- Use the SHOVEL on the pile of sand.
- Click on the chest to open it. Click again to zoom in.
- Take the KEY and the MAP FRAGMENT.
- Return to the ship.
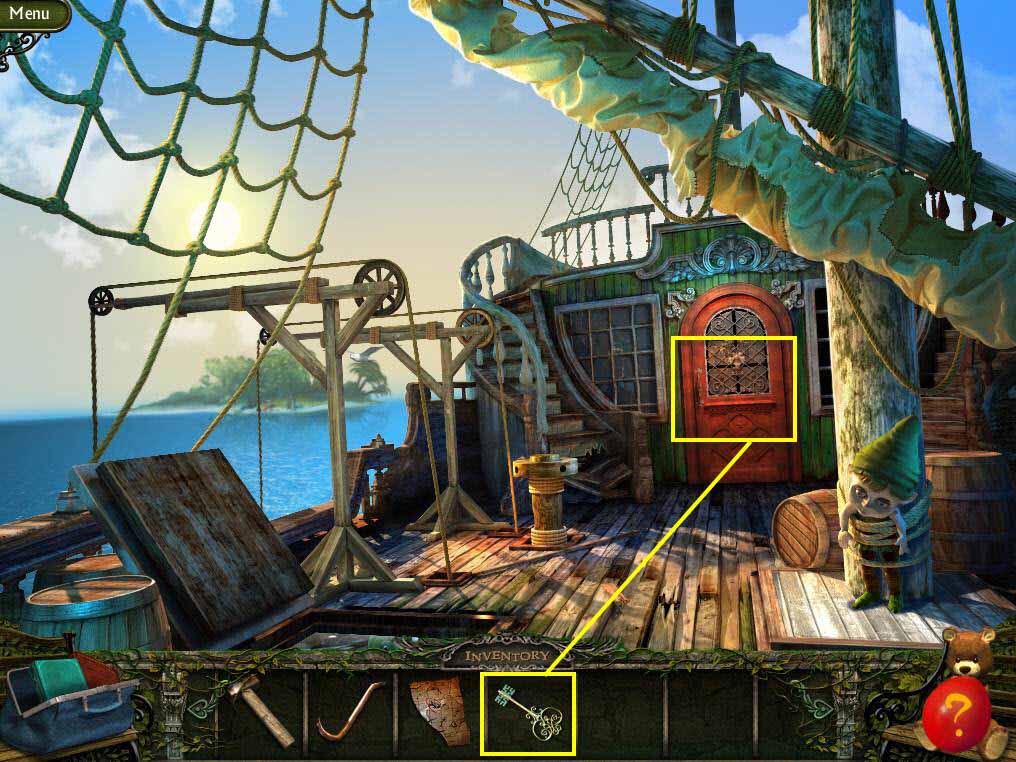
- Click on the door to zoom in.
- Use the KEY on the door.
- Go inside.
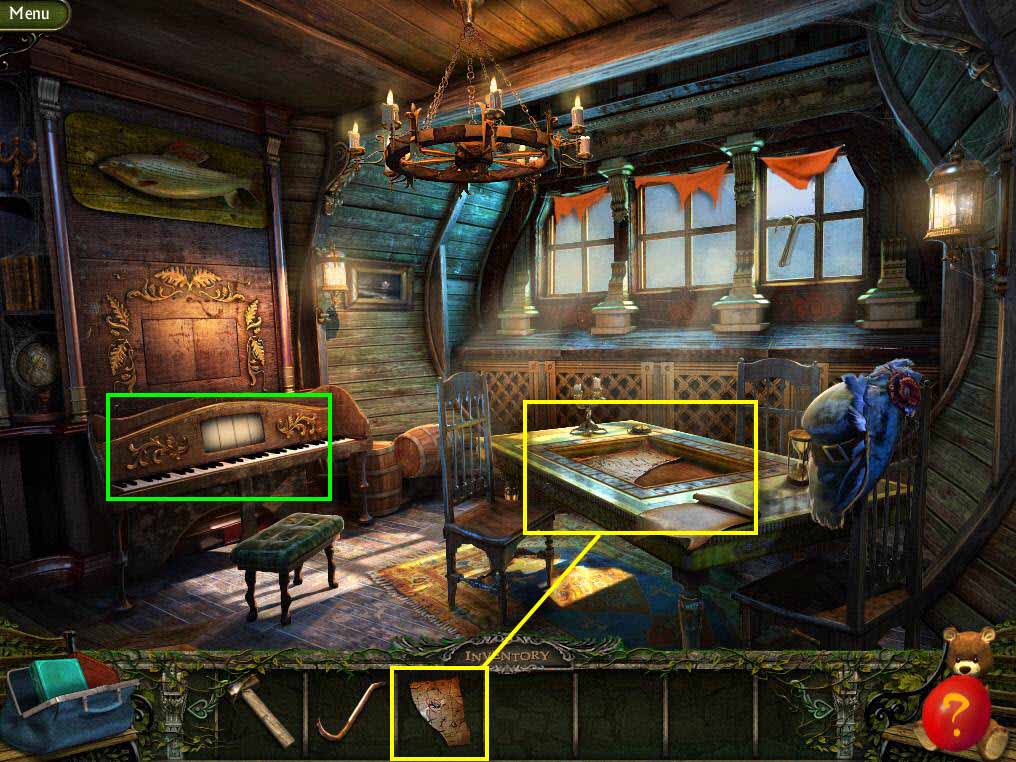
- Click on the table to zoom in.
- Use the MAP FRAGMENT on the table.
- You now have the cannon coordinates.
- Click on the organ to start a mini-game.
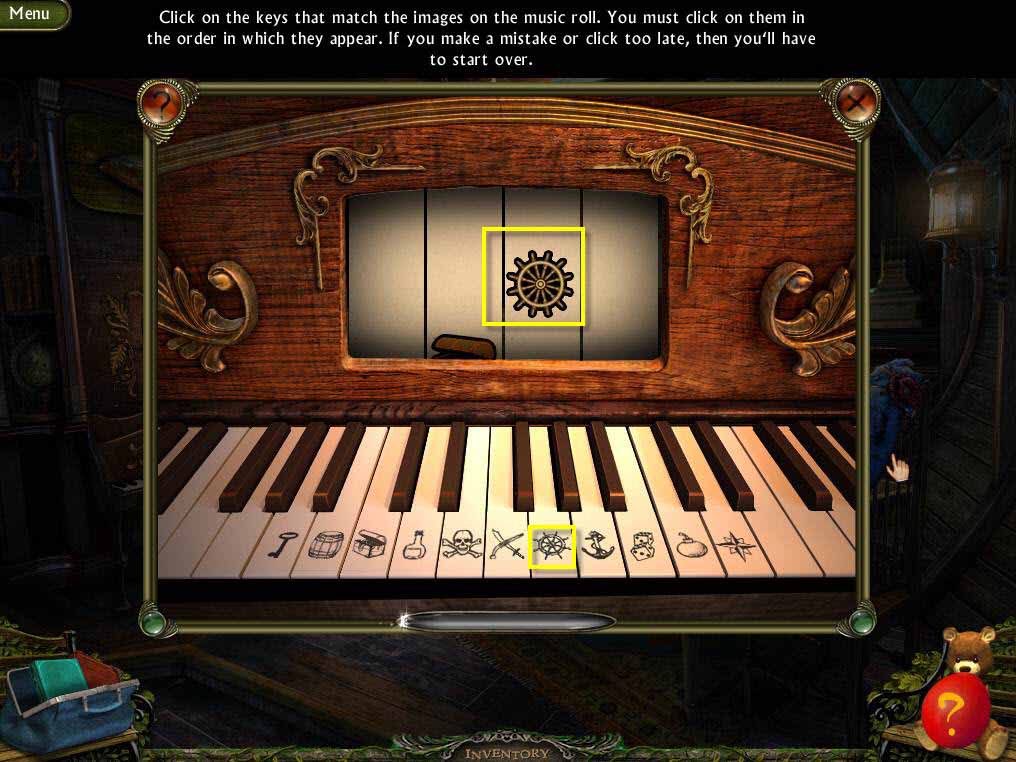
- The goal of the game is to click on the key that matches the symbol in the order they appear.
- When you are done, click on top of the organ and take the ROPE.
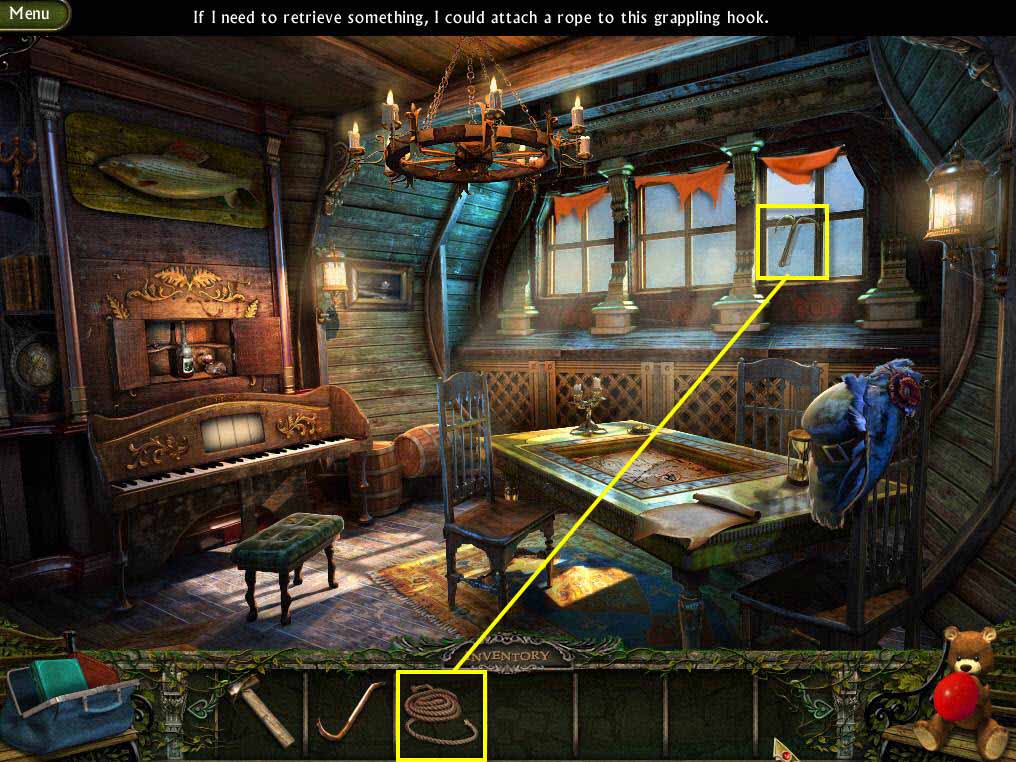
- Click on the window to zoom in.
- Use the ROPE on the hook.
- Take the GRAPPLING HOOK.
- Go back below deck and click on the sparkles to play the HOS.
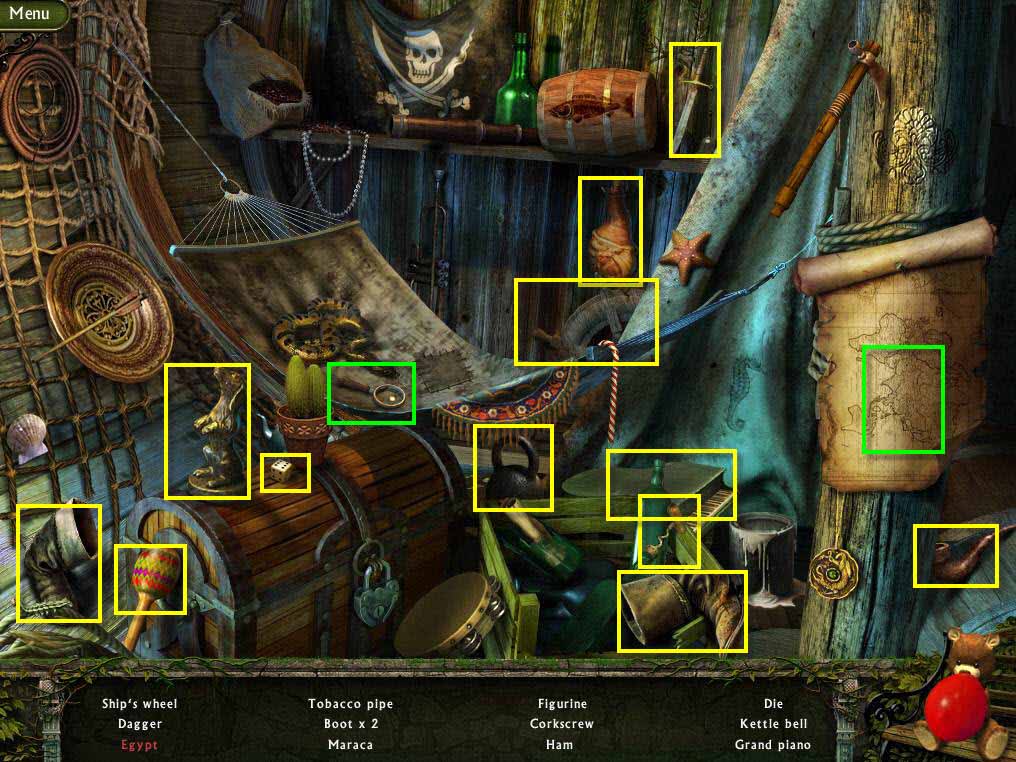
- Find all the items on the list.
- You will receive the CORKSCREW.
- Go back to the cabin.
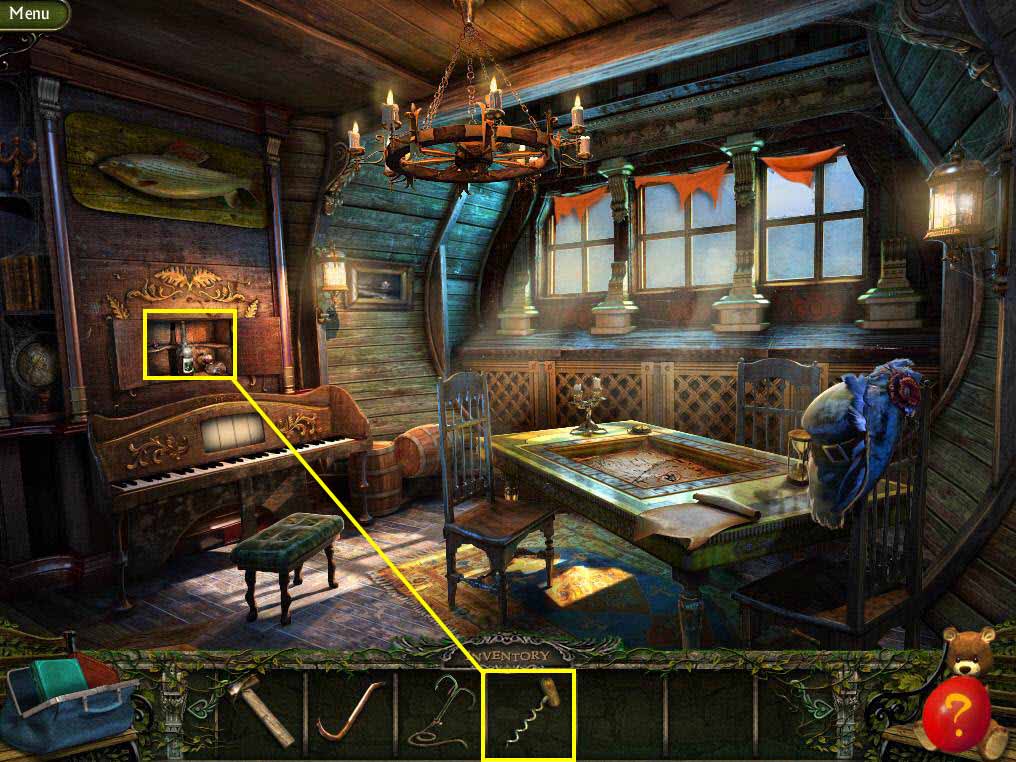
- Click on the run to zoom in.
- Use the CORKSCREW on the bottle.
- Take the RUM.
- Go back below deck.
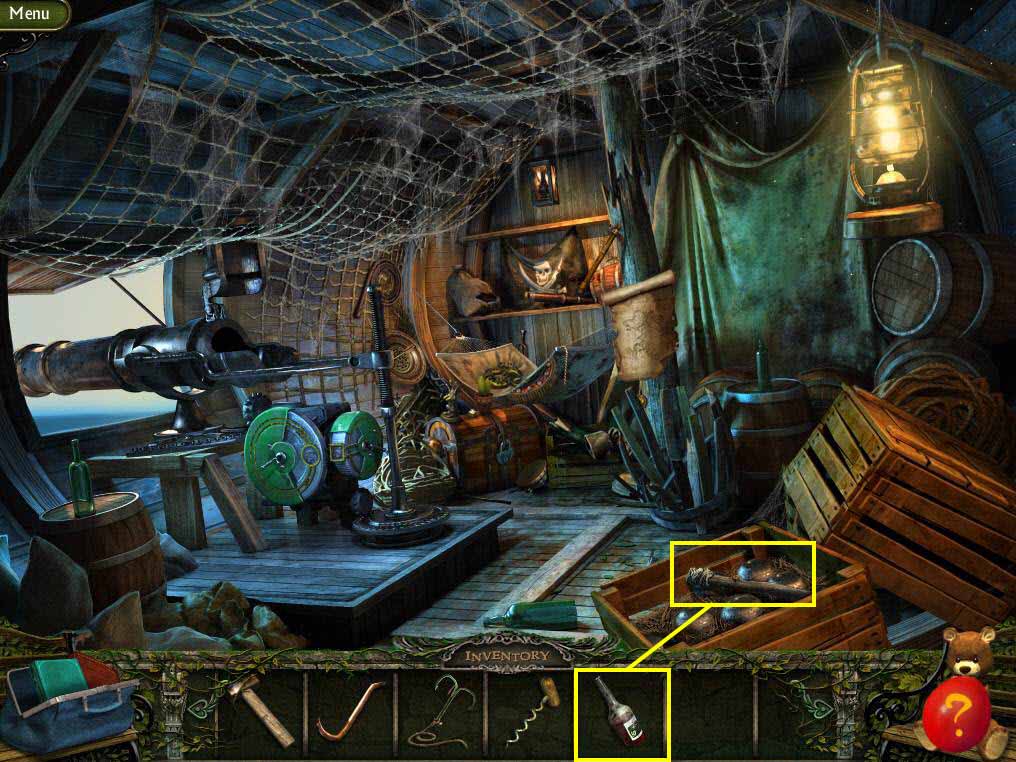
- Click on the open crate.
- Use the RUM on the torch.
- Take the TORCH.
- Go back to the island.
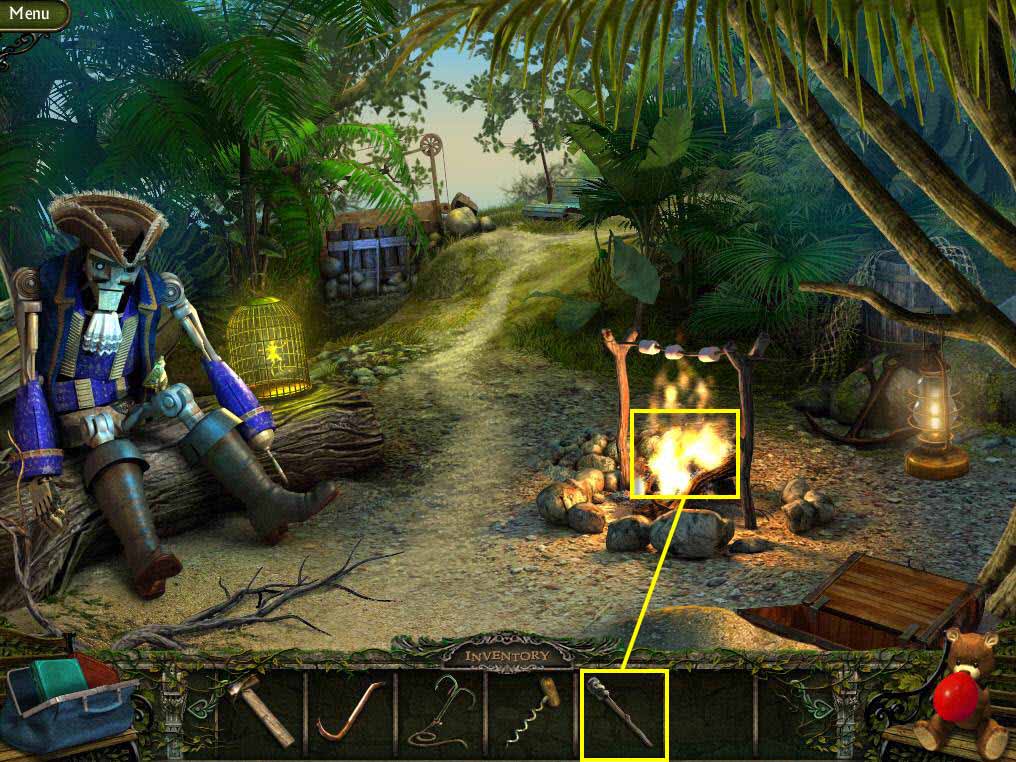
- Use the TORCH on the fire to light it.
- You will receive the BURNING TORCH.
- Go forward one screen.
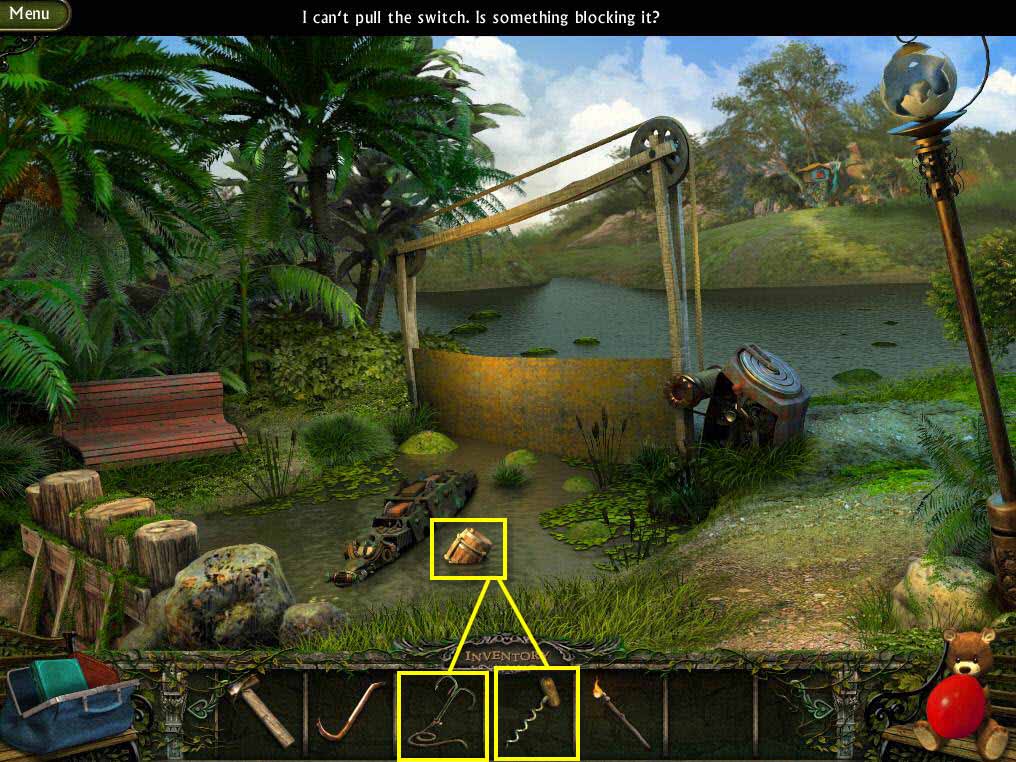
- Click on the barrel by the crocodile to zoom in.
- Use the GRAPPLING HOOK on the barrel.
- Use the CORKSCREW to remove the cork.
- Take the GUNPOWDER.
- Go back to the ship and go below deck.
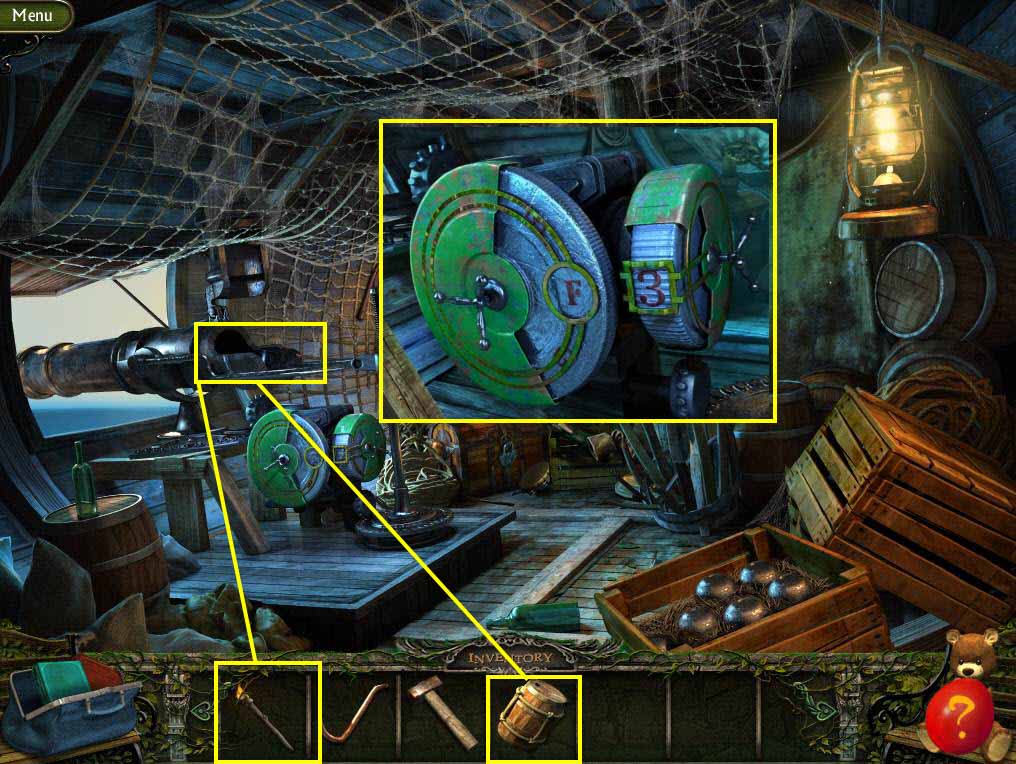
- Click on the coordinates on the cannon.
- Set them to F3.
- Use the GUNPOWDER on the cannon.
- Click to close the cannon.
- Use the BURNING TORCH on the fuse to light it.
- Go back to the screen with Captain Hook.
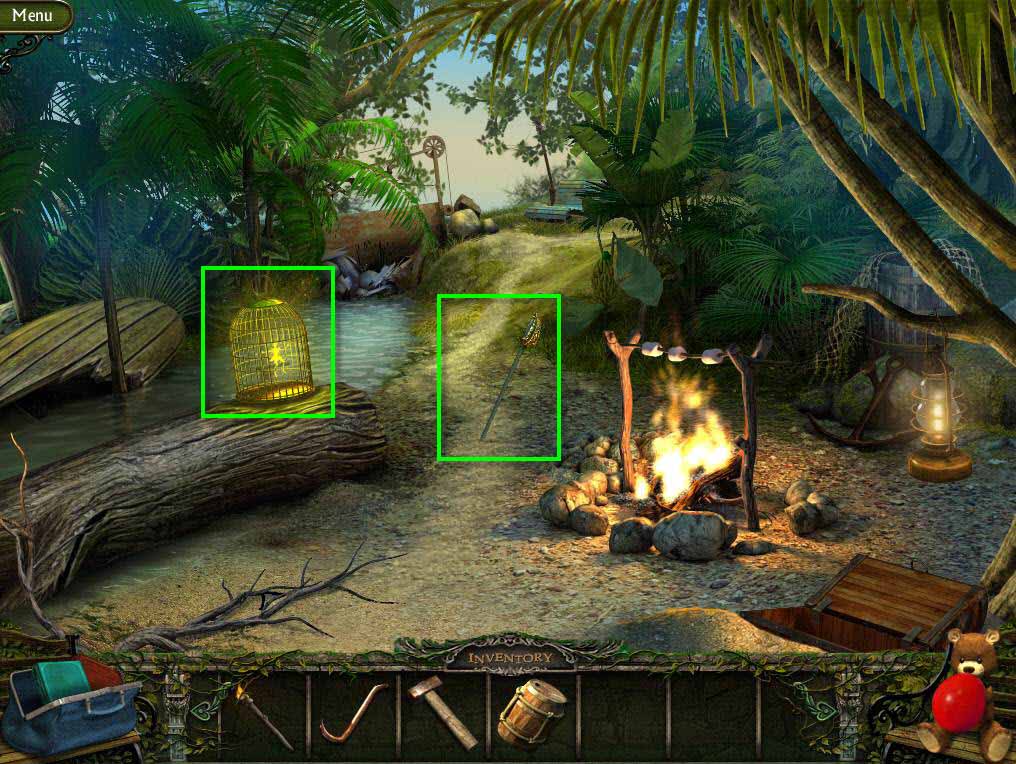
- Take the SABRE.
- Click on the cage to zoom in.
- Take TINKER BELL.
- Return to the ship.
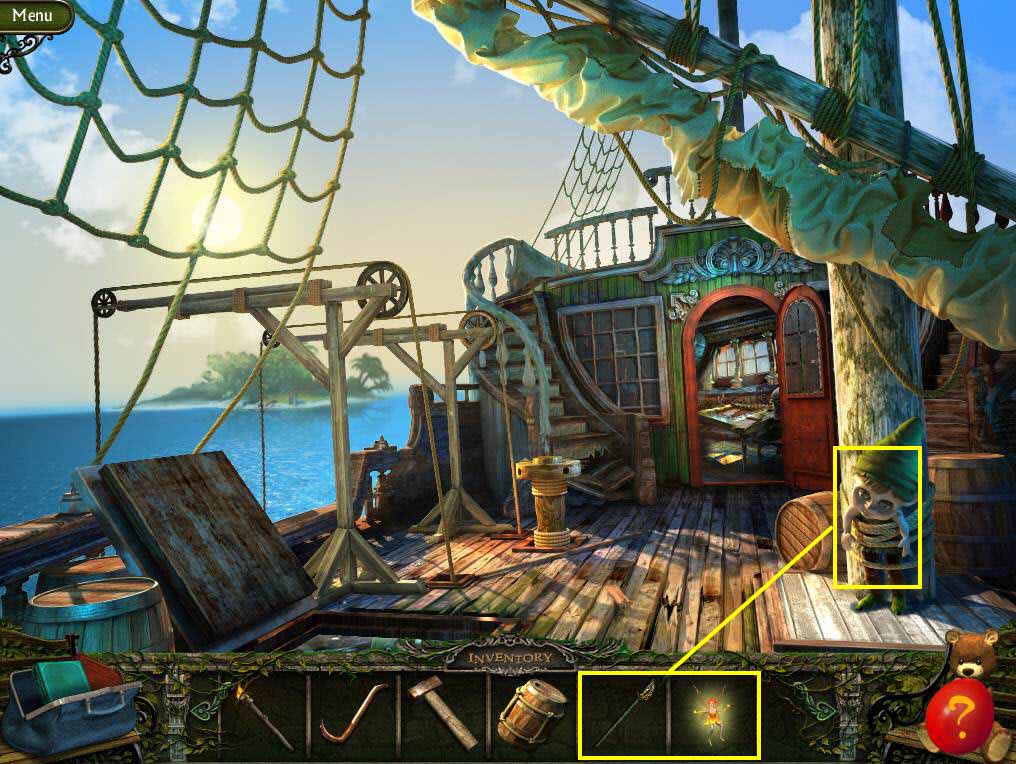
- Use the SABRE on the ropes to release the doll.
- Use TINKER BELL on the doll.
- Take the note Mr. Dudley drops.
- Go to the island and then forward one screen.
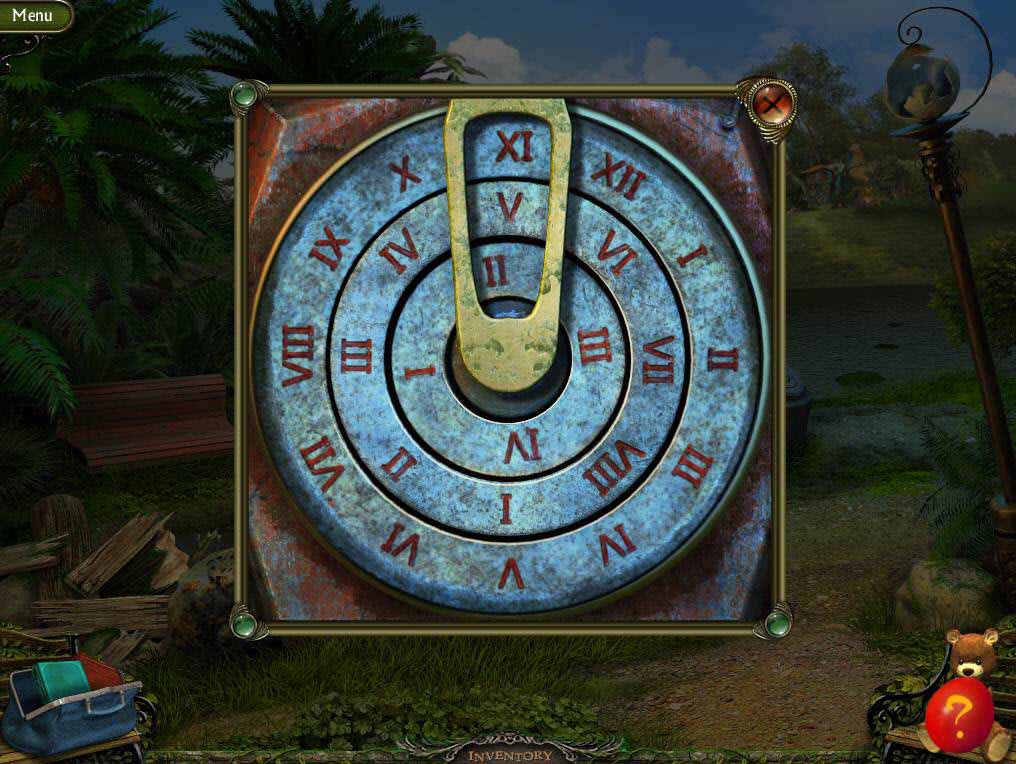
- Click on the mechanism to zoom in.
- Input from top to bottom - XI, V, II
- Pull the lever when done and go forward.
Comments will load when you reach this part of the walkthrough.