
Chapter Four: Ferry
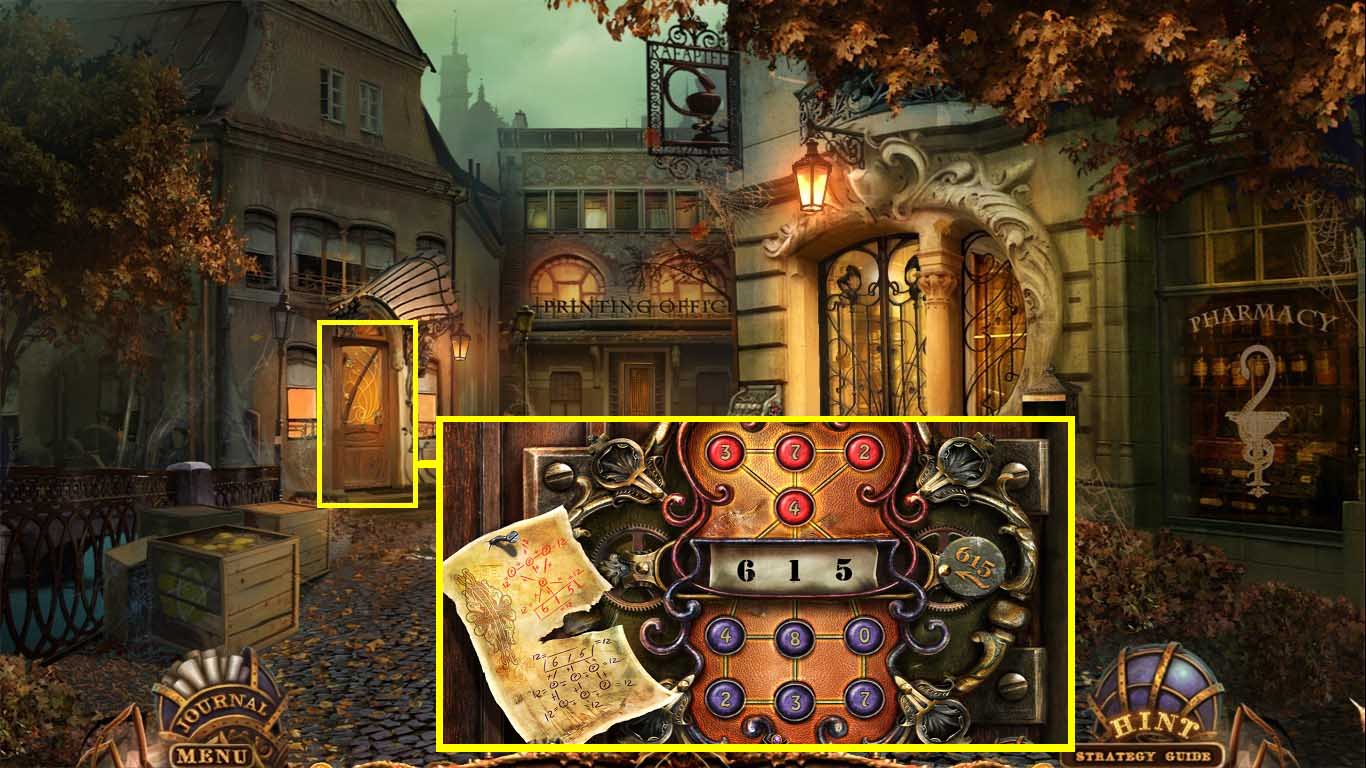
- Insert the 615 into the device the start the game.
- Adjust the numbers making all combinations add up to 12.
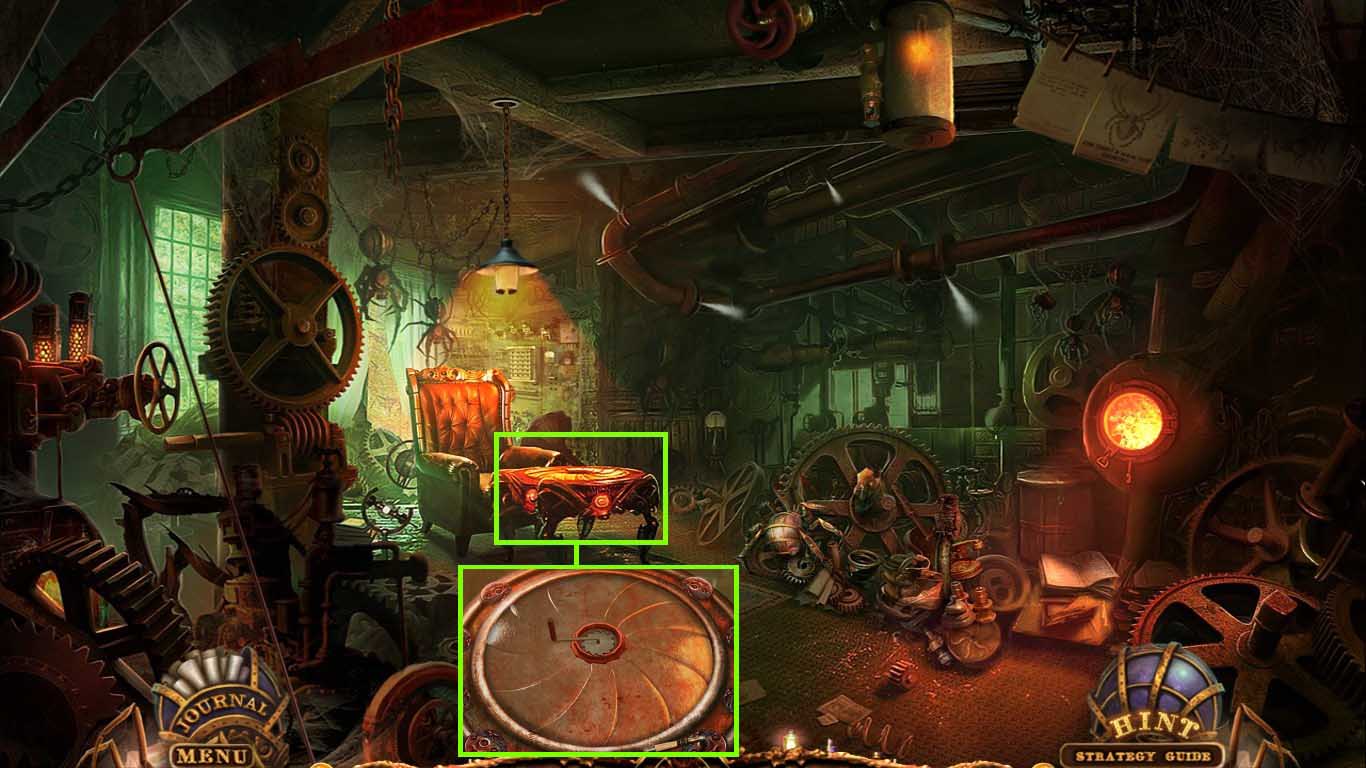
- Go into Santo’s house.
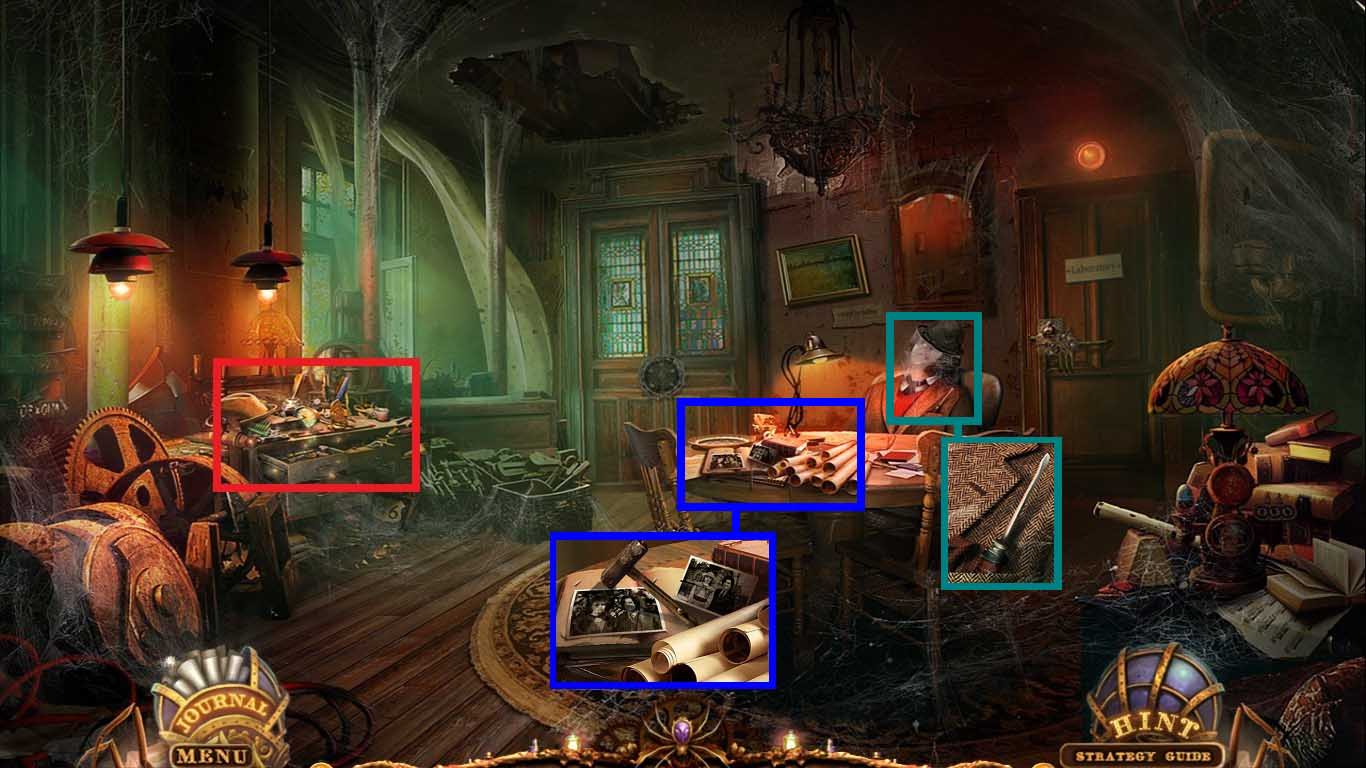
- Click the table.
- Click the photos and collect the ferry lever.
- Zoom into Santo and collect the screwdriver.
- Click the bureau to access the hidden objects area.
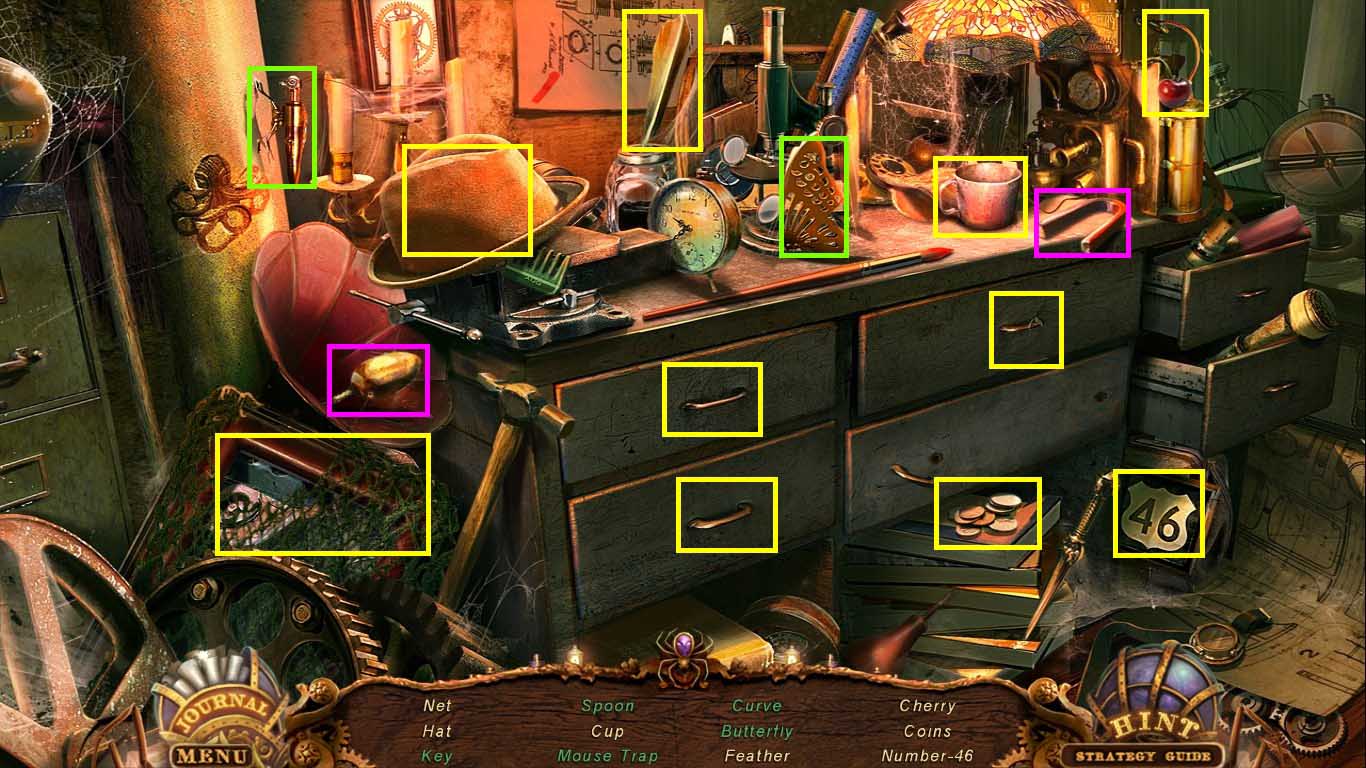
- Find all the listed items.
- Click the top right drawer to uncover the mousetrap.
- Click the bottom left drawer to uncover the curve.
- Click the top left drawer to uncover the key.
- Place the wings on the body to create the butterfly.
- Use the magnet to get the spoon.
- Collect the net.
- Go to the printing office.
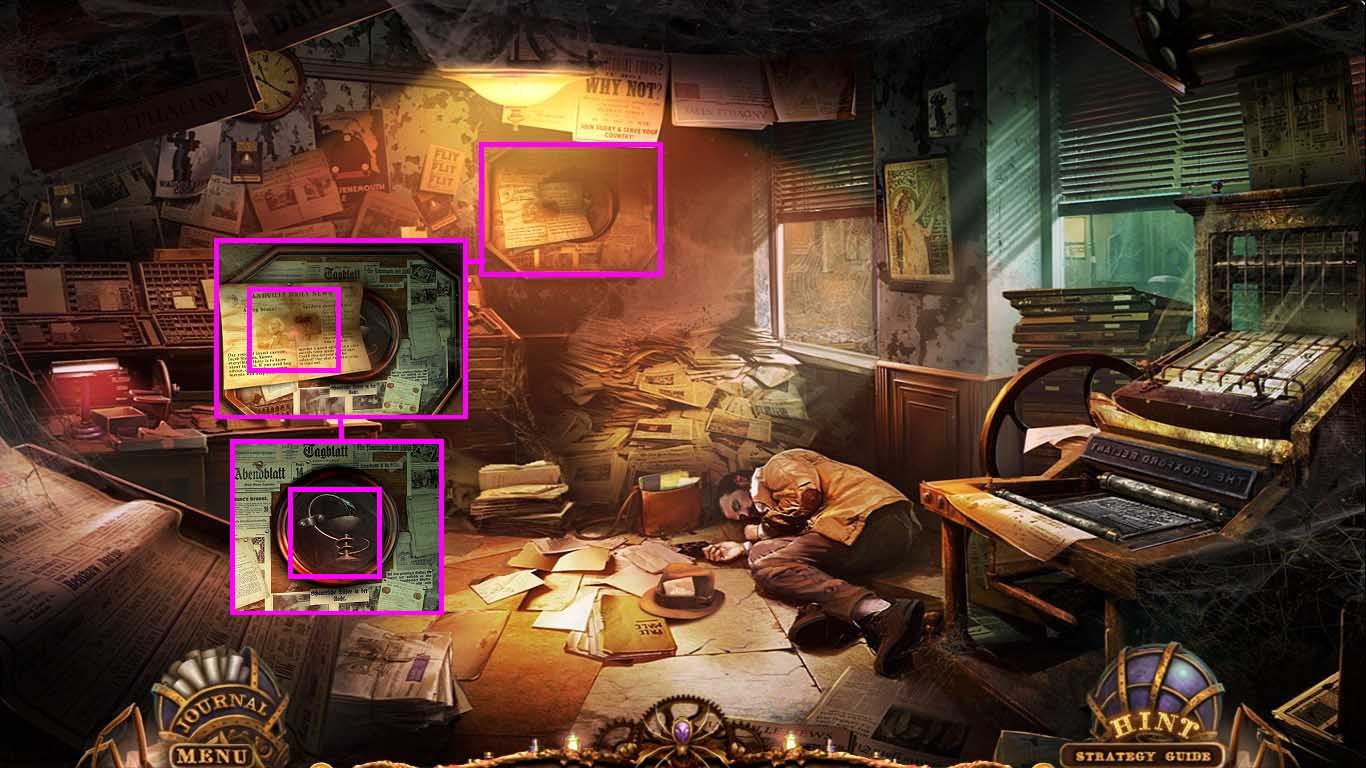
- Zoom into the bulletin board.
- Collect the paper.
- Collect the snake using the screwdriver to remove the clamp.
- Go to the 2nd floor of the pharmacy.
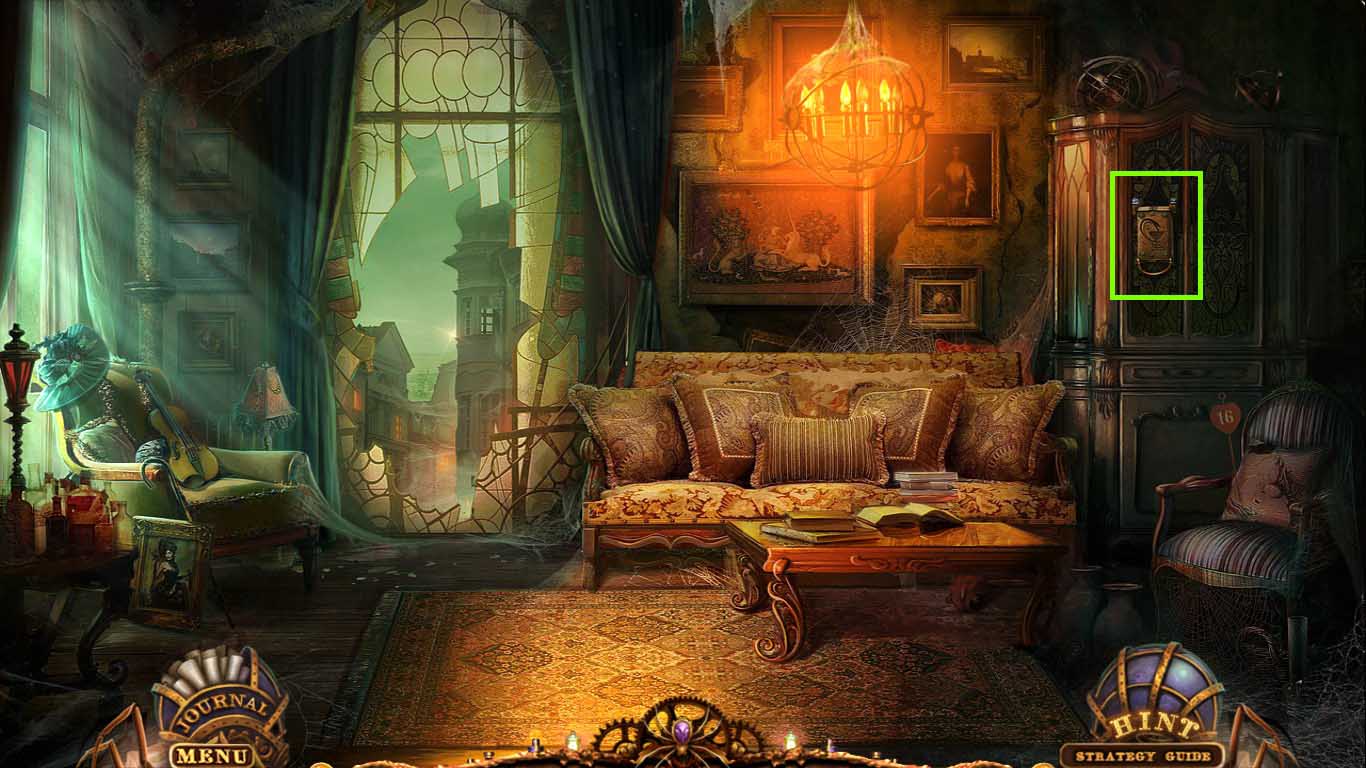
- Zoom into the cabinet.
- Insert the snake into the groove.
- Click inside the cabinet to access the hidden object area.
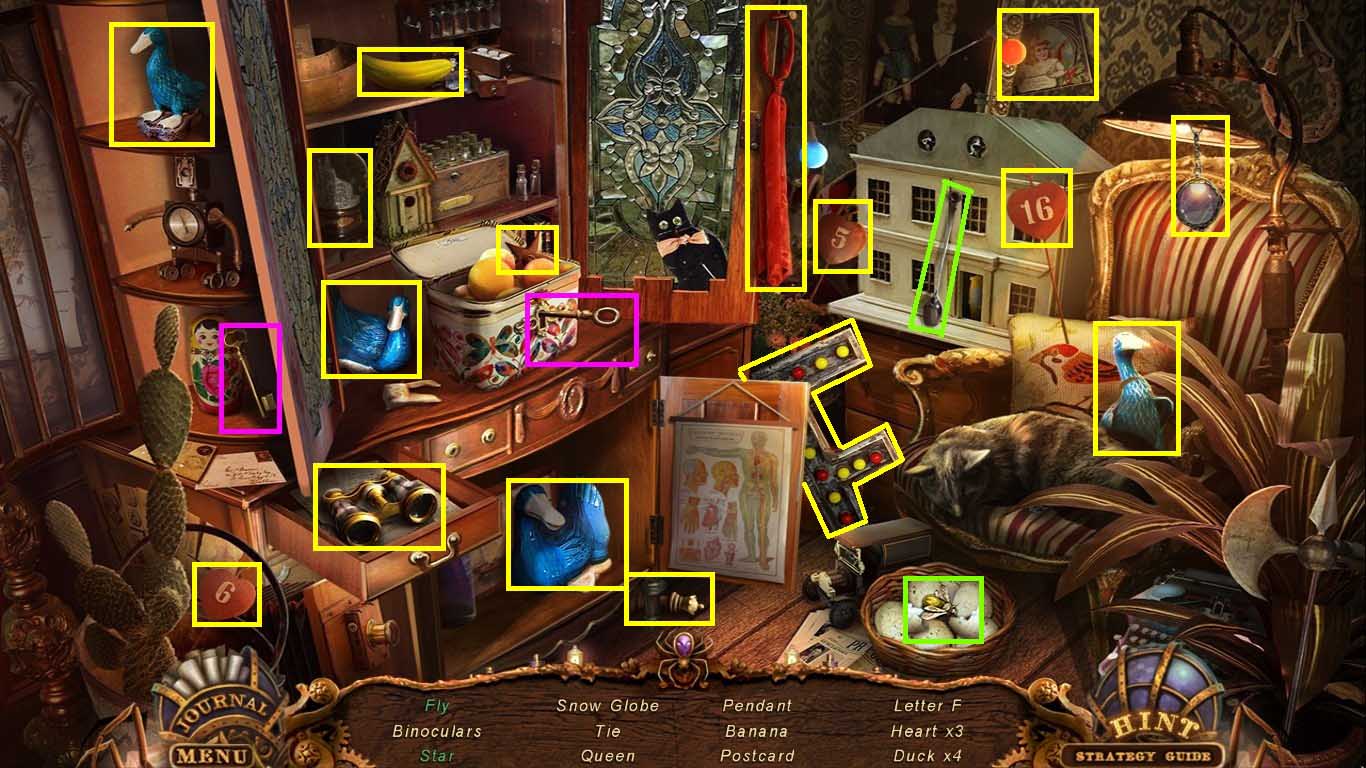
- Find the listed items.
- Click the side door to uncover the duck.
- Click the bottom doors to uncover the duck.
- Use the spoon on the eggs to find the fly.
- Insert the key into the chest and click it to uncover the star.
- Click the drawer to uncover the binoculars.
- Collect the fly.
- Go to Santo’s house.
- Zoom into the back left double doors to access a mini-game.
- Shoot the flies in the order shown.
- Go through the doors into Morgana’s room.
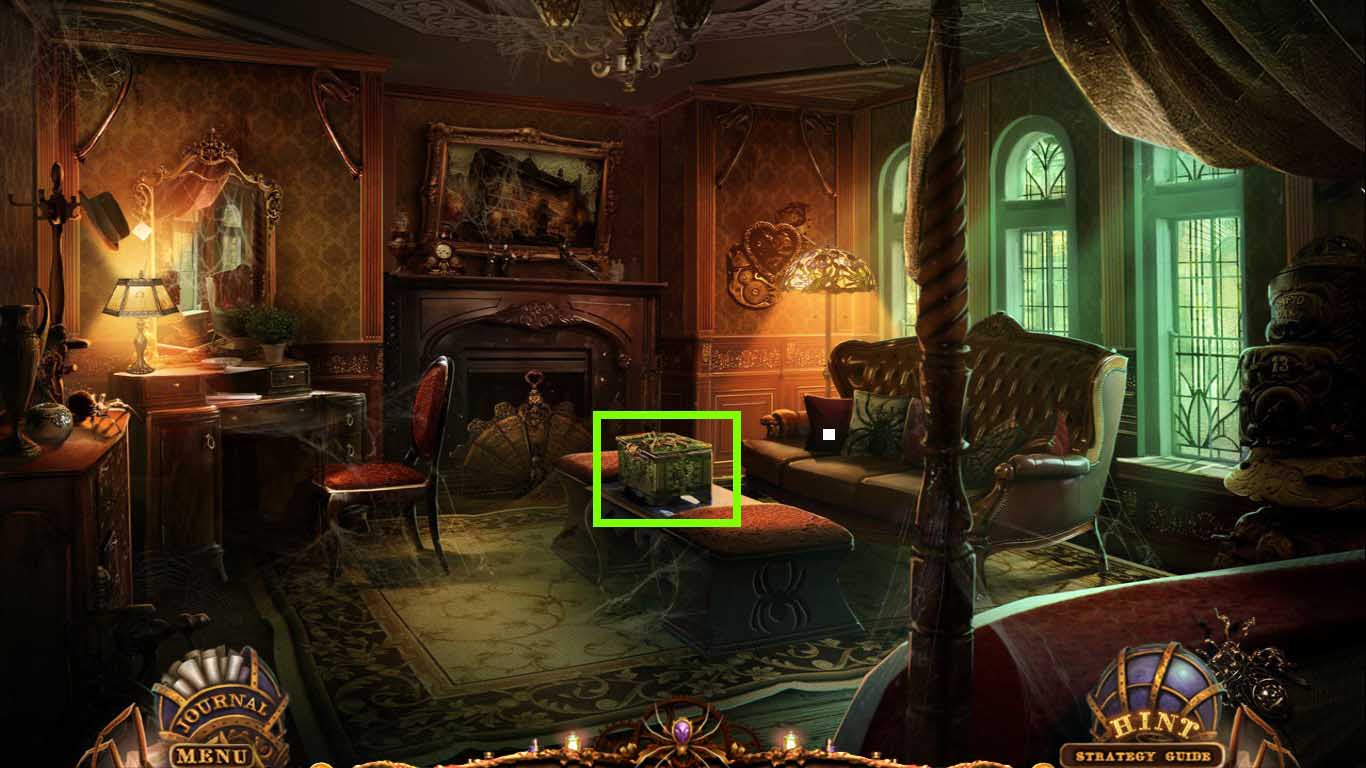
- Zoom into the casket to access a mini-game
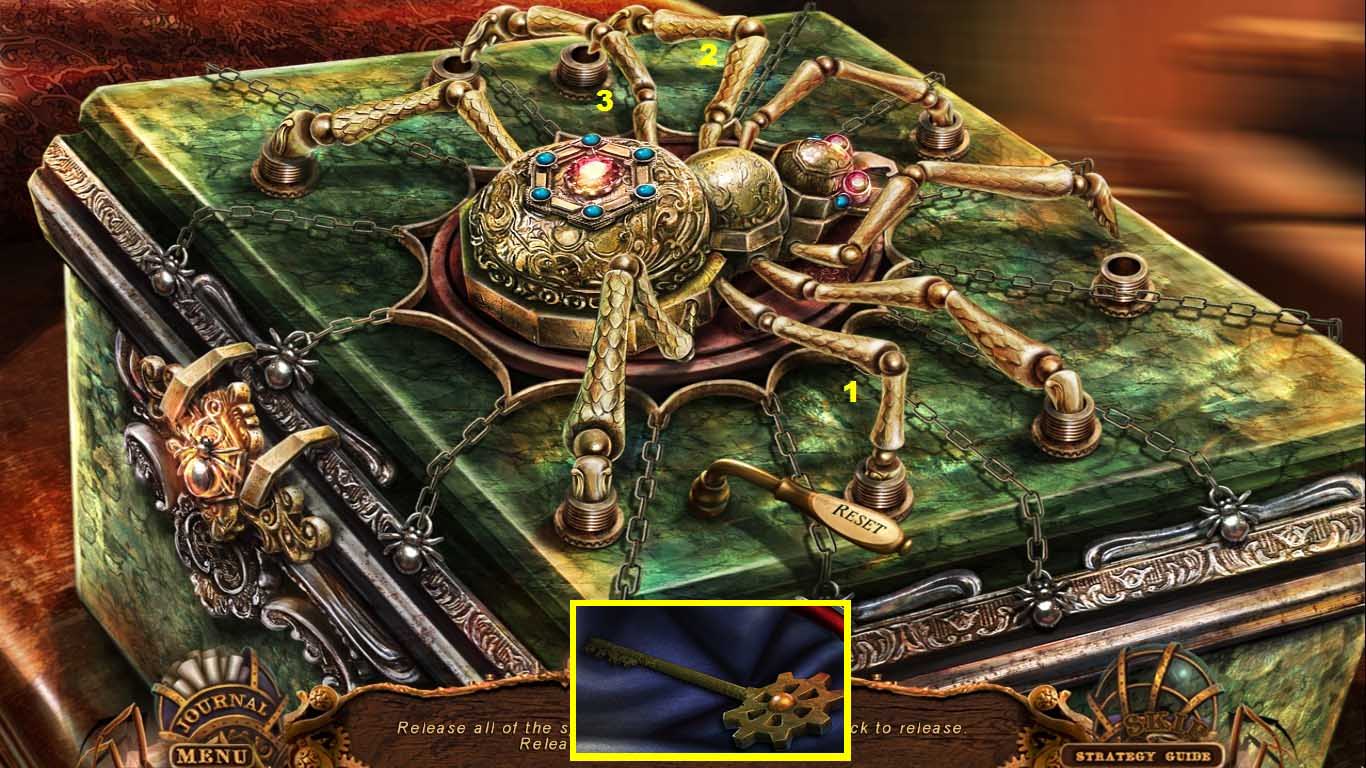
- Insert the box gem into the spider body to trigger the mini-game.
- Move the spider legs in the order shown (1-3)
- Collect the laboratory key.
- Walk down.
- Zoom into the door on the right.
- Enter the workshop by using the laboratory key on the door lock.

- Zoom into the diary; read the pages.
- Click the debris to access a hidden objects area.
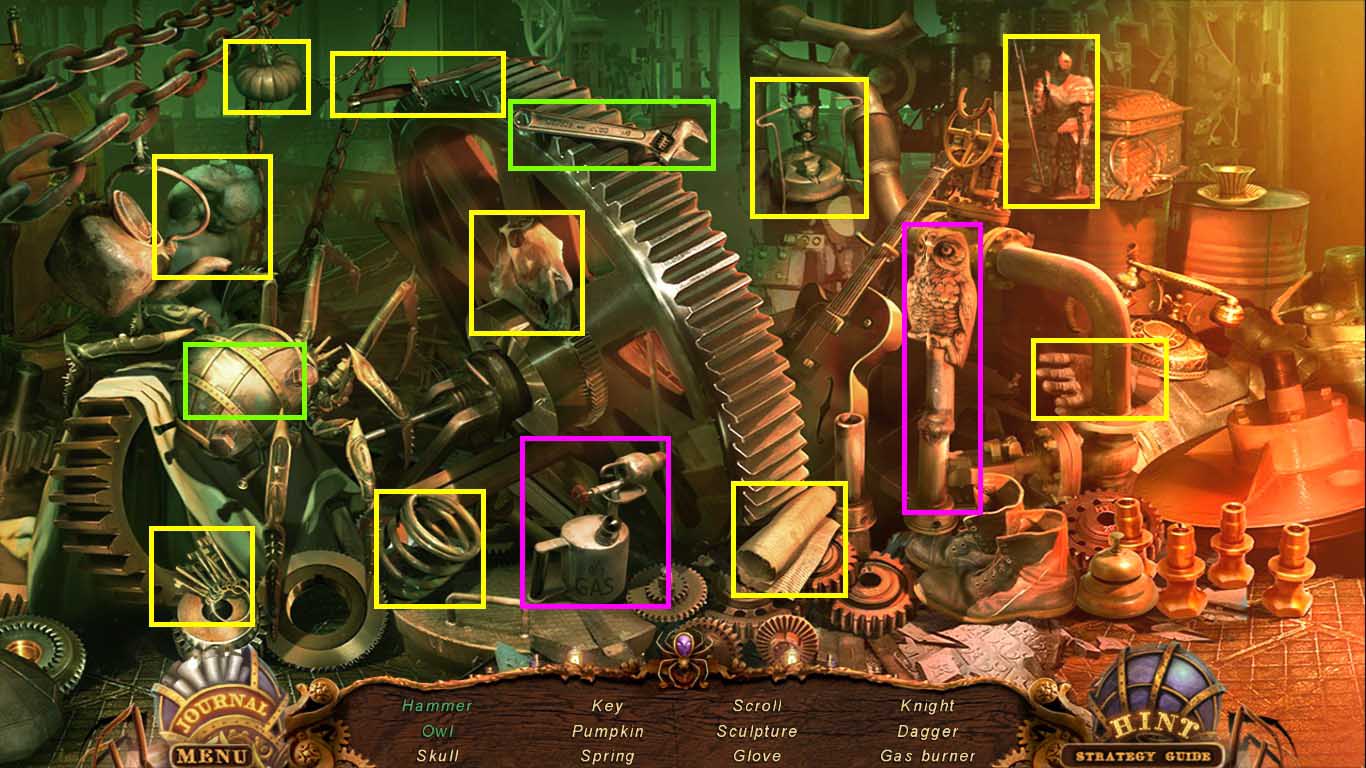
- Find the listed items.
- To find the hammer use the wrench on the bolts.
- Use the blowtorch to collect the owl.
- Collect the hammer.
- Go to Morgana’s room.
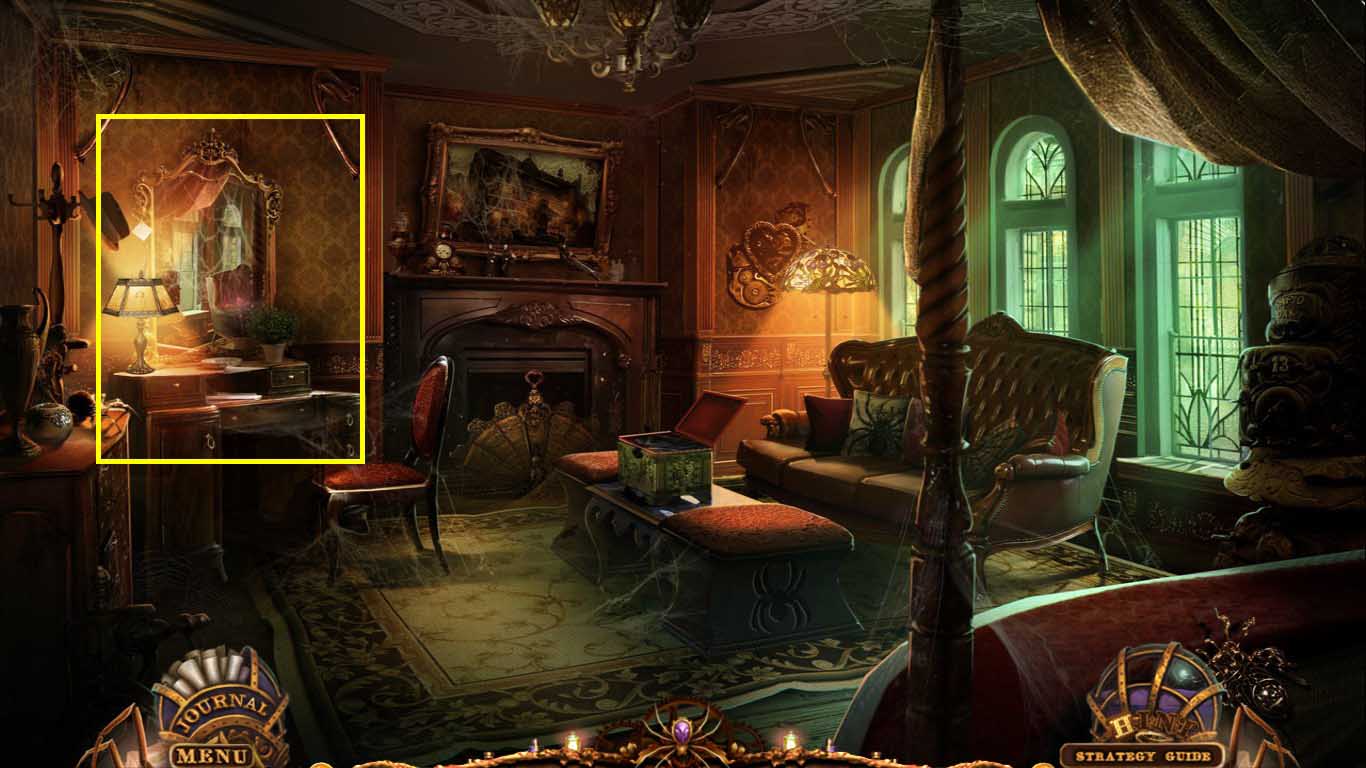
- Zoom into the vanity.
- Use the hammer on the mirror.
- Click the vanity to access a mini-game.
- Insert the picture pieces onto the board to activate a mini-game.
- Place the picture pieces into the correct positions.
- Solve as shown above.
- Collect the handle.
- Go to the workshop.
- Zoom into the table.
- Insert the handle onto the center.
- Click the table to access a mini-game.
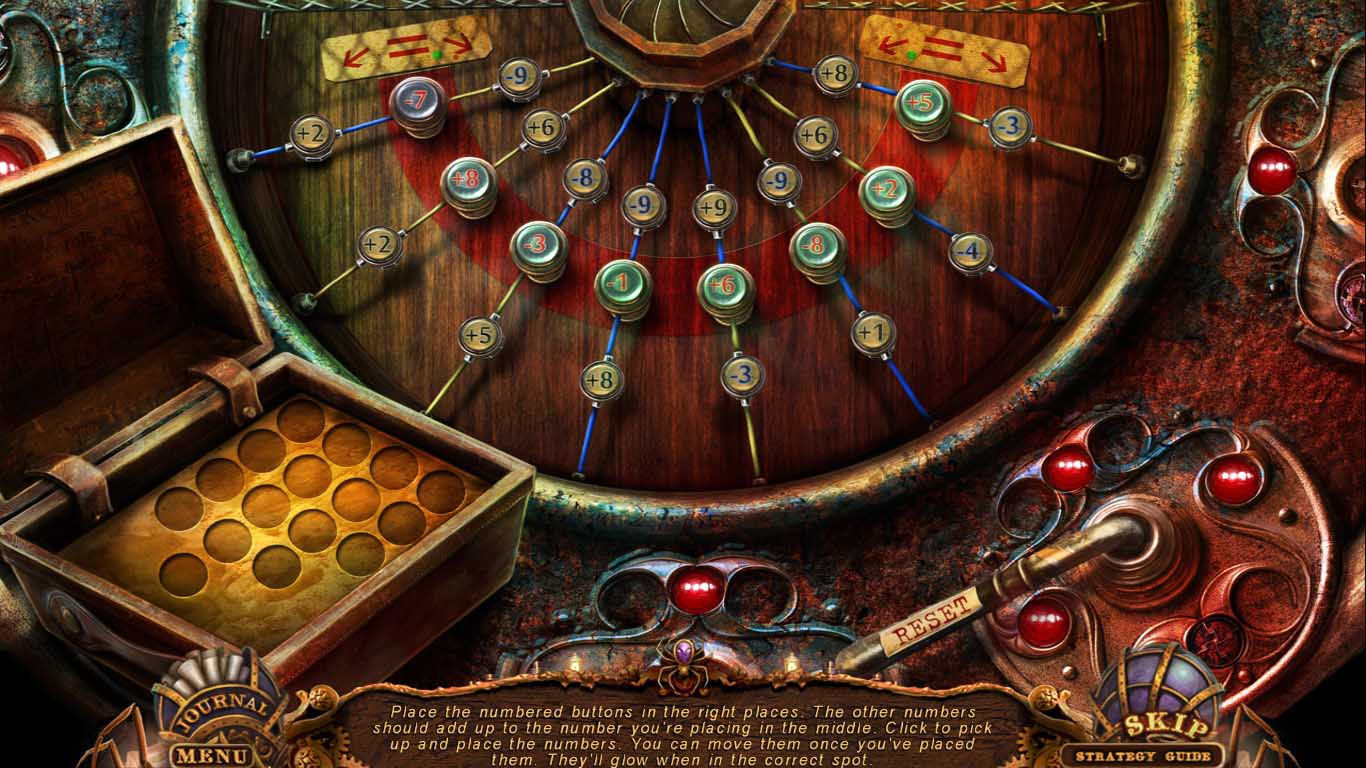
- Place the numbers from the box onto the red bands.
- The 2 numbers from the box must add up to the number on the red band.
- Collect the pump.
- Go to the ferry.
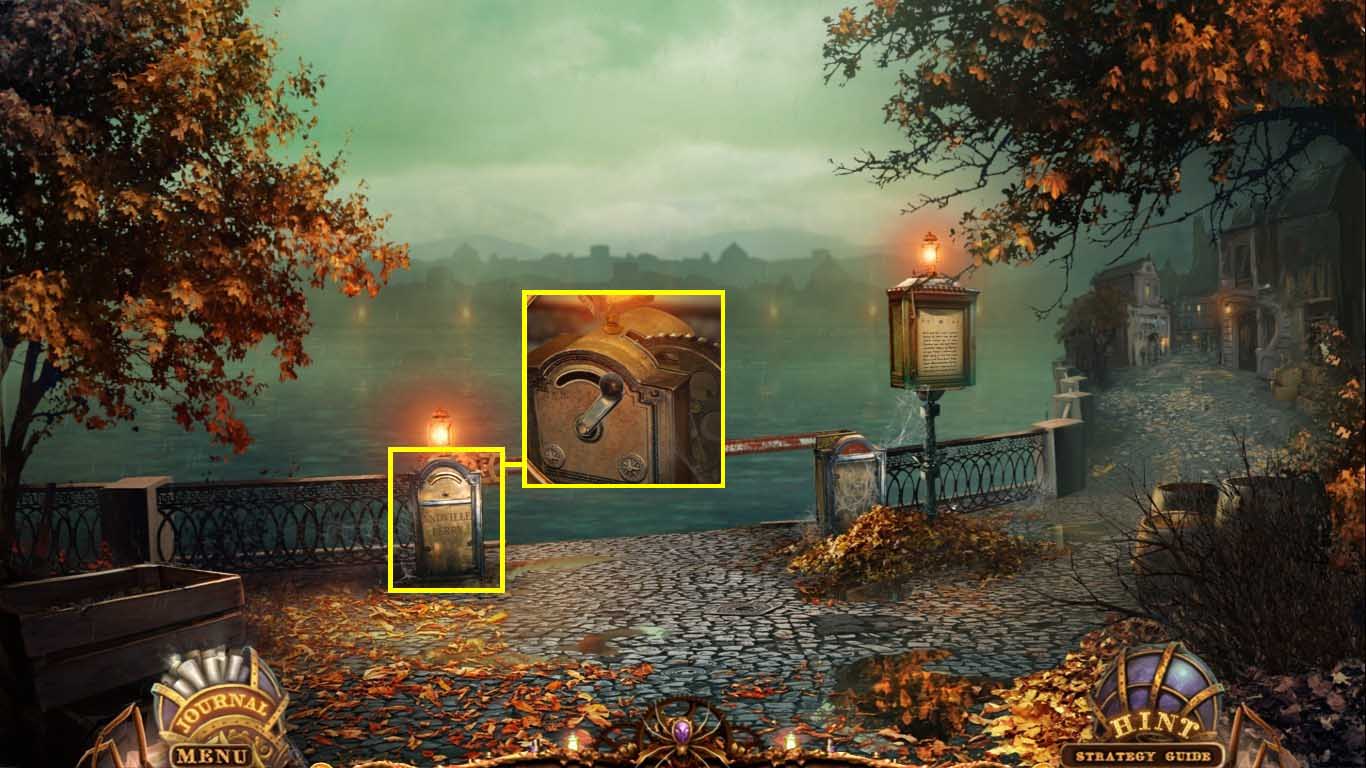
- Zoom into the bar-lifting mechanism.
- Use the ferry lever on the hole.
- Click the lever.
- Move forward into the ferry.
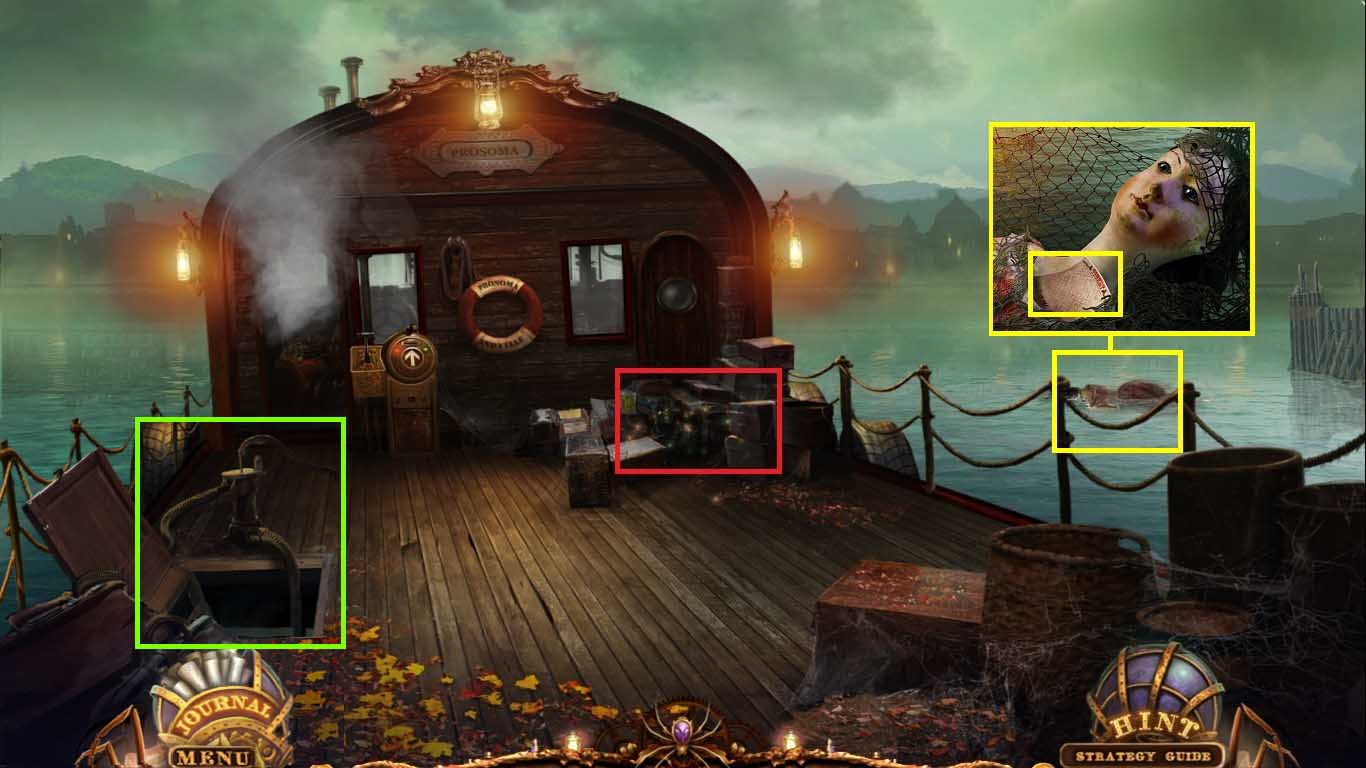
- Use the pump on the water filled hole.
- Use the net to collect the floating debris.
- Zoom into the nest; uncover the blank ferry ticket by using the knife.
- Collect the ticket.
- Click the crates to access the hidden objects area.
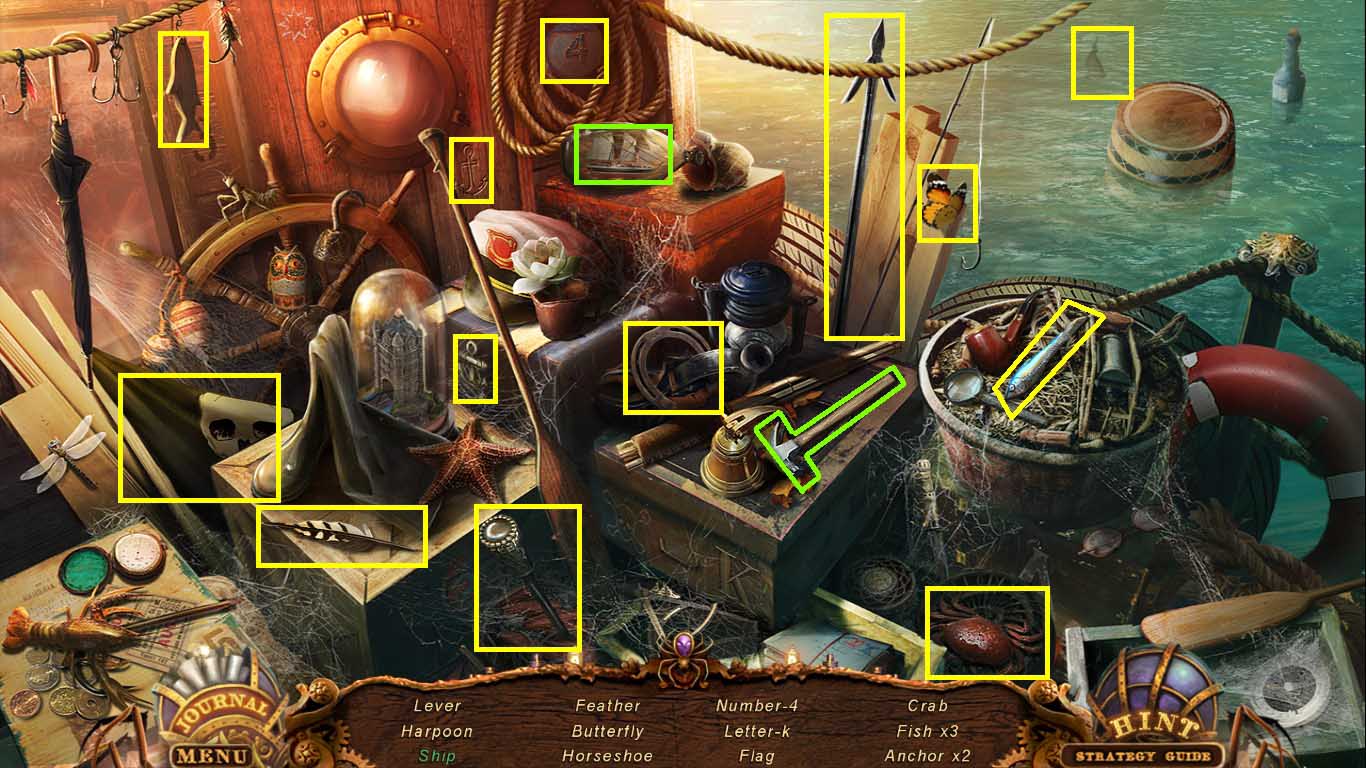
- Find all the listed items.
- Collect the ship by using the hammer on the bottle.
- Collect the lever.
- Go to the square.
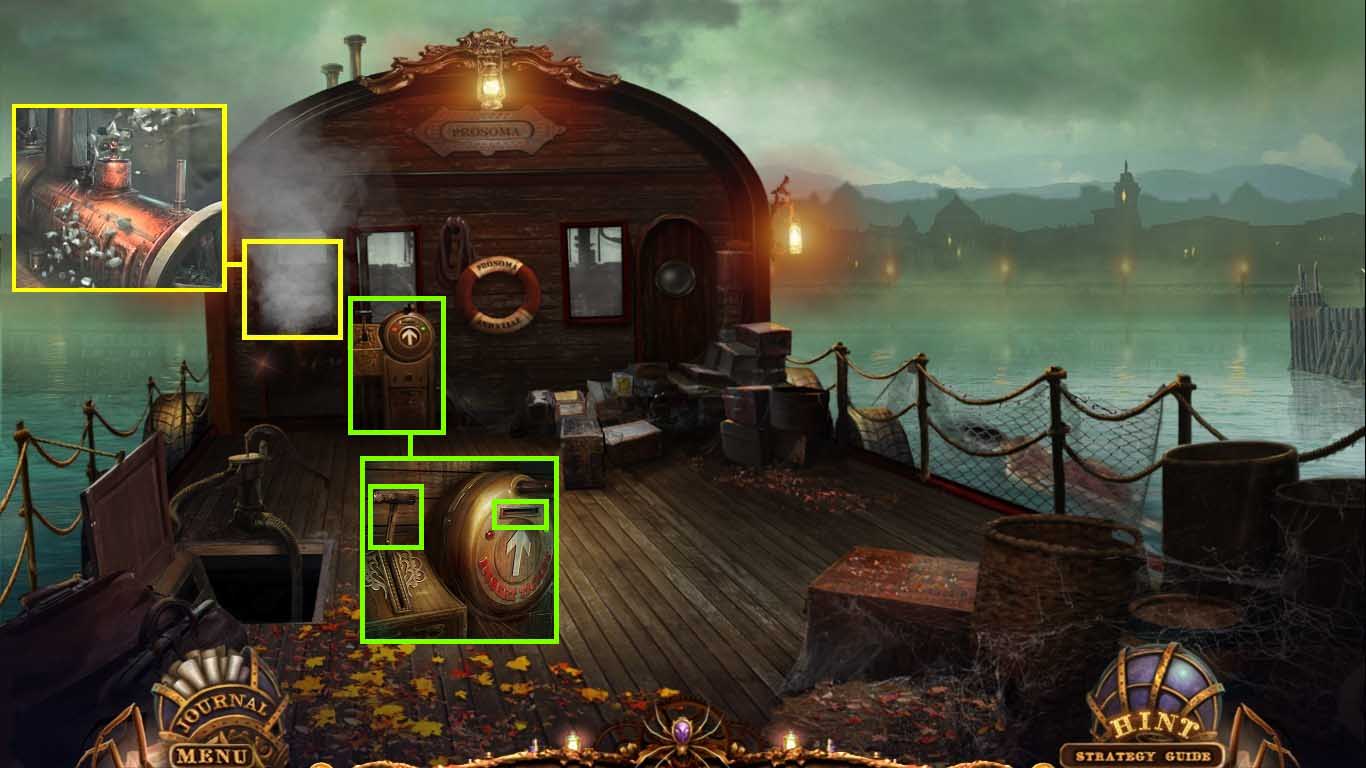
- Zoom into the kiosk and click the machine on the right.
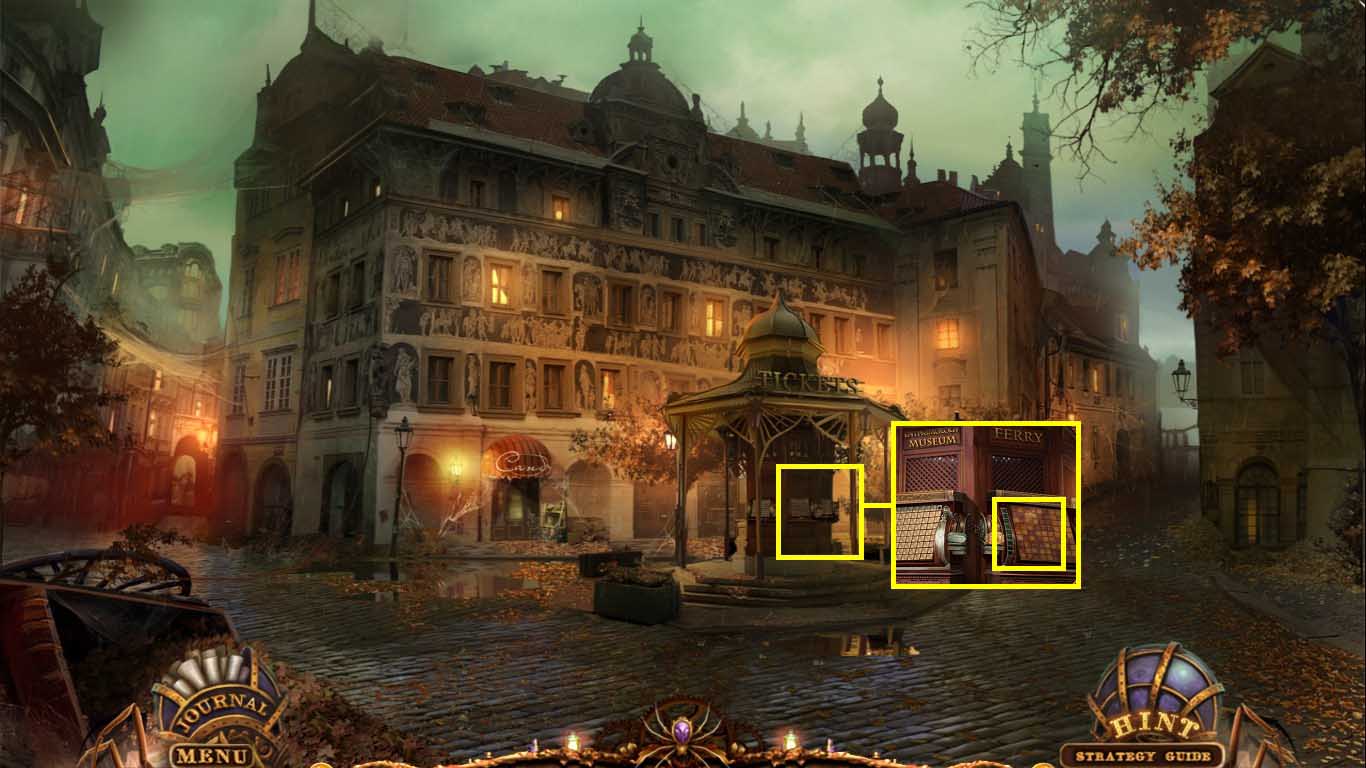
- Insert the blank ferry ticket into the slot.
- Insert the lever into the control to trigger a mini-game.
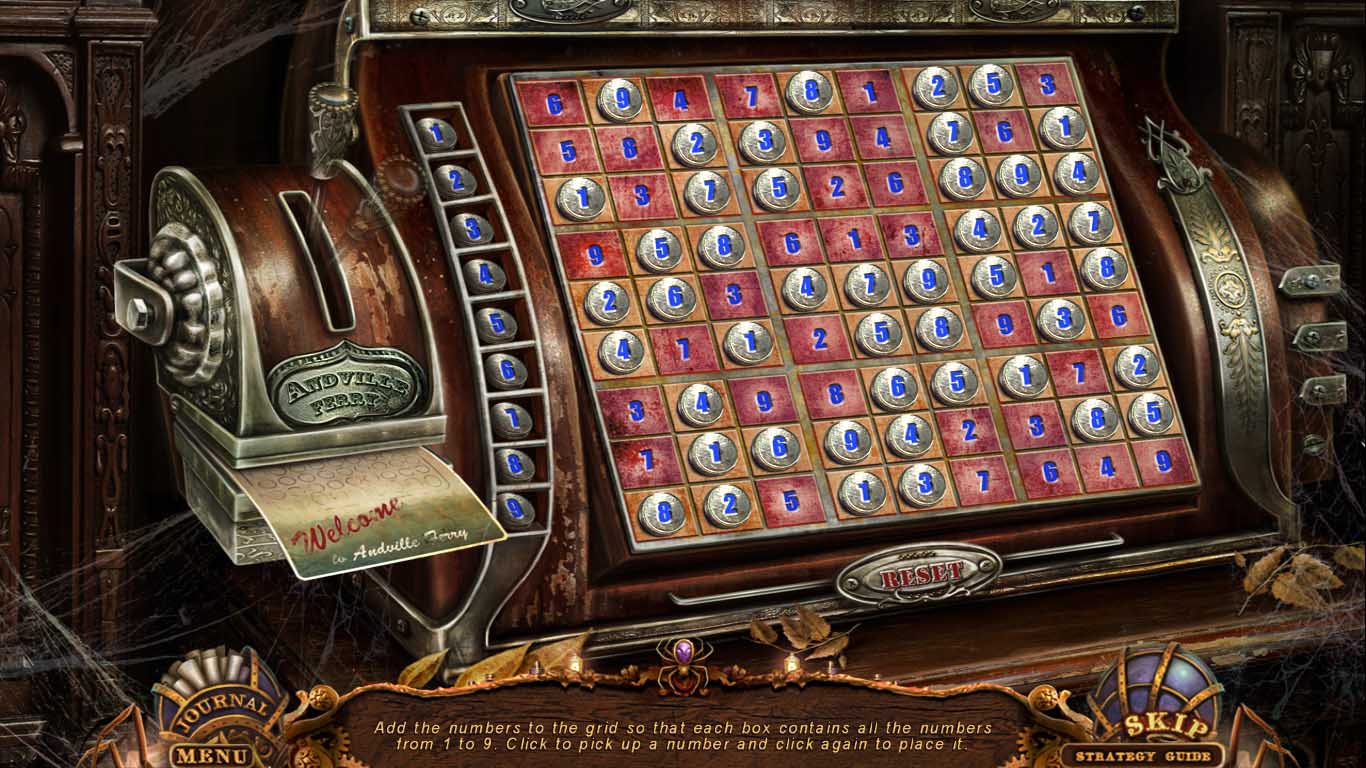
- Insert the numbers onto the board.
- Make sure that no numbers are repeated within the row.
- Collect the ferry ticket.
- Go to Santo’s house.
- Click the desk to access a hidden objects area.
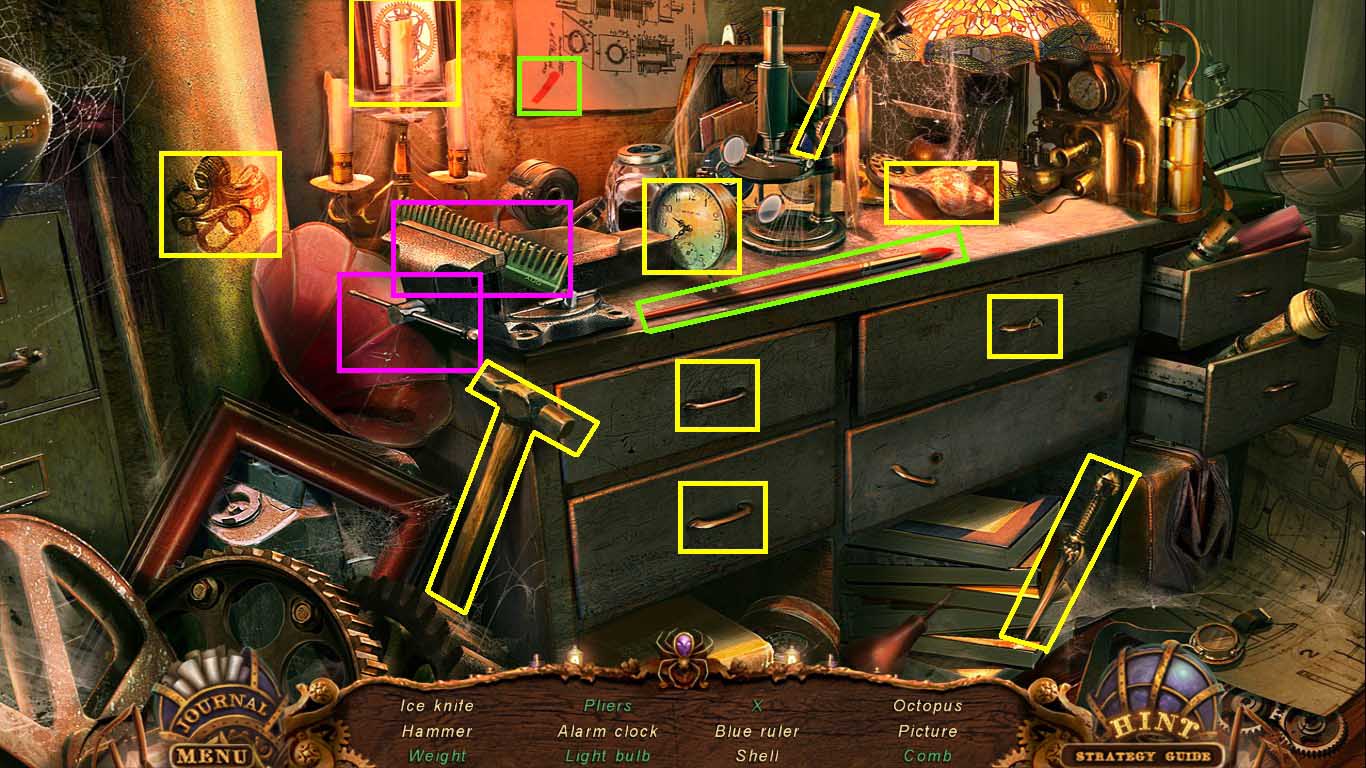
- Fin all the listed items.
- Click all the drawers to uncover certain items.
- Center drawer: light bulb
- Bottom left drawer: pliers
- Upper left drawer: weight
- Use the brush on the red line to create the “X.”
- Click the vise to collect the comb.
- Collect the ice pick.
- Go to the cellar.
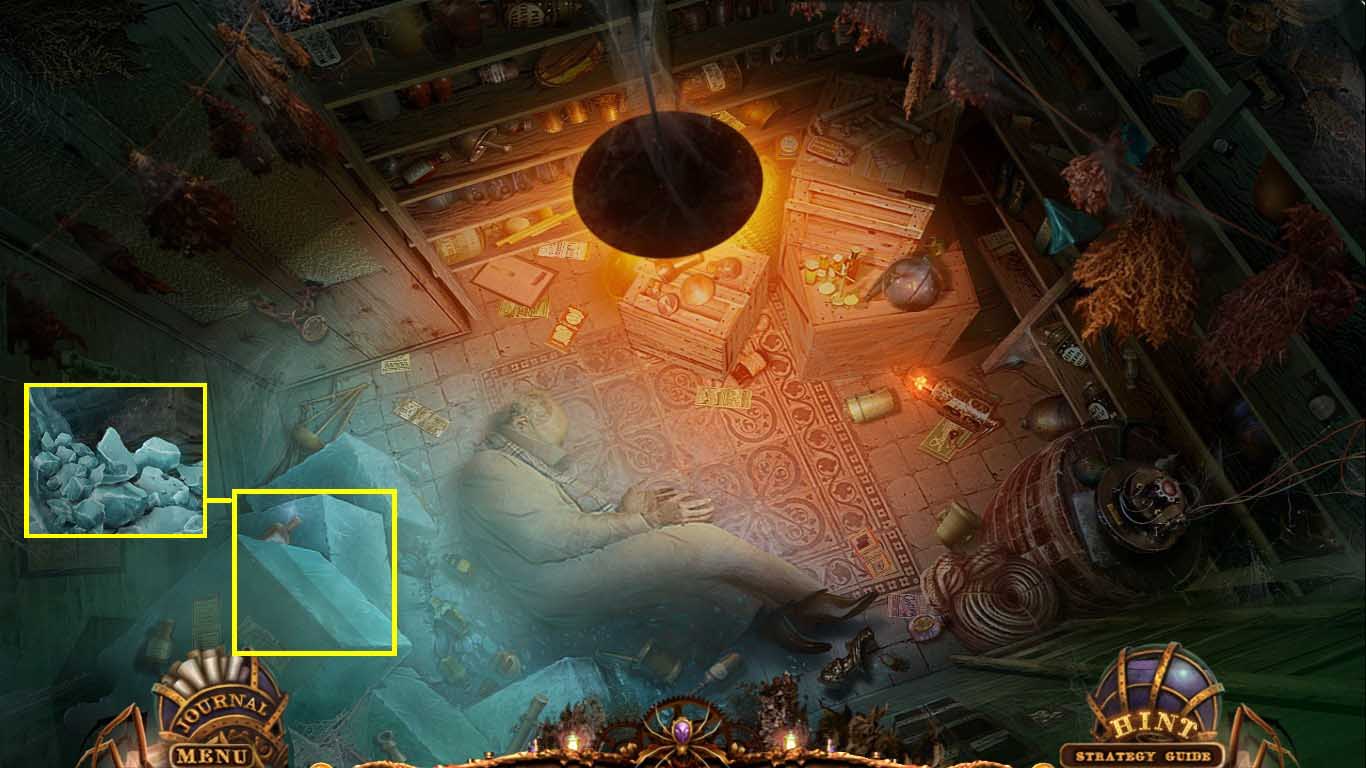
- Zoom into the corner.
- Chip away the block with the ice pick.
- Collect the ice.
- Go to the inside of the ferry.
- Zoom into the engine.
- Use the ice to cool it.
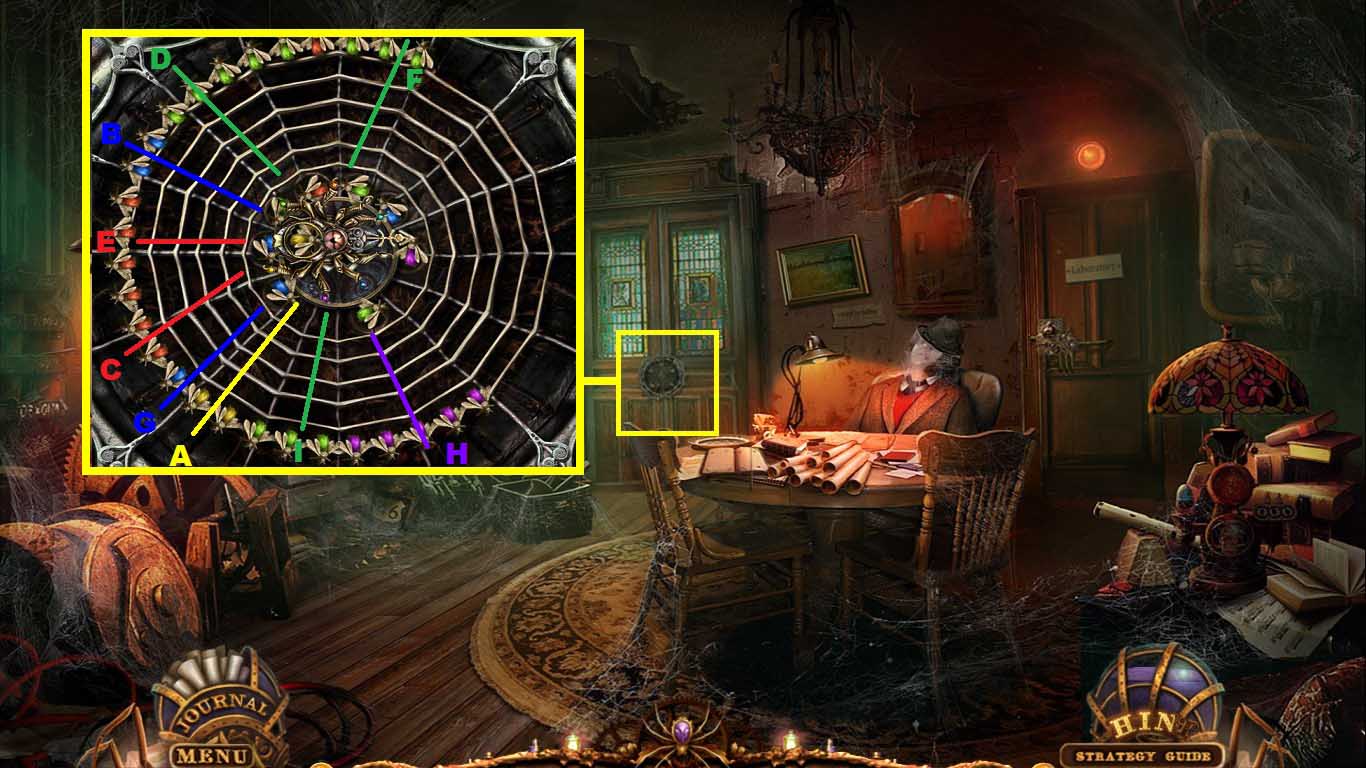
- Zoom into the control.
- Insert the ferry ticket into the slot.
- Click the lever to trigger a mini-game.
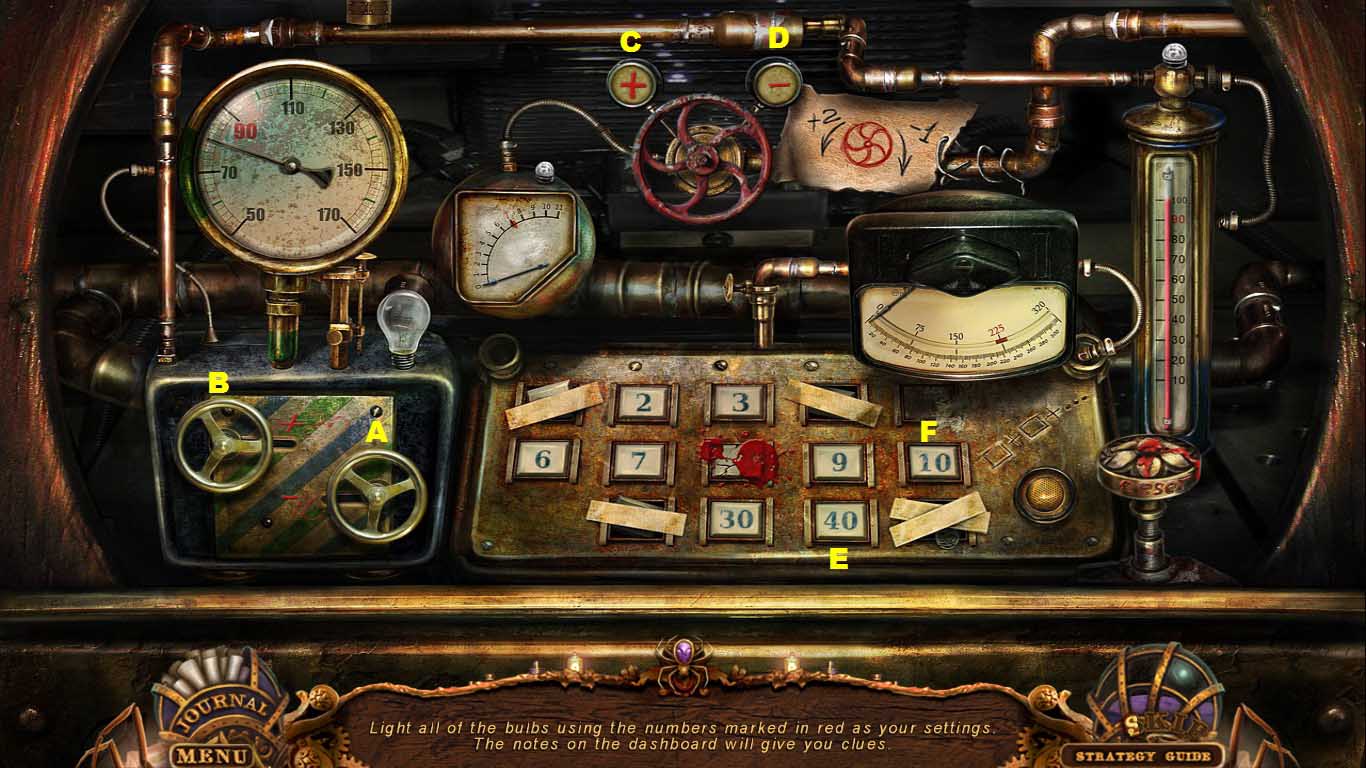
- Click the gauges so that all the needles are on red numbers.
-
Use the following pattern to solve:
- A: 1x
- B: 1x
- C: 4 x’s
- D: 1 x
- E: 5x’s
- F: 2x’s.
Comments will load when you reach this part of the walkthrough.