

Chapter Six: The Basement
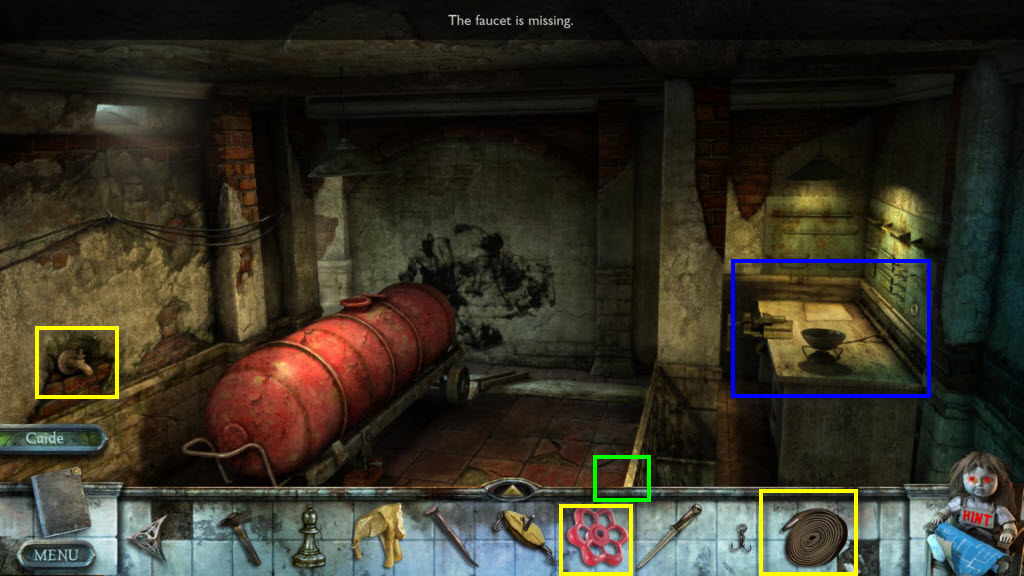
- Take the note.
- Use the Faucet Stem on the faucet.
- Use the Fire Hose on the faucet.
- Click on the faucet to fill the cistern with water.
- Click to zoom in on the table on the right.
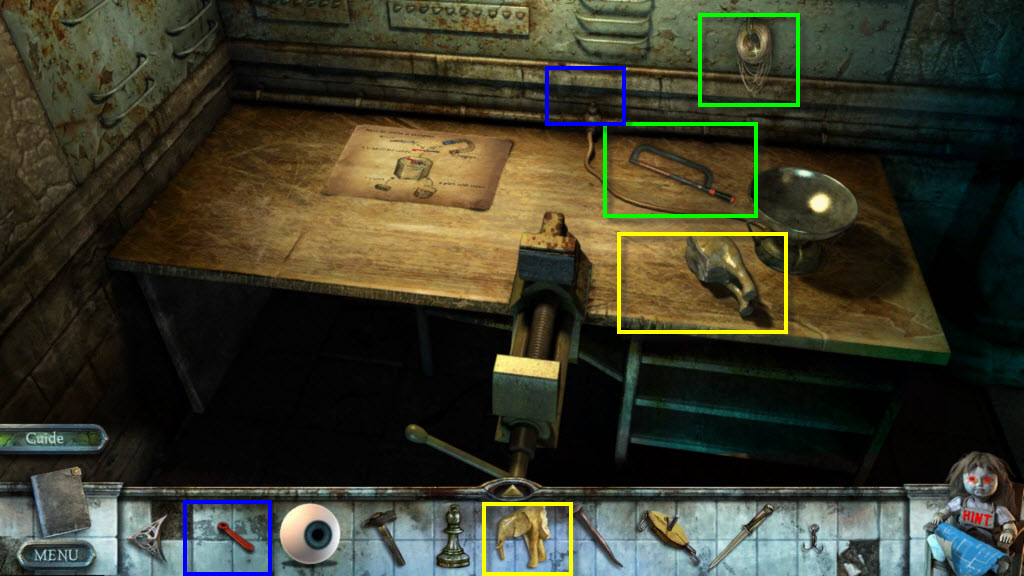
- Take the Fishing Line.
- Take the Hacksaw.
- Use the Broken Elephant on the other half.
- Use the Gas Knob on the faucet.
- Go to the room with the birdcage in it.
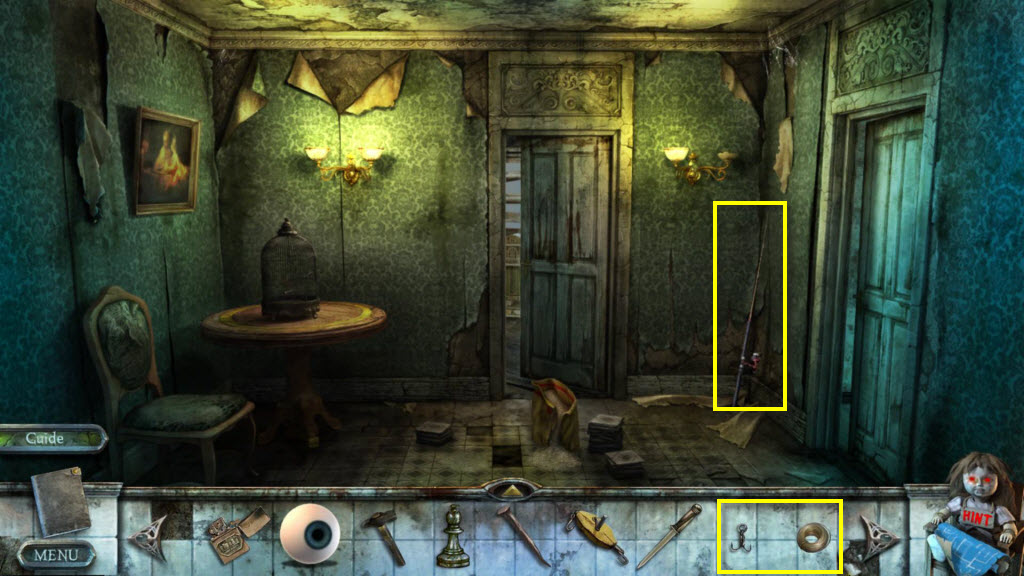
- Click to zoom in on the fishing pole.
- Use the Fishing Hook and the Fishing Line on the pole.
- Take the Fishing Rod.
- Go to the back of the house where the well is.
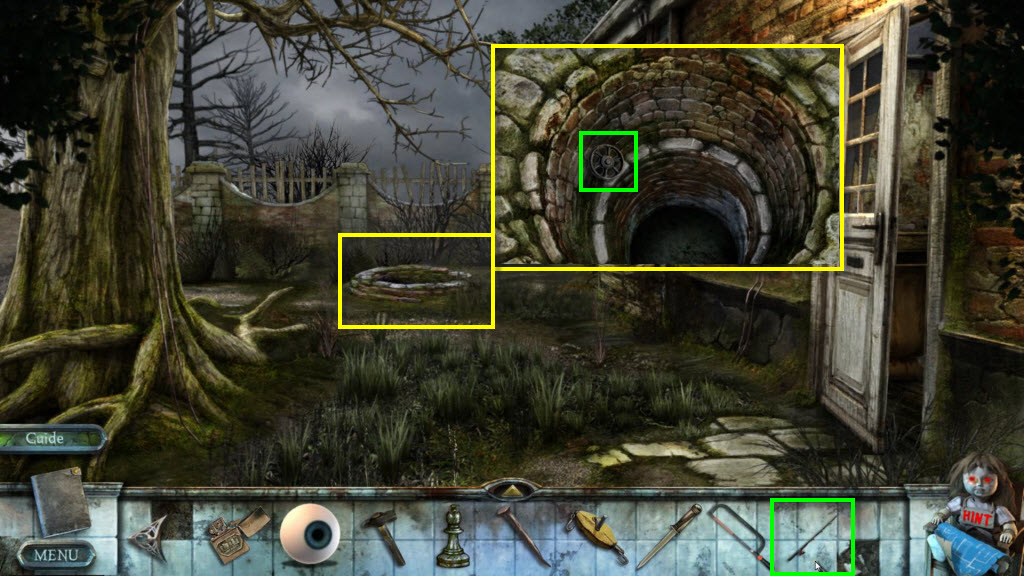
- Click to zoom in on the well.
- Use the Fishing Rod on the wheel.
- You will receive the Cistern Wheel.
- Return to the scene with the Cistern.
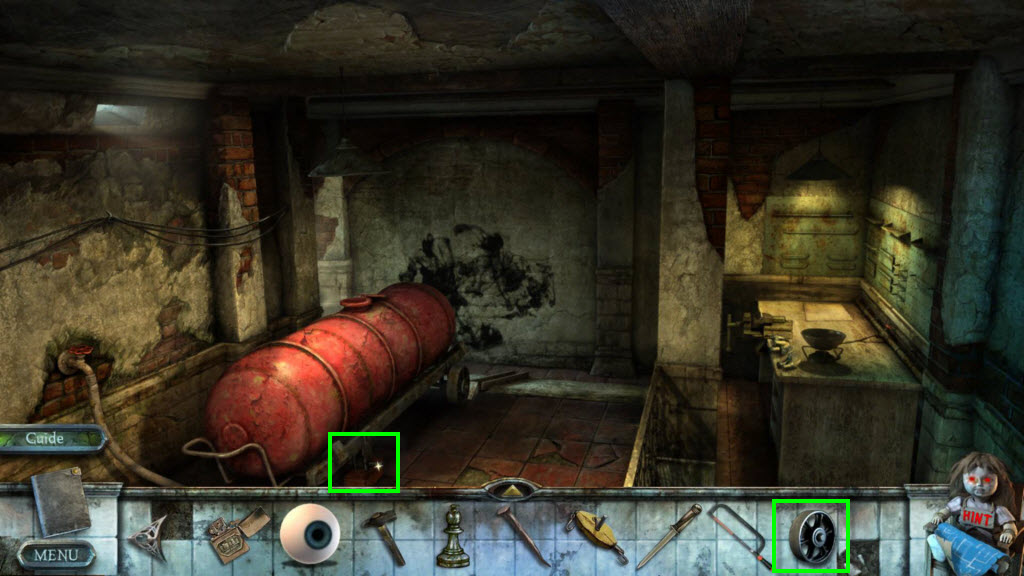
- Use the Cistern Wheel on the cistern.
- Click to move the block from the cistern.
- Move forward.
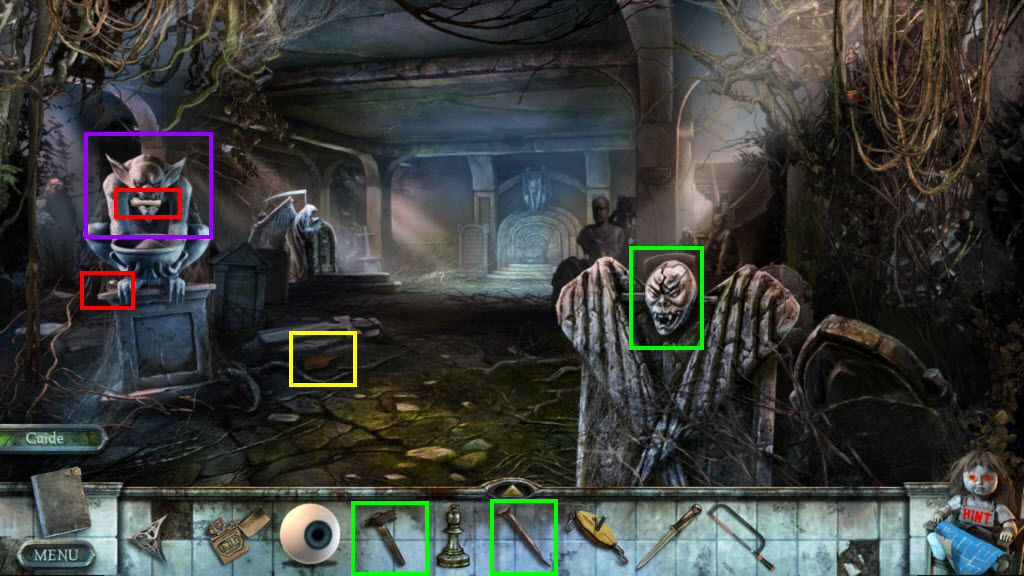
- Take the Scoop.
- Use the Bolt on the statue's head.
- Use the Hammer on the Bolt.
- Take the Skull 5/7.
- Click to zoom in on the statue on the left.
- Take the note.
- Take the Light bulb.
- Go forward.
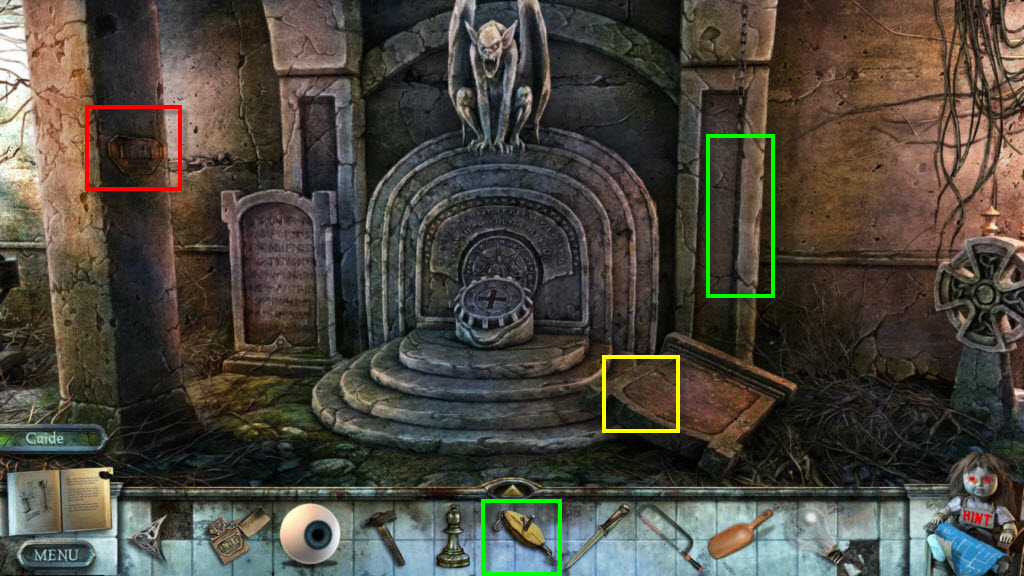
- Click on the plaque to zoom in.
- Use the Winch on the tombstone to turn it over.
- Take the Corkscrew.
- Go back one screen.
- Click on the area to the back left to zoom in.
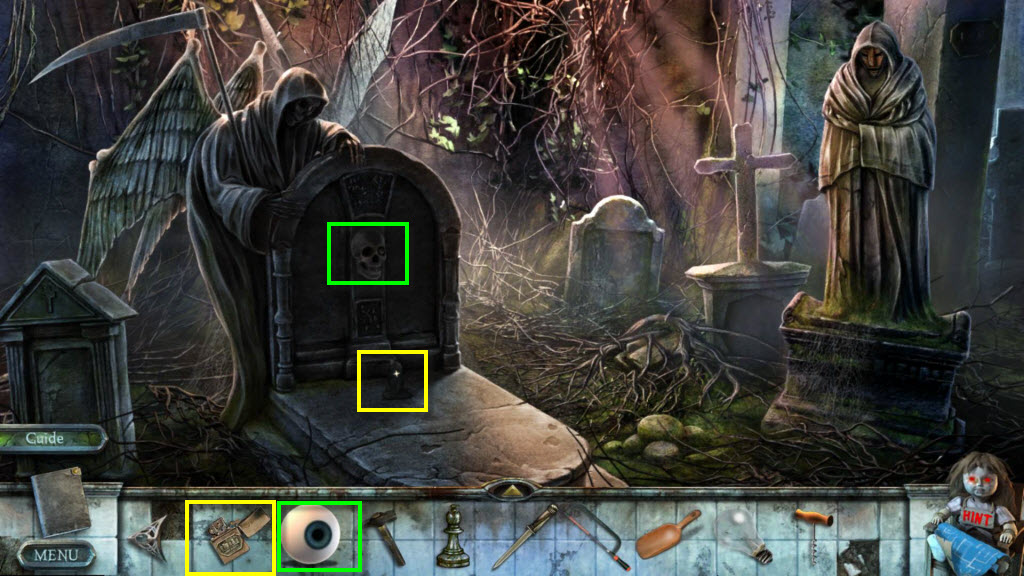
- Use the Lighter on the candle to light it.
- Use the Ceramic Eye on the skull.
- Take the Chest Key.
- Return to the top of the treehouse.
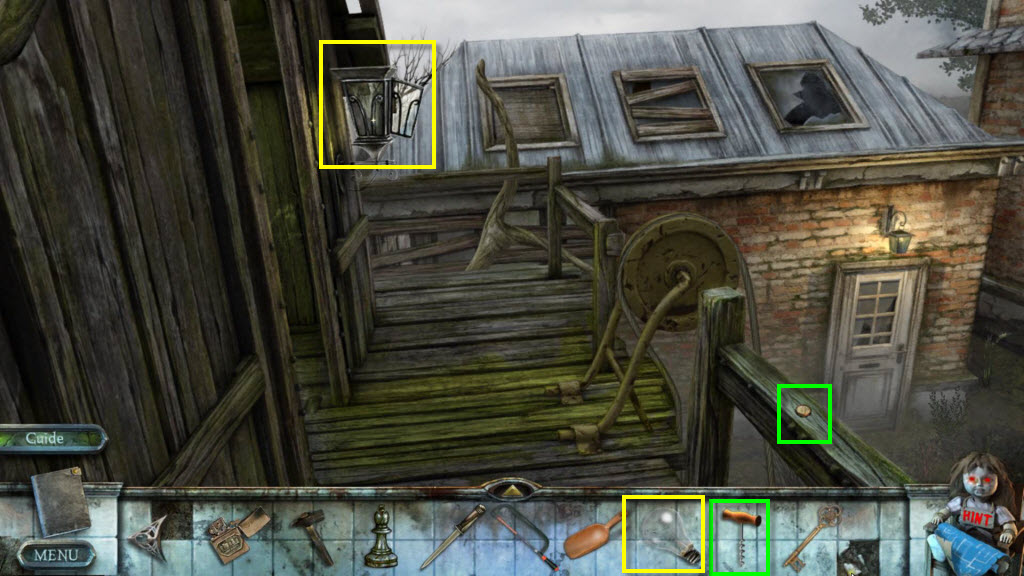
- Use the Corkscrew to get the cork.
- Take the Skull 6/7 - be careful, this one is easy to miss. It's in the hole where the cork was.
- Click to zoom in on the lantern.
- Use the Light Bulb on the lamp.
- Take the Collector's Figurine.
- Go to the scene at the bottom of the stairs in the house.
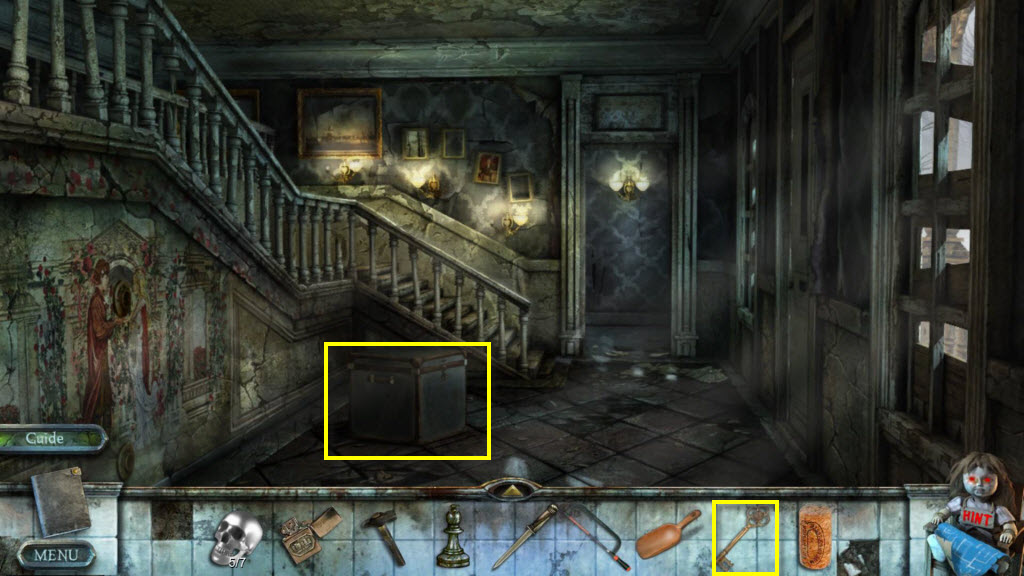
- Click to zoom in on the chest.
- Use the Chest Key to open it.
- Take the Sieve.
- Go forward one screen.
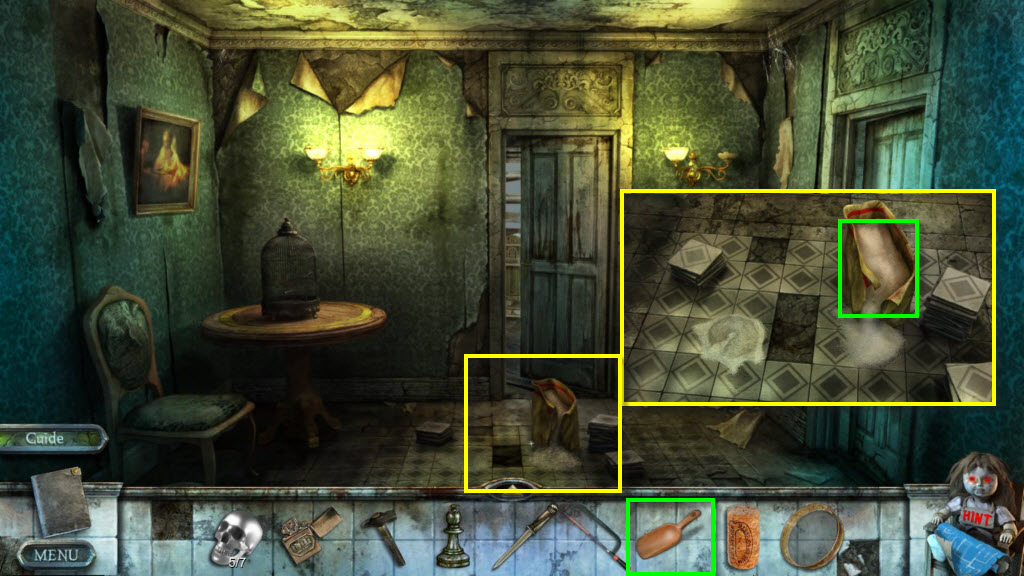
- Click to zoom in on the floor.
- Use the Scoop to get the Glue Powder.
- Return to the scene with the cistern and zoom in on the table on the right.
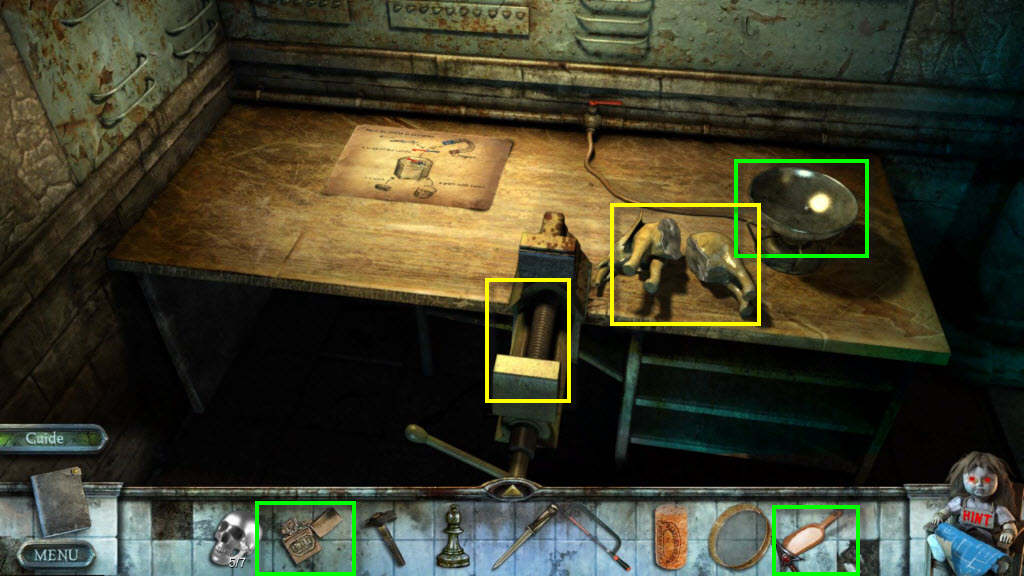
- Use the Glue Powder on the bowl.
- Use the Lighter on the burner.
- Take the Liquid Glue.
- Use the Liquid Glue on the elephant.
- Use the broken Elephant on the Vise.
- Click on the vise to get the Repaired Elephant.
- Use the Cork on the table.
- Back out of the zoomed view and move forward.
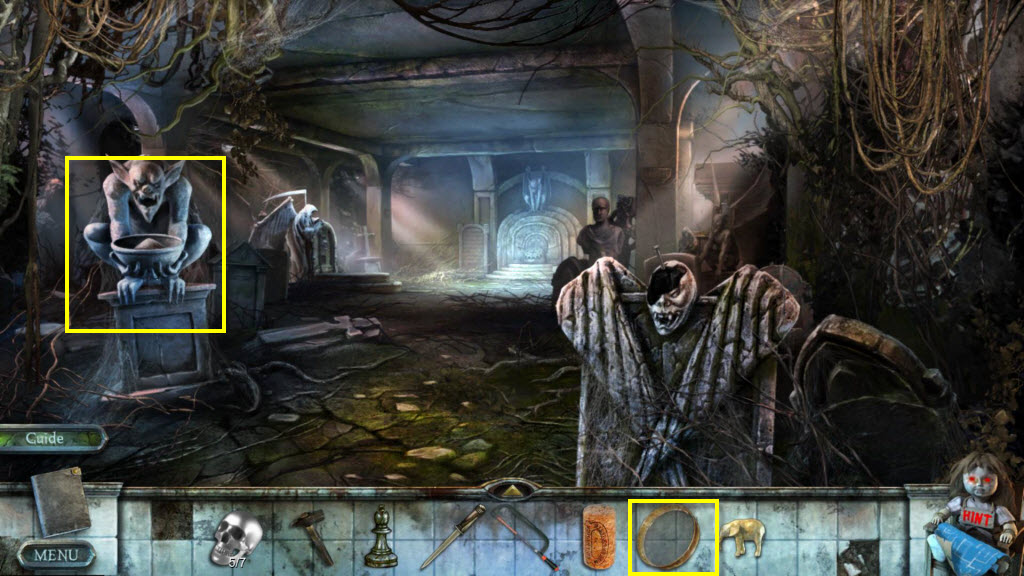
- Click to zoom in on the statue on the left.
- Use the Sieve on the ashes.
- You will receive the Skull 7/7.
- Return to the room with the dining room table.
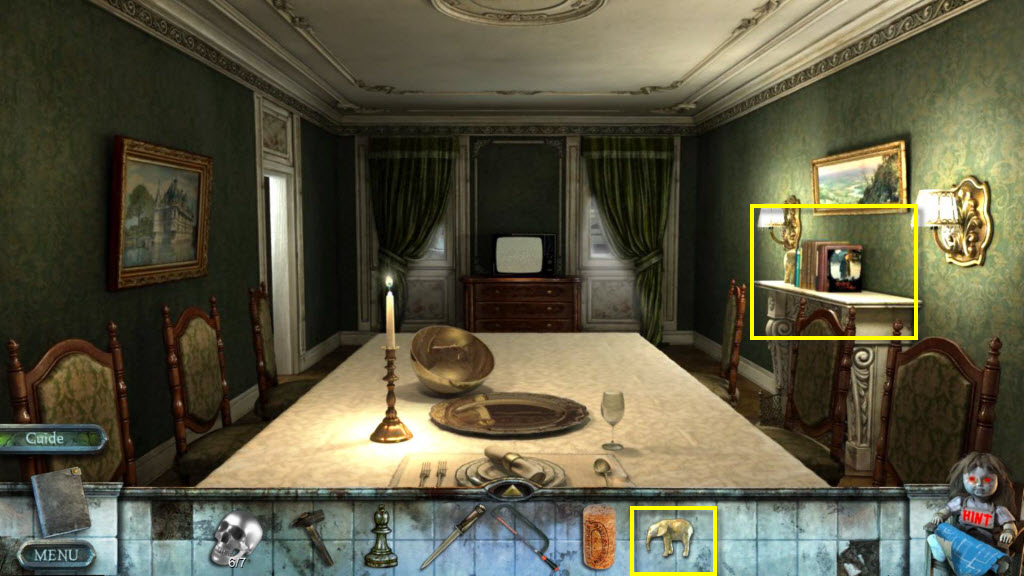
- Click to zoom in on the shelf.
- Use the Repaired Elephant on the shelf.
- Take the Dictionary.
- Go to the scene with the big tomb in it.
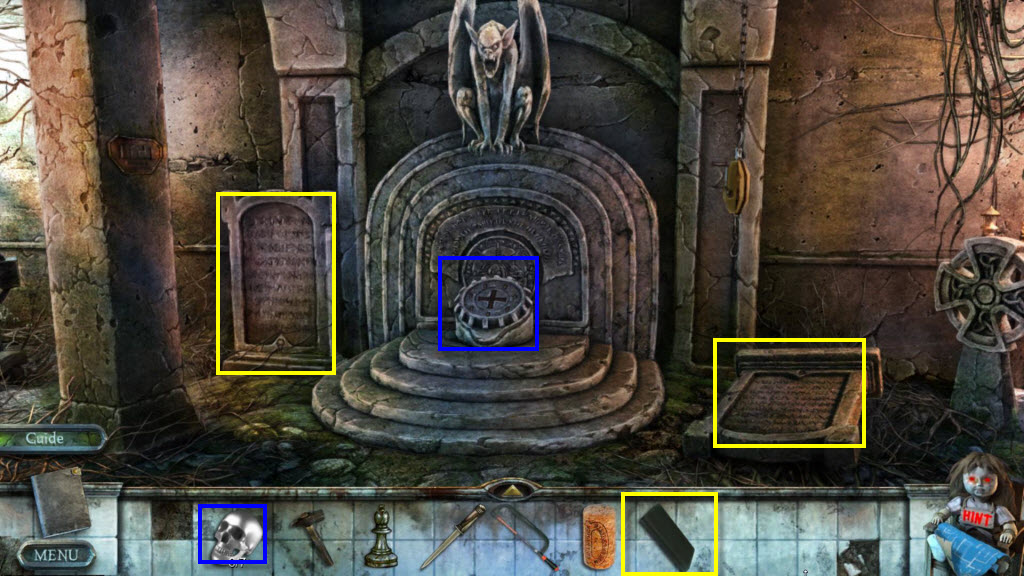
- Use the Dictionary on both of the tombstones.
- Click to zoom in on the center tomb.
- Use the 7 Skulls on the indentations.
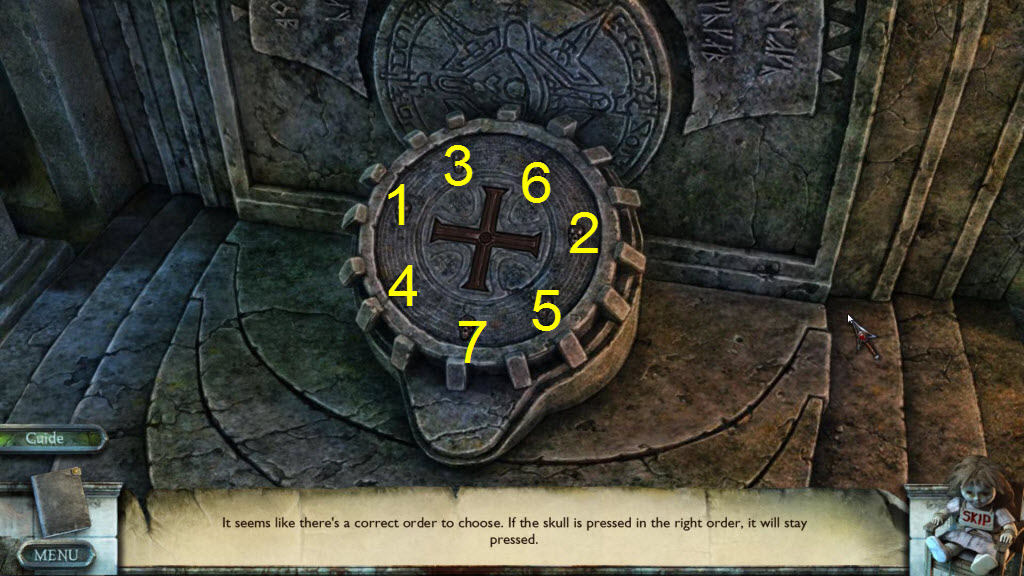
- Click on the skulls in the correct order.
- See the screenshot for the solution.
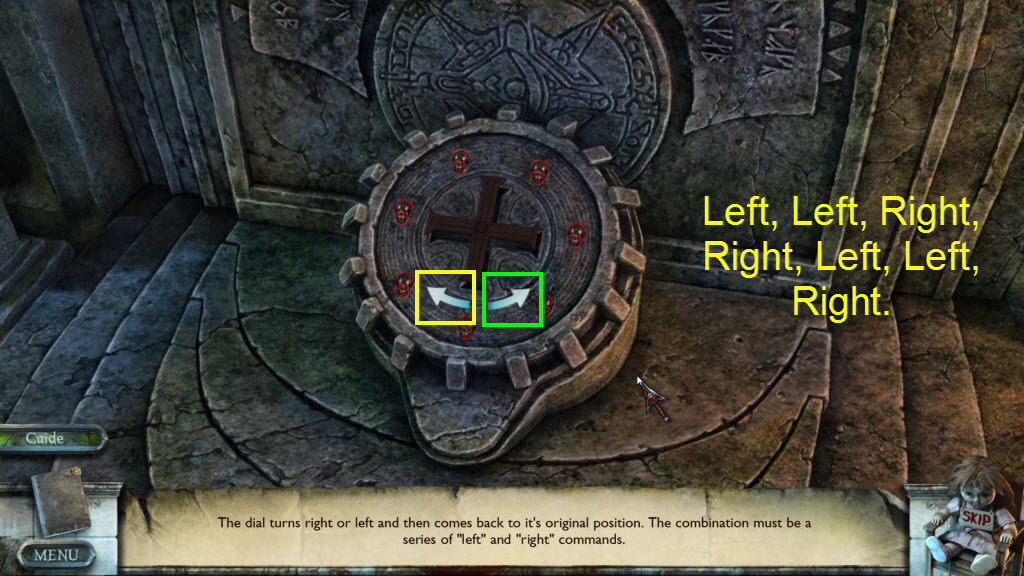
- Next you need to use the correct sequence of directions by clicking on the arrows.
- The correct sequence is: Left, Left, Right, Right, Left, Left, Right.
Comments will load when you reach this part of the walkthrough.