

Chapter One: A Strange House
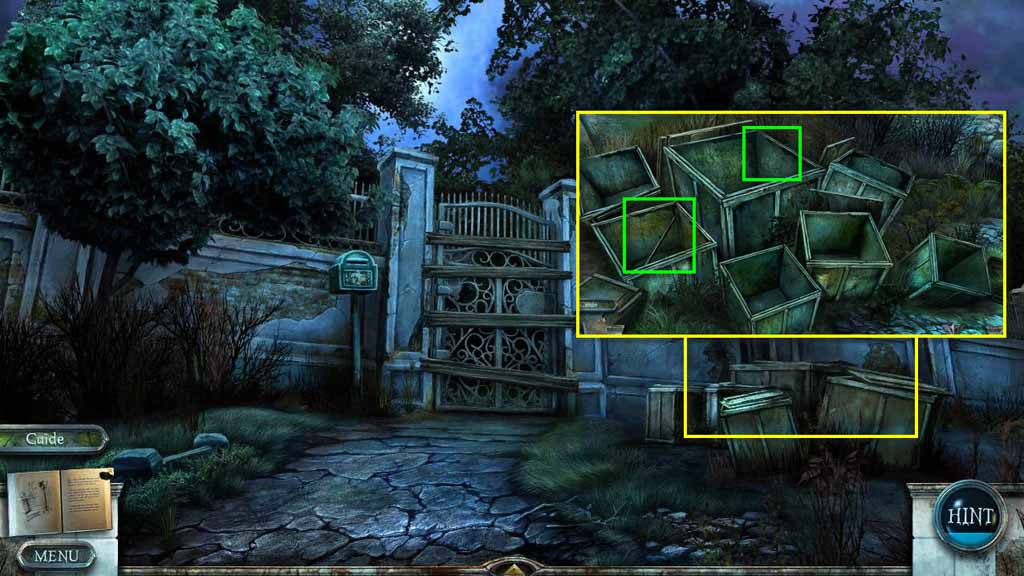
- Click on the crates to zoom in.
- Click on the top of the crates to uncover them.
- Take the label with your sister's name on it.
- Take the Crowbar.
- Go forward toward the gate.
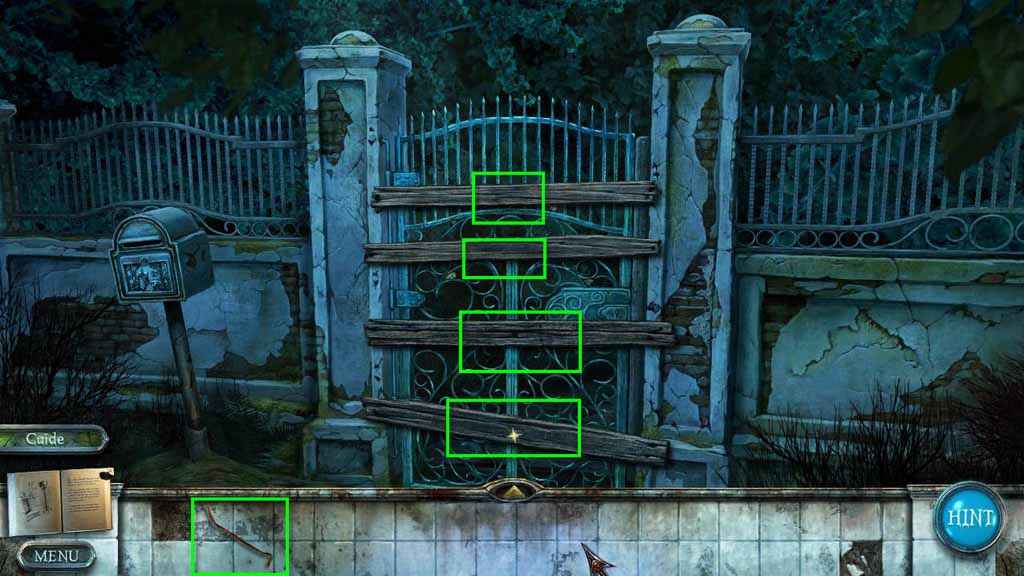
- Use the Crowbar on the boards to remove them.
- Click to zoom in on the gate.
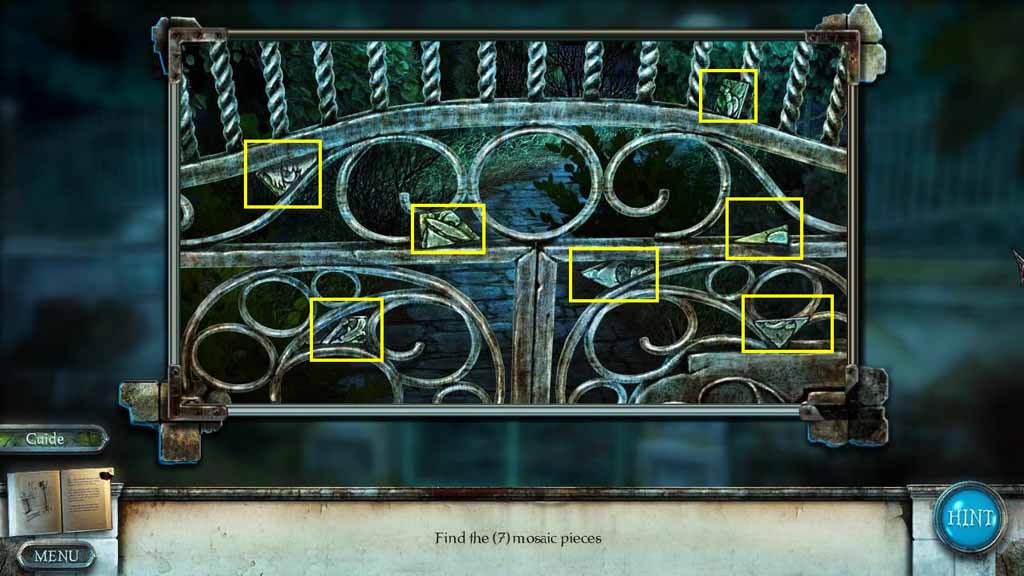
- Find the 7 mosaic pieces hidden on the gate.
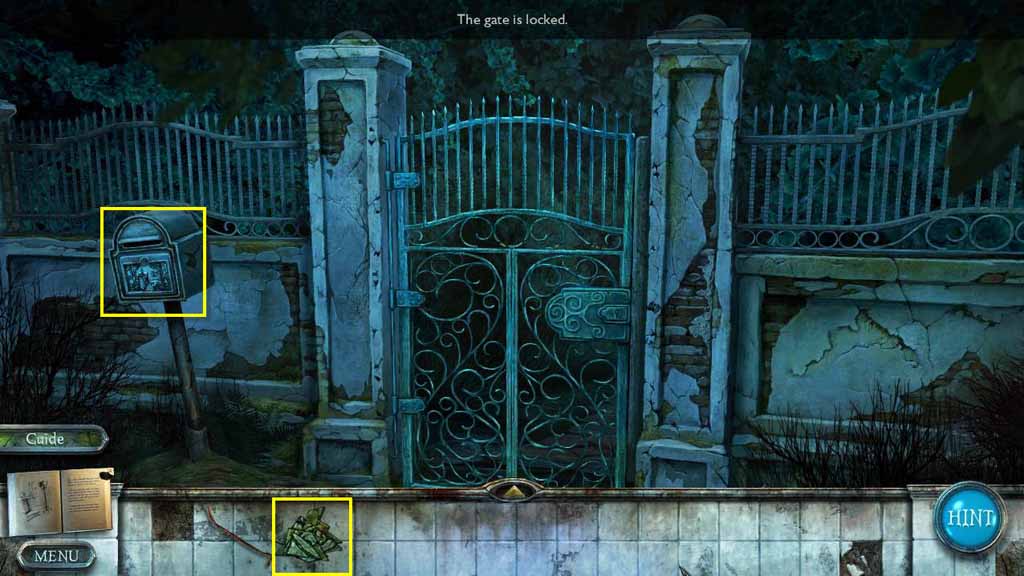
- Click on the mailbox on the left.
- Use the Puzzle Pieces on the mailbox.
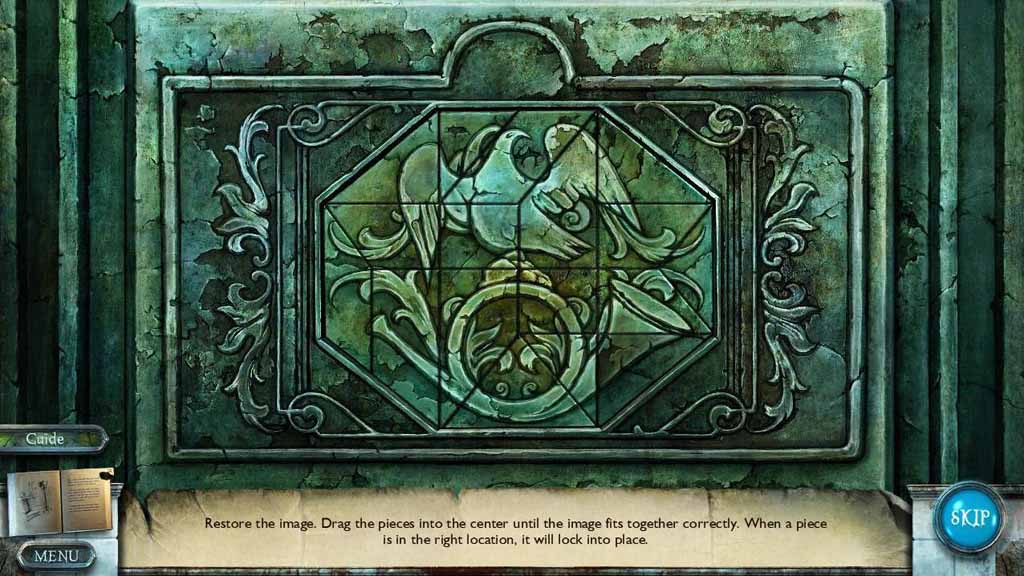
- Click and drag the pieces to the correct spot in order to restore the picture.
- See the screenshot for the solution.
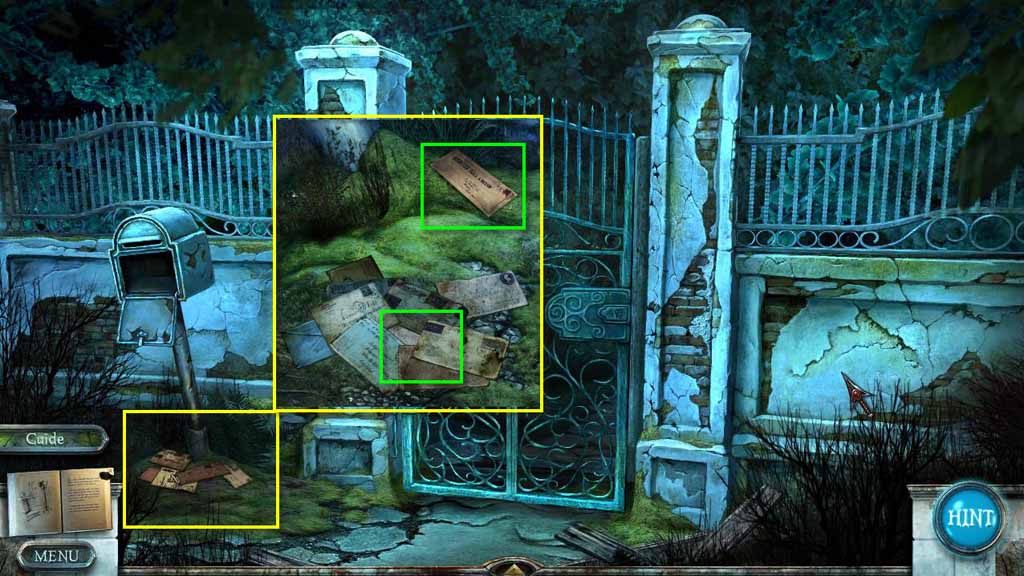
- Click to zoom in on the letters that fell to the ground.
- Take the letter at the top of the screen.
- Click on the other letters and move them out of the way until you uncover the Key.
- Take the Gate Key.
- Use the Gate Key on the gate.
- Go forward one screen.
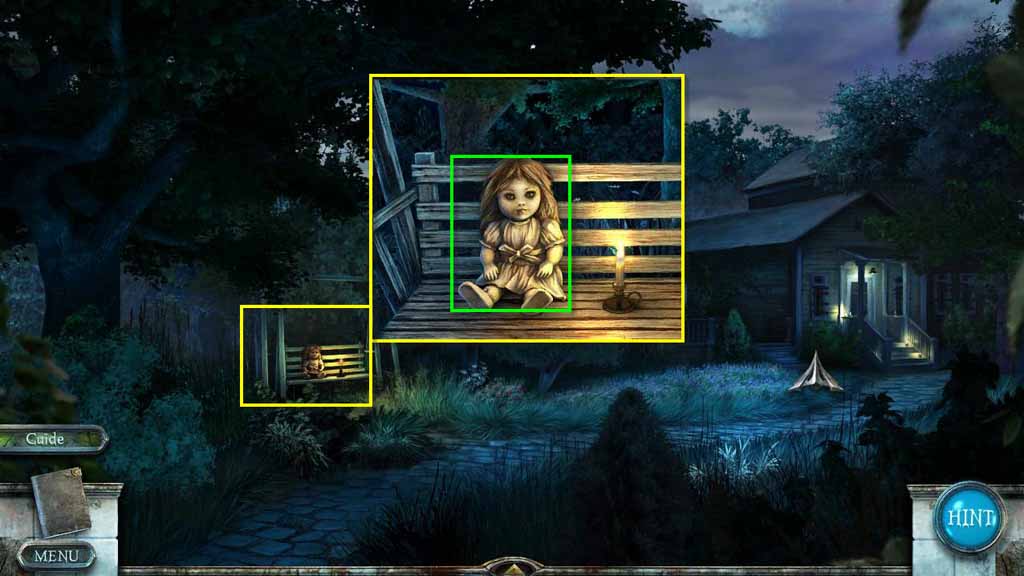
- Click to zoom in on the bench.
- Take the Doll.
- Take the Garden Glove.
- Go forward two screens.
- Try to enter the house and the door will slam.
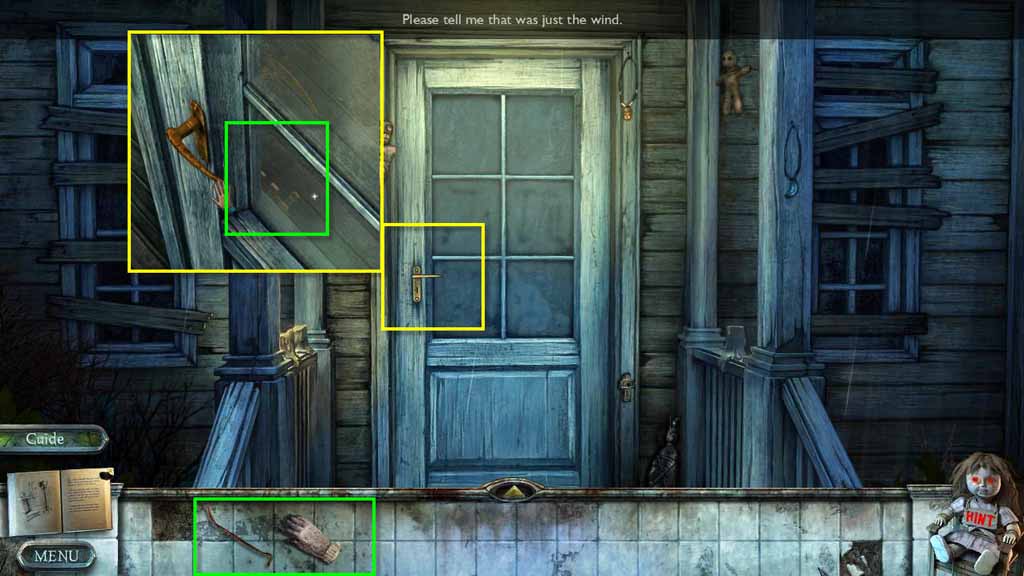
- Click to zoom in on the door handle.
- Use the Crowbar to break the glass.
- Use the Garden Glove to open the door.
- Enter the house.
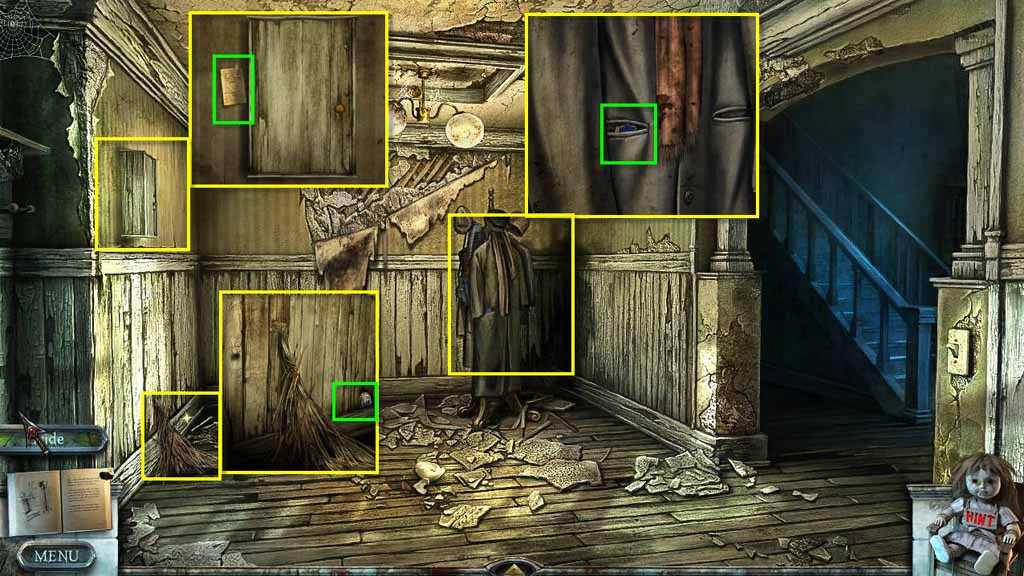
- Click on the light switch to turn on the lights.
- Click on the cupboard on the left.
- Take the note.
- Click on the straw on the floor to zoom in.
- Take the Eye Emblem.
- Click to zoom in on the coat.
- Take the Piece of Drawing.
- Go to the right.
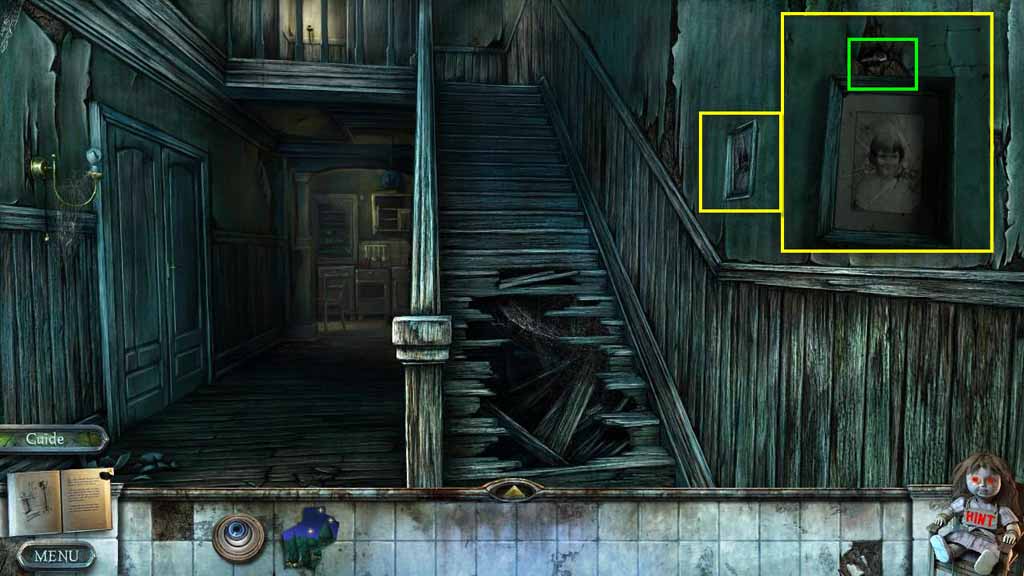
- Click on the portrait on the wall on the left.
- Take the Living Room Key.
- Move forward.
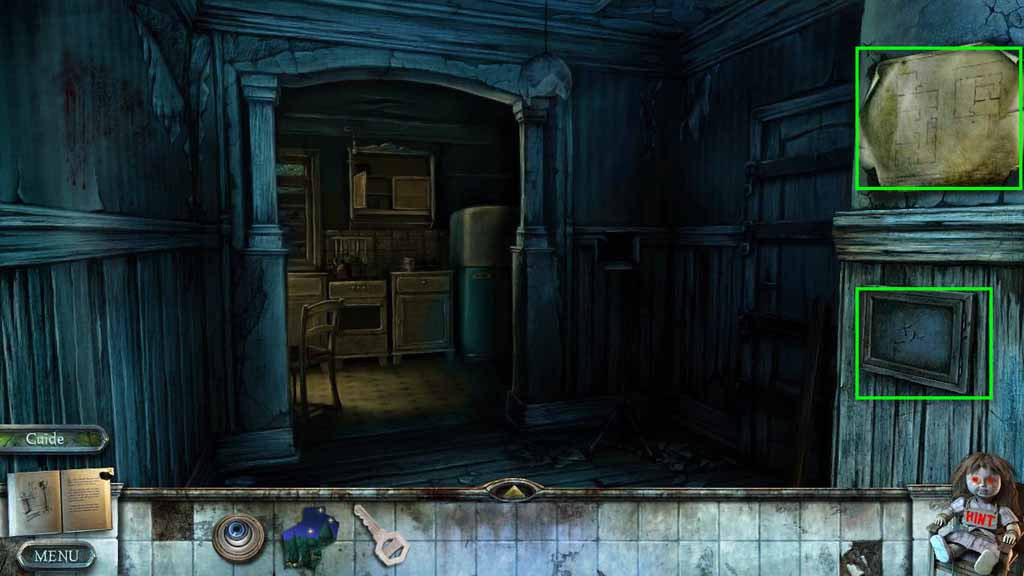
- Take the Map.
- Click on the light switch behind the map.
- Click on the fuse box, note the box is missing a fuse.
- Go back one screen.
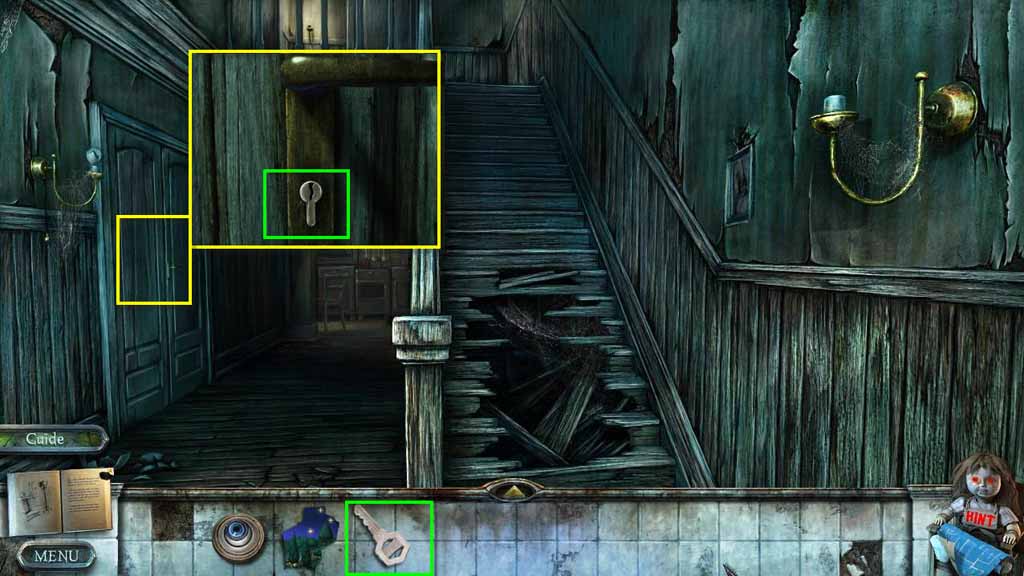
- Click to zoom in on the door handle on the left.
- Use the Living Room Key on the lock.
- Click to unlock the door.
- Enter the living room.
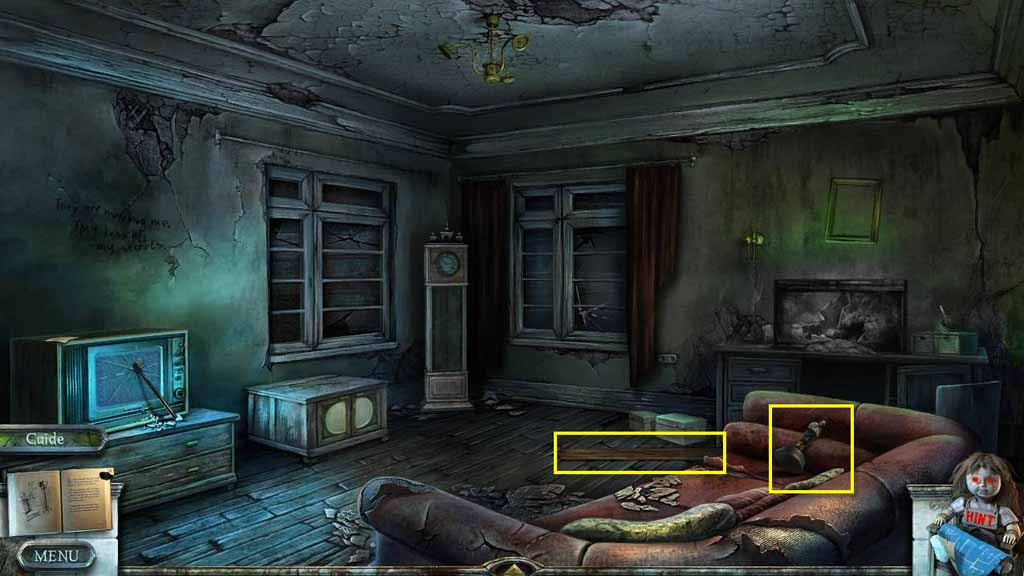
- Take the plank 1/4.
- Take the Figurine.
- Click on the sparkles to play the HOG.
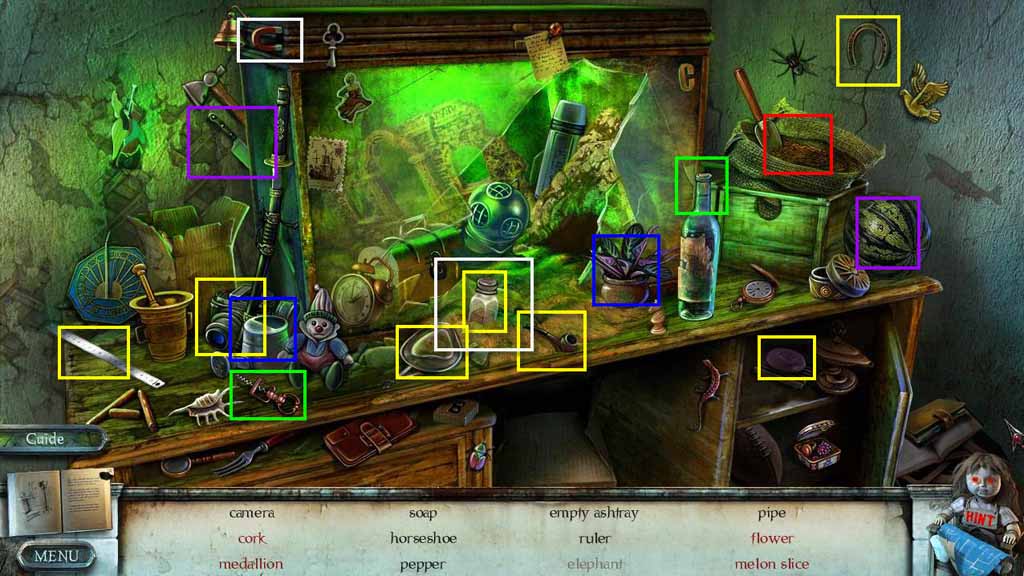
- Find all the items on the list.
- You will receive the Ruler.
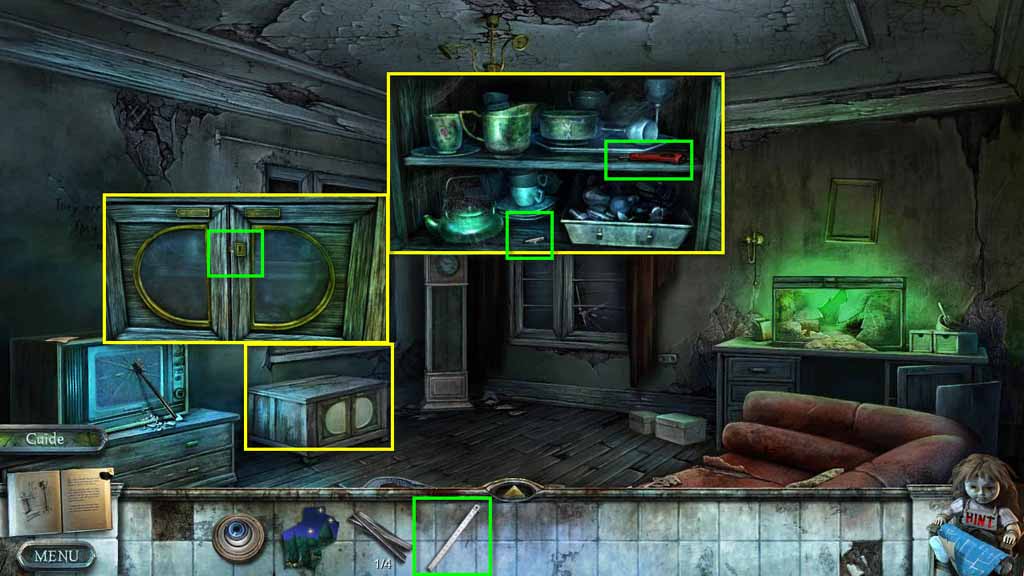
- Click to zoom in on the chest.
- Use the Ruler to unlock the chest.
- Take the Fuse and the Box Cutter.
- Go back one screen.
- Go forward one screen.
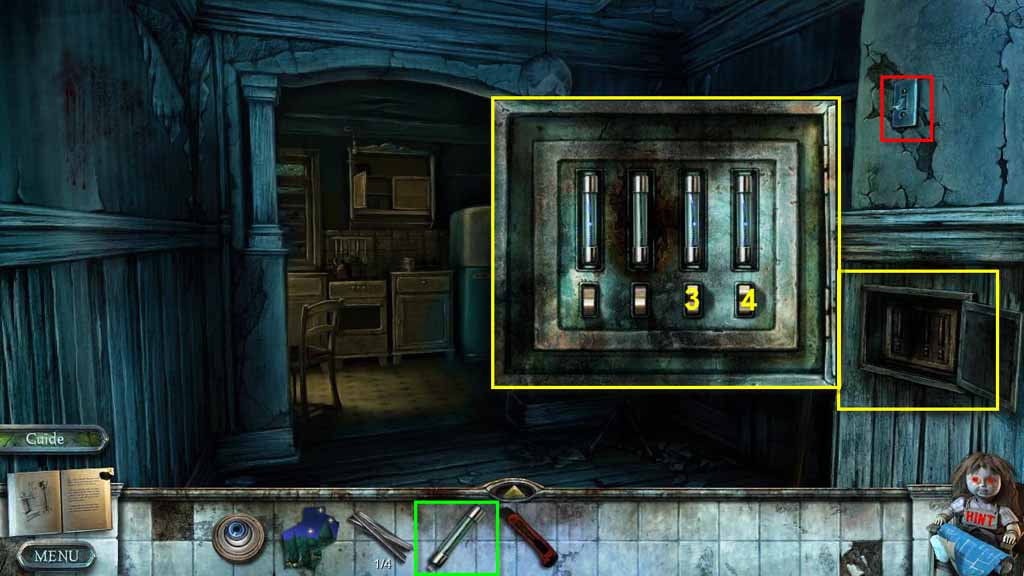
- Click to zoom in on the fuse box.
- Use the Fuse on the empty slot.
- Click on the 4th fuse, then the 3rd.
- Click on the light switch.
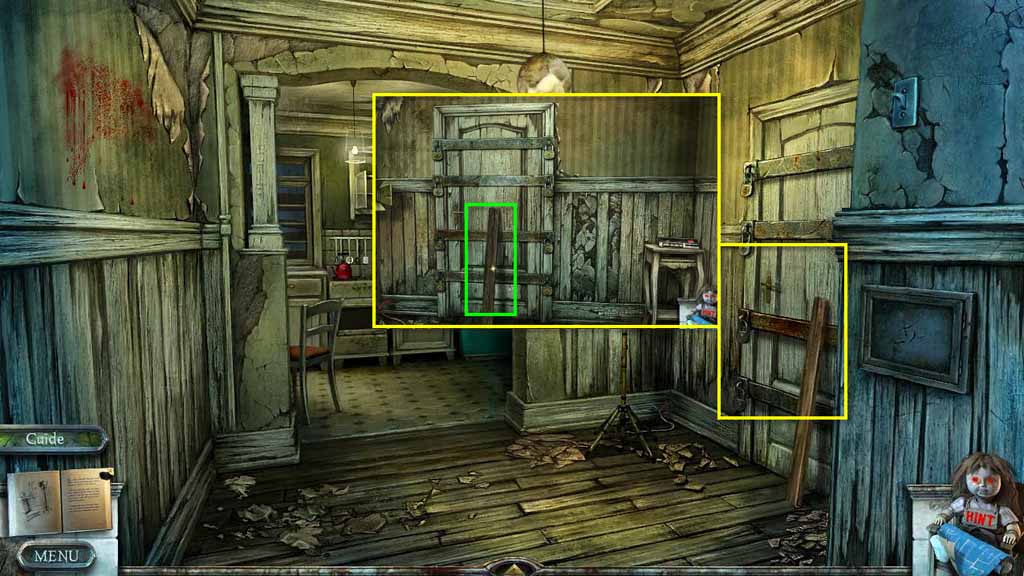
- Click to zoom in on the door on the right.
- Take the Plank 2/4.
- Click on the answering machine to listen.
- Go forward one screen.
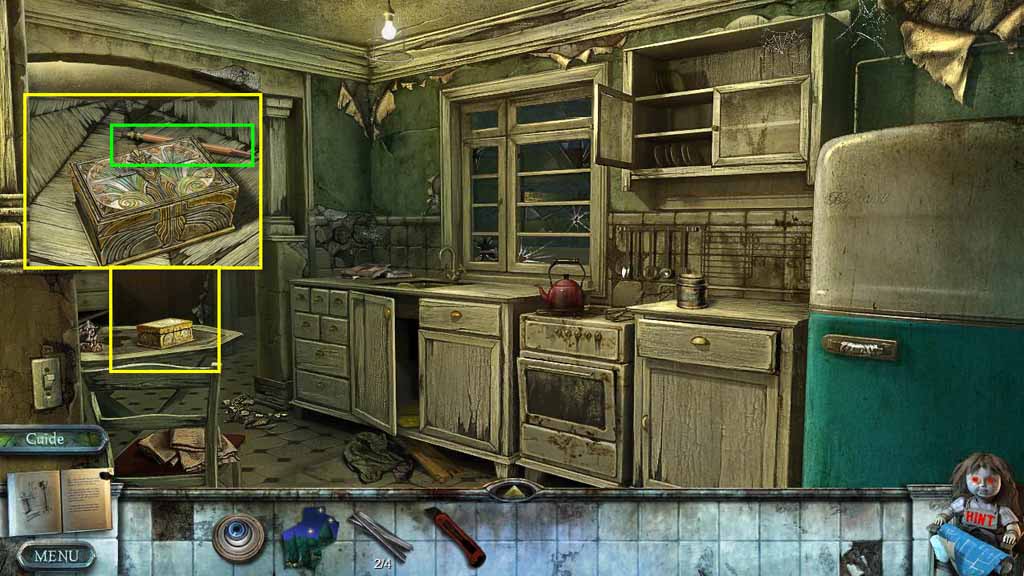
- Click to zoom in on the table on the left.
- Take the Pencil.
- Click to zoom in closer to the counter.
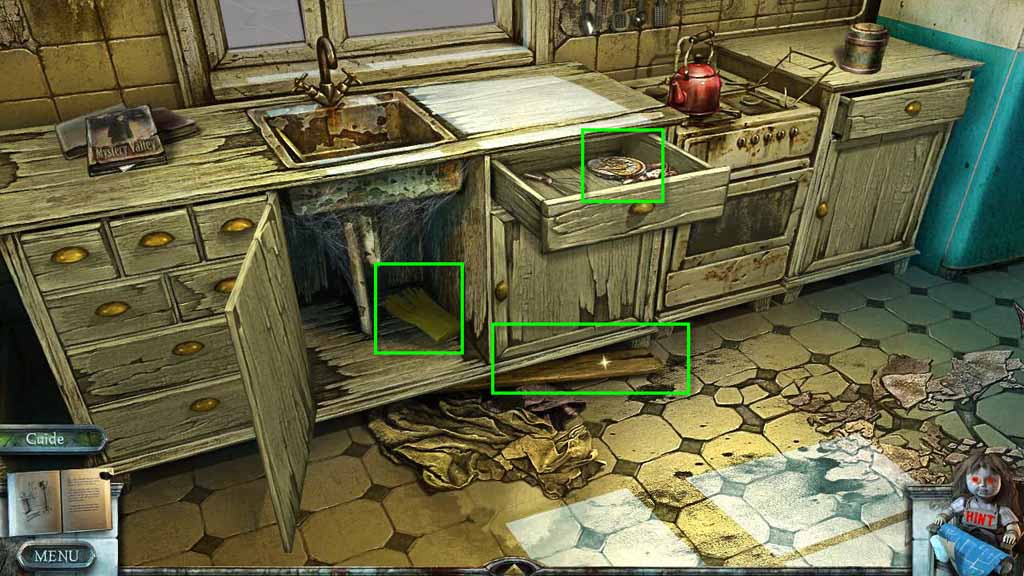
- Take the Plank 3/4.
- Click on the drawer in the middle and take the Snake Emblem.
- Click on the door under the sink and take the Rubber Gloves.
- Go to the right toward the fridge.
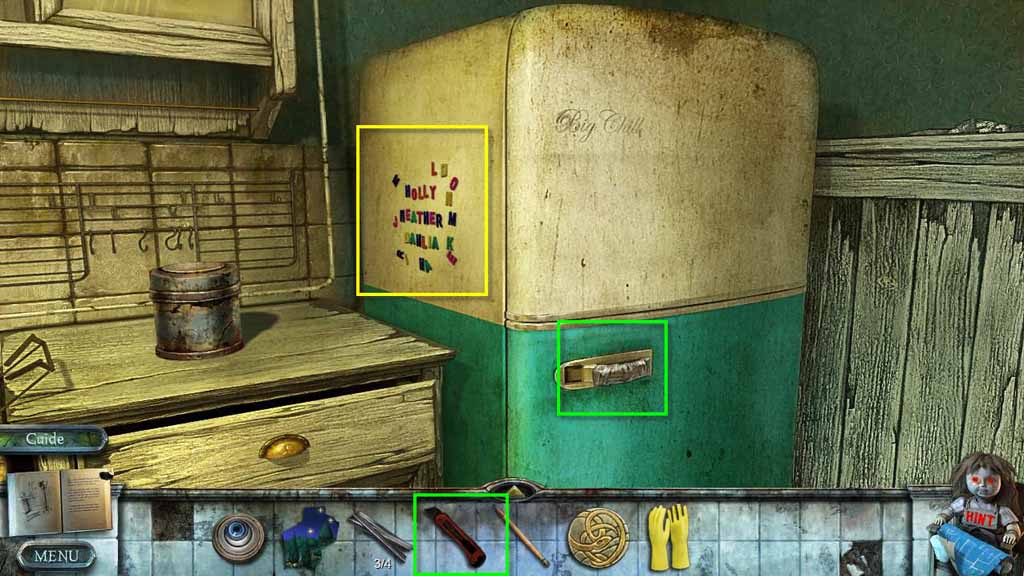
- Click on the fridge magnets.
- Click to zoom in on the fridge handle.
- Use the Box Cutter on the tape.
- Click to open the fridge.
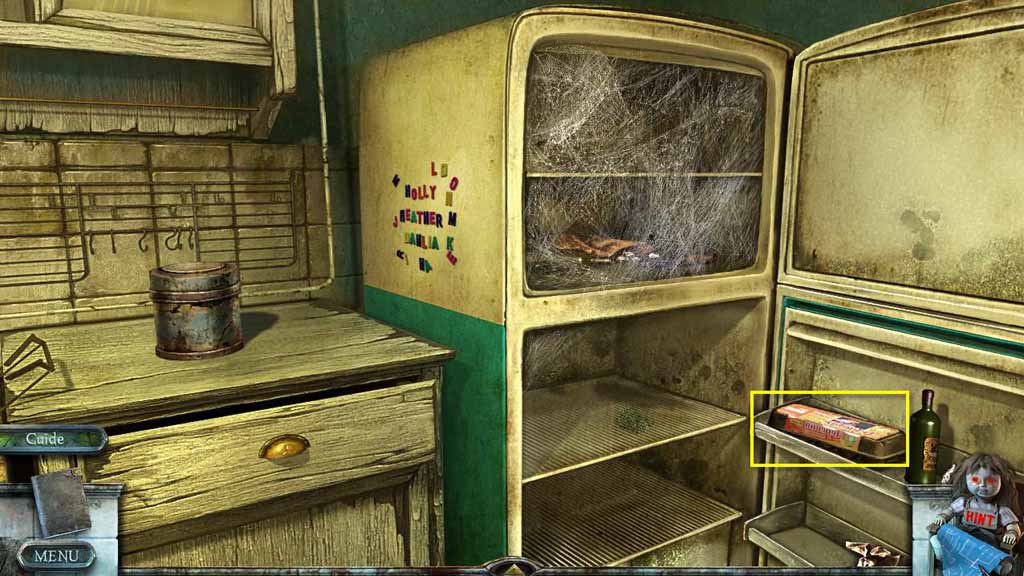
- Click to open the eggs.
- Take the Black Light Bulb.
- Zoom out of the fridge area and go forward one screen.
- Click to zoom in on the cabinet area.
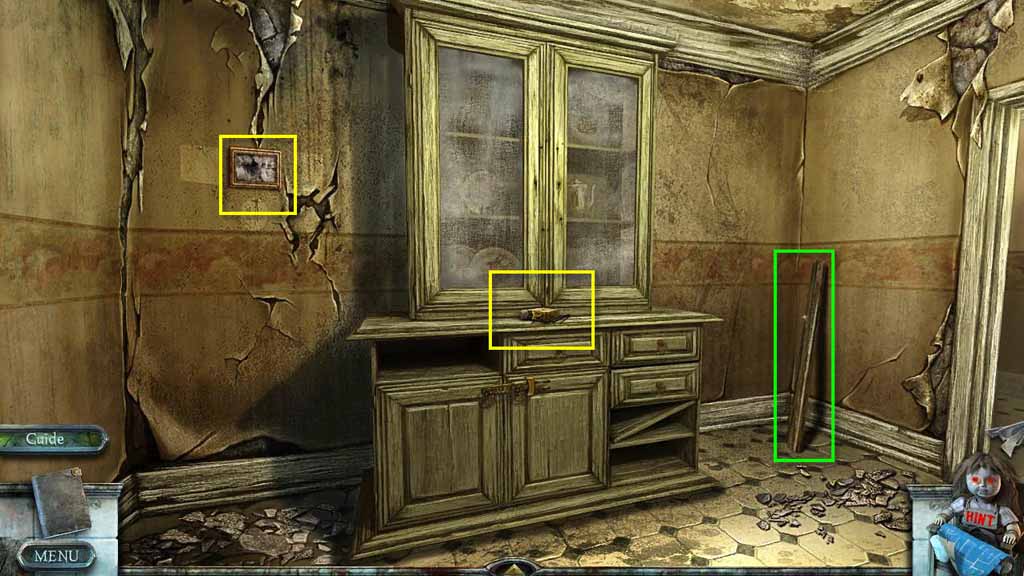
- Take the picture on the wall.
- Take the Plank 4/4.
- Click to zoom in on the nails.
- Take the Nails.
- Return to the Living Room.
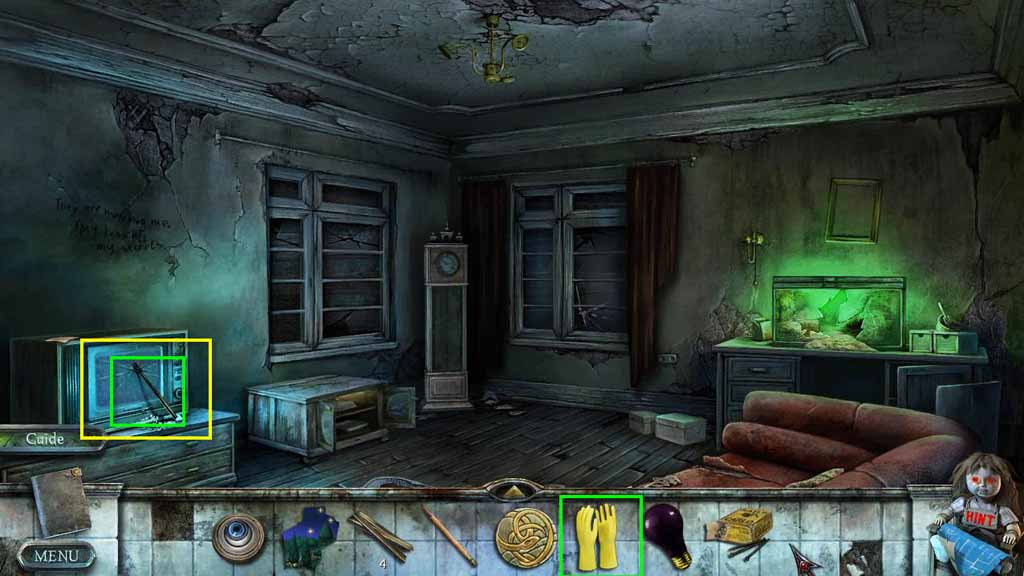
- Click to zoom in on the TV.
- Use the Rubber Gloves to get the Hammer.
- Go back one screen.
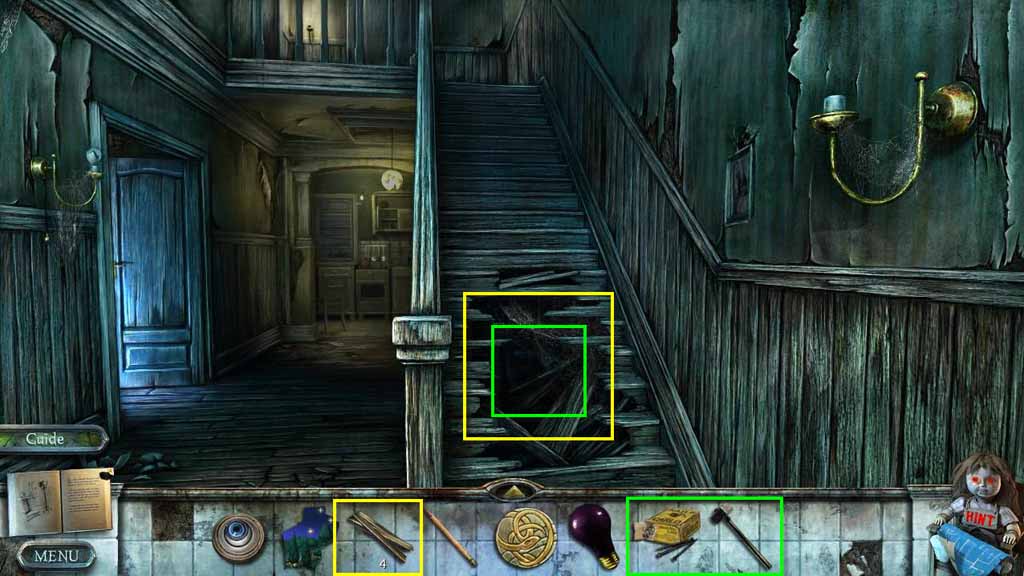
- Use the Planks on the hole in the stairs.
- Use the Nails on the planks.
- Use the Hammer on the Nails.
- Go up the stairs.
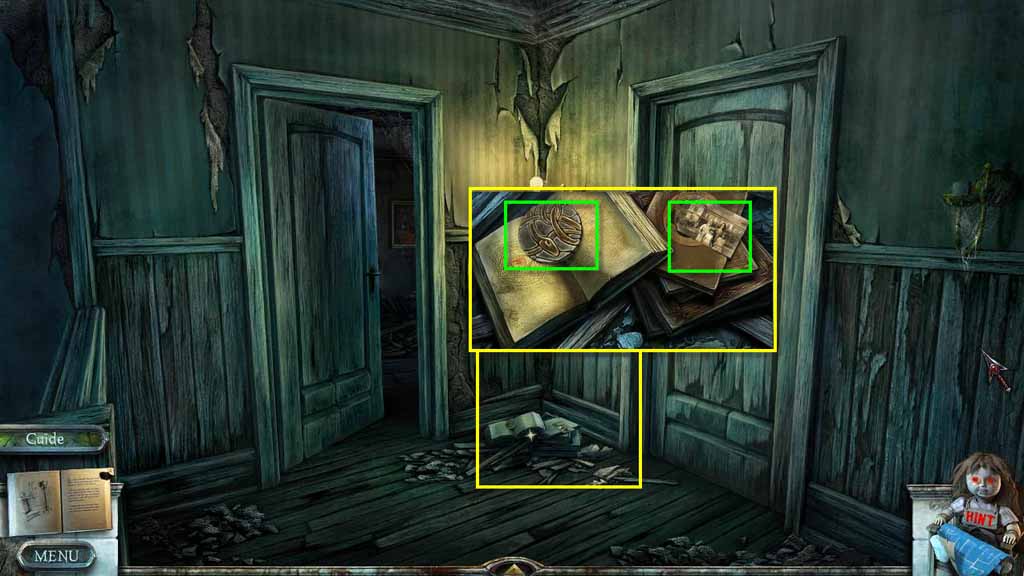
- Click on the pile of books to zoom in.
- Take the photograph.
- Take the Snake Emblem.
- Take the second photograph.
- Go to the left.
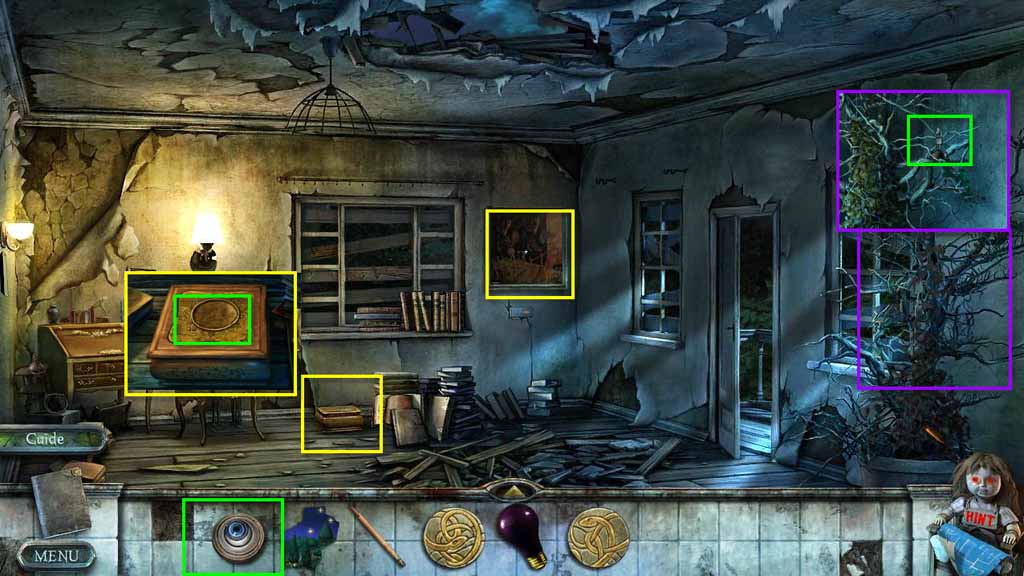
- Click on the painting on the wall to knock it down and reveal the safe behind it.
- Click on the chest on the floor.
- Use the Eye Emblem in the missing slot.
- Take the Flashlight.
- Click on the plant on the right to zoom in.
- Take the Figurine.
- Go to the right.
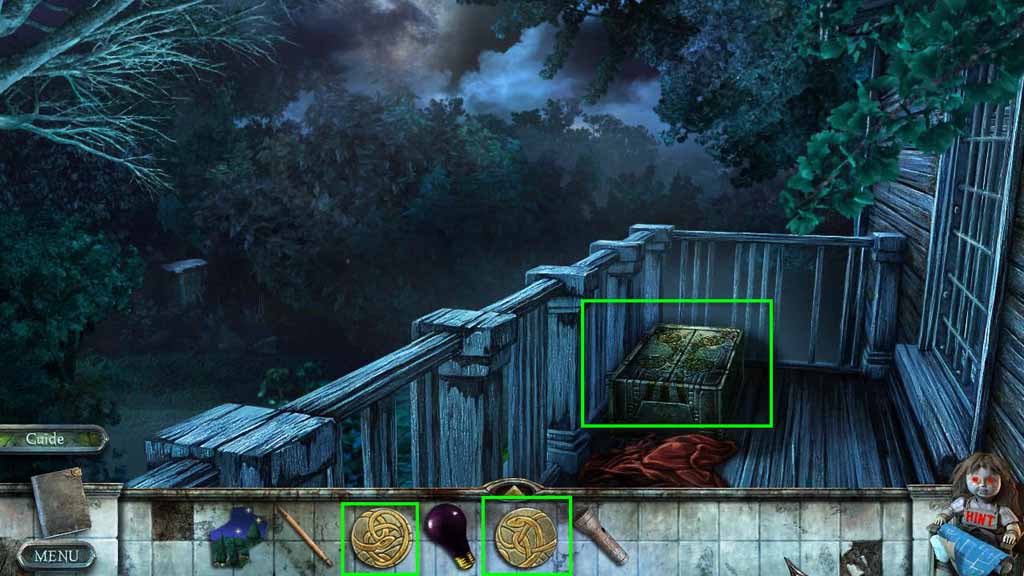
- Click on the red cloth to uncover the chest.
- Click to zoom in on the chest.
- Use the two Snake Emblems on the chest.
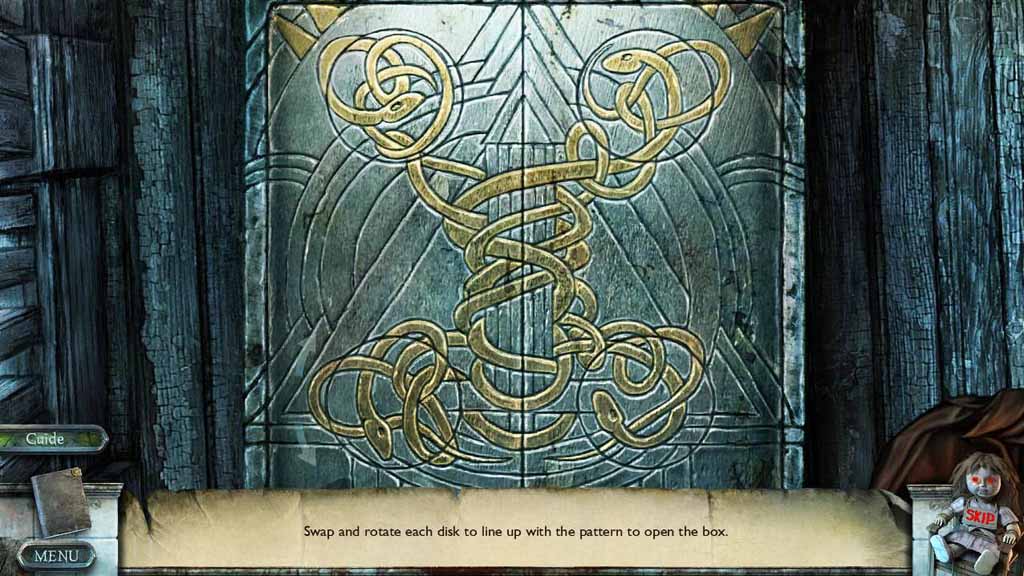
- Rotate the discs and swap them so you complete the picture.
- See the screenshot for the solution.
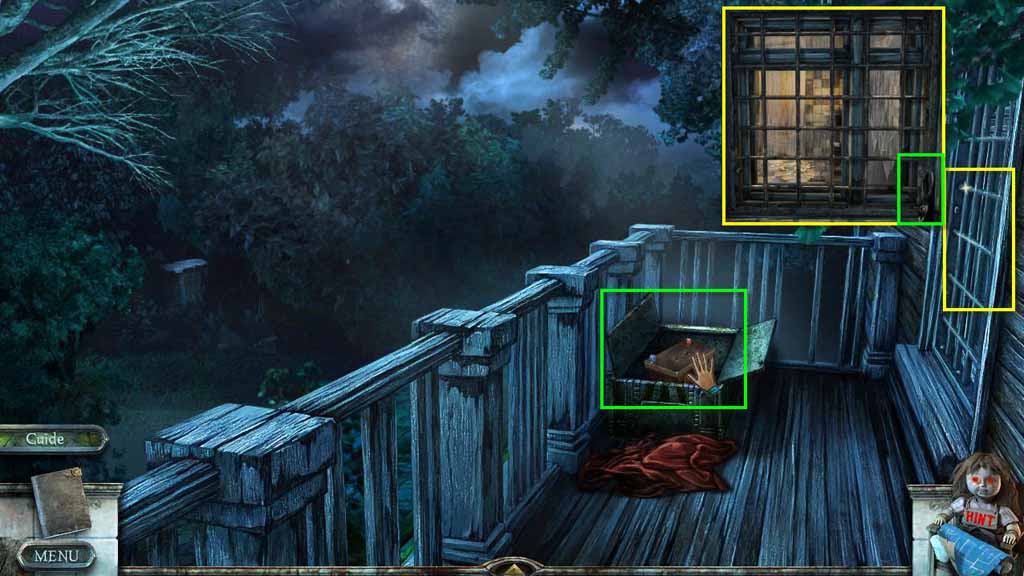
- When you are done, take the Battery.
- Click to zoom in on the window on the right.
- Take the Nippers.
- Go back three screens and then forward one to the hall downstairs.
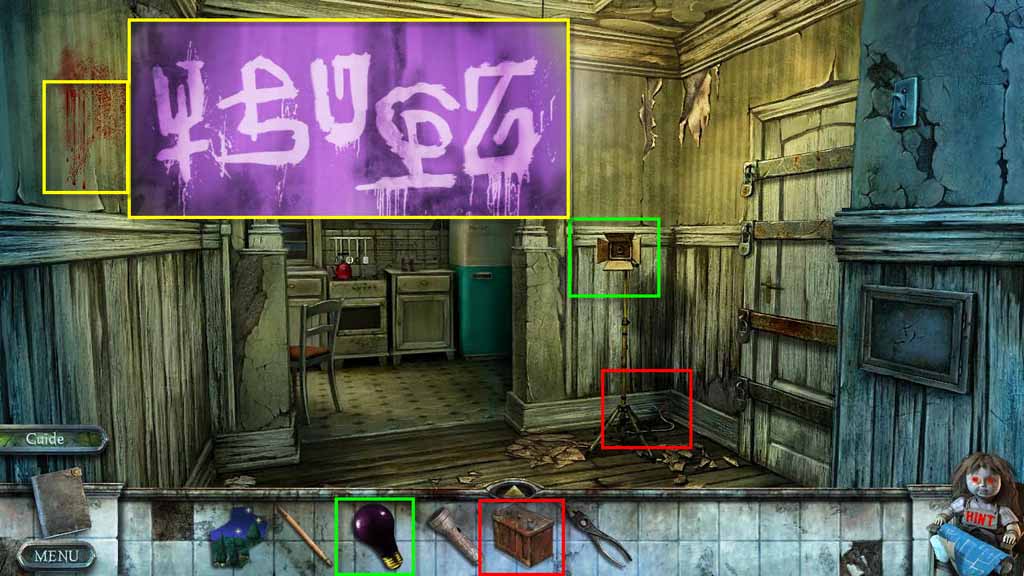
- Click to zoom in on the light.
- Use the Black Light Bulb on the light.
- Use the Batter on the light.
- Click to zoom in on the wall on the left.
- Take note of the symbols.
- Go back one screen, and then up the stairs and to the left again.
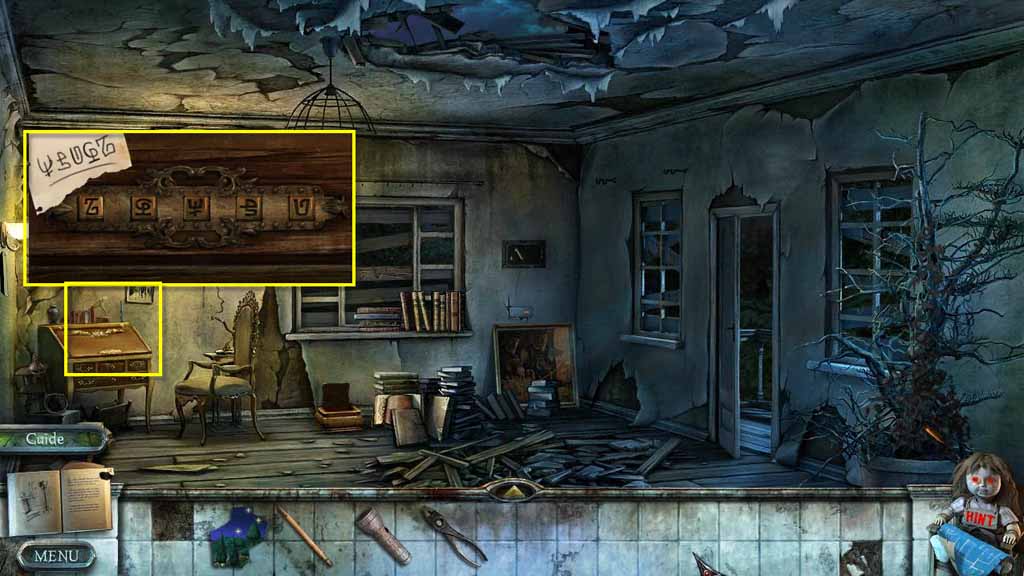
- Click on the desk to zoom in.
- Input the combination from the symbols you found on the wall.
- Click on the sparkles to play the HOG.
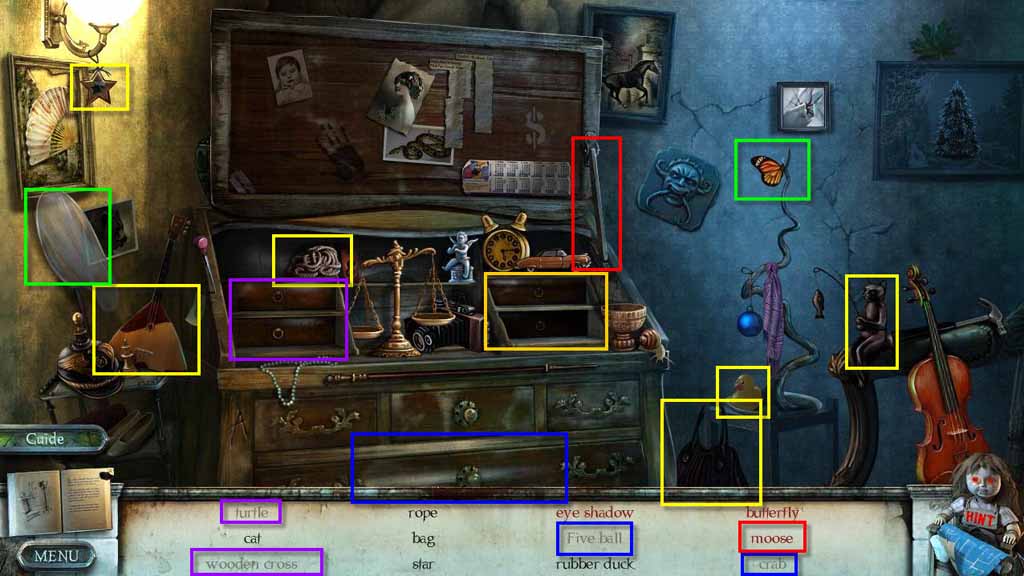
- Find all the items on the list.
- Close the desk top to find the moose and the old radio.
- Click to zoom in on the drawer to find the crab and the 5 ball.
- Click to zoom in on the drawer on the left to find the turtle, wooden cross, and the joker.
- Click on the drawer on the right to find the eye shadow.
- You will receive the Rope.
- Go back three screens.
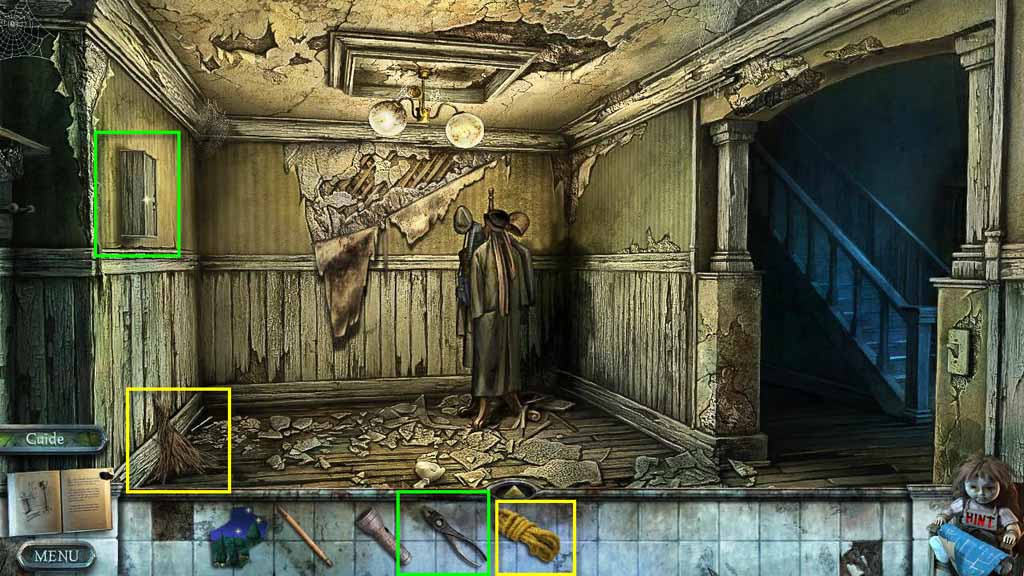
- Click to zoom in on the straw.
- Use the Rope on the straw.
- Take the Broom.
- Click to zoom in on the cupboard on the wall.
- Use the Nippers on the nails.
- Take the Dry Sponge.
- Go back to the kitchen.
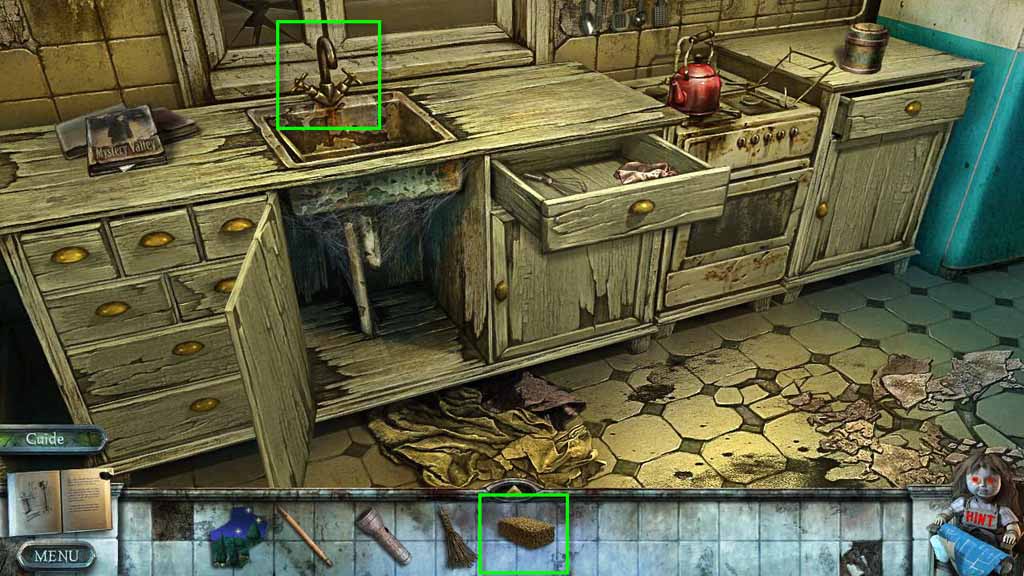
- Use the Dry Sponge on the Sink.
- You will receive the Wet Sponge.
- Go to the right toward the fridge.
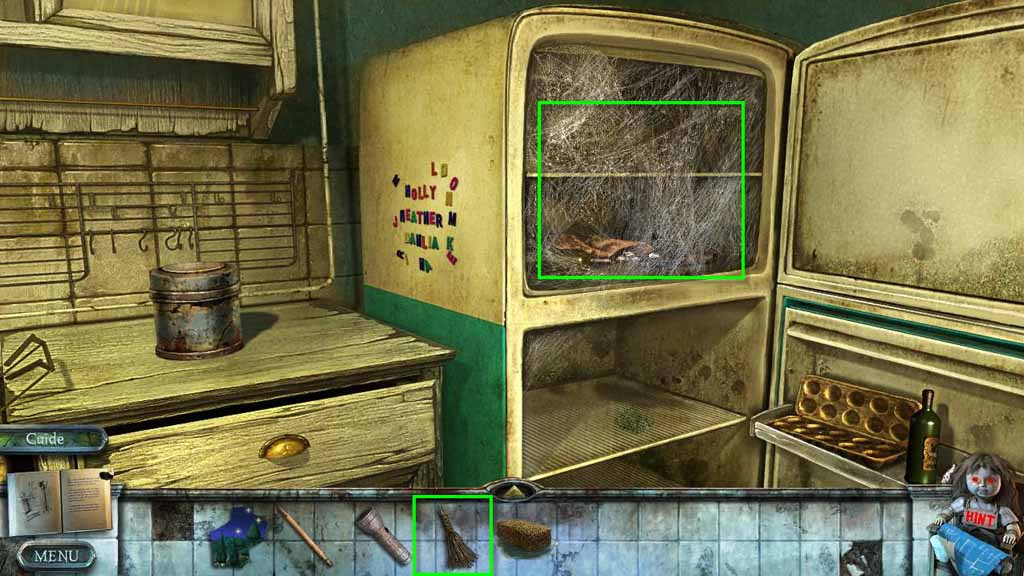
- Use the Broom on the spider webs.
- Take the Screwdriver.
- Go back and then forward.
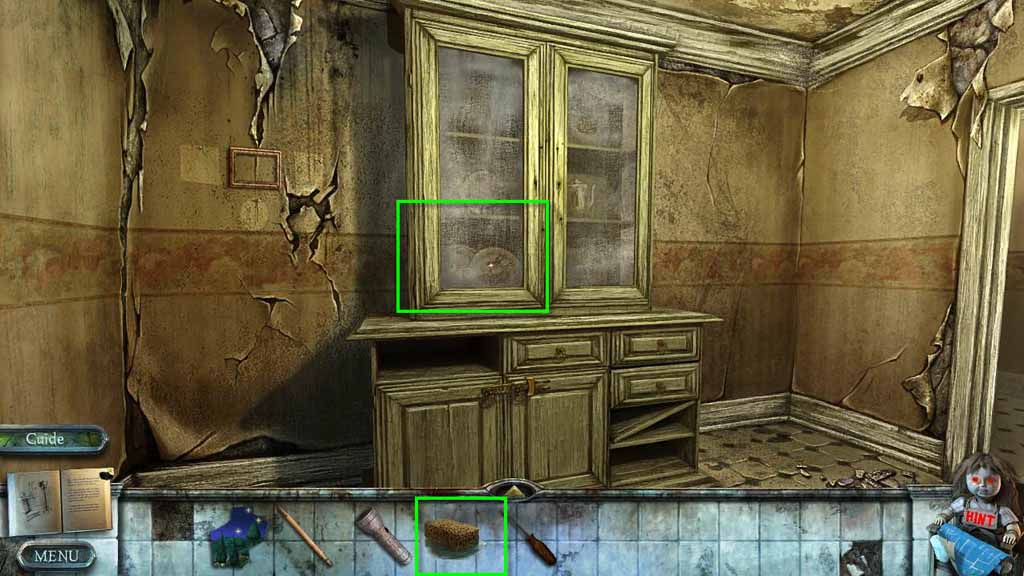
- Use the Wet Sponge on the dirty glass on the cabinet.
- Take note of the combination 1723
- Go to the right.
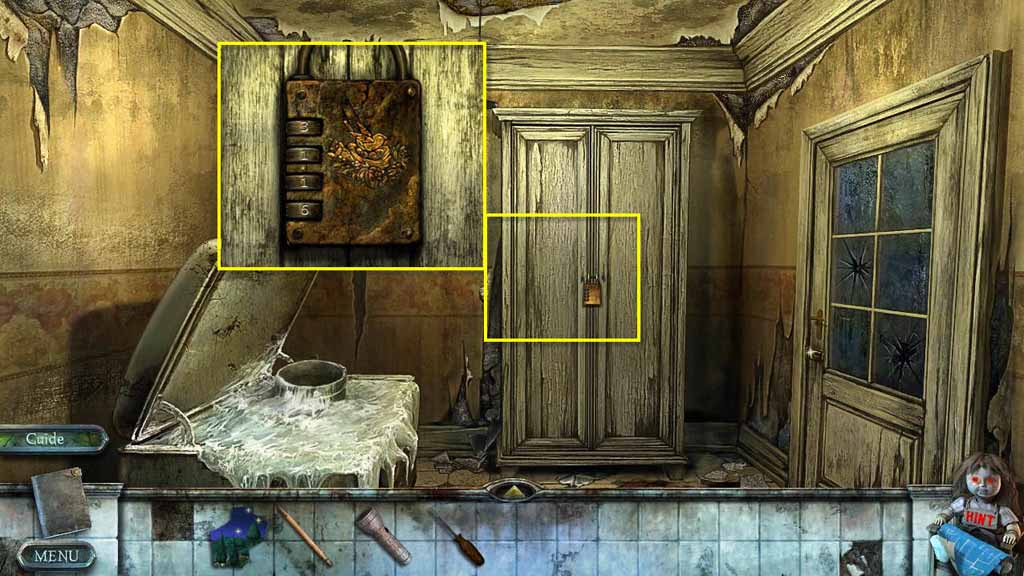
- Click to zoom in on the lock.
- Enter the combination 1723.
- Click the doors to open the cabinet.
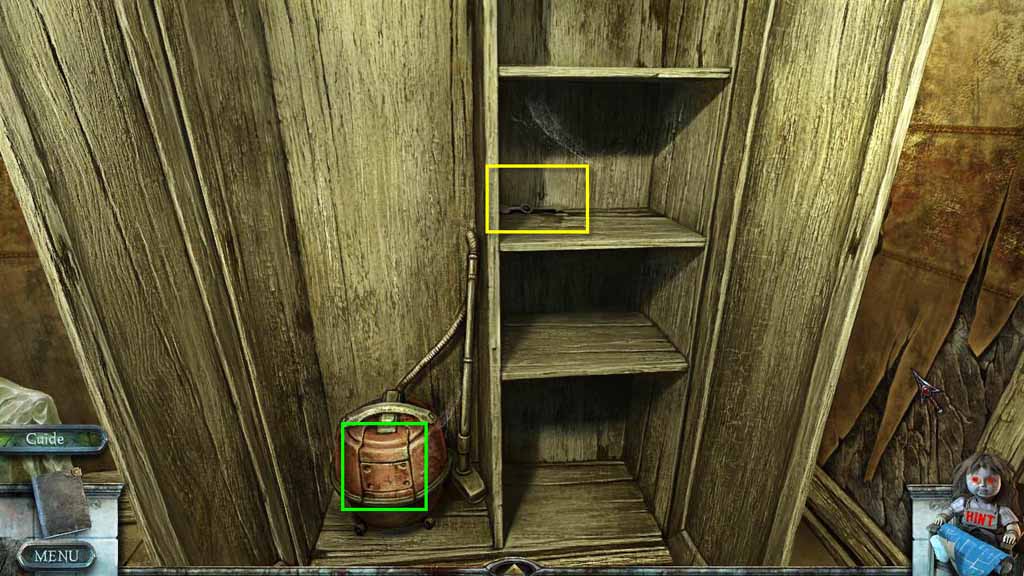
- Take the Watch Hands.
- Click to zoom in on the vacuum cleaner.
- Use the screwdriver on the panel.
- Take the Carriage.
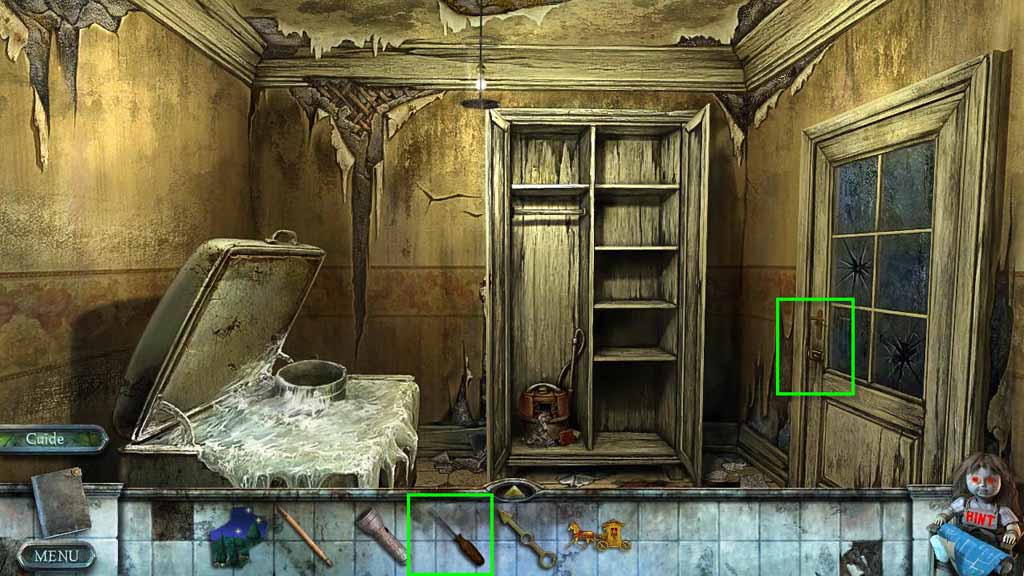
- Click to zoom in on the door on the right.
- Use the Screwdriver on the screws to remove the lock.
- Go to the right.
Comments will load when you reach this part of the walkthrough.