

Chapter Two: Something to Fear
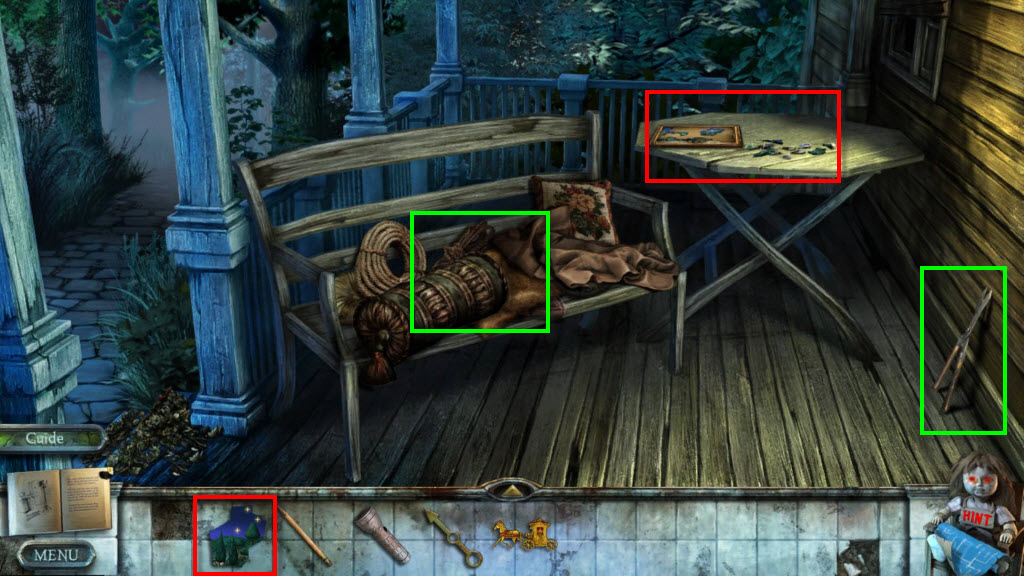
- Take the Shears
- Click to move the pillows four times.
- Take the Lighter Fluid.
- Click to zoom in on the table.
- Use the Piece of Drawing on the picture.
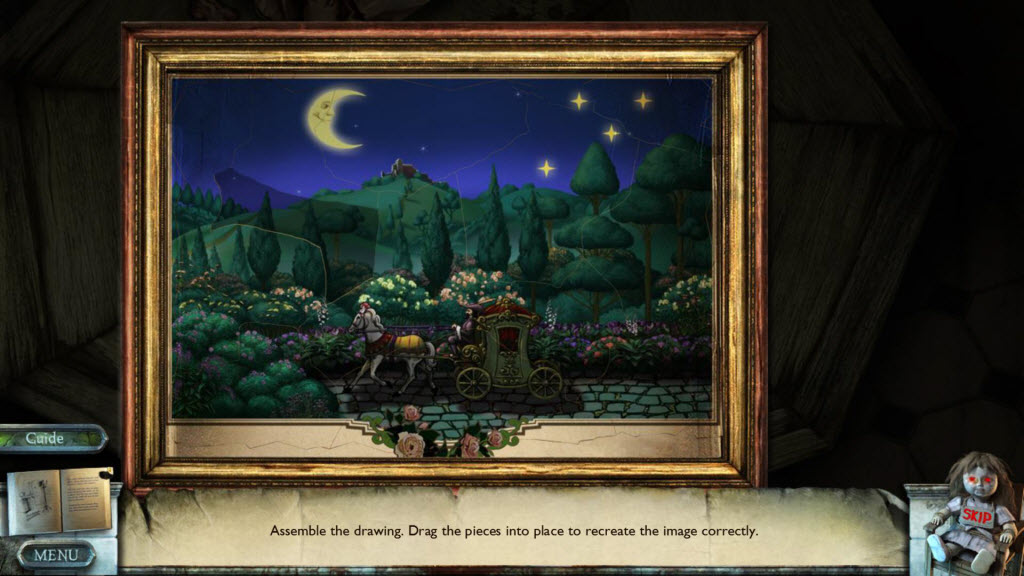
- Assemble the pieces to restore the picture.
- See the screenshot above for the solution.
- Go to the left when you are done.
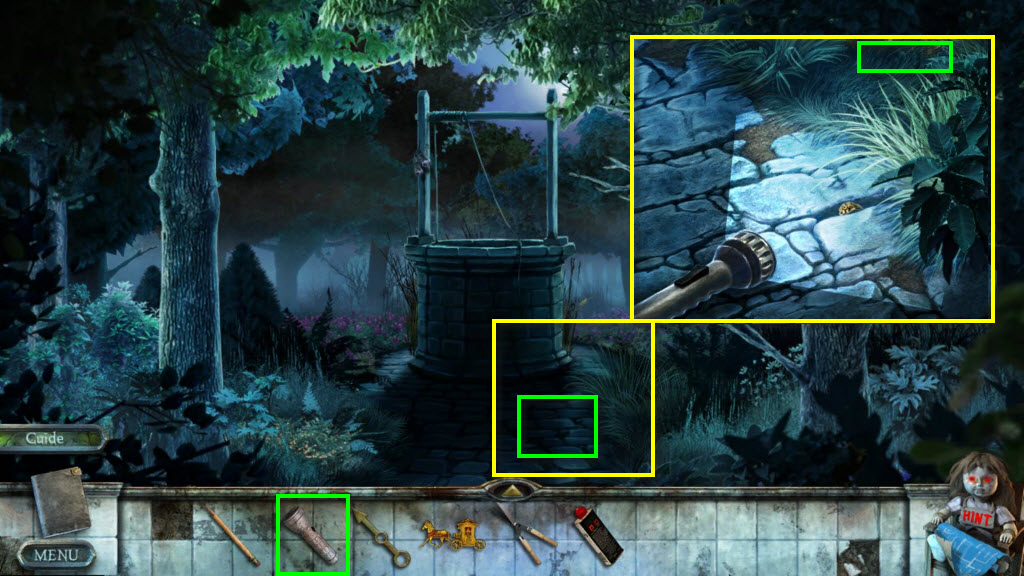
- Use the Flashlight on the ground.
- Click to zoom in.
- Take the Clock Key.
- Move forward one screen.
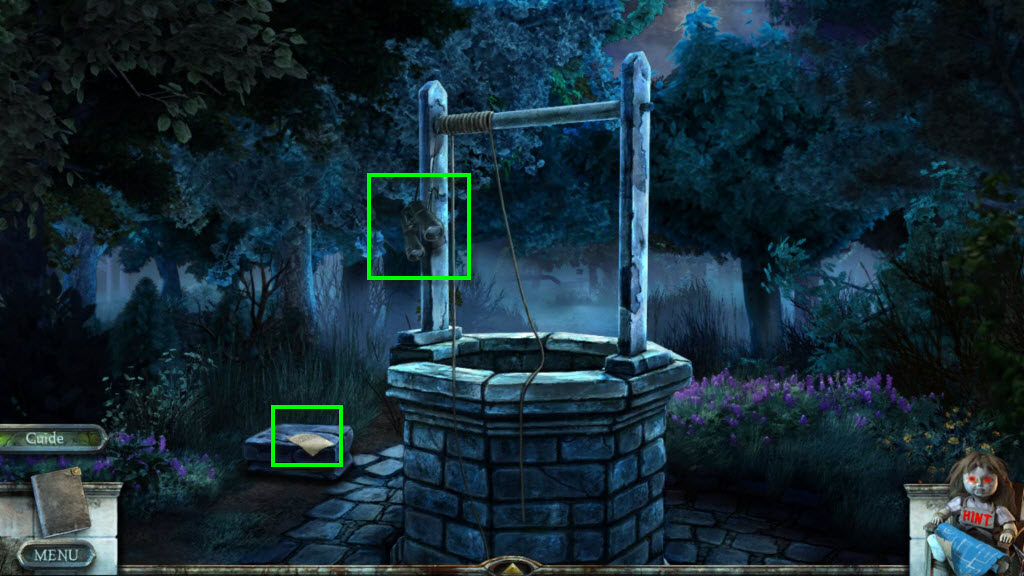
- Take the Binoculars.
- Take the Note.
- Go back in the house to the upstairs balcony. (It helps to use the map.)
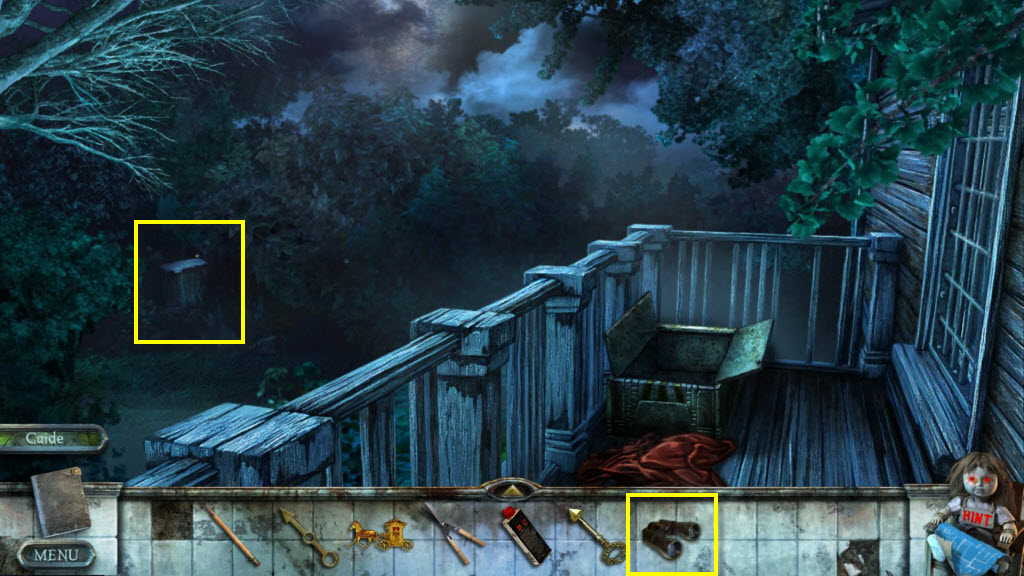
- Use the Binoculars on the stone in the distance.
- Go to the Living Room.
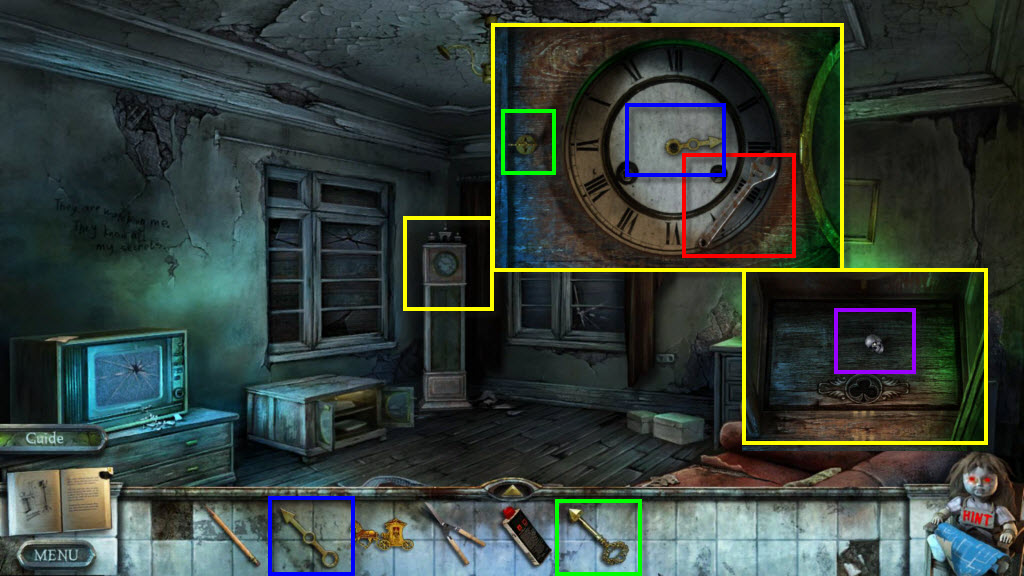
- Click to zoom in on the clock.
- Use the Clock Key on the lock.
- Take the Wrench.
- Use the Clock Hand on the clock.
- Set the time to 6:46.
- Click to zoom in on the clock again.
- Take the Skulls 1/7.
- Go to the room upstairs with the plant in the corner.
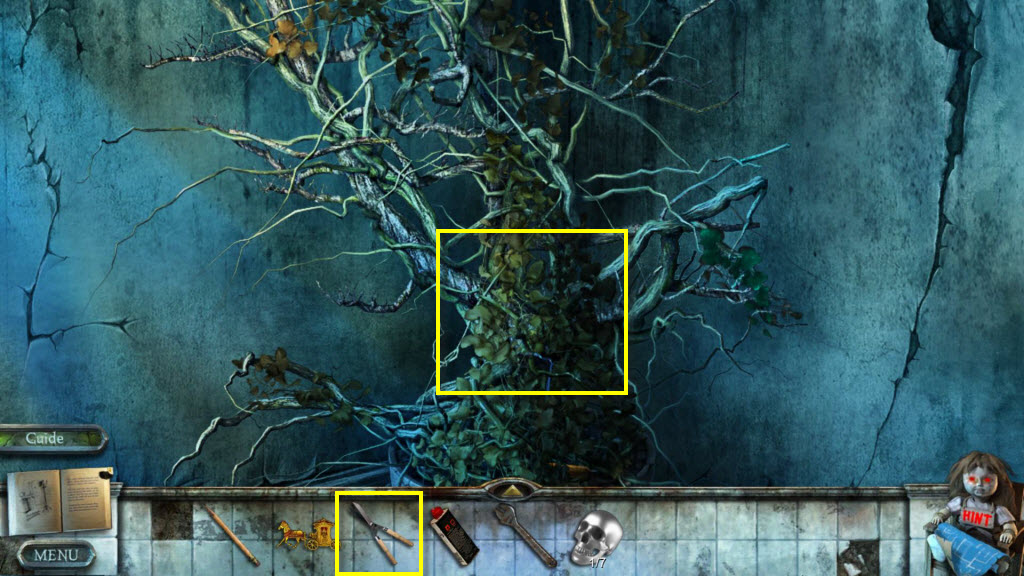
- Click to zoom in on the plant.
- Use the Shears on the plant.
- Take the Well Handle.
- Go out to the Balcony.
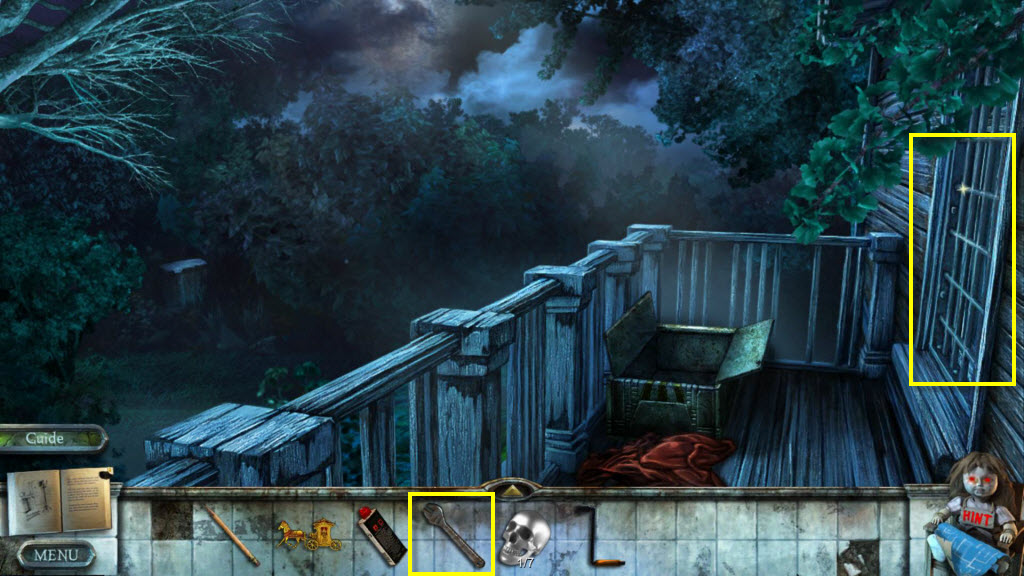
- Click to zoom in on the window.
- Use the Wrench on the bars.
- Go through the window.
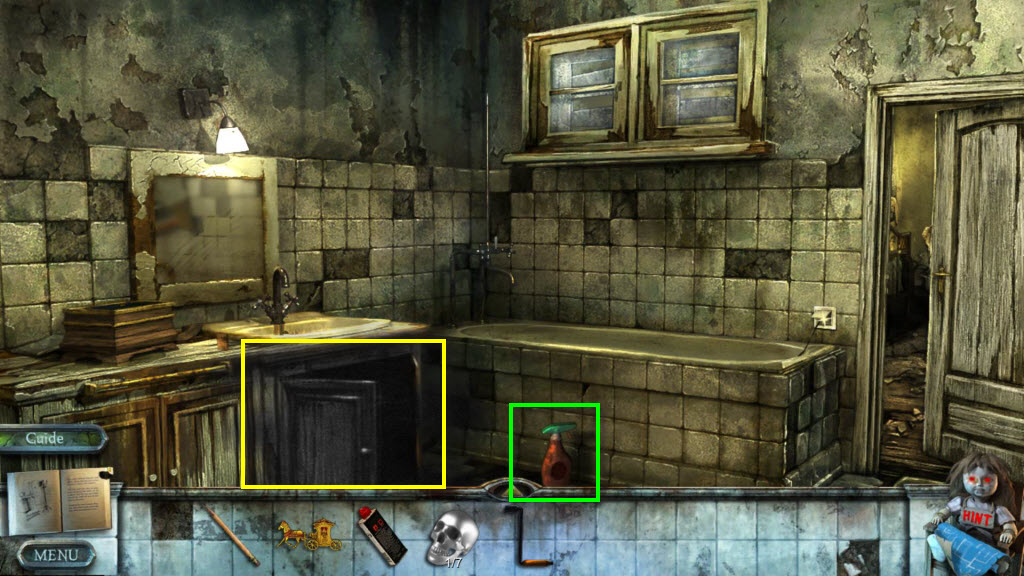
- Take the Stain Remover.
- Click on the cabinet to play the HOG.
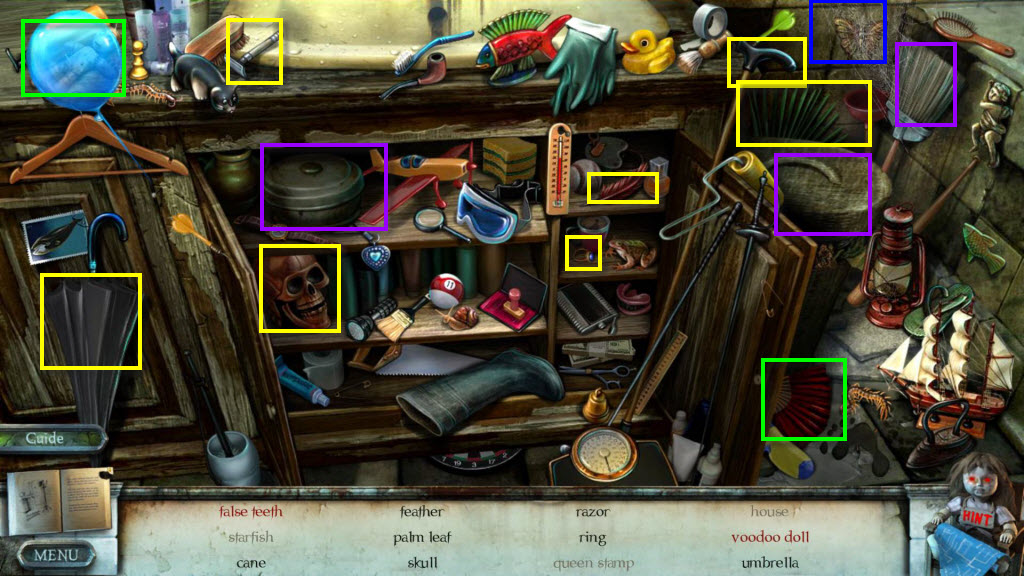
- Find all the items on the list.
- You will receive the Tweezers.
- Click on the sink area to zoom in.
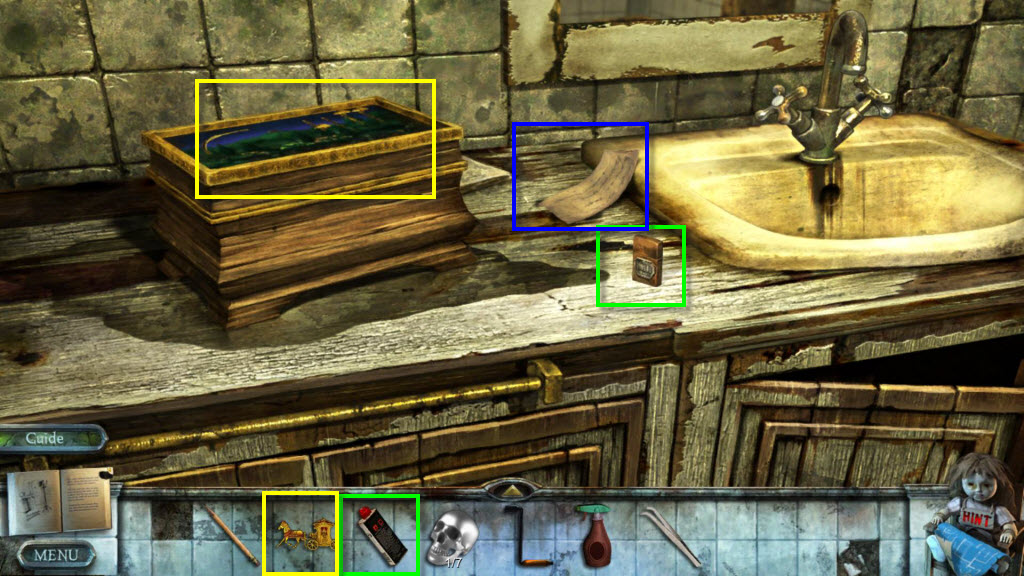
- Click on the lighter to open it.
- Use the Lighter Fluid on the lighter.
- Take the Note.
- Use the Carriage on the chest.
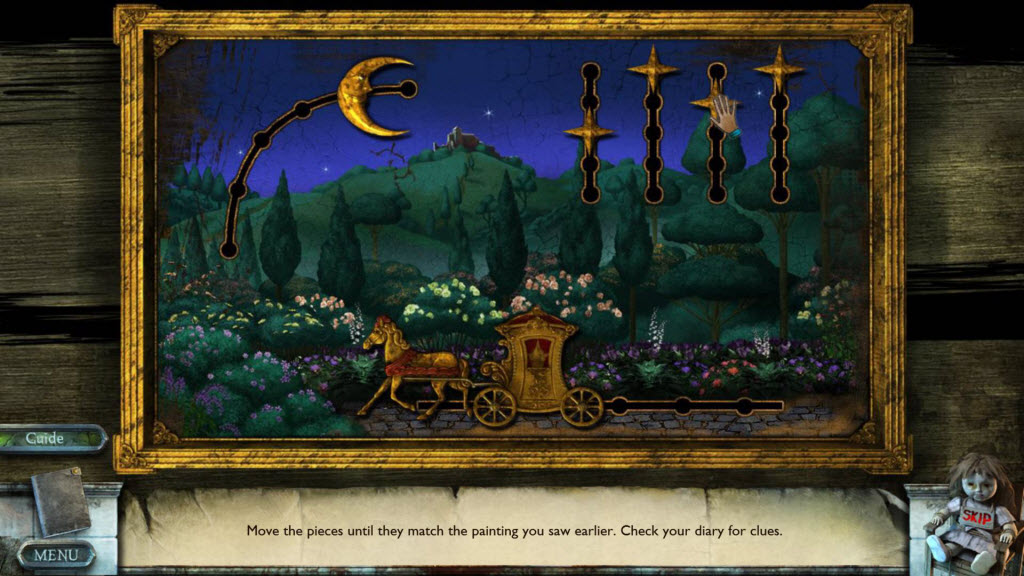
- You need to put the pieces in the same place that they were in the picture you created earlier.
- Check your diary for what it's supposed to look like or just check the screenshot above.
- Take the Scary Medallion.
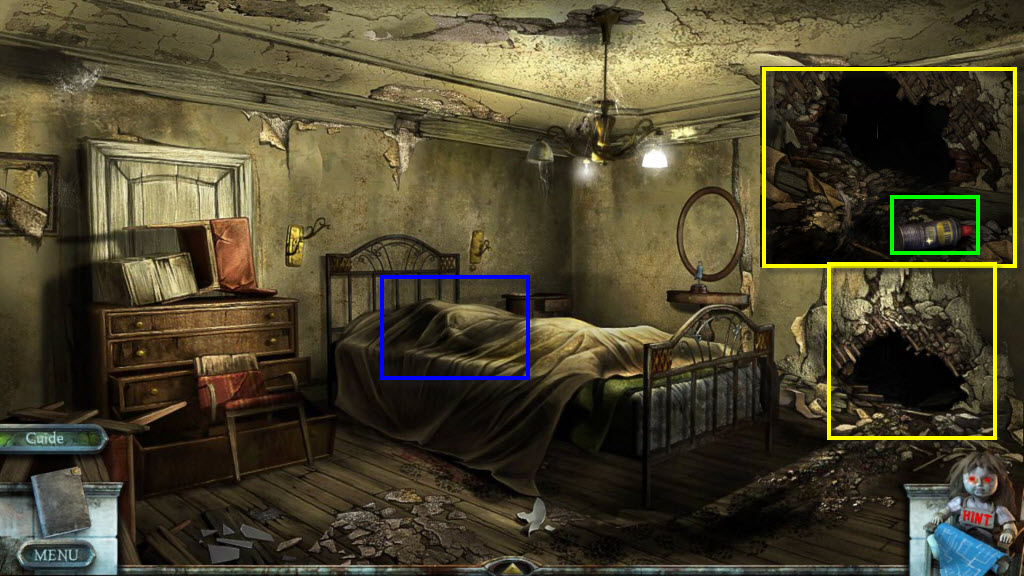
- Click to zoom in on the hole in the wall.
- Take the Anti-rust Spray.
- Click to zoom in on the bed.
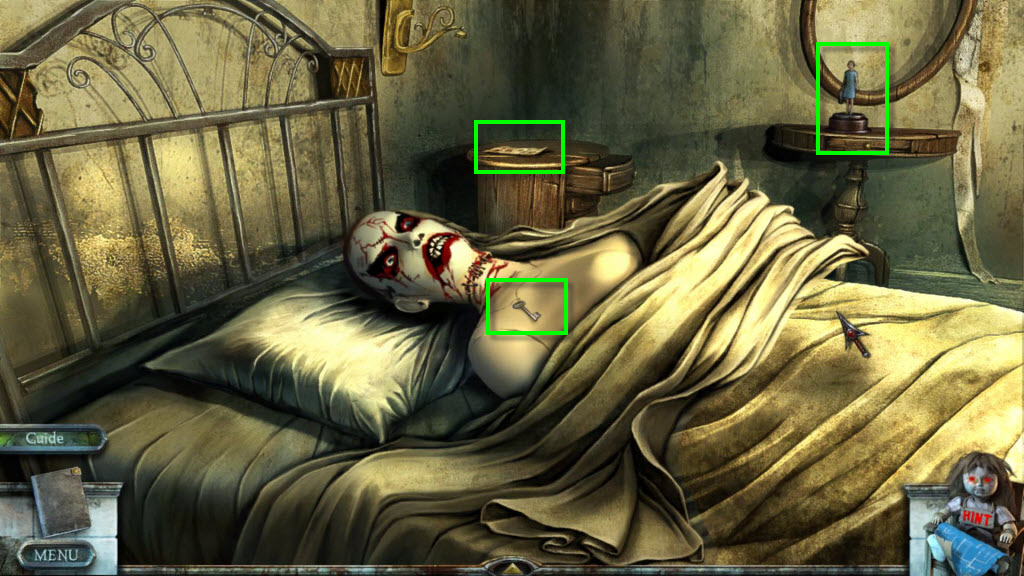
- Click on the covers to pull back the sheet.
- Take the Safe Key.
- Take the Collectible Figure.
- Take the note.
- Go back three screens.
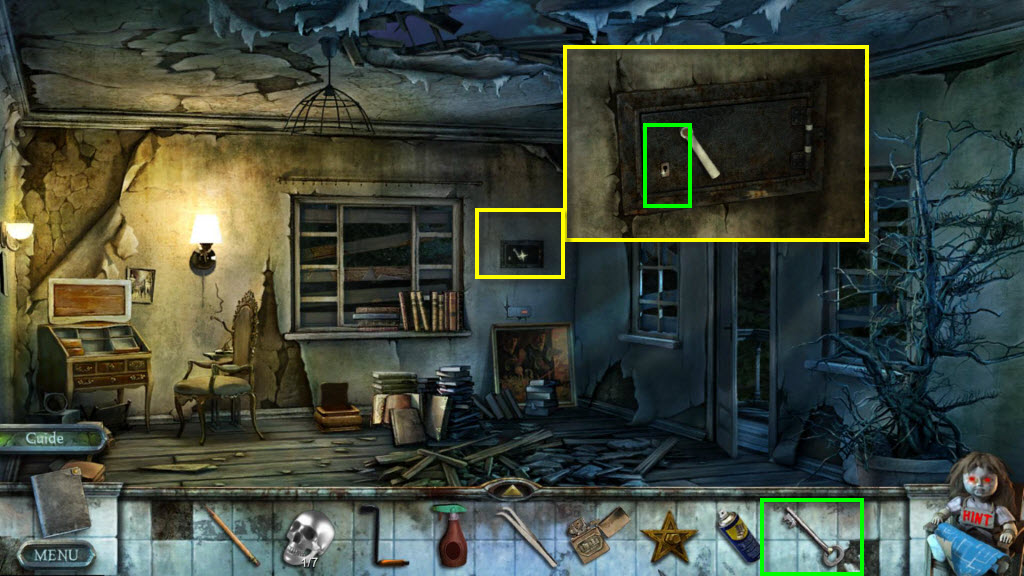
- Click to zoom in on the safe.
- Use the Safe Key.
- Take the Skulls 2/7.
- Click to zoom in on the notepad.
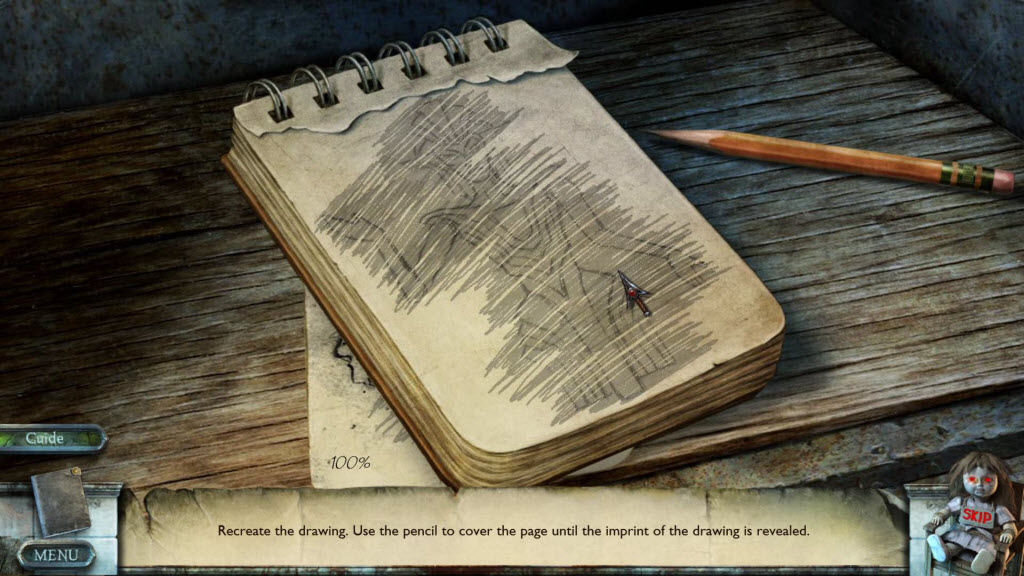
- Use the Pencil on the pad.
- Click to pick up the pencil and while holding down the left mouse button, move the mouse back and forth until you've completed the drawing.
- Go back downstairs to the room with the door growing roots.
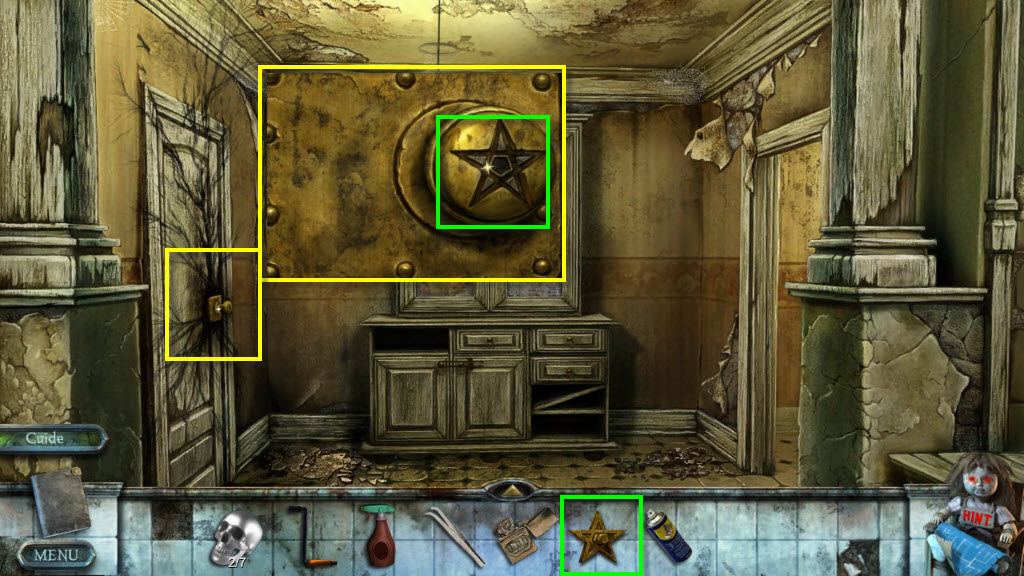
- Click to zoom in on the handle.
- Use the Scary Medallion on the lock.
- Click to turn the knob.
- Enter the room.
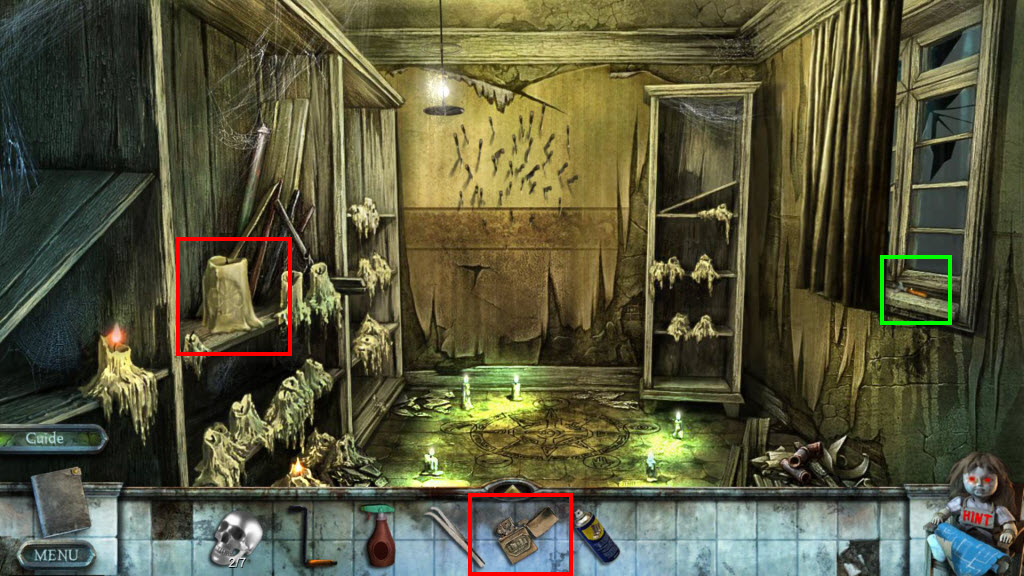
- Click on the curtains on the right to move them.
- Take the Can Opener.
- Use the Lighter on the big candle on the left to light it.
- Take the Clubs Emblem.
- Go back one screen.
- Click to zoom in on the cabinet.
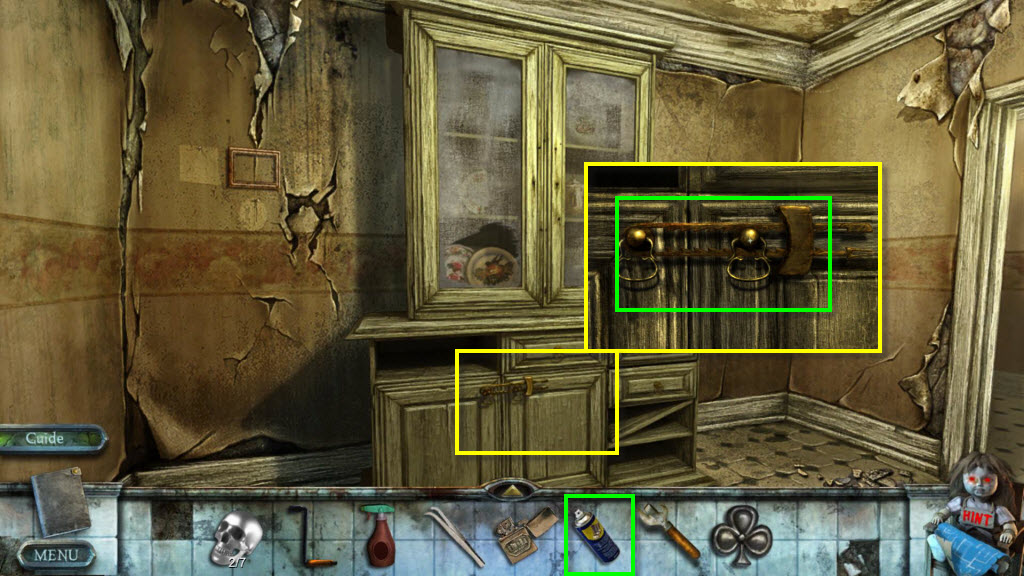
- Click to zoom in on the lock at the bottom.
- Use the Anti-Rust Spray on the lock.
- Click to open the cabinet.
- Take the Hairdryer Manual.
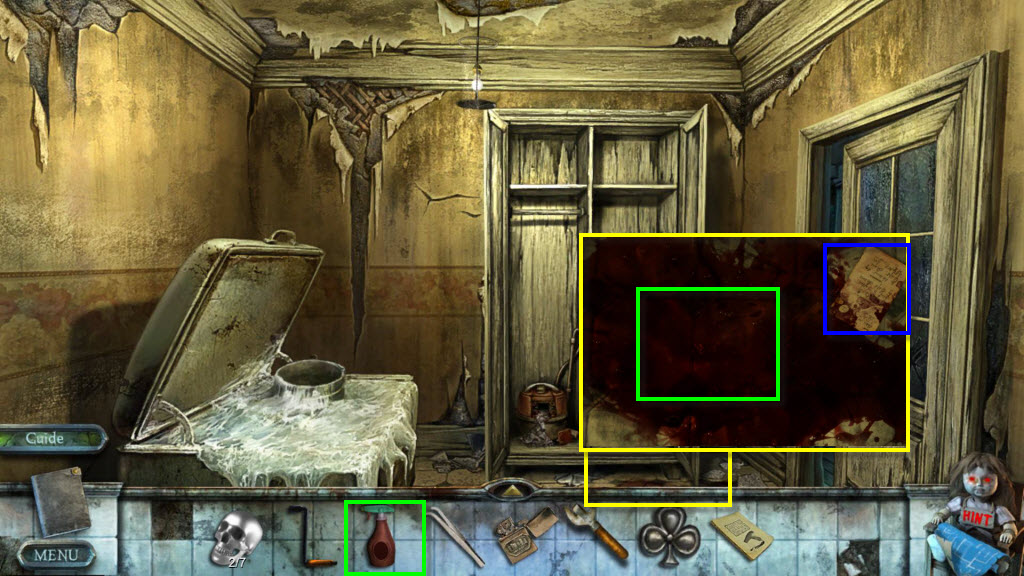
- Click to zoom in on the stains on the floor.
- Take the Note.
- Use the Stain Remover on the stains.
- Take the Tooth.
- Go back two screens and then zoom in on the fridge area.
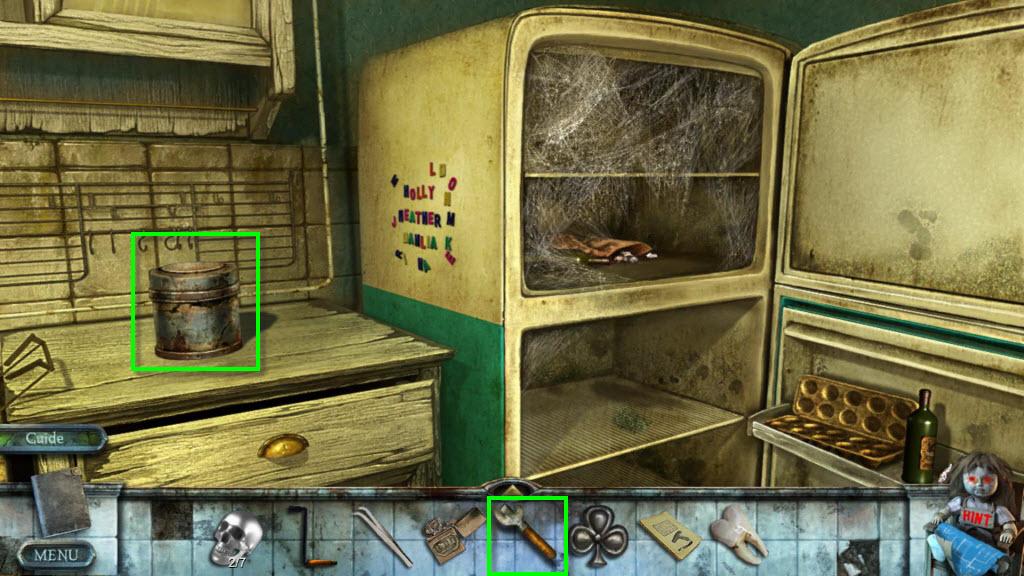
- Use the Can Opener on the can on the counter.
- Take the Plastic Bags.
- Go back to the scene with the well.
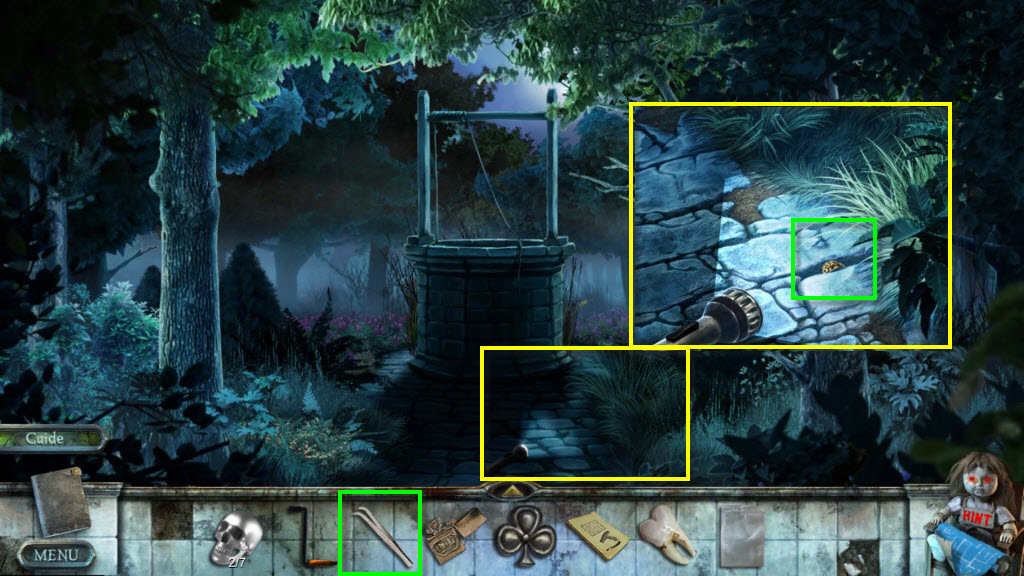
- Click to zoom in on the ground.
- Use the Tweezers to get the Ring.
- Go back to the Living Room.
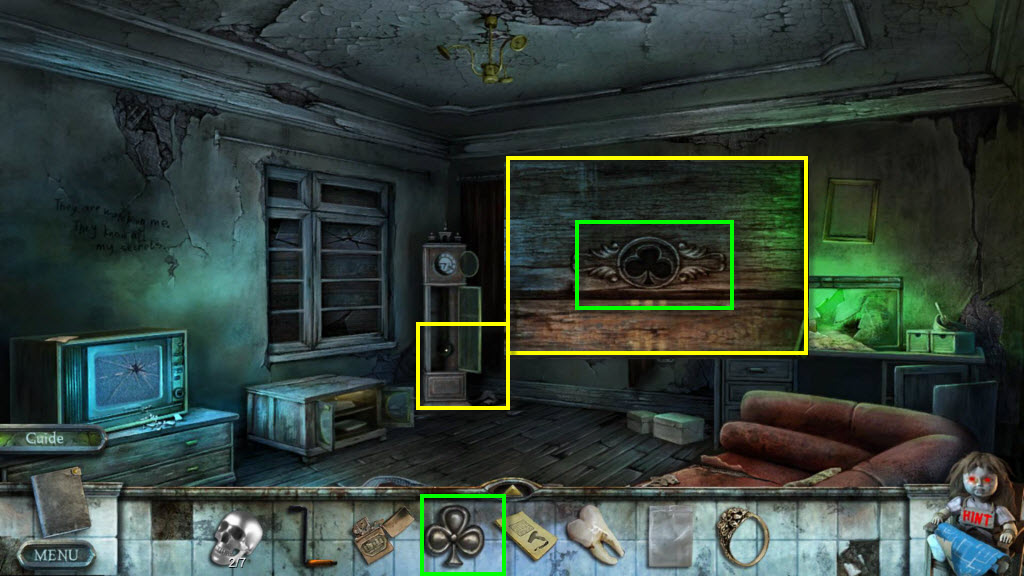
- Click to zoom in on the clock.
- Use the Clubs Emblem on the empty slot.
- Take the Rake.
- Go back to the bathroom.
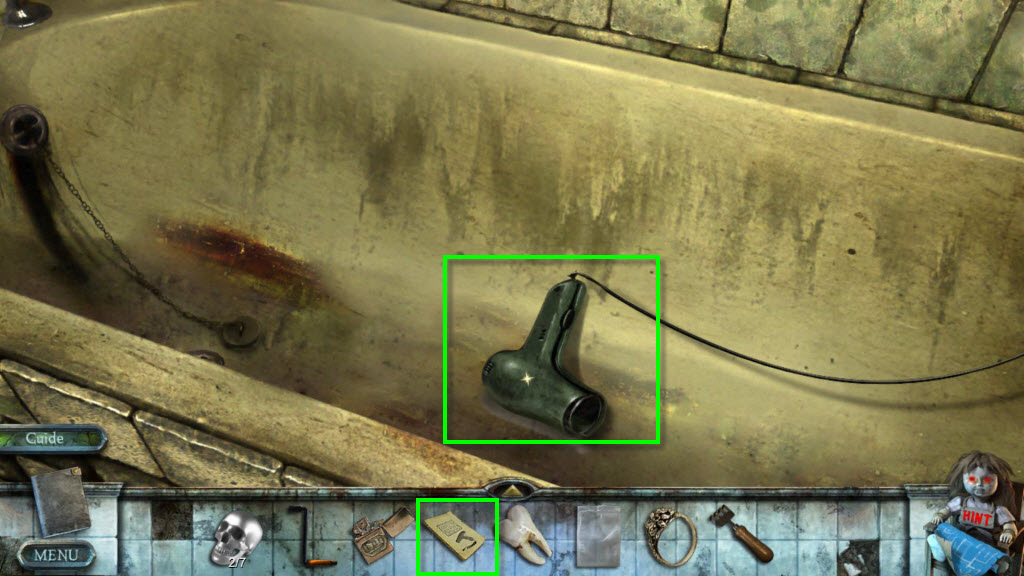
- Click on the plug to unplug the hairdryer from the wall.
- Click to zoom in on the tub.
- Use the Hairdryer Manual on the hairdryer.
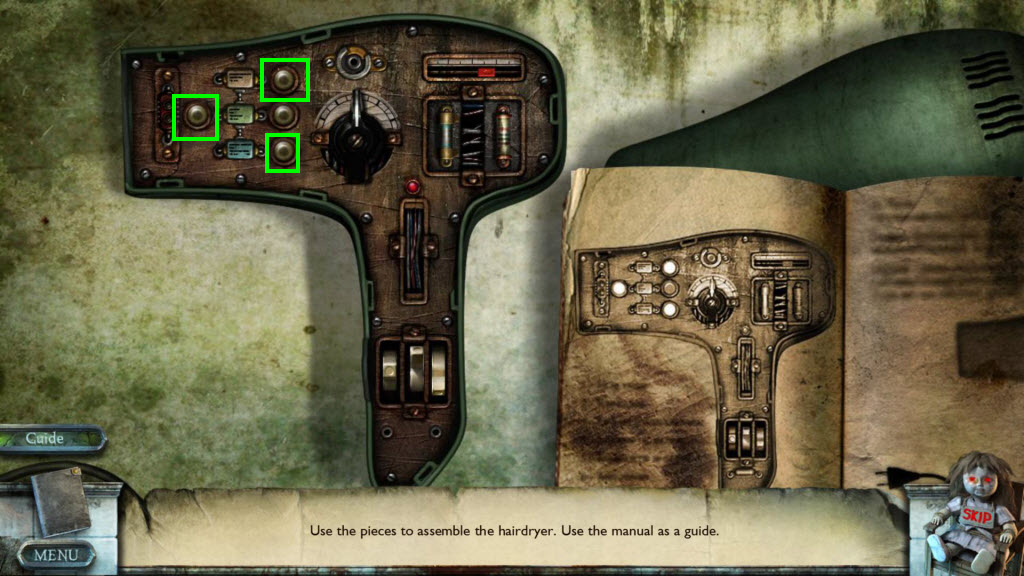
- You need to reassemble the hairdryer to match the manual.
- Click on the correct buttons.
- You will receive the Hairdryer.
- Go into the bedroom.
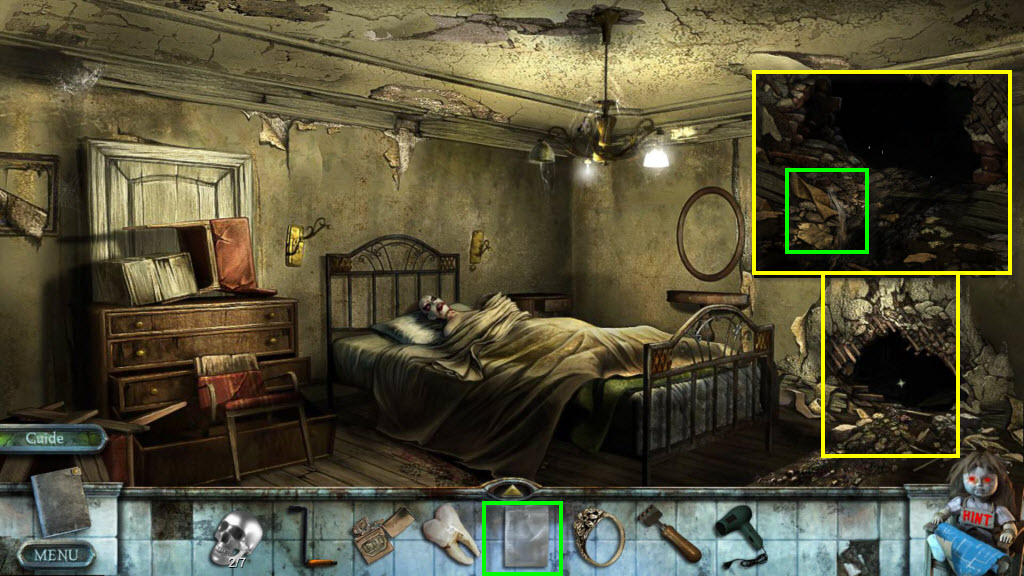
- Click to zoom in on the hole in the wall.
- Use the Plastic Bags on the hair.
- Go back downstairs to the room with the freezer.
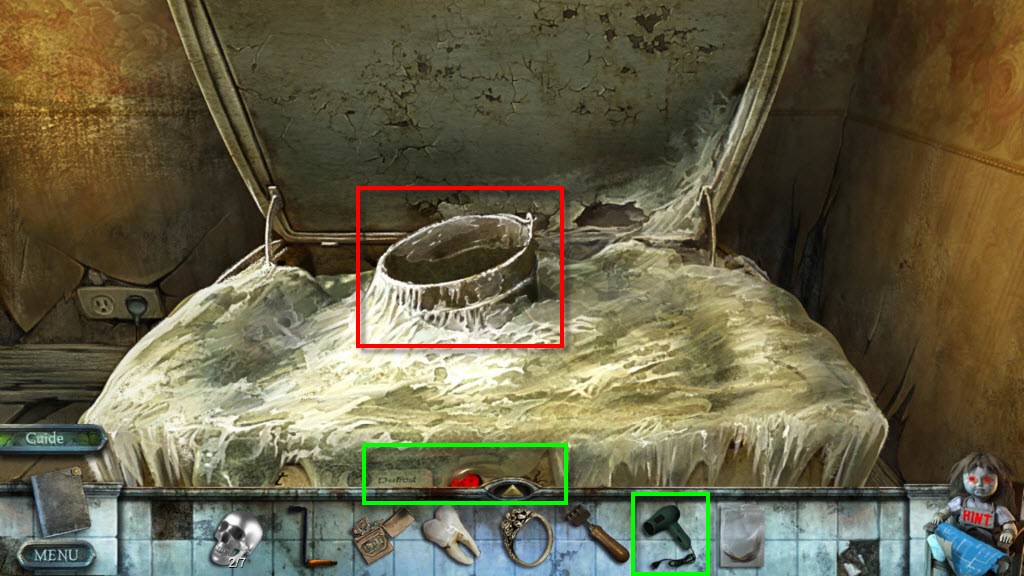
- Click to zoom in on the freezer.
- Use the Hairdryer on the ice to melt the area over the defrost button.
- Click on the defrost button.
- Take the Bucket.
- Go to the porch.
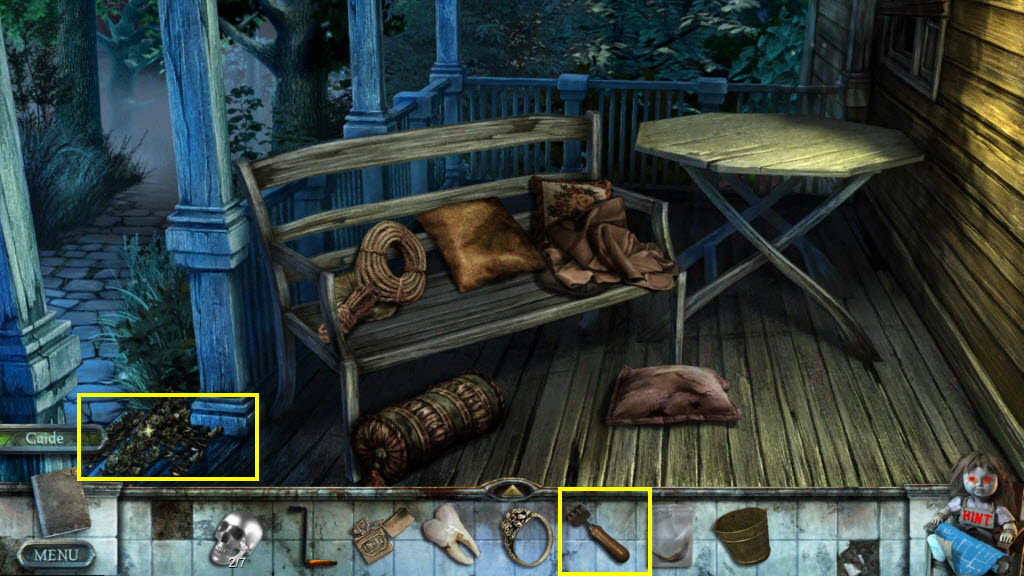
- Click on the leaves on the stairs to zoom in.
- Use the Rake on the leaves.
- Take the Figurine Hand.
- Go to the well.
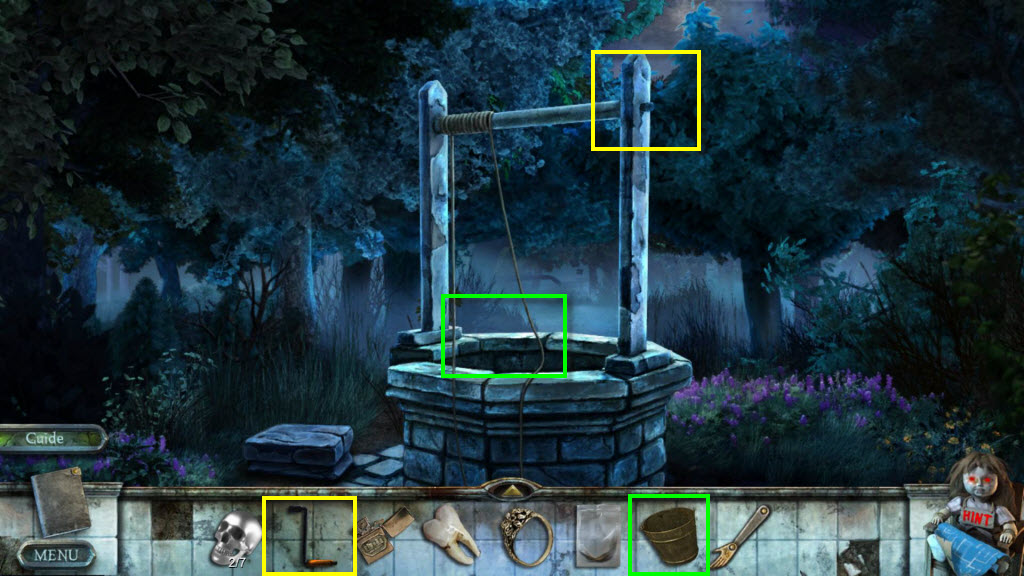
- Use the Well Handle on the well.
- Use the Bucket on the Rope.
- Click on the bucket to send it down the well.
- Click on the handle to bring it back up.
- Take the Jewel.
- Go to the kitchen.
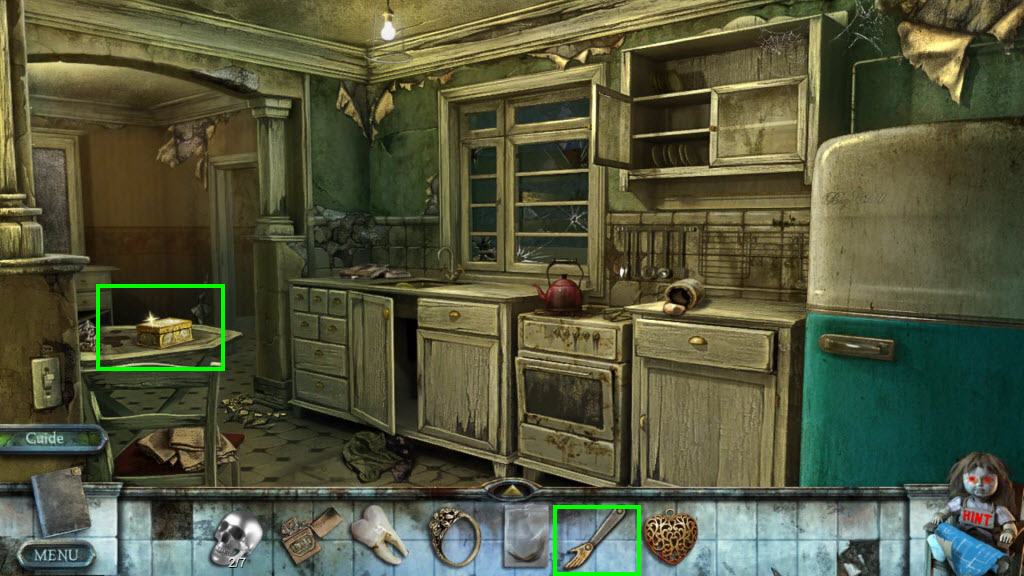
- Click to zoom in on the table.
- Zoom in on the chest.
- Use the Figurine Hand on the chest.
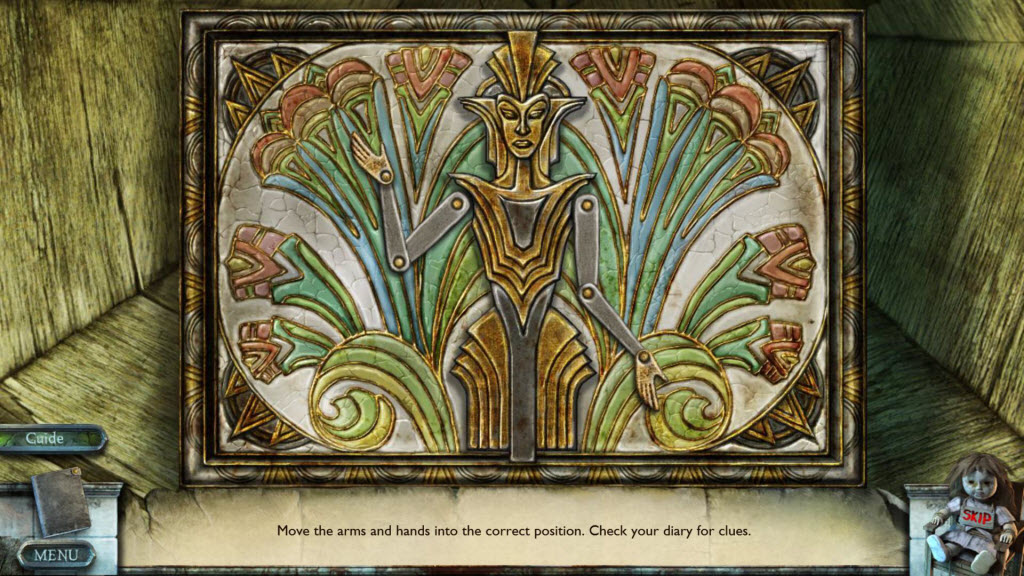
- You need to move the arms and hands to make the figurine look like the image you drew on the notepad.
- Check your diary for clues.
- Click to zoom in on the chest.
- Take the Glasses.
- Go to the room with the ritual on the floor.
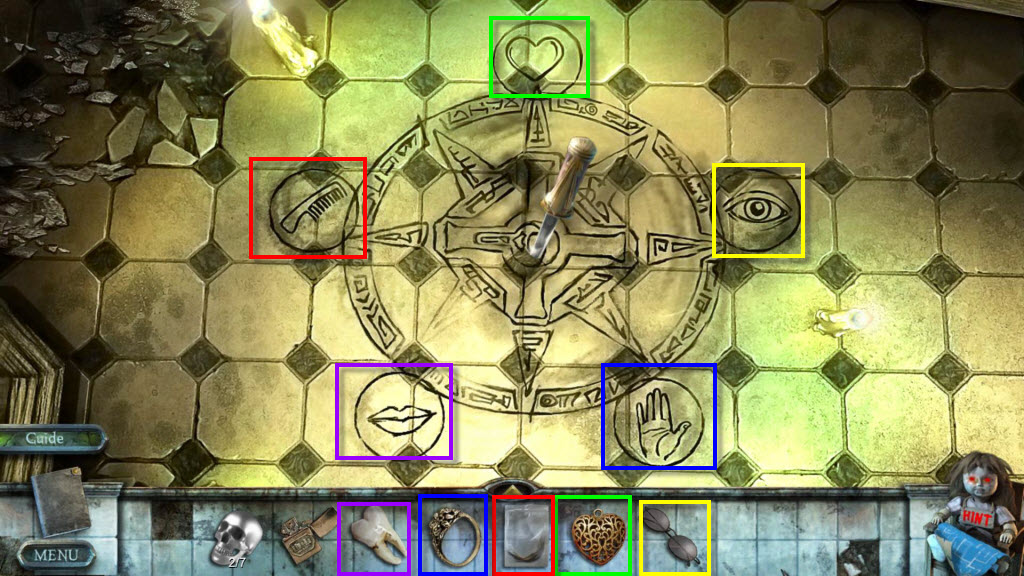
- Click to zoom in on the floor.
- Take the note.
- Place the glasses on the area with the eye.
- Place the Jewel in the area with the heart.
- Place the Hair on the area with the hairbrush.
- Place the Tooth on the area with the mouth.
- Place the Ring on the area with the hand.
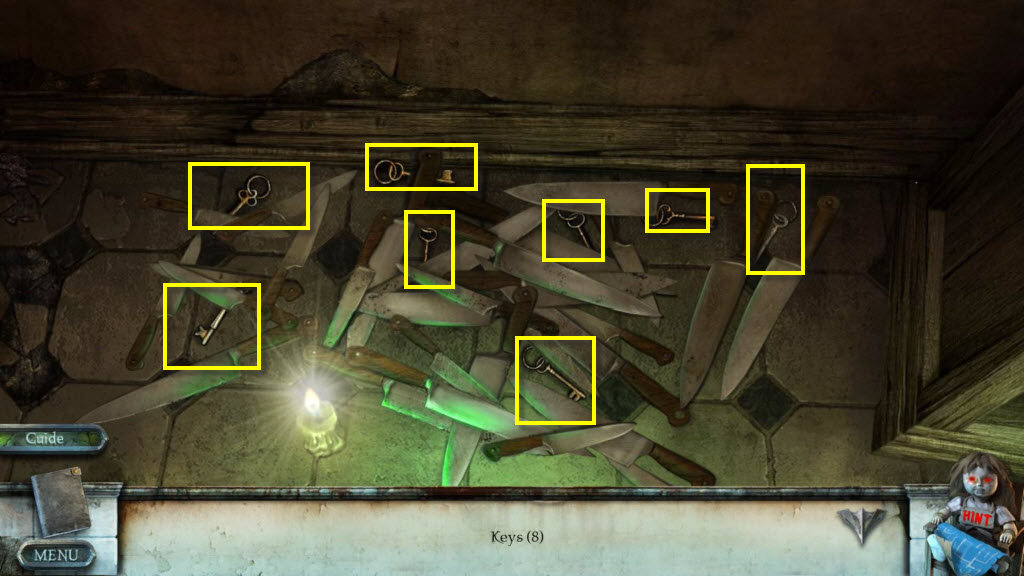
- Find all 8 keys.
- You will receive the Keys.
- Go to the room where the basement door it.
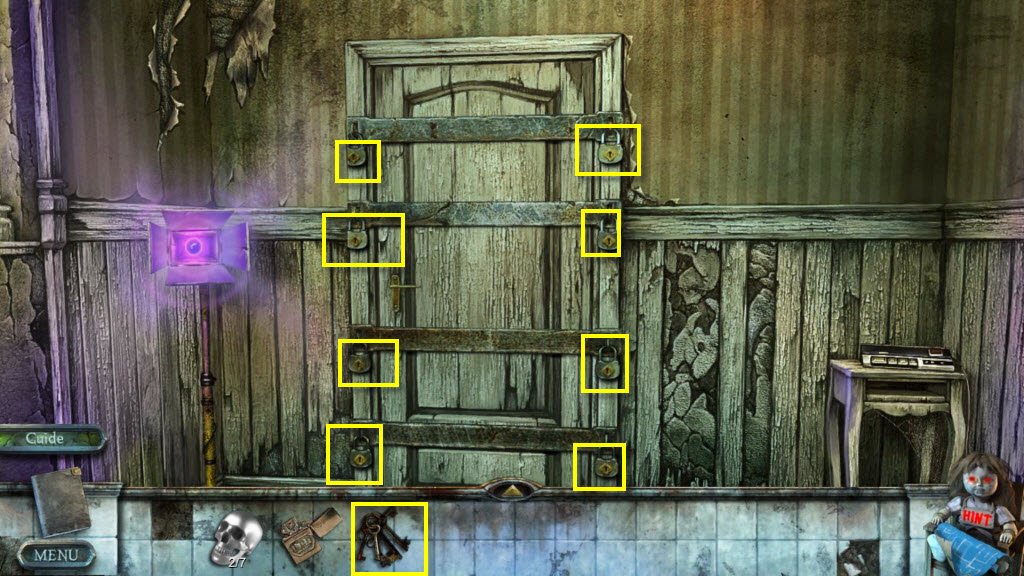
- Use the Keys on the lock.
- Go forward two screens into the basement.
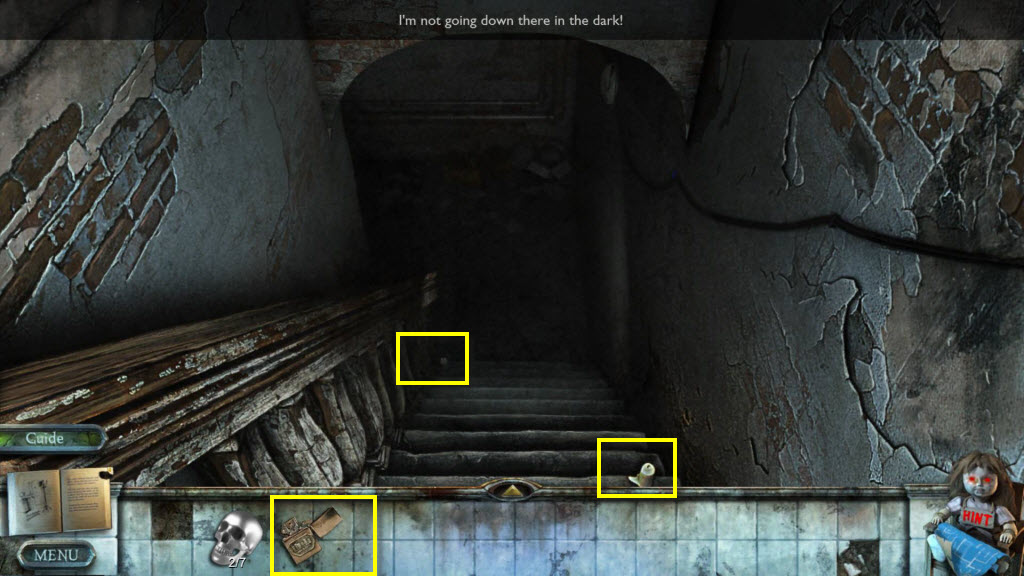
- Use the Lighter to light the candles on the stairs.
- Go downstairs.
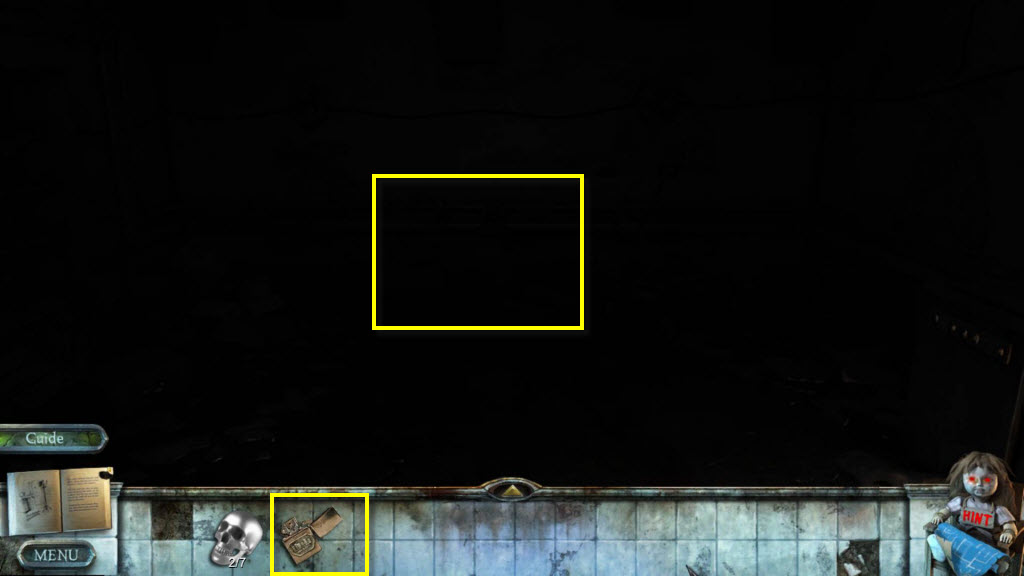
- It's dark down here... use the lighter on the darkness.
Comments will load when you reach this part of the walkthrough.