Chapter Three: Nimue
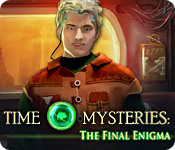
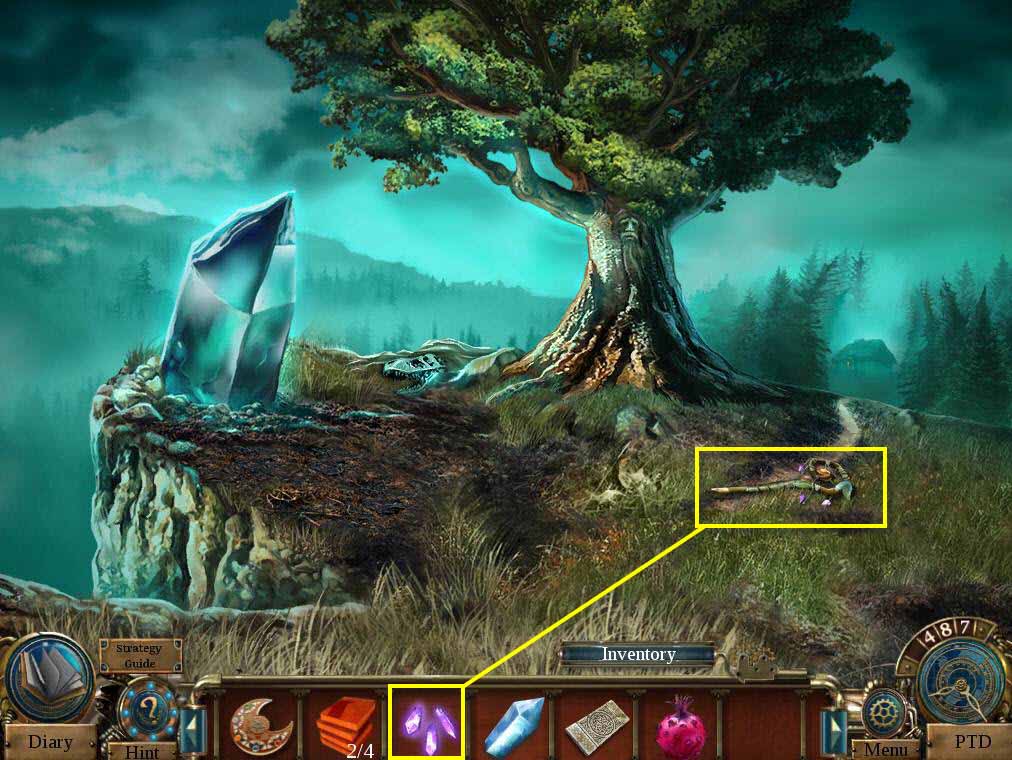
- Click on the girl to zoom in.
- Take the VINES STONE.
- Click on the bowl to zoom in.
- Use the VINES STONE on the bottom of the bowl.
- Take the MAGIC CRYSTALS and the DRAGON KEY.
-
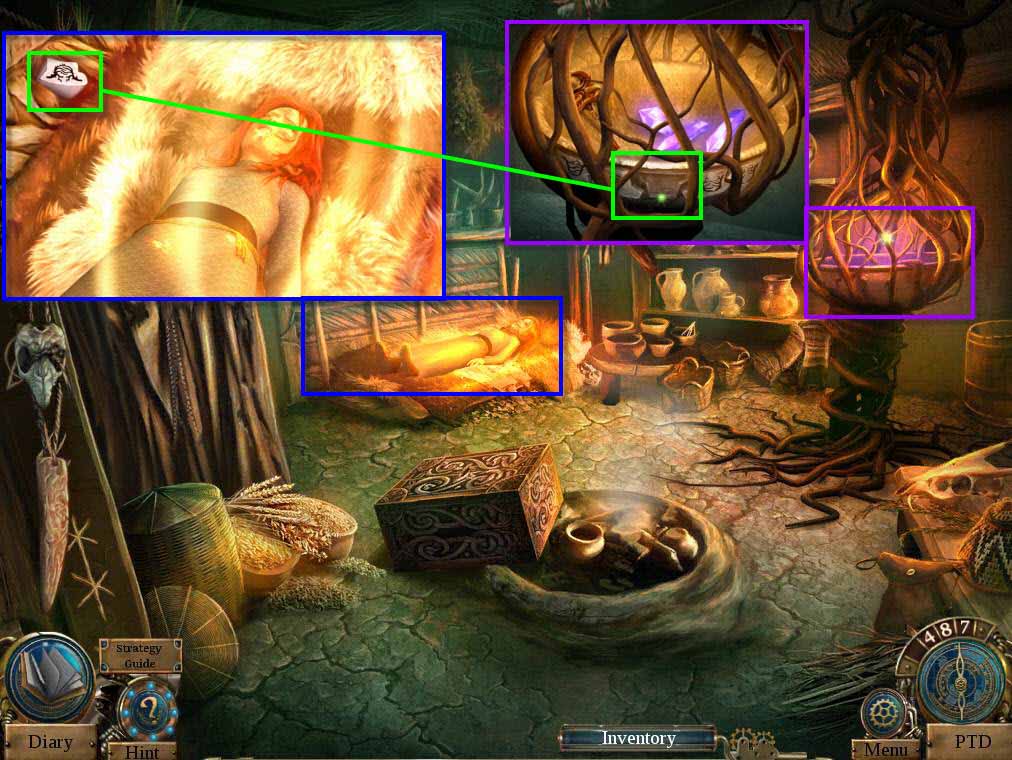
Click on the sparkles on the left to play the HOS.
- Find all the items on the list.
- You will receive the TOBACCO.
-
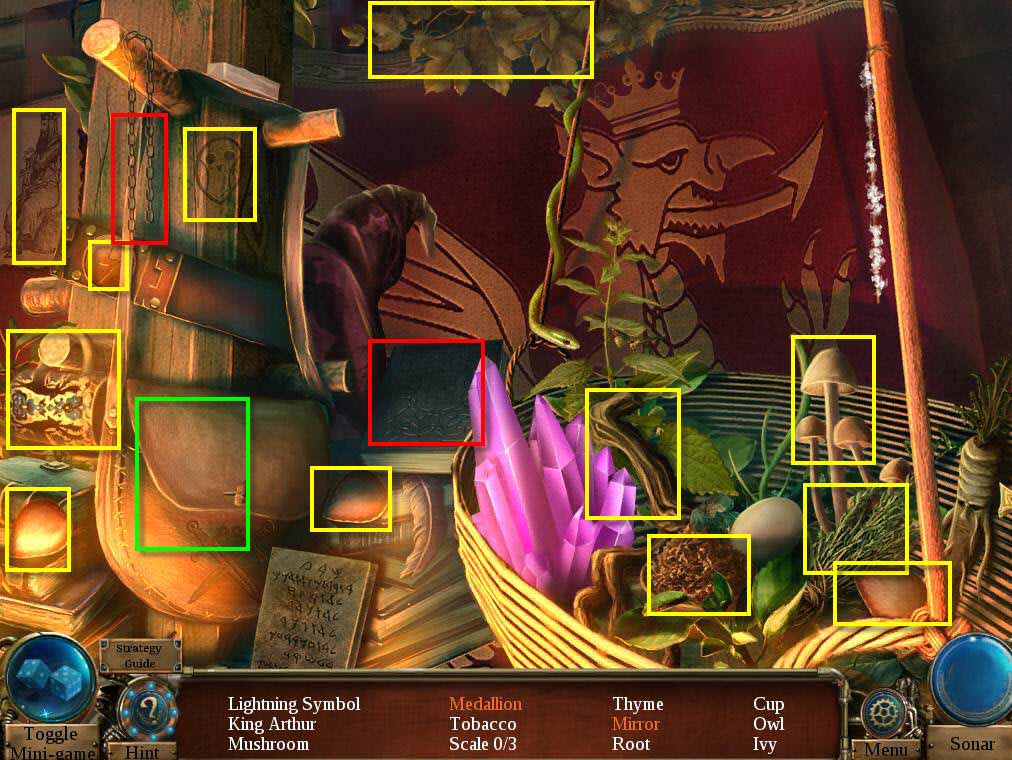
Go back to the year 1796 to the alley.
- Use the TOBACCO on the man.
- Take the DRAGON CARVING.
-
Return to the hut in 487.
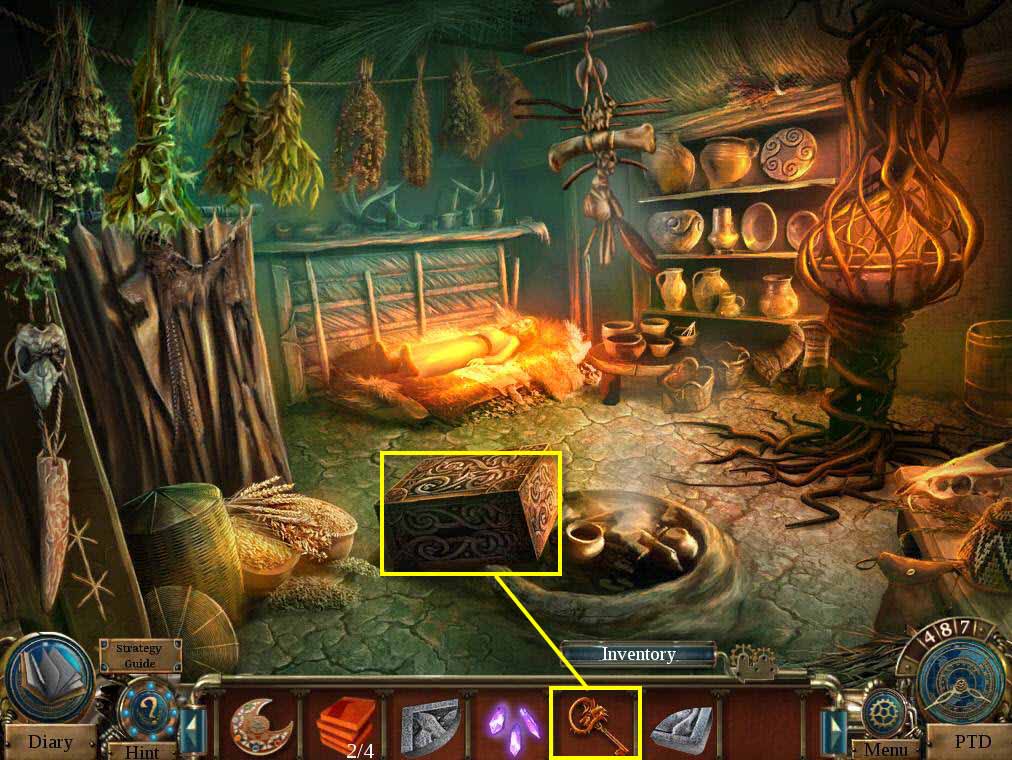
- Click on the chest to zoom in.
- Use the DRAGON KEY on the lock.
- Click to turn the key.
- Use the two DRAGON CARVINGS on the chest.
-
This will start a mini-game.
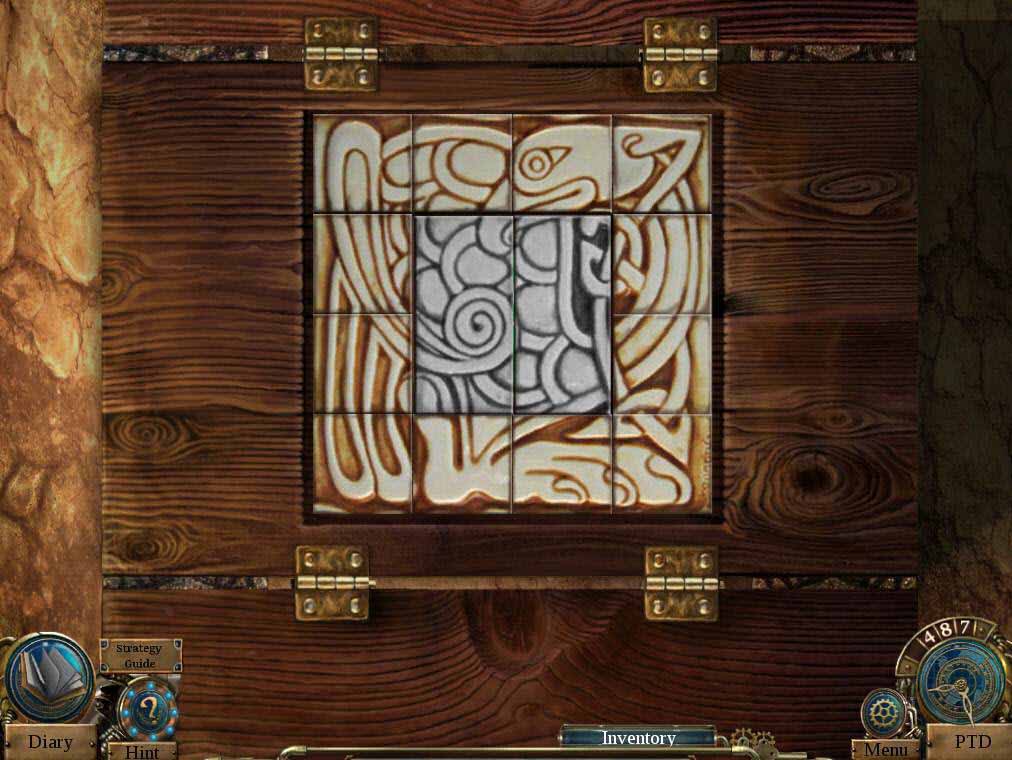
- The goal of the puzzle is to swap the tiles to form a picture.
- See the screenshot for the solution.
- Take the 502 TIME CRYSTAL.
-
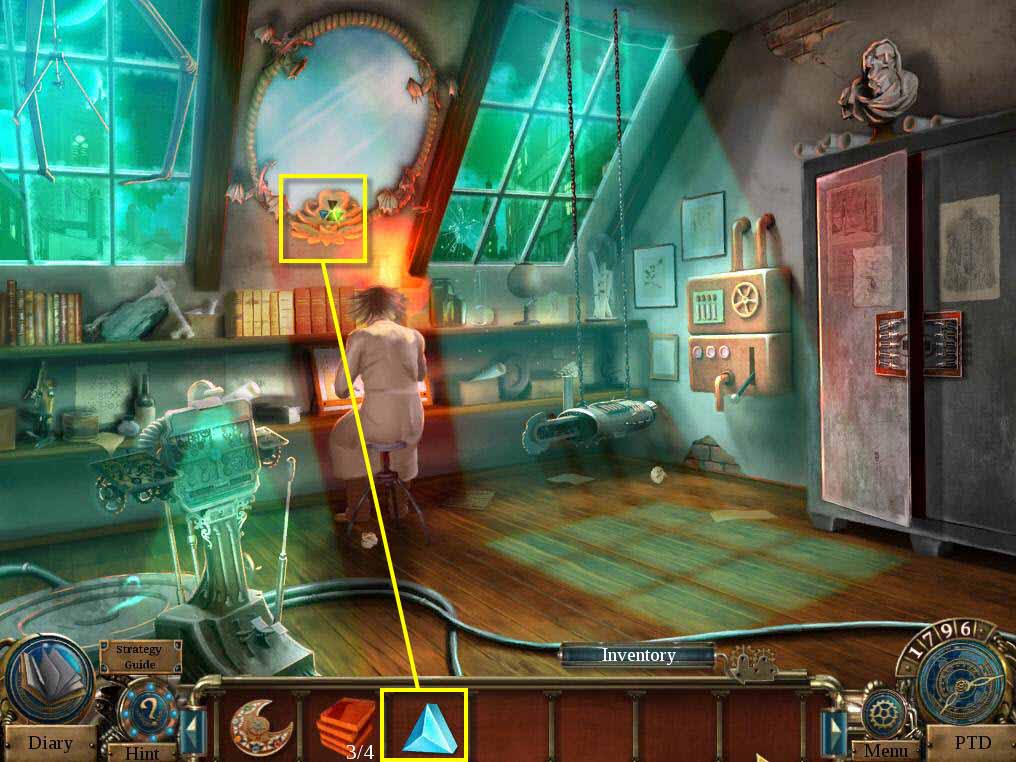
Use the 502 TIME CRYSTAL on the empty slot and travel to the year 502.
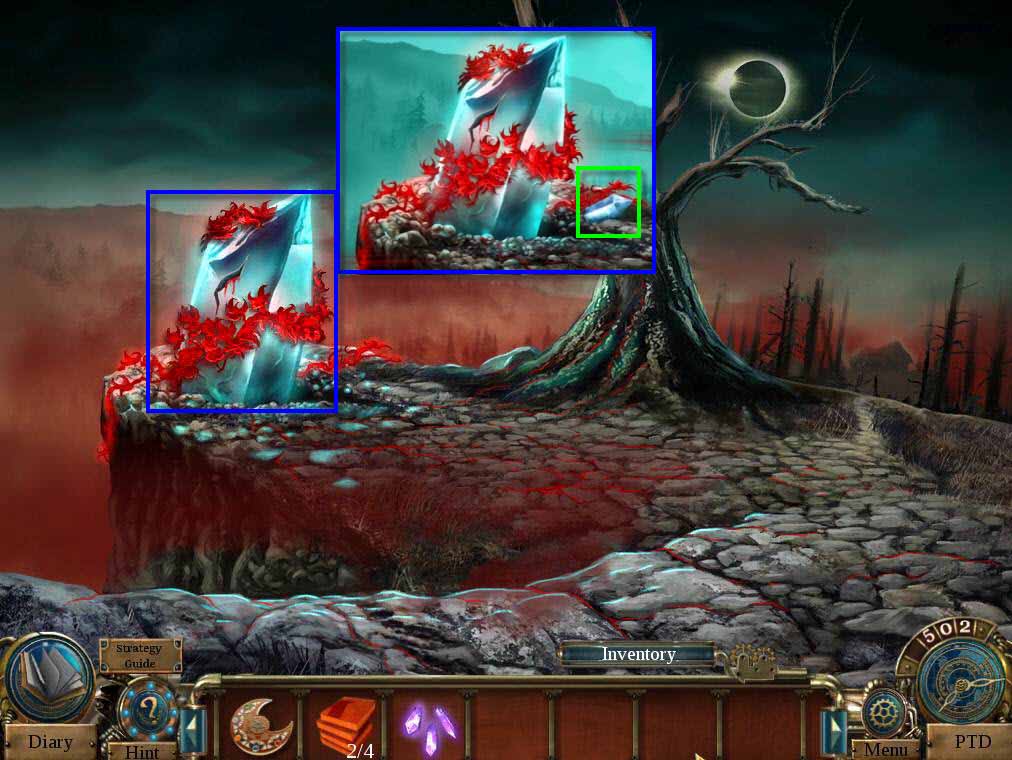
- Click on the crystal to zoom in.
- Take the CRYSTAL SHARD.
-
Go to the hut.
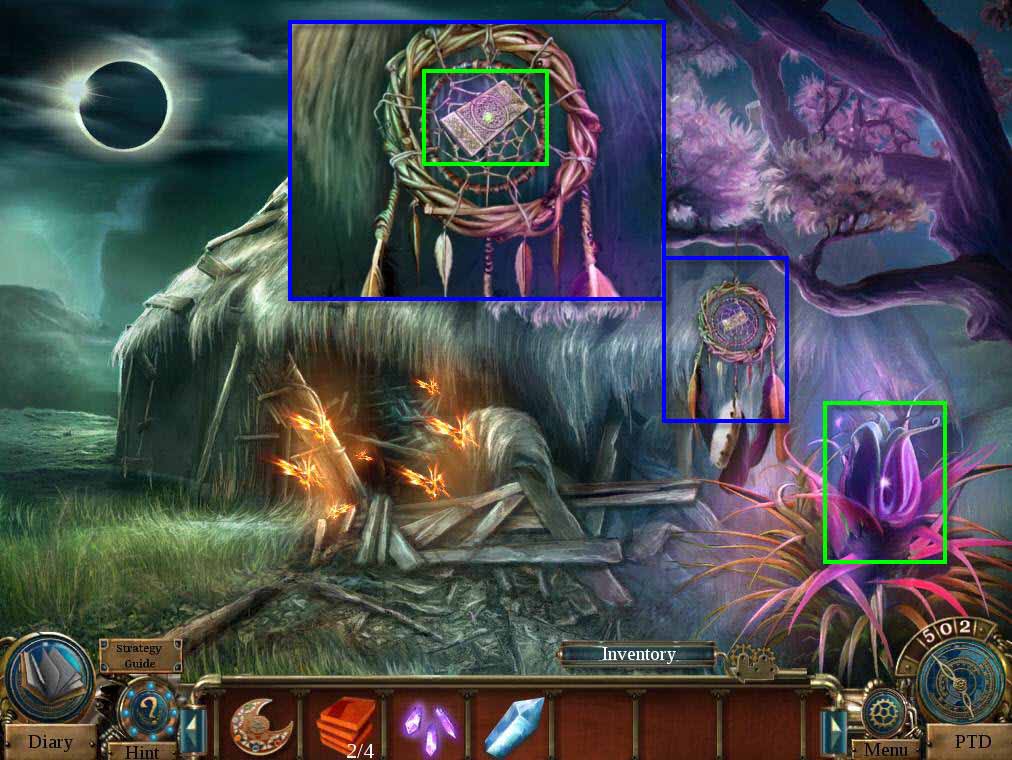
- Click to zoom in on the dream catcher.
- Take the ENGRAVED BROOCH.
- Click on the magic plant twice.
- Take the MAGIC FRUIT.
-
Go to the cliff in the year 487.
- Click on Merlin's Staff to zoom in.
- Use the MAGIC CRYSTALS on the staff.
- Take the MAGIC STAFF.
-
Go to the year 1796 to Uncle Sean.
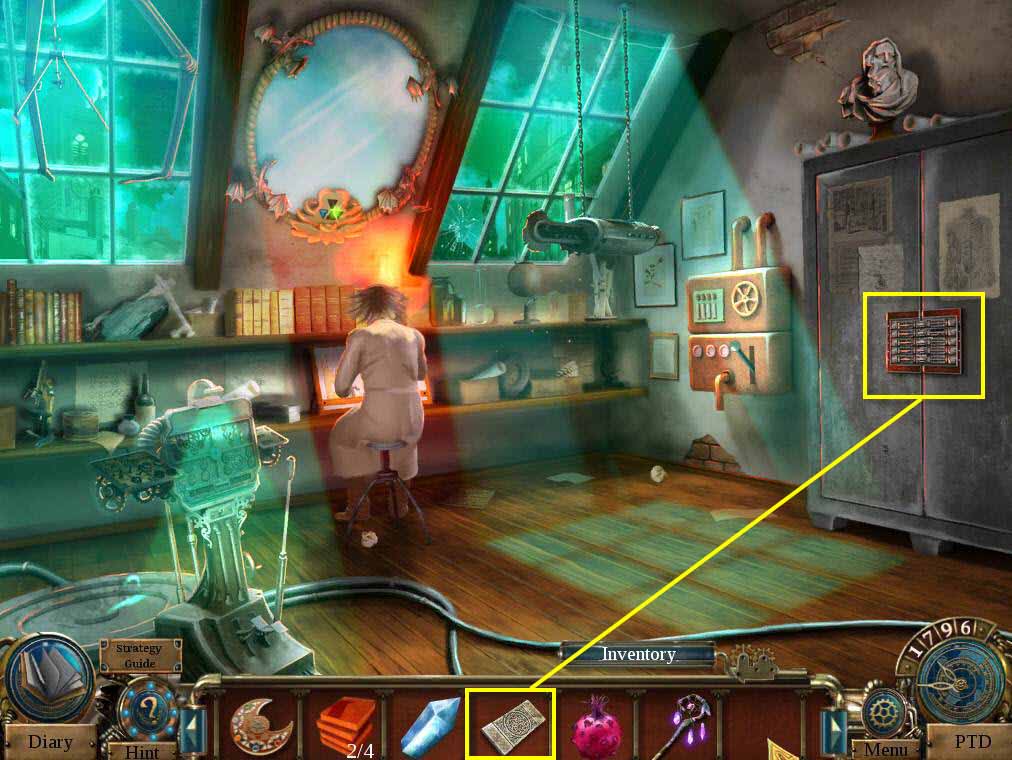
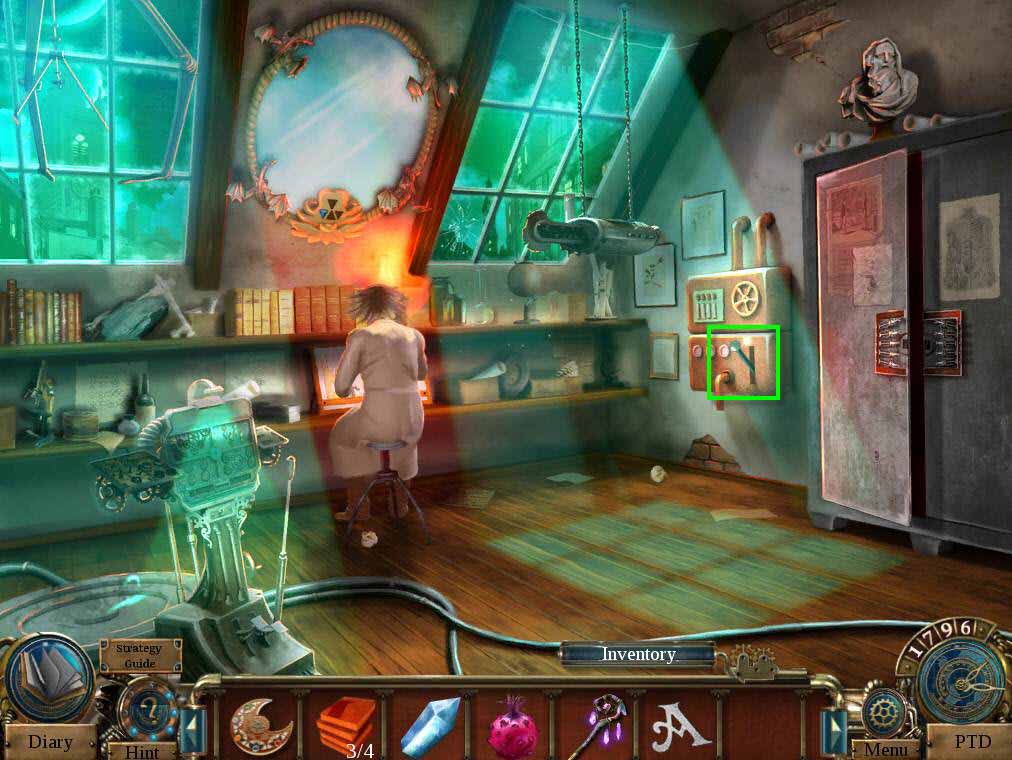
- Click on the cabinet to zoom in.
- Use the ENGRAVED BROOCH on the lock.
-
This will start a mini-game.
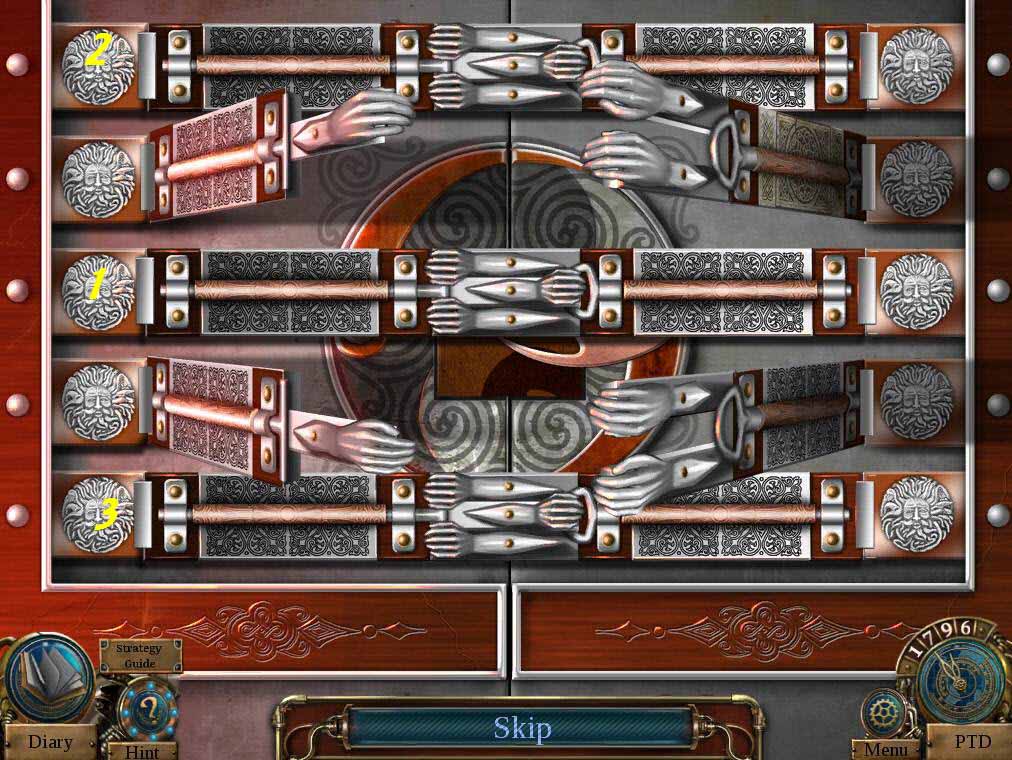
- The goal of the puzzle is to get all the hands to let go by clicking on the right locks.
- See the screenshot for the solution.
- Take the 3/4 WOODEN PUZZLE.
- Click on the latch.
-
Click on the sparkles to play the HOS.
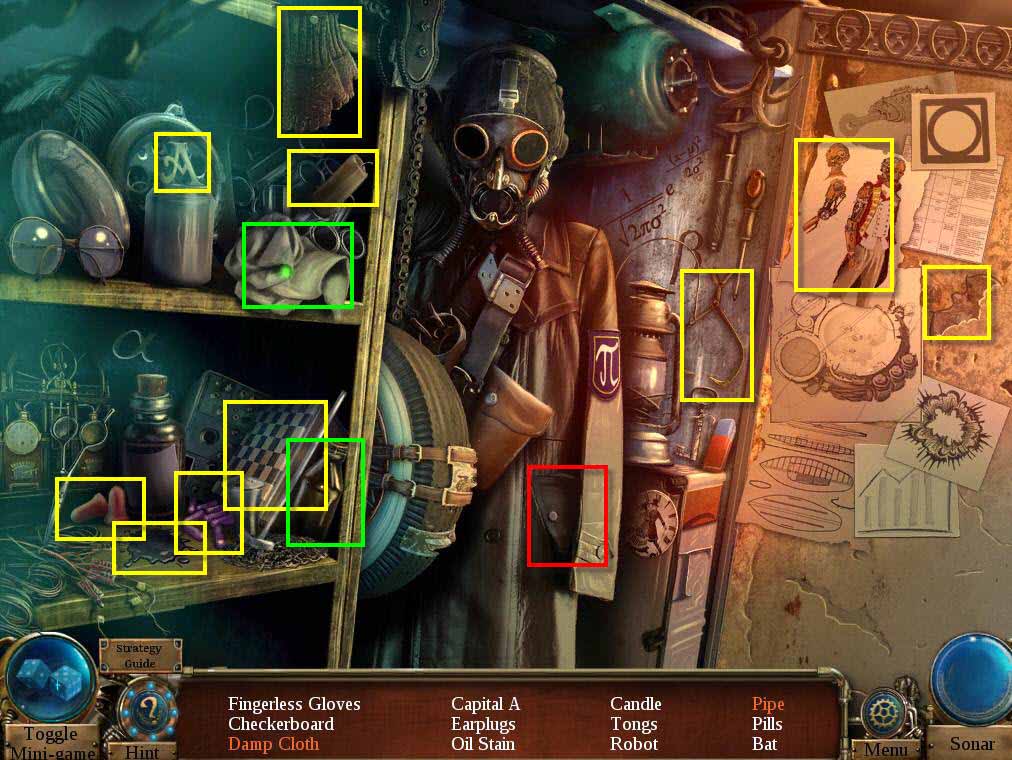
- Find all the items on the list.
- You will receive the LETTER A.
- Click on the lever to lower the machine.
- Click on the lid to open it.
-
Return to your room.
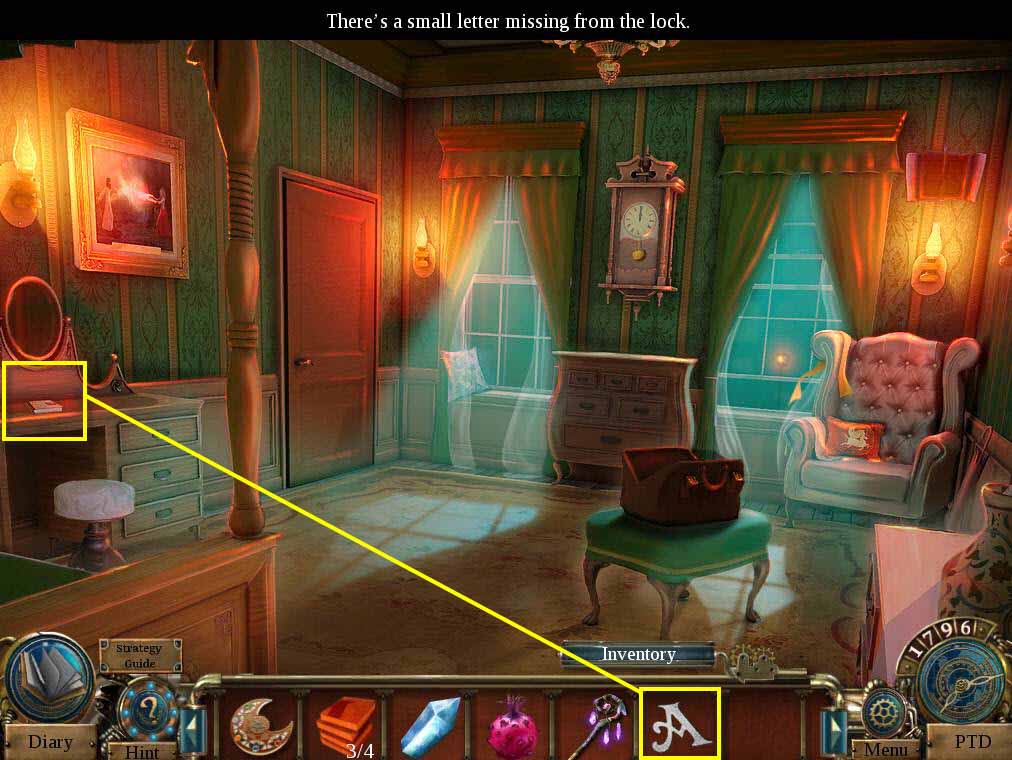
- Click on the book on the desk to zoom in.
- Use the LETTER A on the book to unlock it.
-
Turn the page and take the DRAGON SHAPE.
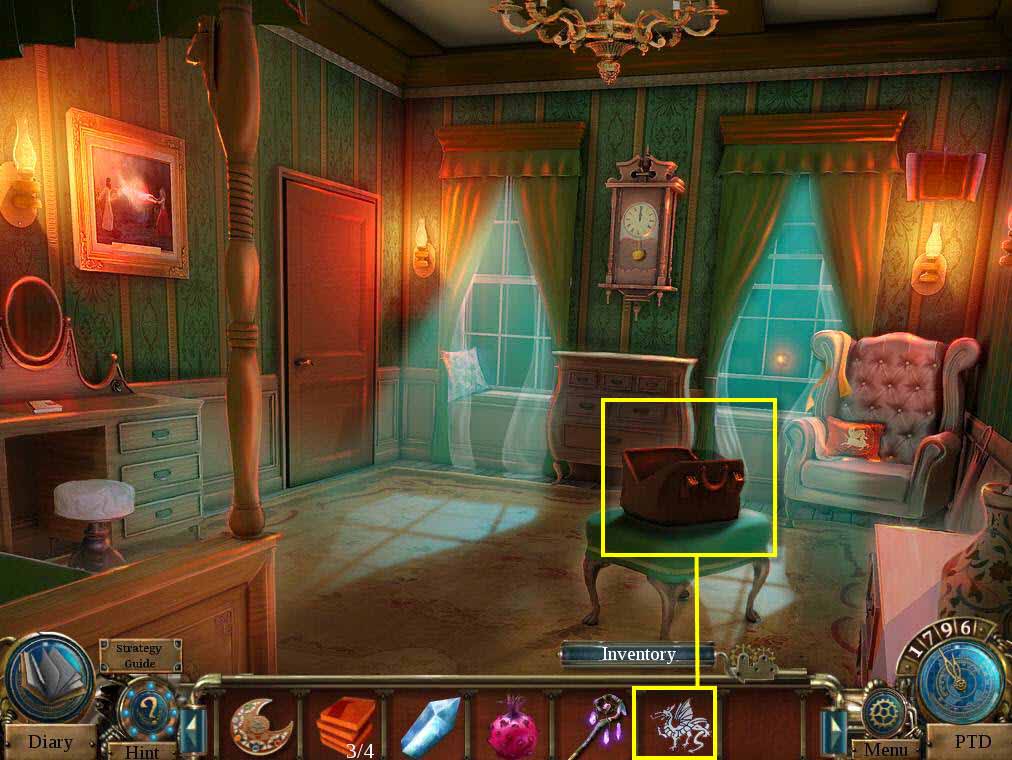
- Click on the bag to zoom in.
- Use the DRAGON SHAPE on the box.
- Open the box and take the BUTTERFLY CATCHER.
-
Return to Merlin's Hut in 502.

- Use the BUTTERFLY CATCHER on the butterflies.
-
Click on the hut to go inside.
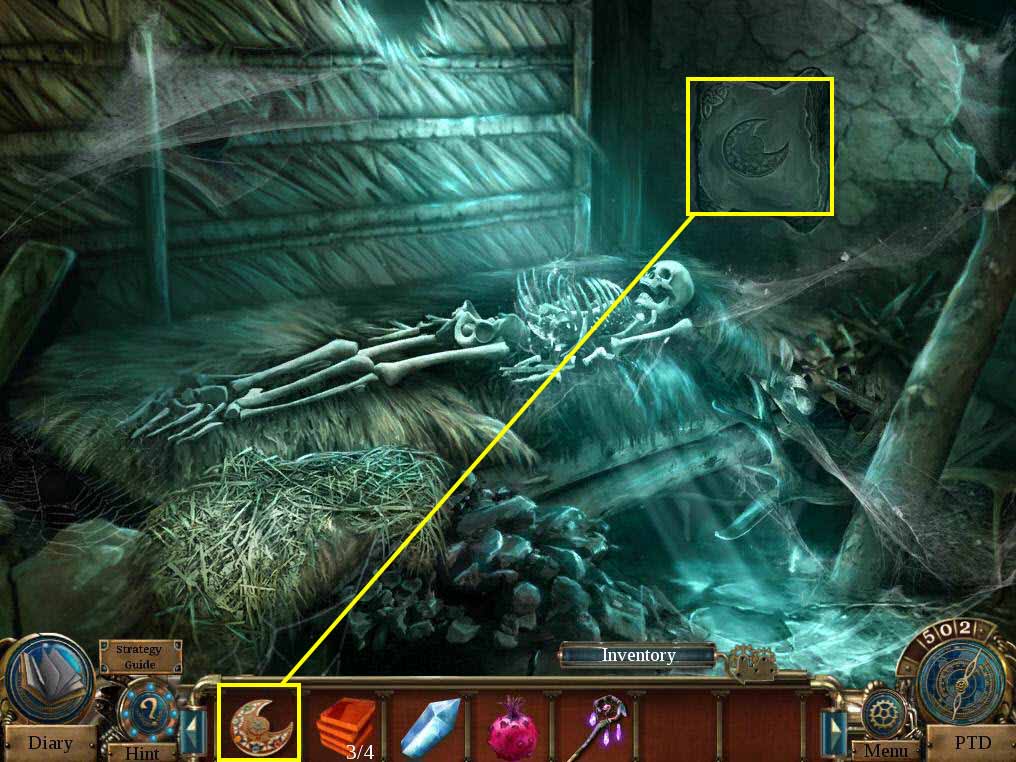
- Click on the debris to reveal the skeleton.
- Use the MEDALLION on the empty slot on the wall.
- Take the RUNE STONE.
-
Go back to the Cave in 487.
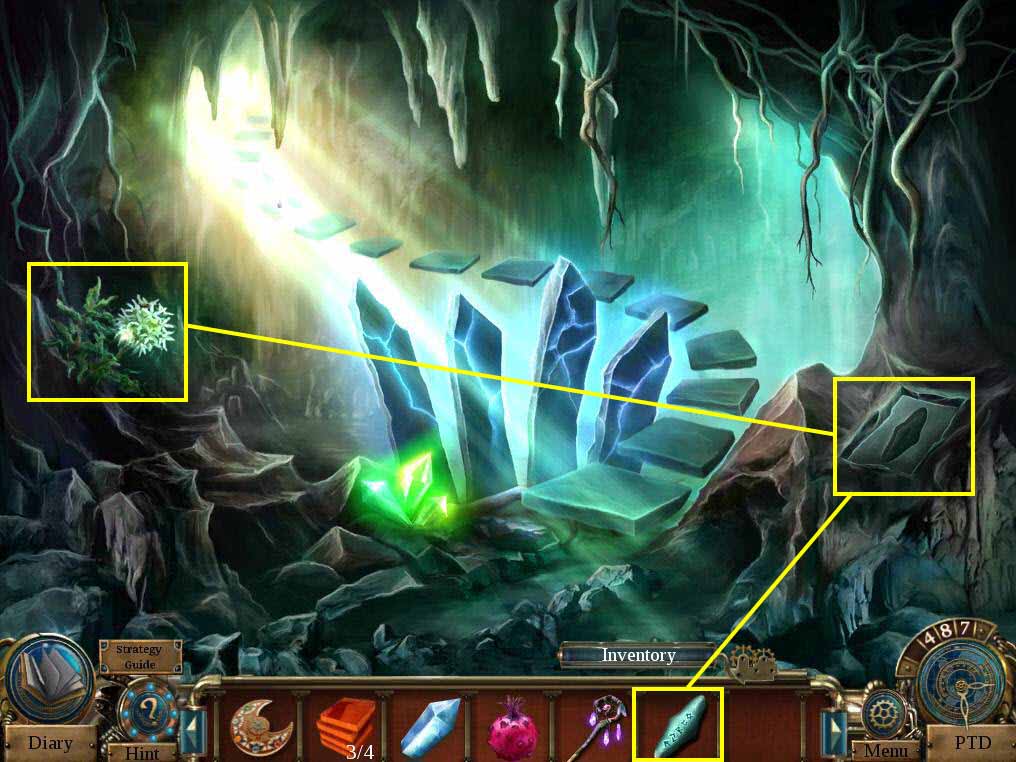
- Click on the wall on the right to zoom in.
- Use the RUNE STONE on the empty slot.
- Take the SILVER SICKLE.
- Use the SILVER SICKLE on the flower on the left.
- Take the CAVE FLOWER.
-
Go to 1796 outside of Uncle Sean's House.
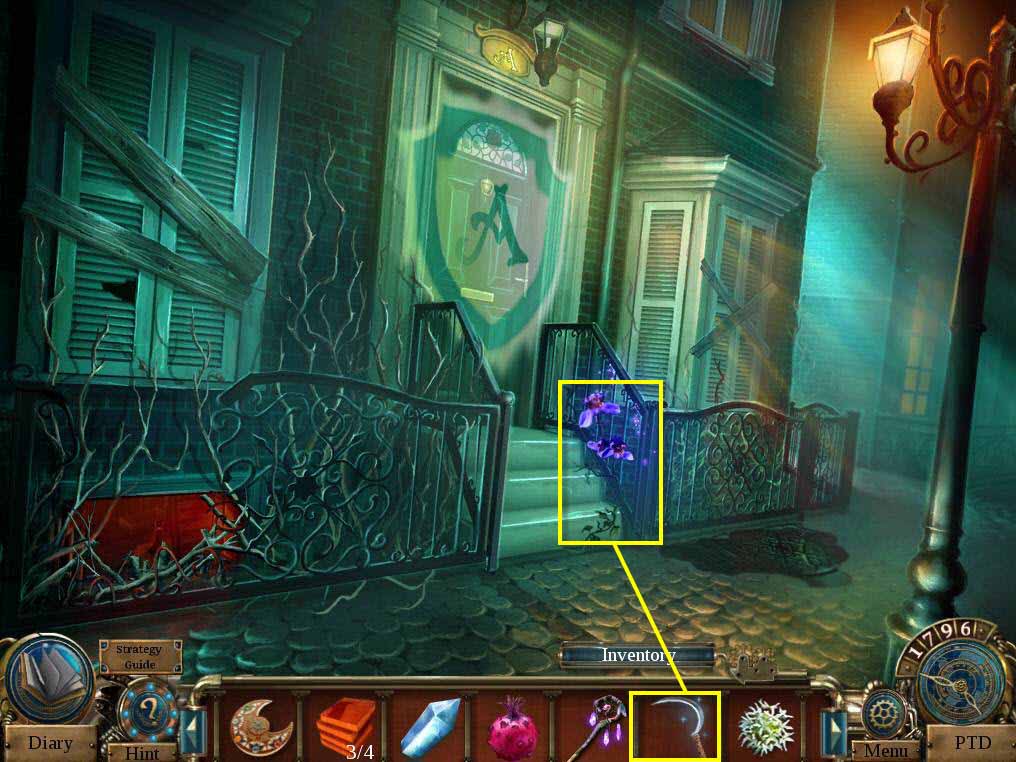
- Click on the flower that's growing on the railing to zoom in.
- Use the SILVER SICKLE on the flower.
- Take the MAGIC FLOWER.
-
Go back to 487 to outside Merlin's Hut.
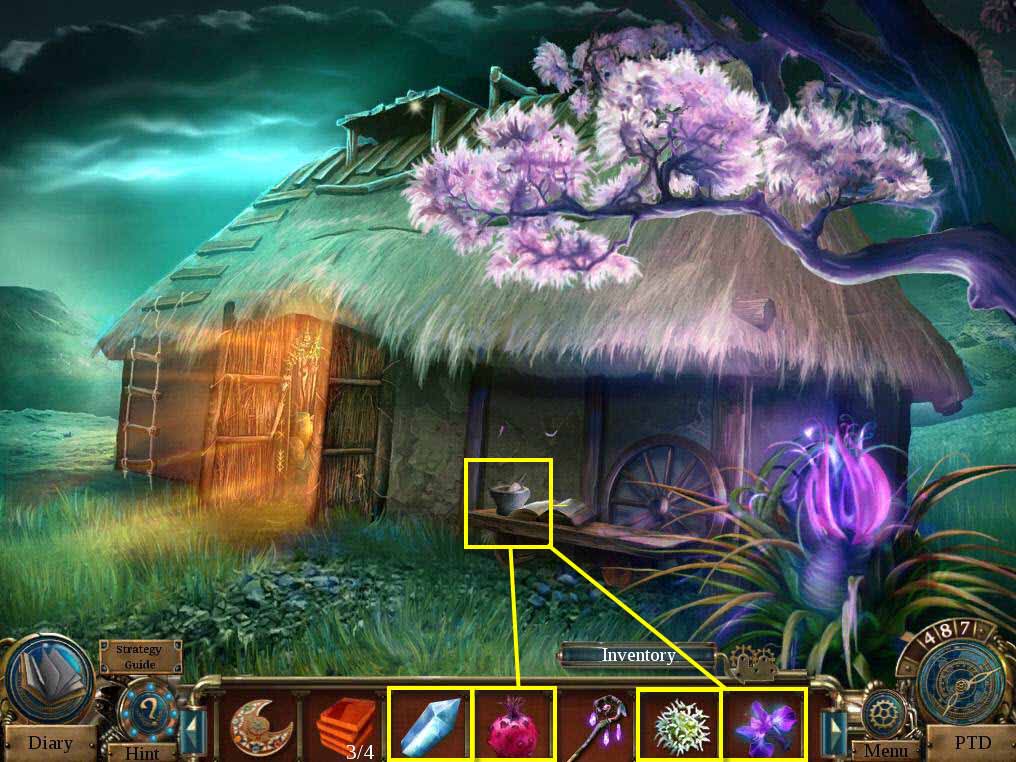
- Click on the bench outside the house to zoom in.
- Use the CAVE FLOWER, the MAGIC FRUIT, the MAGIC FLOWER, and the CRYSTAL SHARD on the mortar.
- Click on the pestle 3 times to grind the ingredients.
- Take the HEALING SALVE.
-
Go into the hut.
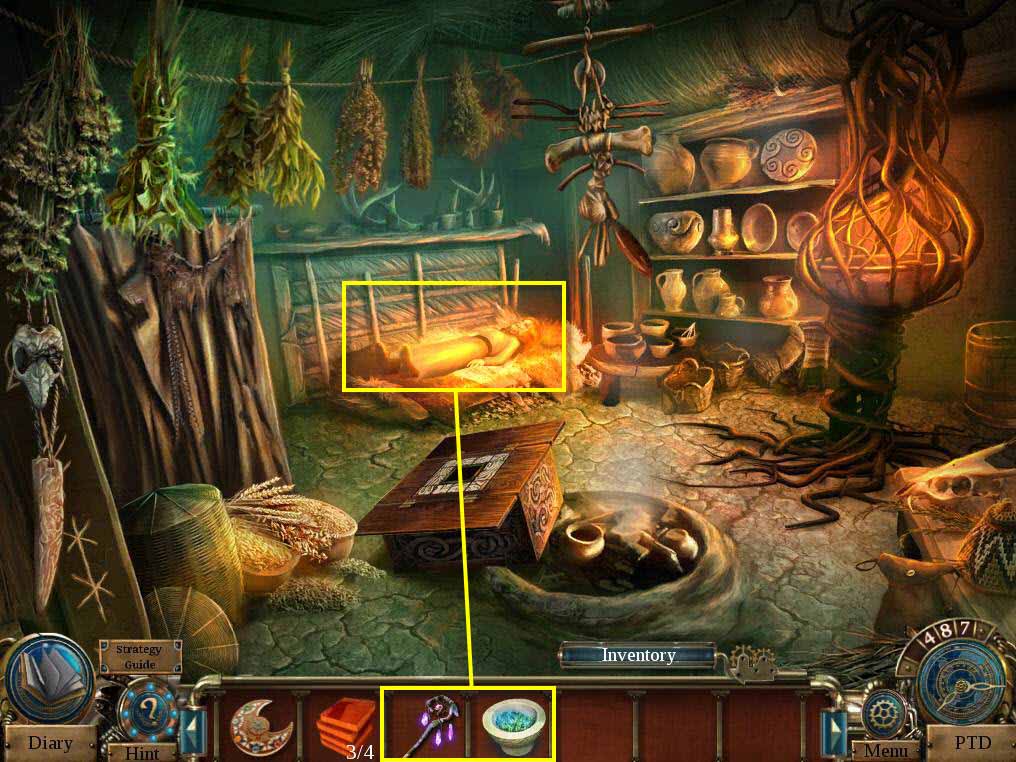
- Click on Nimue to zoom in.
- Use the MAGIC STAFF on the aura.
- Use the HEALING SALVE on her.
- Take the VISION CRYSTAL.
-
Go back to Merlin's Hut in 502.
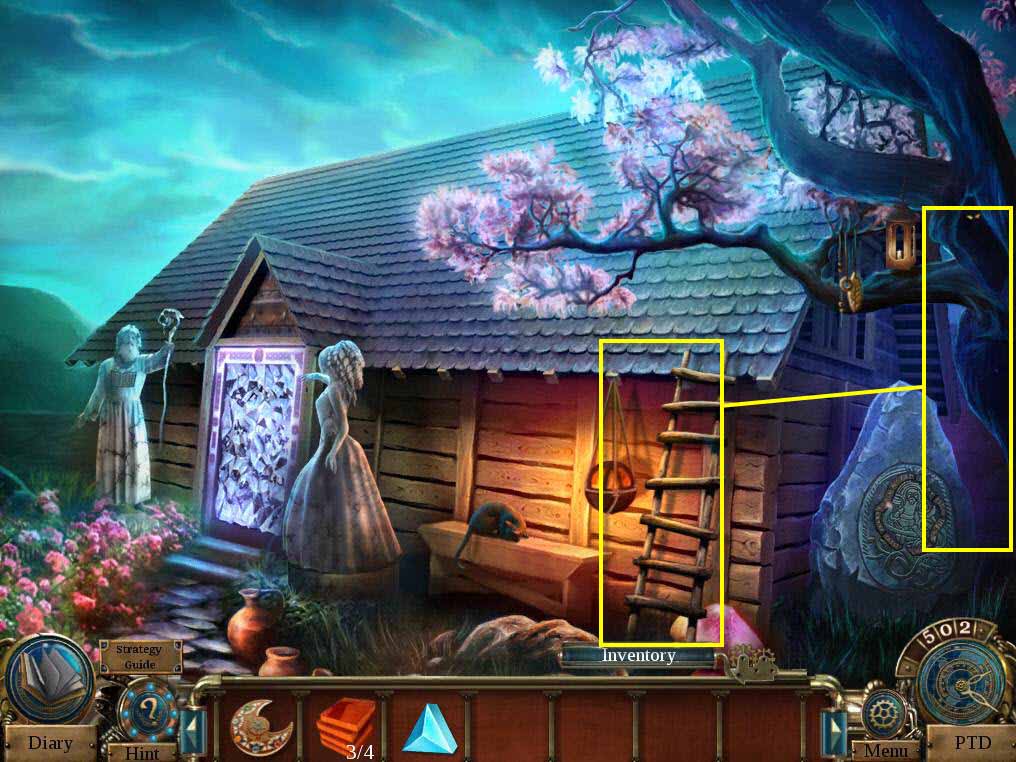
- Click on the ladder and place it next to the tree.
- Go back to Uncle Sean's House in 1796.
- Click on the mirror to zoom in.
- Use the VISION CRYSTAL on the empty slot.
- Go back to Merlin's Hut in 502 and go down one screen.
-
Click on Michael to talk to him.

- Click on the flowers to zoom in.
- Take the FUTURE TIME CRYSTAL.
- Click on the time machine and use the FUTURE TIME CRYSTAL on it.
- Click to travel to the future.
-
Click on the sparkles to play the HOS.
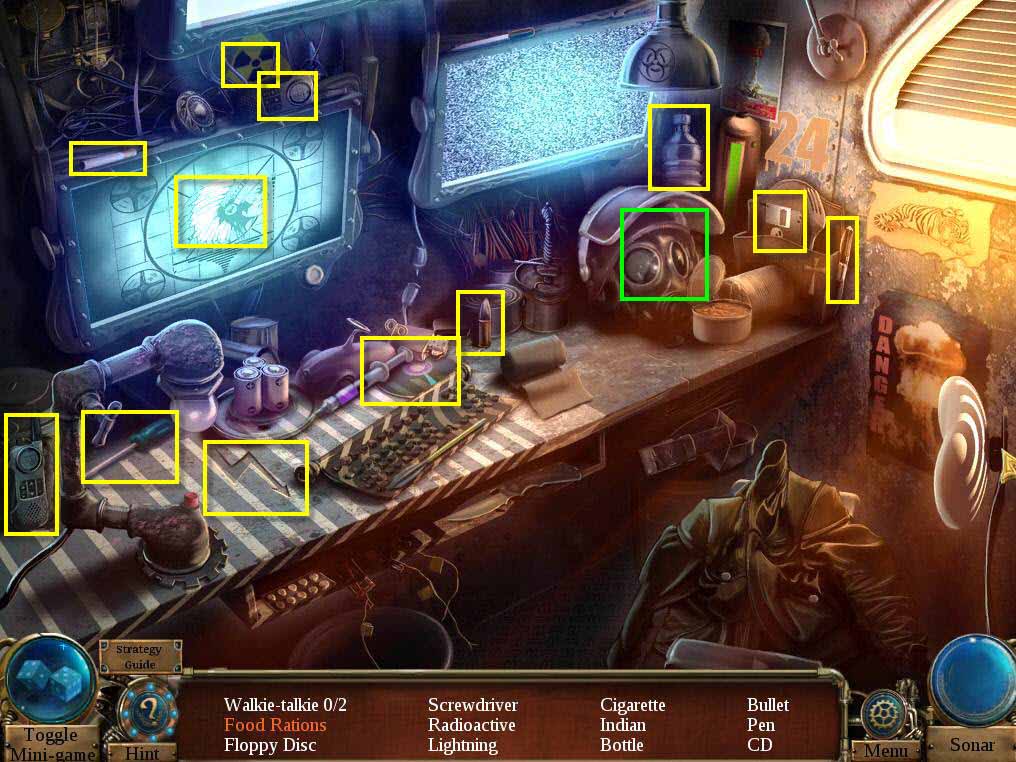
- Find all the items on the list.
- You will receive a SCREWDRIVER.
-
Go to the Tower Door.
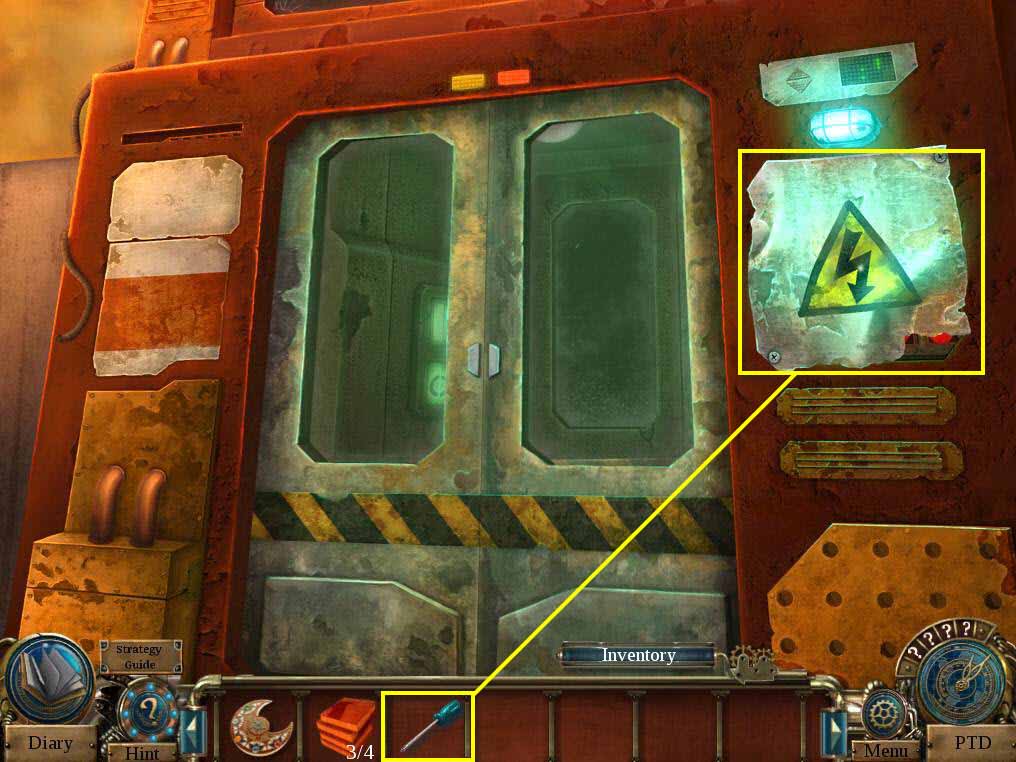
- Click on the panel to zoom in.
- Use the SCREWDRIVER on the panel.
-
Click on the panel to start a mini-game.
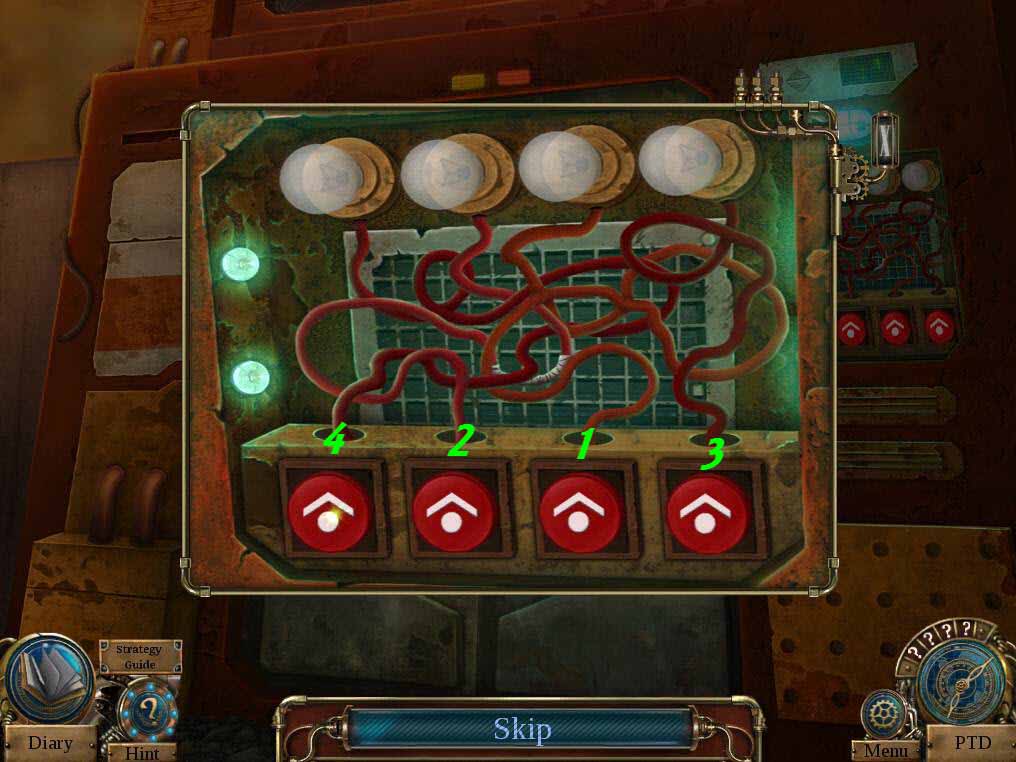
- The goal of the game is to light up all the light bulbs but clicking on the buttons in the correct order.
- See the screenshot for the solution.
- Enter the lift.
Comments will load when you reach this part of the walkthrough.