
Chapter One: Into the Village
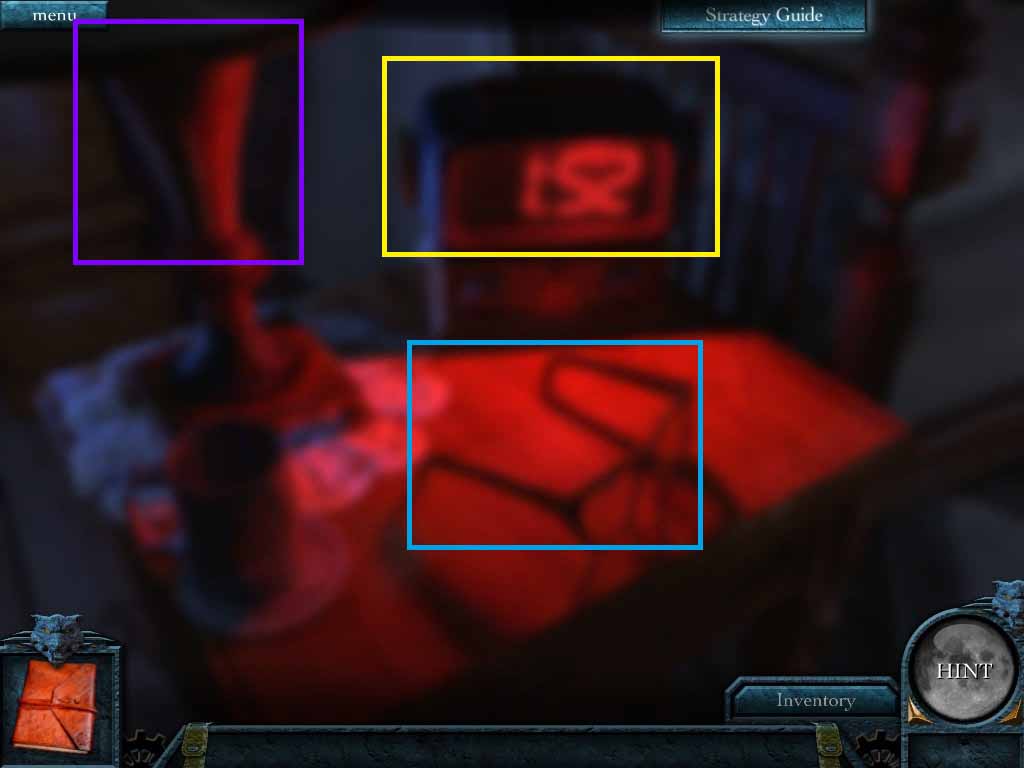
- Click the alarm clock.
- Collect the glasses.
- Click the lamp on.
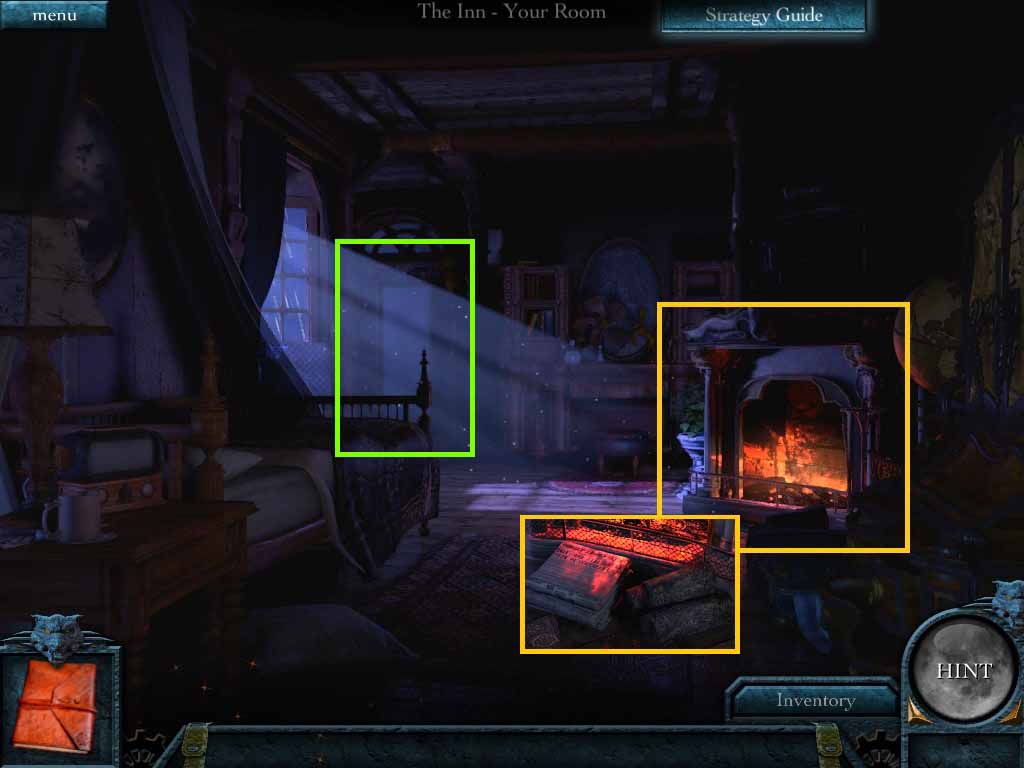
- Zoom into the fireplace.
- Collect the newspaper and the firewood.
- Put the newspaper and firewood onto the coals.
- Move to the door.
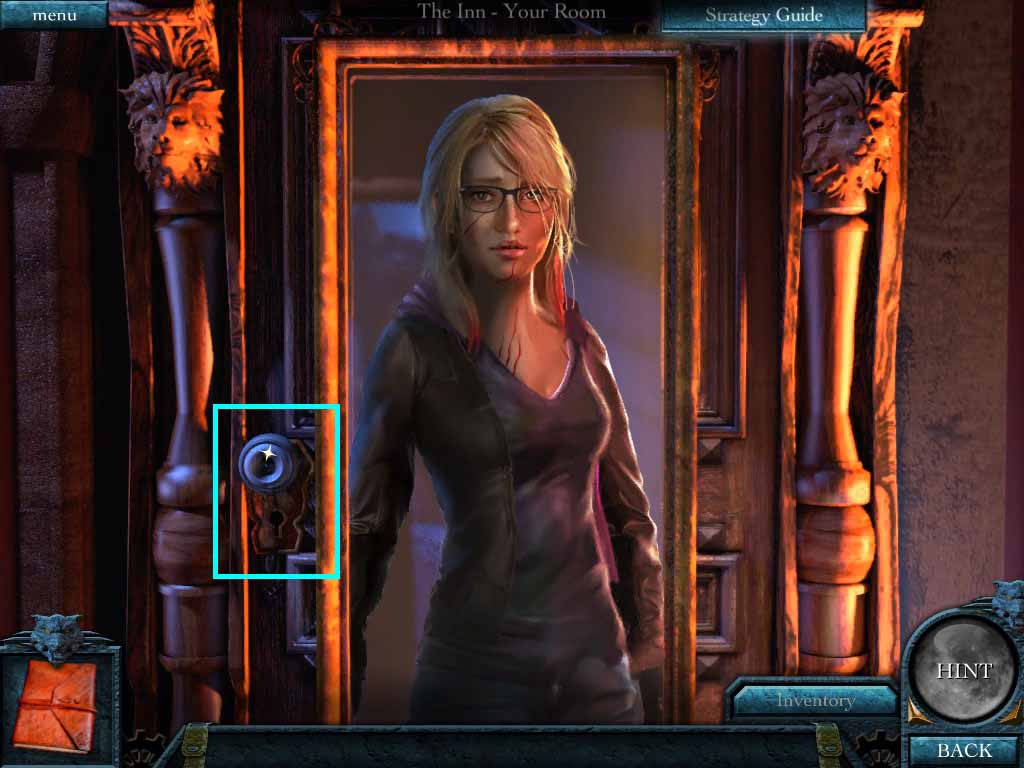
- Click the door knob.
- Move back and try the armoire.
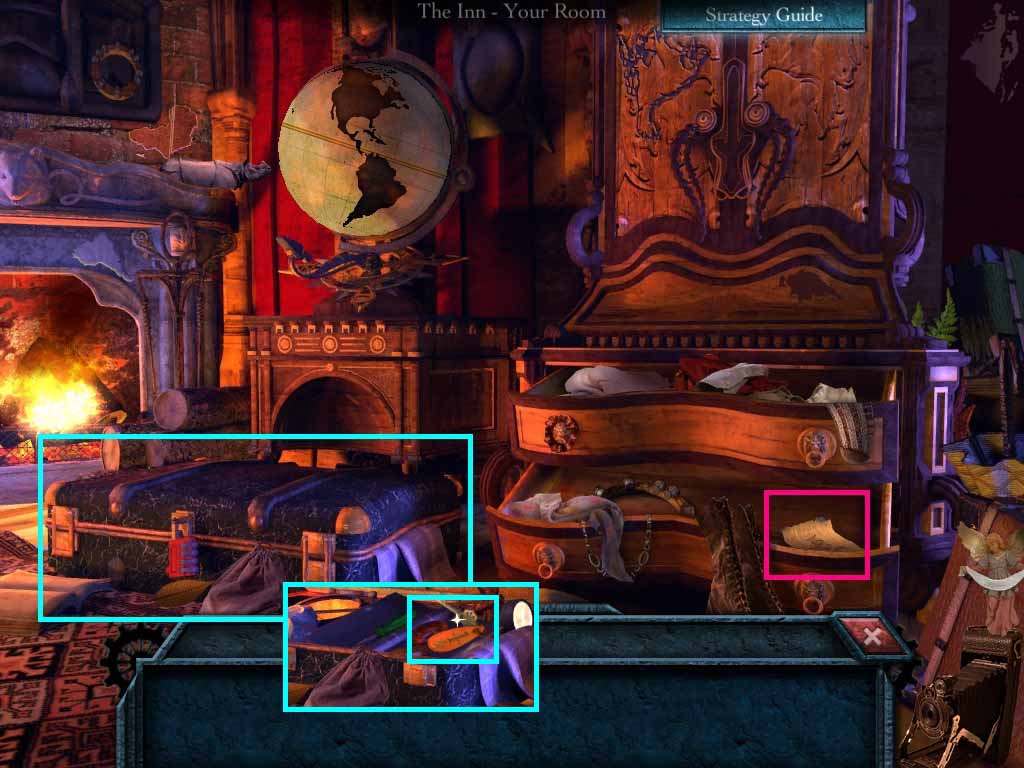
- Zoom into the suitcase lock.
- Find the combination.
- Zoom into the lock and use the numbers from the note to unlock it.
- Collect the room key.
- Use the key on the door lock.
- Look at Tara’s room door.
- Knock.
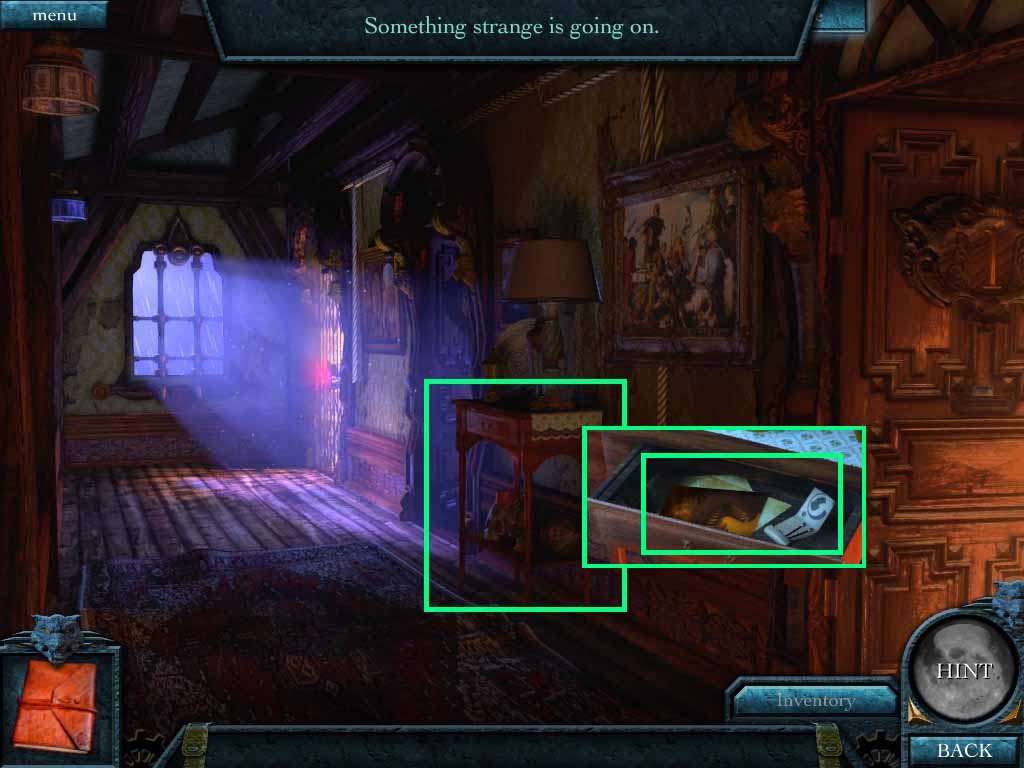
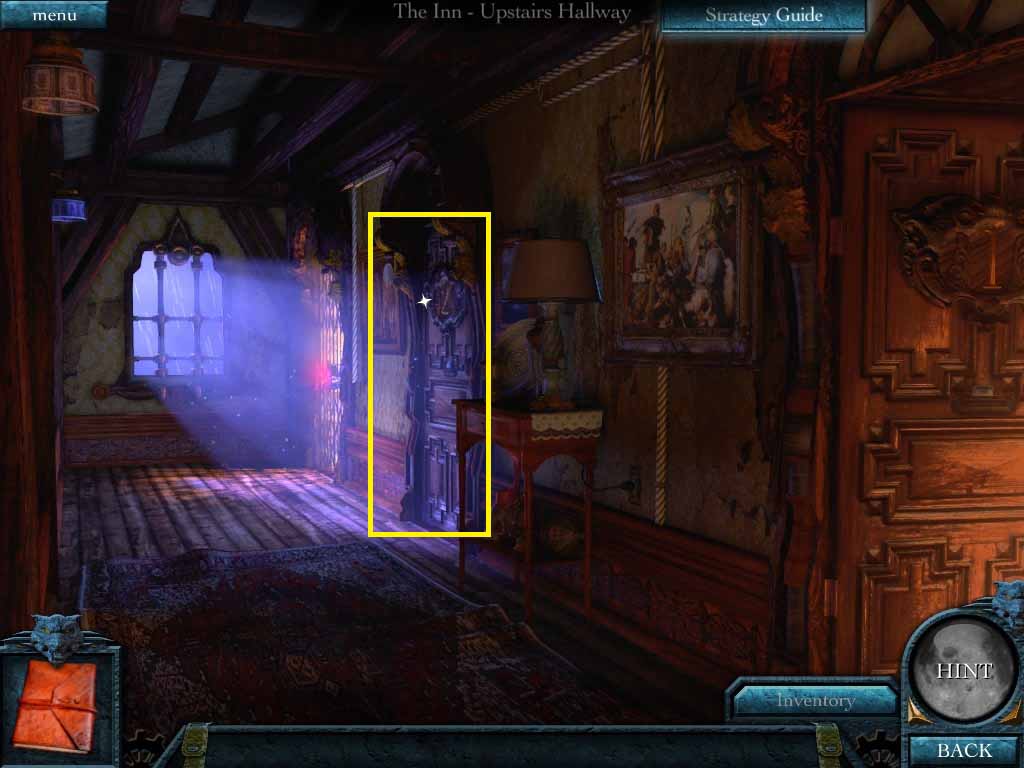
- Examine the hall table.
- Click the drawer open.
- Collect the painting piece and the matches.
- Go into Tara’s bedroom.
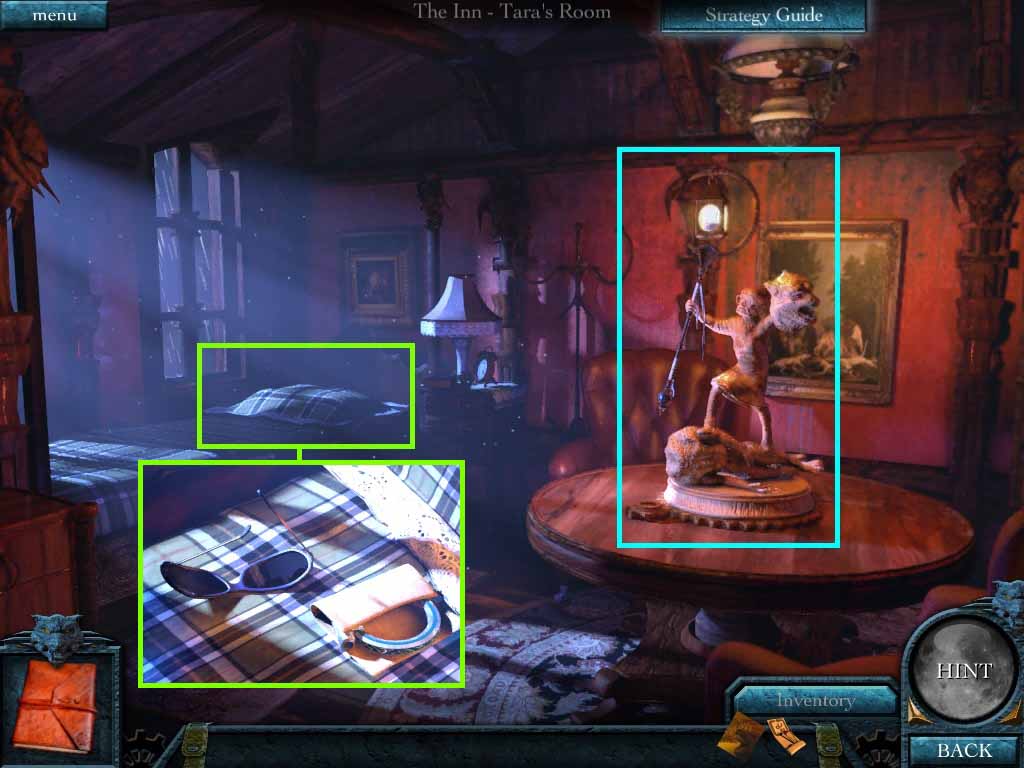
- Zoom into the lantern statue on the table.
- Light the candle with the matches.
- Zoom into the pillow on the bed and move it.
- Collect Tara’s glasses, the note and the handle.
- Go to your bedroom.
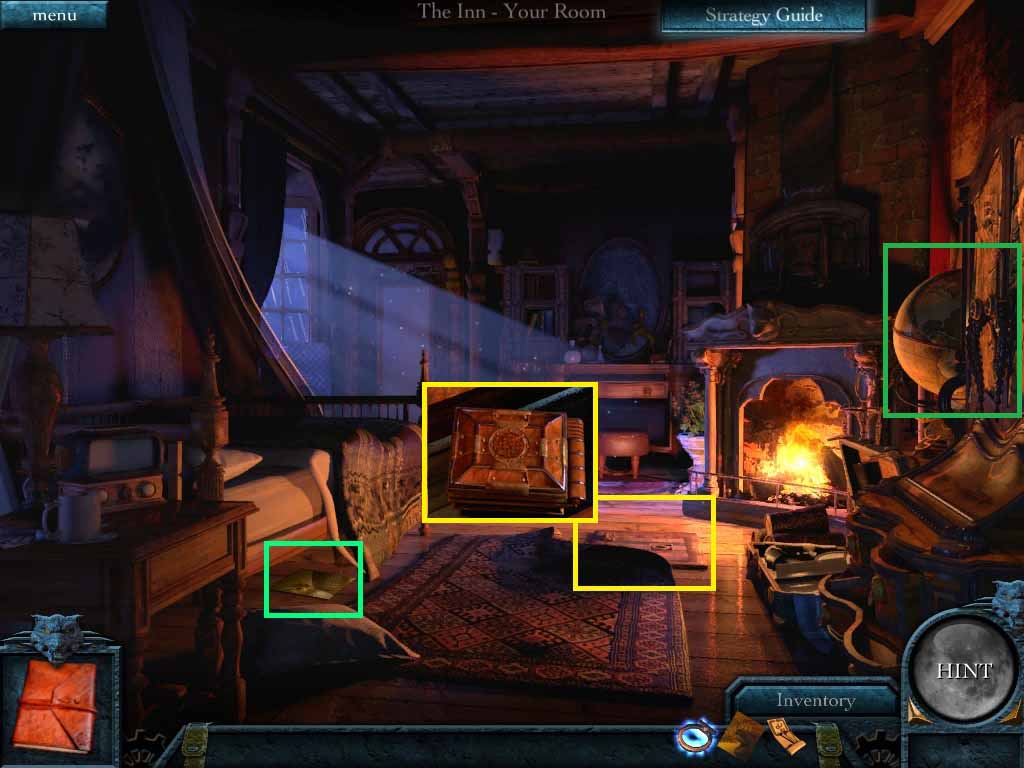
- Collect the piece of painting from under the bed.
- Click the corner of the rug.
- Put the handle into the trap door slot and open it.
- Collect the strange machine.
- Examine the armoire.
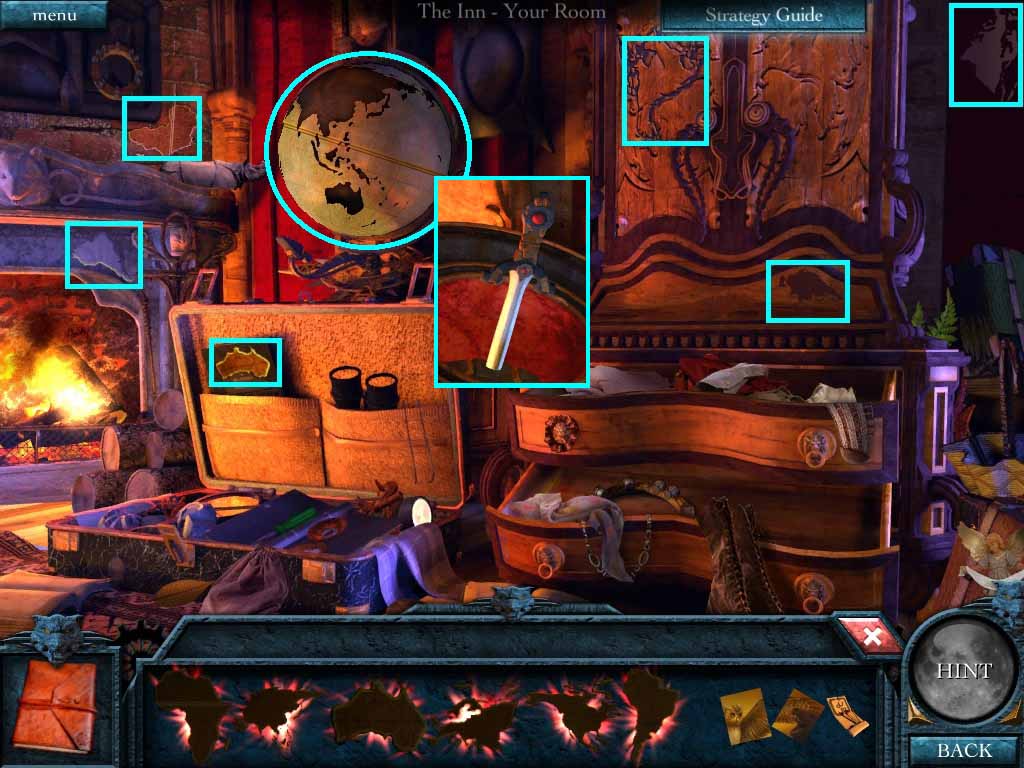
- Zoom into the globe.
- Find all the continents in the scene.
- Put the continents into their proper areas on the globe.
- Collect the dagger.
- Insert the dagger into the armoire door.
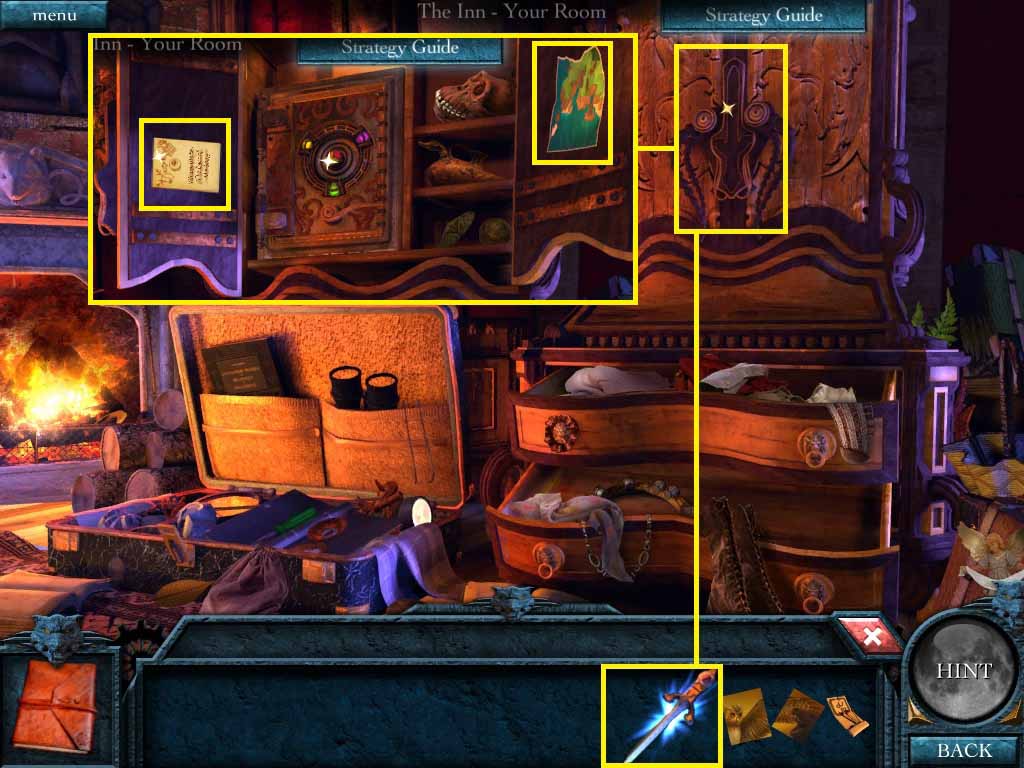
- Collect the note and map piece.
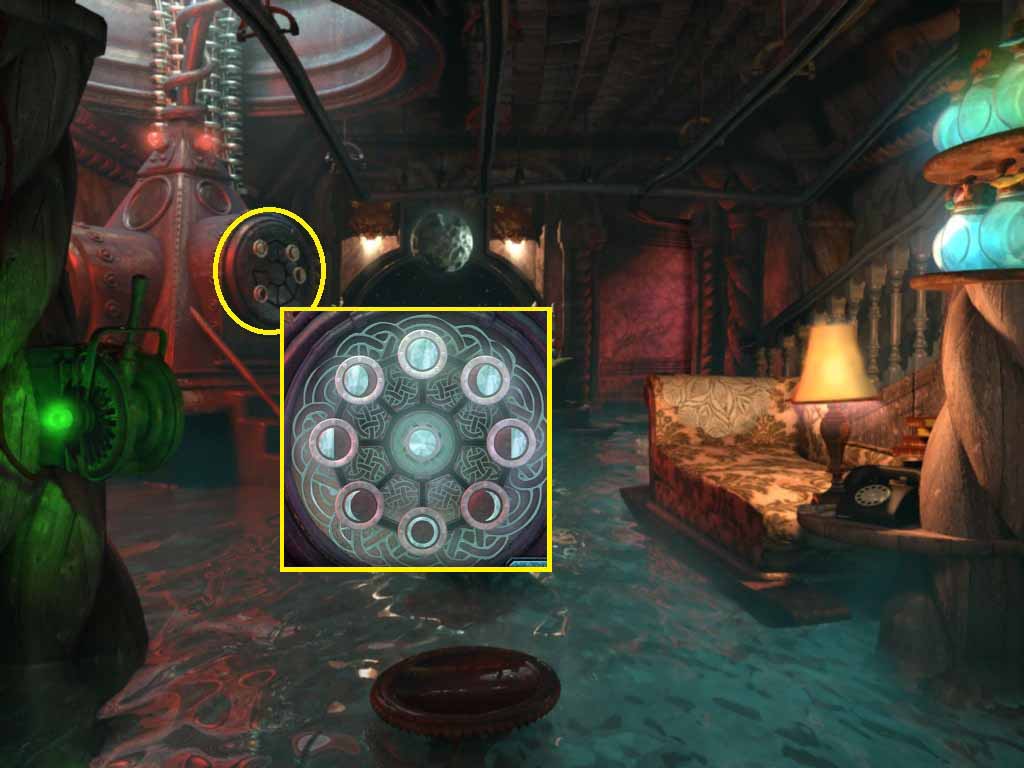
- Zoom into the panel in the armoire.
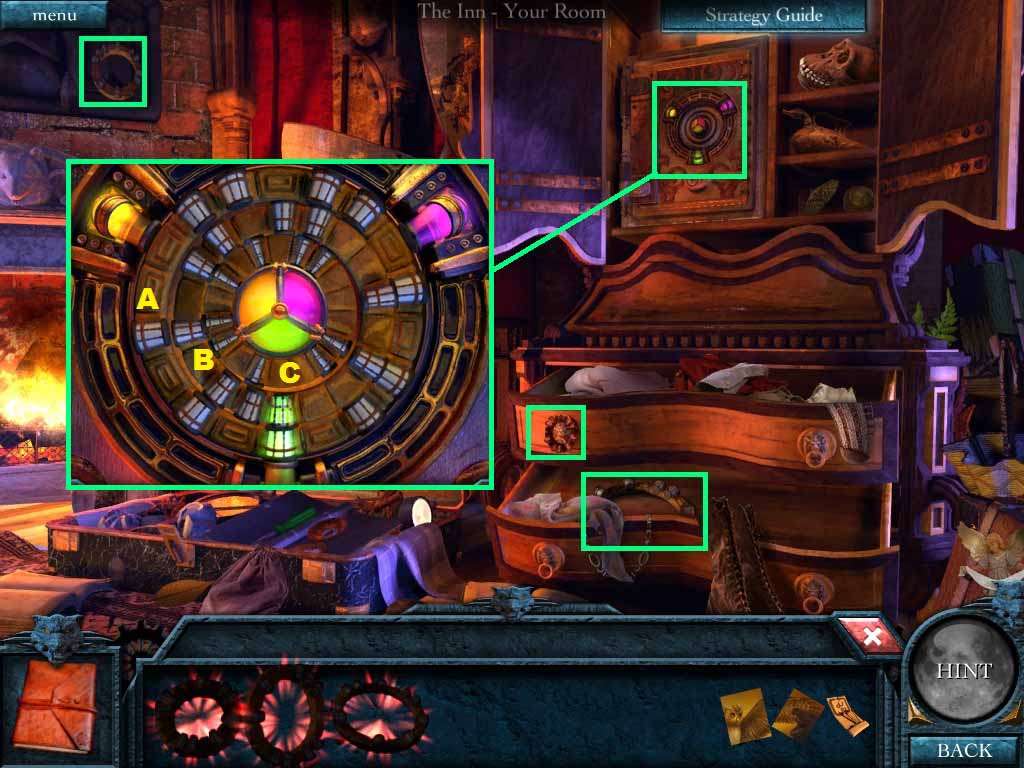
- Find the missing rings.
- Insert the rings and rotate them until the light illuminates the center.
- Solve as follows:
- Rotate ring A 4 times
- Rotate ring B once
- Rotate ring C 4 times
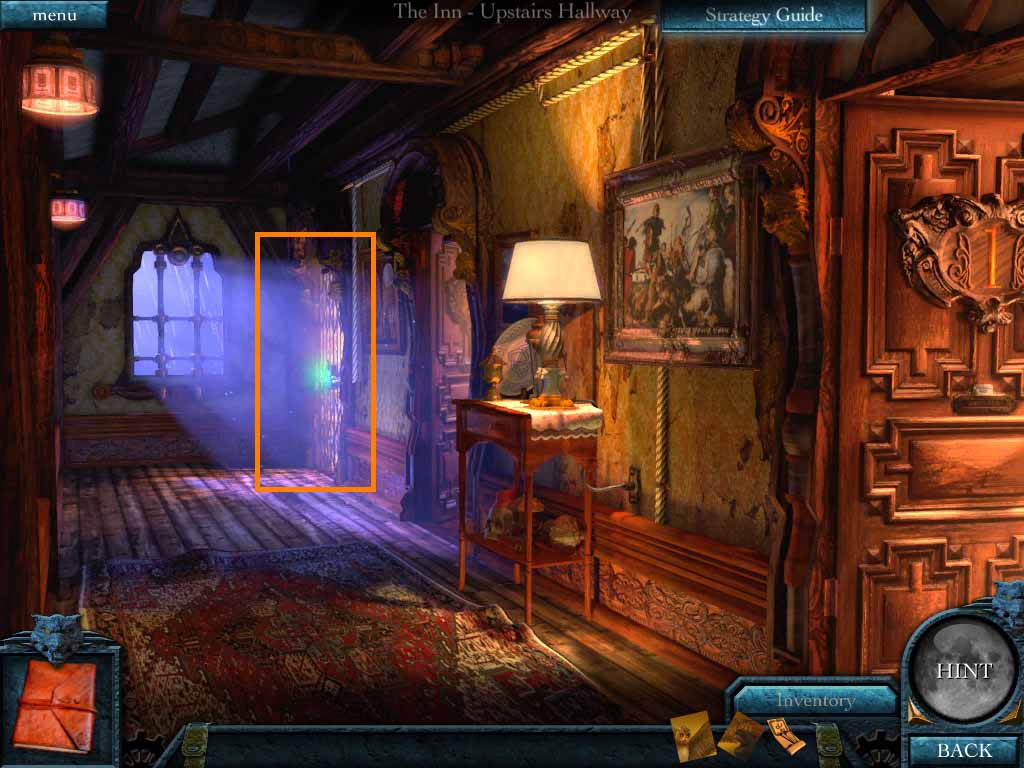
- Go into the hallway.
- Open the gate and go downstairs.
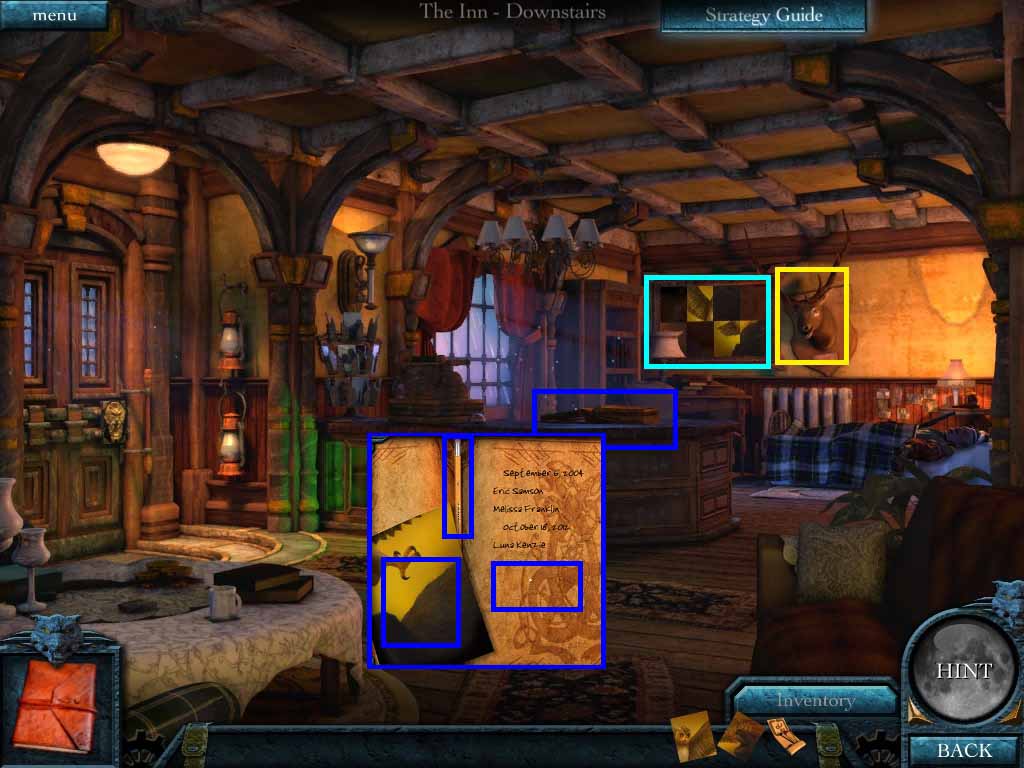
- Examine the ledger.
- Collect the piece of painting.
- Collect the pencil; use it to the scratch under your name to uncover Tara’s.
- Examine the stag head on the wall.
- Collect the eyes.
- Examine the painting on the wall.
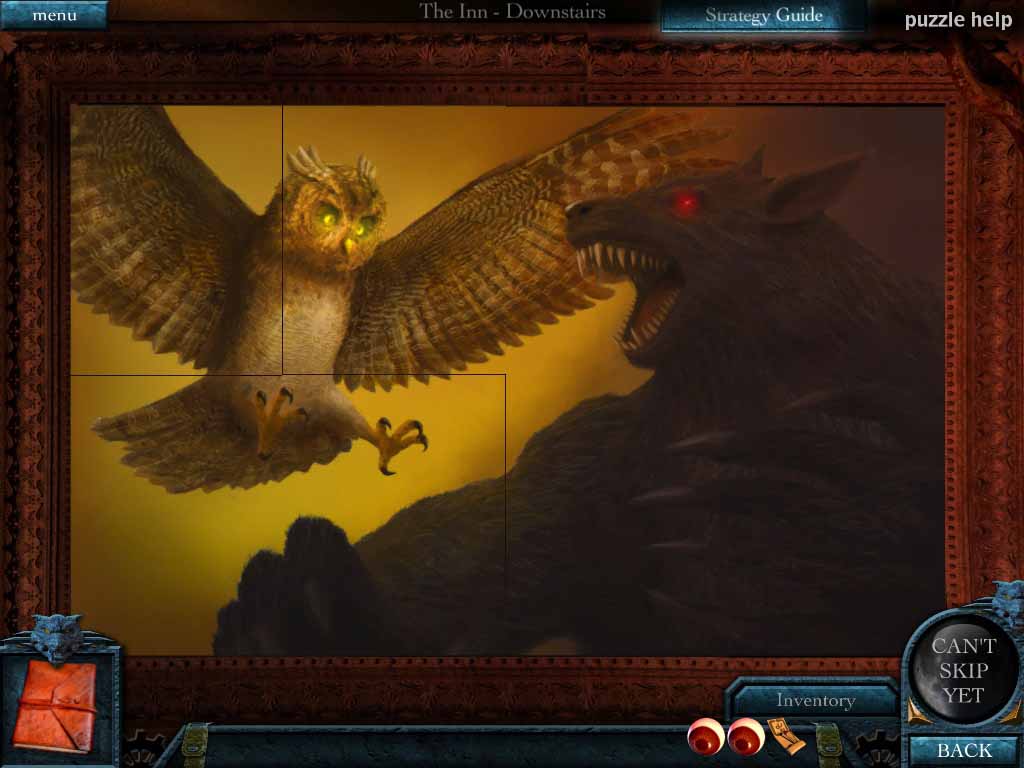
- Put the painting pieces into the frame.
- Arrange the pieces to create a coherent picture.
- Collect the statue piece and the Celtic knot.
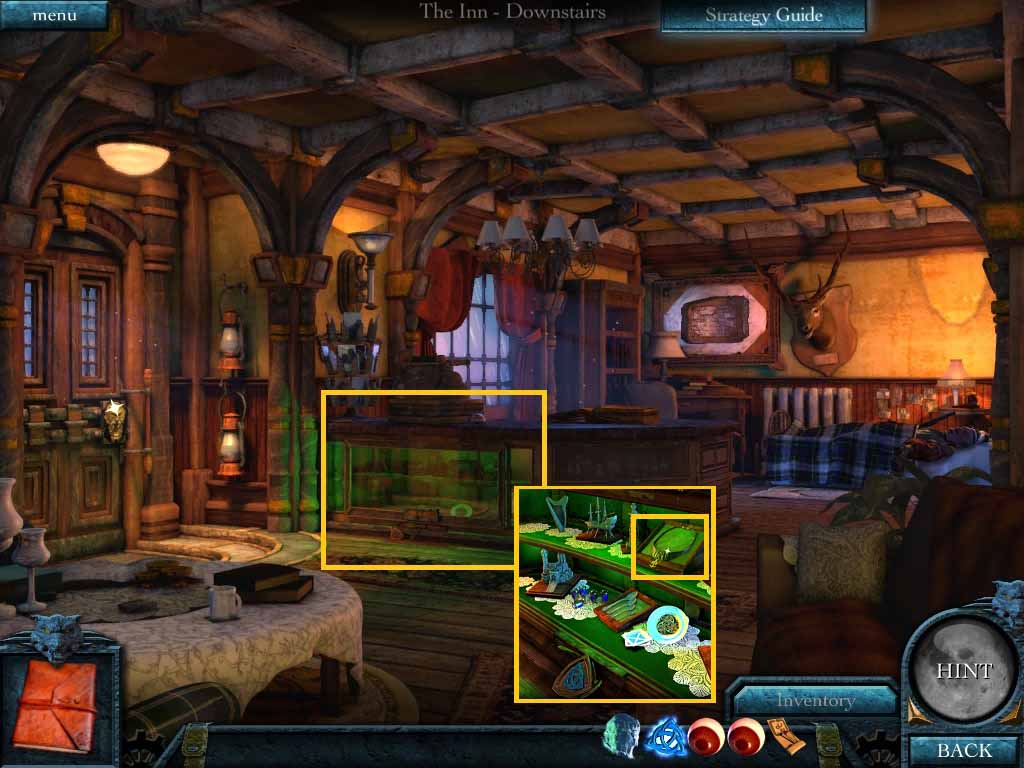
- Examine the display case.
- Open the lock using the Celtic knot.
- Collect the necklace.
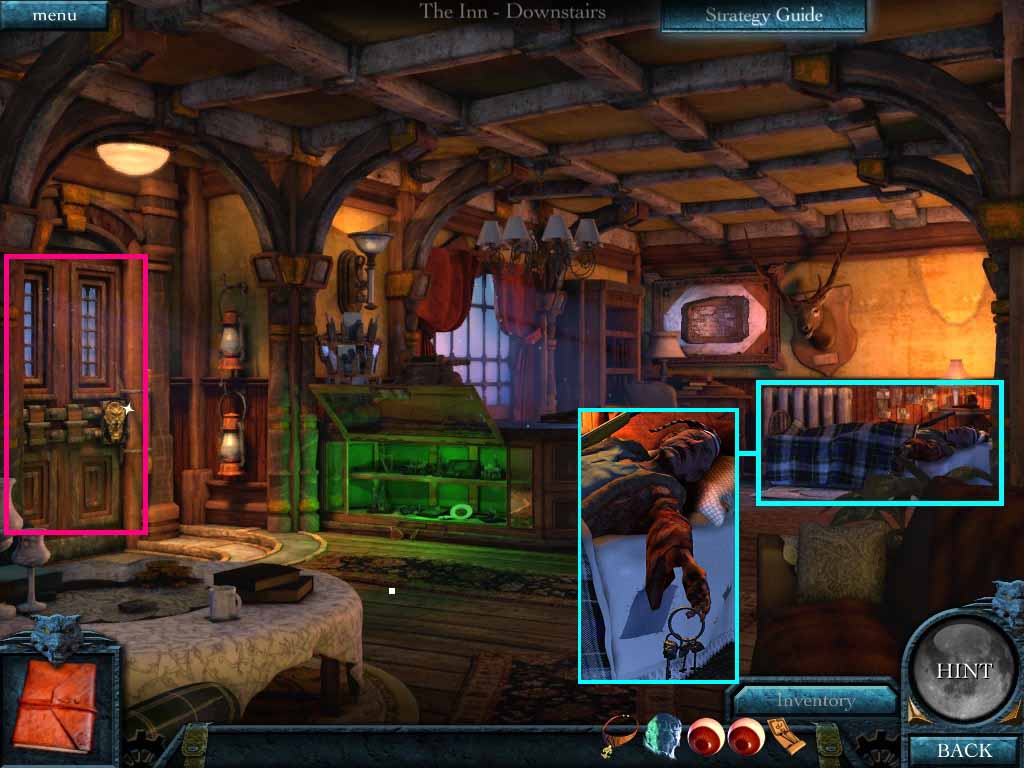
- Examine the innkeeper.
- Switch the necklace with the hotel door key.
- Examine the door.
- Open the door with the hotel door key.

- Go to the village gate.
- Examine the machine by the gate.
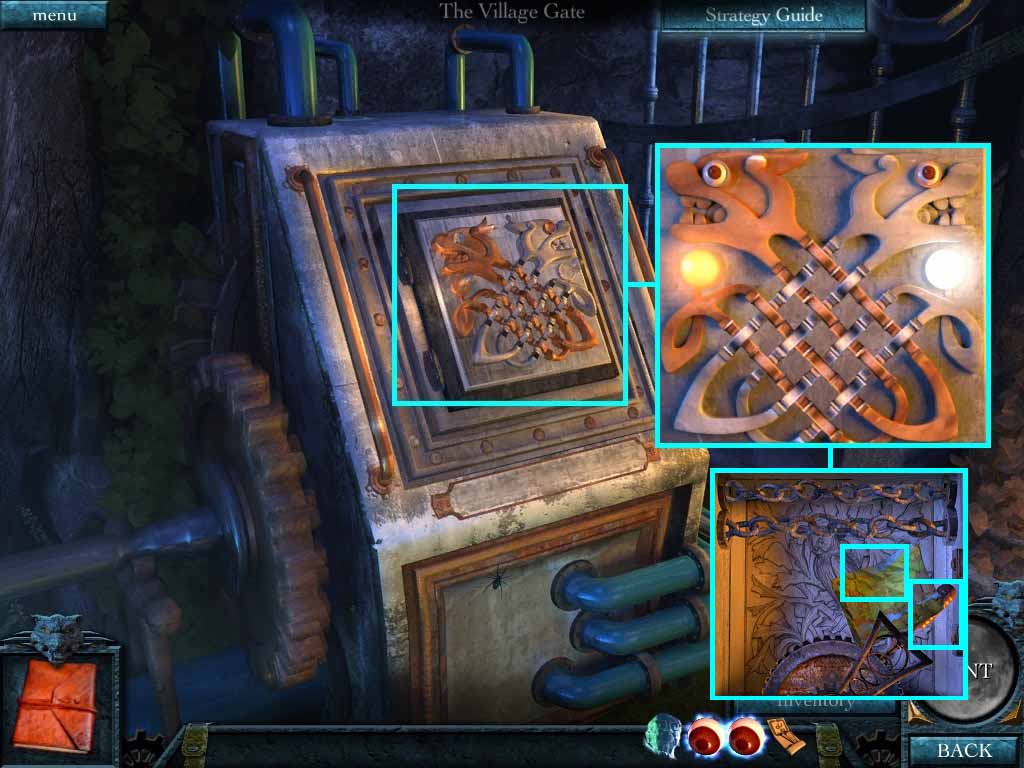
- Zoom into the door panel and insert the eyes into the sockets.
- Move the pieces to line up the colors.
- Collect the piece of map.
- Click the lever.
- Go through the town gate.
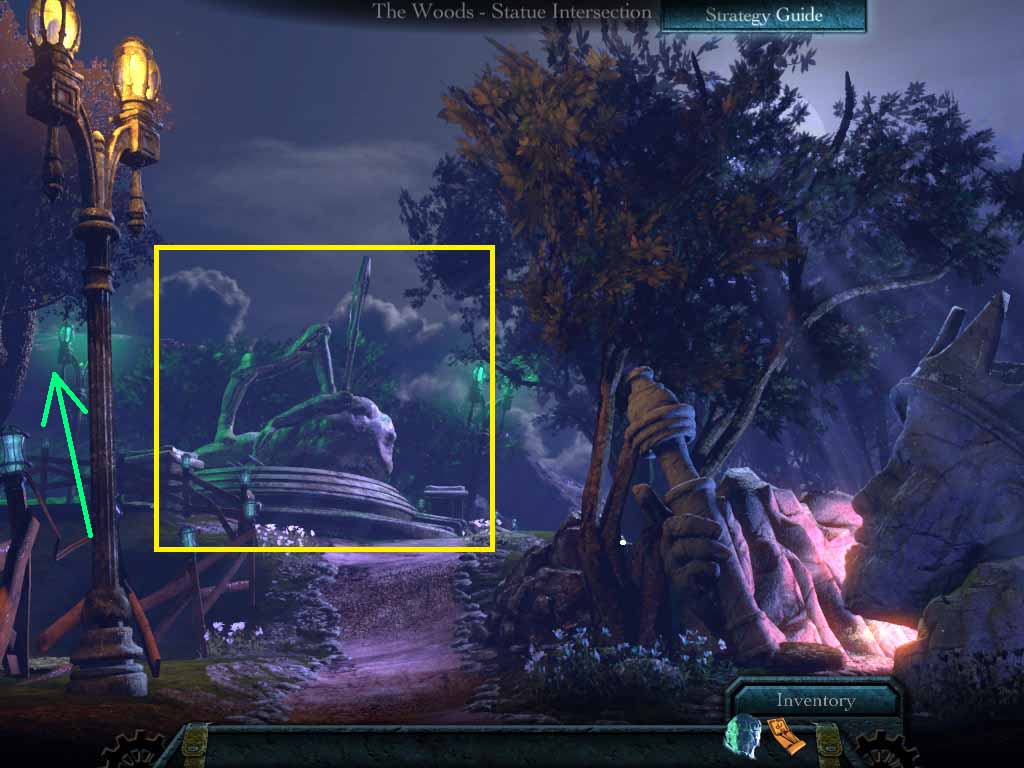
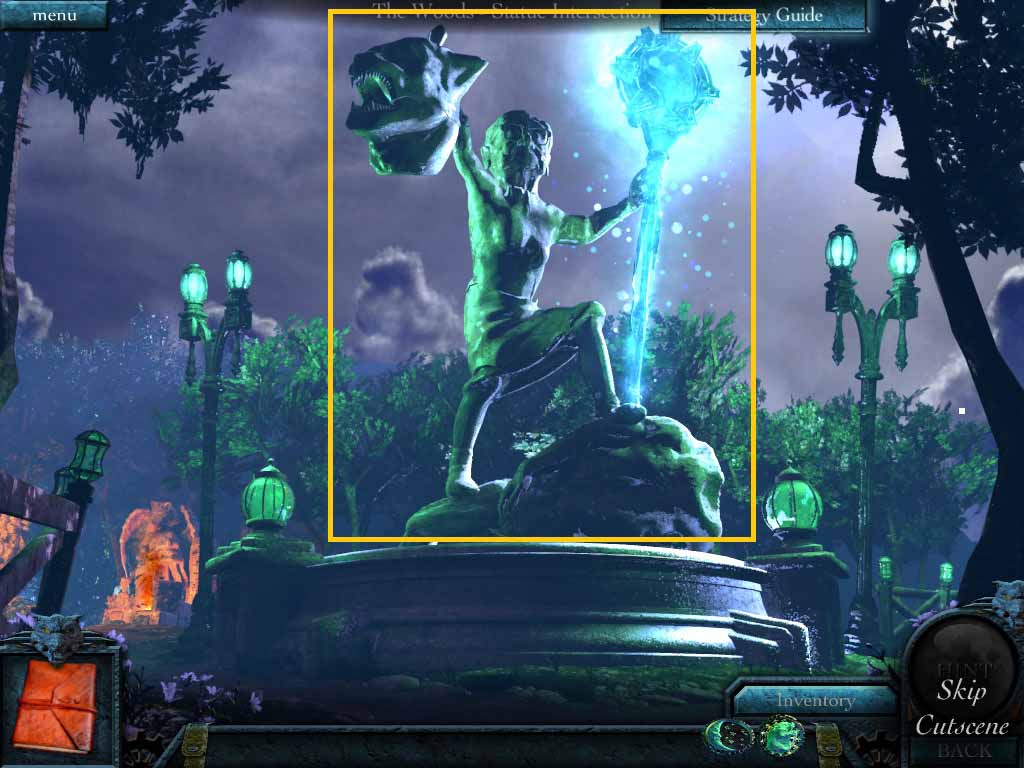
- Go up the path to the statue intersection.
- Collect the wolf disk from the statue base.
- Move to the left of the statue.
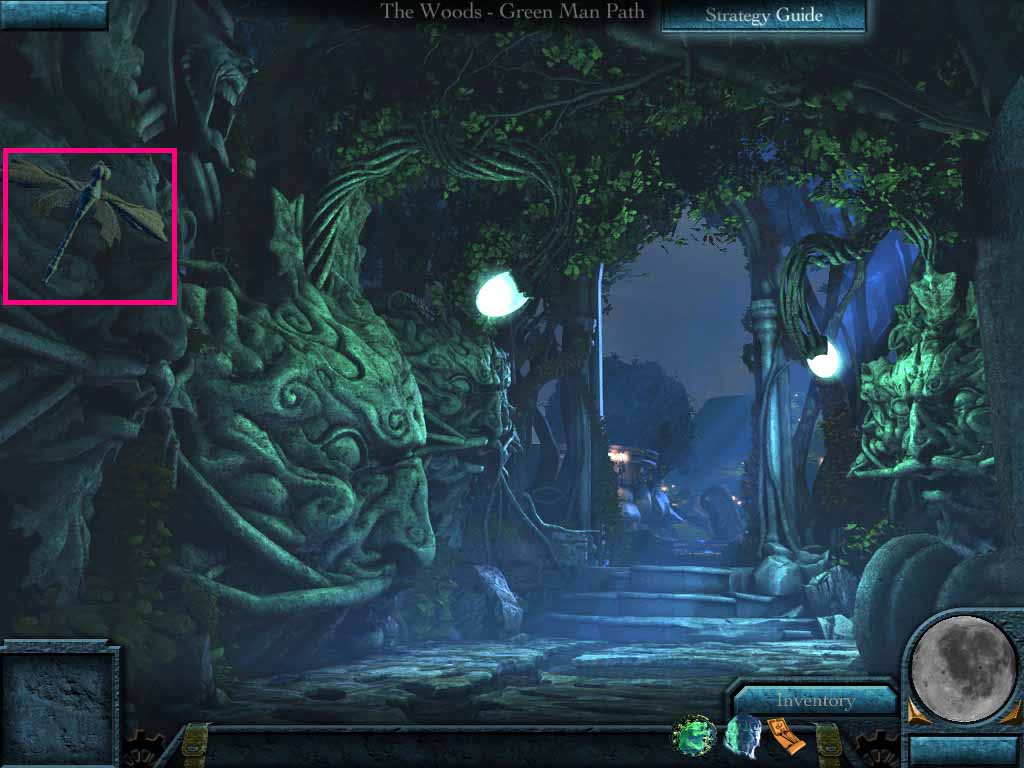
- Pick up the dragonfly at the green man path.
- Go right toward the house.
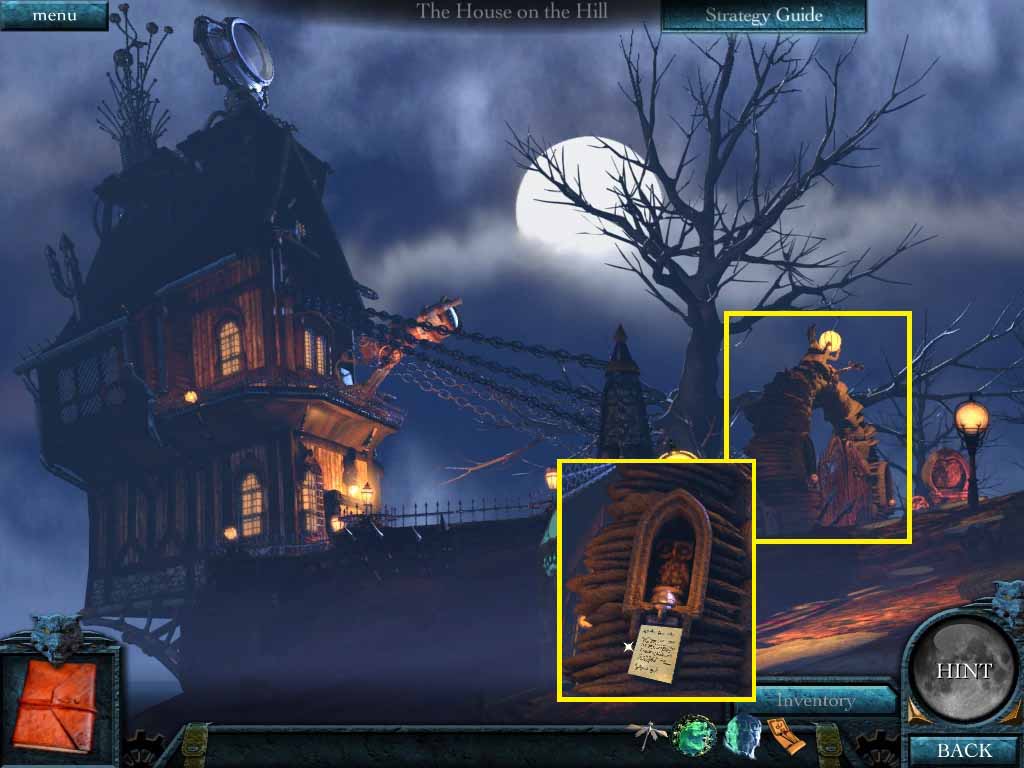
- Zoom into the gate; collect the note.
- Go downhill to the church exterior and zoom into the fountain.
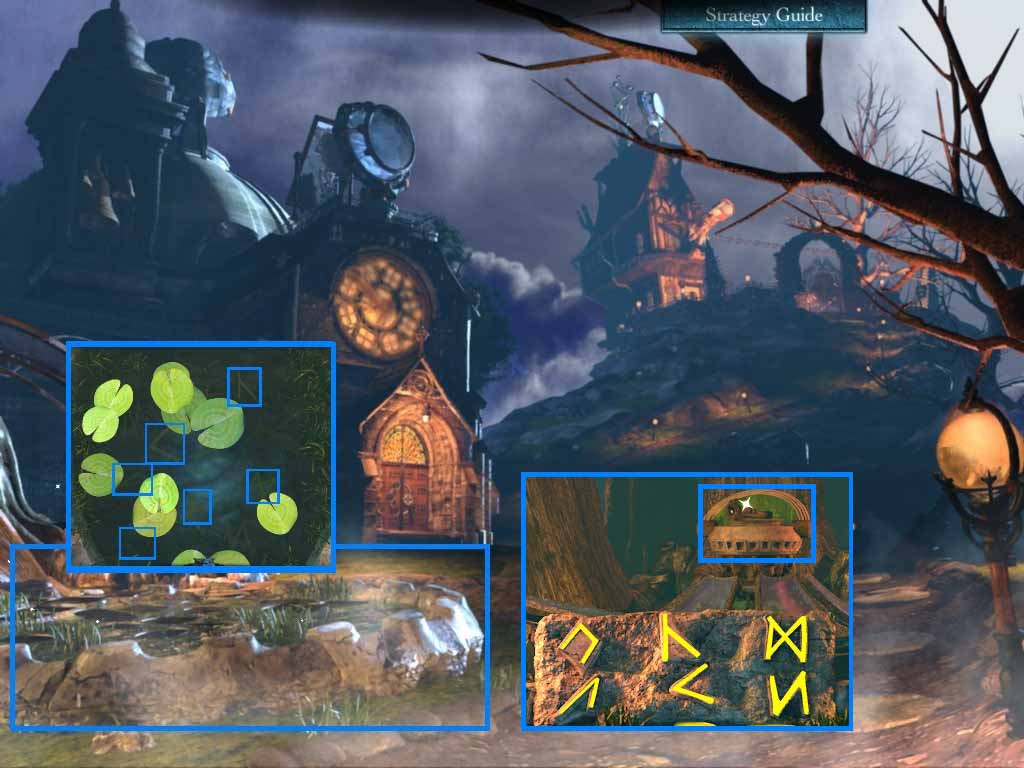
- Move the lily pads and put the runes into the right spots.
- Collect the owl whistle.
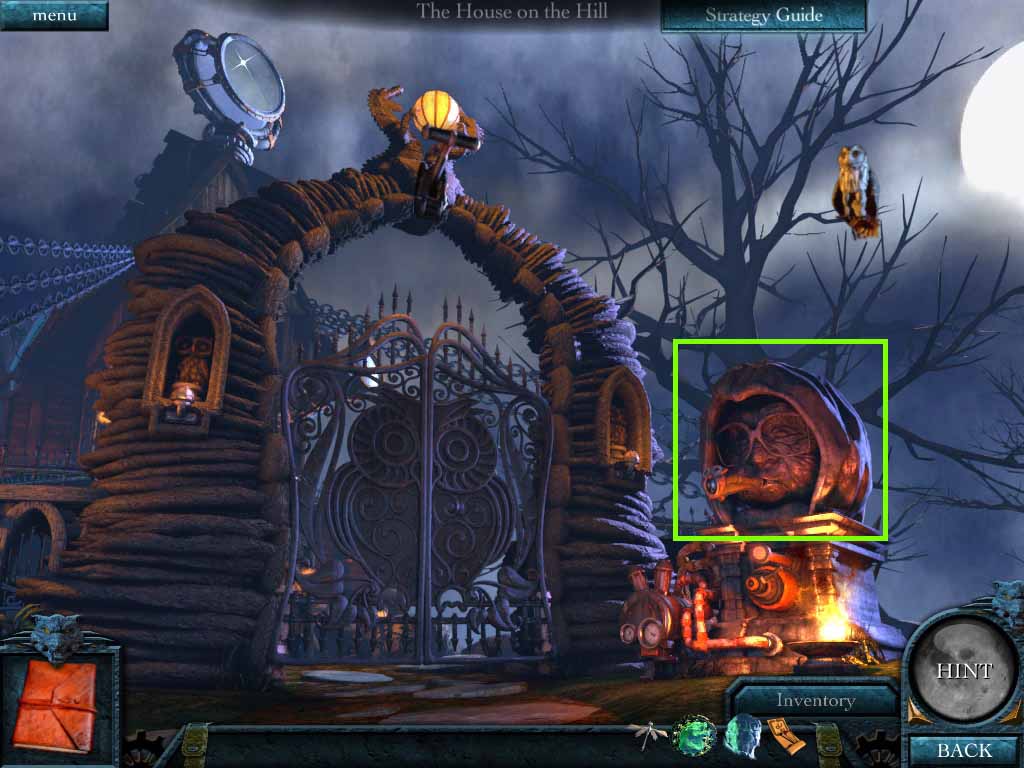
- Go back to the gate.
- Insert the owl whistle into the mouth of the statue and click the handle.
- Go into the gate and zoom into the door.
- Go back to the village inn.
- Go upstairs to Tara’s room.
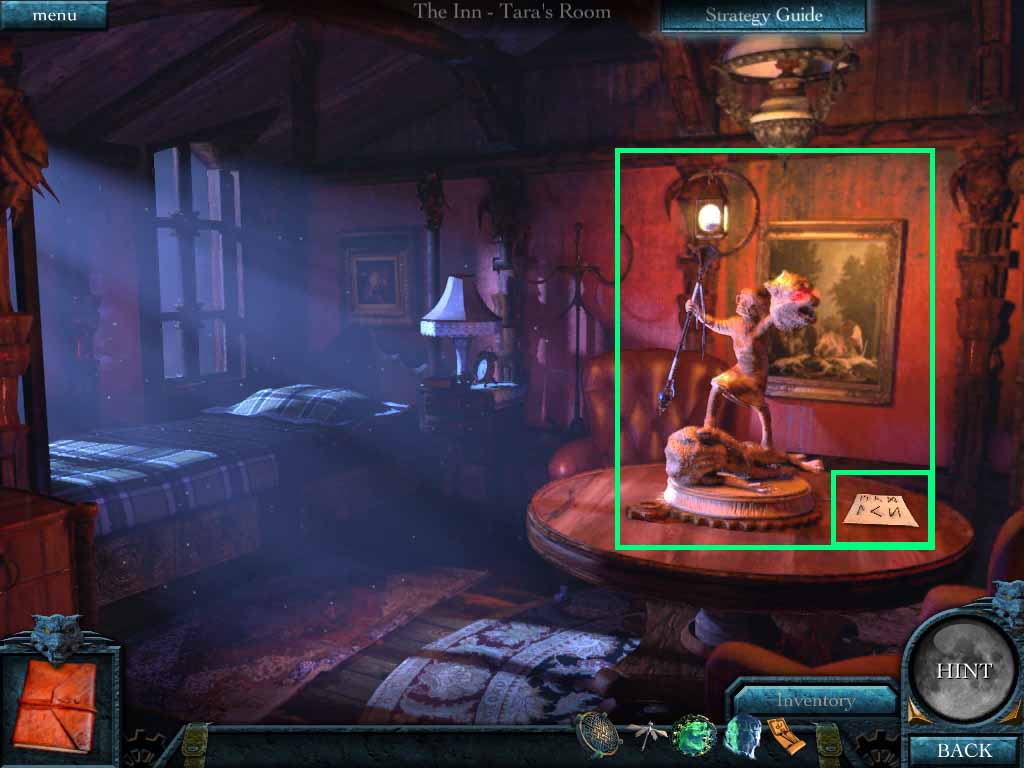
- Examine the lantern statue on the table again.
- Collect the note.
- Slide the head of the werewolf and insert the Celtic knot emblem.
- Go into the newly opened passage.
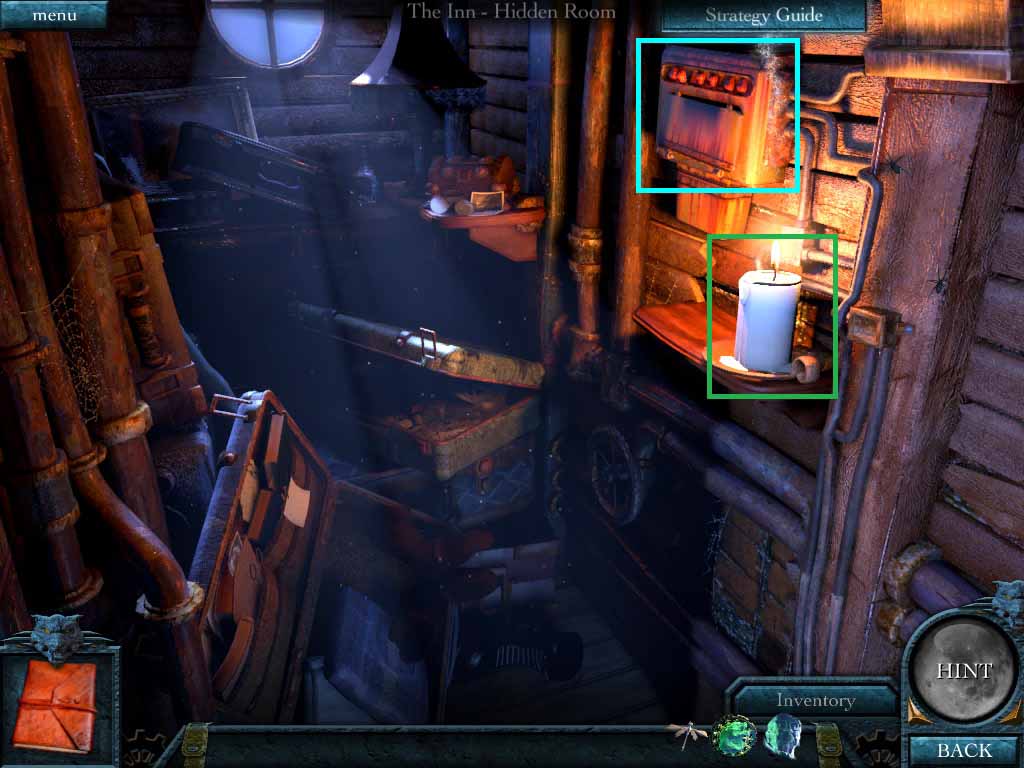
- Light the candle using the matches.
- Click the wall panel open.
- Zoom into the open panel.
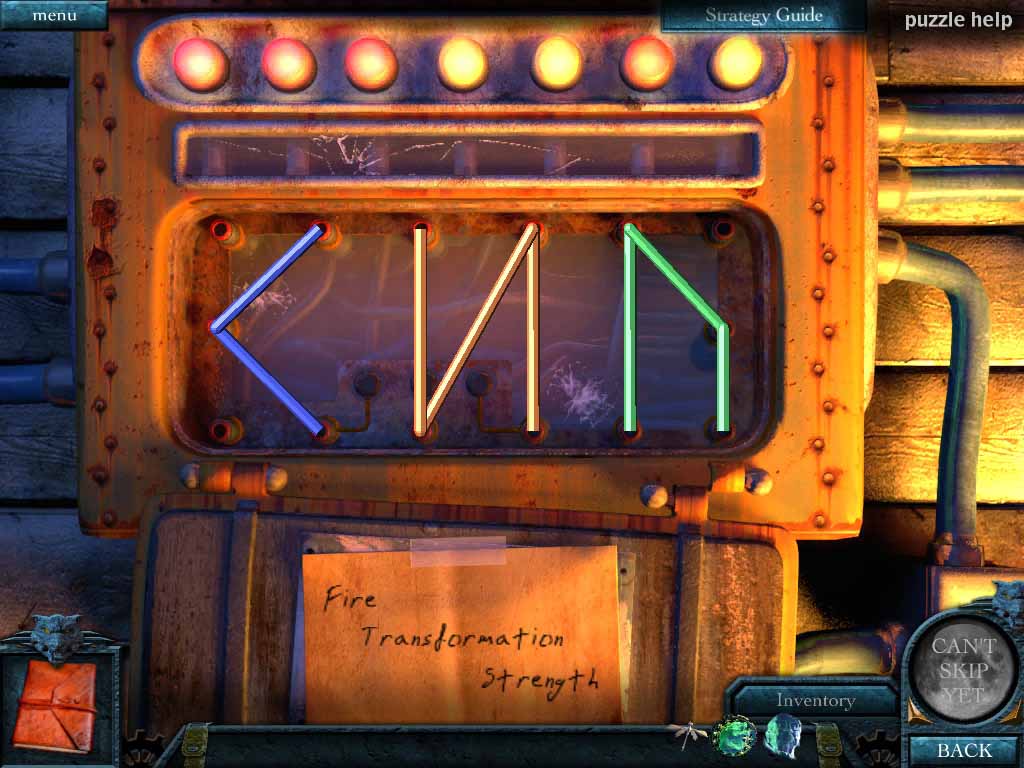
- Arrange the wires to match the pattern on the note.
- Examine the pile of luggage.
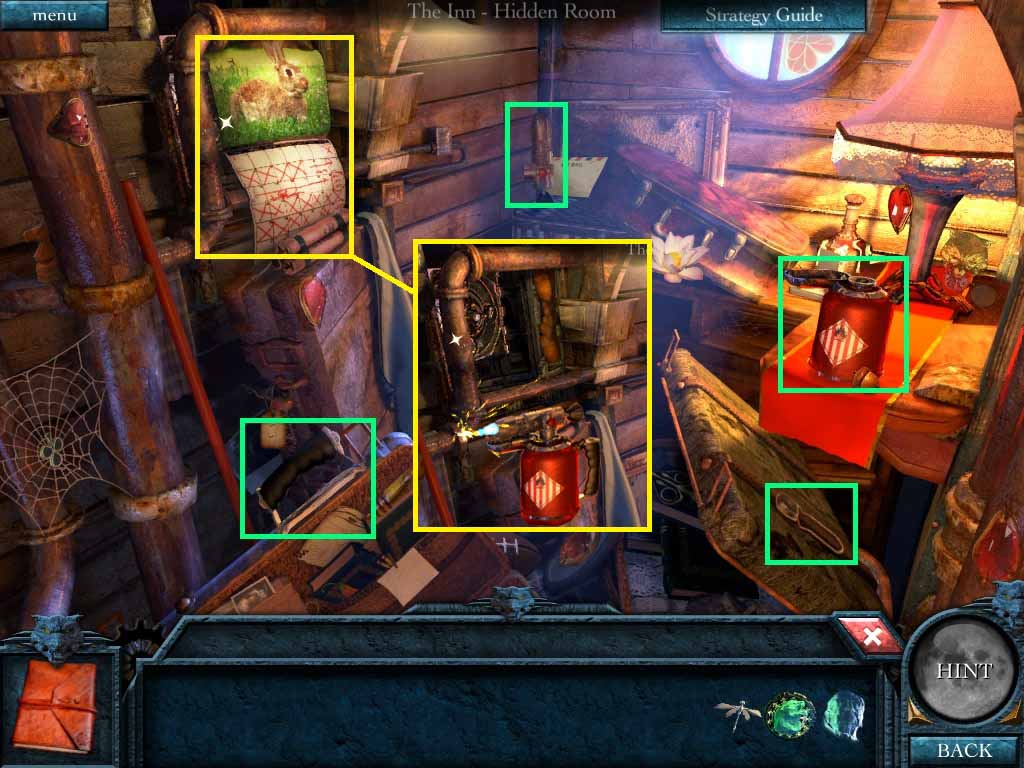
- Click the calendar.
- Collect the blowtorch pieces.
- Put the blowtorch together and use it to cut the pipes.
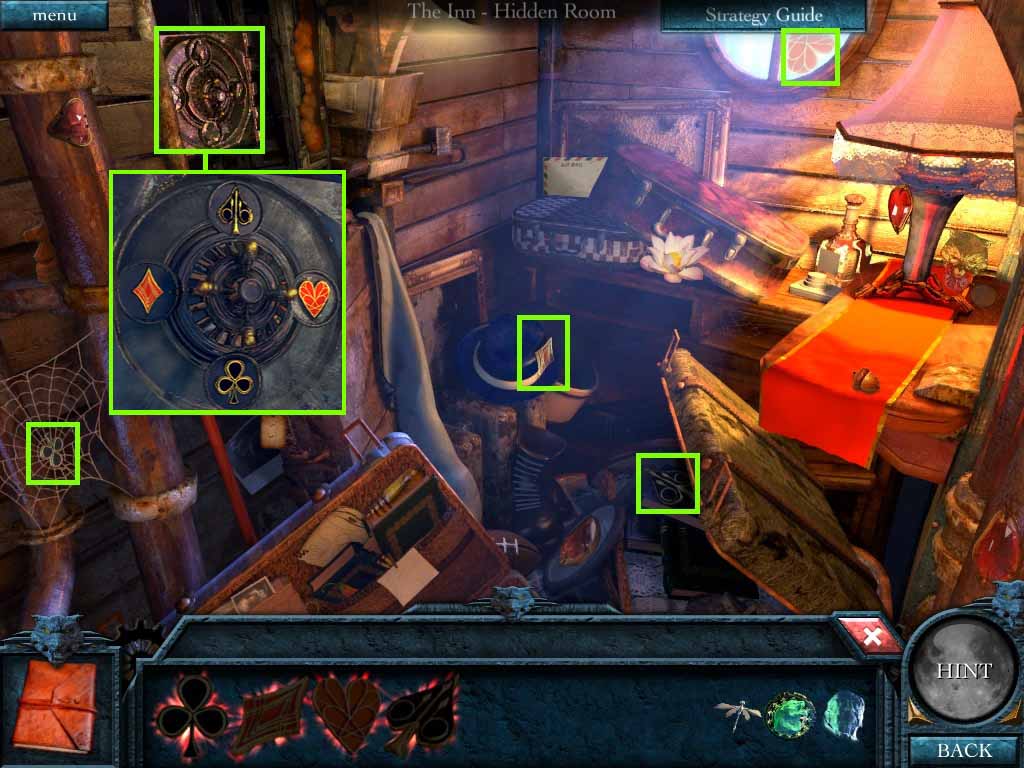
- Examine the safe.
- Collect the safe pieces.
- Insert them into the correct slots and open the safe.
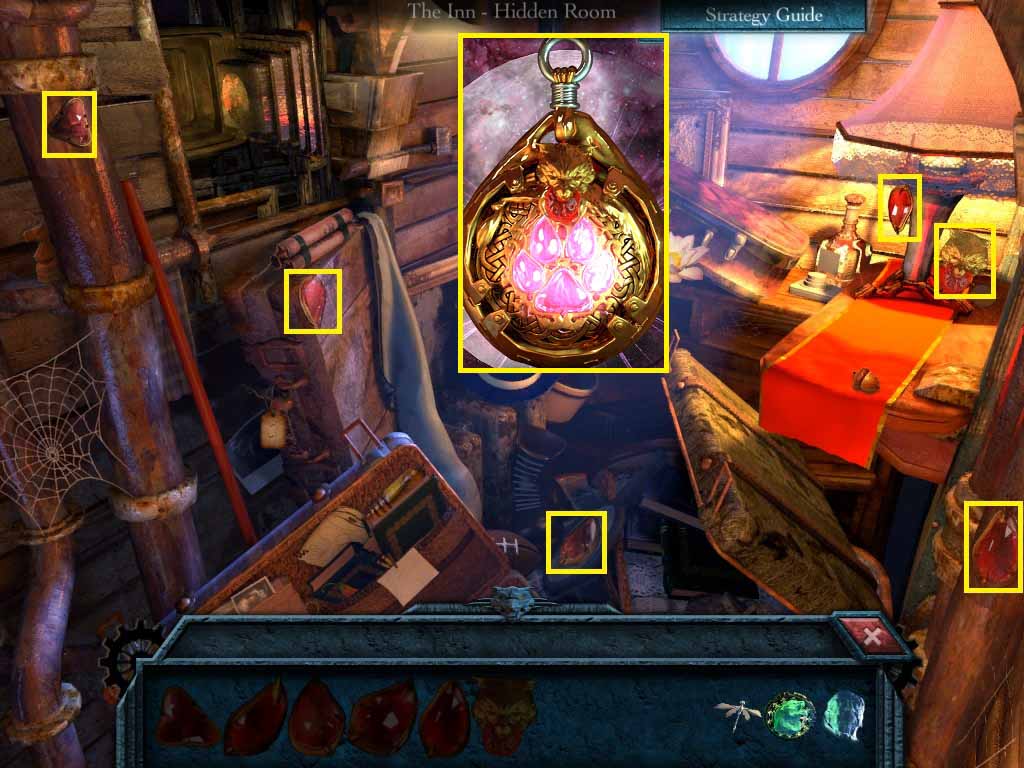
- Find the jewels of the amulet and put them together.
- Move to the Gateway Path and examine the Standing Stone.
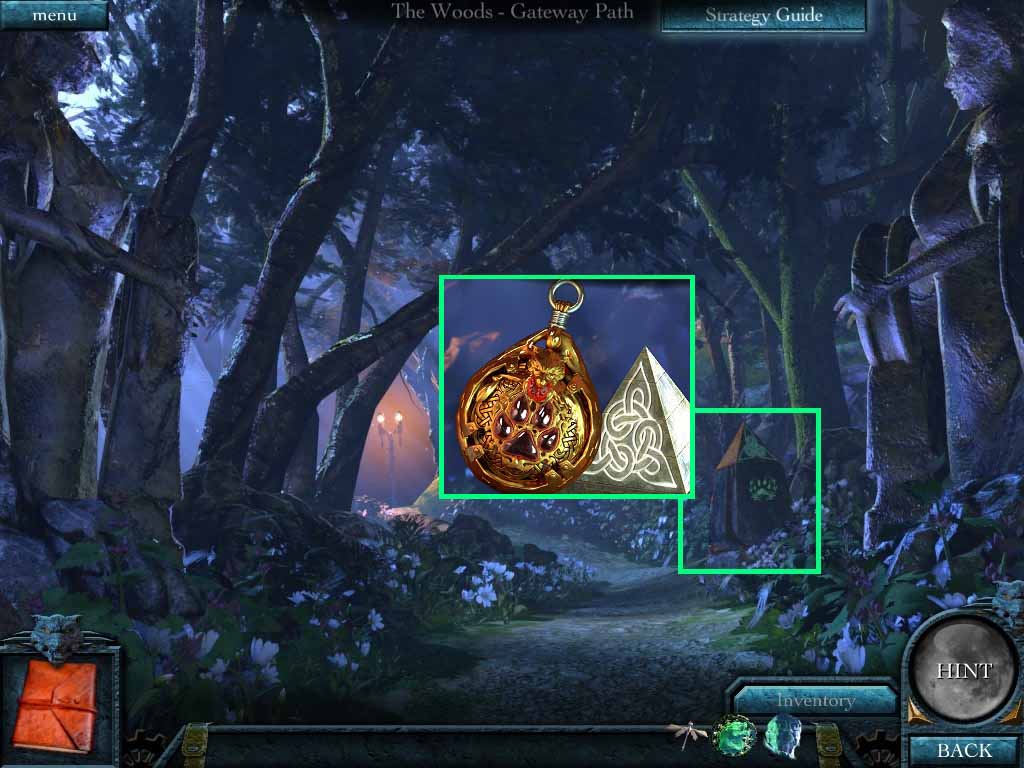
- Move the puzzle pieces to create the correct shape.
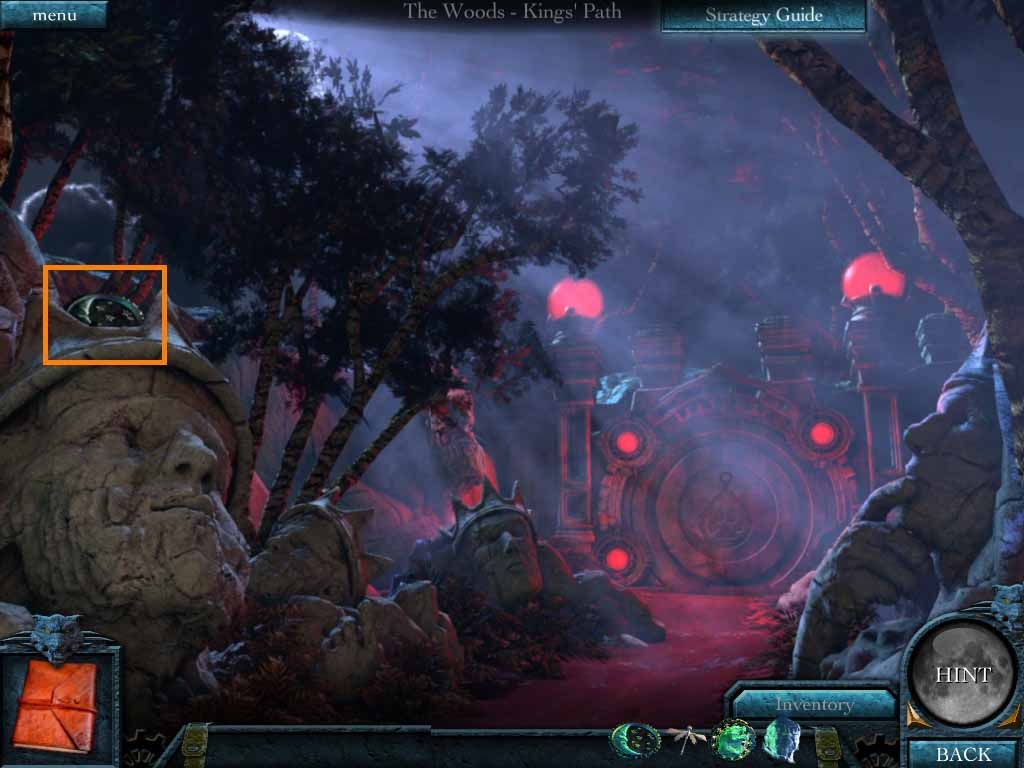
- Go right at the next intersection to the King’s Path.
- Collect the moon disk.
- Move to the Crane Bridge.
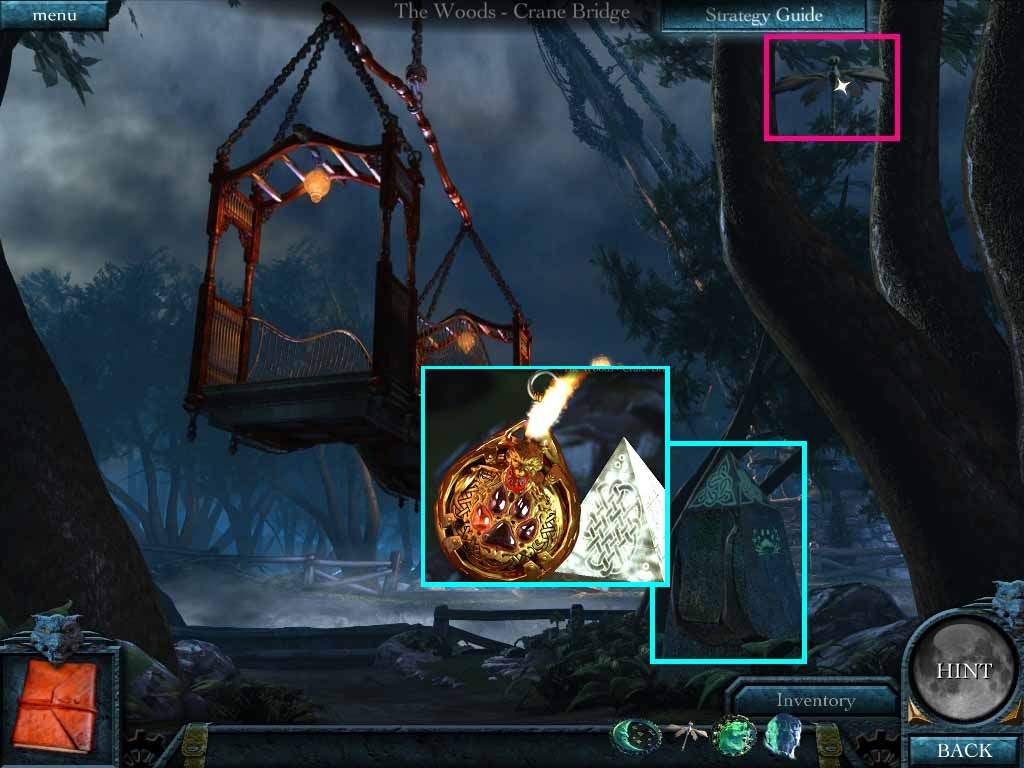
- Collect the dragonfly.
- Examine the standing stone.
- Move the puzzle pieces until the shape is created.
- Go to the Woods Wolf Angel path.
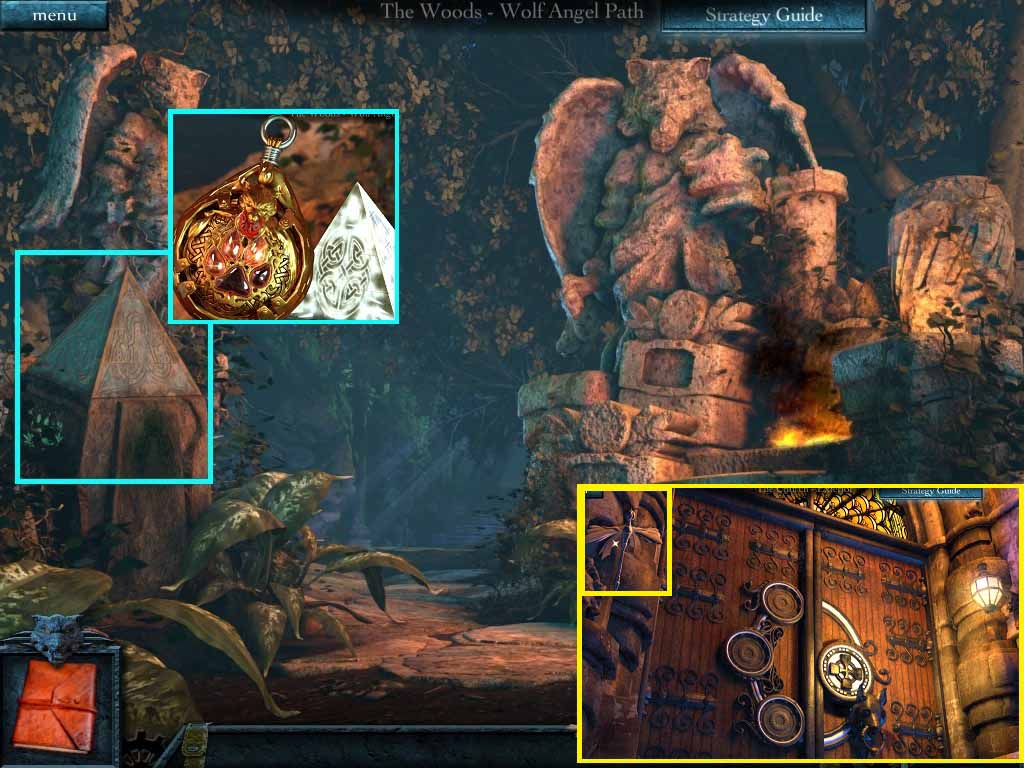
- Examine the standing stone.
- Move the puzzle pieces until the shape is created.
- Go to the church and zoom into the door and collect the dragonfly.
- Move toward the old woman’s house until you find the standing stone.
- Examine the standing stone.
- Move the puzzle pieces until the shape is created.
- Move to the King’s path.
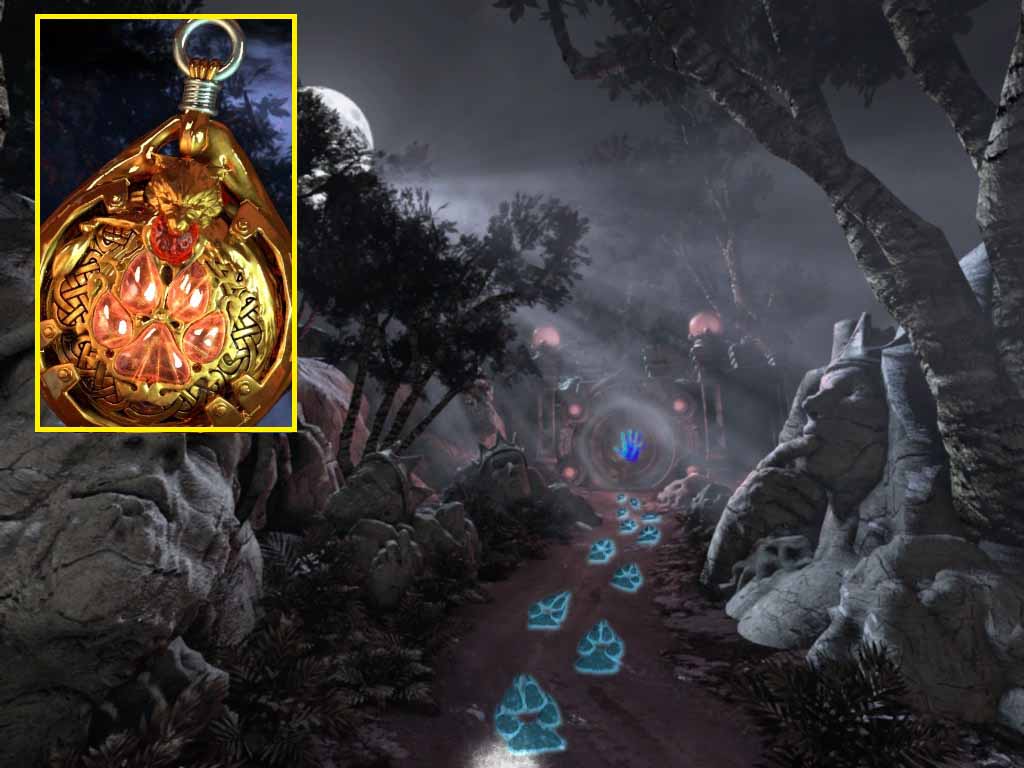
- Activate your Wolf power by clicking the amulet.
- Insert your hands onto the glowing handprint on the door.
- Go through the door and upstairs.
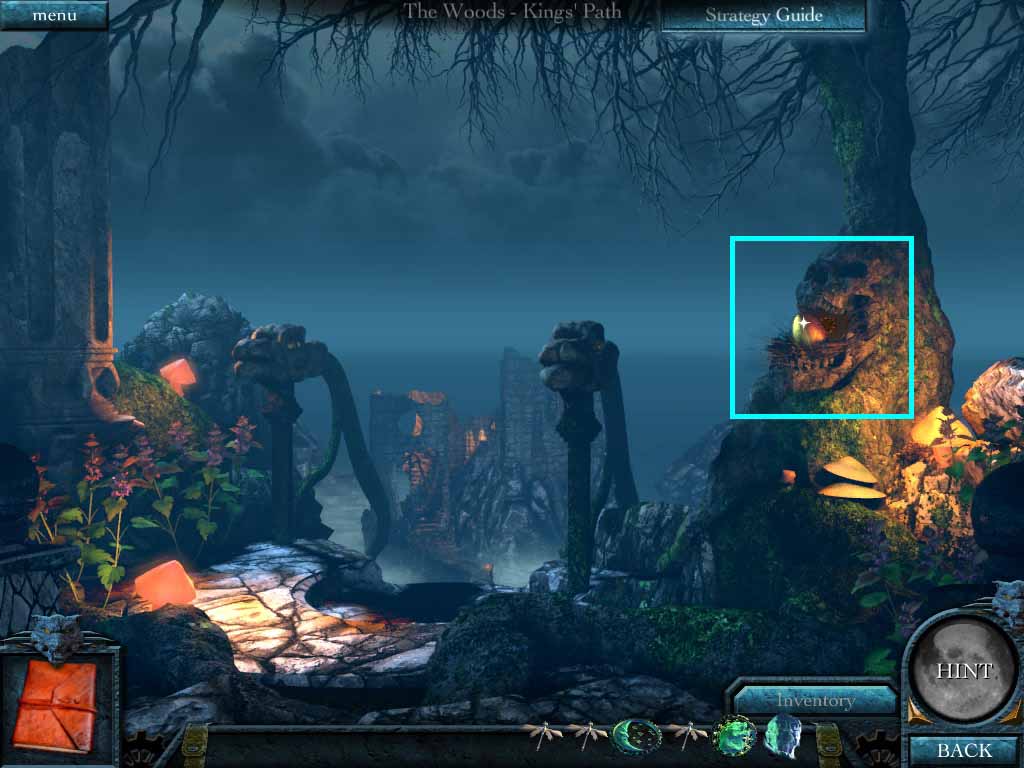
- Collect the disk behind the golden egg.
- Move forward and go upstairs.
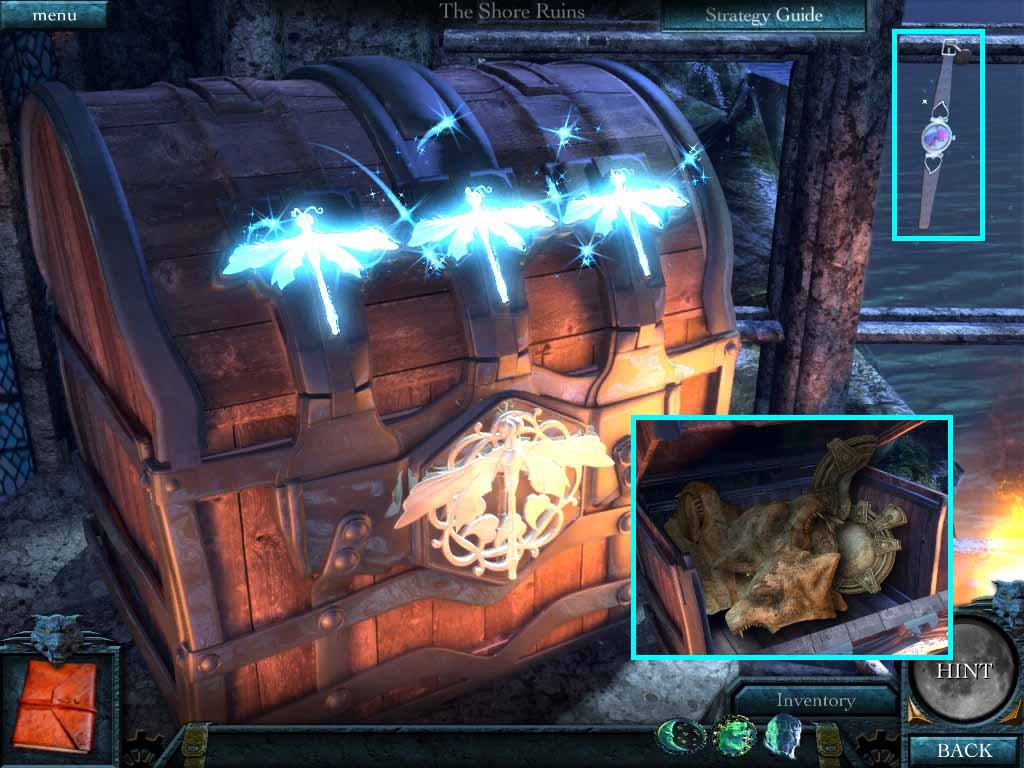
- Examine the chest.
- Collect Tara’s watch.
- Insert the dragonflies onto the chest lock.
- Collect the statue pieces.
- Go to the statue intersection.
- Place the statue pieces in the correct spots.
- Collect the staff.
- Go back to the Old Woman’s house and give her the staff.

- Collect the note and follow Brina into the house.
- Click on the power.
- Move upstairs to the roof top.
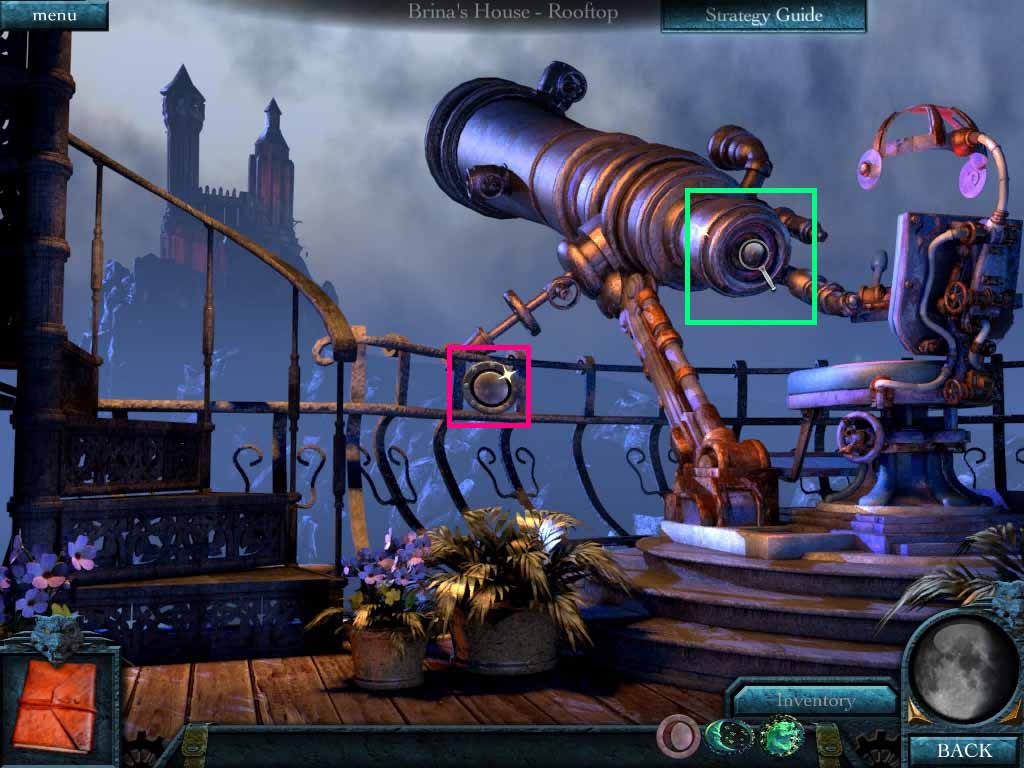
- Collect the moon phase pieces and examine the telescope.
- Go upstairs to the roof top.
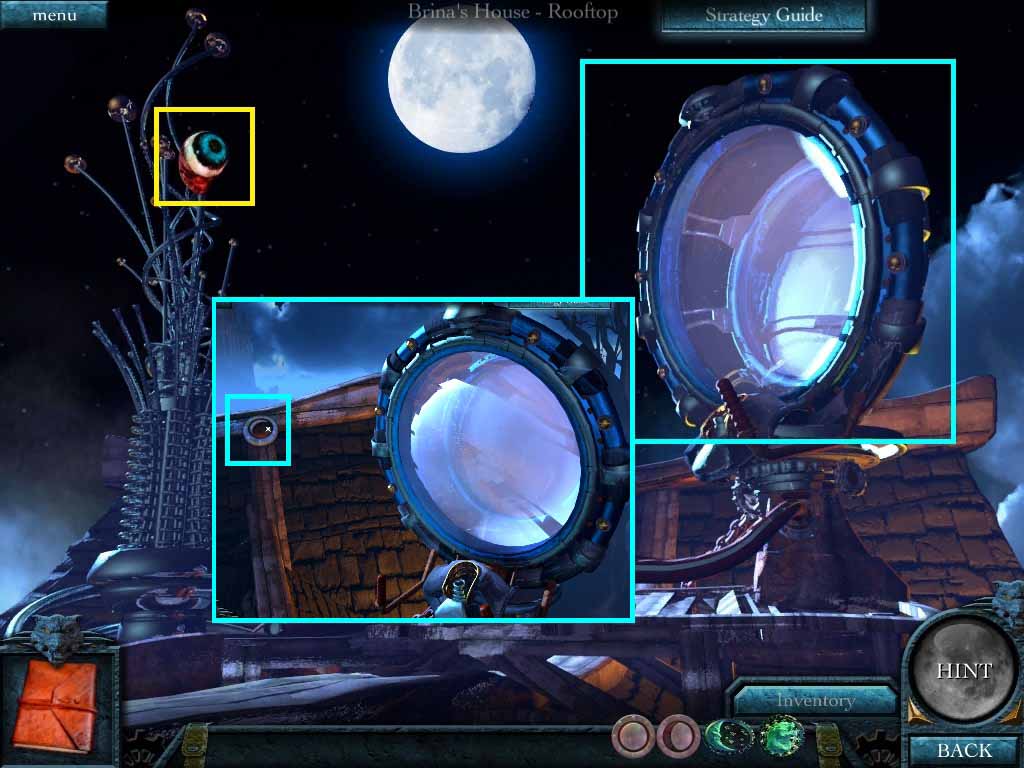
- Collect the wolf eye and examine the crystal lens.
- Collect the moon phase piece.
- Go downstairs and click Brina.
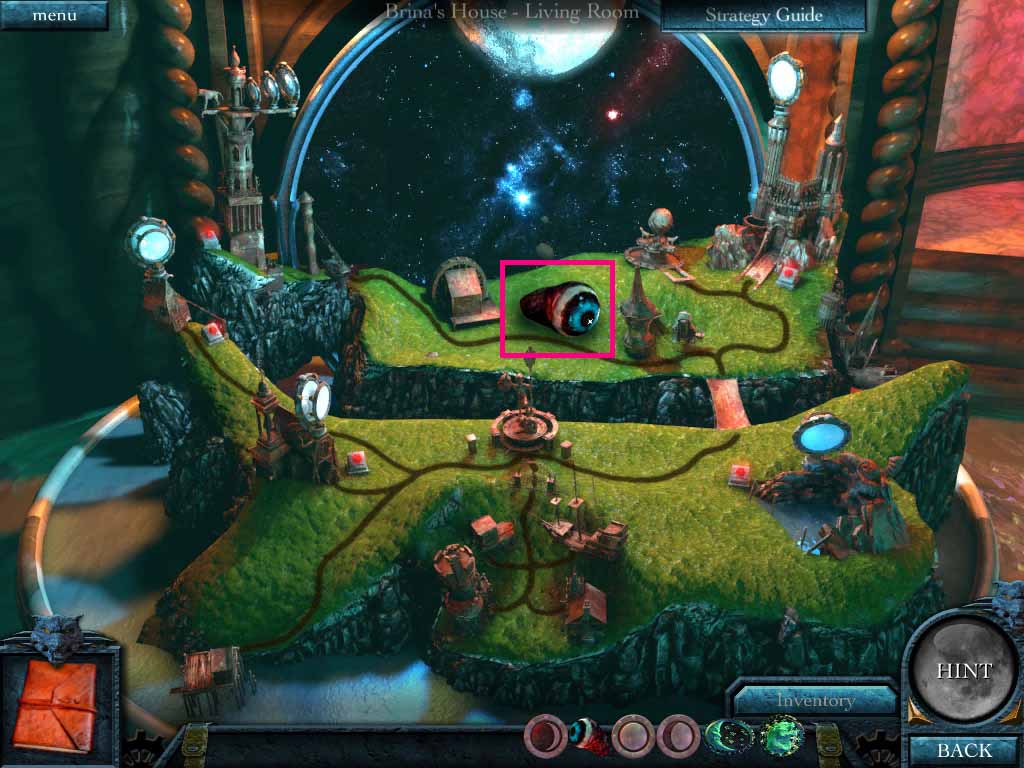
- Collect the wolf eye from the diorama.
- Go to the annex.
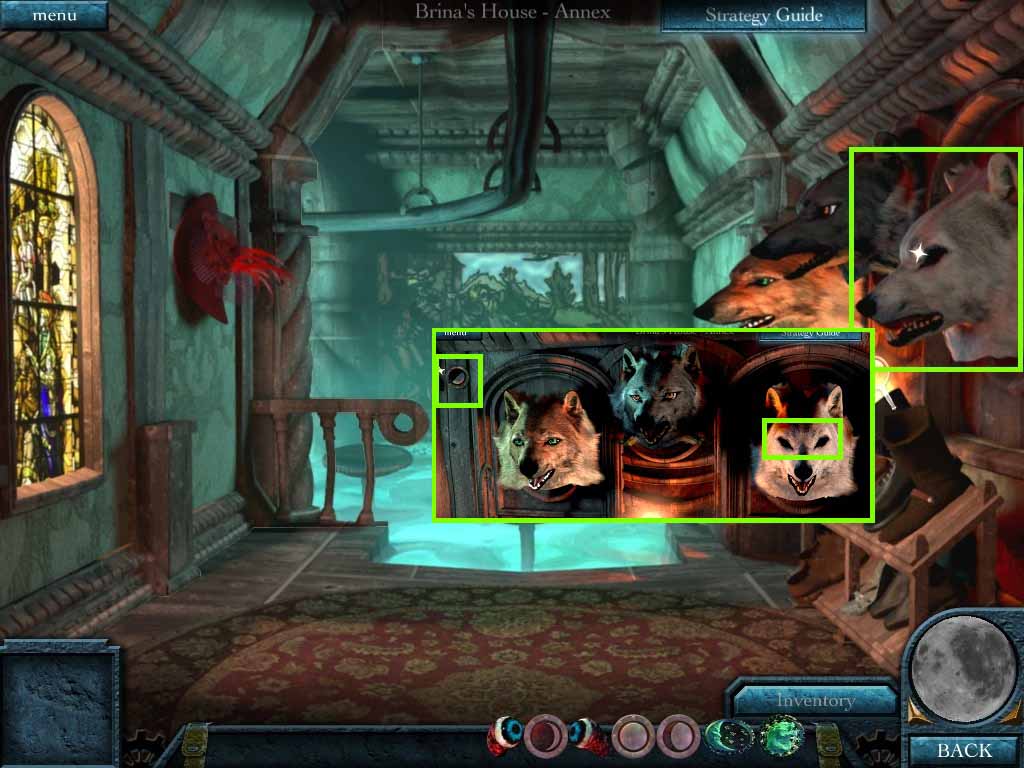
- Examine the Wolf head.
- Collect the moon phase piece.
- Insert the wolf eyes into the sockets.
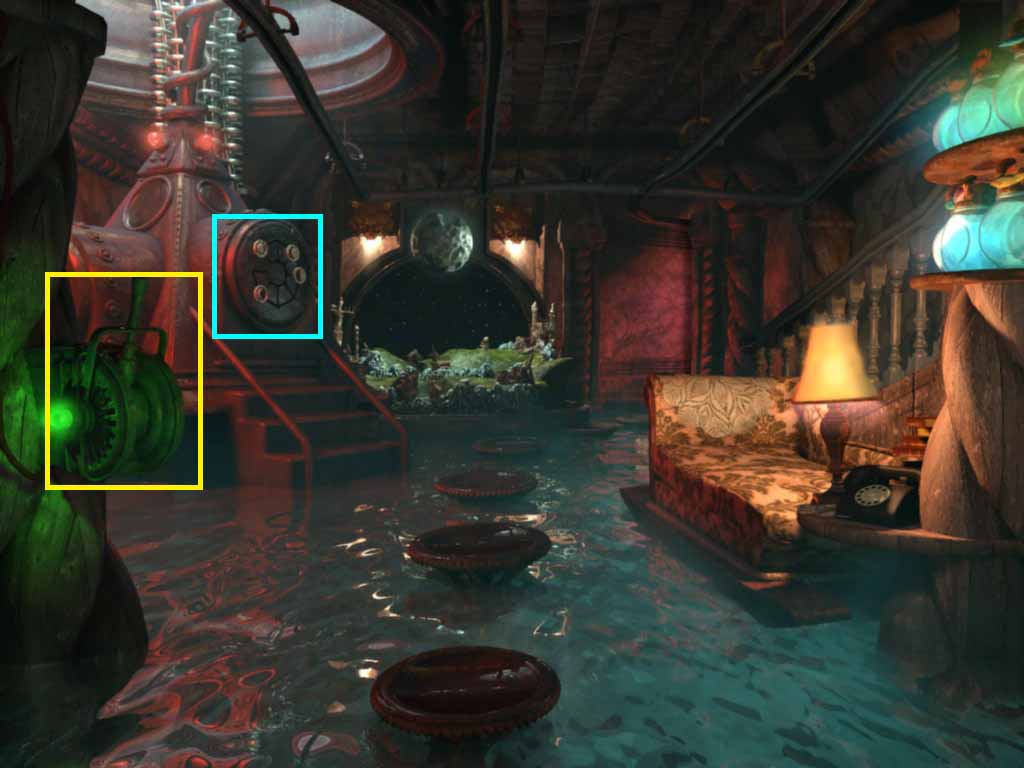
- Explore the new opening.
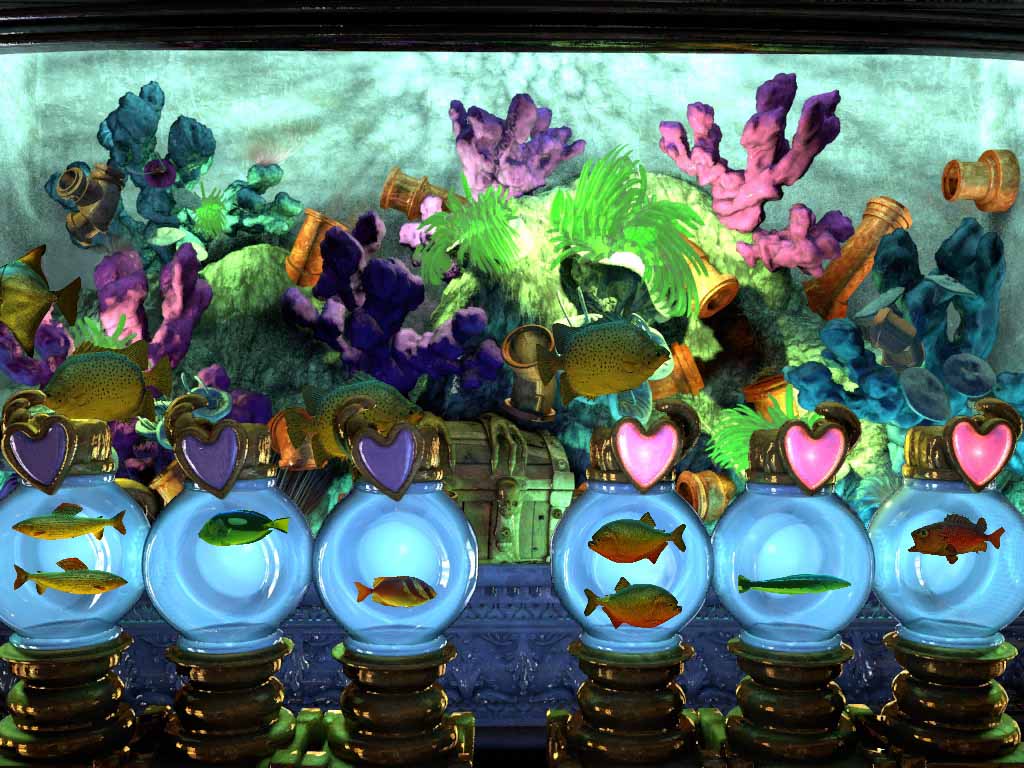
- Find the missing fish.
- Match the fish pairs.
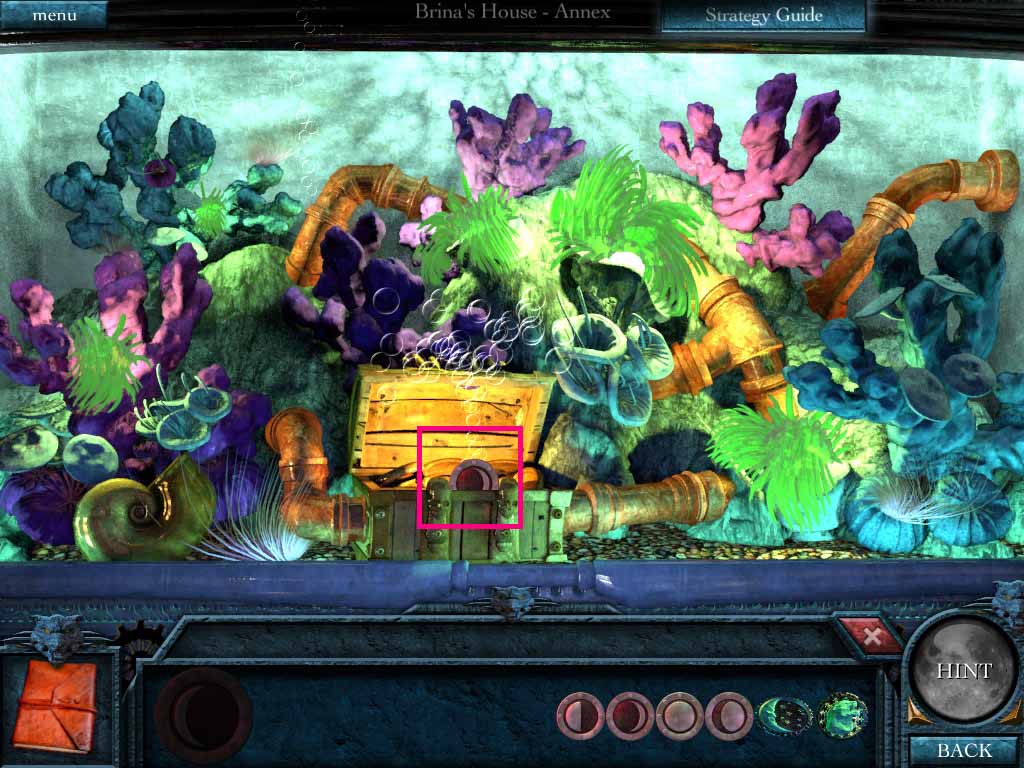
- Find the missing pipes.
- Place the pipes into the correct places.
- Collect the moon phase piece.
- Go to the living room and examine the moonbeam collector.
- Insert the moon phase pieces in the collector and collect the angel key.
- Go upstairs to the crystal lens.
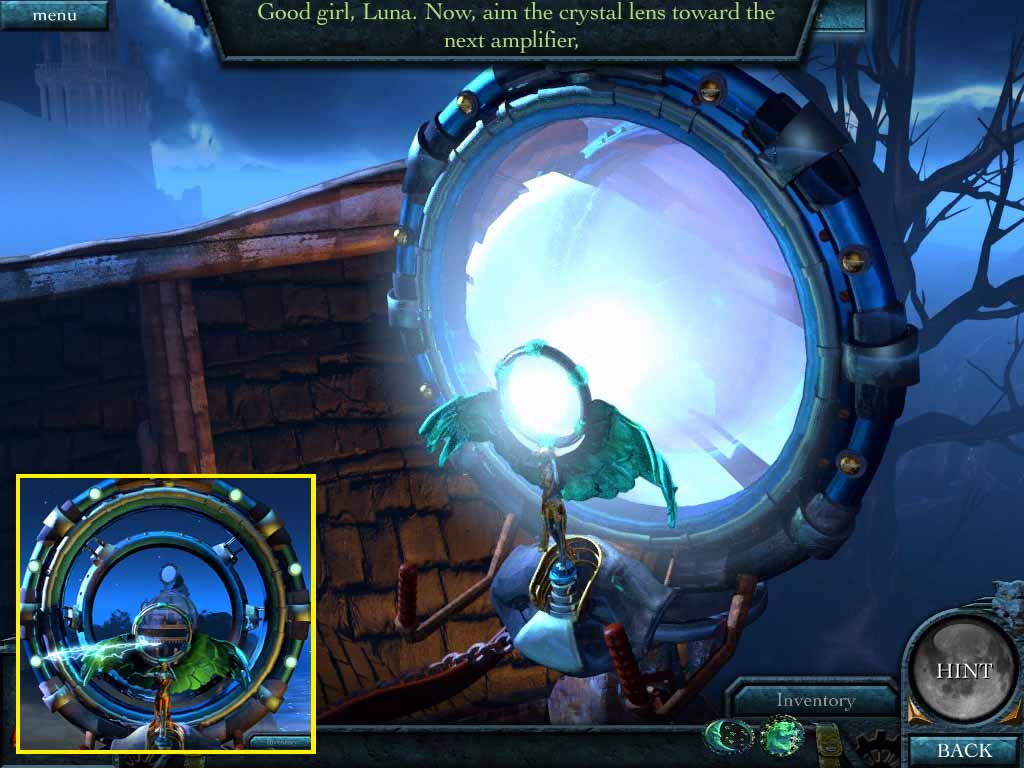
- Insert the angel key onto the lens.
- Move the lens to beam to the church lens.
Comments will load when you reach this part of the walkthrough.