Level Walkthroughs and Exact Routes
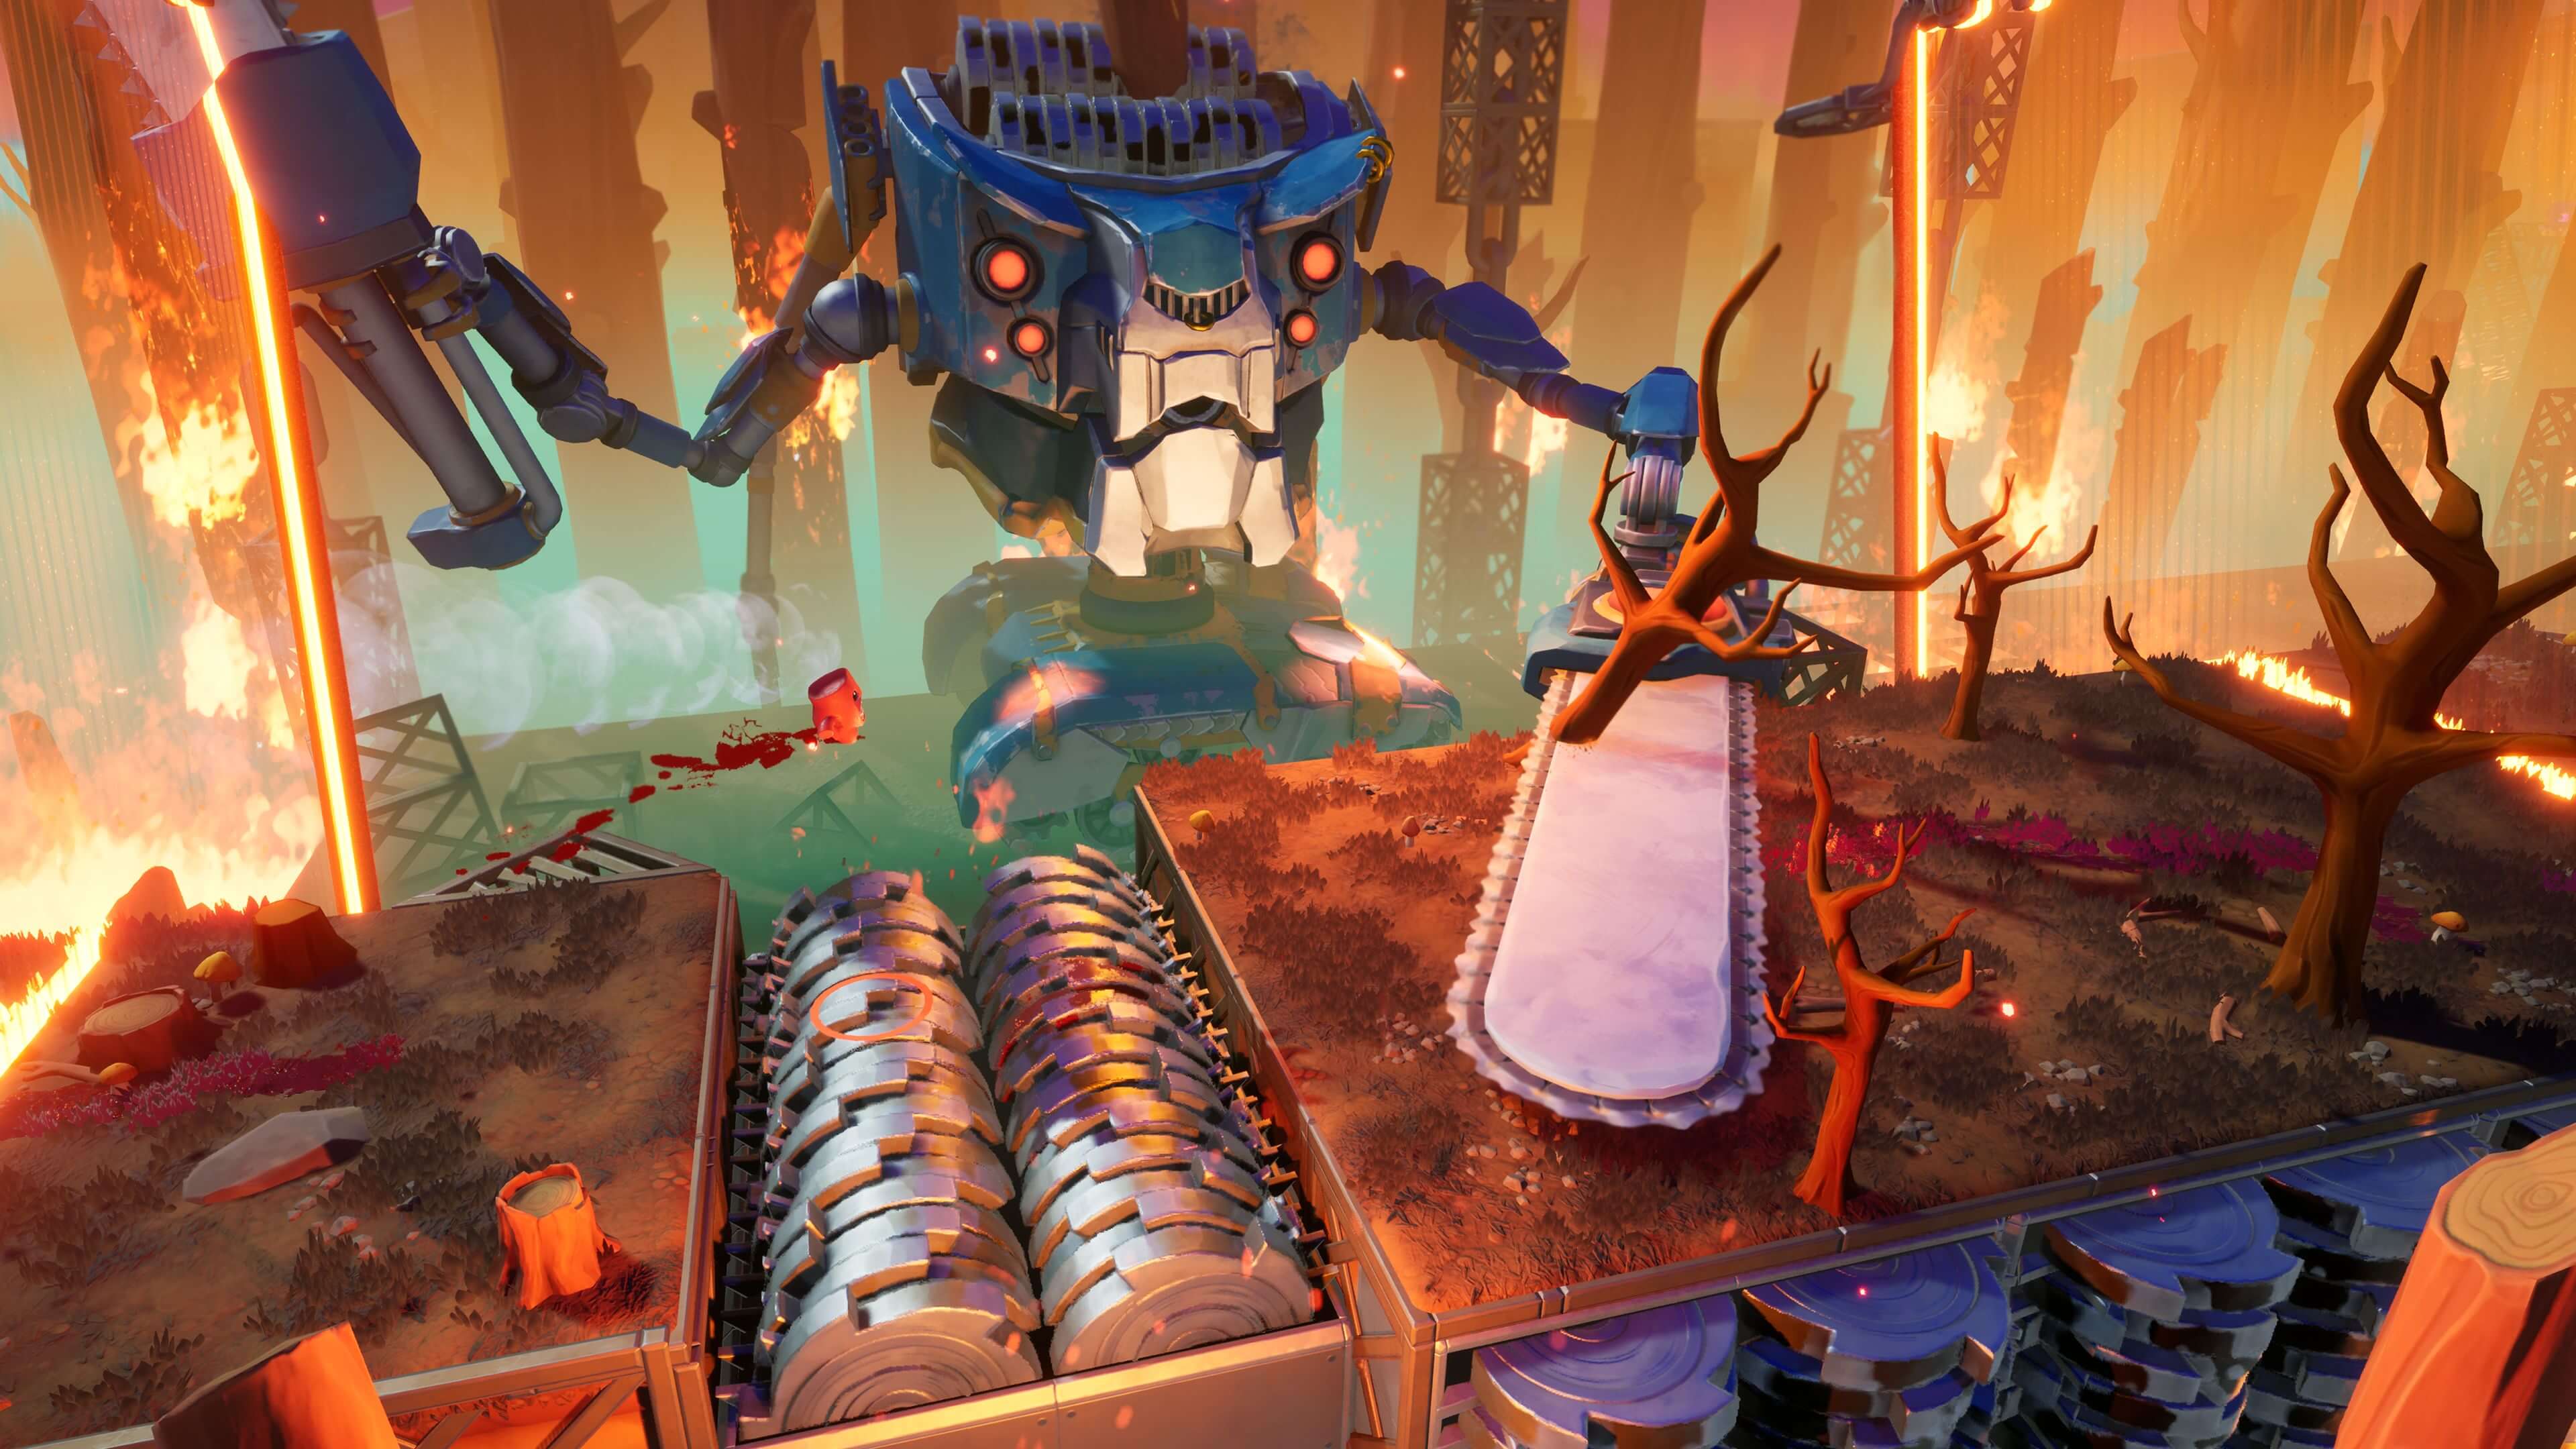
Super Meat Boy 3D loves one very specific prank: the jump looks clean, your little meat goblin is lined up, and then the level camera shows you were half a step off the whole time. That is the run-killer here. In 3D, the hard part is not only timing. It is reading depth fast while Meat stays small on screen. The fix is to route each room by landmarks, not vibes. Pick one edge, one landing mark, and one camera view before you move. That turns a messy death loop into a clean practice loop, which is where this game starts feeling good.
This section is built for first clears first, then faster repeats. Your safest route is usually the one that cuts decision count, not distance. If a room keeps eating you, do not grind the full line at full speed. Break it into two checks: where your feet leave the platform, and where the ground circle sits under Meat when you land. That helper is there for depth, so make it do some work.
How to route a room on your first clear
Use this same sequence any time a level throws a new trap stack at you:
- Start by reading the opening camera angle before the first move. If the room begins from straight behind Meat, use that clean line for your first jump.
- Look for the outside corner of the next platform. Aim for that corner, not the middle. Corners read cleaner in 3D.
- Take the wide beginner line first. Hugging the safer side usually gives you a cleaner landing picture, even if it costs a second.
- After every landing, do one tiny settle step before the next jump if the platform is narrow. That half-beat is cheaper than another instant death.
- When a hazard cycles across a gap, go on the pass that leaves your landing spot easiest to read.
Exact route mindset for repeated deaths
If you keep dying in the same room, name the failure exactly. "Too early" is weak. "My second jump starts from the slope instead of the flat lip" is useful. That gives you something to practice next run. A good room route in Super Meat Boy 3D should answer three things in plain words: where you stand, what visual cue starts the move, and where you land.
- For long jumps, start from the same texture seam or platform crack every time. Tiny spacing changes matter more in 3D than they look.
- For drop-down landings, check the ground circle and the guide line under Meat before you step off. If you cannot read where you are in space, you are guessing.
- For wall runs or chained jumps, keep your movement clean and avoid panic corrections at the last second. That is when the next platform starts looking fake.
- If the room has a risky inside line and a boring outside line, clear it on the boring line first. The stylish route can wait until the level is already dead.
A good recovery rule: if you miss a landing by the same side three times in a row, stop adjusting timing and adjust alignment instead. Most "bad jumps" in this game are really bad takeoff angles wearing a timing hat. Fix the angle, then test timing again. That small reset saves a lot of salty sprint-backs.
When to switch from safe route to fast route
Once you can clear a room three times with the same setup, start trimming it. Remove only one safety beat at a time. Skip the settle step. Cut the outside arc tighter. Take the earlier hazard window. That is where the fantasy kicks in: the room that felt like a meat grinder five minutes ago becomes a clean, brutal little rhythm line you can repeat on purpose.
Tip: if a fast route keeps failing, keep the same entry point and the same camera read from your safe route. Change only the risky move. When players shift route and timing at the same time, the room turns back into soup.
Comments will load when you reach this part of the walkthrough.