
Chapter Six: Inside the Zoo
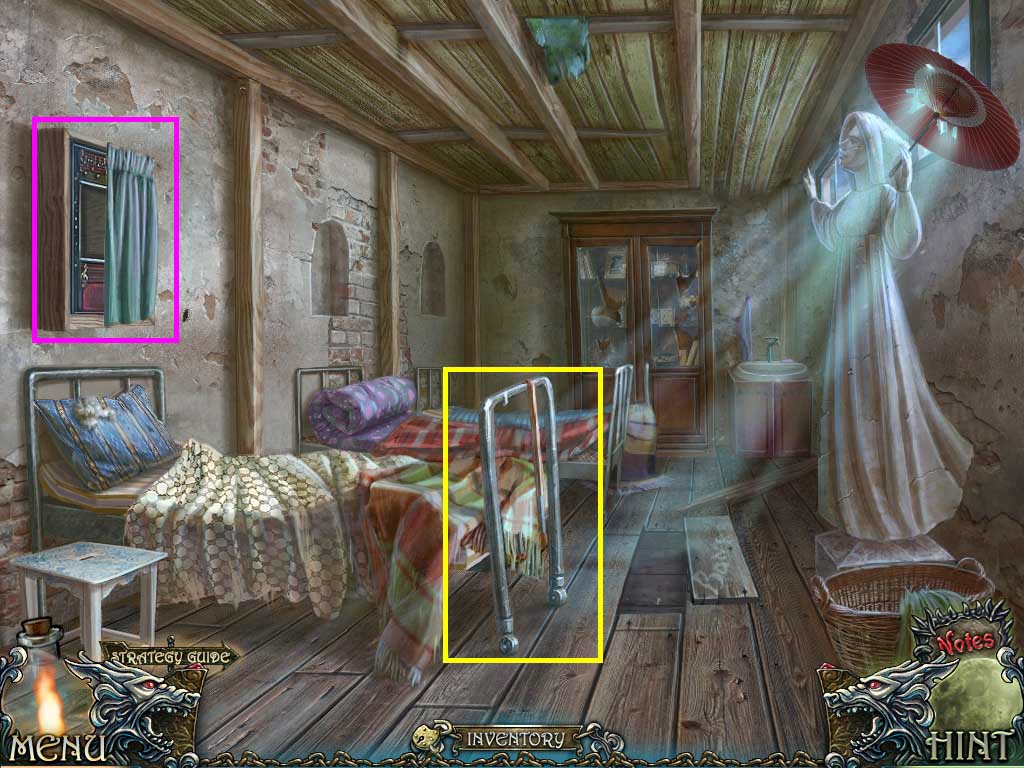
- Collect the pick axe handle using the hacksaw on the foot of the bed.
- Click the curtain.
- Zoom into the cabinet; place the photo onto it to trigger a puzzle.
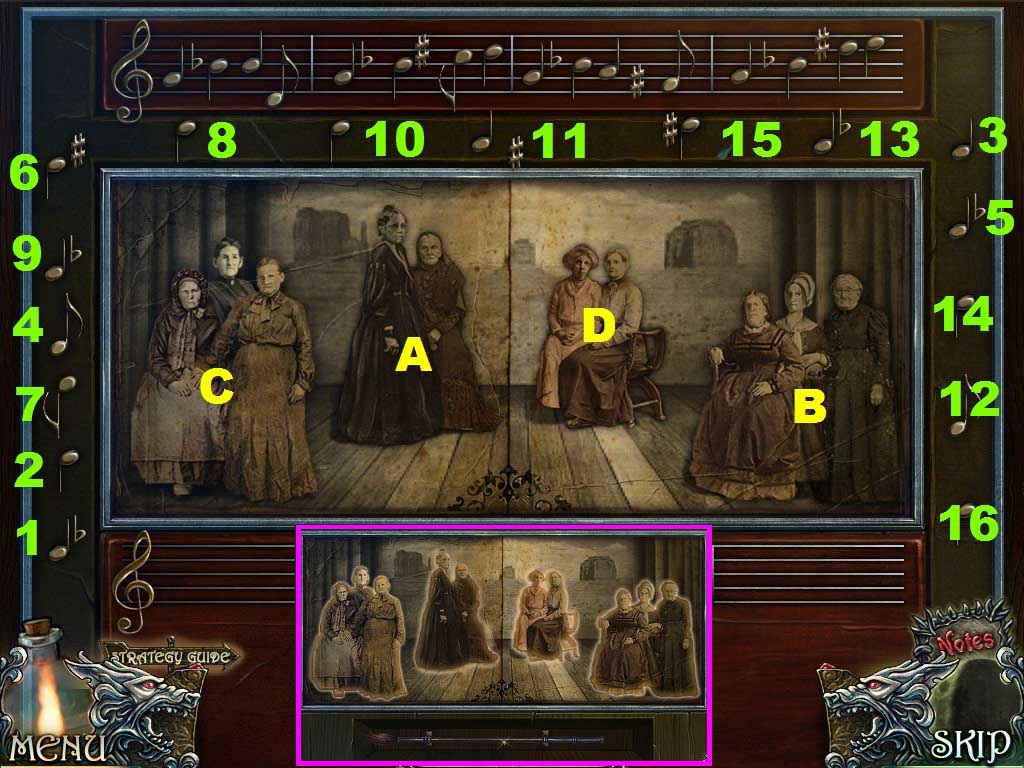
- Solve the puzzle as shown above.
- Follow the pattern as shown: (1-16) and (A-D).
- Collect the brush.
- Walk down.
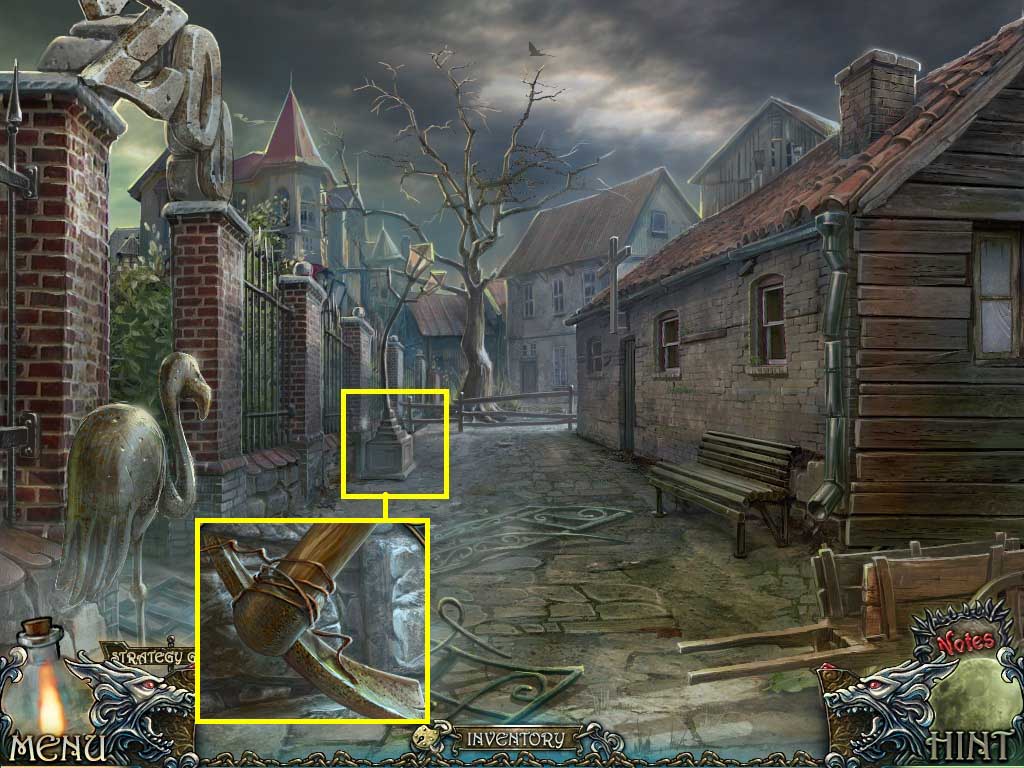
- Click the lamppost base.
- Place the pick axe handle on the axe head.
- Use the wire around the handle and collect the pick axe.
- Walk down.
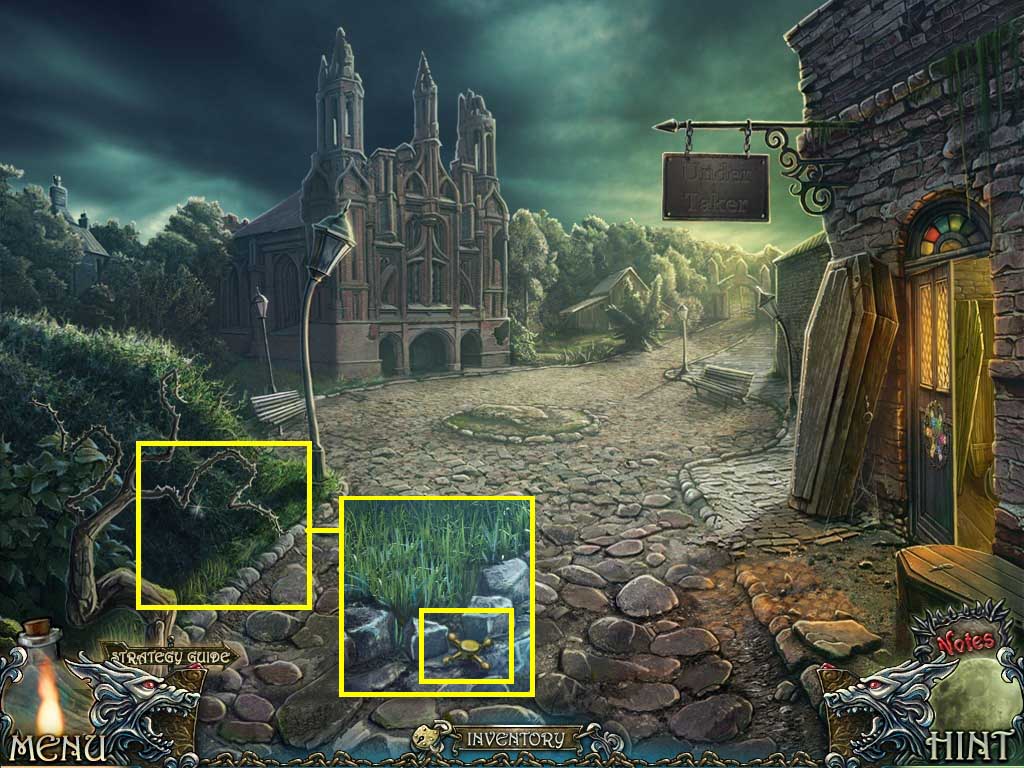
- Click the bushes.
- Use the pick axe on the stone.
- Collect the valve.
- Go to the bedroom.
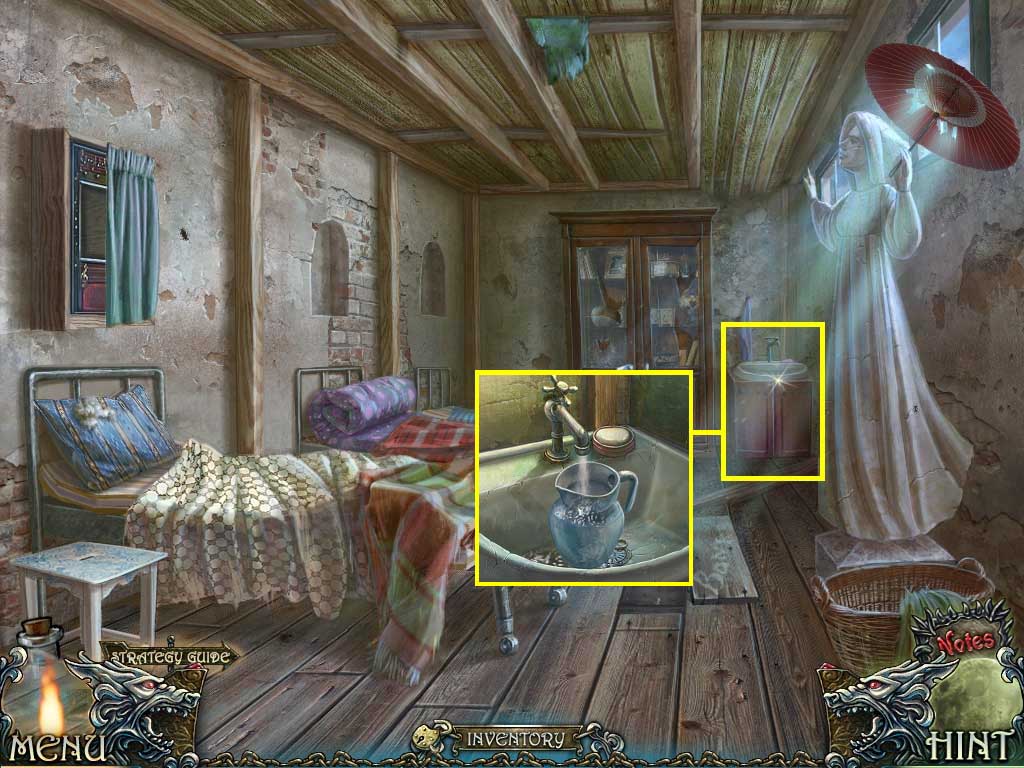
- Click the sink.
- Place the valve onto the faucet.
- Click the faucet.
- Use the hook on the faucet and collect the ring part.
- Place the jug into the sink.
- Collect the jug filled with water.
- Walk down twice and go into the under takers building.
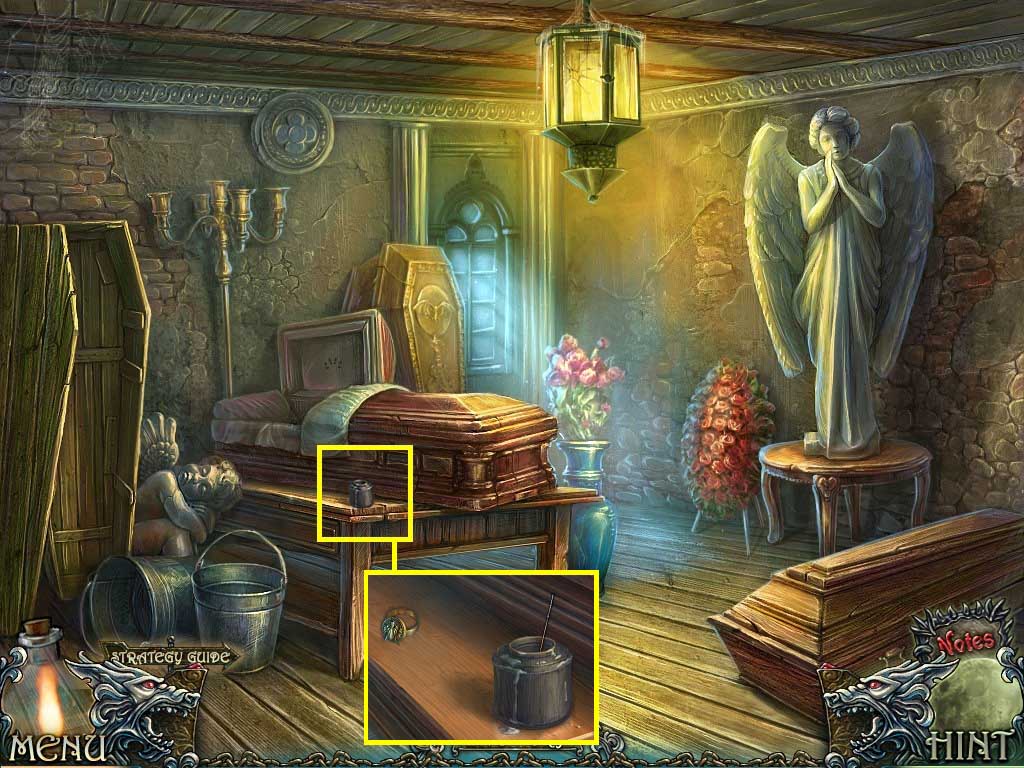
- Place the brush into the glue jar.
- Place the wolf ring part and the ring part onto the table.
- Click the brush and collect the werewolf ring.
- Go to the chapel and into the right door.
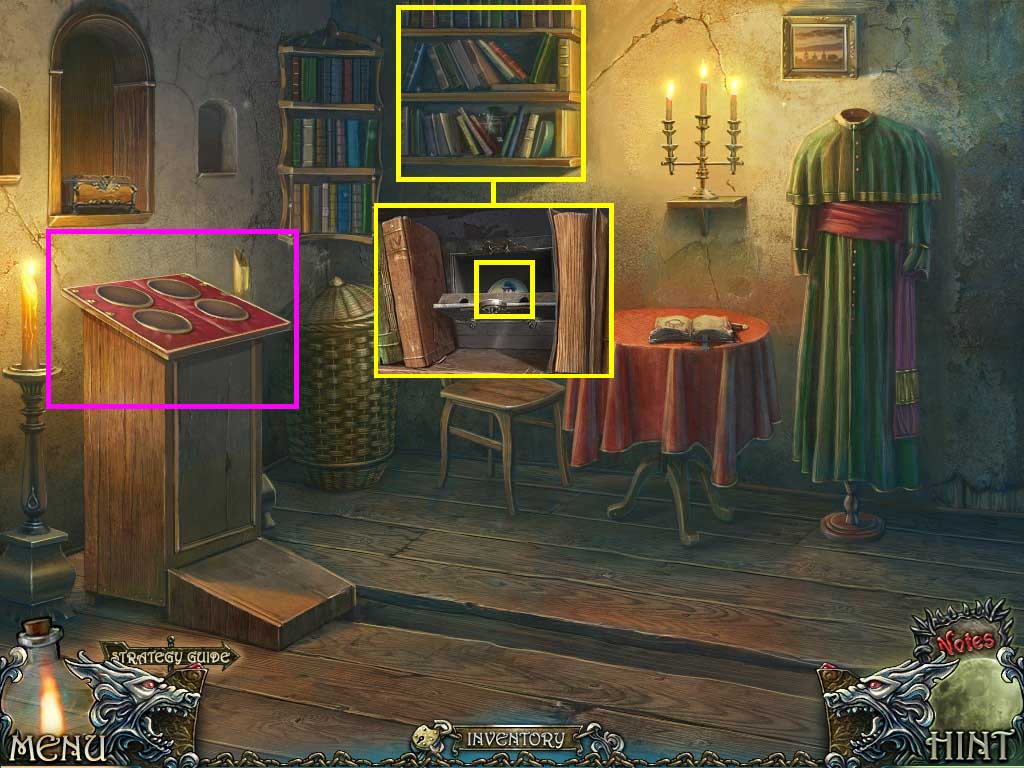
- Click the shelf.
- Click the books and insert the werewolf ring into the niche.
- Collect the medallion.
- Click the podium.
- Insert the 4 medallions into the slots to trigger a puzzle.
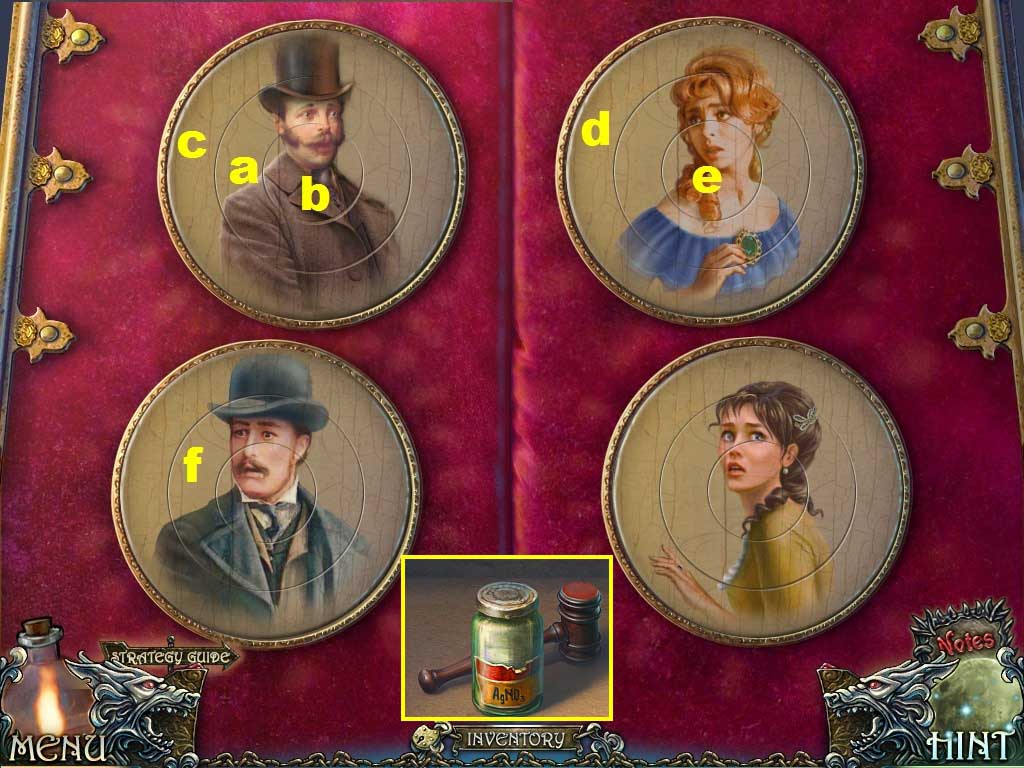
- Move the rings until the medallions are placed correctly.
- Rotate the rings as shown above.
- To solve follow the sequence (A-F).
- Collect the silver nitrate and the hammer.
- Walk down.
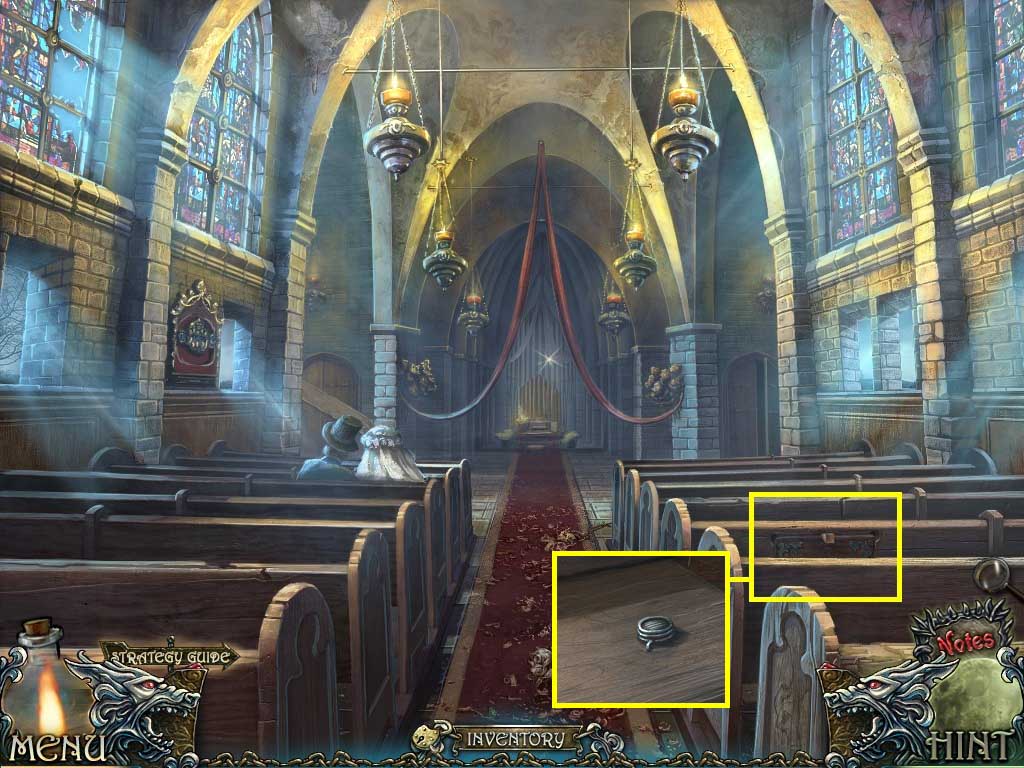
- Click the pew.
- Use the hammer on the wedge.
- Collect the organ button.
- Walk down and go into the zoo.
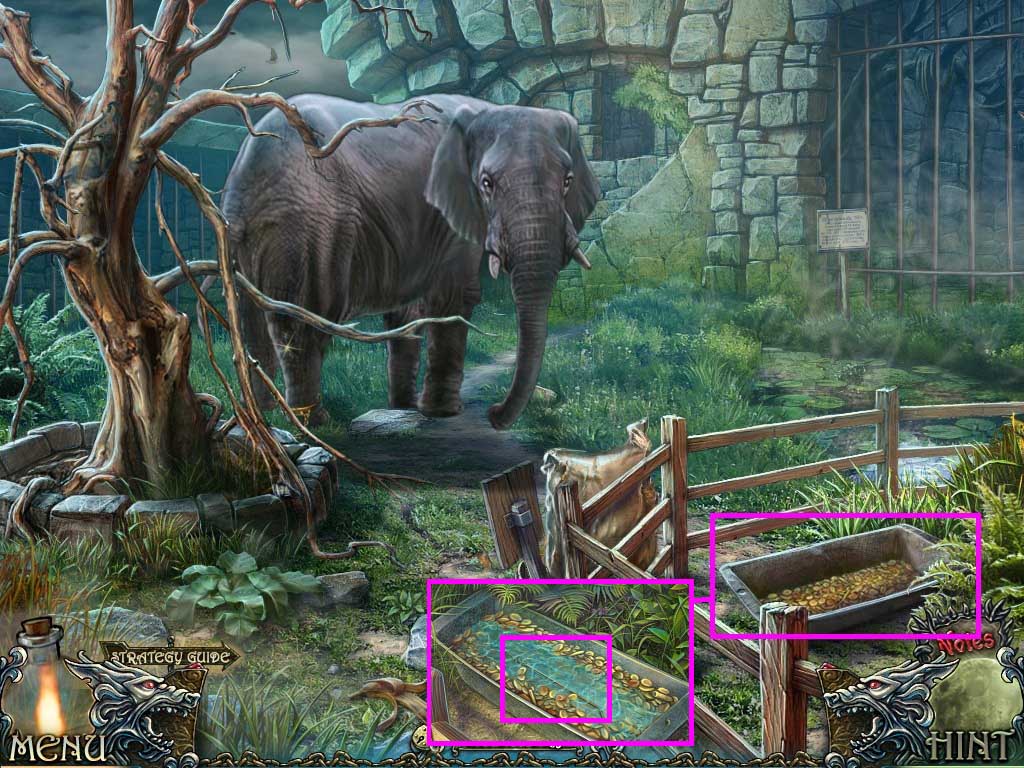
- Click the trough.
- Pour the jug of water into it.
- Collect the pry bar.
- Walk down two times and go into the under takers building.

- Open the coffin with the pry bar.
- Collect the music roll.
- Go to the chapel.
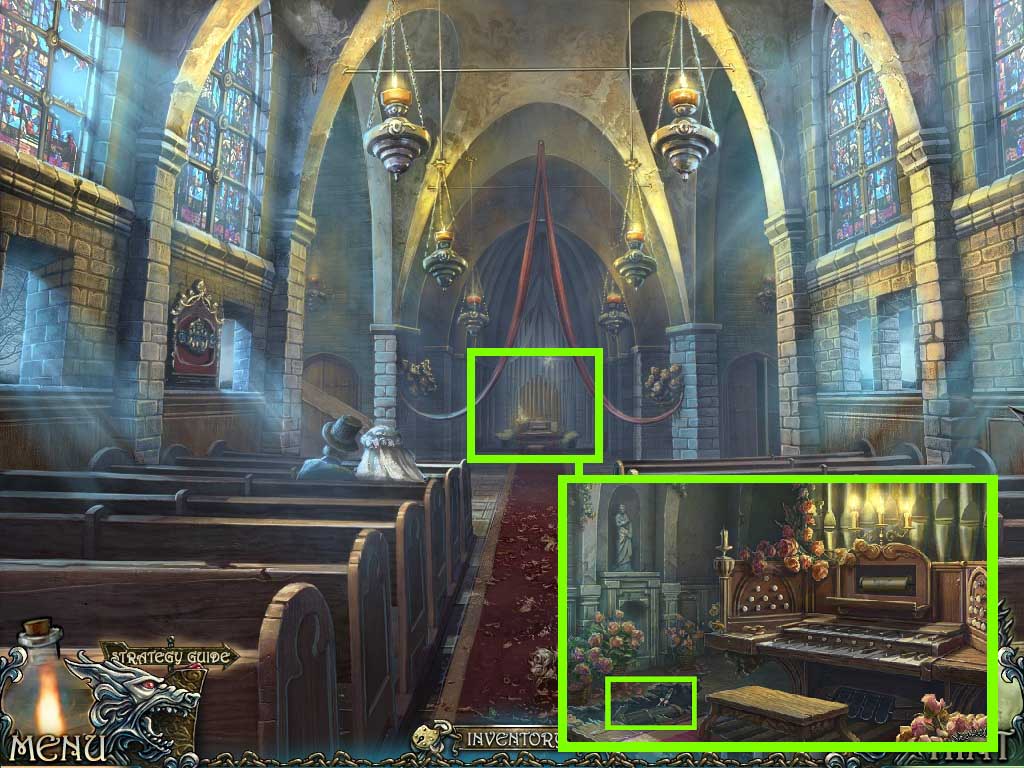
- Click the organ.
- Insert the organ keys, the organ button and the music roll into their slots.
- Collect the chest and pliers.
- Go to the zoo.
- Click the hidden objects area.
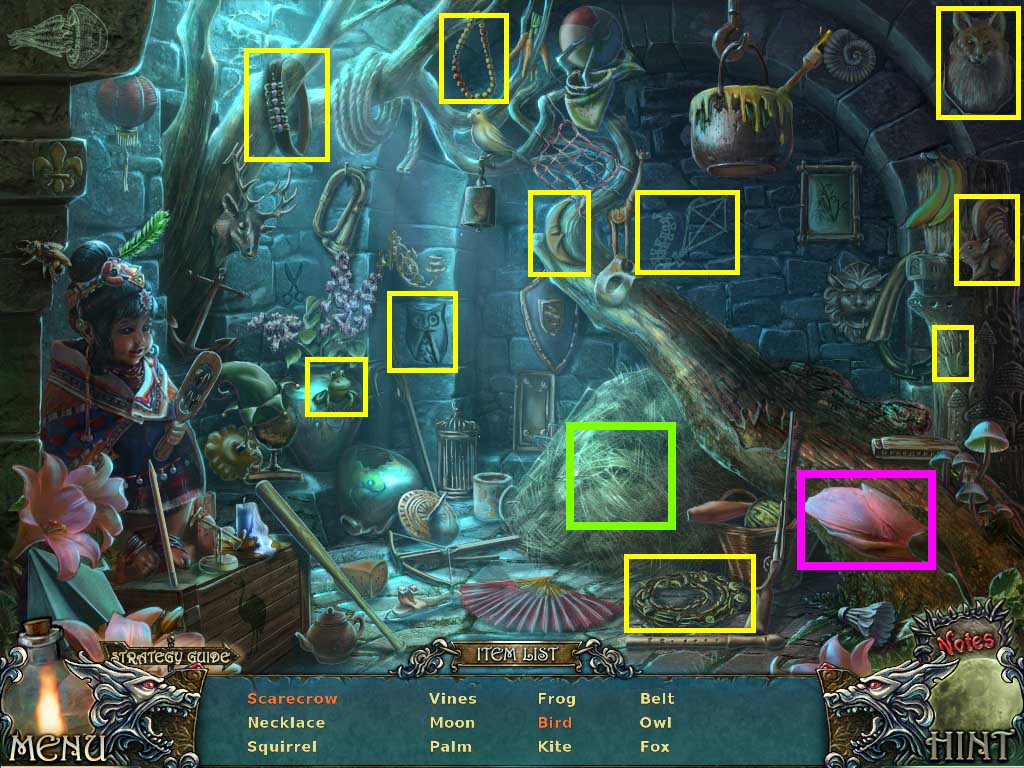
- Find the listed items.
- Collect the vines.
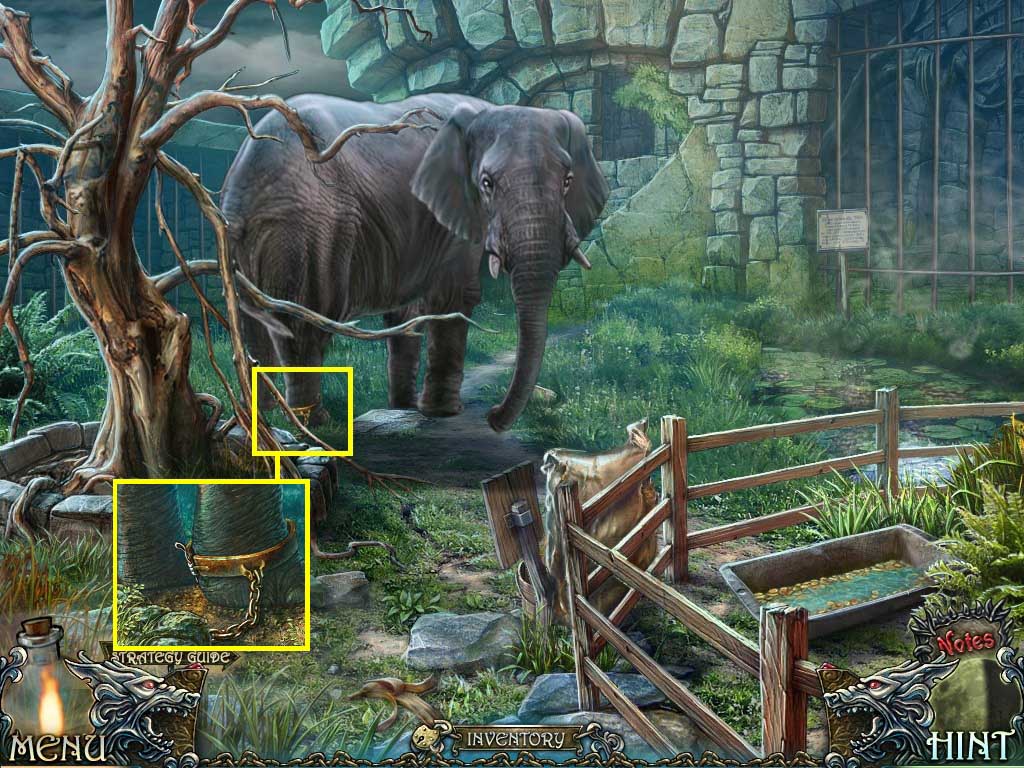
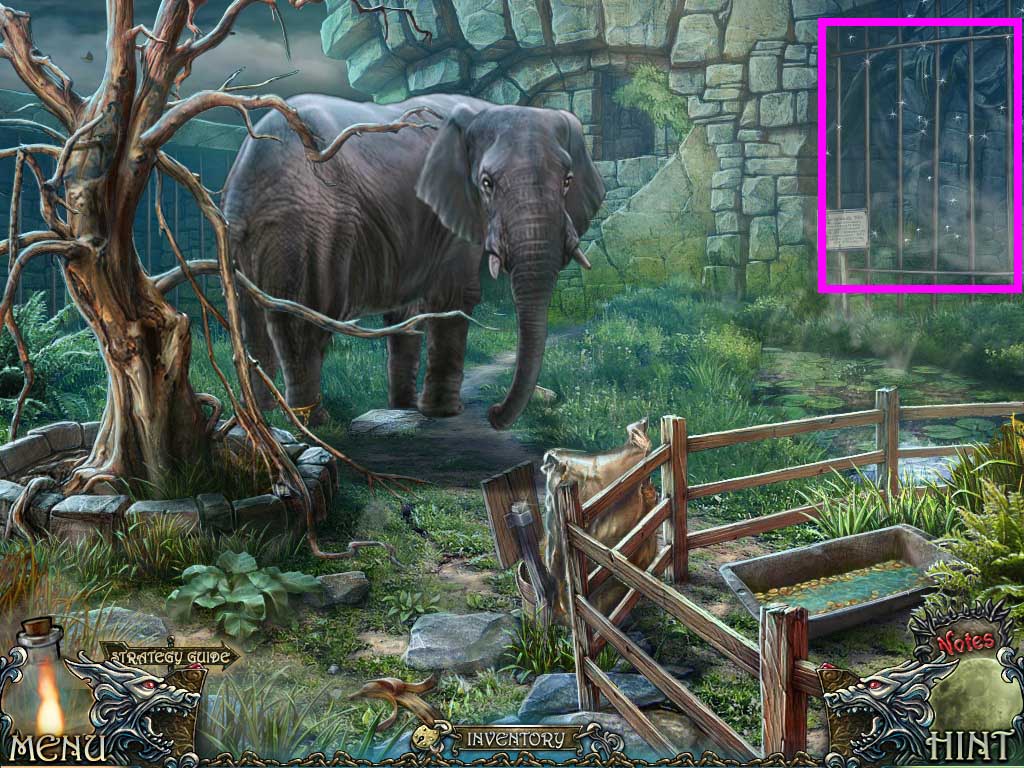
- Click the elephant’s foot.
- Use the pliers to cut the chain.
- Go through the hole in the wall.
Comments will load when you reach this part of the walkthrough.