

Bonus Game
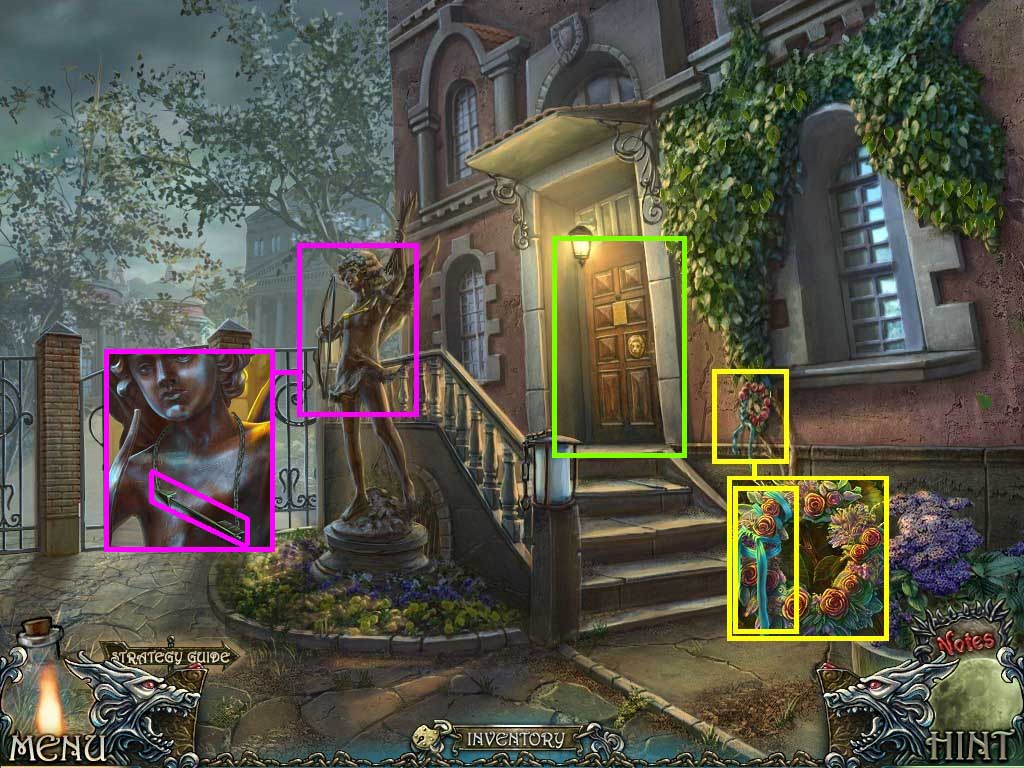
- Click the wreath.
- Collect the 1 / 3 ribbon.
- Click the statue and collect the arrow.
- Click the door and enter through it.
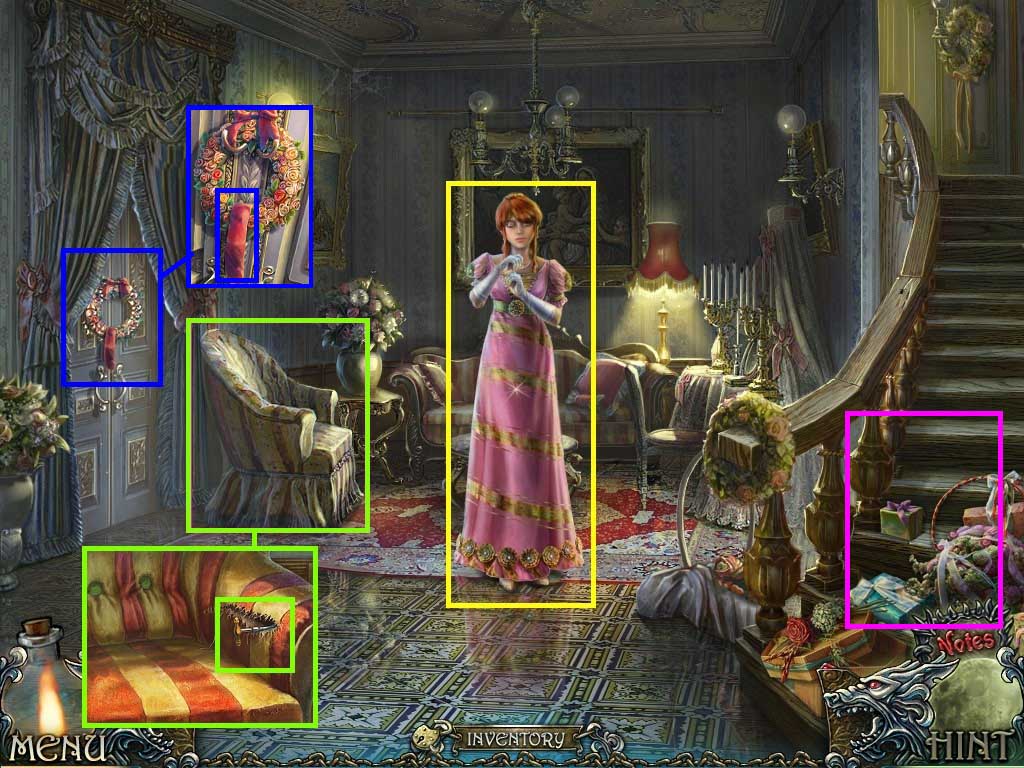
- Click Veronica.
- Click the chair.
- Click the seam and collect the corkscrew.
- Click the wreath.
- Collect the 2 / 3 ribbon.
- Click the hidden object area.
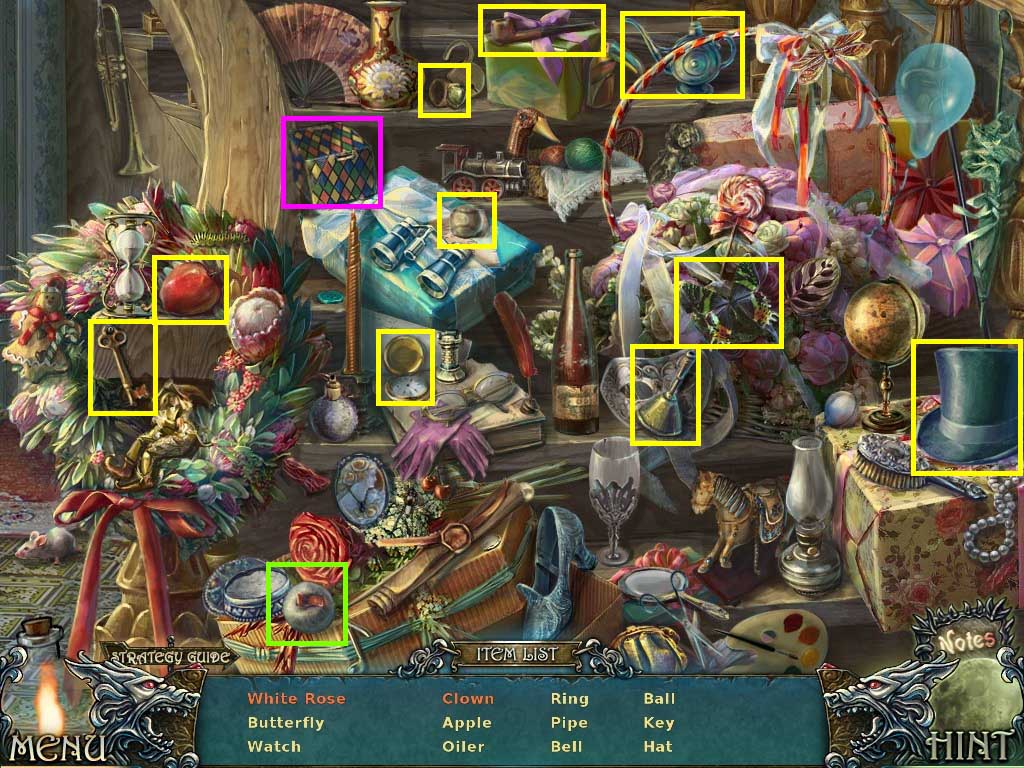
- Find the listed items.
- Collect the oil.
- Walk down.
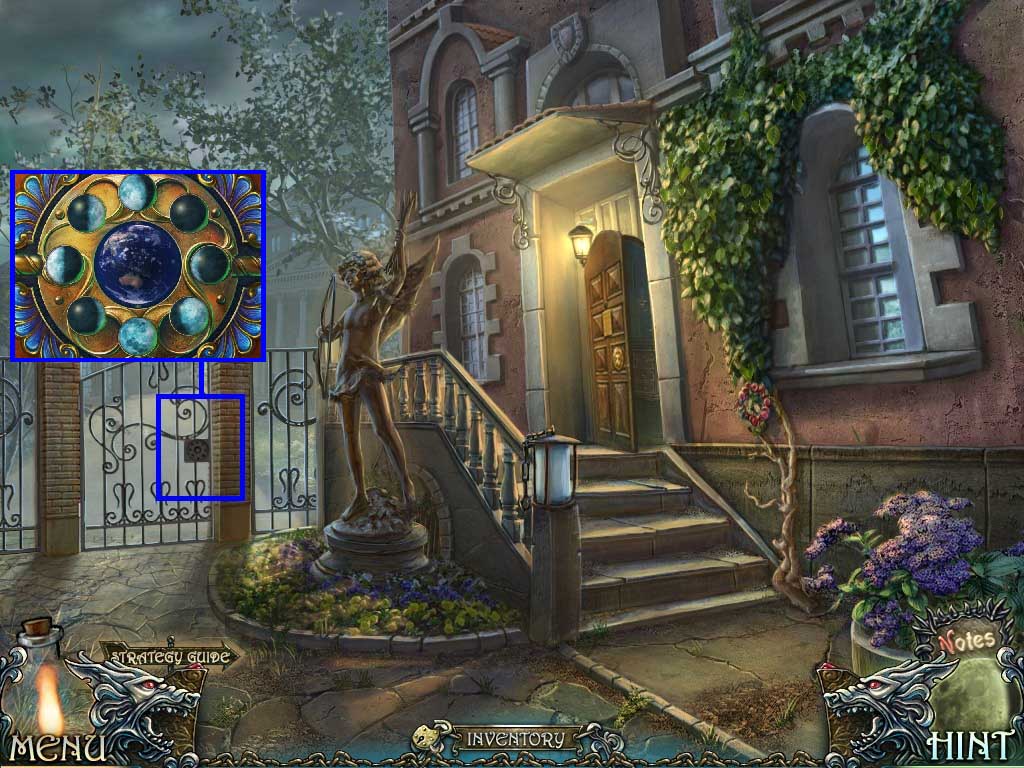
- Click the gate.
- Use the oil on the lock the trigger a puzzle.
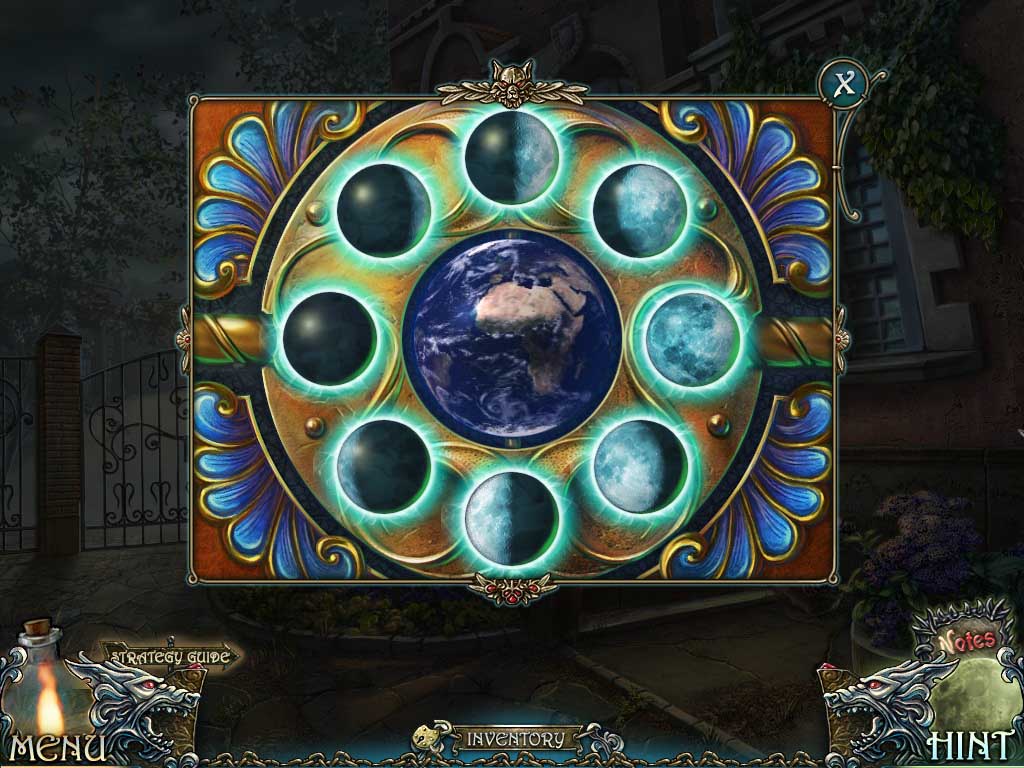
- Solve as shown above.
- Enter through the gate.
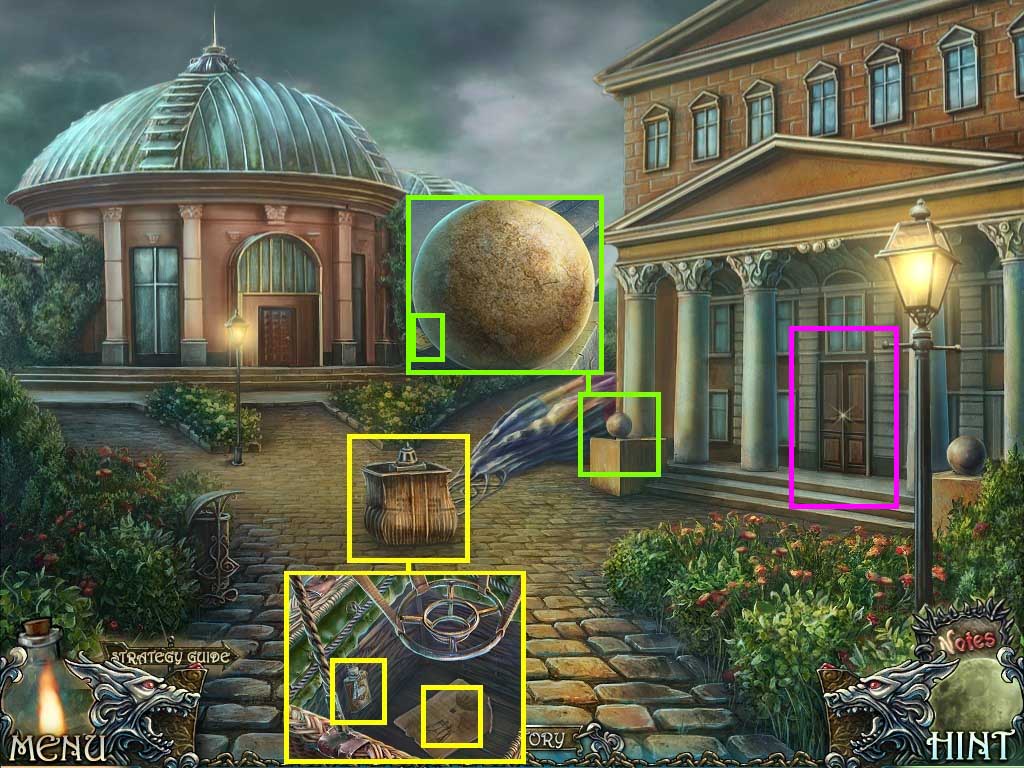
- Click the basket.
- Collect the flask and the note.
- Click the sphere.
- Collect the matches.
- Click the door.
- Collect the 3 / 3 ribbon.
- Click the door and enter through it.
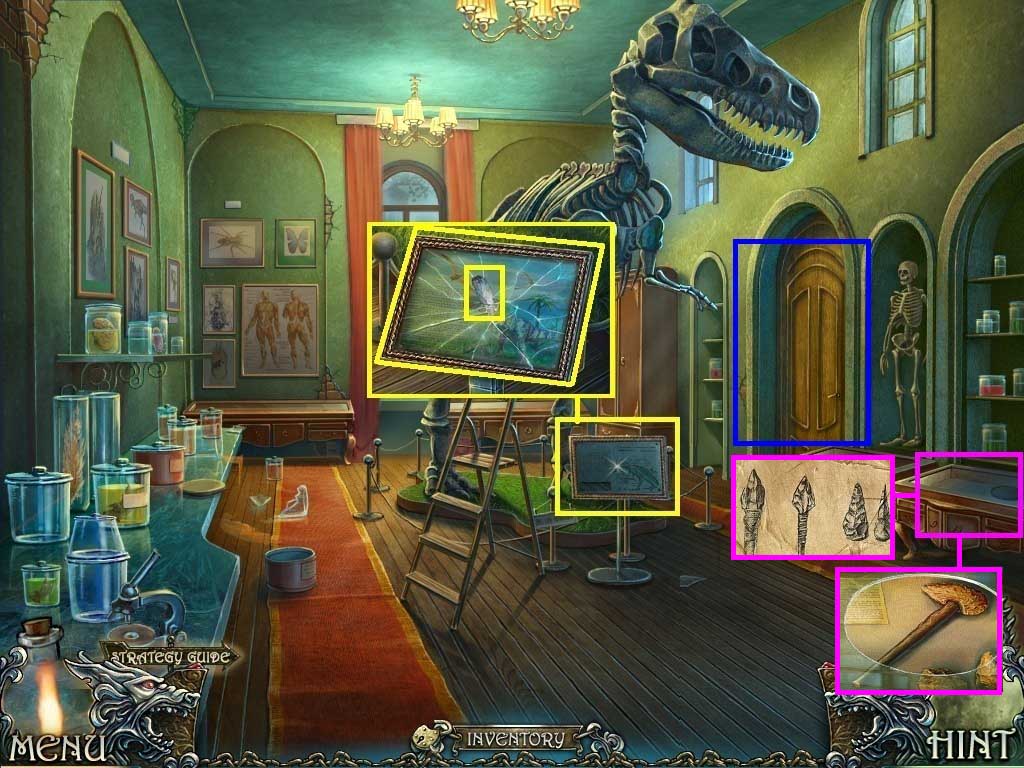
- Click the glass case.
- Crack the glass and collect the sharp stone.
- Collect the frame.
- Zoom into the other glass case.
- Collect the note.
- Use the sharp stone to cut the glass and take the Neolithic axe.
- Click the door and enter through it.
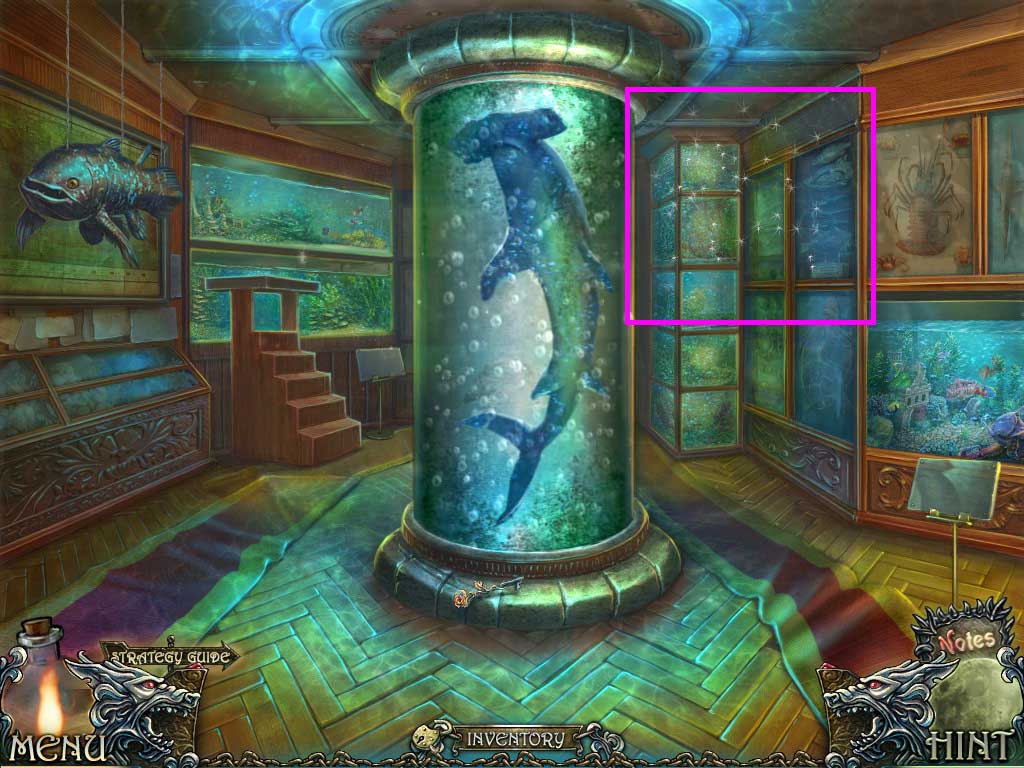
- Click the hidden objects area.
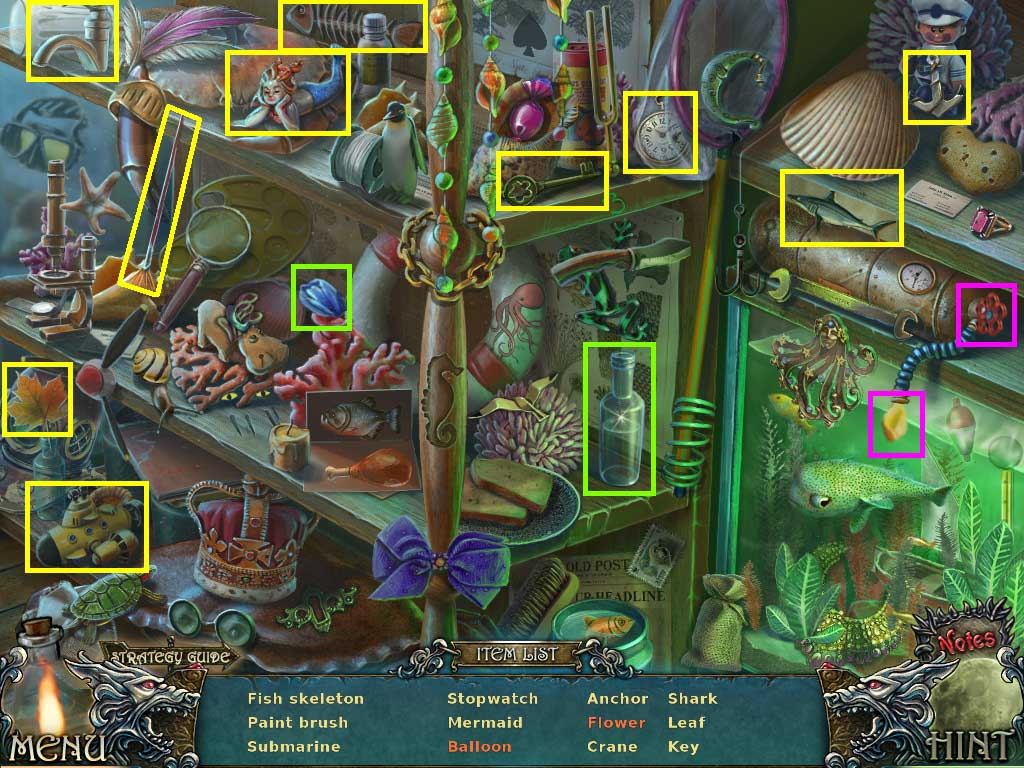
- Find the listed items.
- Collect the gas bottle.
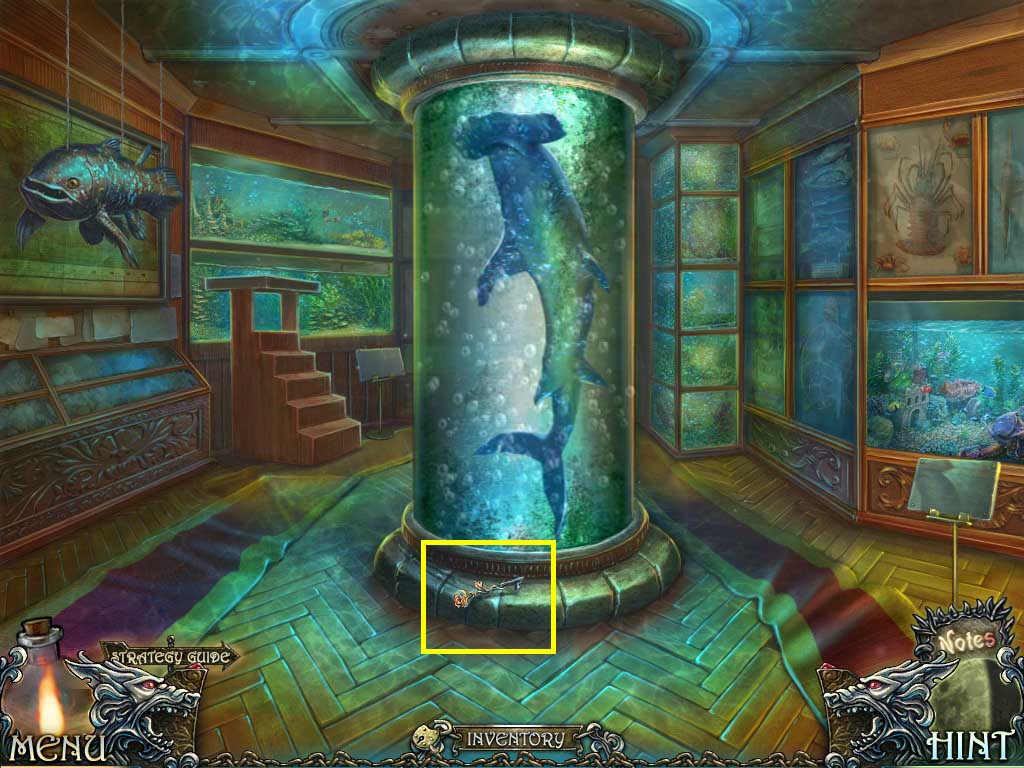
- Collect the key.
- Walk down two times.
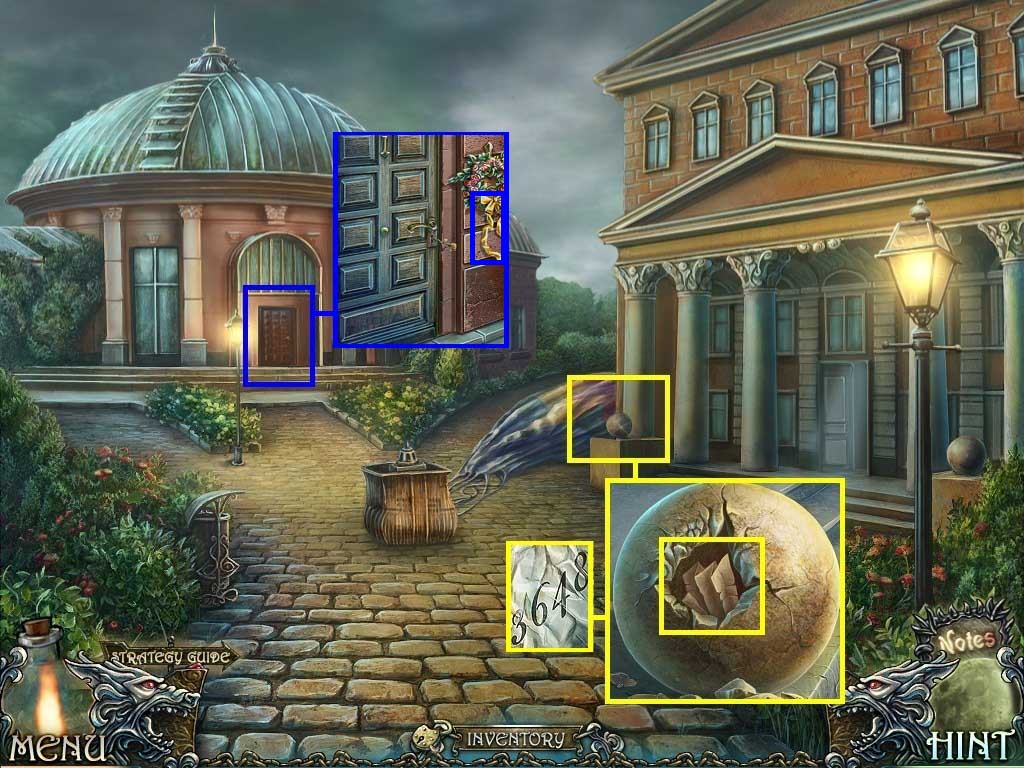
- Click the sphere.
- Use the Neolithic axe to crack the sphere.
- Collect the code.
- Click the door.
- Use the key in the lock.
- Collect the ribbon next to the door.
- Go through the door.
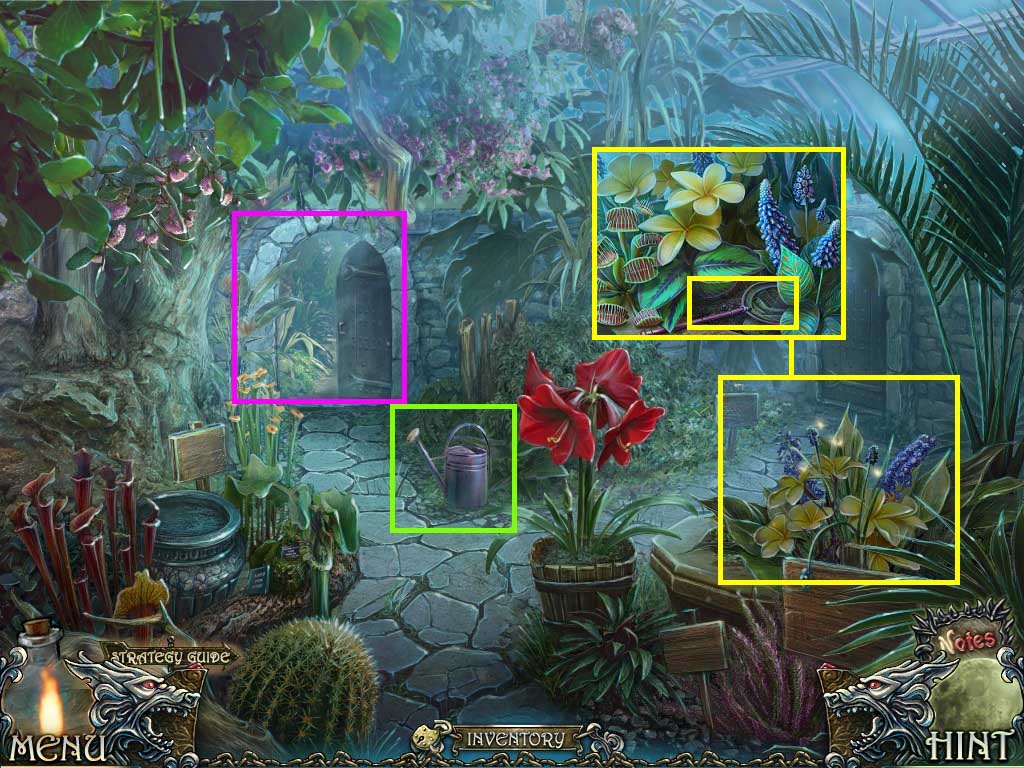
- Collect the watering can.
- Click the flowers.
- Click the leaves and collect the net.
- Go through the door.
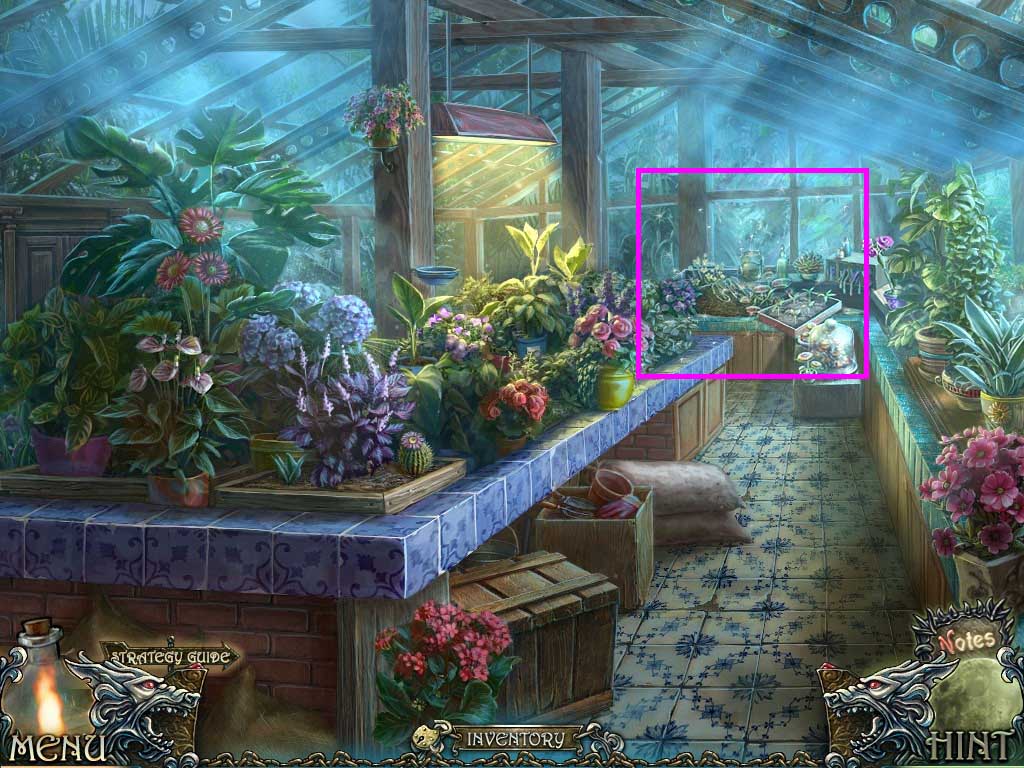
- Click the hidden objects area.
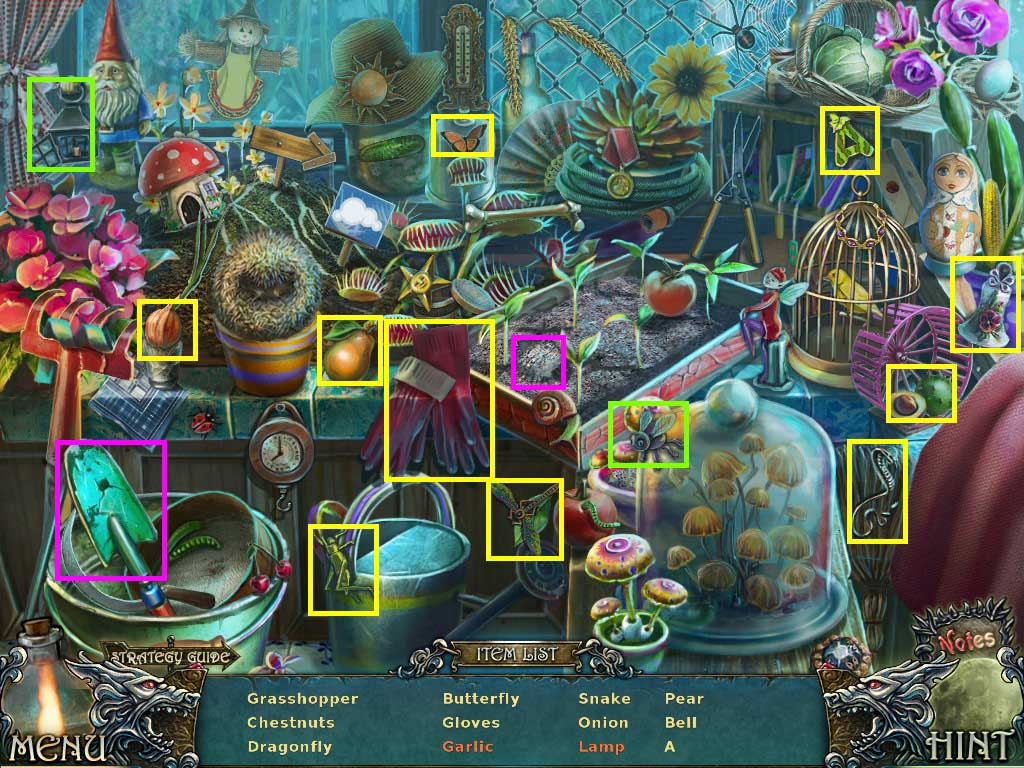
- Find the listed items.
- Collect the garlic.
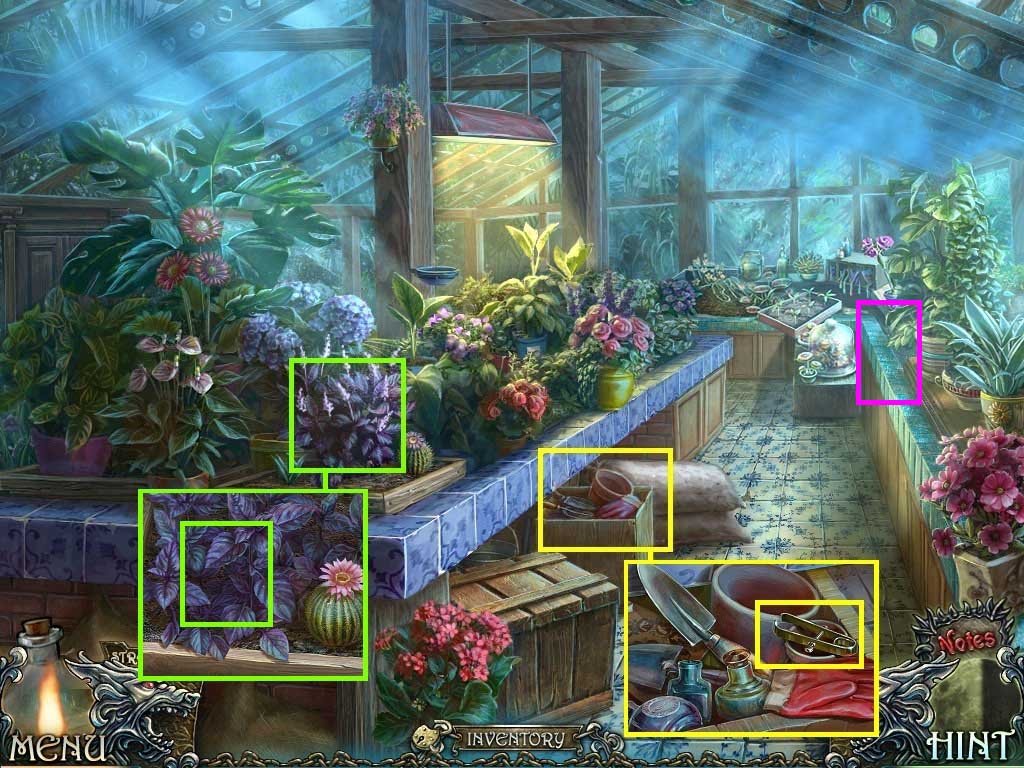
- Click the box.
- Collect the forceps.
- Click the basil; use the watering can on it.
- Collect the basil.
- Click the grates.
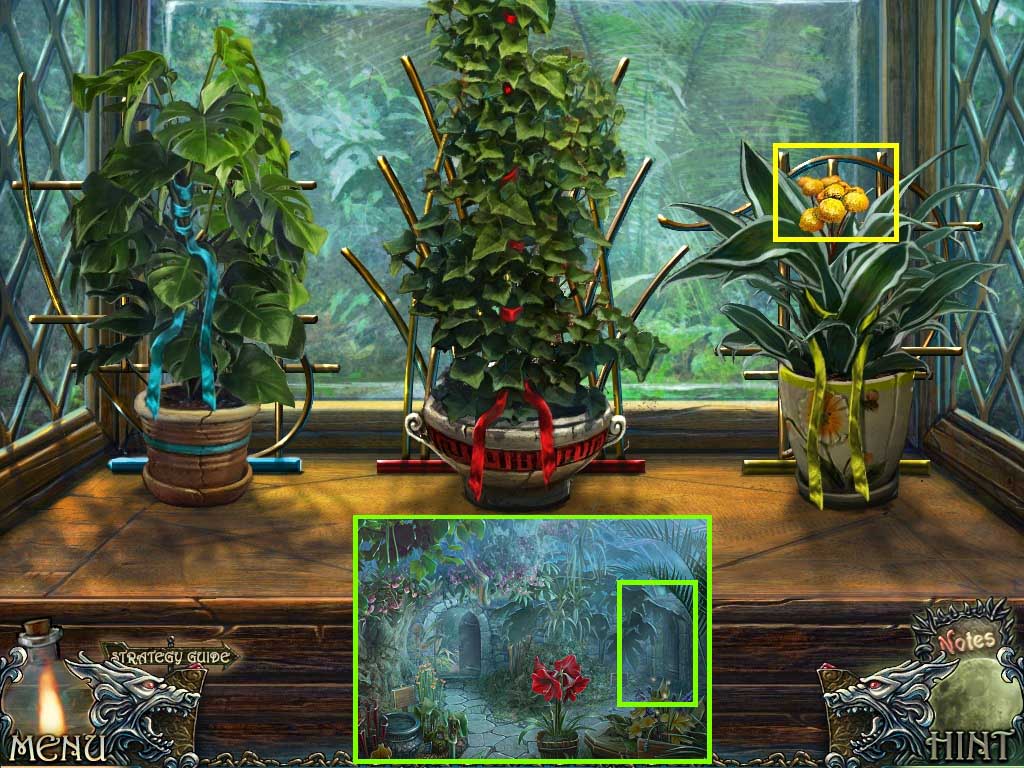
- Insert the 3 ribbons to trigger a puzzle.
- Fix the grids.
- Place the pots in their correct positions.
- Place the ribbons on them.
- Collect the tansy.
- Walk down.
- Open the right door and enter through it.
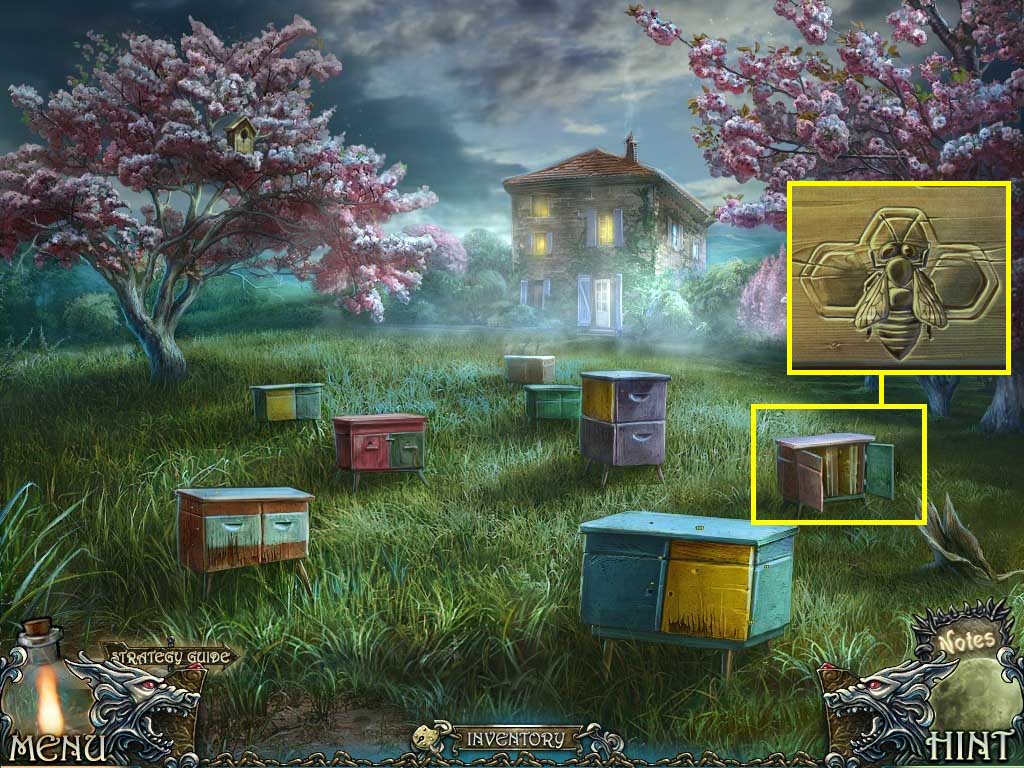
- Zoom into the crate.
- Click the cover to trigger a puzzle.
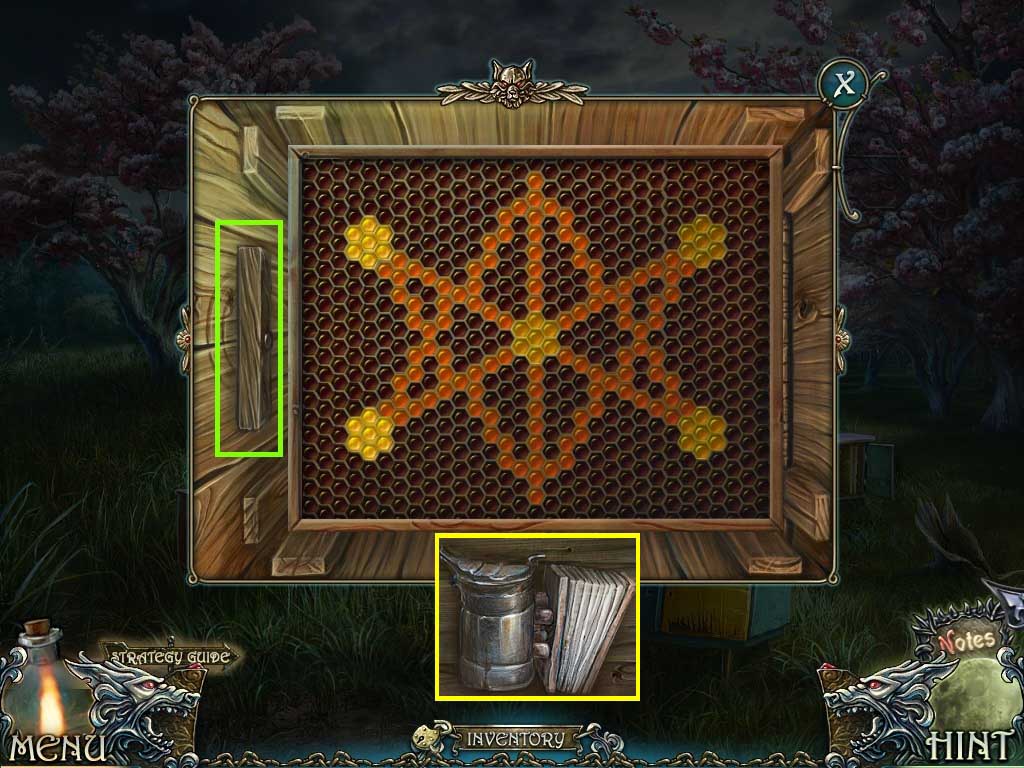
- Solutions will vary.
- Solve as shown above.
- Click the lever.
- Collect the smoker.
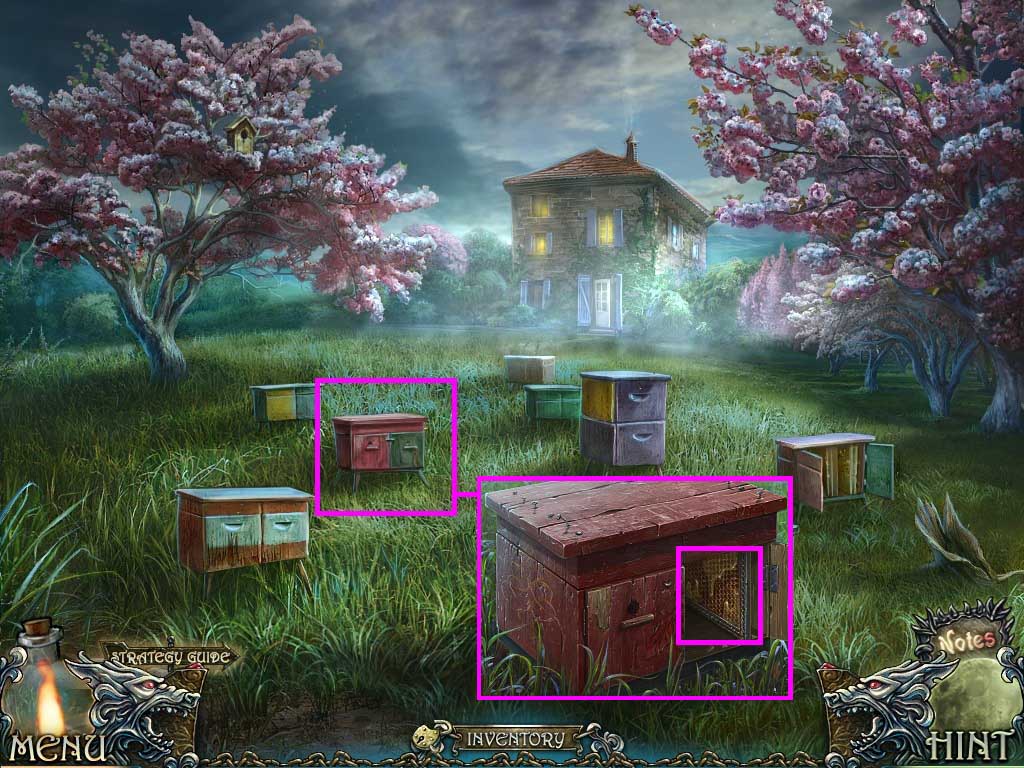
- Click the cabinet.
- Click the door.
- Place the frame on it and use the smoker on the bees.
- Collect the honey.
- Move forward.
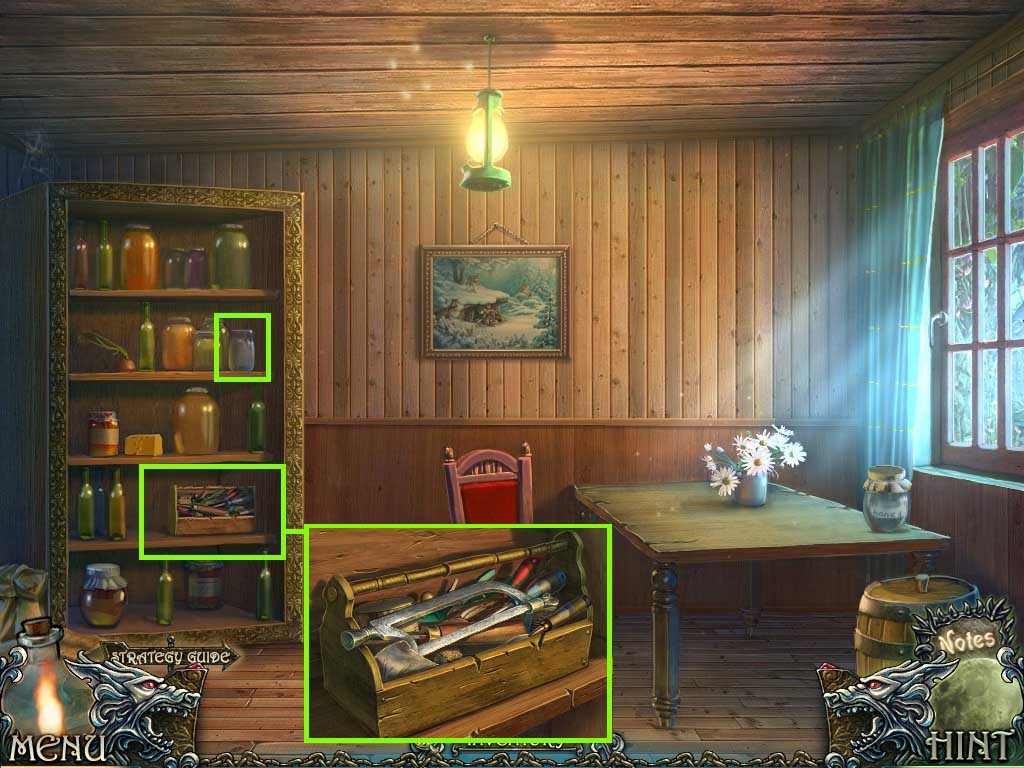
- Click the toolbox.
- Collect the note and the broken saw.
- Collect the jar.
- Go to the aquarium.
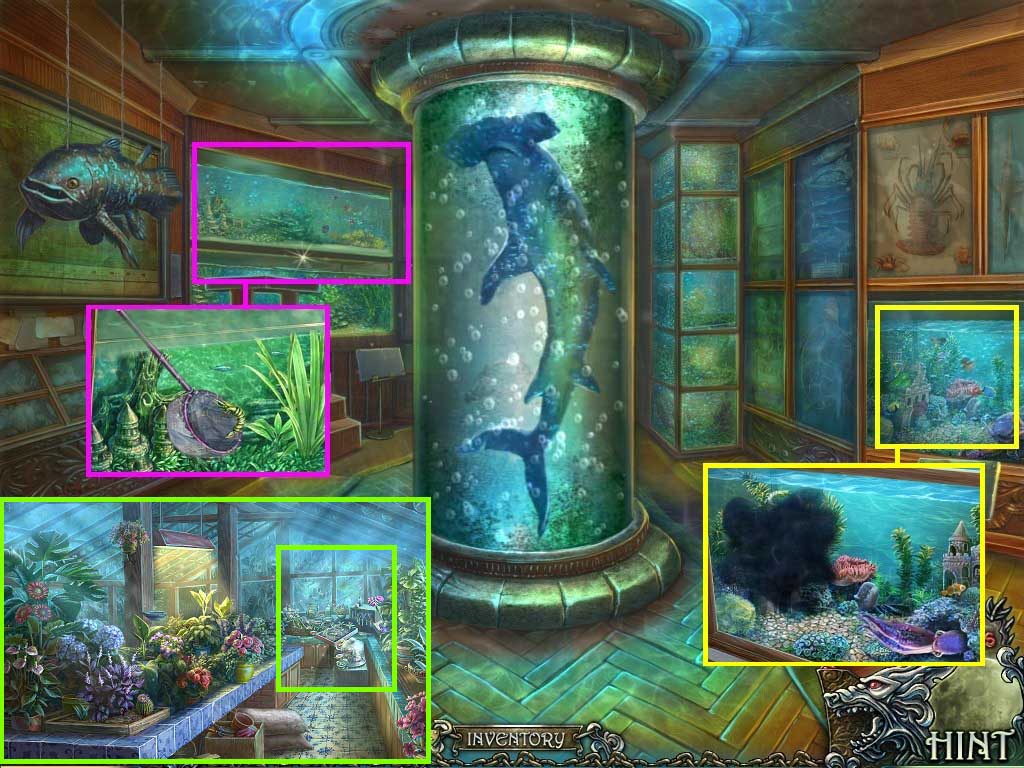
- Click the shrimp tank.
- Use the net to collect the shrimp.
- Click the octopus tank.
- Place the shrimp into the tank.
- Place the jar into the tank to collect the octopus ink.
- Go to the greenhouse and enter the left door.
- Click the hidden objects area.
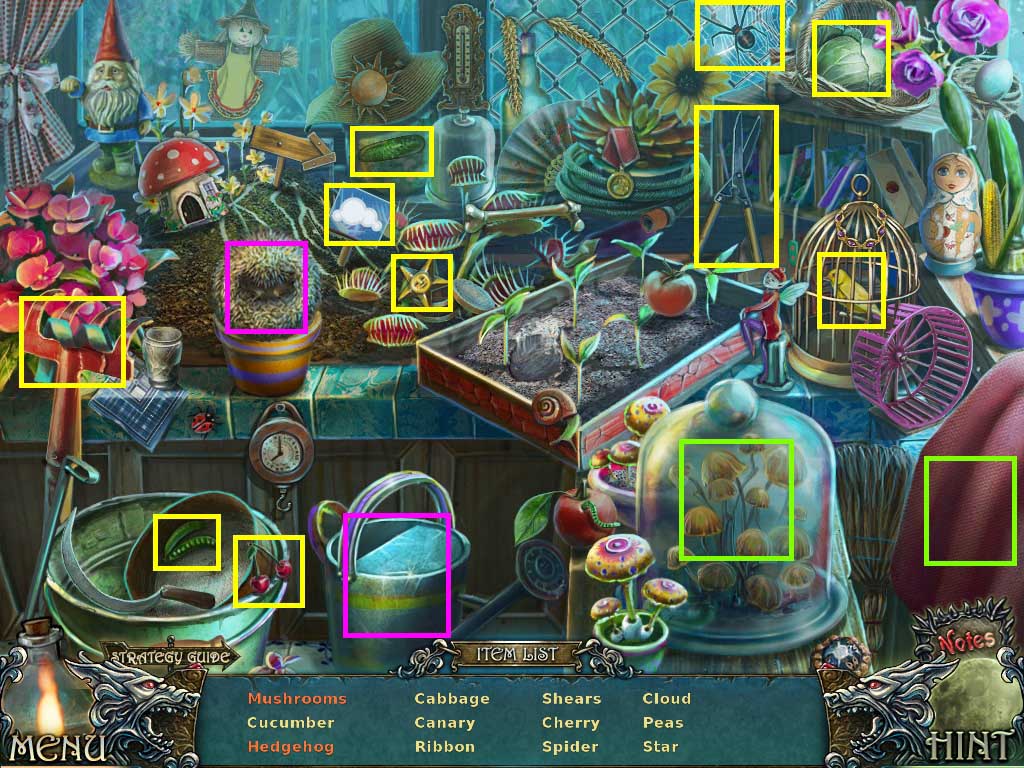
- Find the listed items.
- Collect the painting piece.
- Walk down and go into the door on the right and move forward.
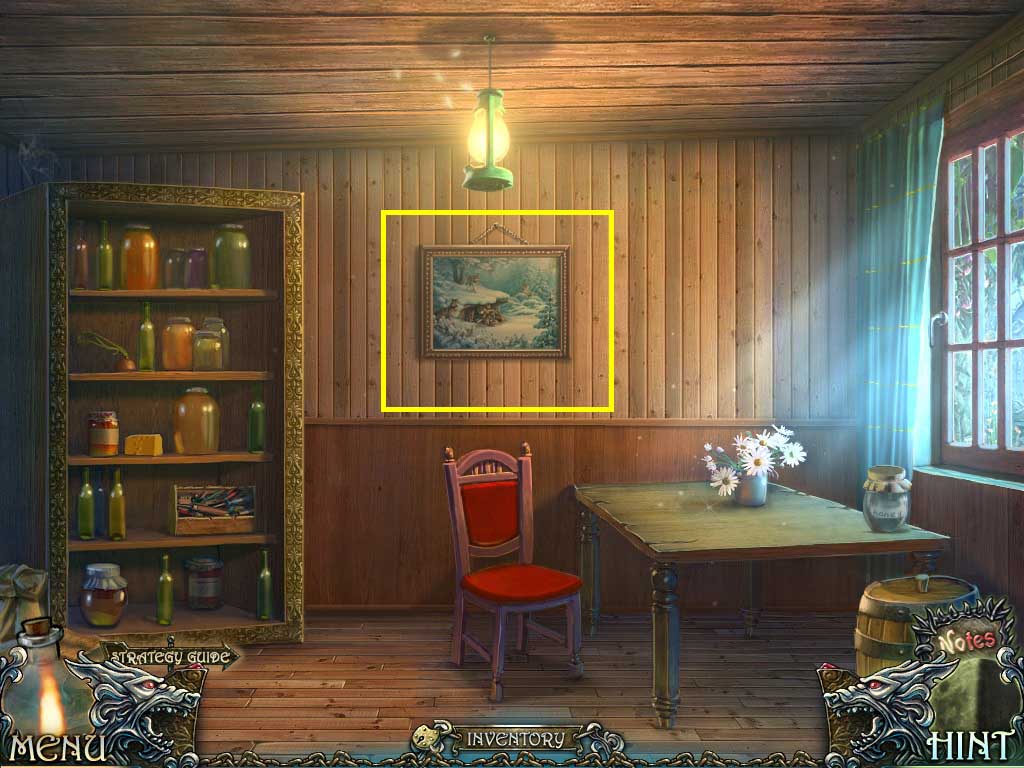
- Click the picture.
- Place the painting piece on it to trigger a puzzle.
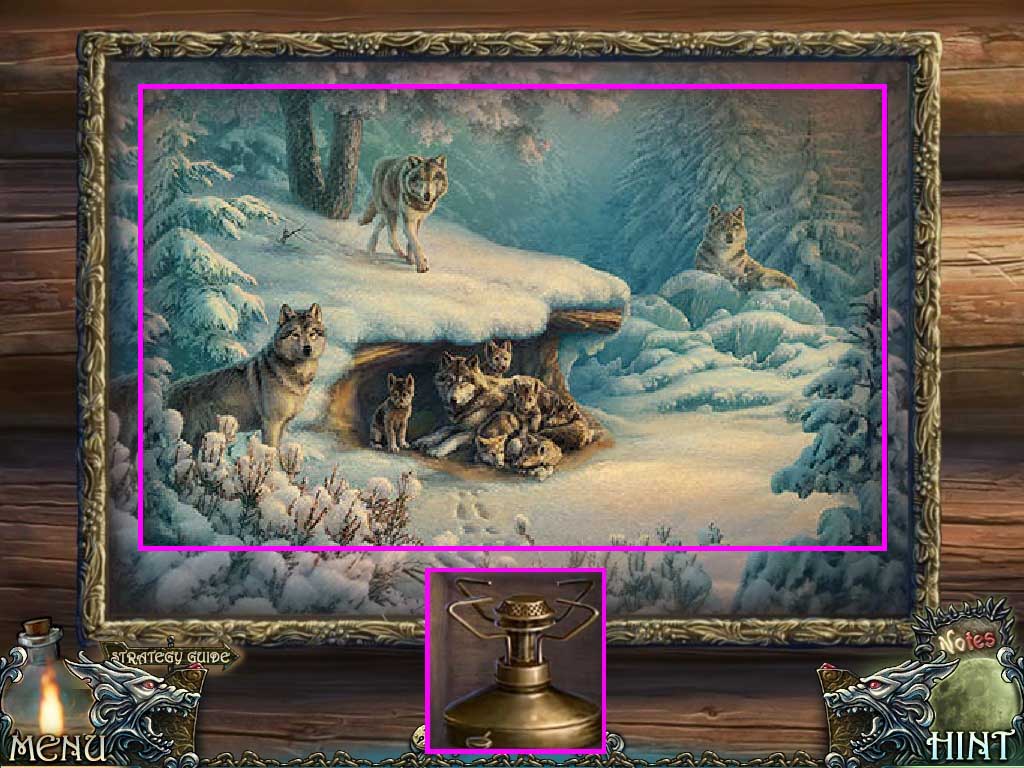
- Solve as shown above.
- Move the pieces around until the picture is recreated.
- Collect the burner.
- Walk down 3 times.
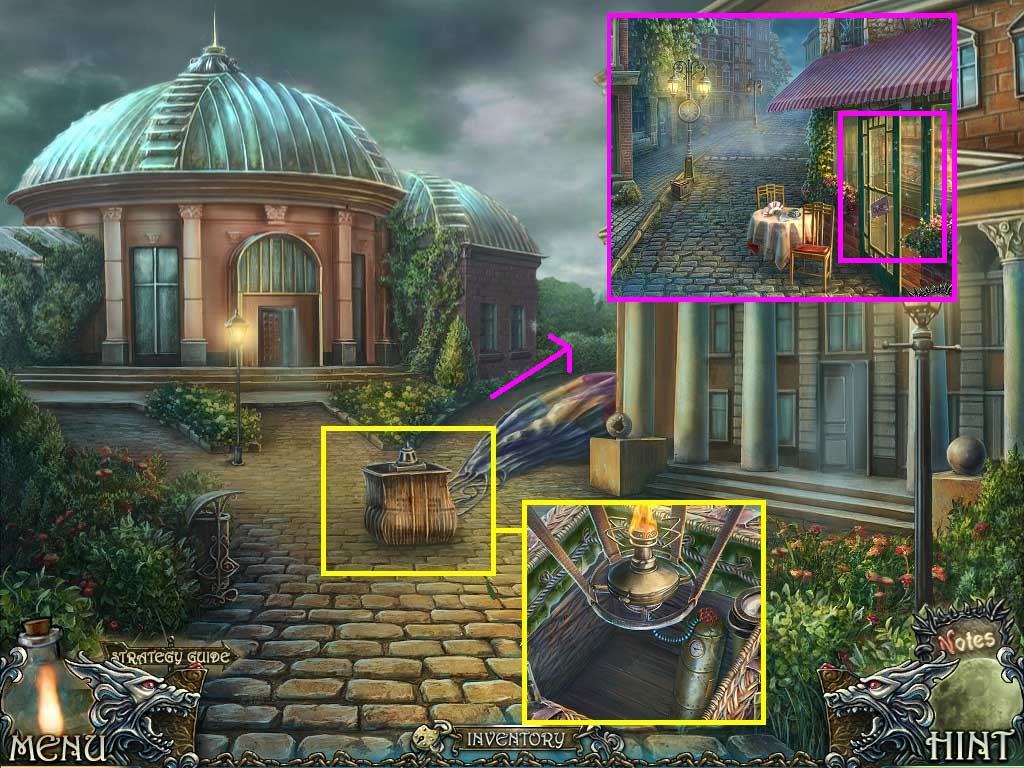
- Click the basket.
- Place the gas bottle and burner into it.
- Click the valve.
- Light the burner with the matches.
- Go in between the buildings.
- Click the right door.
- Click the hidden objects area.
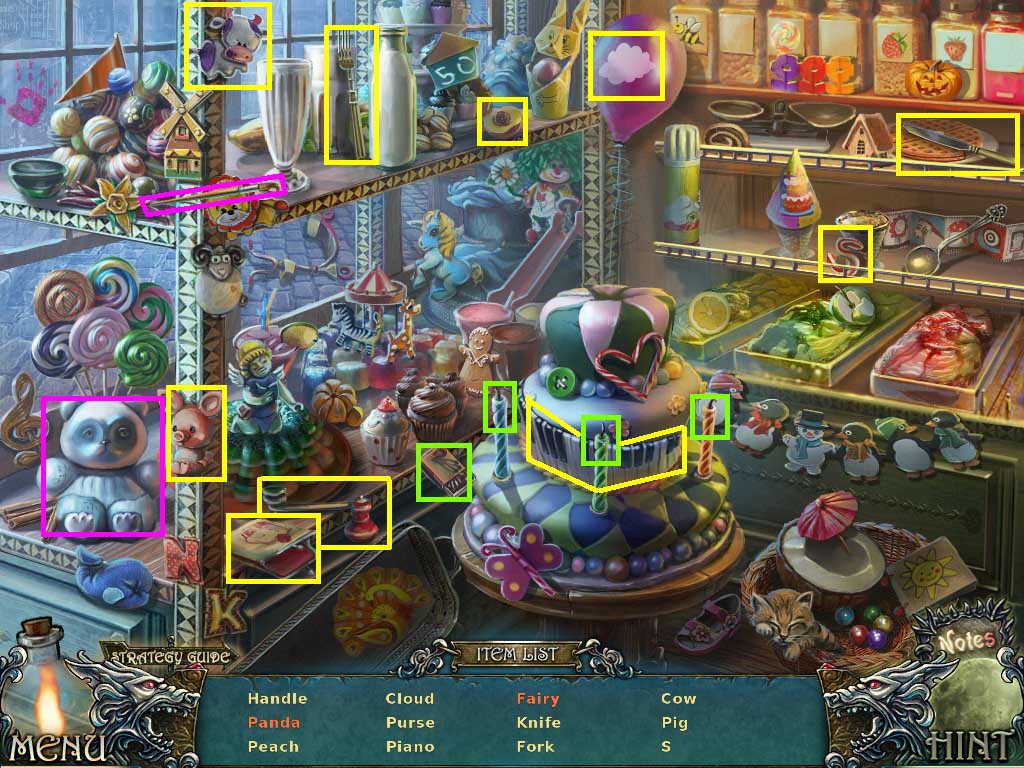
- Find the listed items.
- Collect the coffee mill handle.
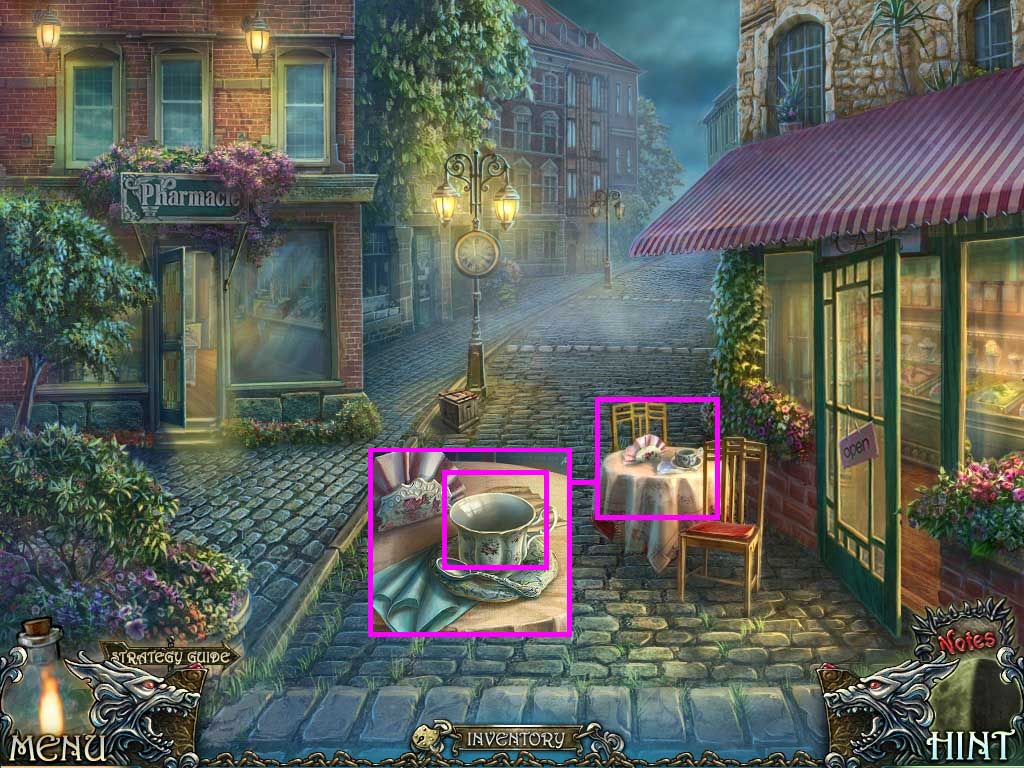
- Click the table.
- Collect the teacup.
- Go into the pharmacy.
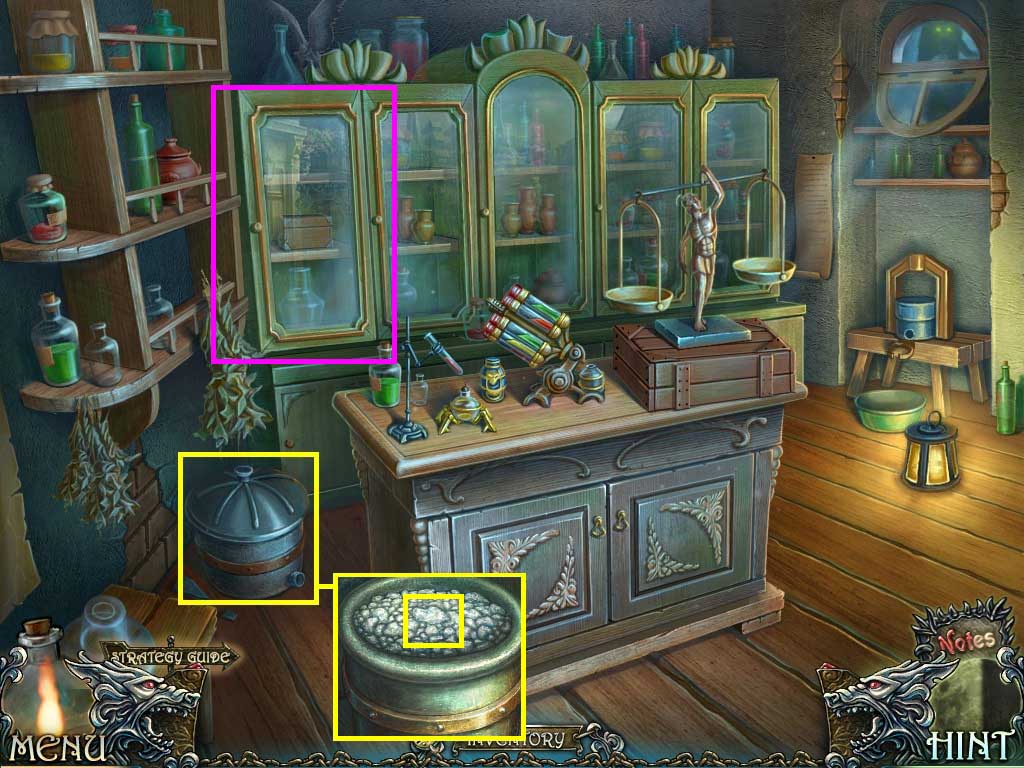
- Click the pot.
- Click the lid; take the salt.
- Click the cabinet door.
- Click inside to trigger a puzzle.
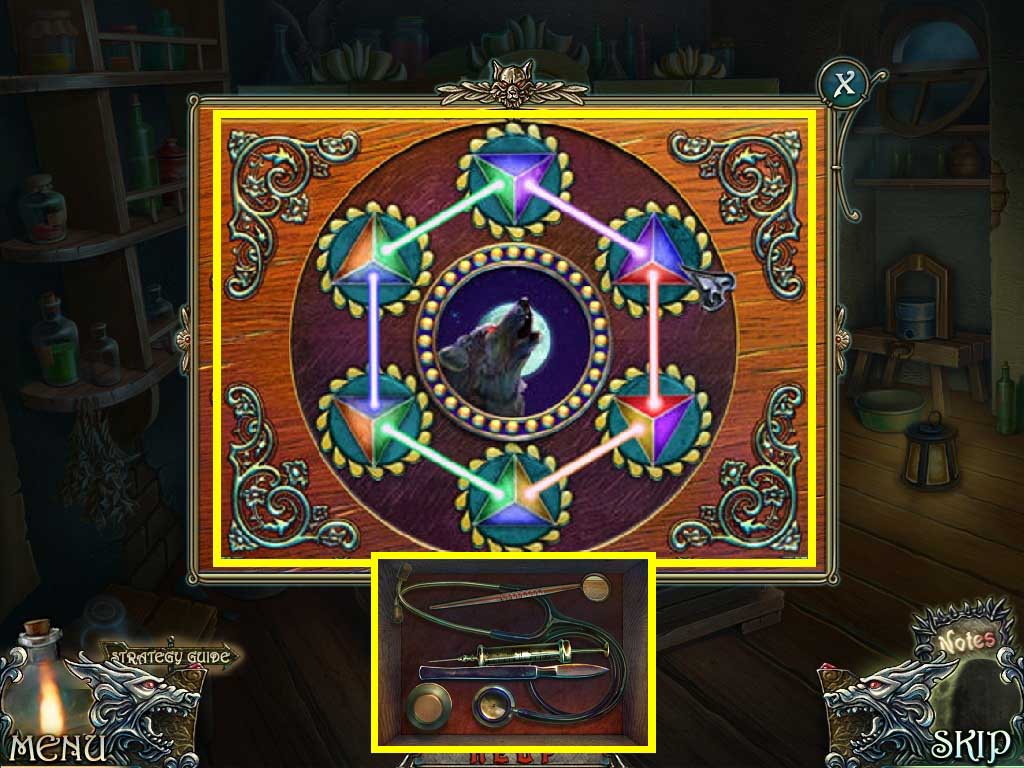
- Arrange the crystal as shown above.
- Collect the scalpel.
- Walk down and move forward.
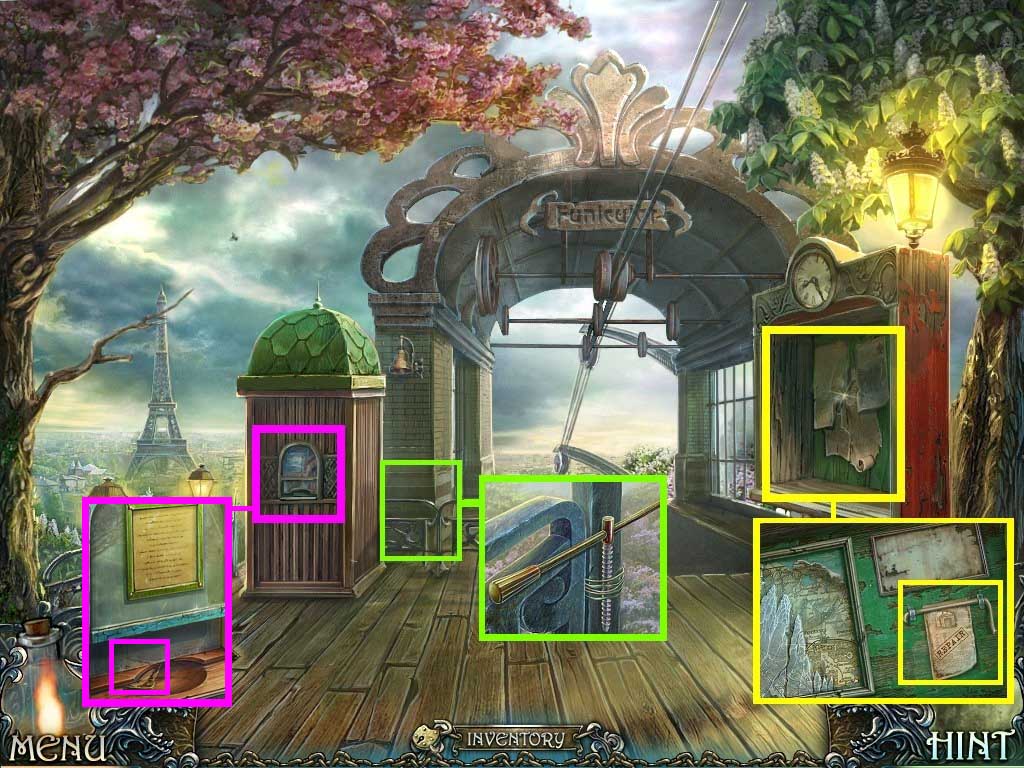
- Click the board.
- Get the elastic band by using the scalpel.
- Collect the note.
- Click the railing.
- Collect the press handle.
- Click the booth.
- Click the window and collect the note.
- Walk down.
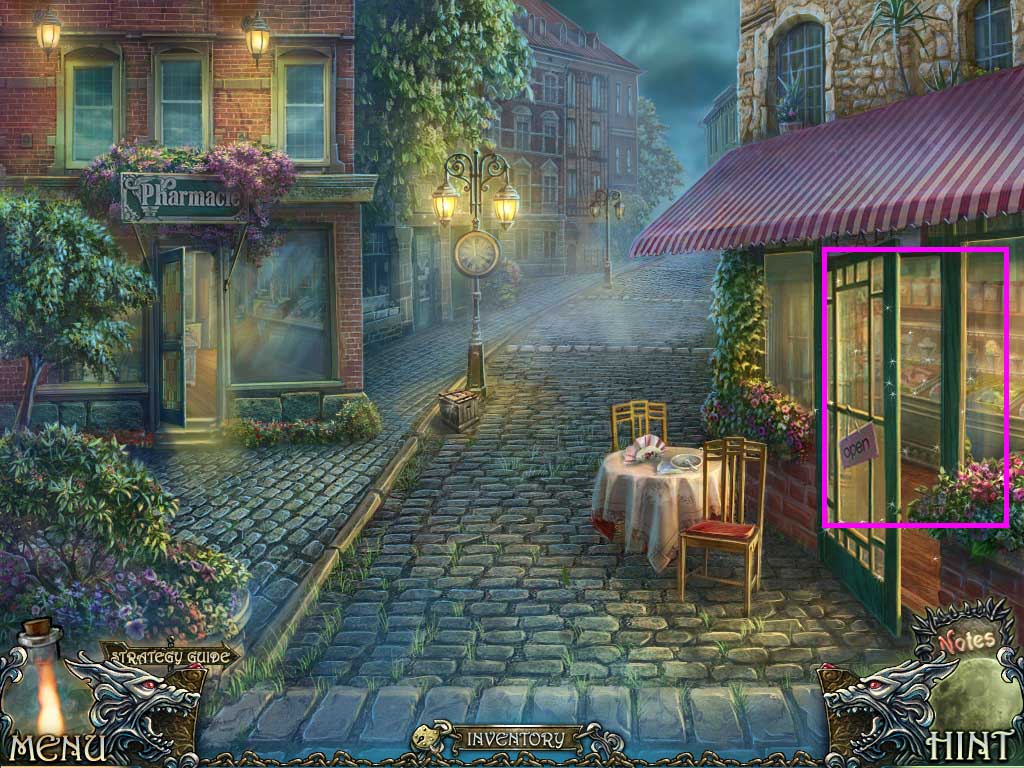
- Click the hidden objects area.
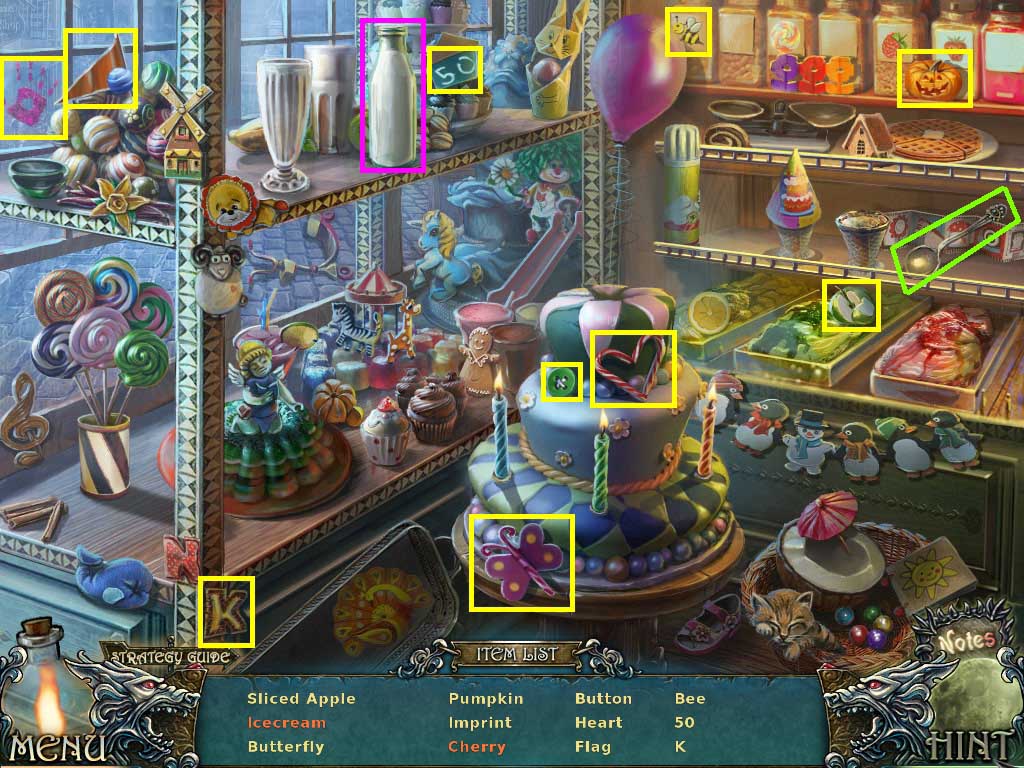
- Find the listed items.
- Collect the trident.
- Go to the aquarium.
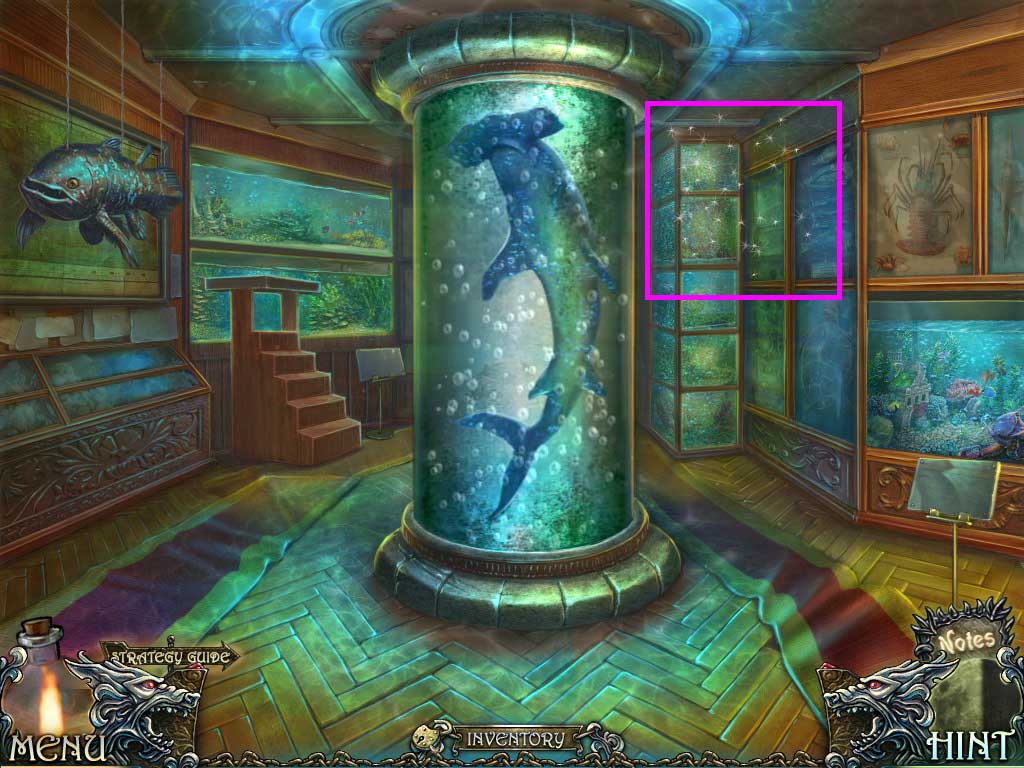
- Click the hidden objects area.
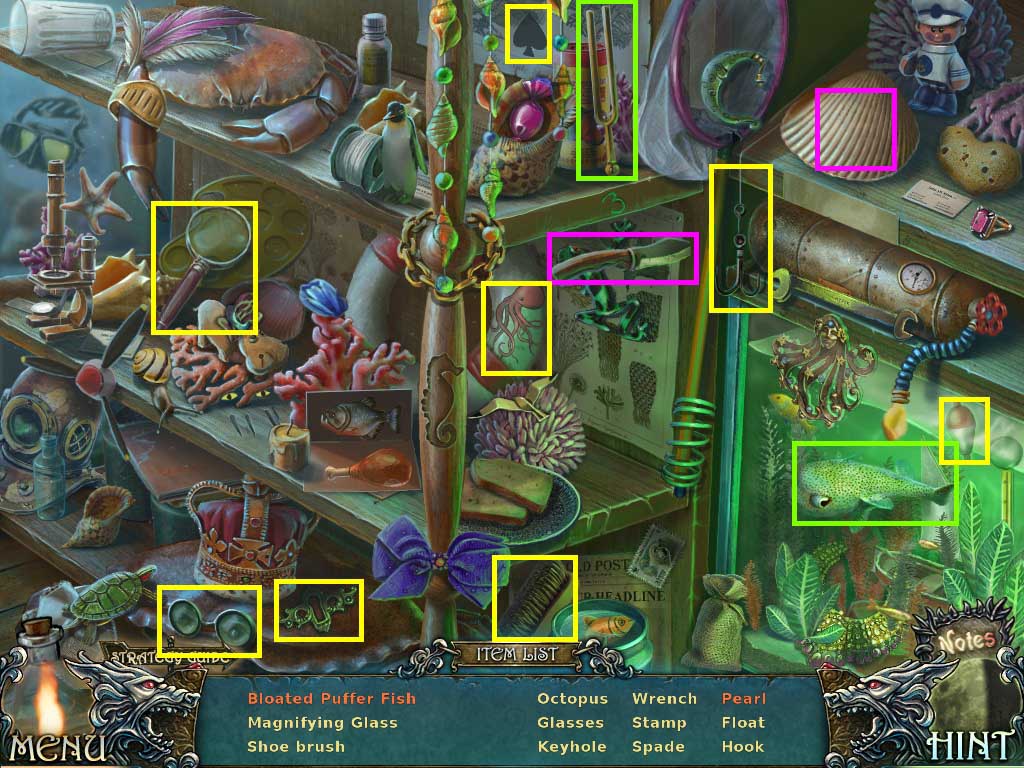
- Find the listed items.
- Collect the bell cord.
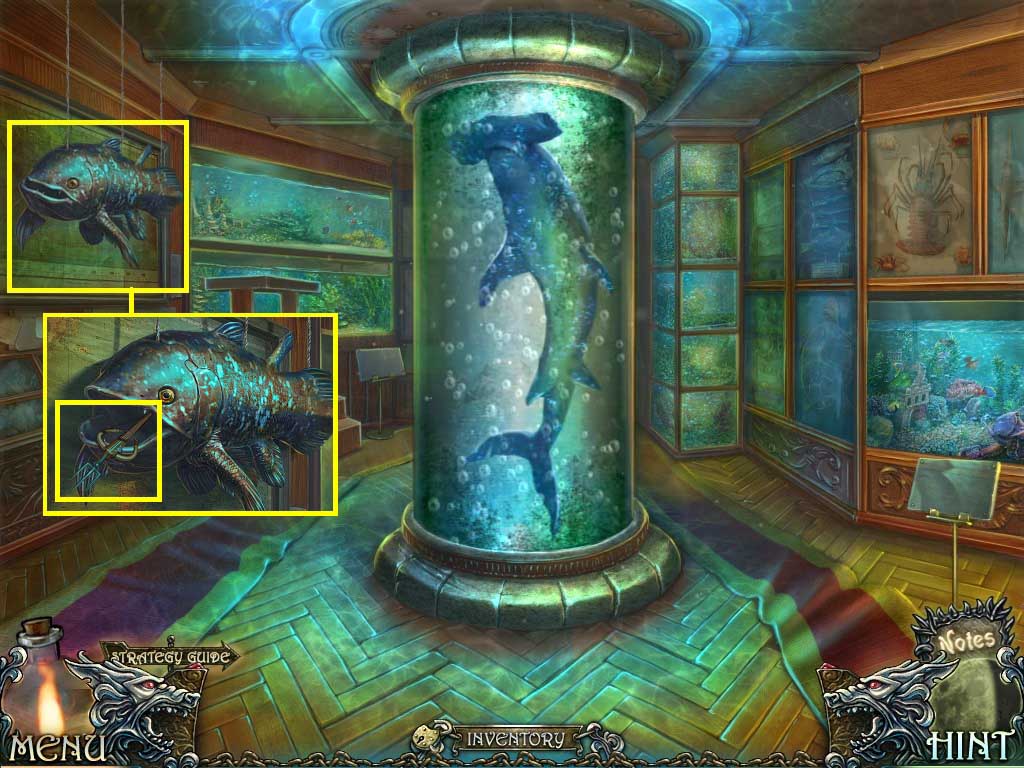
- Zoom into the fish.
- Use the forceps in the mouth of the fish and insert the trident.
- Collect the harpoon.
- Go to funicular station.
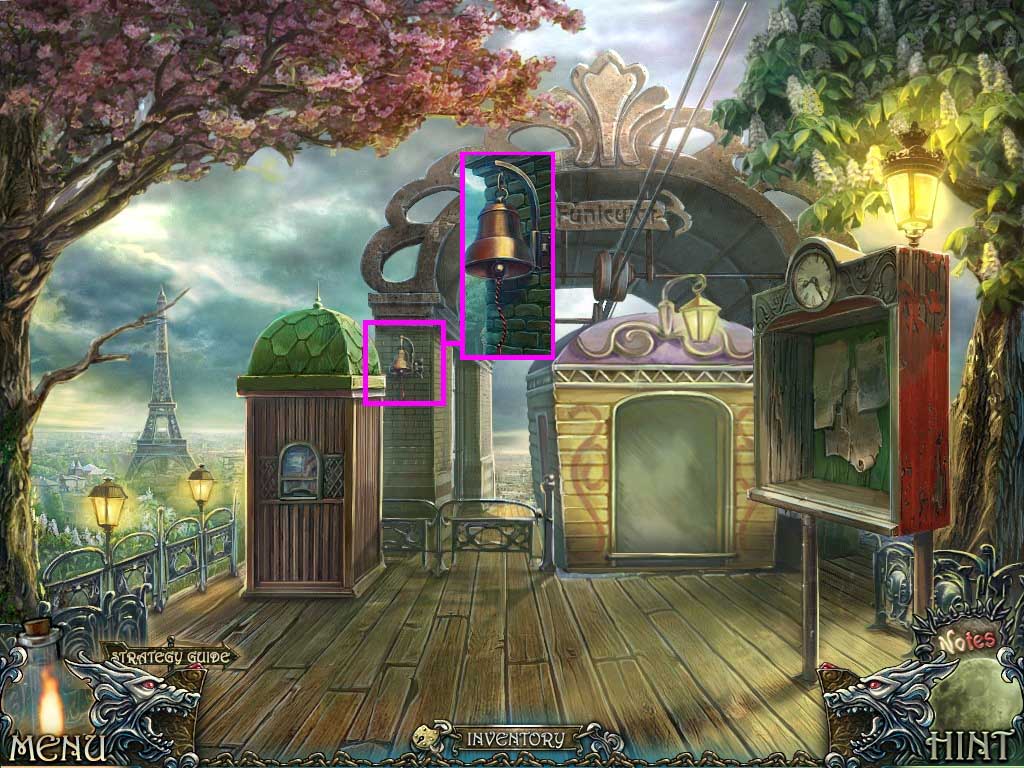
- Click the bell.
- Place the bell cord on it.
- Ring the bell.
- Take the cable car to the other side.
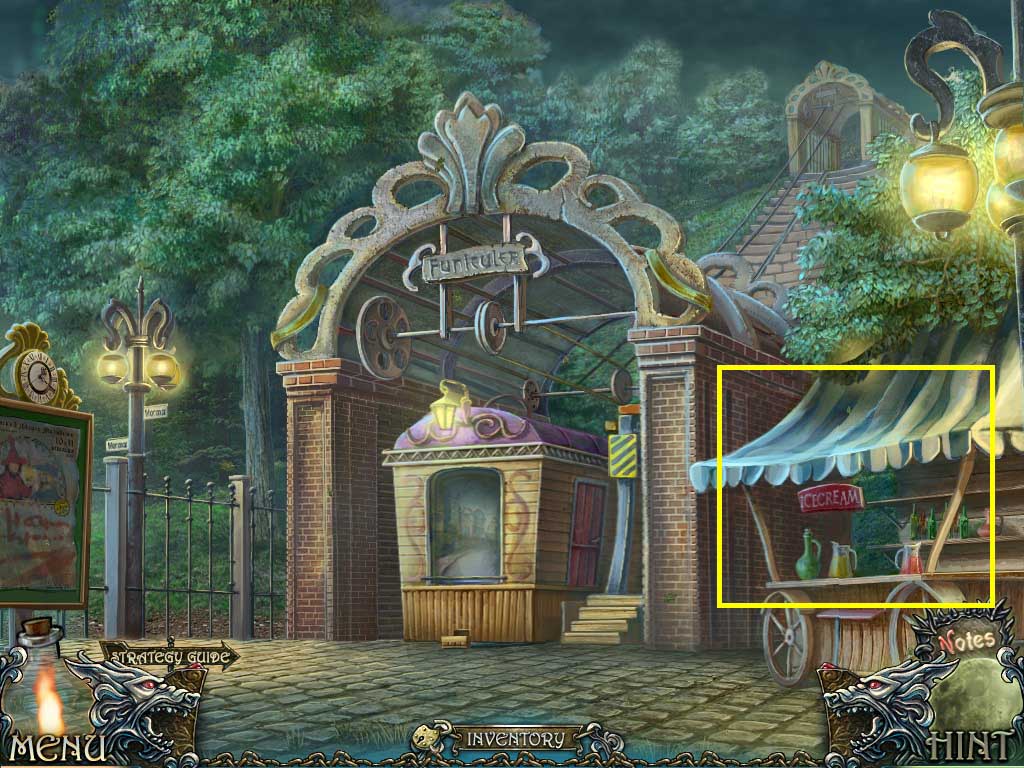
- Click the kiosk to activate a puzzle.
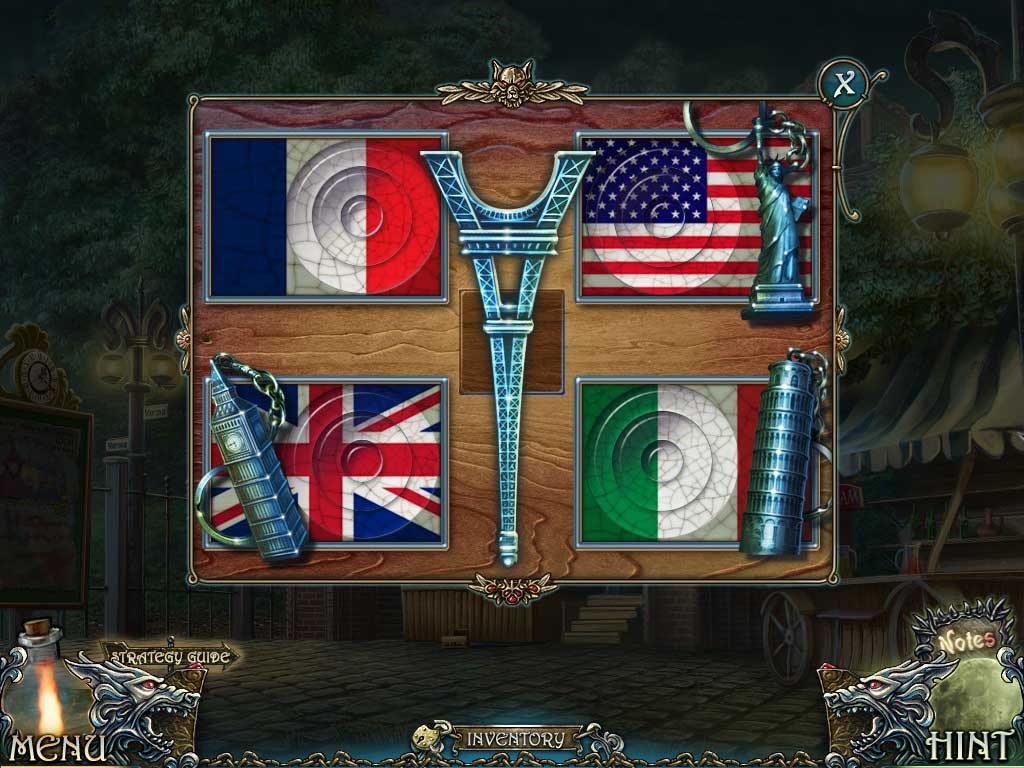
- Assemble the flag by clicking the rings.
- Solve as shown above.
- Collect the Eiffel Tower.
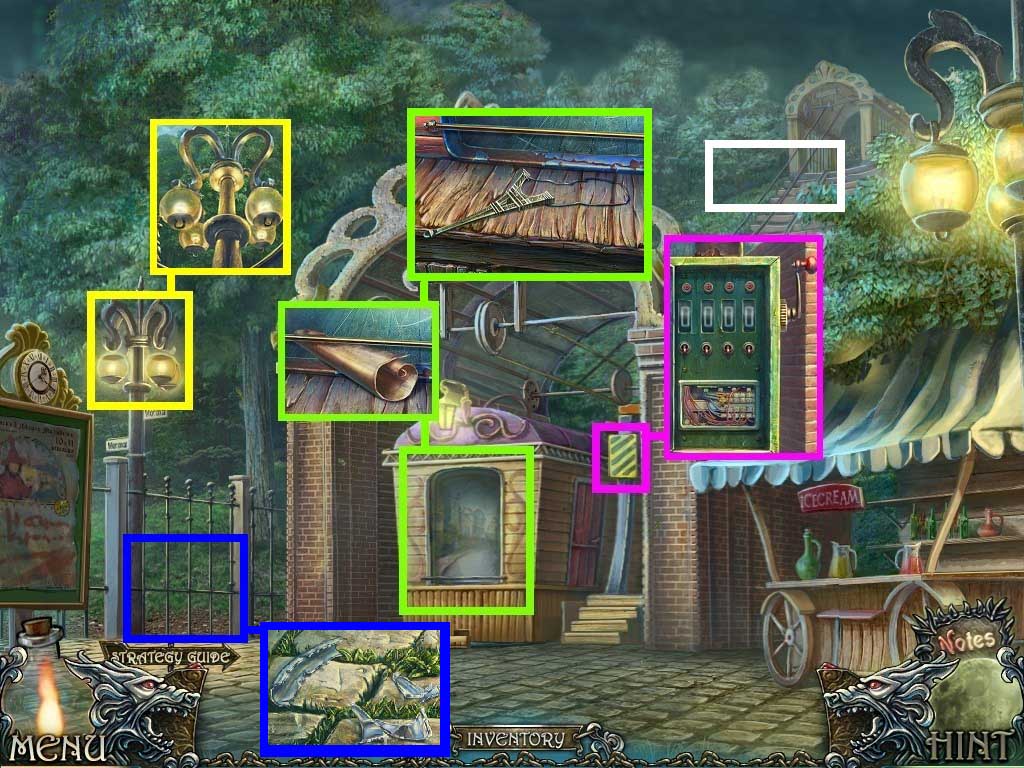
- Click the ticket booth.
- Collect the note.
- Place the elastic band and the Eiffel Tower on the counter.
- Collect the slingshot.
- Click the control panel.
- Use the scalpel on the cover.
- Place the coffee mill handle on the side of the control panel.
- Click the handle.
- Click the lanterns.
- Break the glass with the slingshot.
- Click the lower gate.
- Collect the press part.
- Take the cable car back by clicking the upper steps.
- Walk down and go into the pharmacy.
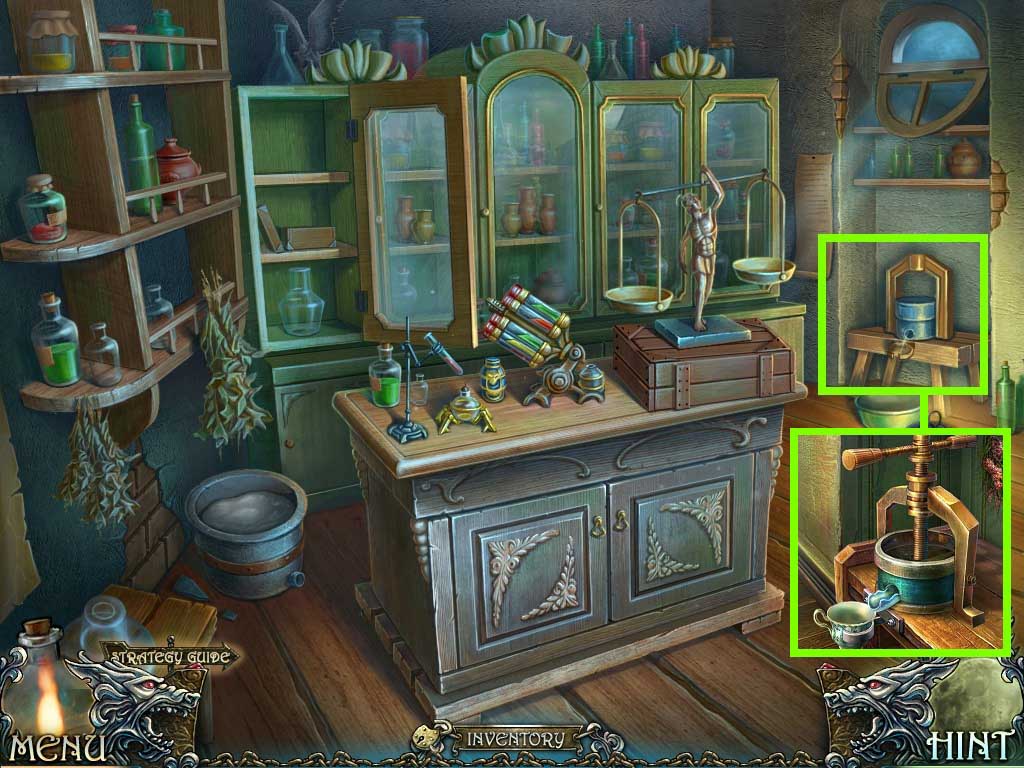
- Click the press machine.
- Place the presses handle the teacup and press part in their correct positions.
- Place the garlic into the machine and click the handle.
- Collect the garlic juice.
- Go to the greenhouse and go into the right door.
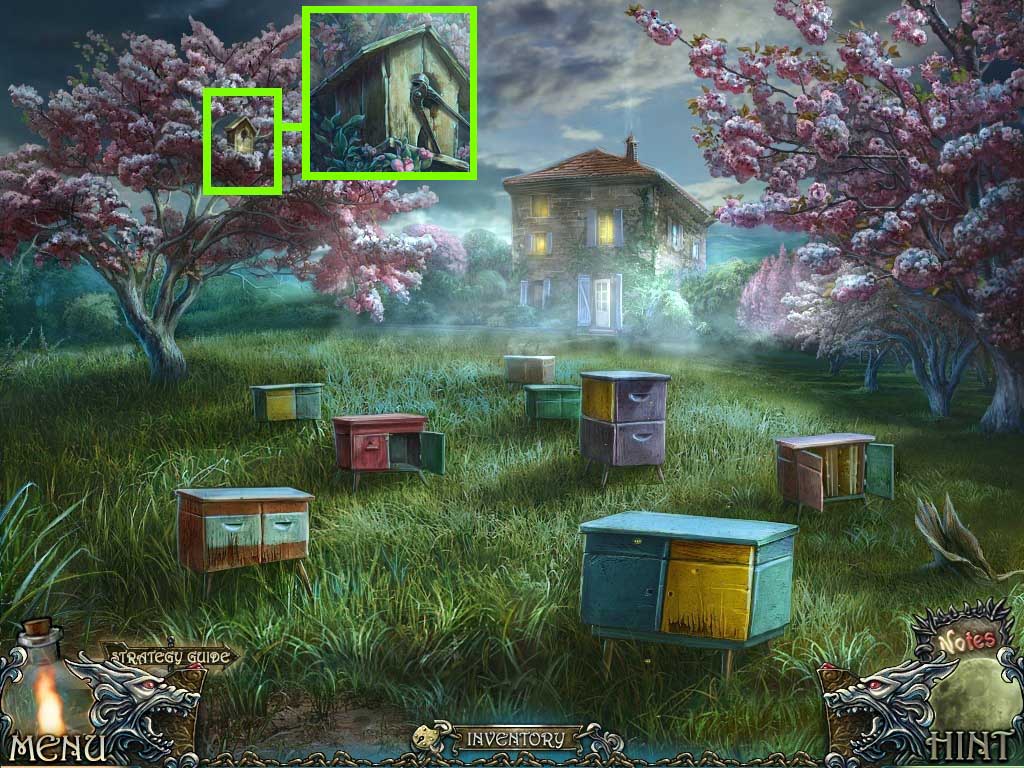
- Click the birdhouse.
- Get the nail puller by using the harpoon.
- Walk down 3 times and go into the door on the right.
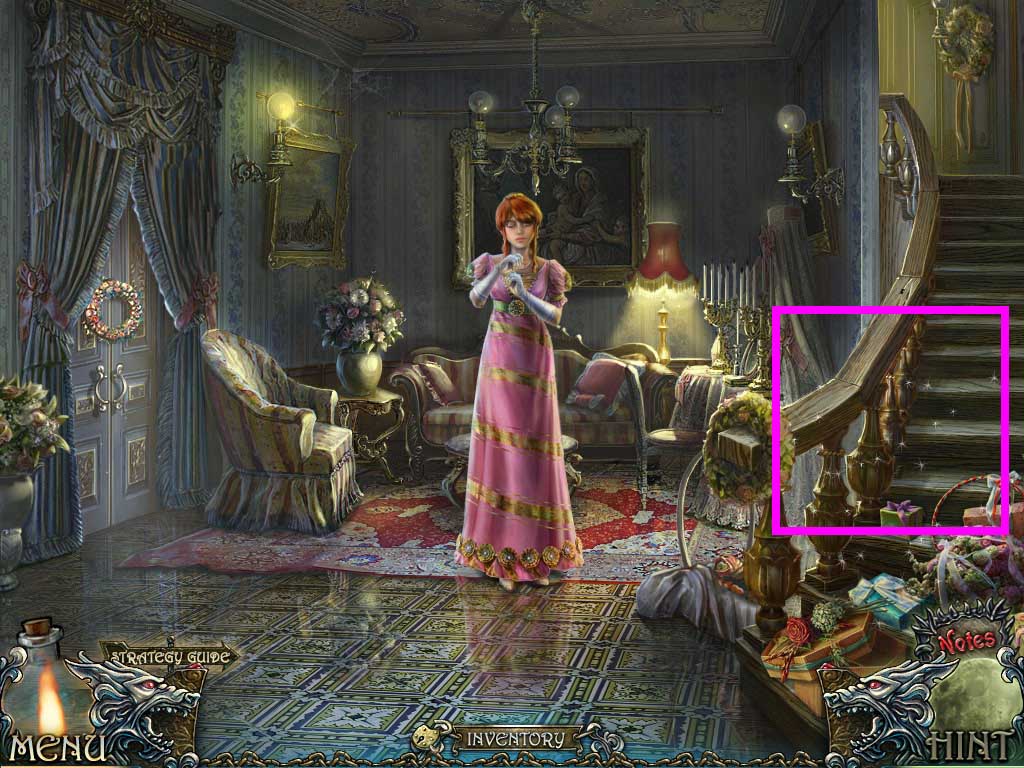
- Click the hidden objects area.
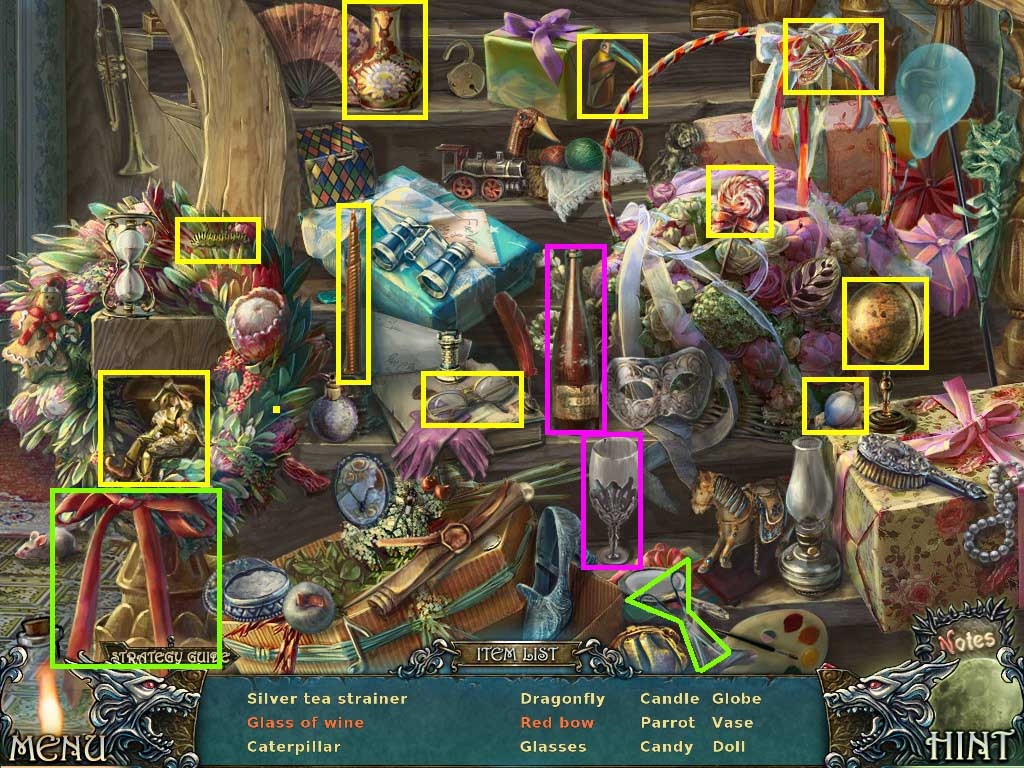
- Find the listed items.
- Collect the tea strainer.
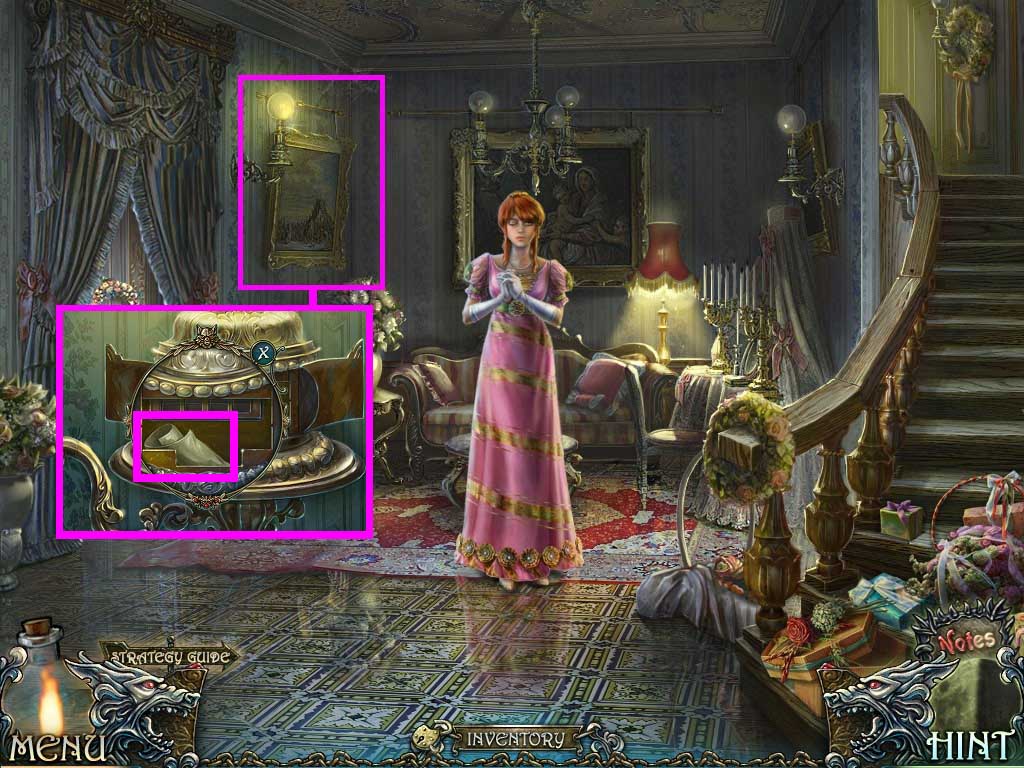
- Click the area above the frame.
- Place the arrow into the slot.
- Click the dial.
- Enter the code: 3 – 6 – 4 – 8.
- Collect the note.
- Walk down. Enter the gate and enter into the door on the right.
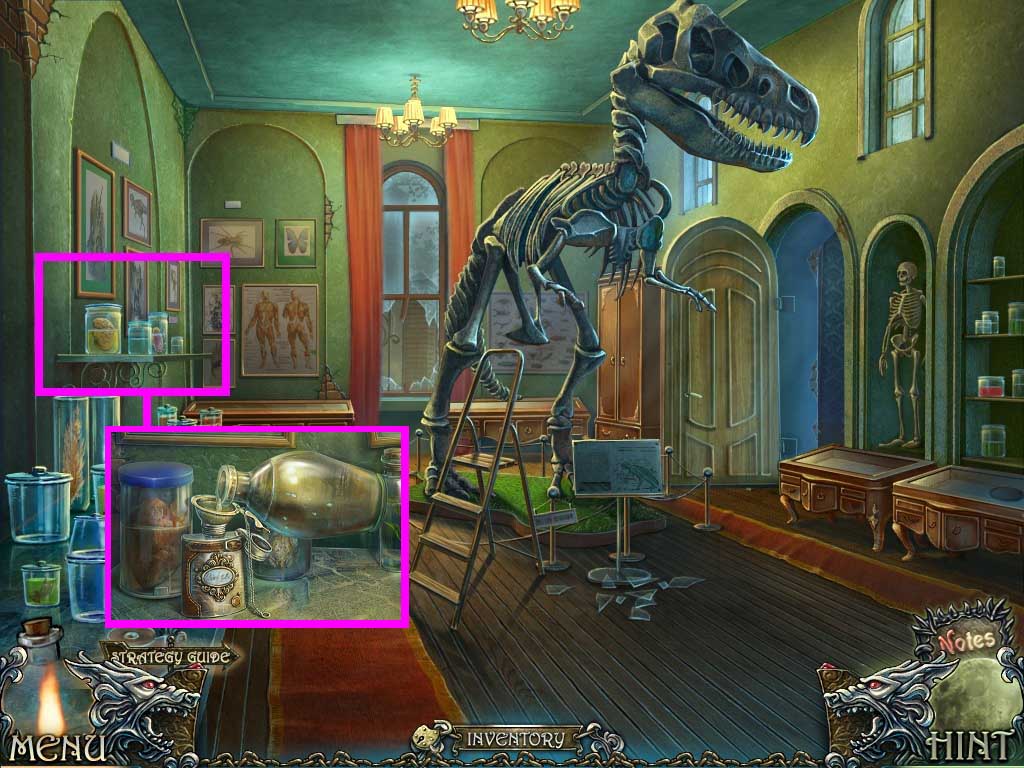
- Click the shelf.
- Use the corkscrew to remove the cork.
- Place the flask on the shelf.
- Click the cap and place the tea strainer into it.
- Click the bottle.
- Collect the alcohol.
- Walk down and move forward.
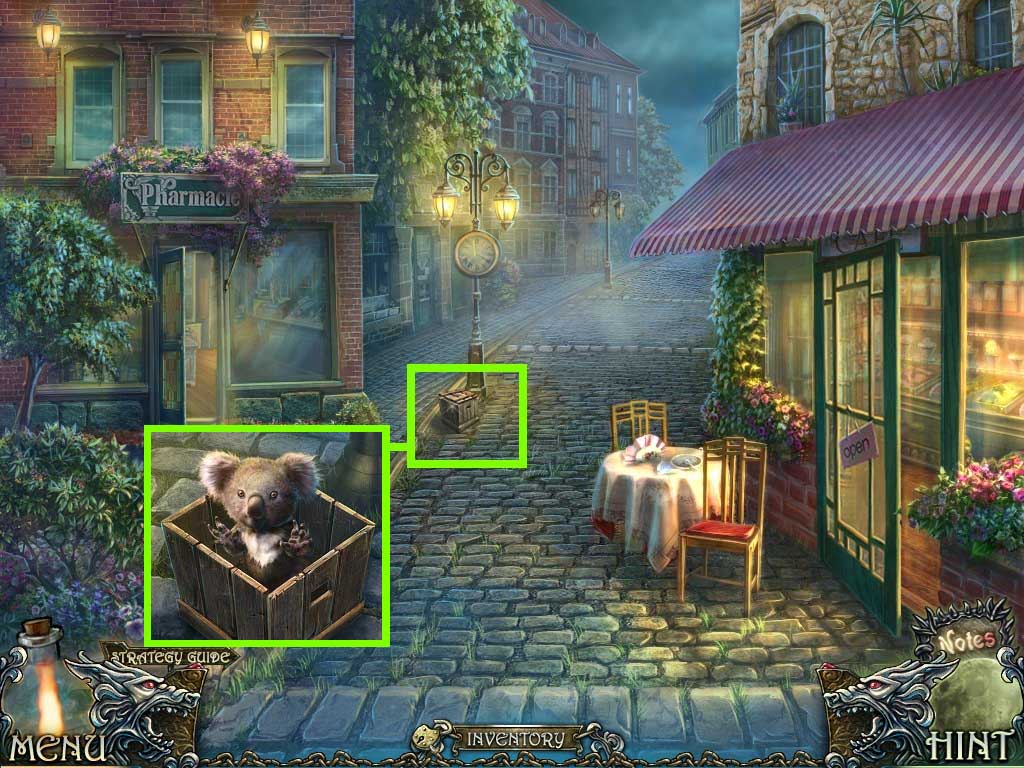
- Click the crate.
- Use the nail puller on it.
- Collect the koala.
- Go to the greenhouse.
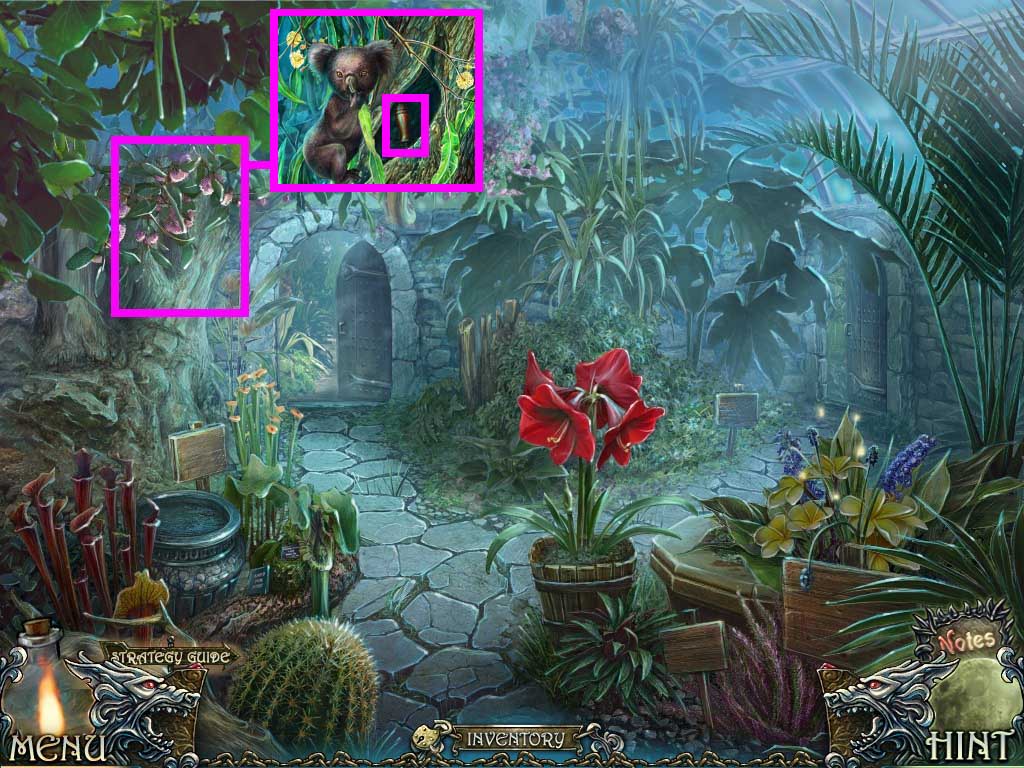
- Click the tree.
- Place the koala on the tree.
- Collect the saw handle.
- Go out the door on the right and move forward.
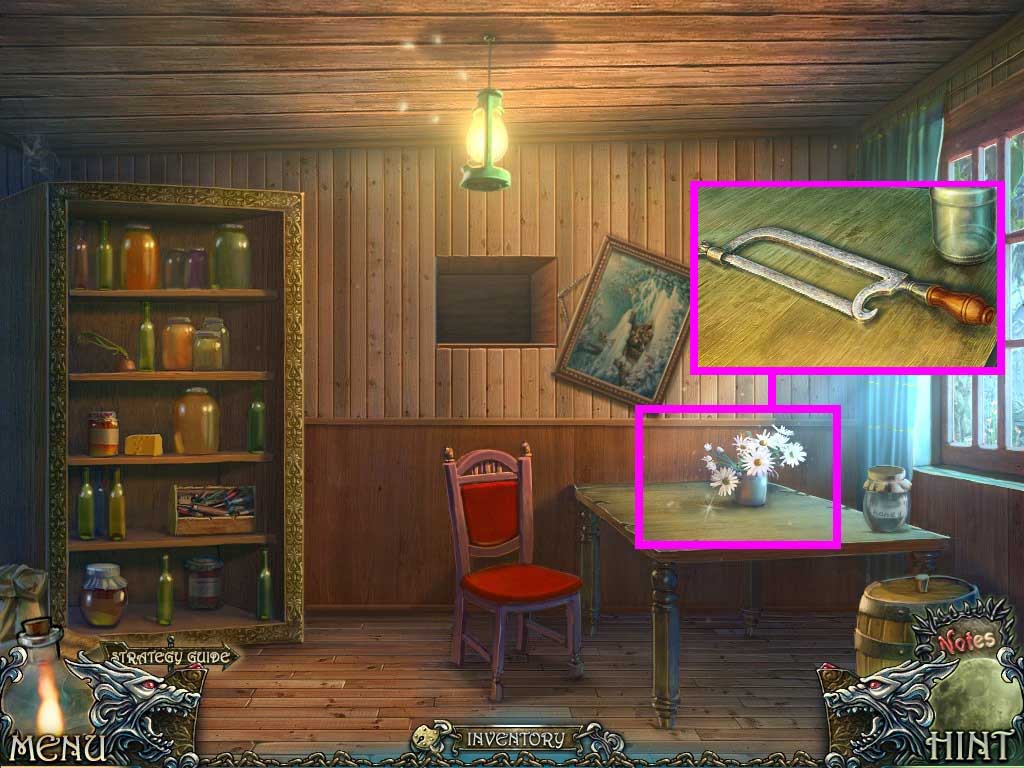
- Click the table.
- Place the broken saw and saw handle on it.
- Collect the saw.
- Go to the lab.
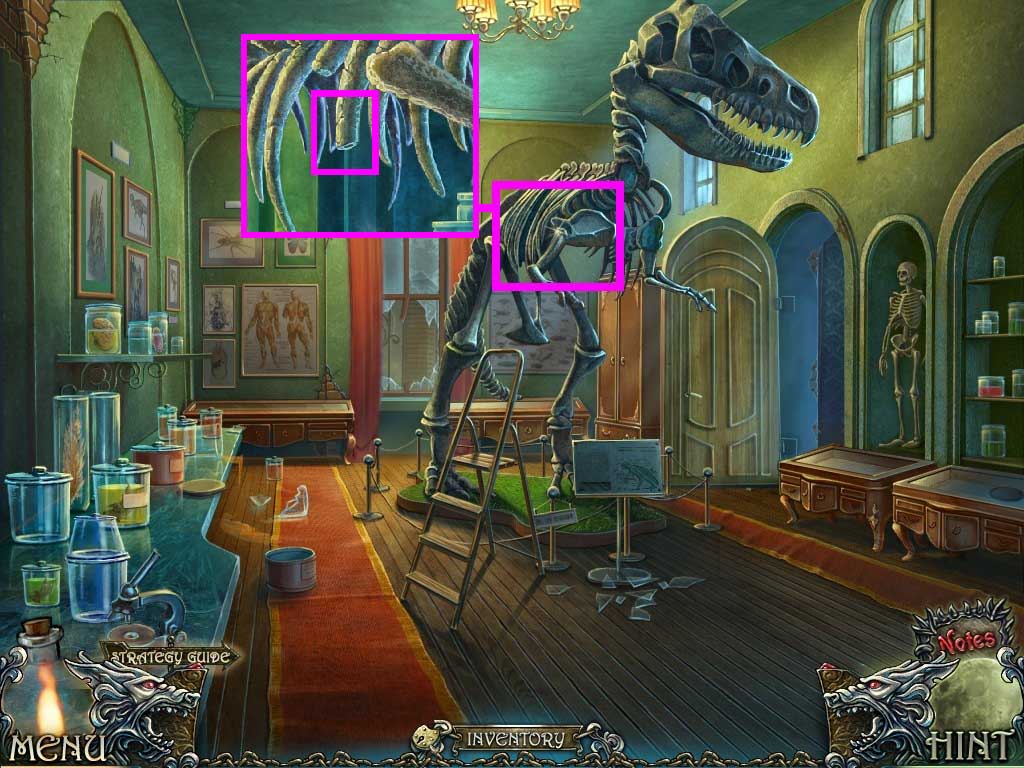
- Click the ribcage.
- Use the saw to collect the coastal bone.
- Go to the greenhouse and through the door on the left.
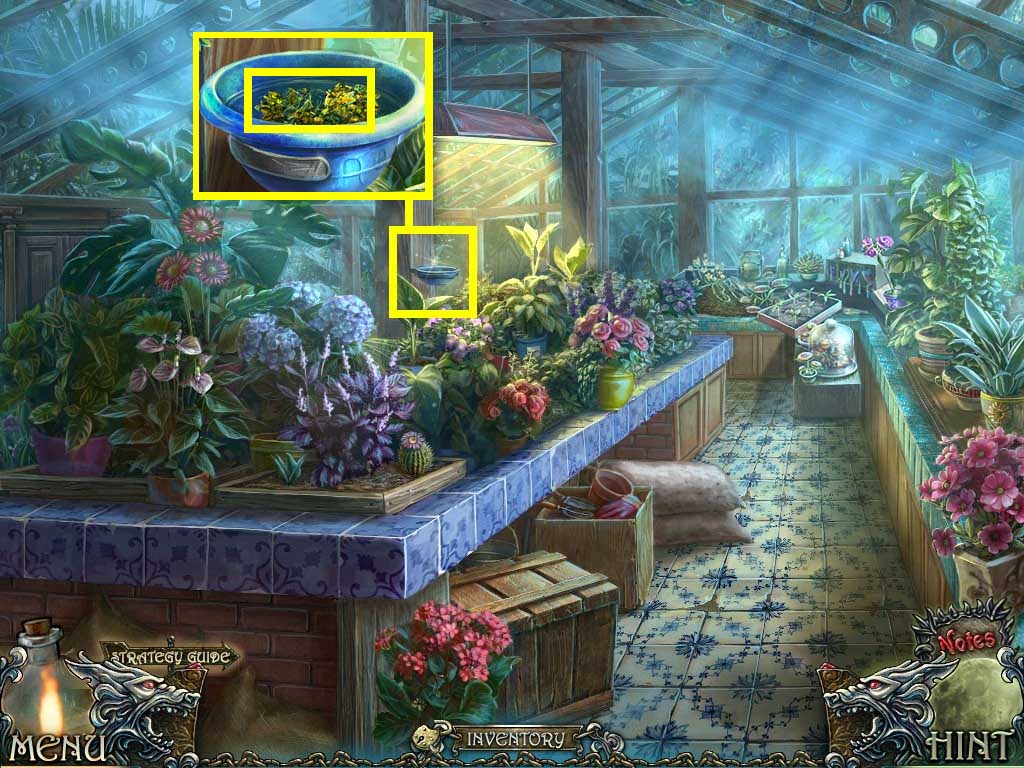
- Click the plant.
- Use the costal bone in the soil to collect the Tutsan.
- Go to the pharmacy.
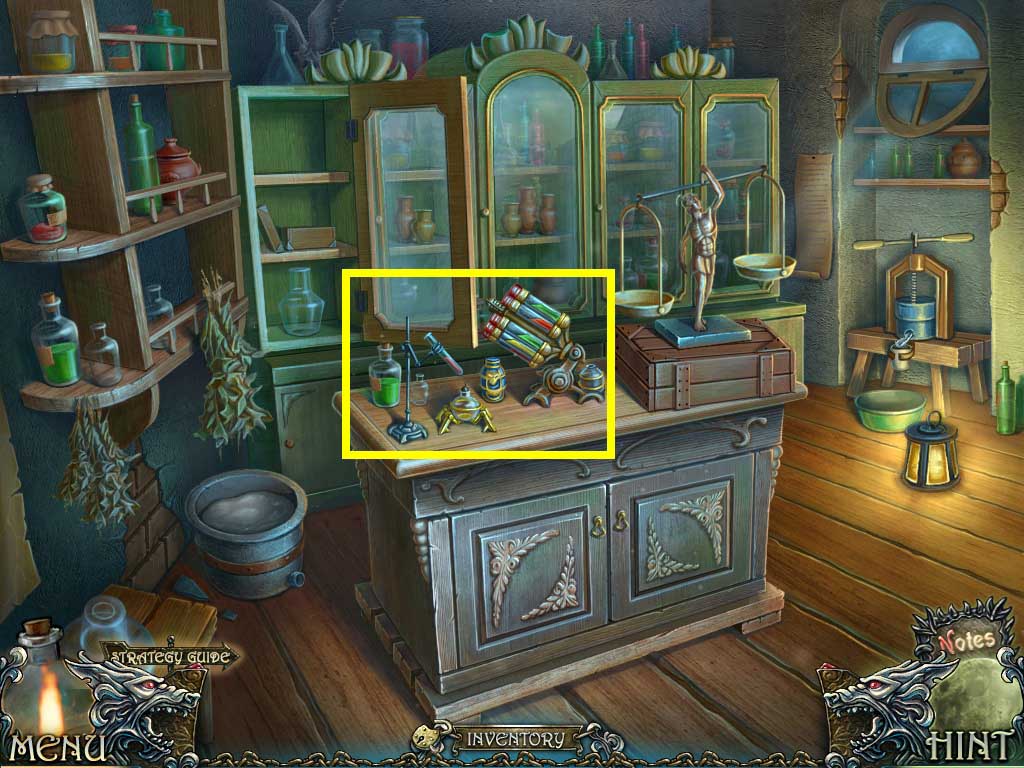
- Click the chemistry set.
- Insert the 8 elixir ingredients onto the table.
- A puzzle will trigger.
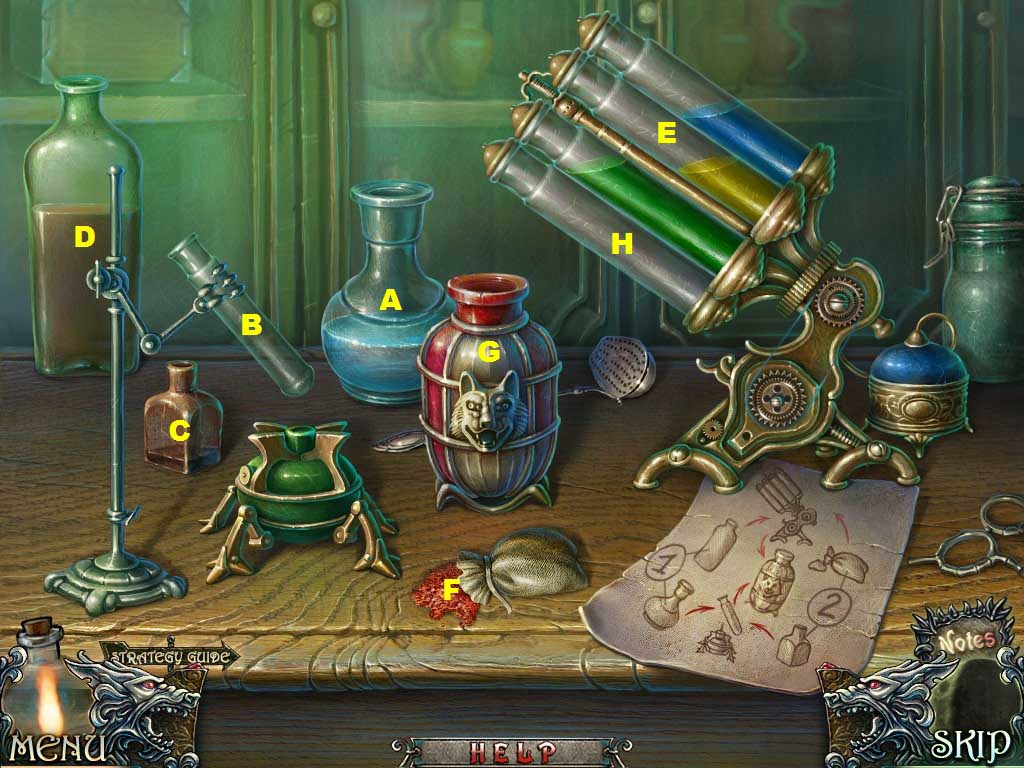
- Follow the recipe on the table.
- Place the liquid in the bottle (a) into the test tube (b).
- Place the contents of the small bottle (c) into the tube (b).
- Place the contents of the bottle (d) into the test tubes (e).
- Place the powder (f) into the test tubes (e).
- Place the contents from test tube (b) into bottle (g).
- Place the red test tubes content (h) into the bottle (g).
- Collect the elixir.
- Walk down.
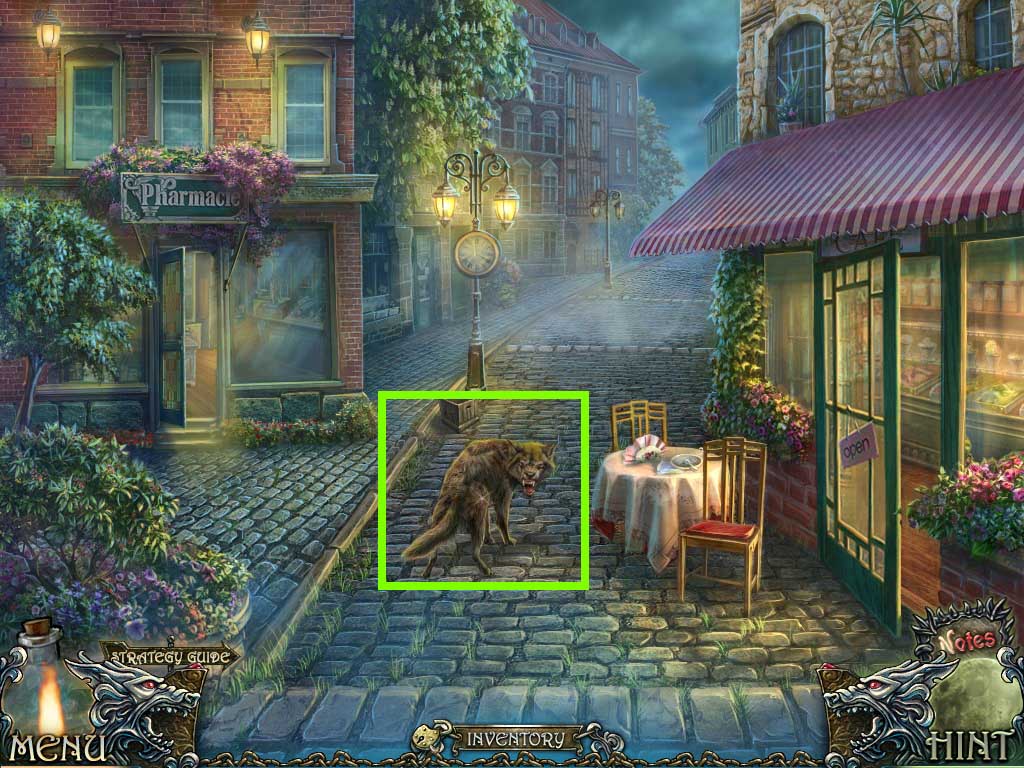
- Click the wolf.
- Walk down two times and go into the right door.
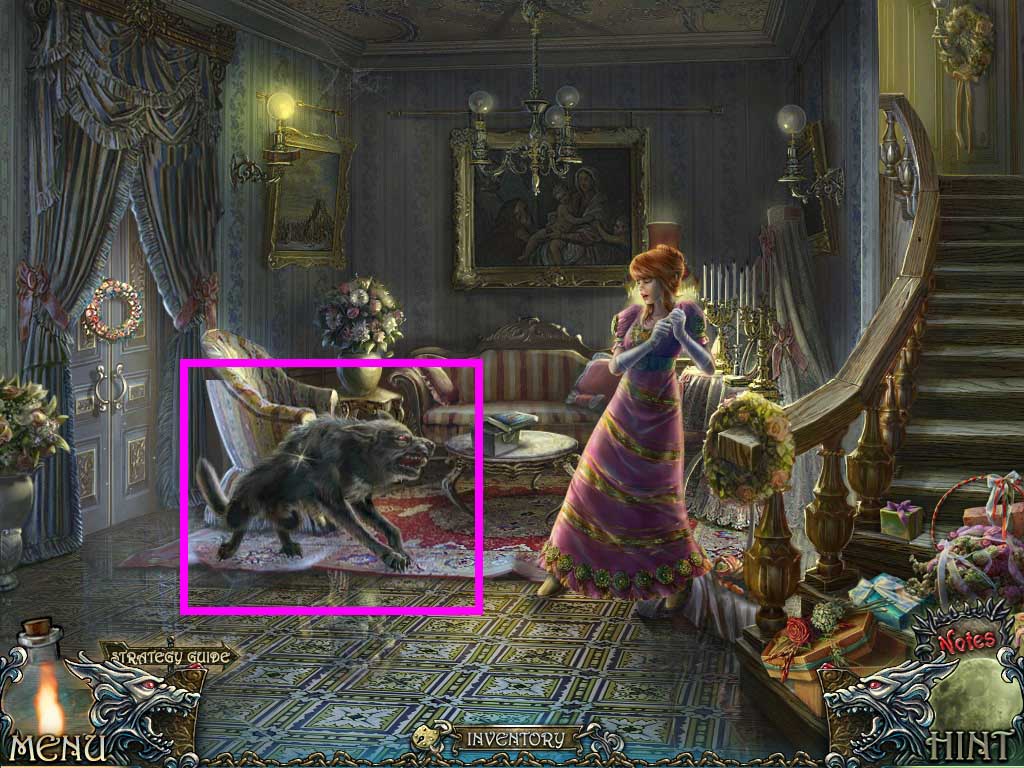
- Use the elixir on the wolf.
Congratulations! You have successfully completed Shadow Wolf Mysteries: Cursed Wedding.
Comments will load when you reach this part of the walkthrough.