

Chapter Two: Weapons
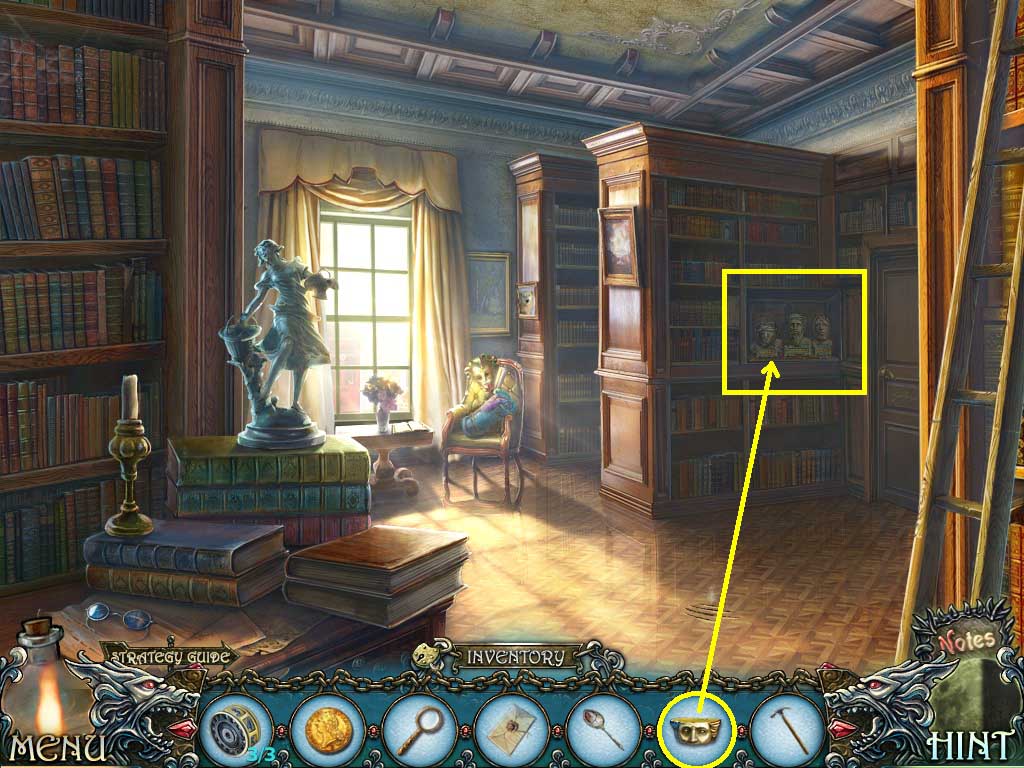
- Zoom into the bust on the bookshelf.
- Place the Pythagoras head onto the shelf.
- A puzzle will trigger.
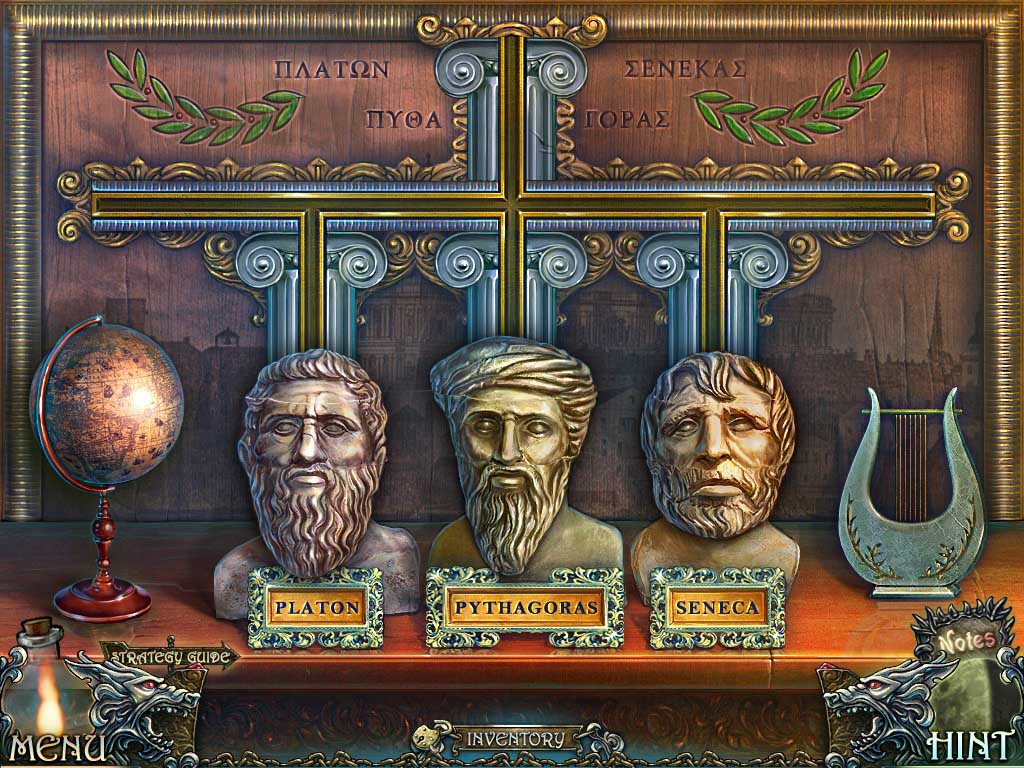
- Arrange the bust in the correct order.
- Solve as shown above.
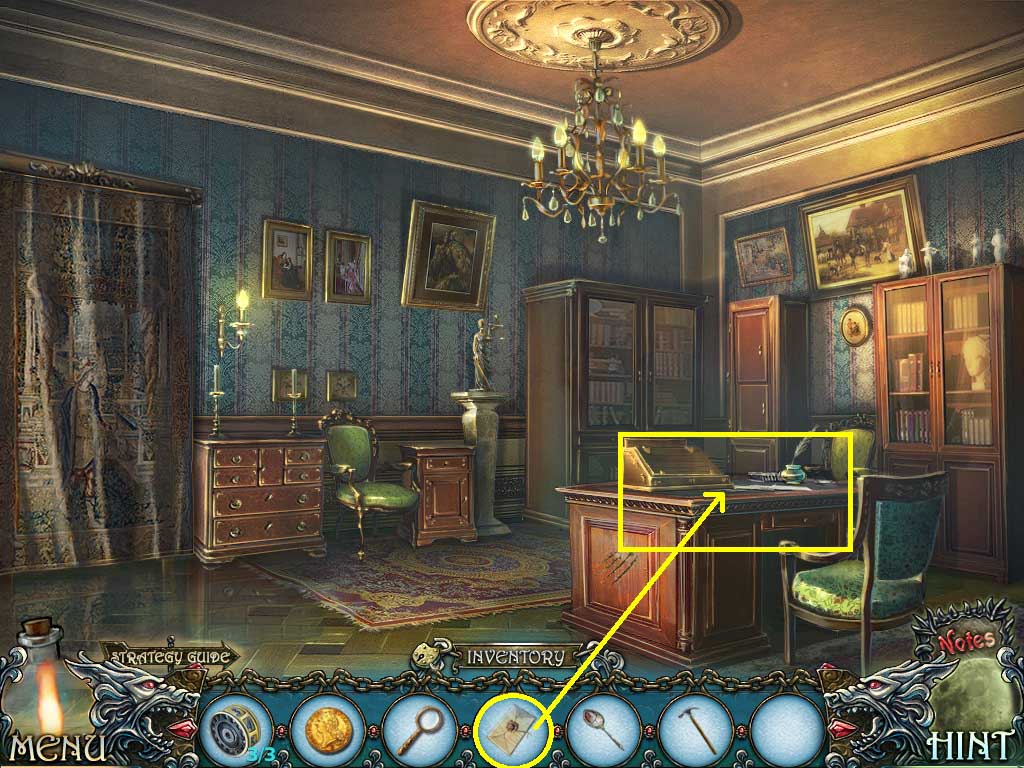
- Go through the door on the right.
- Click the desk.
- Place the envelope on it.
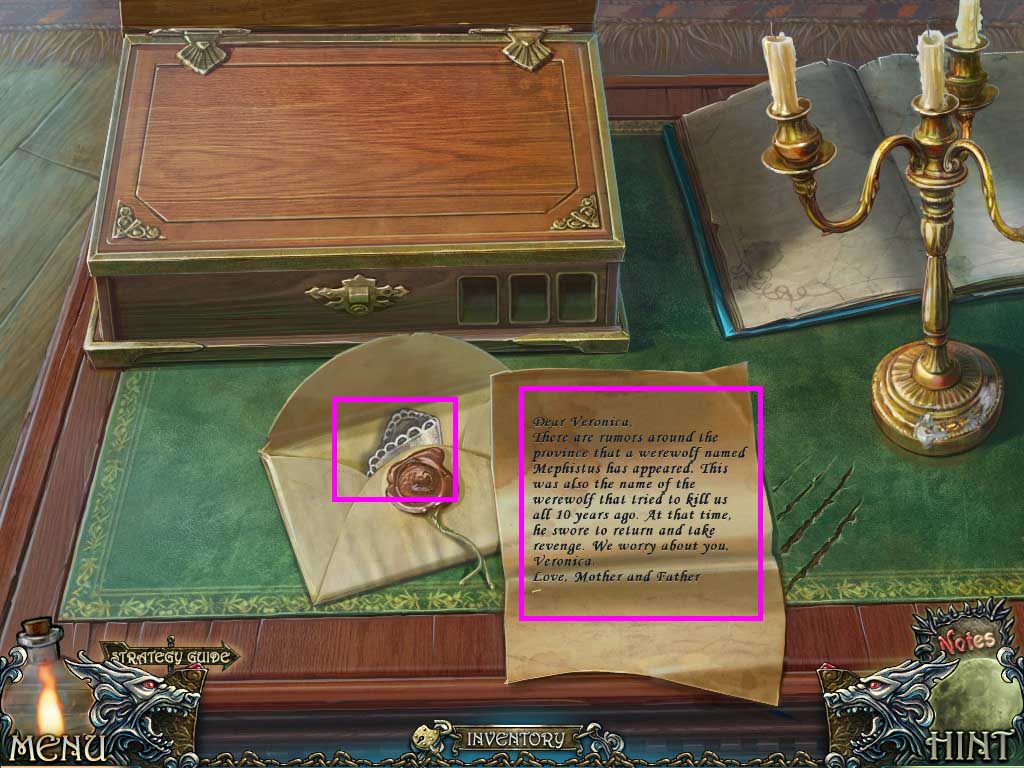
- Use the letter opener to open the letter.
- Collect the note.
- Collect the handkerchief.
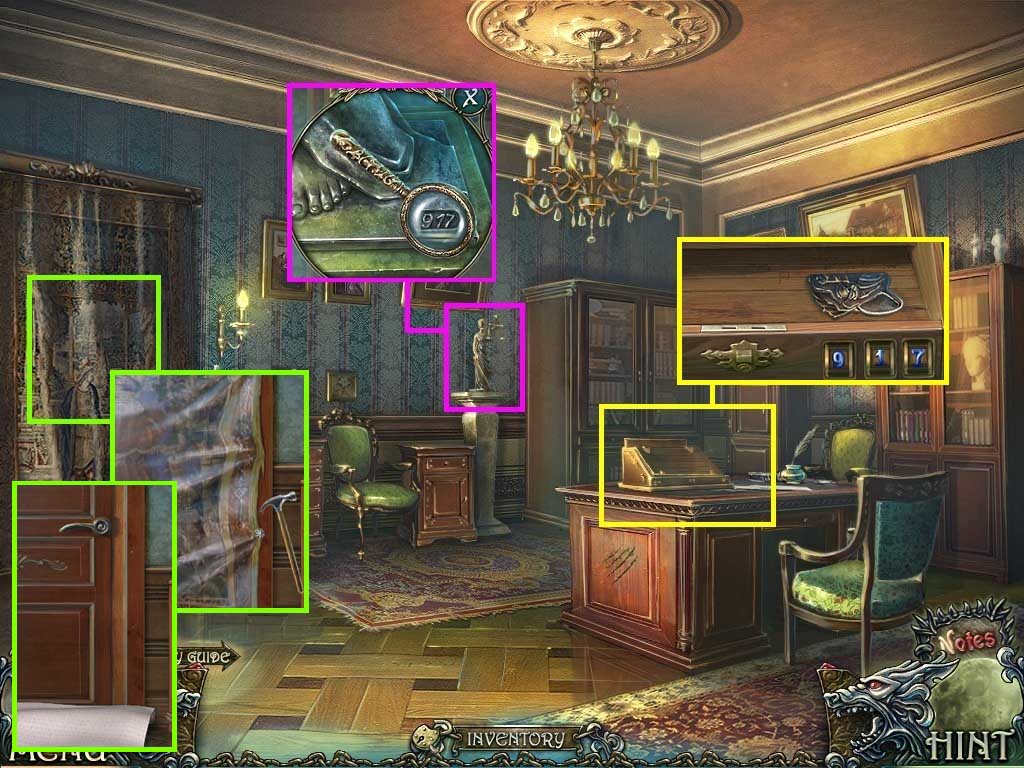
- Click the statue.
- Clean the dust with the handkerchief.
- Use the magnifying glass to get the code.
- Click the desk.
- Place the number wheels into the slots on the box.
- Enter the code: 9 – 1 – 7.
- Collect the wolf head.
- Click the tapestry.
- Use the hammer to remove the nails.
- Click the door and go through it.
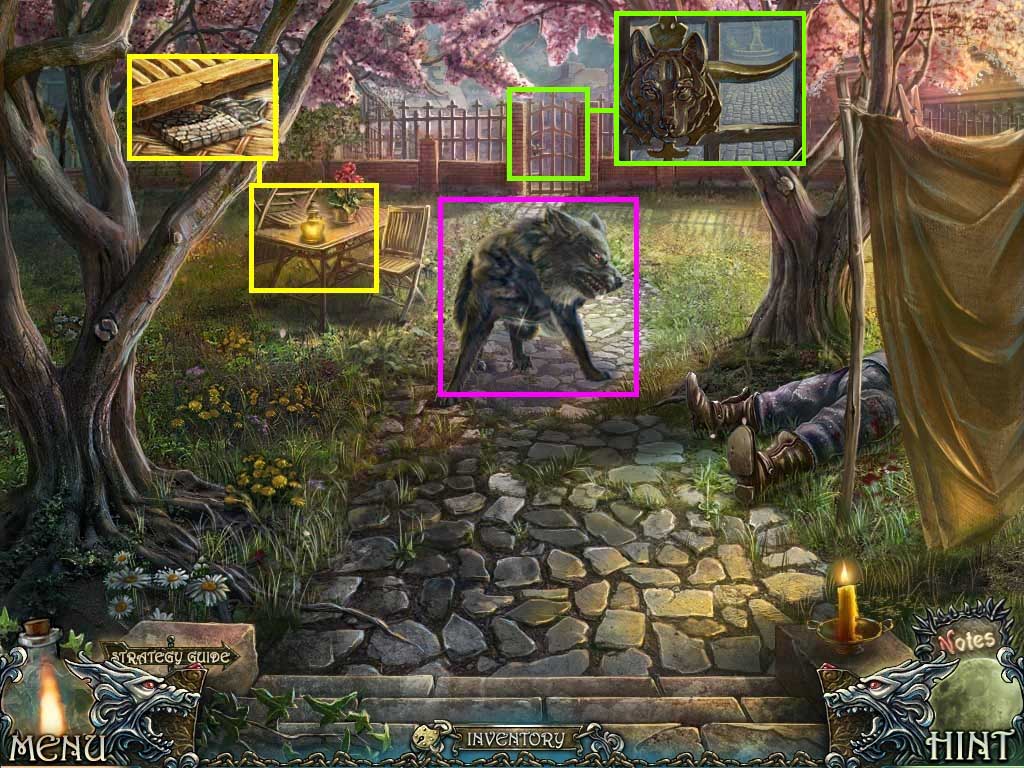
- Click the wolf.
- Click the table.
- Collect the mosaic piece.
- Collect the wolf head half.
- Click the gate.
- Insert the wolf head pieces into the grooves.
- Go into the gate.
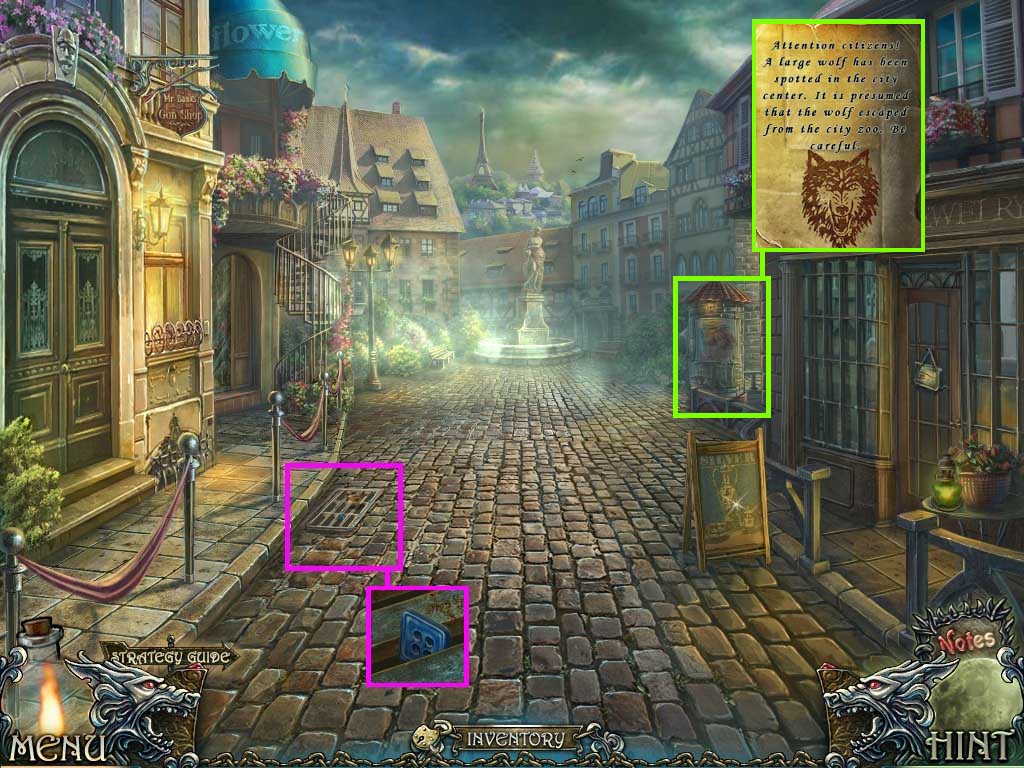
- Click the grate.
- Collect the button.
- Click the sign post.
- Collect the note.
- Go ahead and turn right to the funicular station.
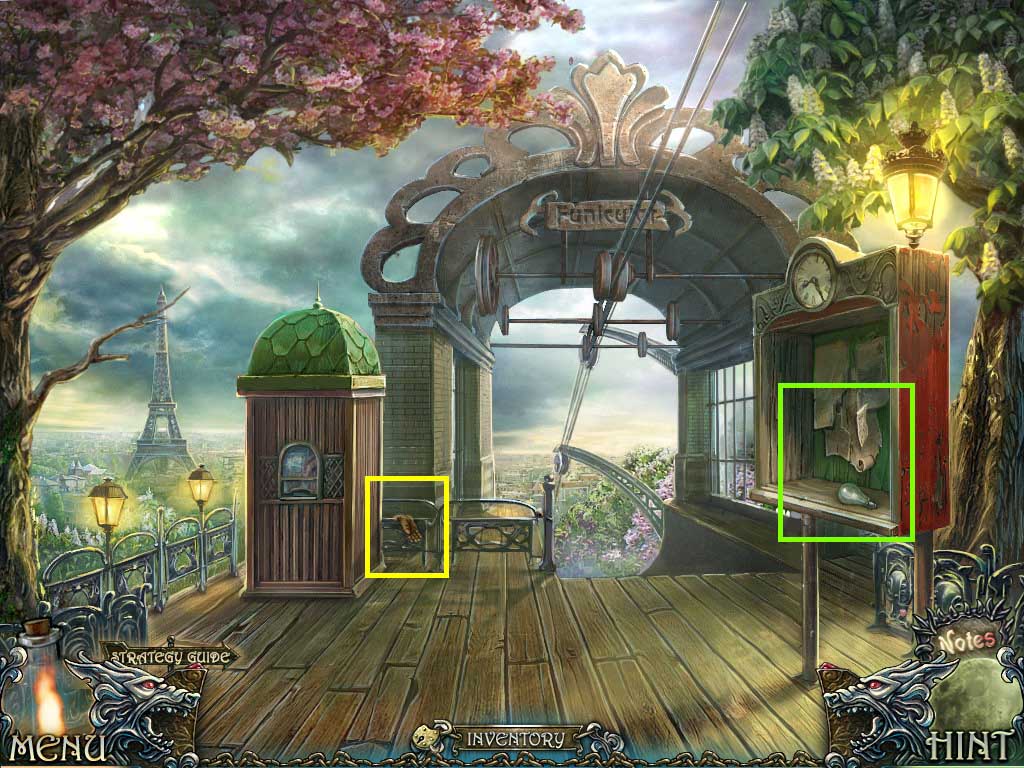
- Click the railing.
- Collect the glove.
- Click the board.
- Collect the bulb and the note.
- Walk down.
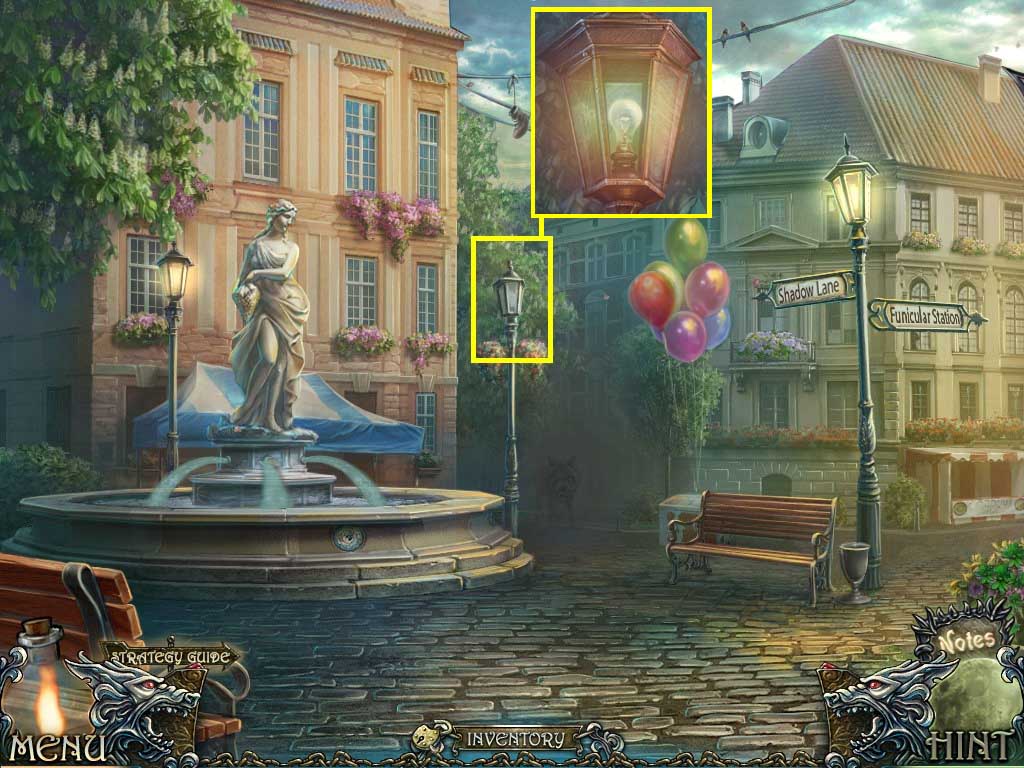
- Click the lamppost.
- Click the cover.
- Insert the bulb.
- Go forward.
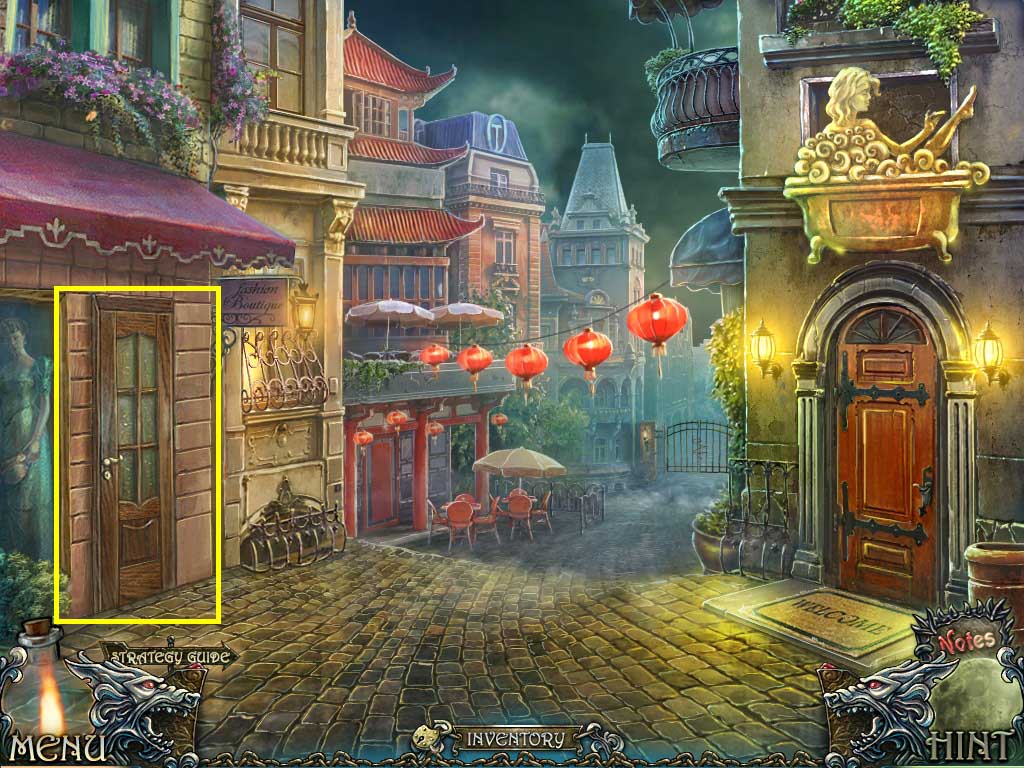
- Click the door.
- Enter through it into the boutique.
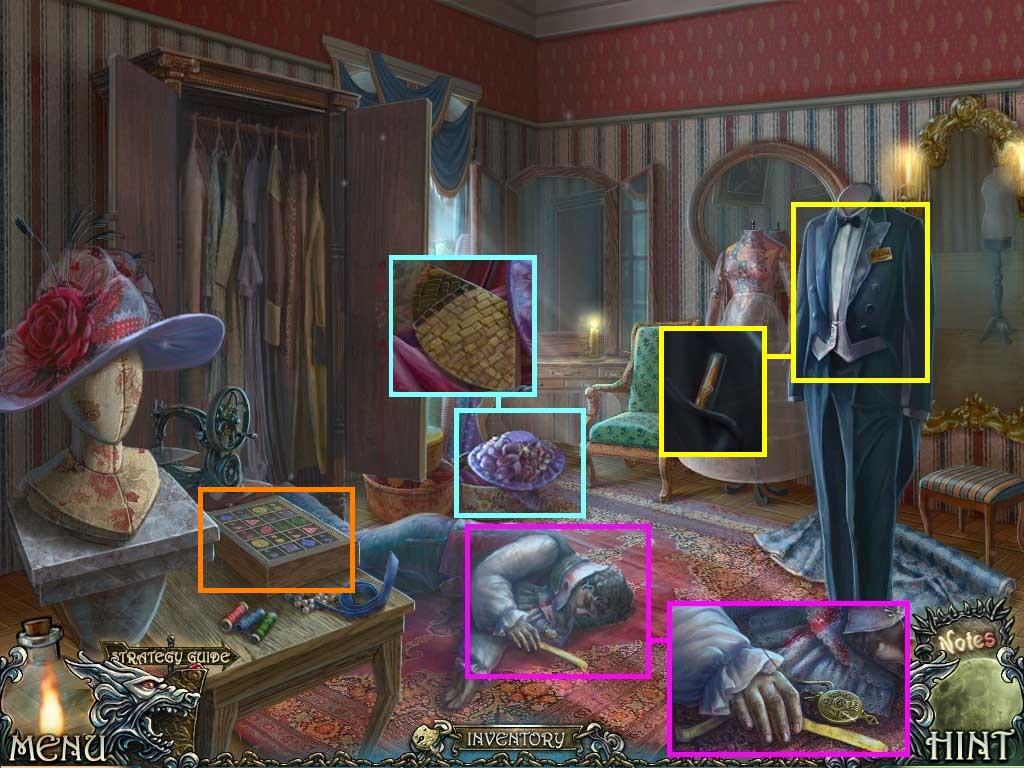
- Click the armoire.
- Click the man.
- Collect the medallion.
- Click the hat box; click the top.
- Collect the mosaic piece.
- Click the tux.
- Click the jacket; collect the cigar.
- Click the box.
- Insert the button into it to trigger a puzzle.
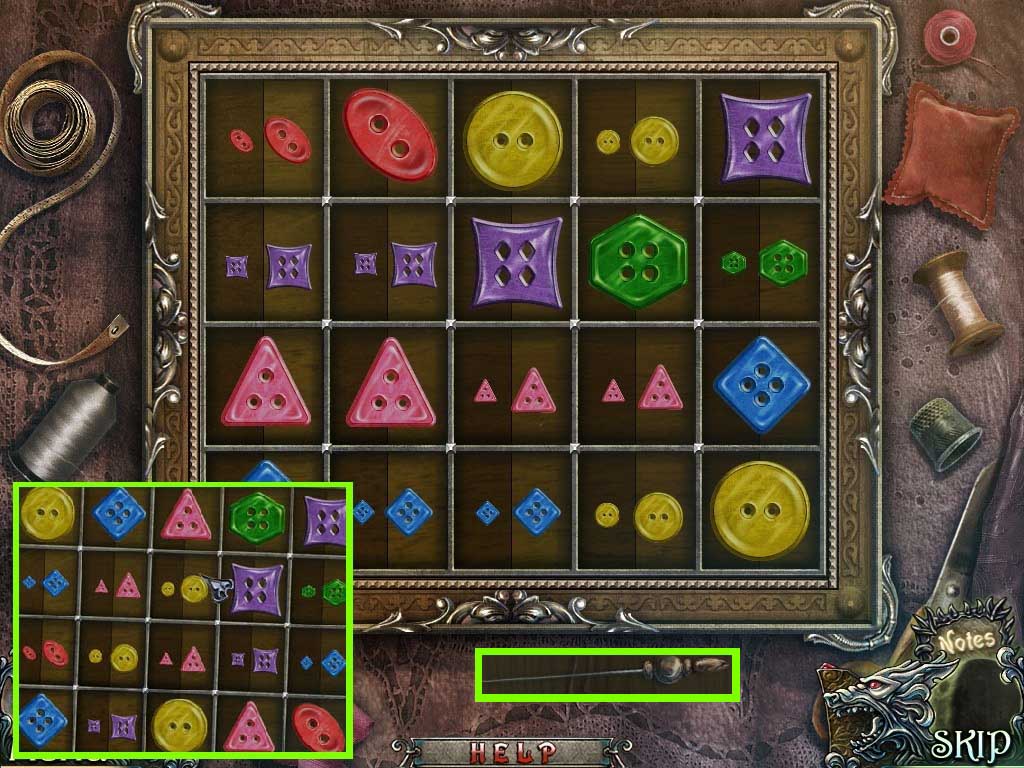
- Solve as shown above.
- Make sure that each row has unique shapes that do not duplicate.
- Collect the sewing pin.
- Walk down two times.
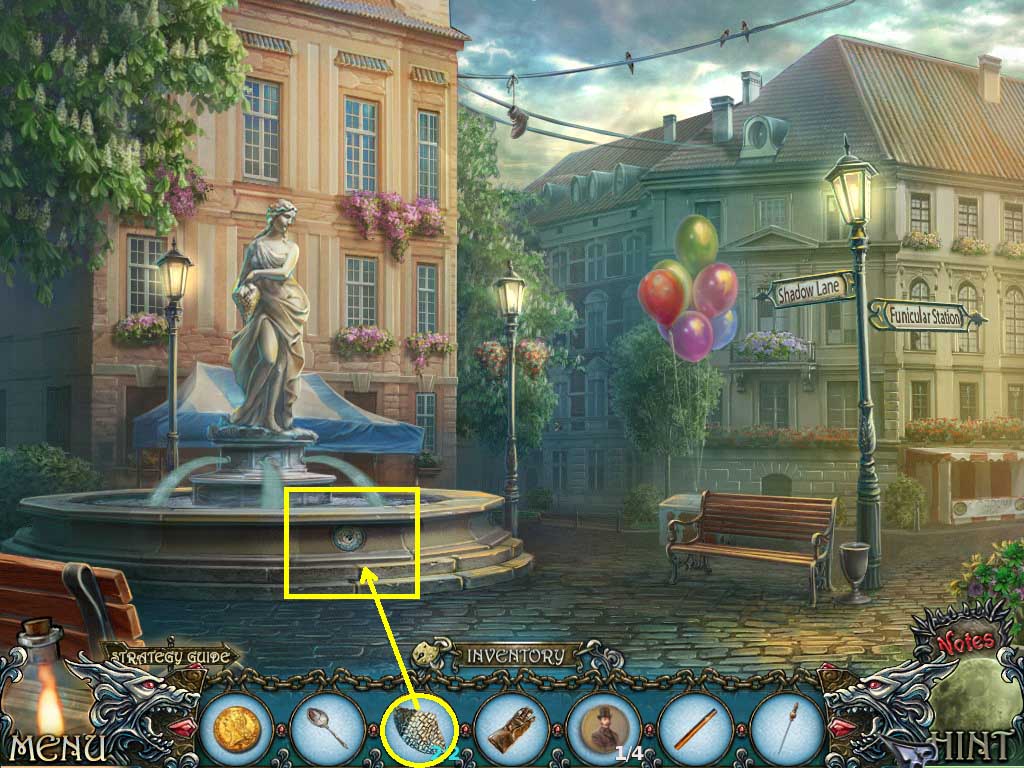
- Click the fountain.
- Insert the mosaic pieces to trigger a puzzle.
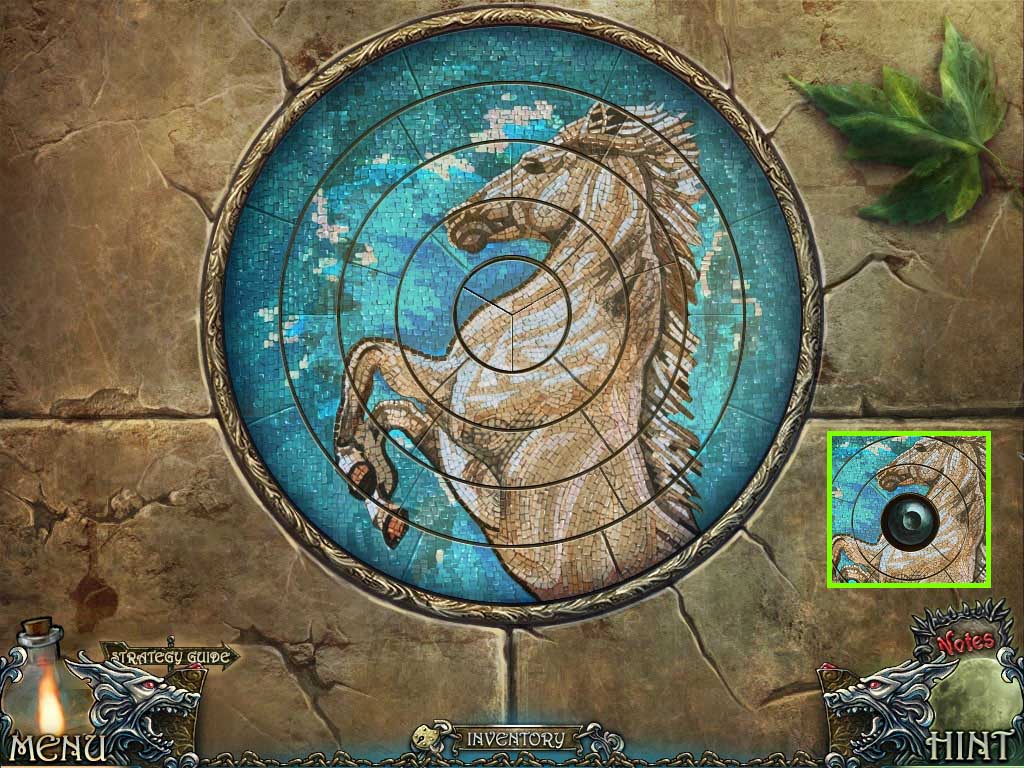
- Solve as shown above.
- Collect the glass eye.
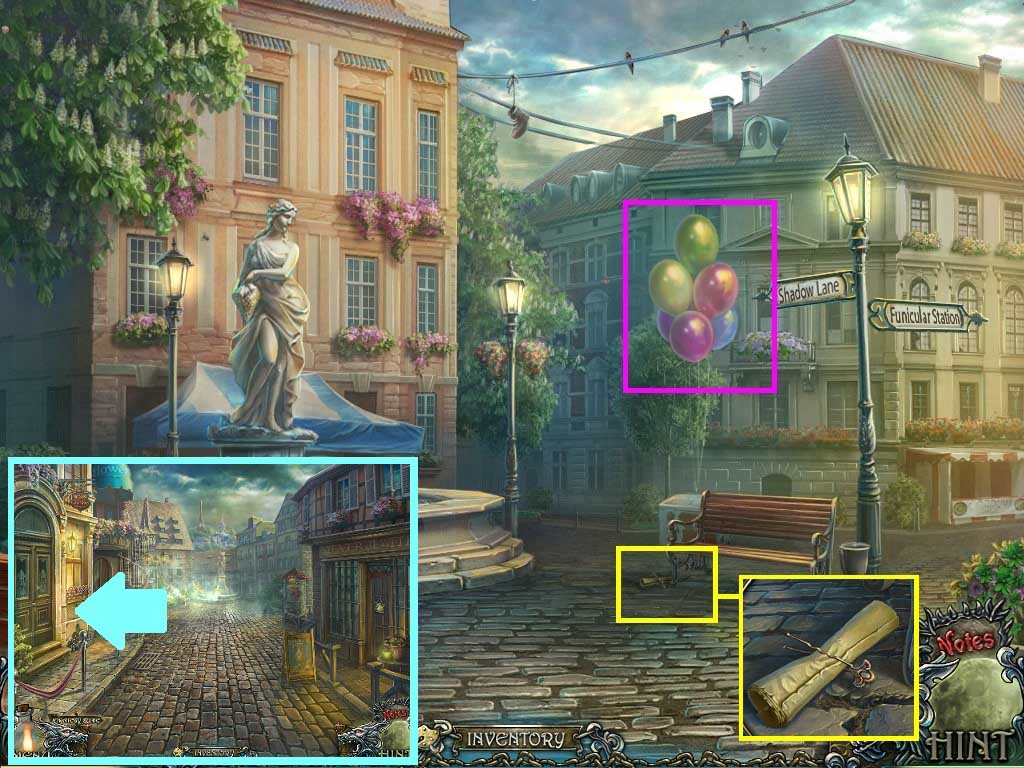
- Click the balloons.
- Pop them with the sewing pin.
- Click the ground; collect the pin and note.
- Walk down; click the door on the left and enter.
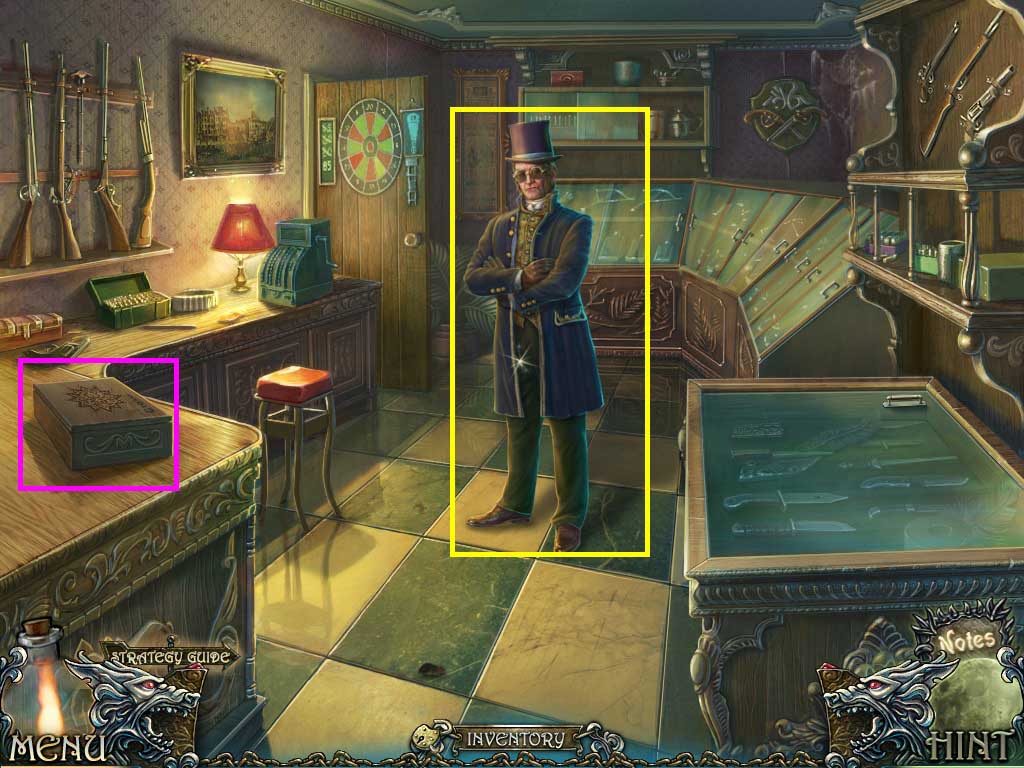
- Click Mr. Banks.
- Click the cigar box.
- Click the top.
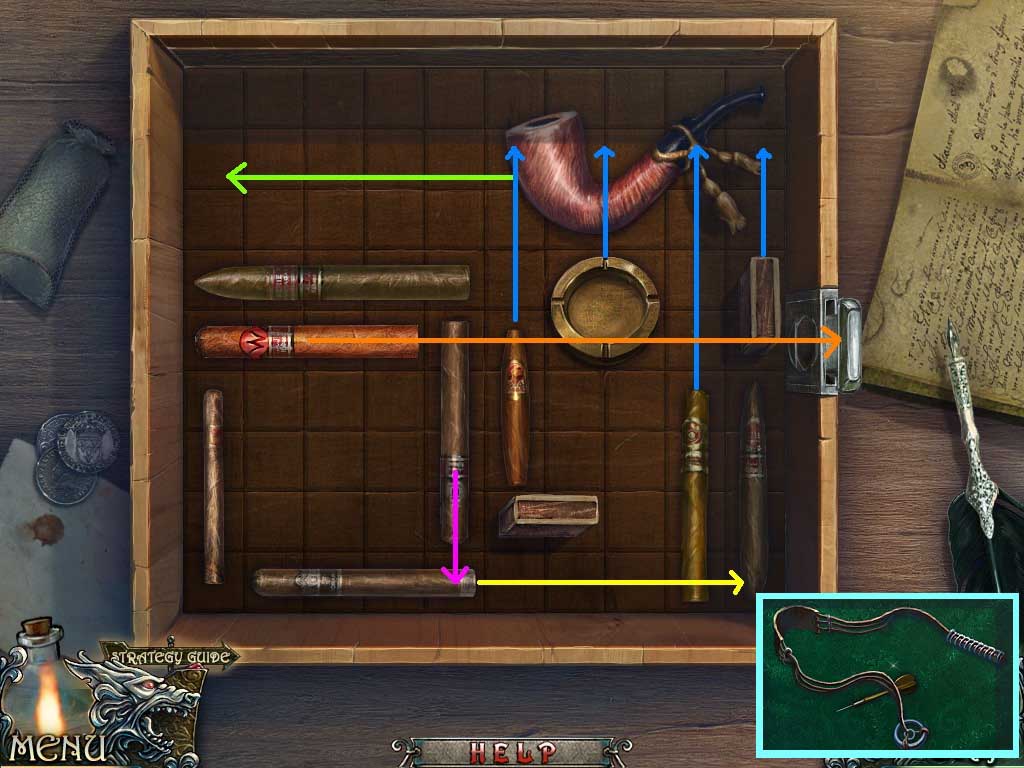
- Place the cigar onto it to trigger a puzzle.
-
Solve the puzzle following this sequence of movement in the order shown below:
- 1. Green
- 2. Blue
- 3. Yellow
- 4. Pink
- 5. Orange
- Collect the dart and sling.
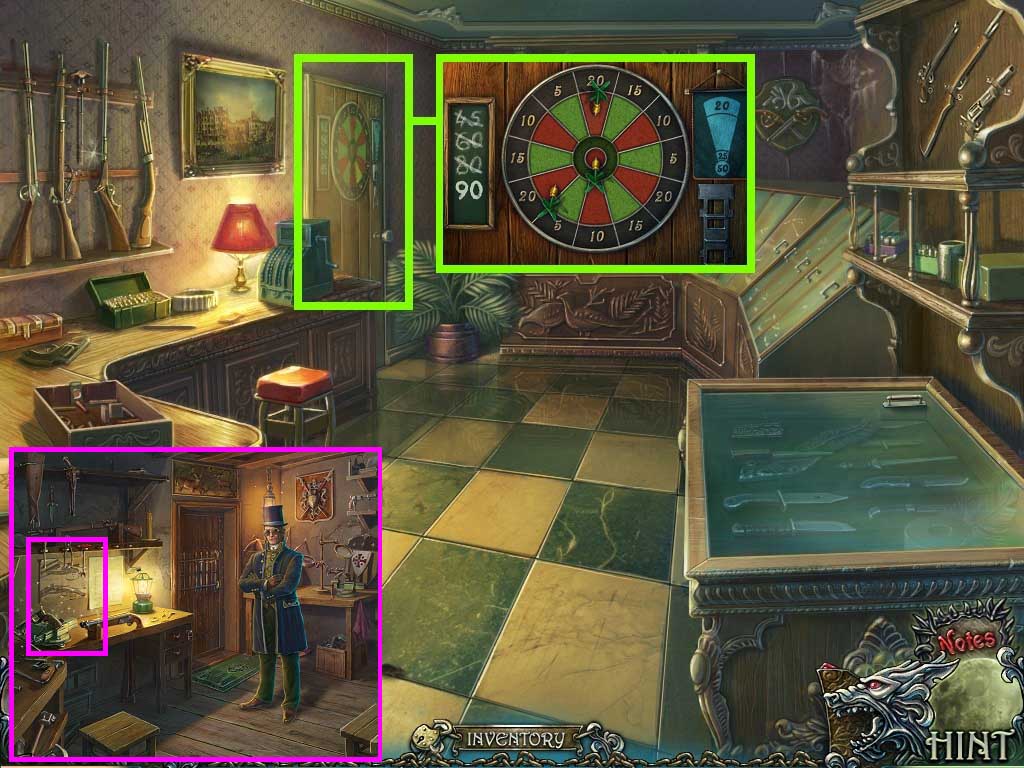
- Zoom into the door; insert the dart into the holder.
- A puzzle will trigger.
- Solve as shown above.
- Go into the door to enter Mr. Banks’ office.
- Click Mr. Banks.
- Click the hidden objects area.
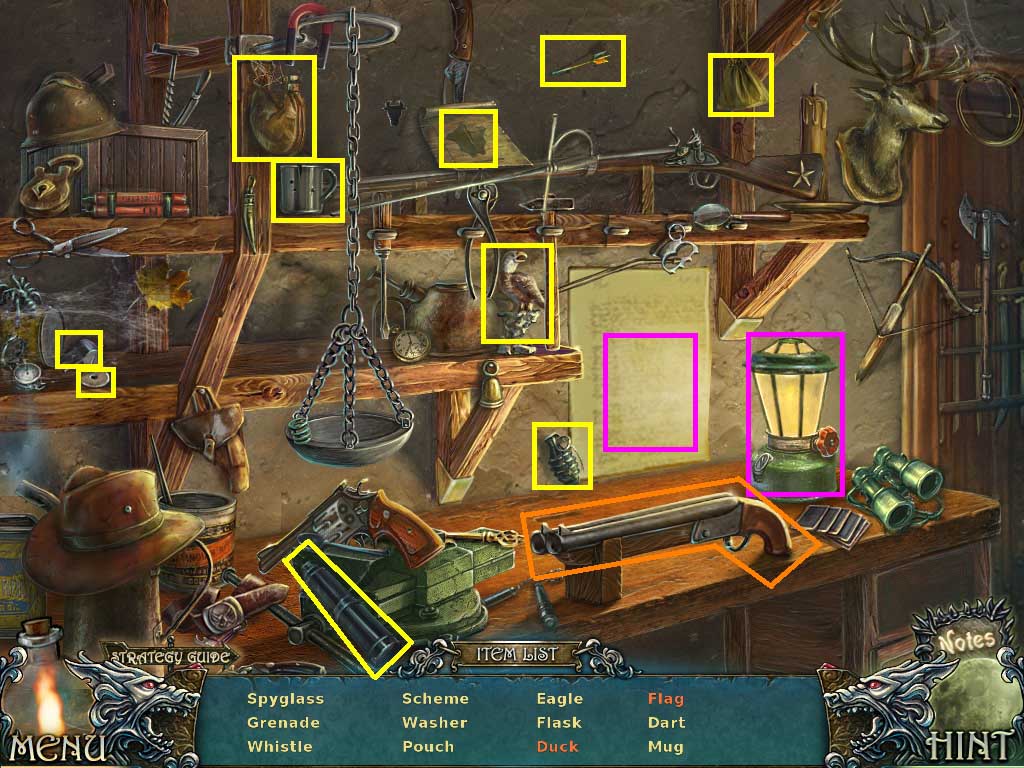
- Find the listed objects.
- Collect the scheme.
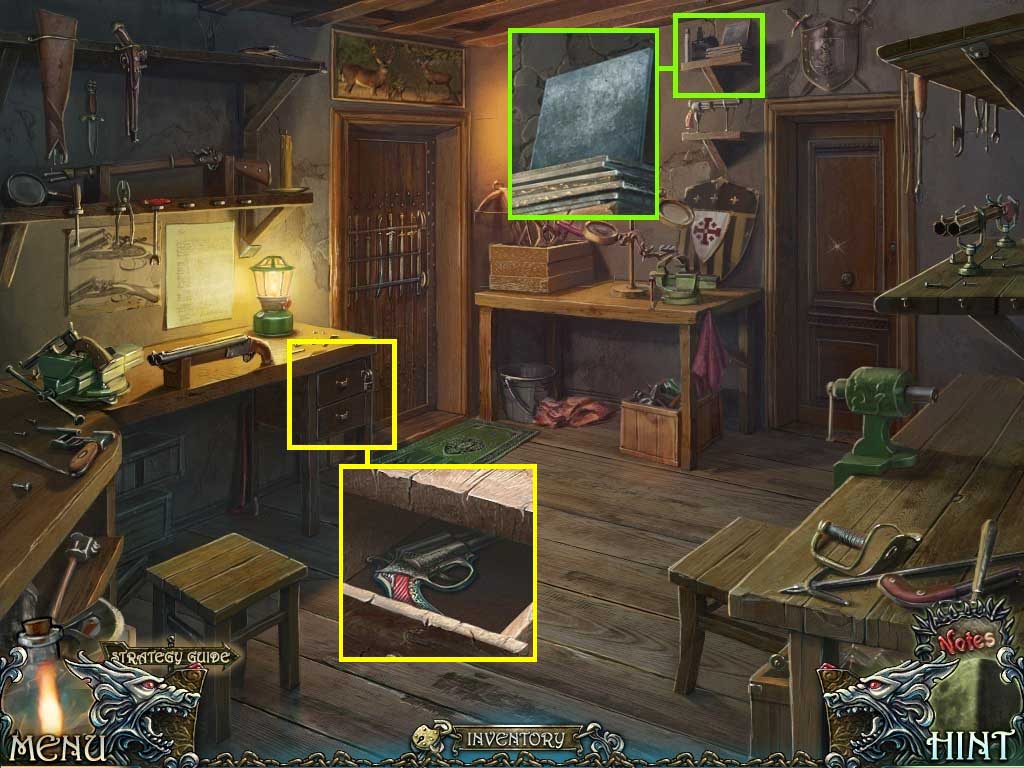
- Click the shelf.
- Collect the steel sheet.
- Click the desk drawer.
- Use the pin to open the lock.
- Open the drawer; collect the gun.
- Walk down.
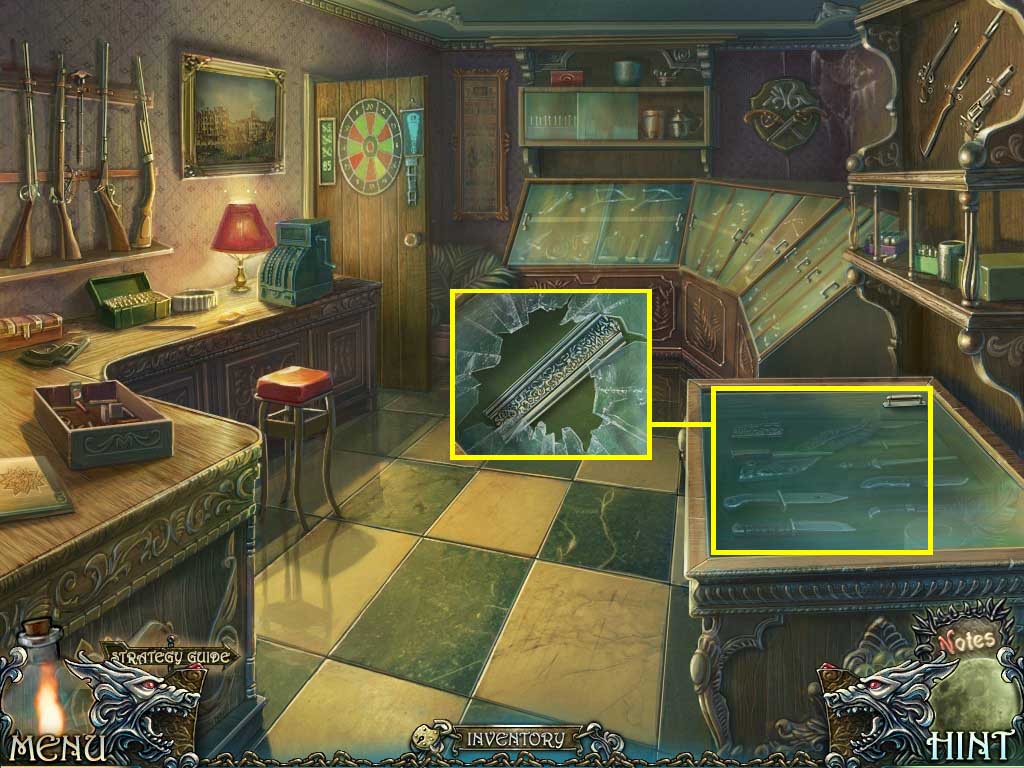
- Click the glass case.
- Use the gun to break it.
- Use the glove to collect the sword piece.
- Go into Banks’ office.
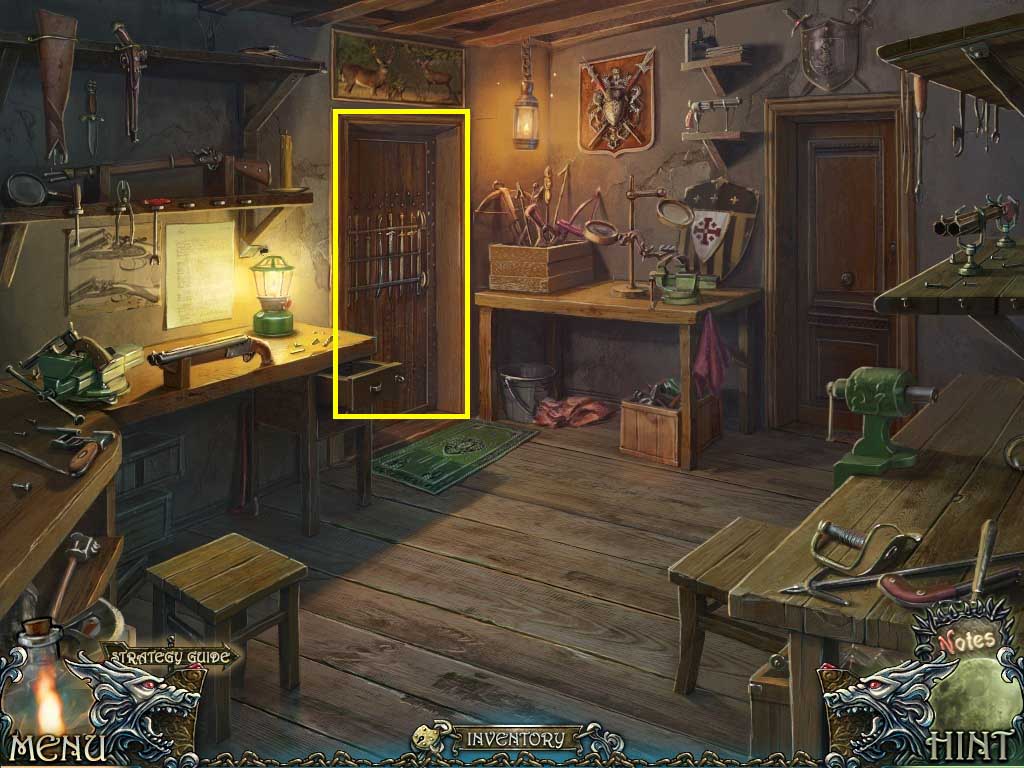
- Click the door.
- Insert the sword piece to trigger a puzzle.
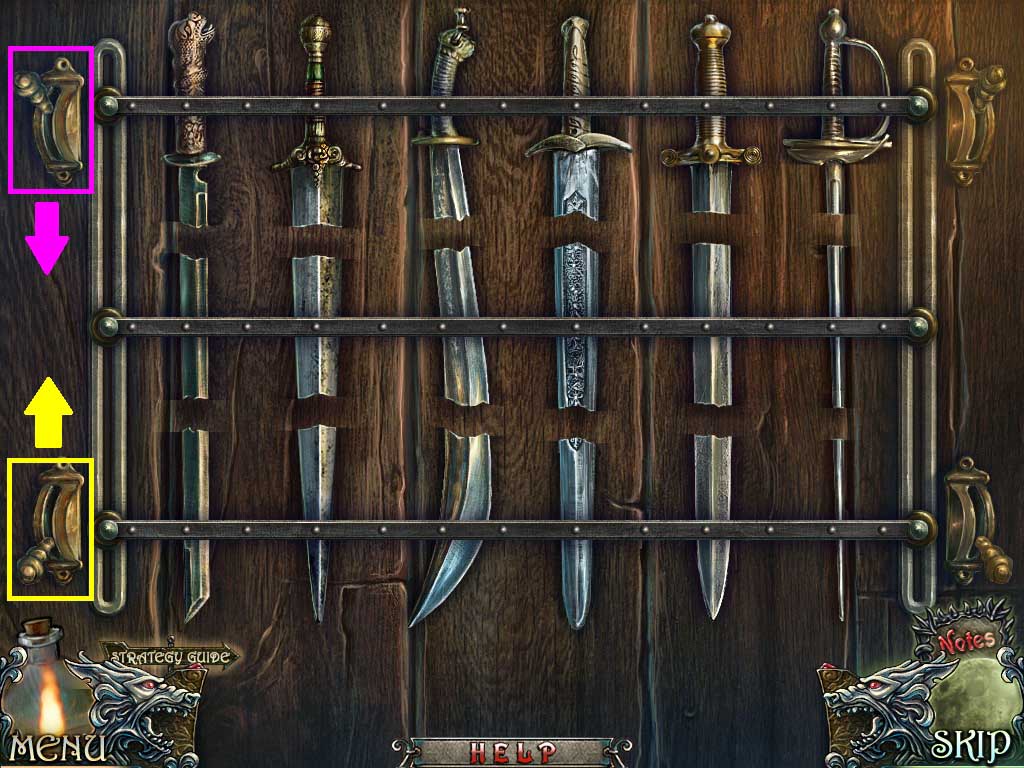
- Arrange the swords as shown above.
- Click the levers to open the door.
- Go through the door.
Comments will load when you reach this part of the walkthrough.