
Chapter Nine: The Final Confrontation
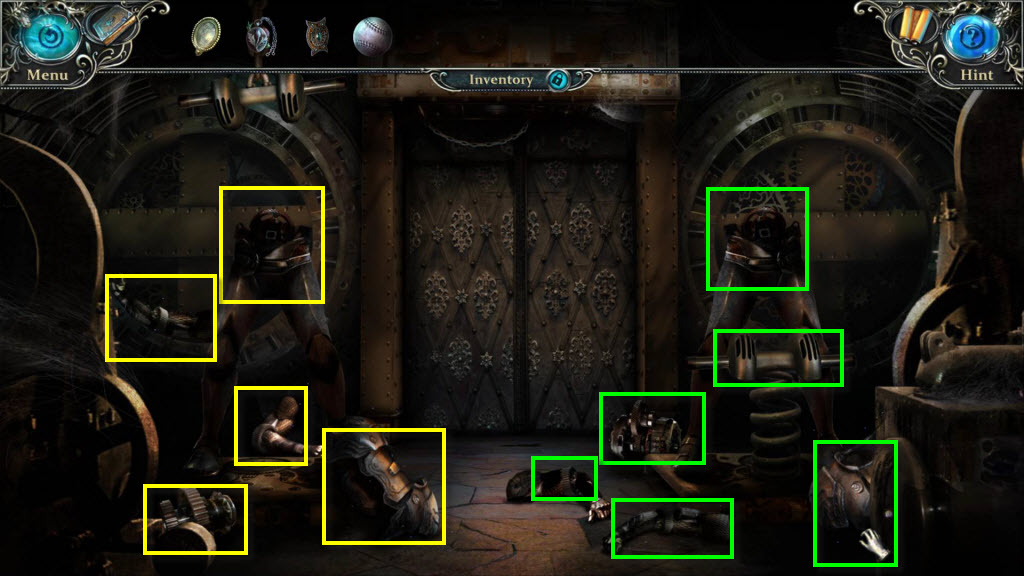
Start by rebuilding the robots. Use the paper in your notebook to match each robot to its final pose, then place the loose parts on the correct figures. Once the setup is right, collect the items here and move on.
- Place the robot pieces.
- Use the notebook paper to match the final poses.
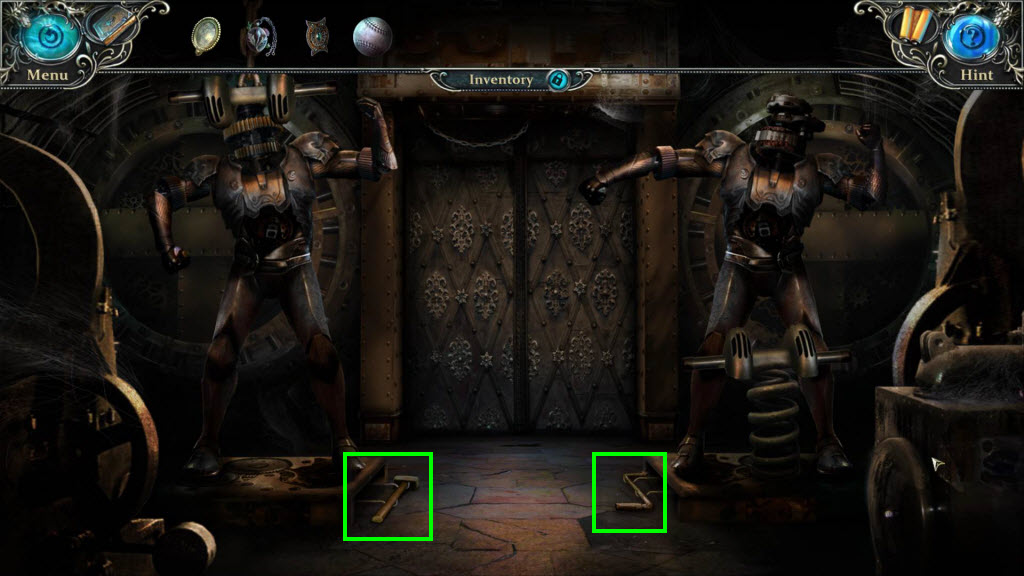
- Take the Mallet.
- Take the Handle.
- Go forward.
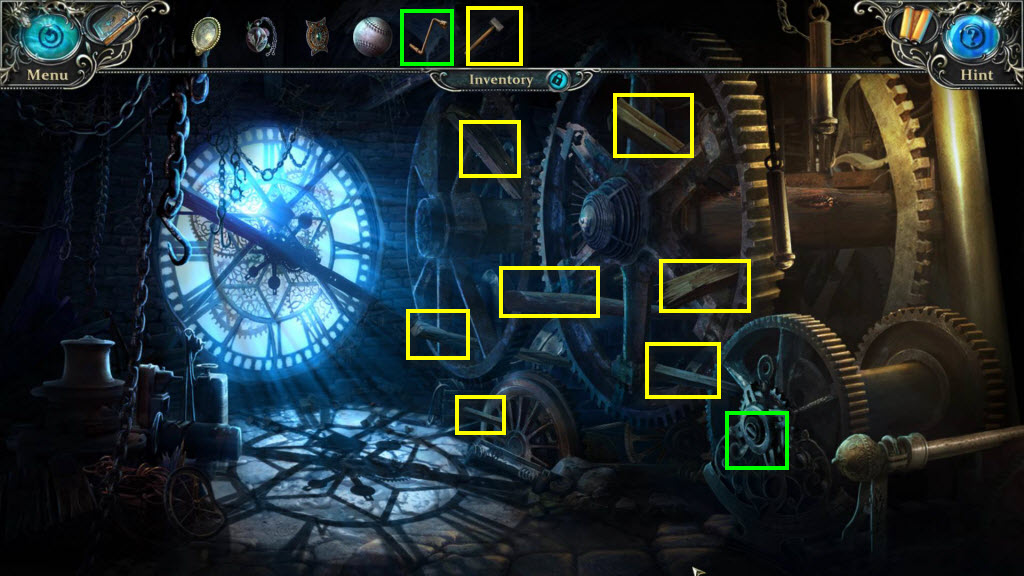
Fix the clock next. Put the Handle on the gear, then use the Mallet on the wood beams jammed in the mechanism. If the demon knocks you back during this part, go back into the room and keep working until the clock is repaired.
- Use the Handle on the gear.
- Use the Mallet on the wood beams stuck in the gears.
- Repair the clock after you re-enter the room.
- Return to the hand when you are done.
- Take the Founder's Hand.
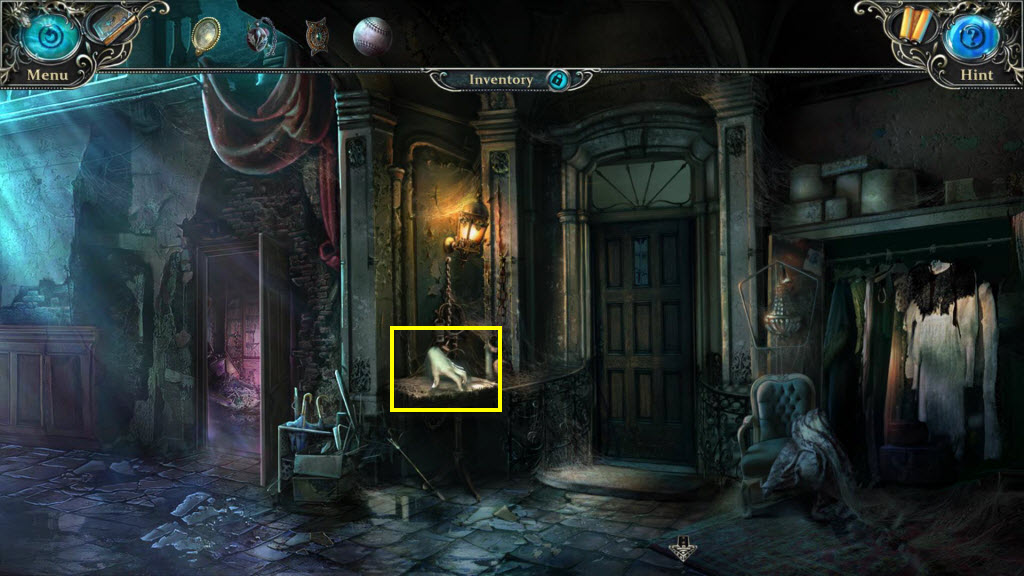
- Go to the room under the stairs and head down the trap door.
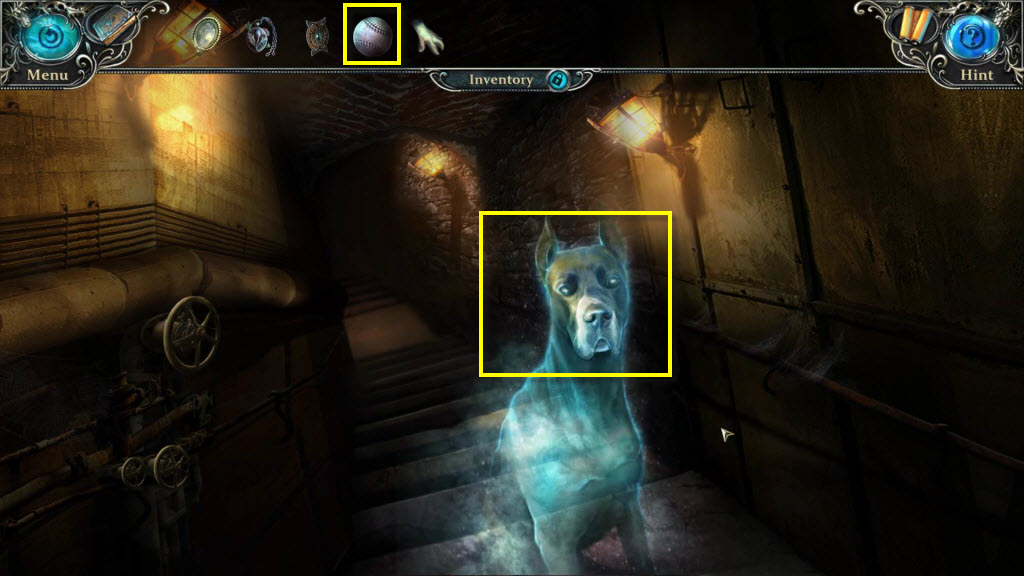
- Use the Ball on the dog.
- Go forward.
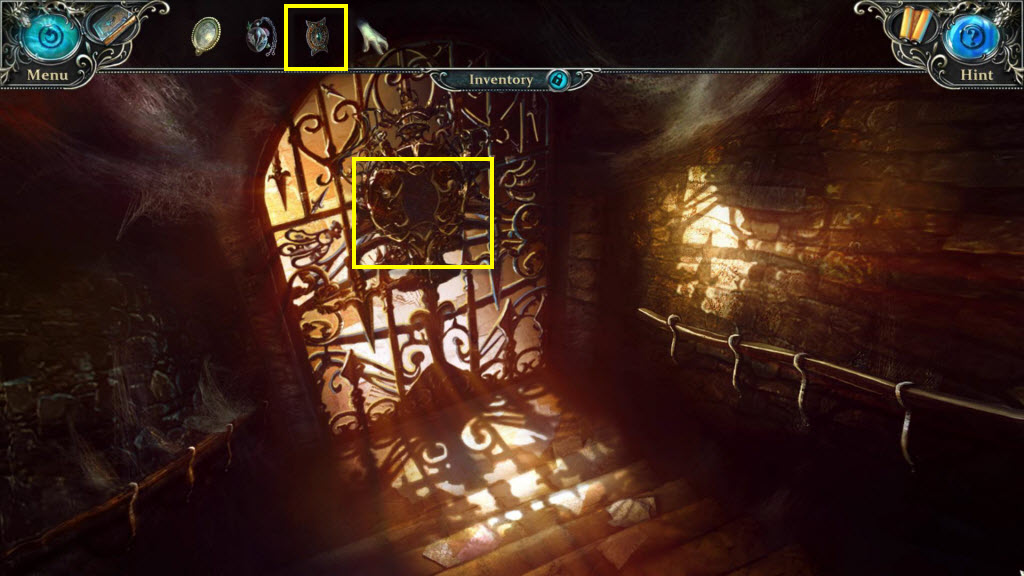
- Use the Ancient Order Medal on the door.
- Go forward.
Mirror and the Demon Puzzle Solution
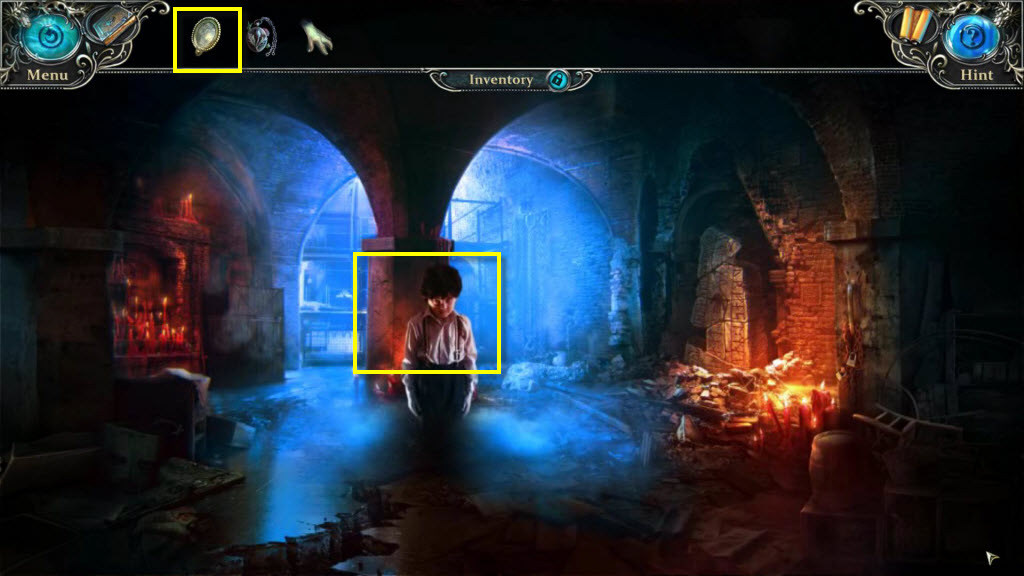
If you are looking for the mirror and the demon puzzle solution, the key is using the items in the right order. First, use the Exorcist's Mirror on the boy. After that, use the Prepared Medallion on the demon.
- Use the Exorcist's Mirror on the boy.
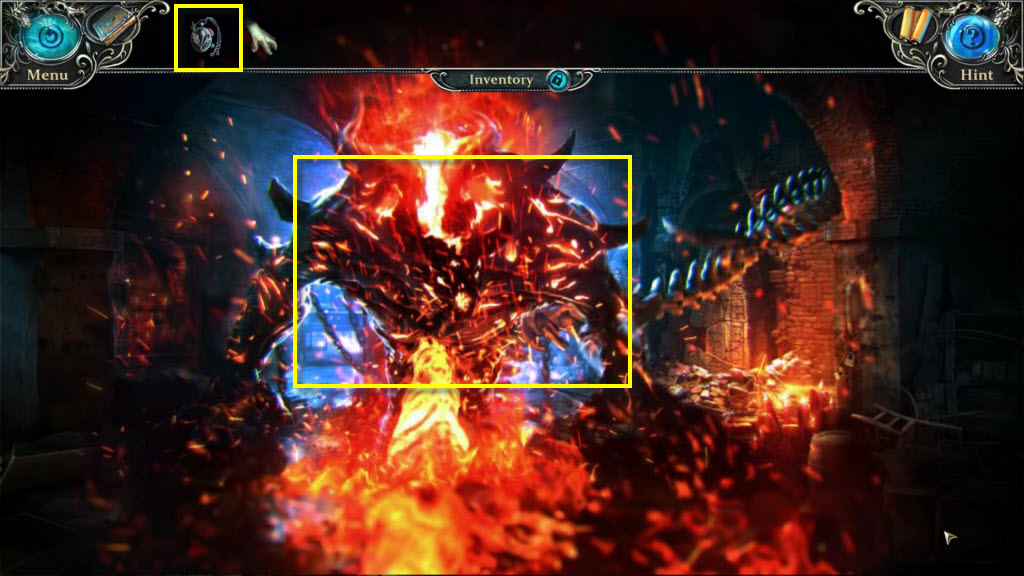
- Use the Prepared Medallion on the demon.
- If the demon knocks you back a screen, go forward again.
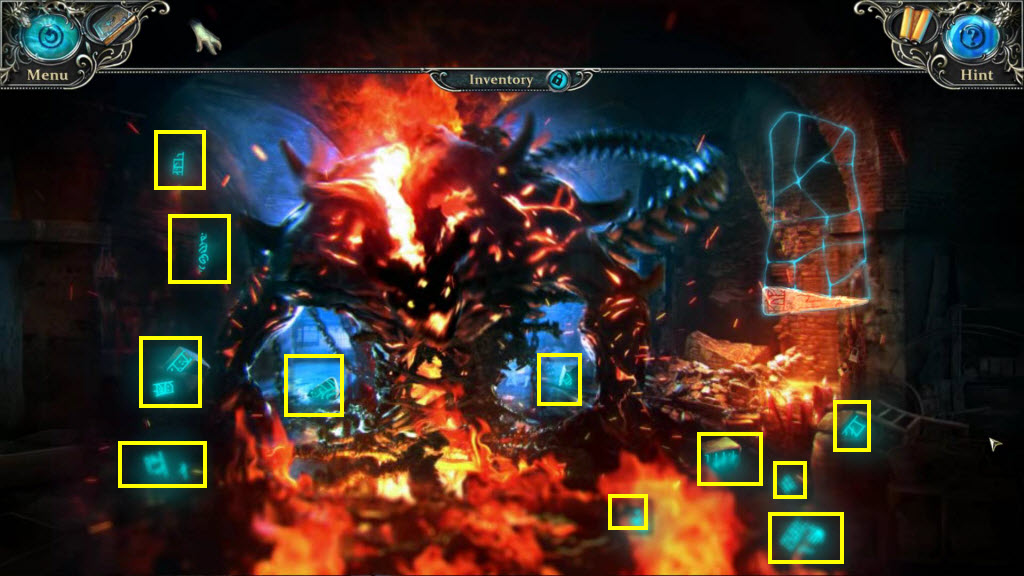
When you get back into the room, quickly click each symbol around the demon to assemble the paper before he throws you out again. This is the last step of the mirror and demon puzzle, so make sure you collect every symbol.
- Collect all of the symbols around the demon.
- Click every symbol to assemble the paper.

- Use the Founder's Hand on the stone.
- Go back upstairs to the room where the hand was chained.
- Go through the door.
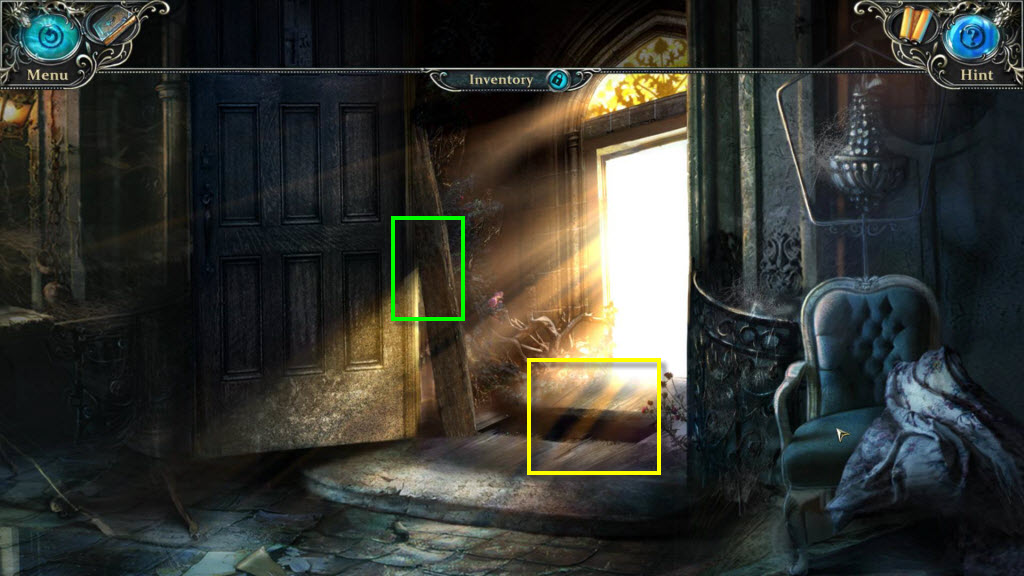
To finish the chapter, click the board and place it over the gap. Cross through the doorway to end Chapter Nine.
- Click on the board.
- Place it over the gap.
- Cross the doorway to finish the chapter.
Comments will load when you reach this part of the walkthrough.