

Chapter Seven: The Library & The Nanny's Room
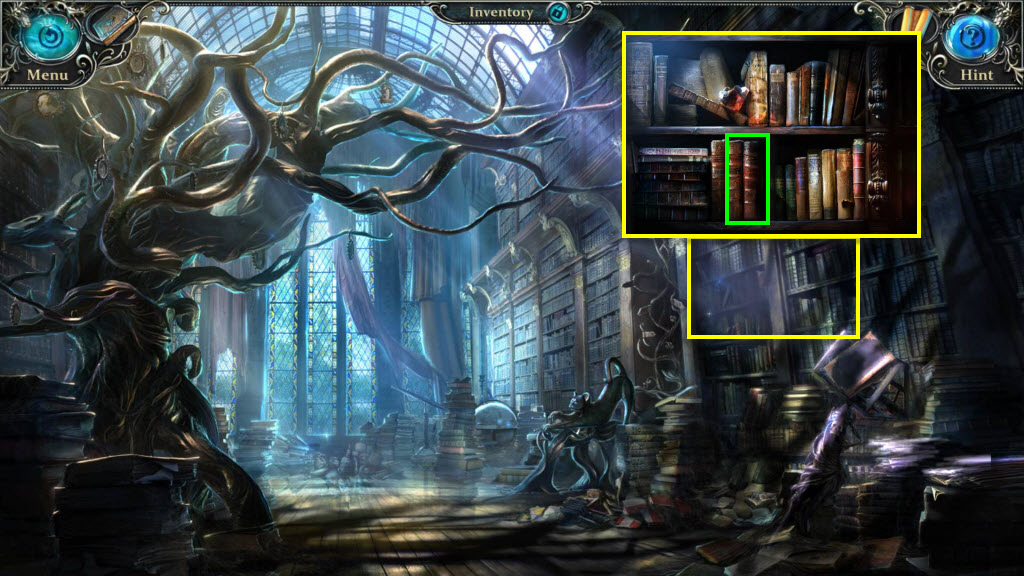
- Click on the books to zoom in.
- Click on the books until you find the right one.
- Click through the pages.
- Take the Demon's Name from the book.
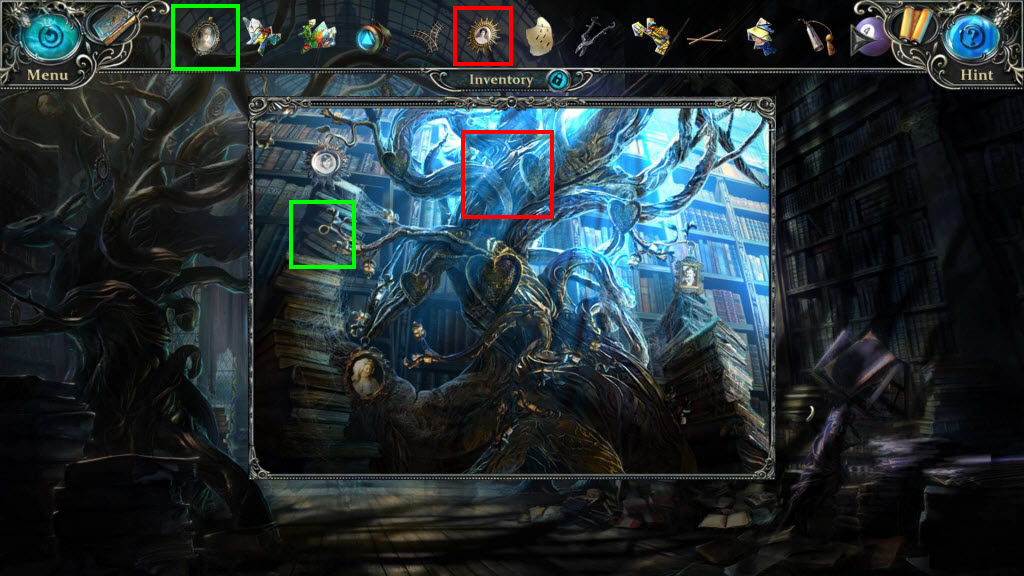
- Click to zoom in on the tree.
- Use the Ancestor's Portraits on the tree.
- Zoom out and then click on the sparkles to play the hidden object game.
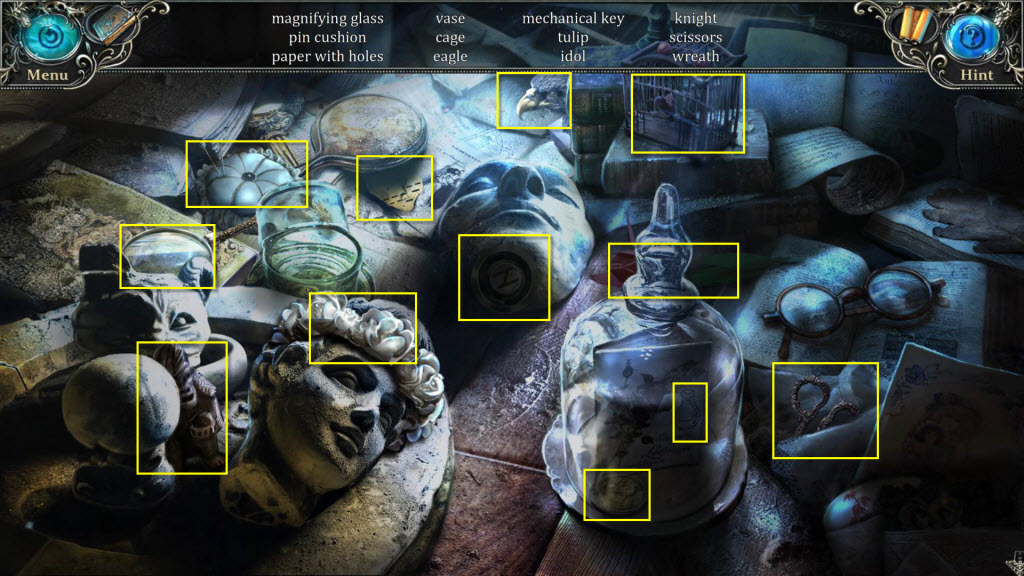
- Find all the items on the list.
- You will receive the Mechanical Key and the Paper with Holes.
- Go back downstairs to the Billiard Room.
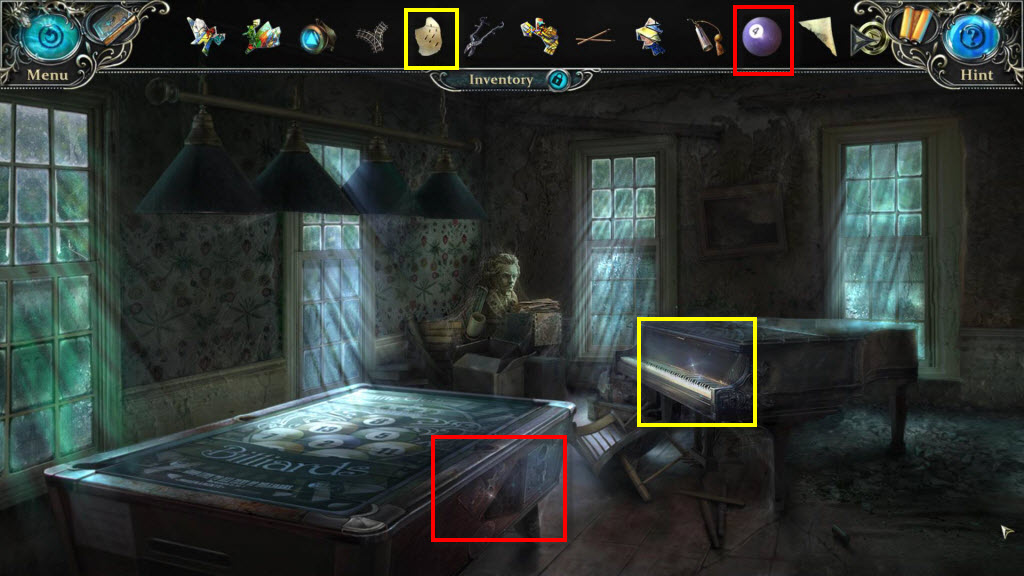
- Click to zoom in on the billiard table.
- Use any Billiard Balls you have on the table.
- Click to zoom in on the billiard table.
- Click on the top of the table.
- Click on the stick and then use it on the billiard ball.
- Take the Stained Glass Fragment.
- Click to zoom in on the piano.
- Use any Paper with Holes on the paper.
- Click to take the paper and use it on the piano.
- Take the Stamp.
- Go back upstairs.
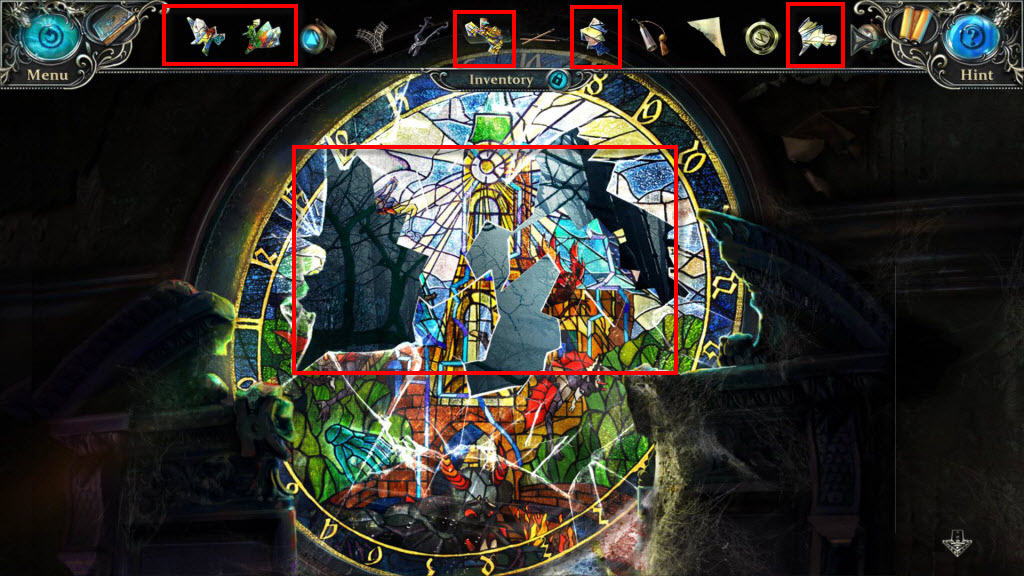
- Go forward one screen toward the stained glass.
- Use the Stained Glass Fragments on the window.
- Take the Stamp.
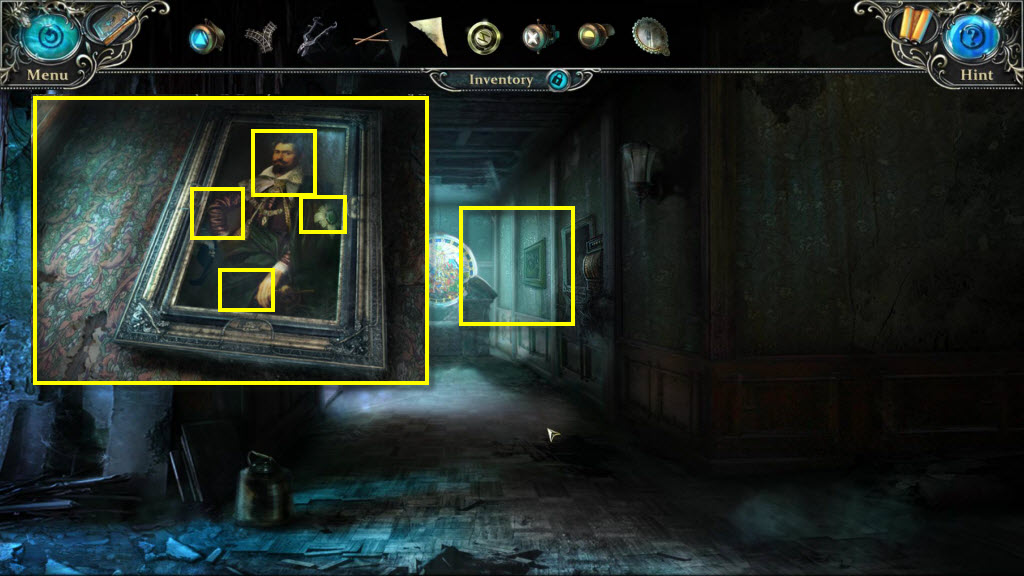
- Click on the painting to zoom in.
- Use the Spray Solution on the painting 4 times.
- Click on the wall next to the painting.
- Take the Silver Mirror.
- Go back to the hand.
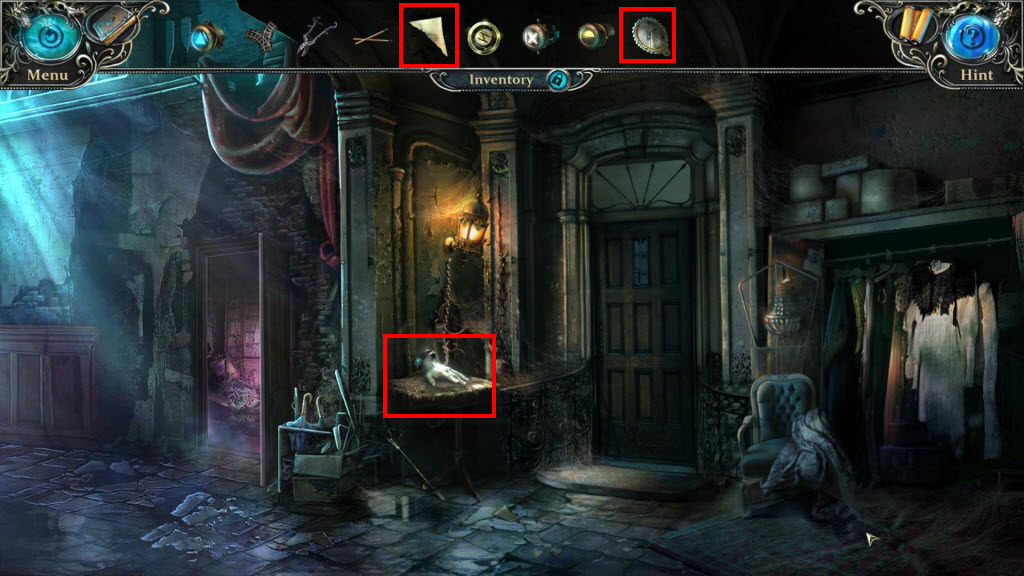
- Use the Silver Mirror and the Demon's Name on the hand.
- You will receive the Exorcist's Mirror.
- Use the Mechanical Key on the Hand.
- You will receive the Key to the Nanny's Room.
- Go back upstairs.
- Go to the left twice.
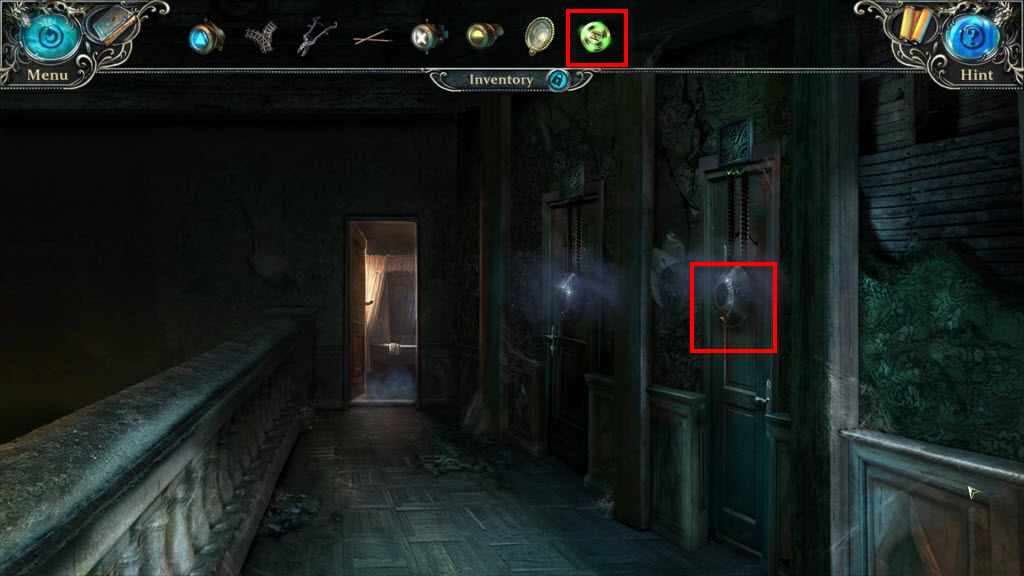
- Click on the door to zoom in.
- Use the Key to the Nanny's Room on the door.
- Enter the Nanny's Room.
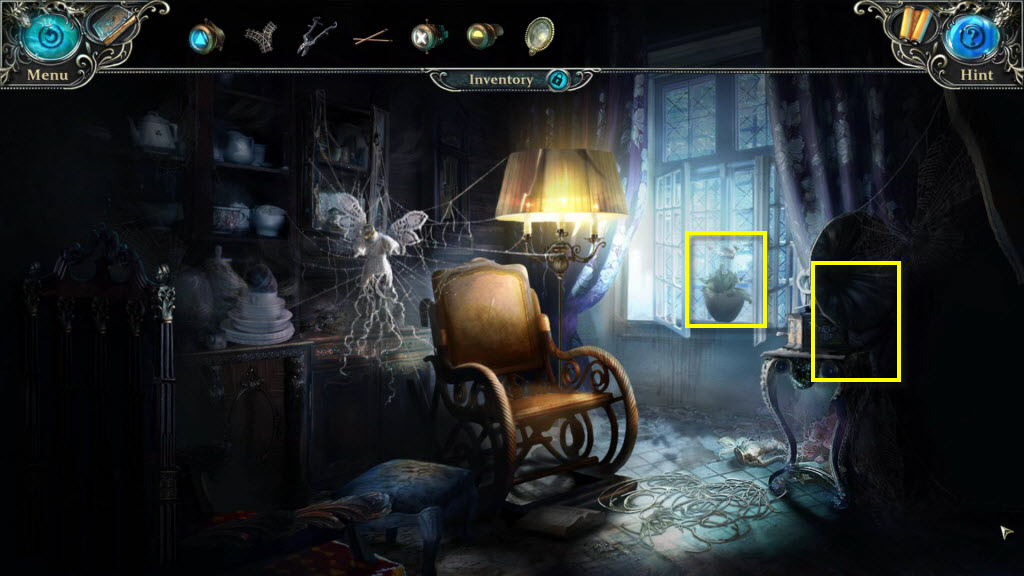
- Click on the plant in the window.
- Take the Fish from the plant after it falls.
- Click on the floor to play the hidden object game.
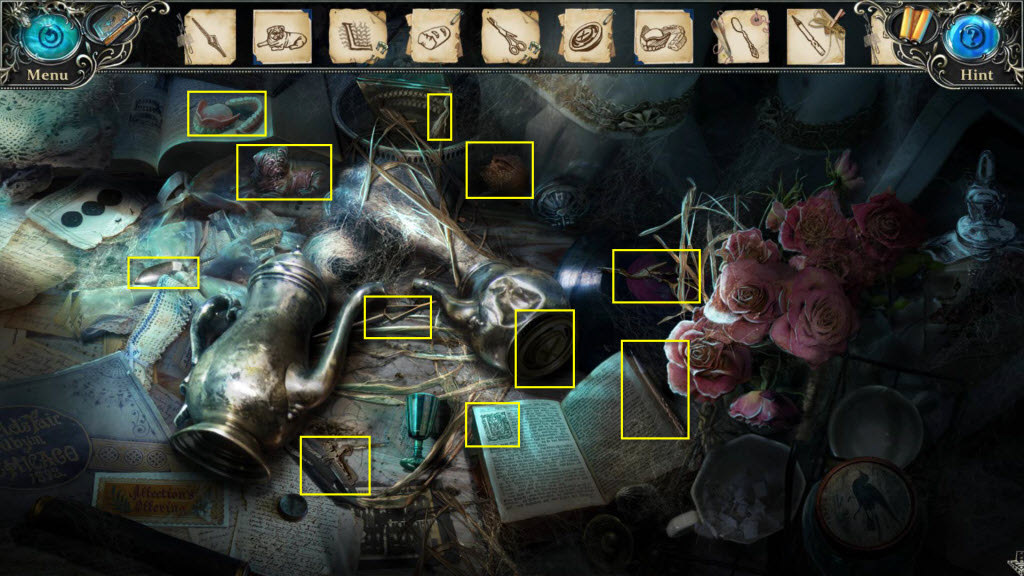
- Find all the items on the list.
- You will receive the Tweezers and the Mechanical Key.
- Go back two screens.
- Enter the library.
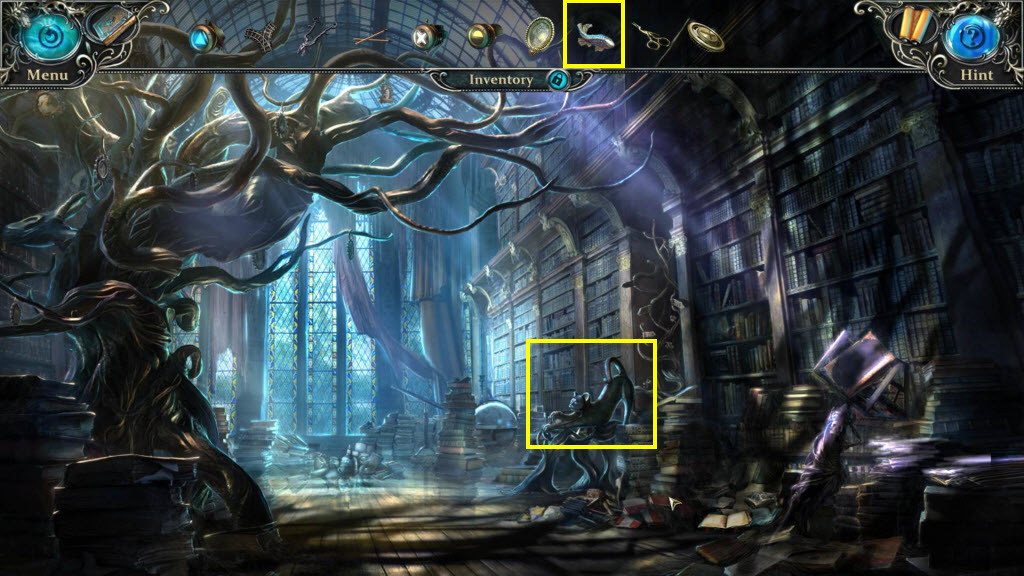
- Use the Fish on the cat.
- You will receive the Ball of Yarn.
- Go back one screen and then head to the left.
- Enter the Nanny's room again.
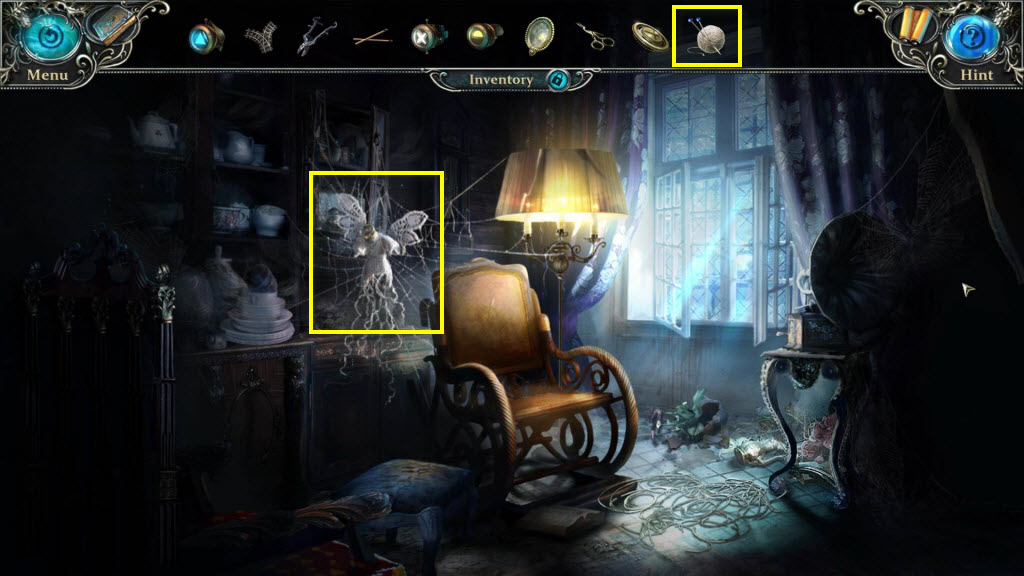
- Use the Ball of Yarn on the doll.
- Click to zoom in on the shelf.
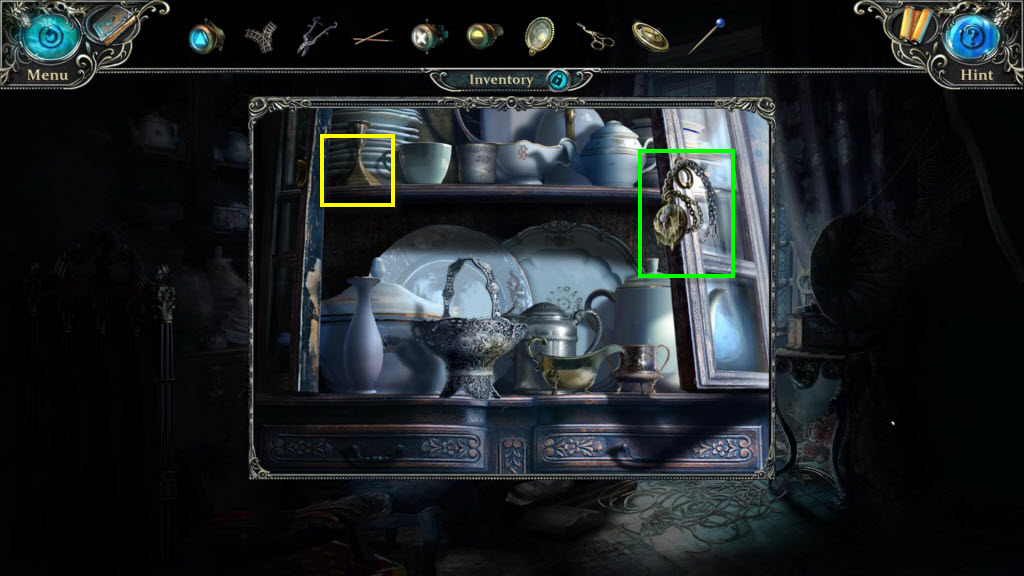
- Take the Rusty Medallion.
- Click on the candlestick holder to get the key to fall out.
- Take the Nanny's Key.
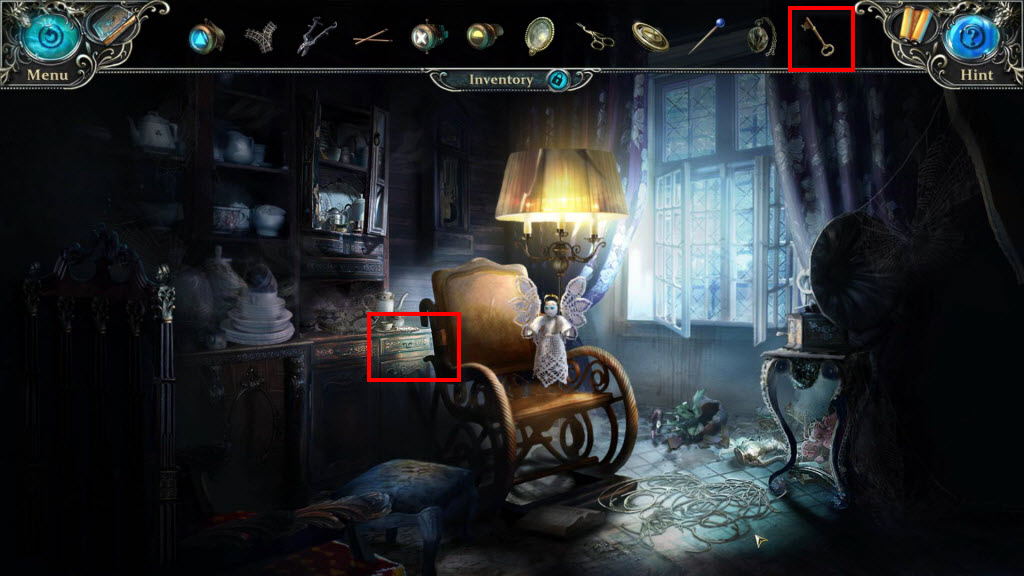
- Use the Nanny's Key on the drawer.
- Click on the drawer to zoom in.
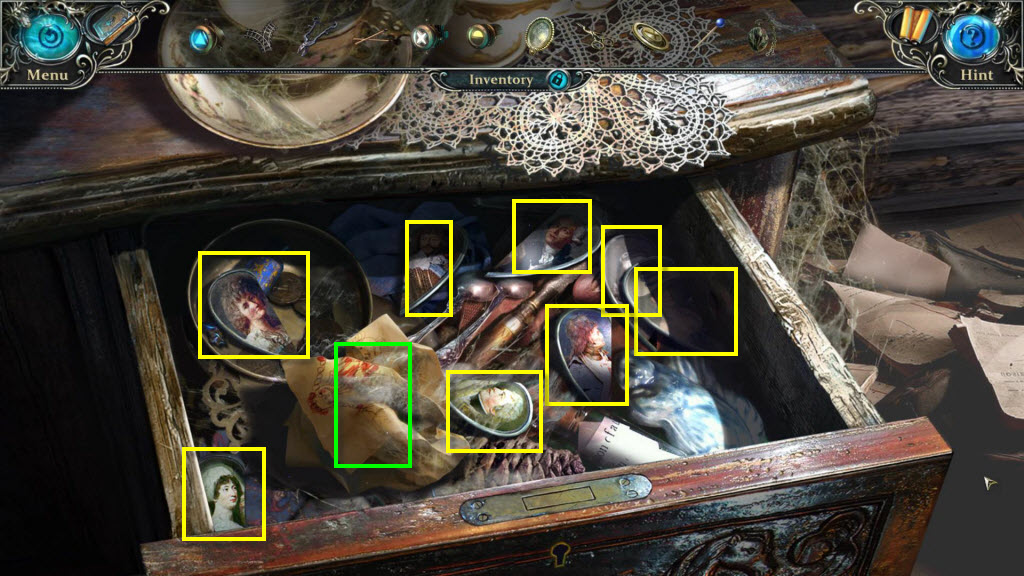
- Take the drawing.
- Take the 10 Ancestor's Portrait's.
- Return to the Library.
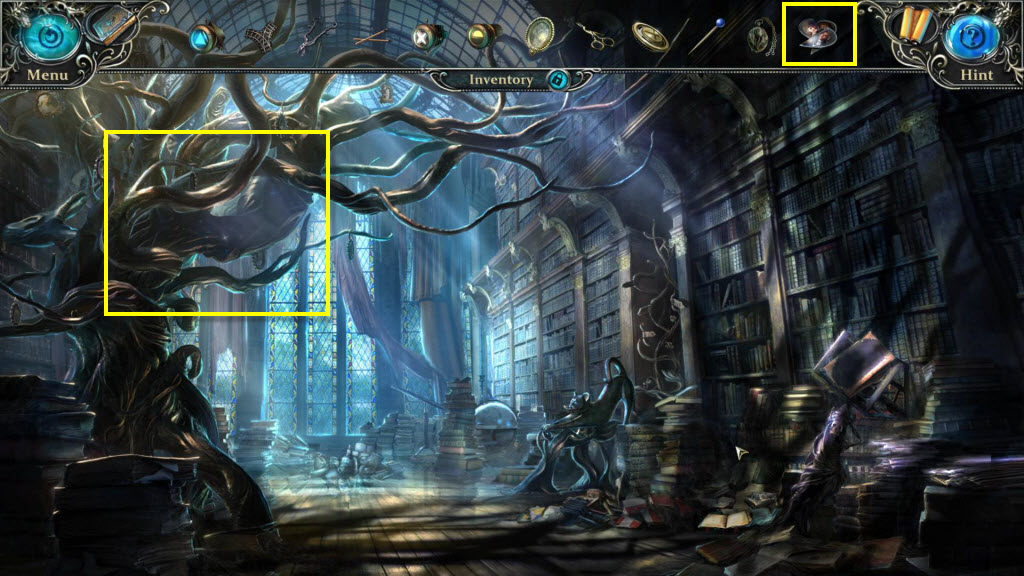
- Click to zoom in on the tree.
- Use the Ancestor's Portrait's on the tree.
- Take the Thistle.
- Return to the hand.
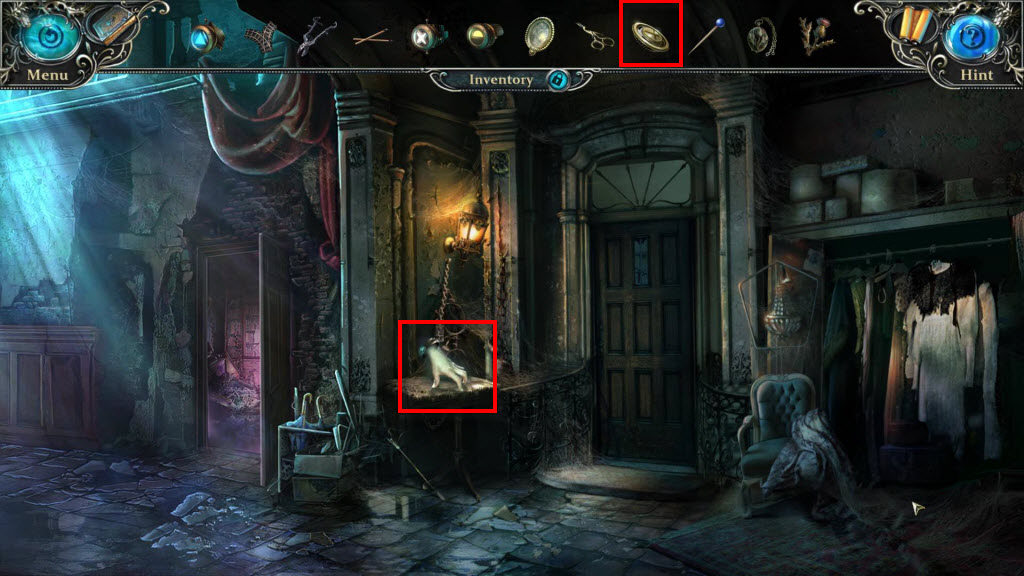
- Use the Mechanical Key on the Hand.
- You will receive the Key to the Teacher's Room.
- Go back up the stairs.
- Go to the left twice.
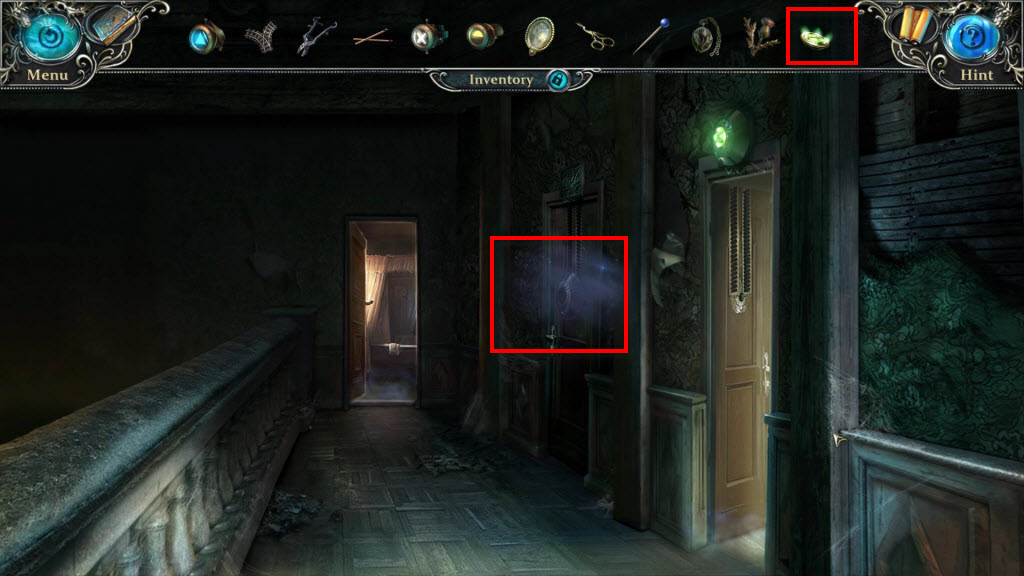
- Click to zoom in on the door.
- Use the Key to the Teacher's Room on the door.
- Enter the Teacher's Room.
Comments will load when you reach this part of the walkthrough.