
Chapter Two: A Ghostly Encounter
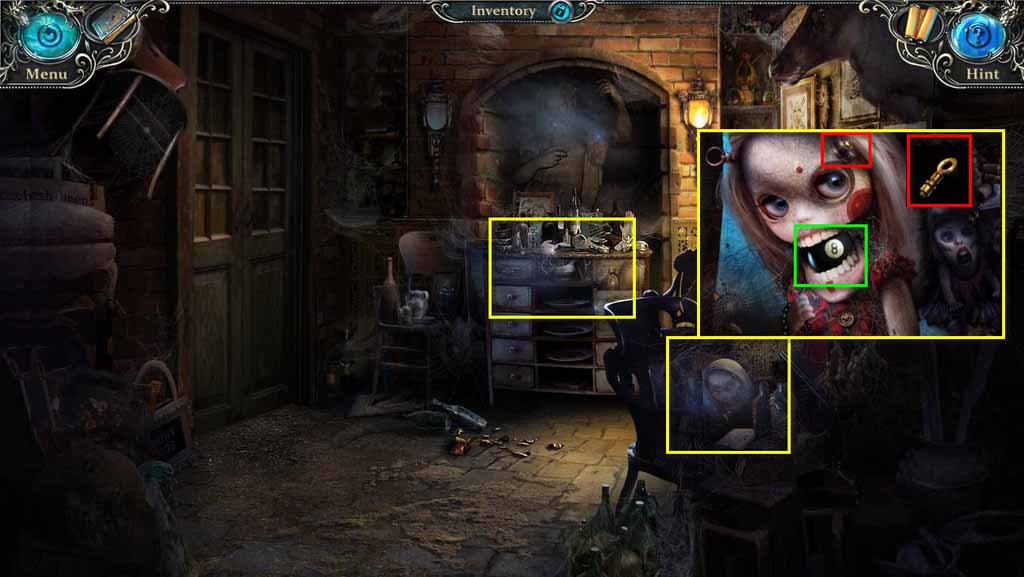
- Click to zoom in on the creepy nutcracker.
- Use the Wind-up Key on the nutcracker.
- Take the billiard ball and the latitude coordinates.
- Click on the dresser to play the hidden object game.
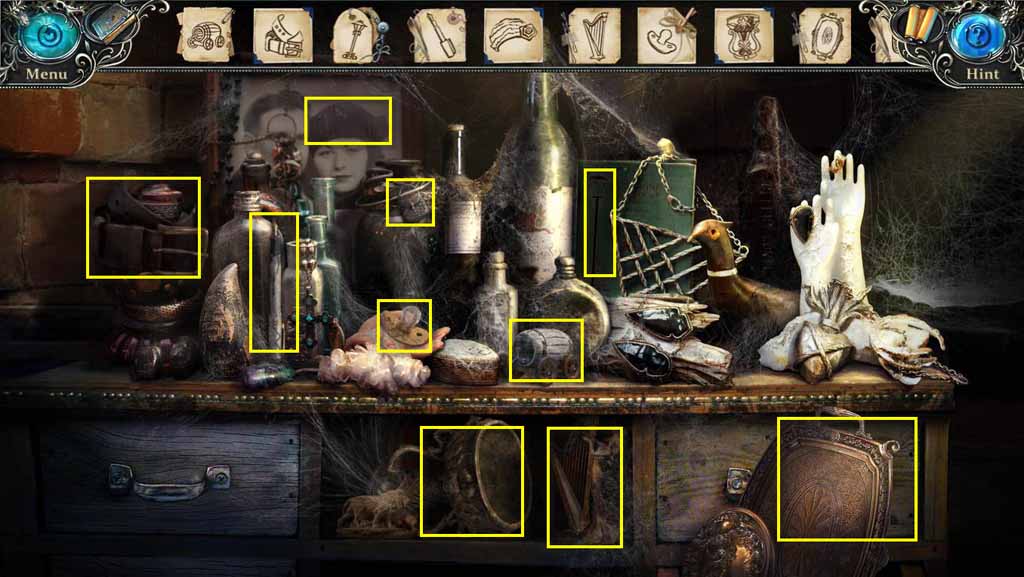
- Find all the items on the list.
- You will receive the Stone Goblet.
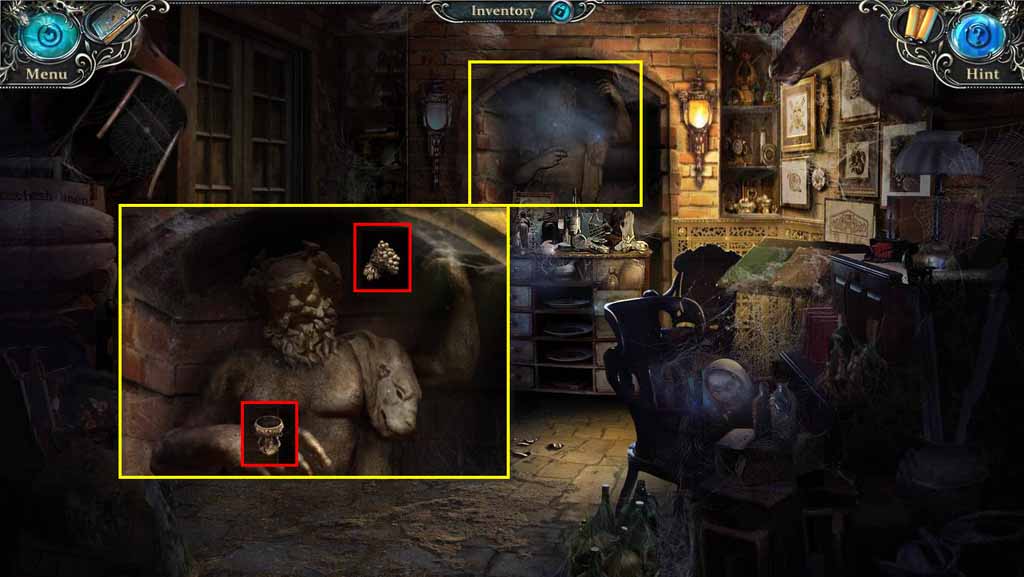
- Click on the statue to zoom in.
- Use the Stone Goblet and the Bunch of Stone Grapes on the statue.
- Go through the door that opens on the left to the Trophy room.
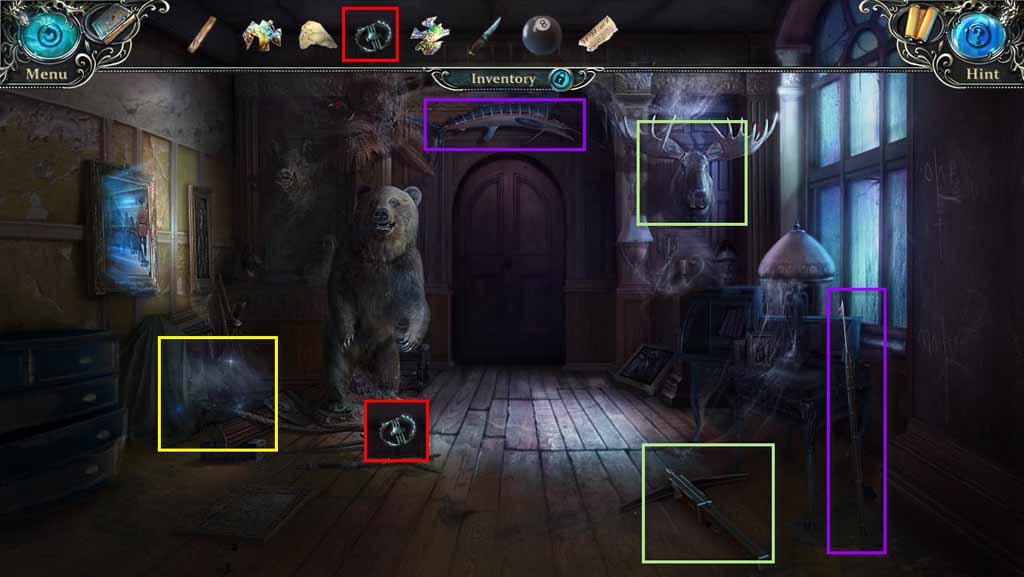
- Use the Trap on the bear.
- Use the harpoon on the fish.
- Use the crossbow on the moose.
- Click to play the hidden object game.
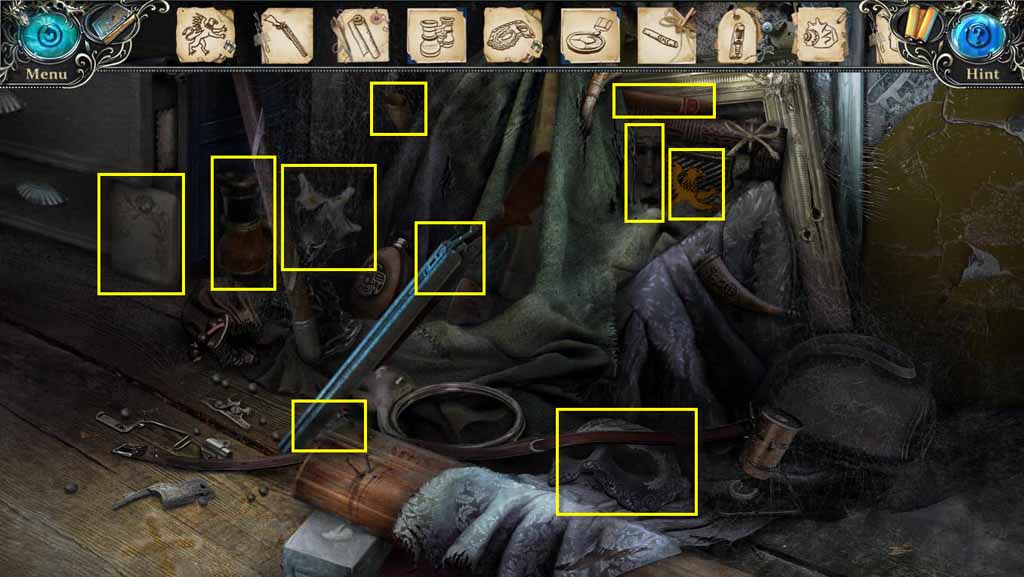
- Find all the items on the list.
- You will receive the Rifle.
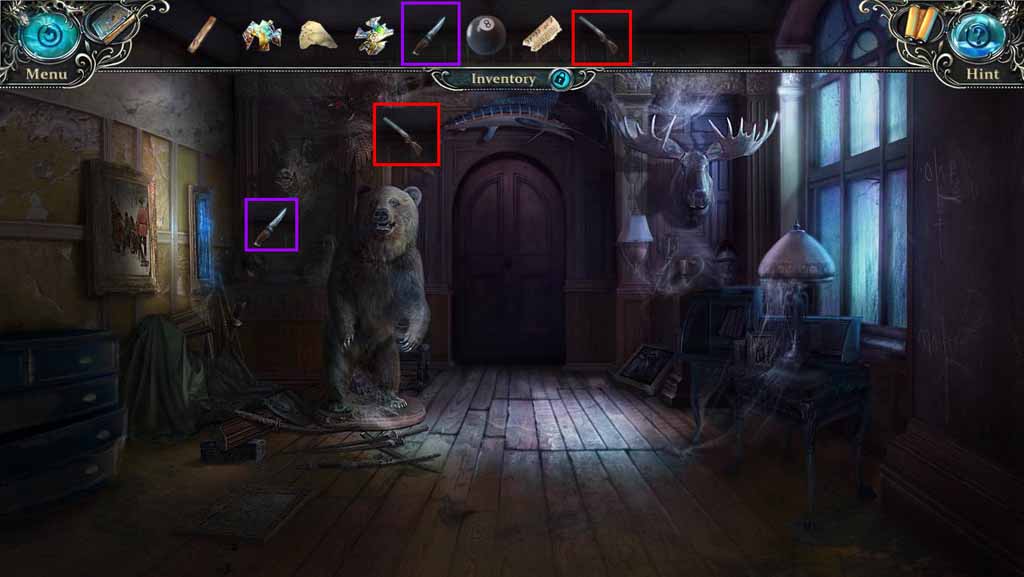
- Use the Rifle on the bird.
- Use the Knife on the boar.
- You will receive the Horn, Claws, Fang, Feather, and Scales.
- Go forward into the Smoking Room.
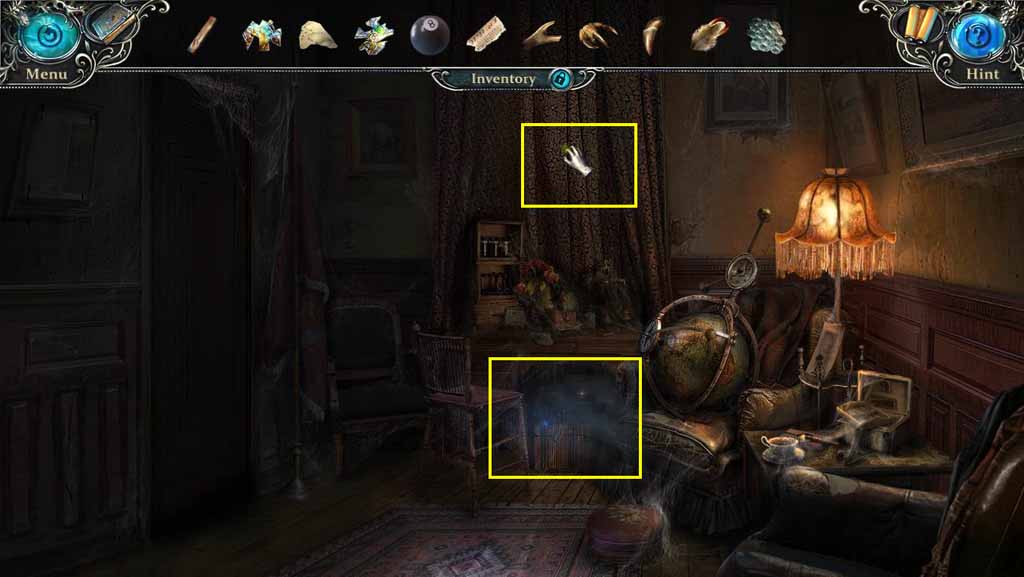
- Click to move the curtains.
- Click to play the hidden object game.
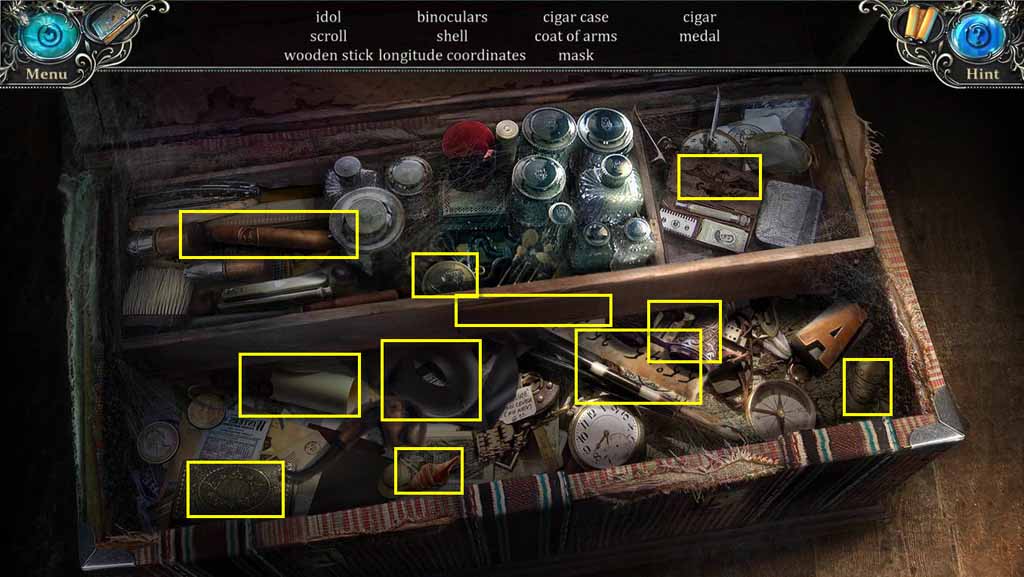
- Find all the items on the list.
- You will receive the Wooden Stick and the Longitude Coordinates.
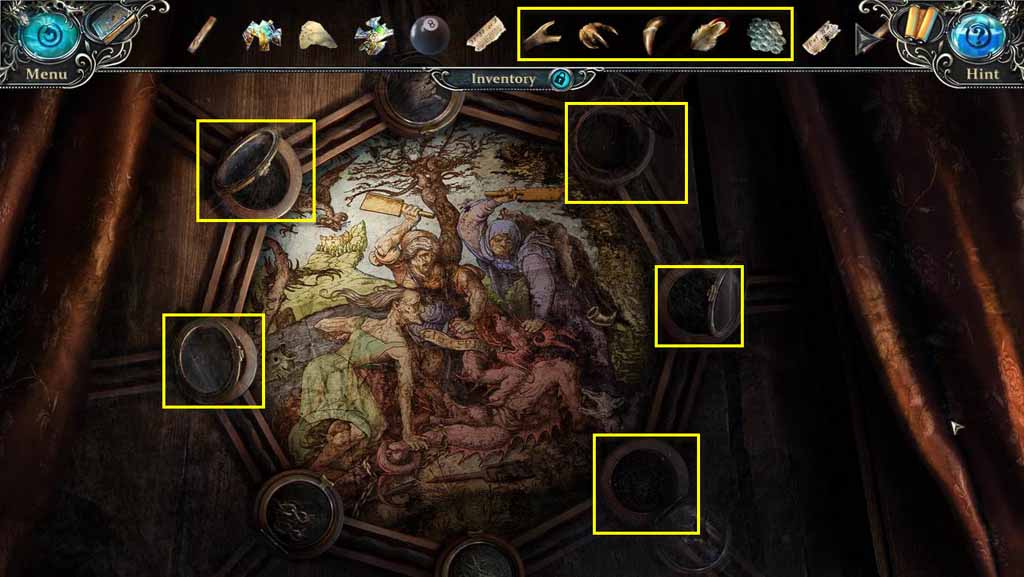
- Click to zoom in on the wall.
- Use the Horn, Claws, Fang, Feather, and Scales in the compartments on the side of the picture.
- The door will open.
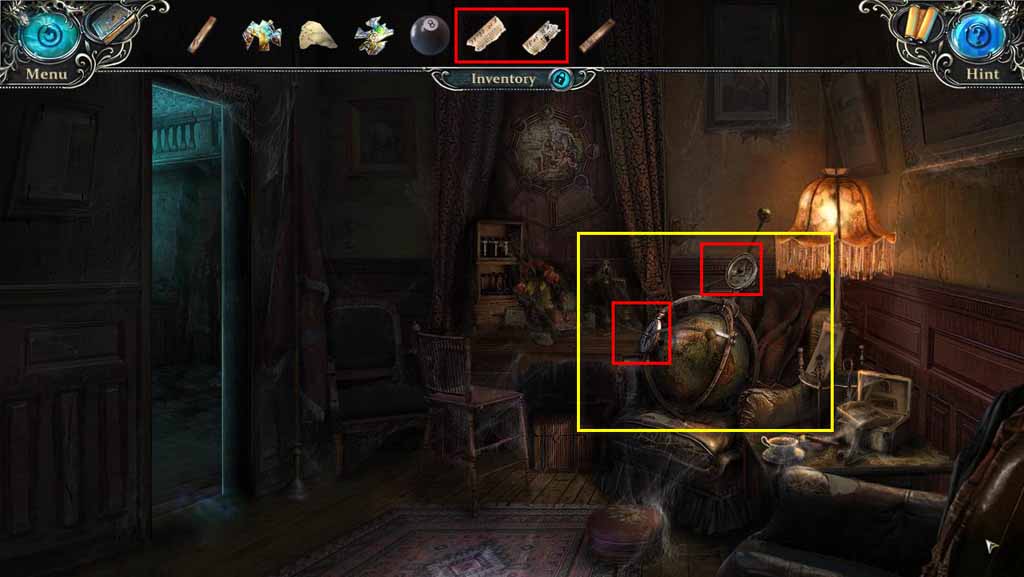
- Use the Longitude and Latitude Coordinates on the globe.
- Take the Key.
- Go through the door on the left.
Comments will load when you reach this part of the walkthrough.