

Chapter Nine: Pride
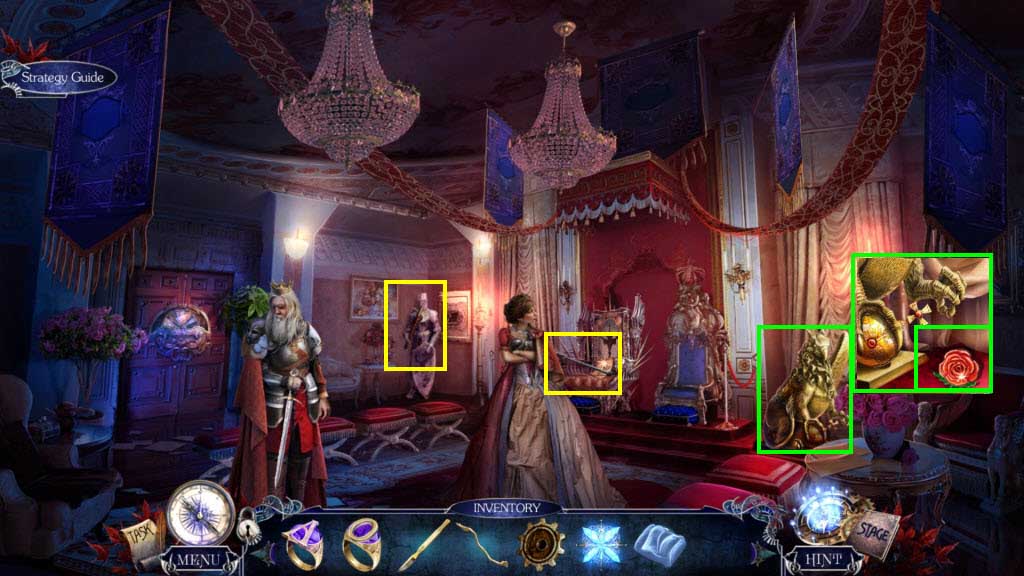
- Zoom in on the griffin.
- Take the Necklace.
- Zoom in on the throne.
- Take the Scepter.
- Zoom in on the knight.
- Take the Poleaxe.
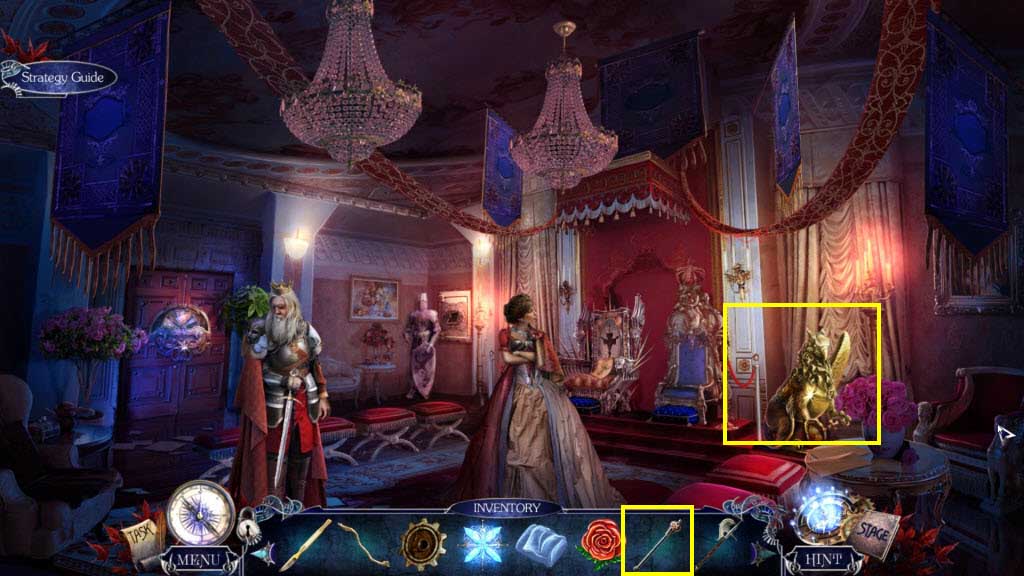
- Zoom in on the griffin.
- Use the Scepter on the griffin.
- Take the Collection Medal.
- Go to the Prince's Room.
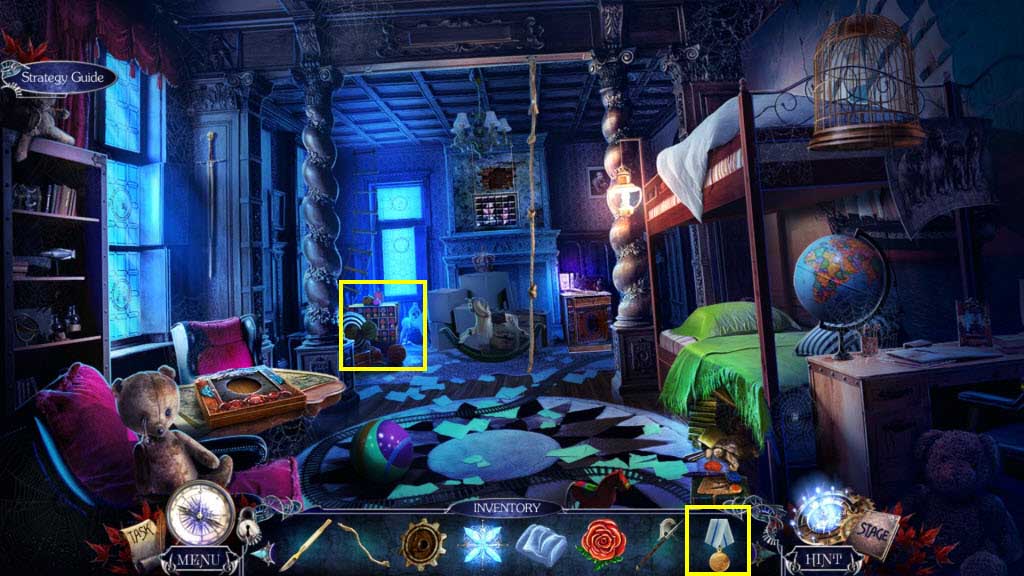
- Zoom in on the medals in the back.
- Use the Collection Medal on the medals.
- Take the Pride Door Part and the Crown.
- Go to the King's Bedroom.
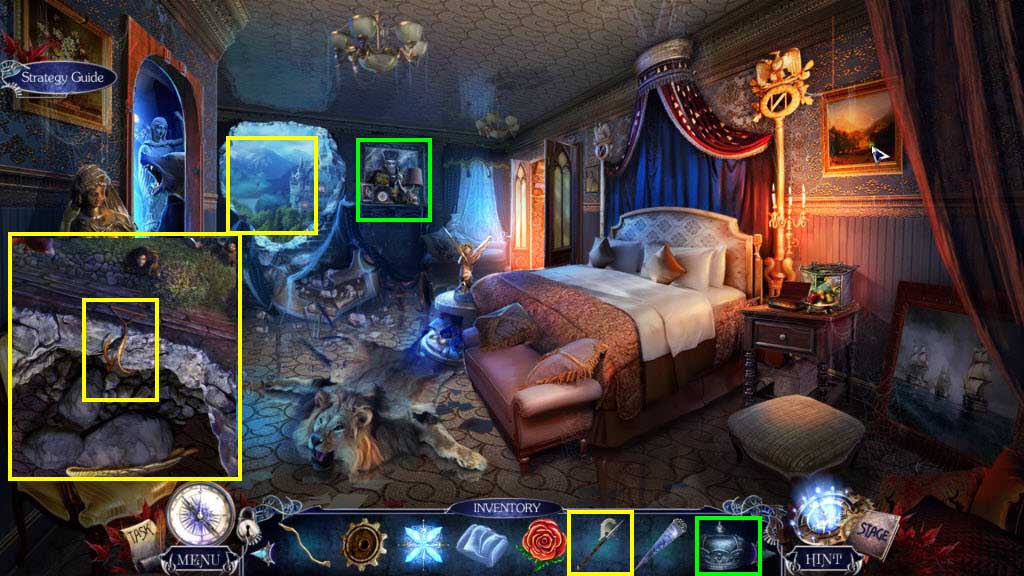
- Zoom in on the opening.
- Use the Poleaxe on the rope.
- Take the Torch.
- Zoom in on the wall.
- Use the Crown on the engraving.
- Take the Pride Door Part.
- Go forward one screen.
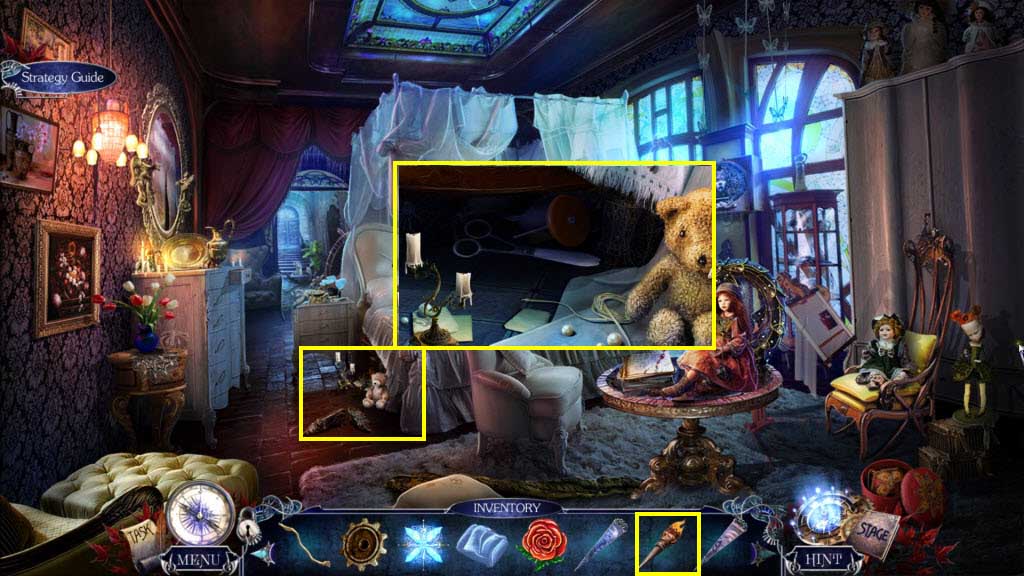
- Zoom in under the bed.
- Use the Torch on the candles.
- Take the Scissors and the Wheel.
- Go forward one screen.
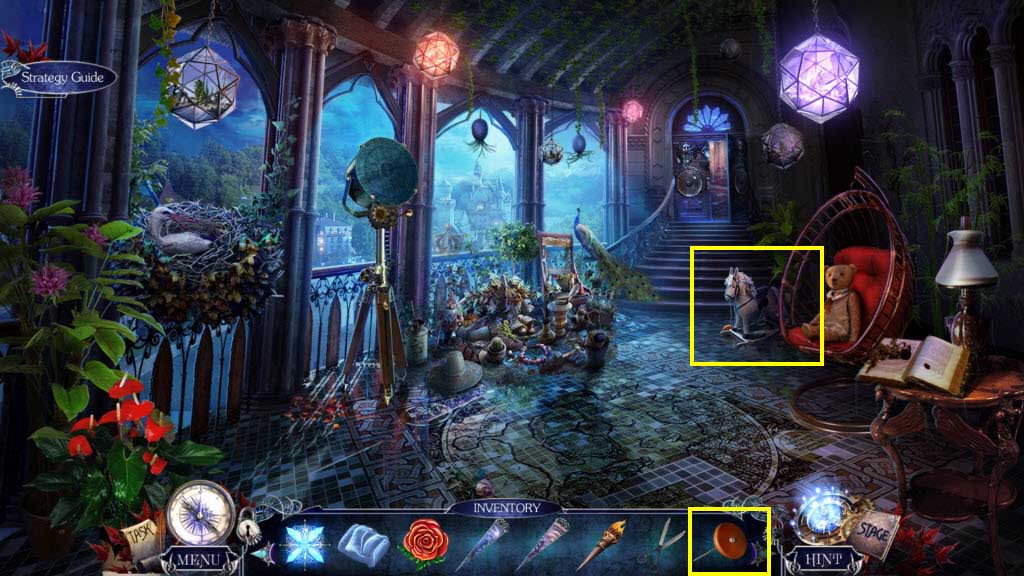
- Zoom in on the horse.
- Use the Wheel on the Horse.
- Take the Pride Door Part.
- Go forward one screen.
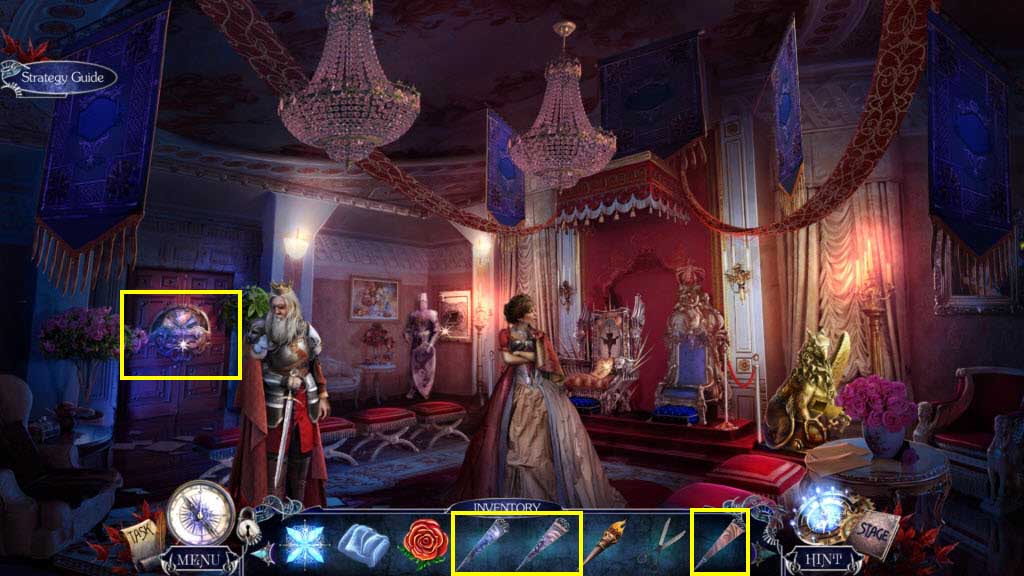
- Zoom in on the door.
- Use the three Pride Door Parts on the door.
- Play the mini-game.
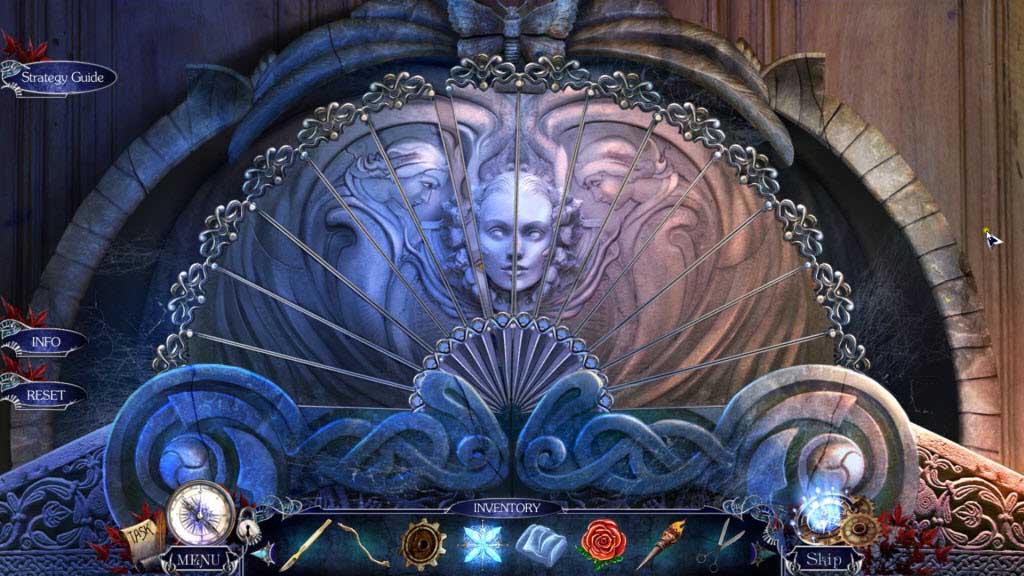
- Swap the tiles to form the image on the door.
- Move forward.
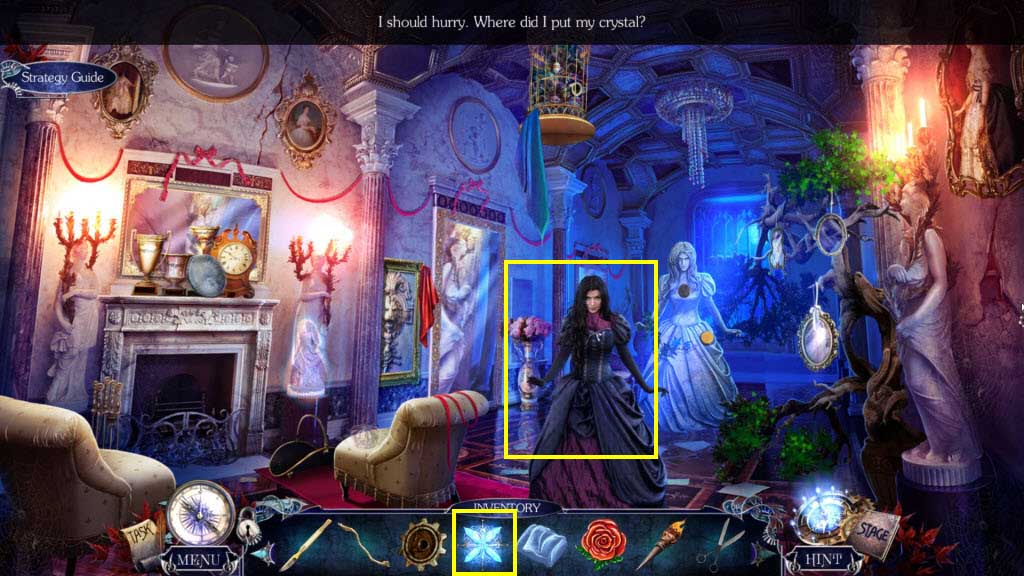
- Use the Banishing Crystal on Pride.
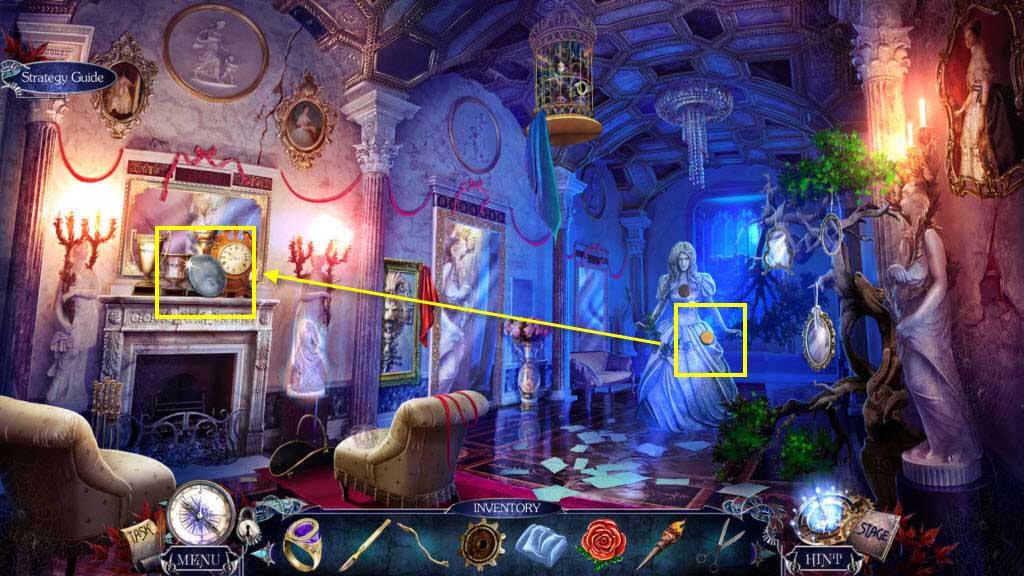
- Zoom in on the statue.
- Take the Polish.
- Zoom in on the mantel.
- Use the Polish on the Lens.
- Take the Projector Lens.
- Go back one screen.
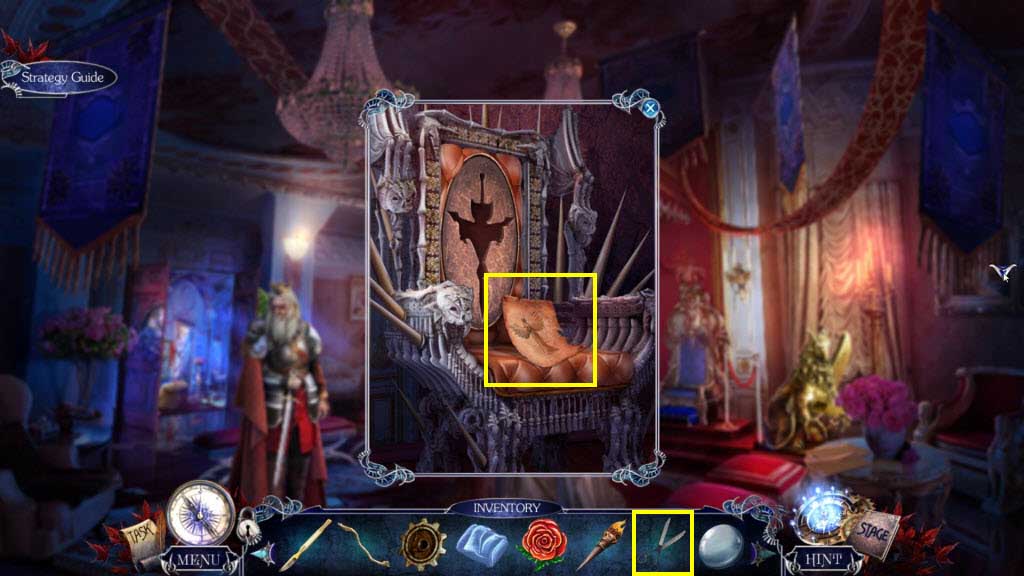
- Zoom in on the throne room.
- Use the Scissors on the paper.
- Take the Angel Cutout.
- Go back one screen.
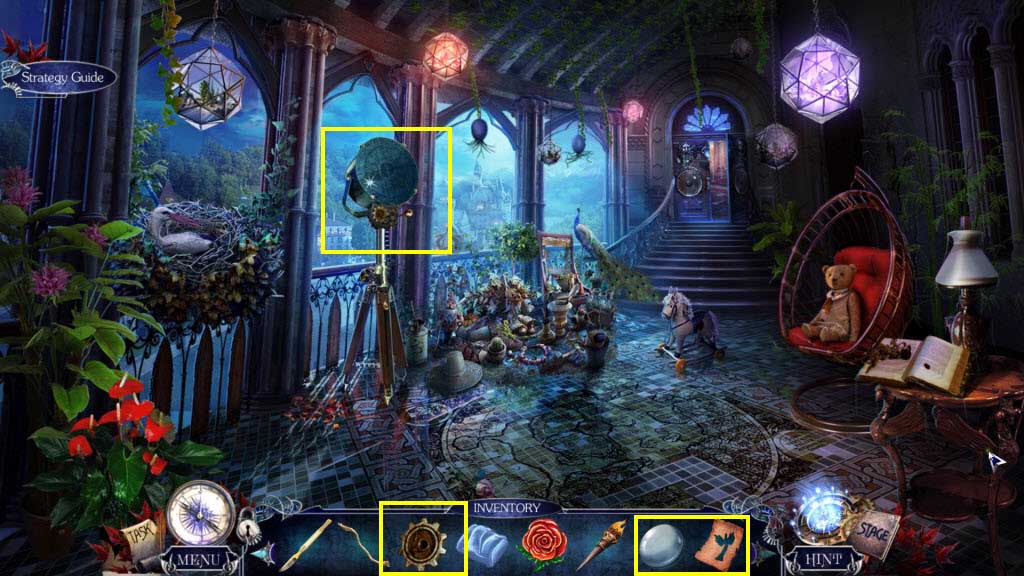
- Zoom in on the projector.
- Use the Gear on the Projector.
- Click to open the projector.
- Click to remove the broken glass.
- Use the Lens on the projector.
- Use the Angel Cutout on the projector.
- Click on the projector.
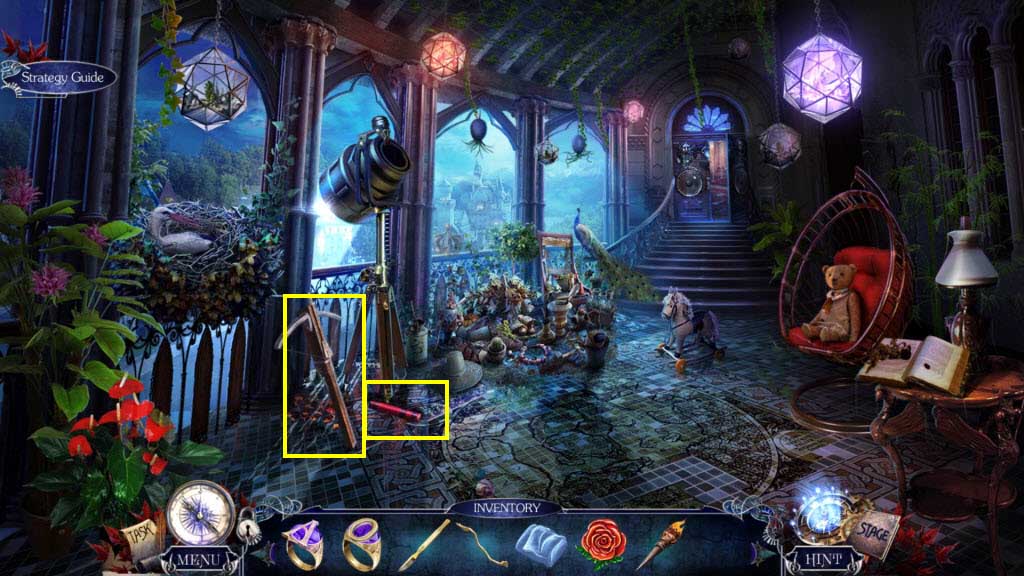
- Take the Crossbow.
- Take the Dynamite.
- Go to the Room of Distorting Mirrors.
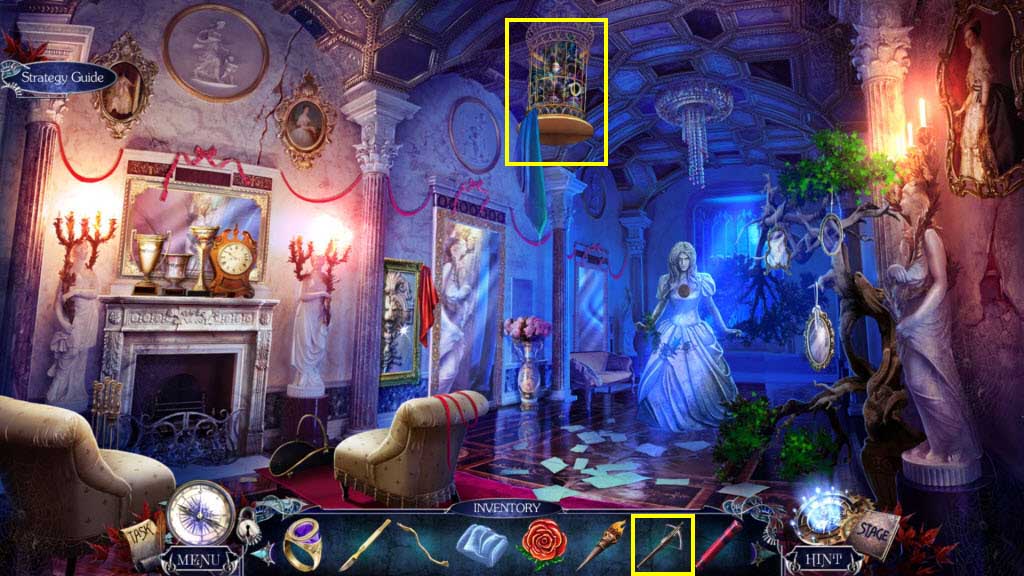
- Use the Crossbow on the cage.
- Click on the sparkles to play the HOG.
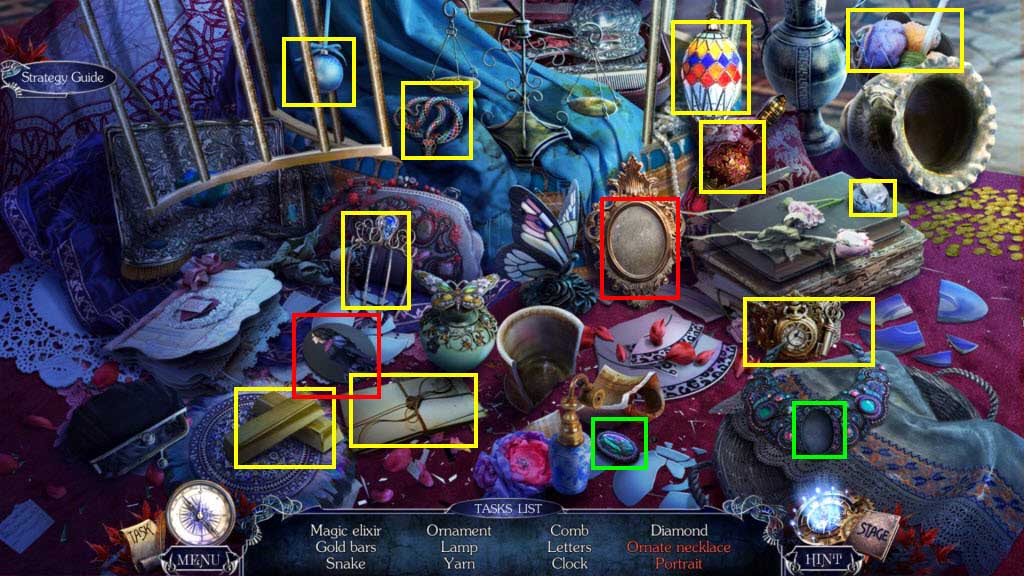
- Find all the items on the list.
- You will receive the Pride Cure.
- Go back one screen.
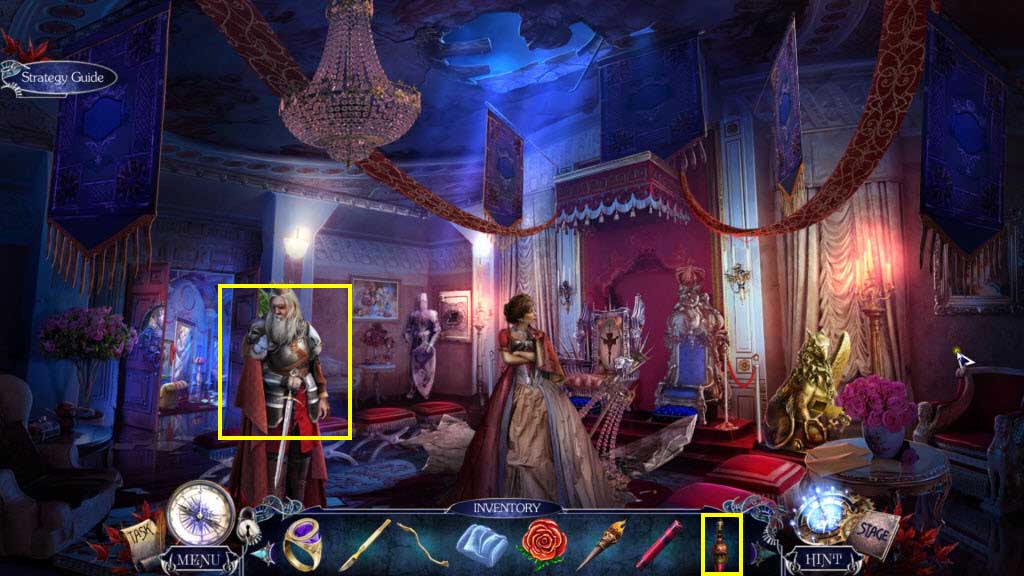
- Use the Pride Cure on the king.
- You will receive the Archival Seal.
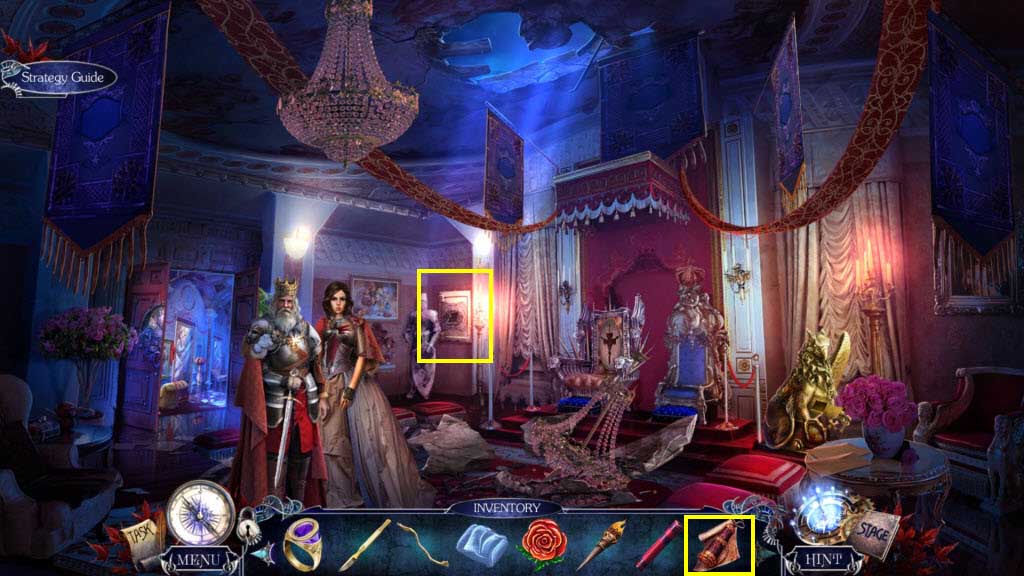
- Zoom in on the safe.
- Use the Archival Seal on the slot.
- Take the Special Key and the Maze Schematic.
- Go forward one screen.
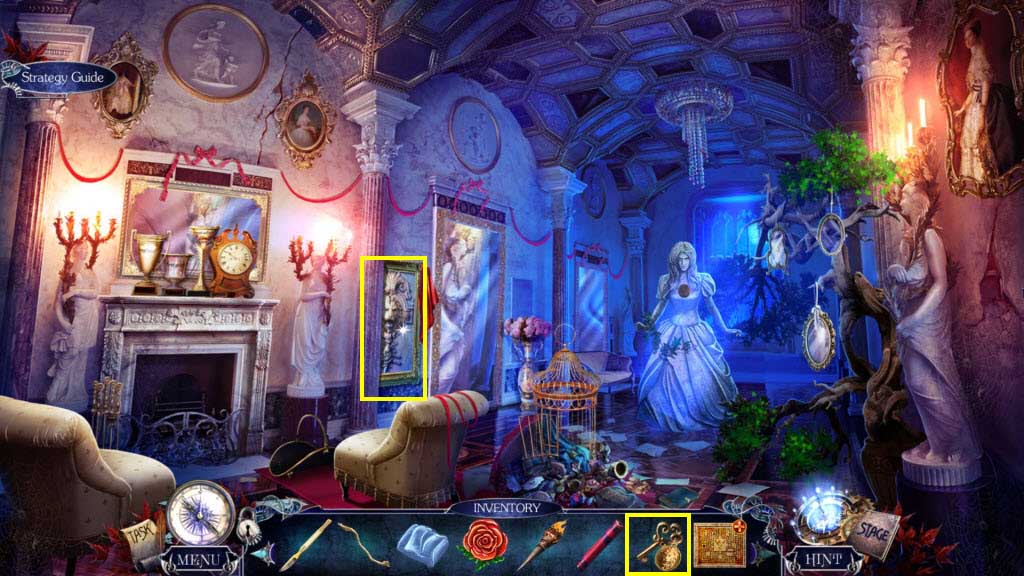
- Zoom in on the lion's head.
- Use the Special Key on the lock.
- Take the Code Symbol and the Royal engraving.
- Go back one screen.
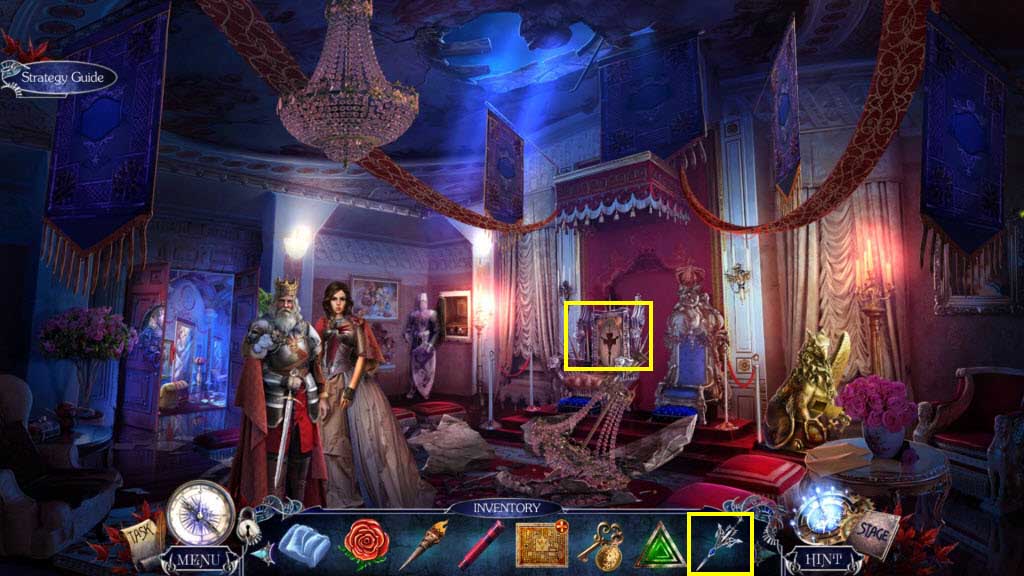
- Zoom in on the throne.
- Use the Royal Engraving on the slot.
- Take the Diadem.
- Go forward one screen.
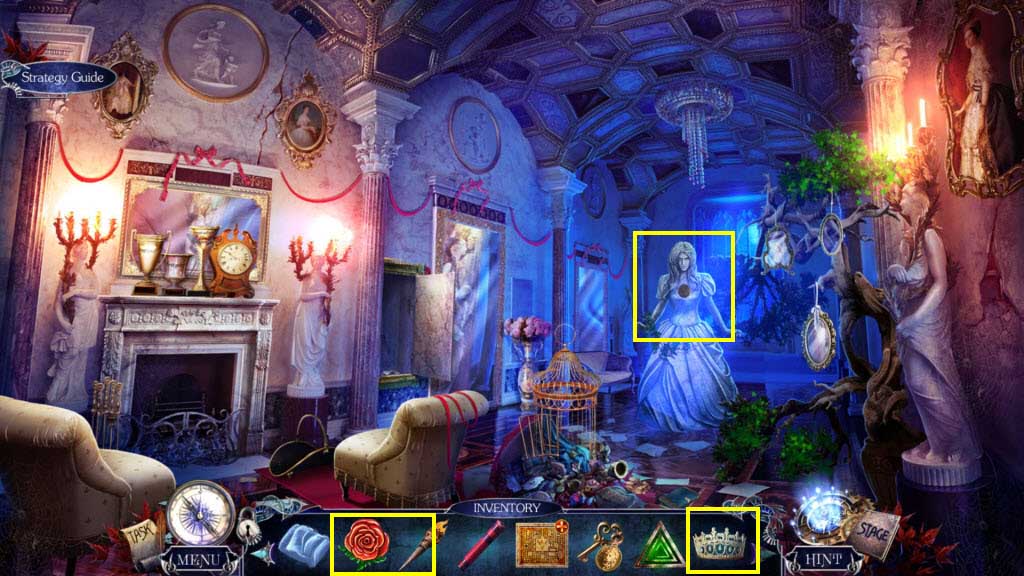
- Zoom in on the statue.
- Use the Diadem on the statue.
- Use the Necklace on the statue.
- Take the Code Symbol and the Pickaxe.
- Go to the King's bedroom.
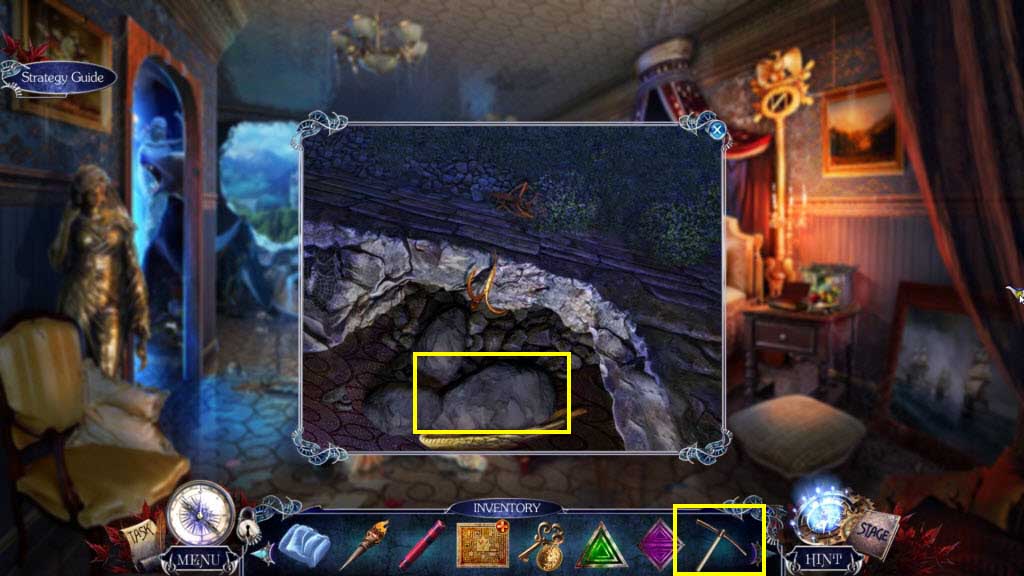
- Zoom in on the opening.
- Use the Pickaxe on the rocks.
- Take the Griffin Wing.
- Go back to the throne room.
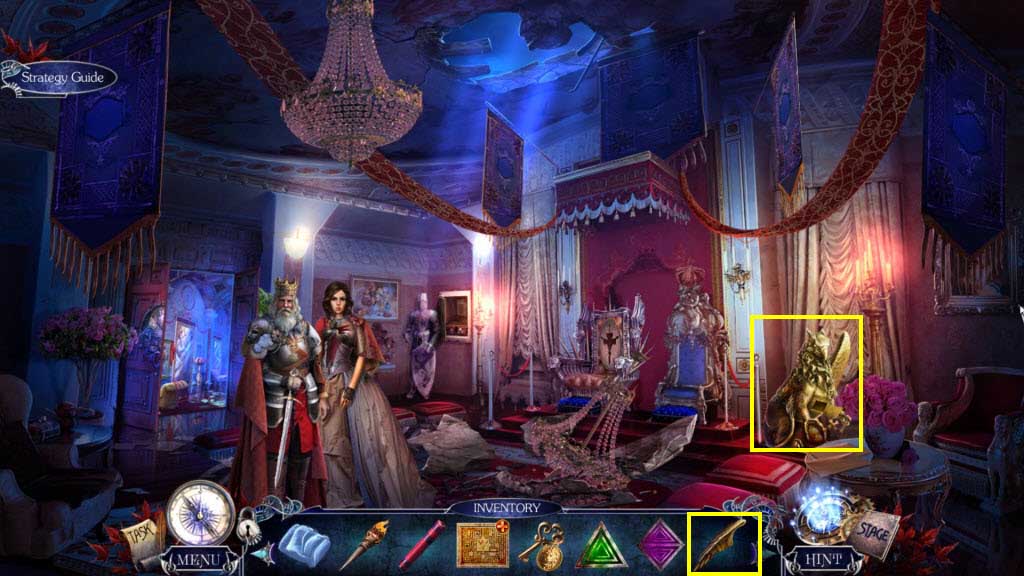
- Zoom in on the griffin.
- Use the Griffin Wing on the griffin.
- Take the Lion's Fang.
- Go to the Hall of Statues.
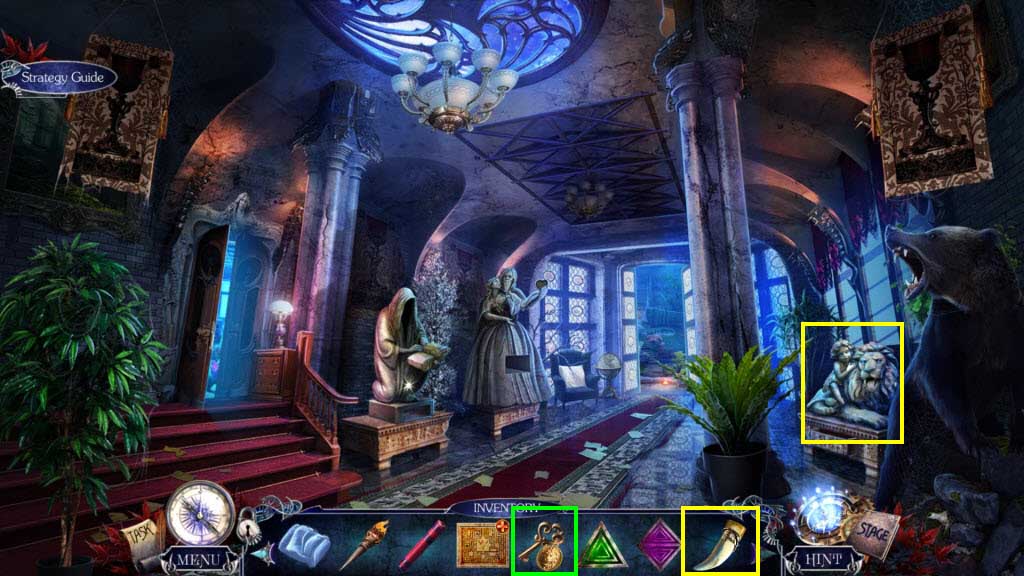
- Zoom in on the lion.
- Use the Lion's Fang on the lion.
- Use the Special Key on the box.
- Take the Parchment, Code Symbol, and the Sea Line.
- Go forward one screen.
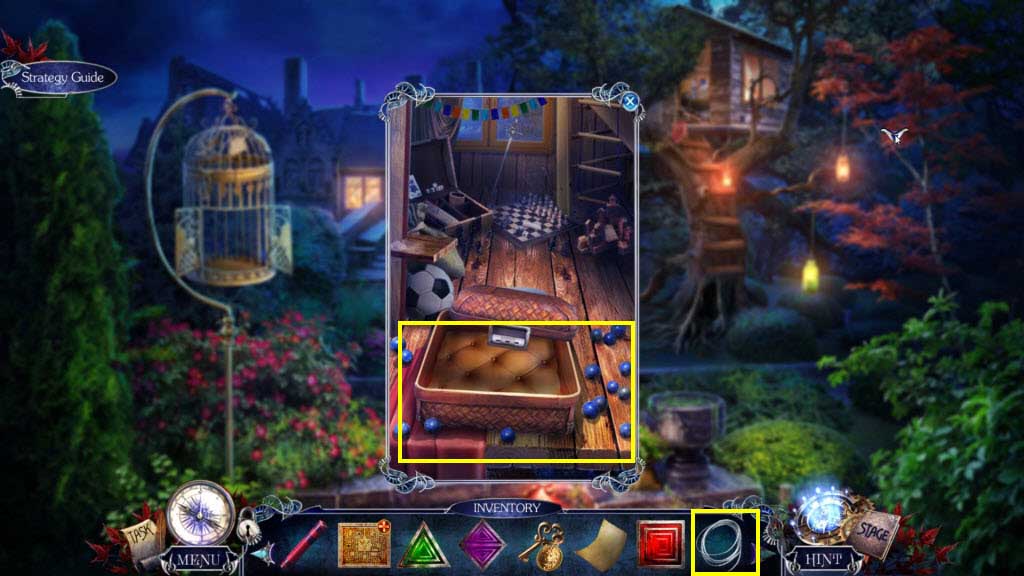
- Zoom in on the Tree House.
- Use the Sea Line on the beads.
- Take the Beads.
- Go back one screen.
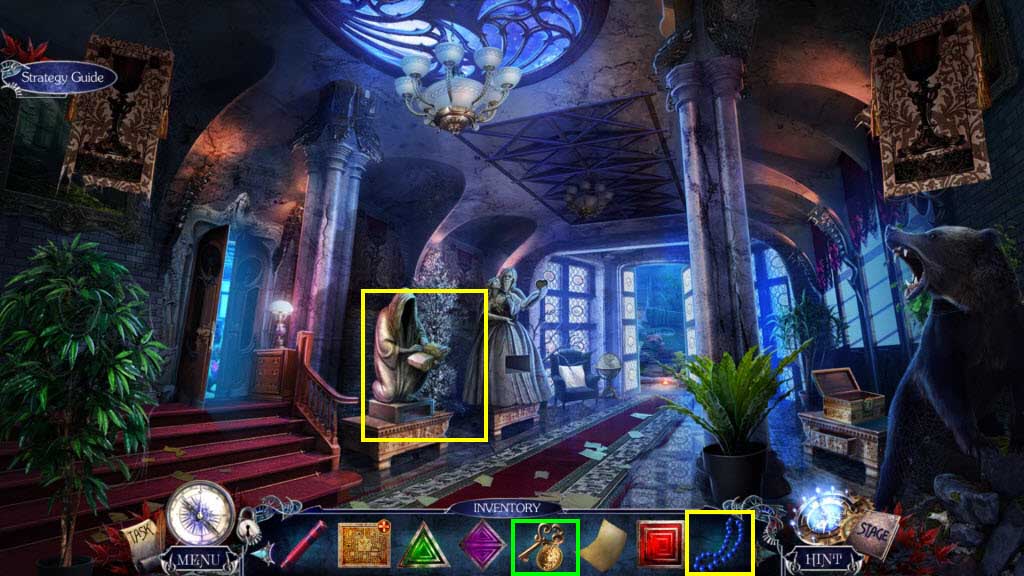
- Zoom in on the statue of the Monk.
- Use the Beads on the statue.
- Take the Pencil.
- Use the Special Key on the box.
- Take the Code Symbol.
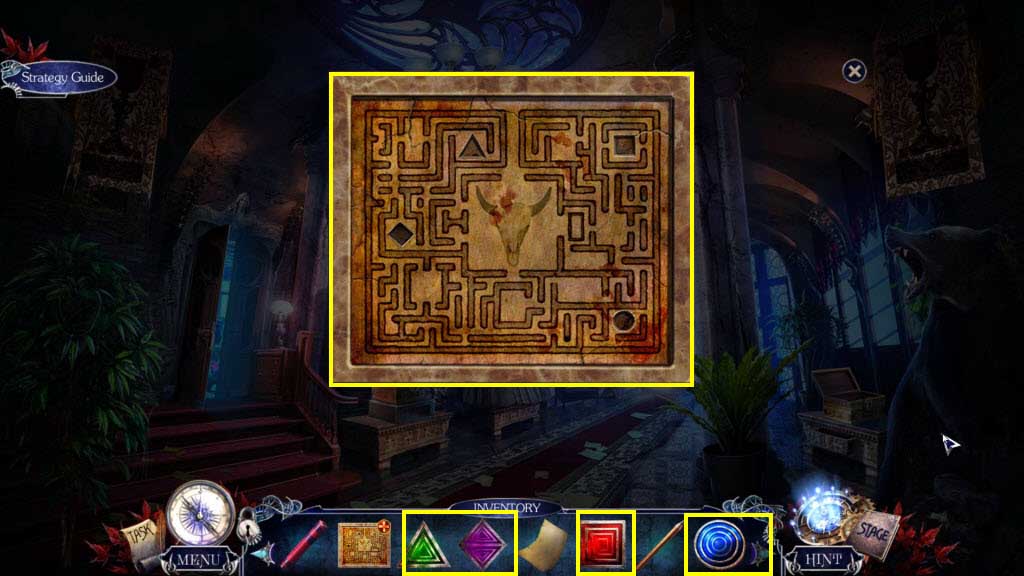
- Zoom in on the Maze Schematic in your inventory.
- Use the 4 Code Symbols on the Schematic.
- Take the Maze Map.
- Go to the Catacombs.
Comments will load when you reach this part of the walkthrough.