

Chapter Seven: Prince Colin
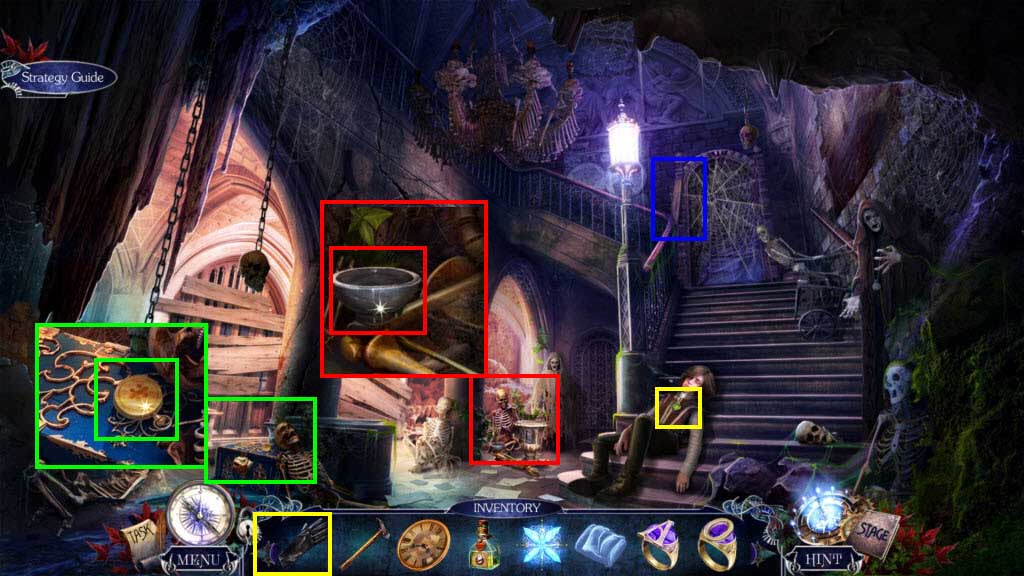
- Zoom in on the Prince.
- Use the Rubber Glove to get the Snake Medallion.
- Zoom in on the chest.
- Take the Pocket Watch.
- Zoom in on the skeleton.
- Take the Mortar and Pestle.
- Zoom in on the door.
- Take the Board.
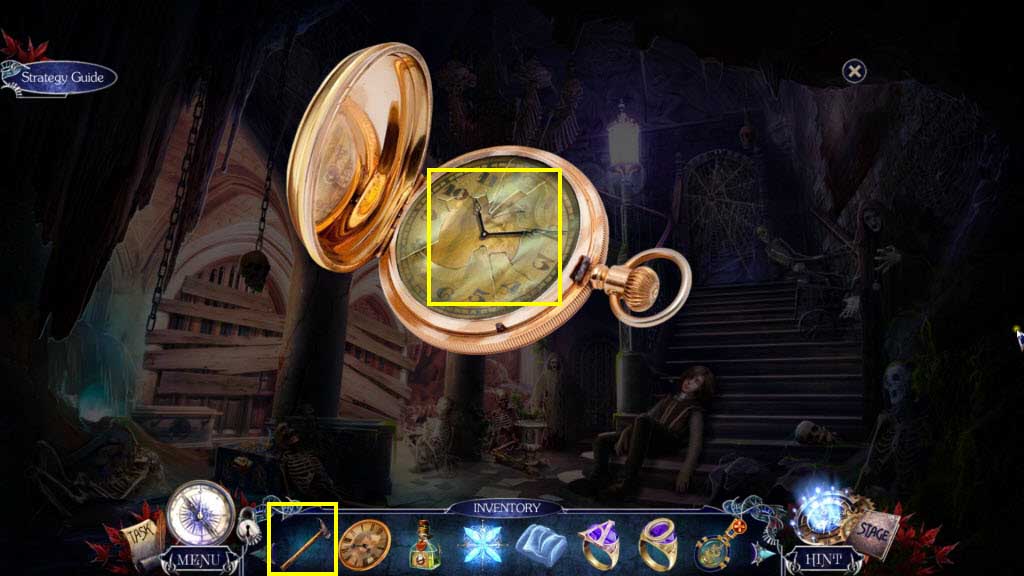
- Zoom into the Pocket Watch in your inventory.
- Click to open it and take the Soldier.
- Use the Hammer on the glass of the watch.
- Take the Clock Face.
- Go back one screen.
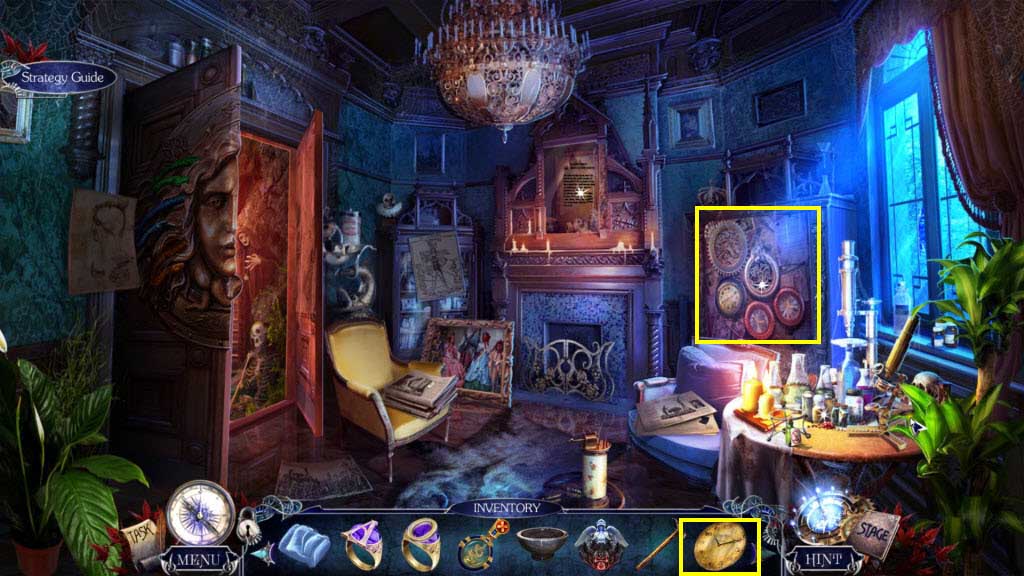
- Zoom in on the clocks.
- Use the 2 Clock Faces in your inventory on the clocks.
- Play the mini-game.
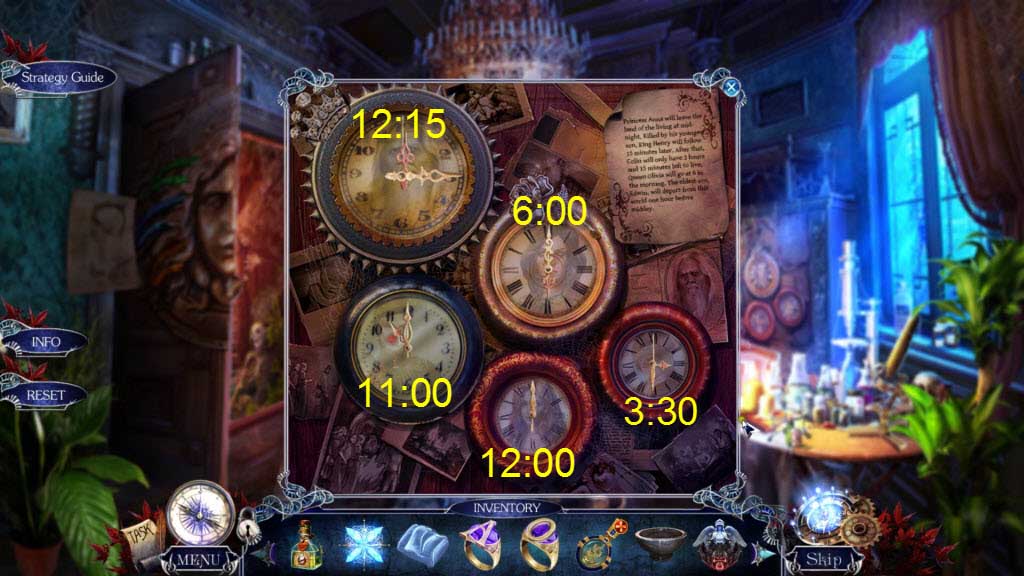
- You need to set each of the clocks according to the note.
- See the screenshot for the solution.
- Take the Healer Stone.
- Go to the left to the Vault Entrance.
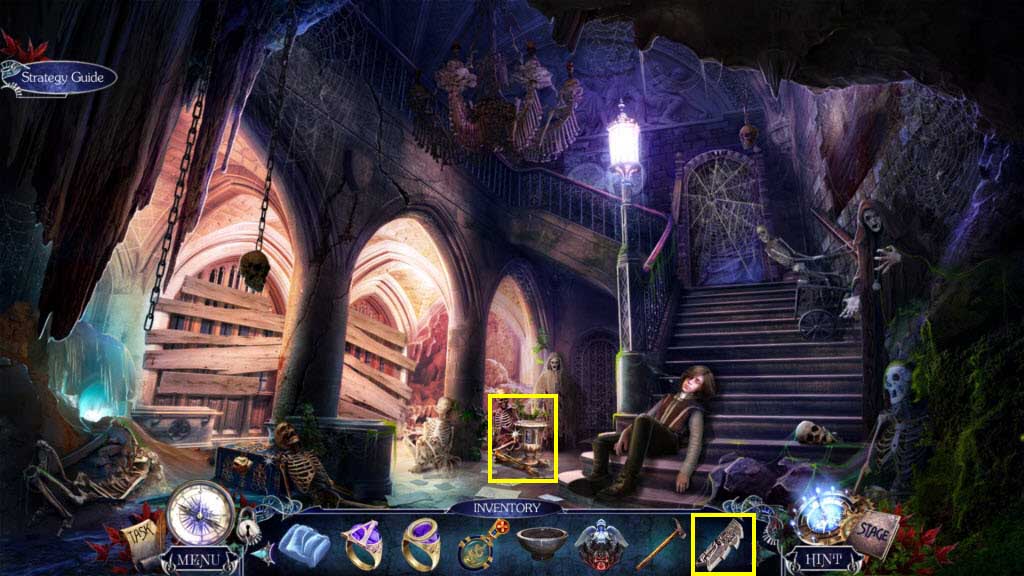
- Zoom in on the Urn.
- Use the Healer Stone on the empty slot.
- Take the Recipe and the Snake of Hatred.
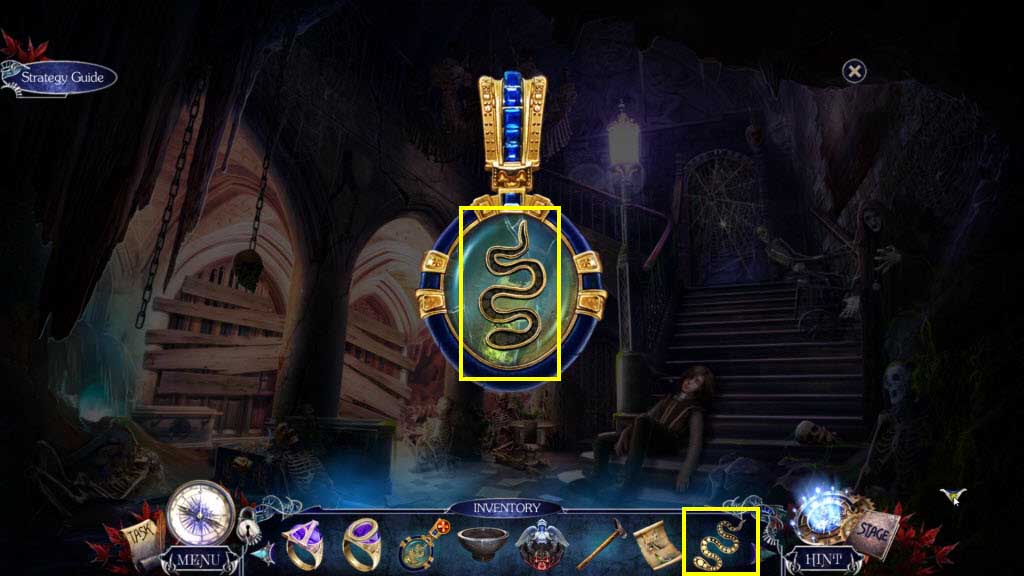
- Zoom in on the Snake Medallion in your inventory.
- Use the Snake of Hatred on the Medallion.
- Take the Snake Poison.
- Go back one screen.
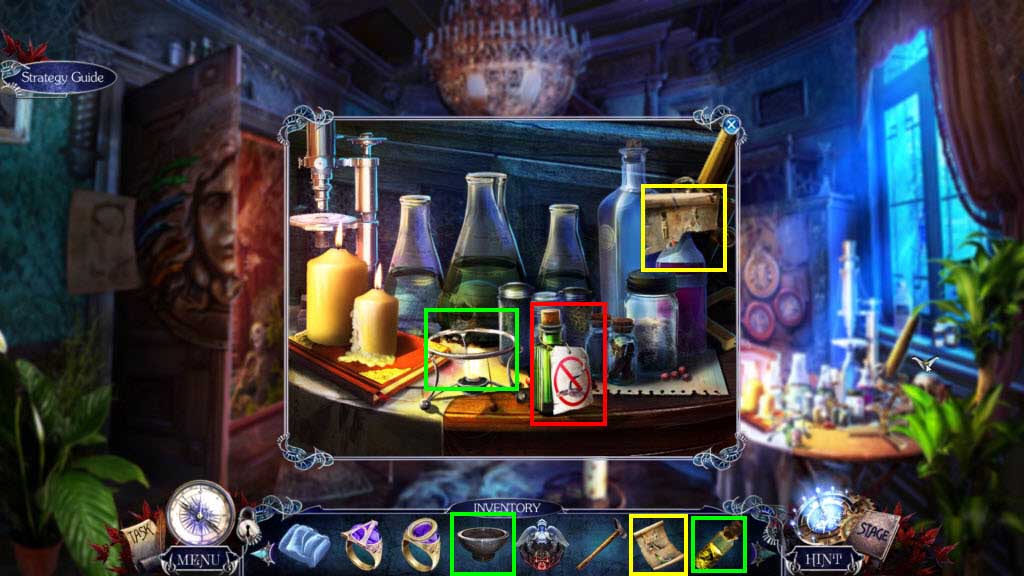
- Zoom in on the table.
- Use the Recipe on the table.
- Use the Mortar and Pestle on the burner.
- Use the Snake Poison and the Potion of Virtue on the bowl.
- Take the Envy Antidote.
- Go back to the Vault Entrance.
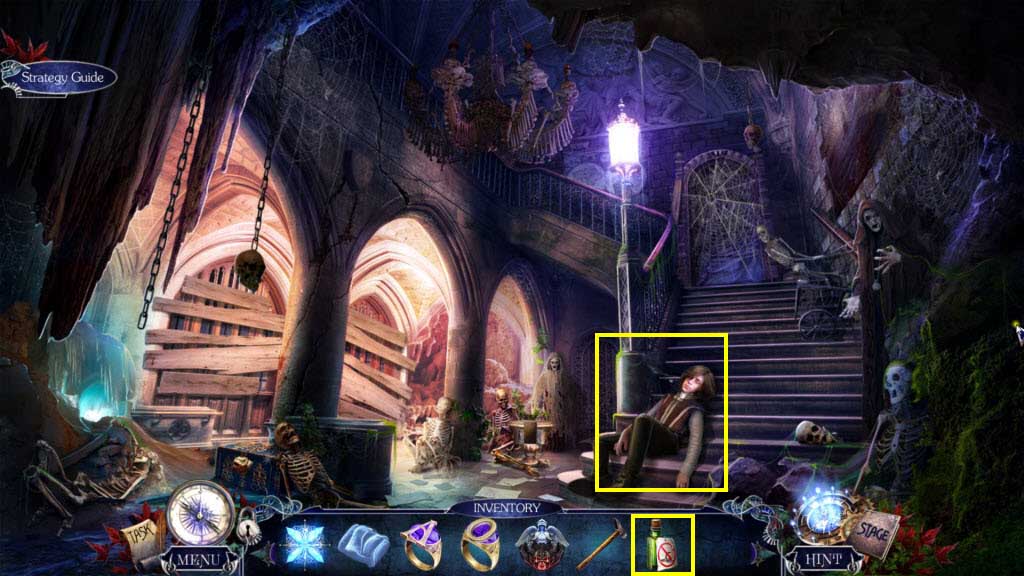
- Use the Envy Antidote on the Prince.
- You will receive Colin.
- Go to the King's Bedroom.
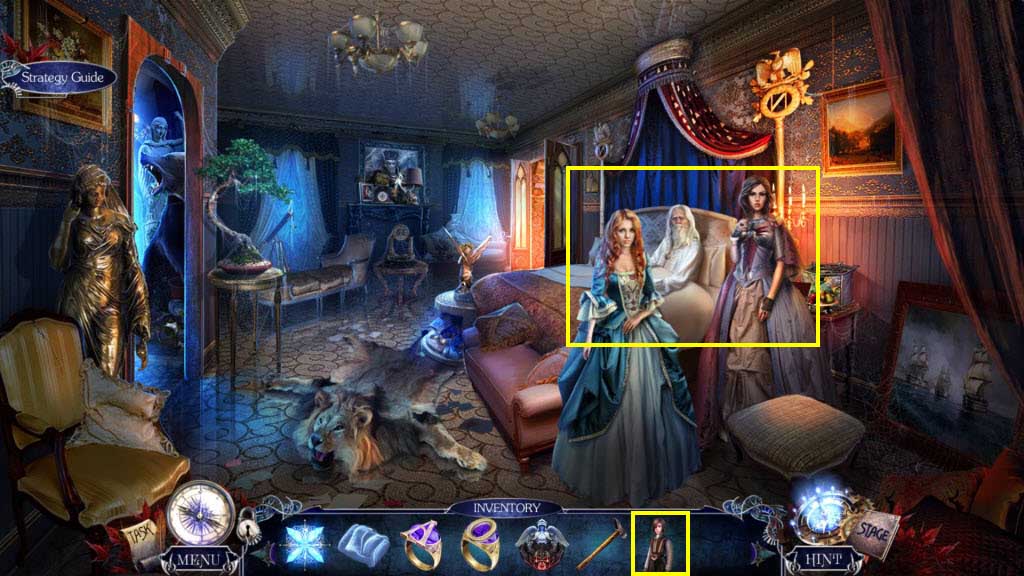
- Hand over Colin to his family.
- You will receive the Prince's Room Key.
- Go to the left.
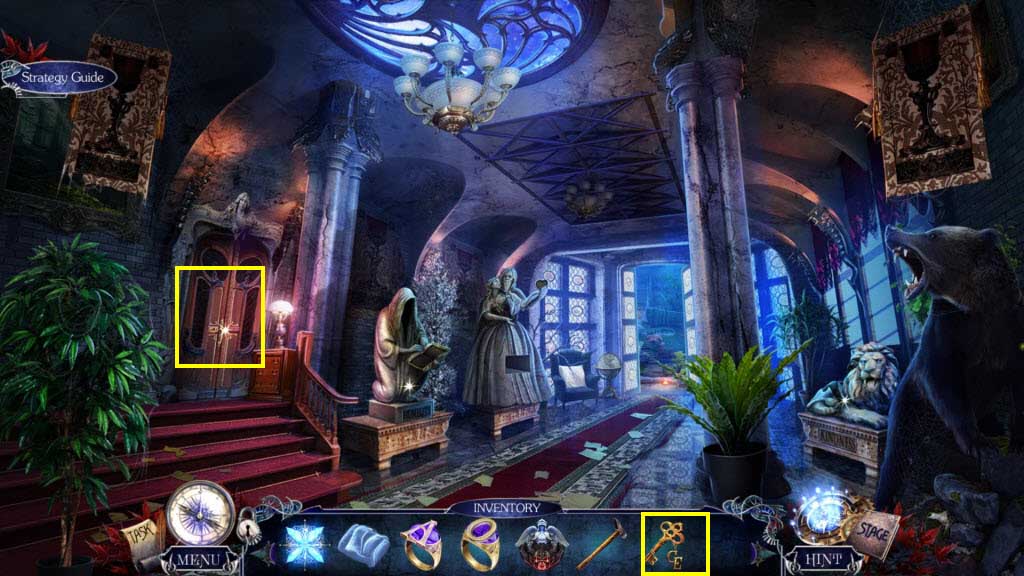
- Zoom into the door on the left.
- Use the Prince's Room Key on the lock.
- Enter the Prince's Room.
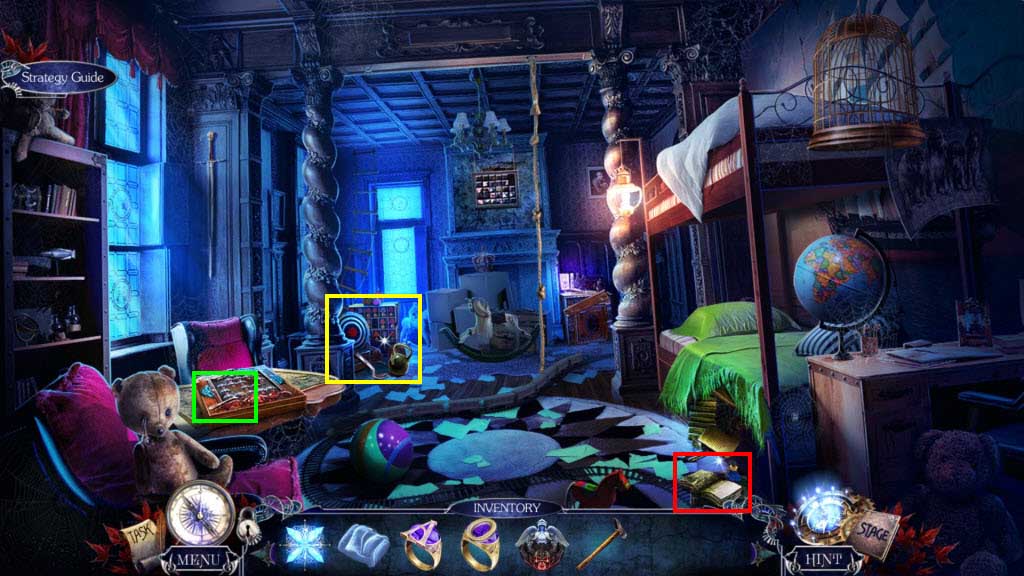
- Zoom in on the target on the left.
- Take the Weight and the Nail Puller.
- Zoom in on the table.
- Take the Fork.
- Zoom in under the bed.
- Take the Tome.
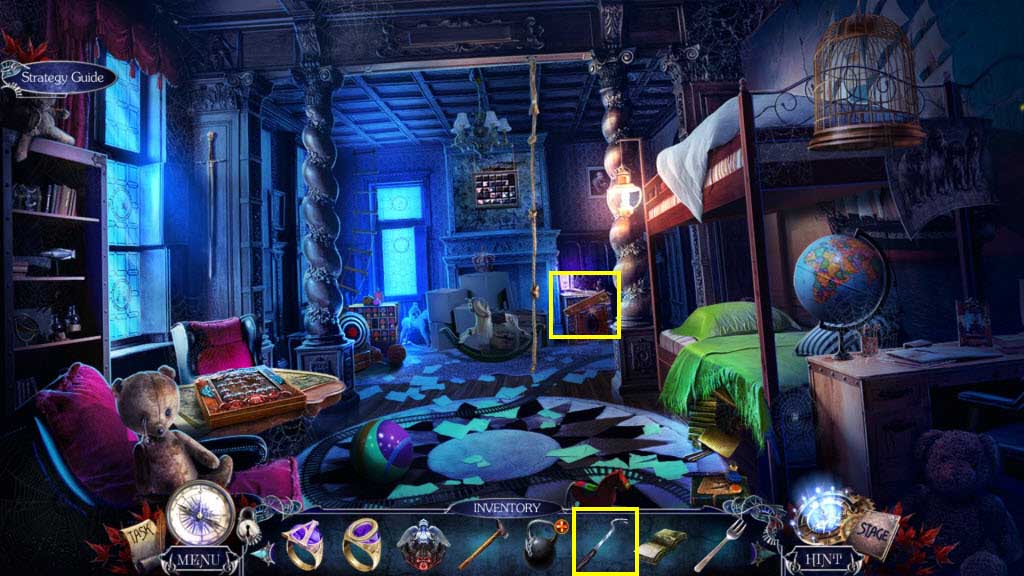
- Zoom in on the board on the right.
- Use the Nail Puller on the nails.
- Take the Nails.
- Go to the Palace Garden.
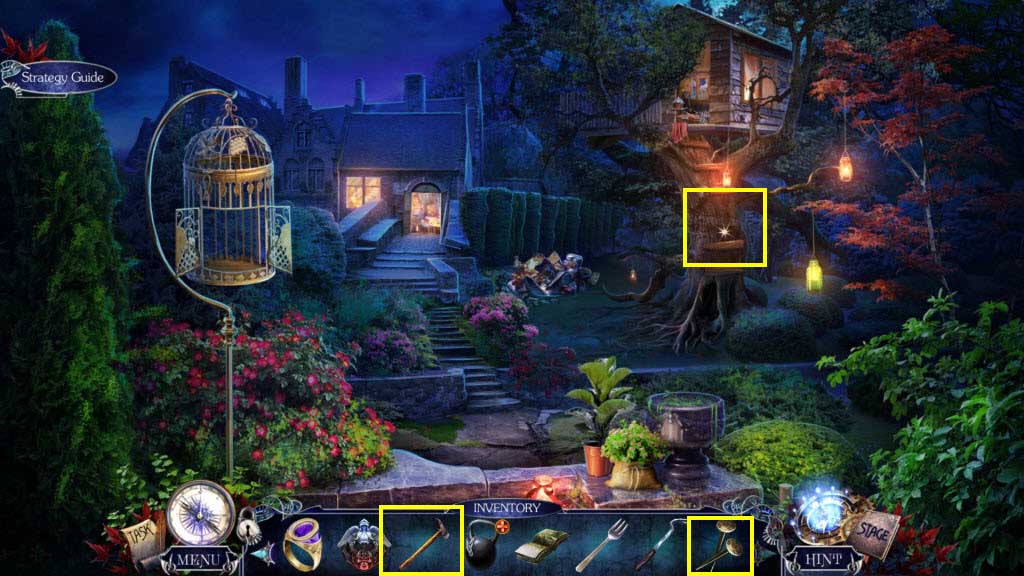
- Zoom in on the boards on the tree.
- Use the Board on the tree.
- Use the Nails and the Hammer on the board.
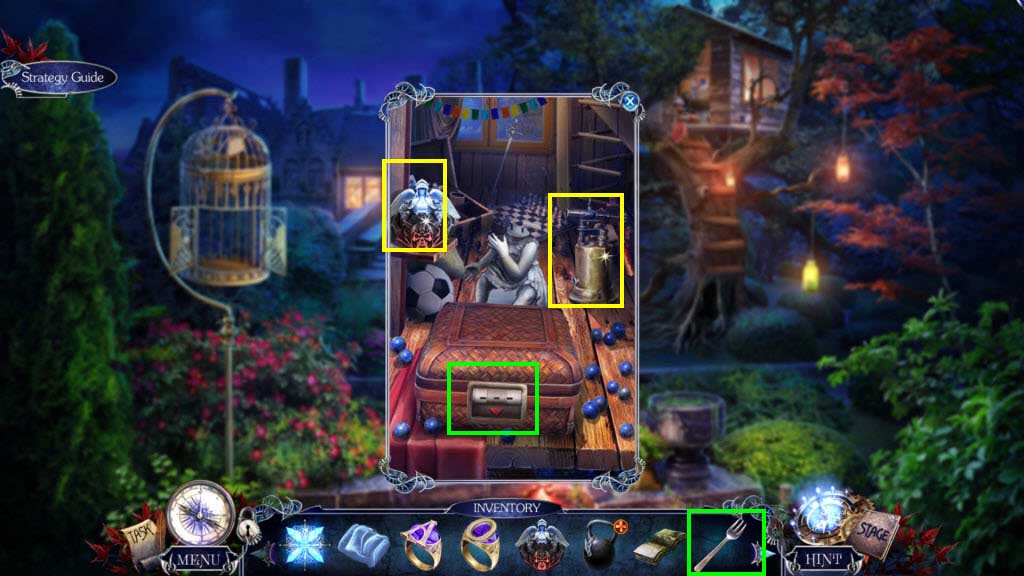
- Zoom in on the top of the tree.
- Take the Blow Torch and the Soldier.
- Use the Fork on the box.
- Take the Cork and the Grater.
- Go back one screen.
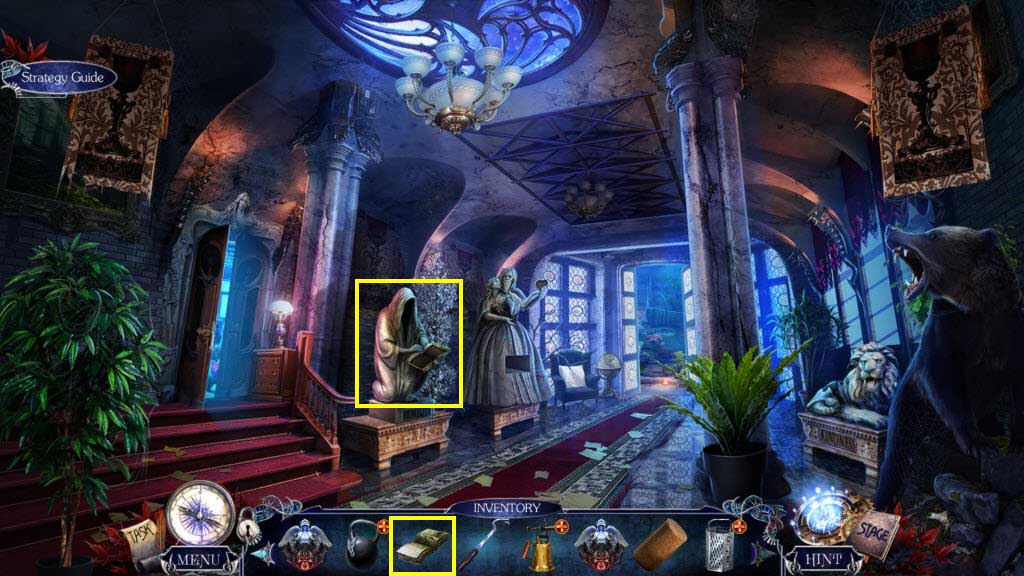
- Zoom in on the statue of Humility.
- Use the Tome on the slot.
- Take the Belt and the Portrait Piece.
- Go to the Prince's Bedroom.
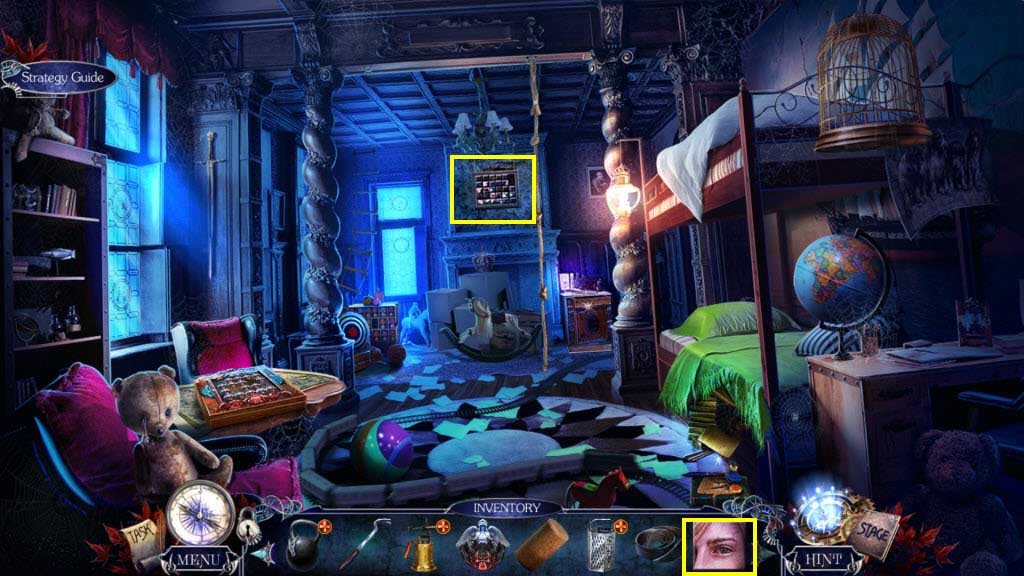
- Zoom in on the portrait.
- Use the Portrait Piece on the portrait.
- Play the mini-game.
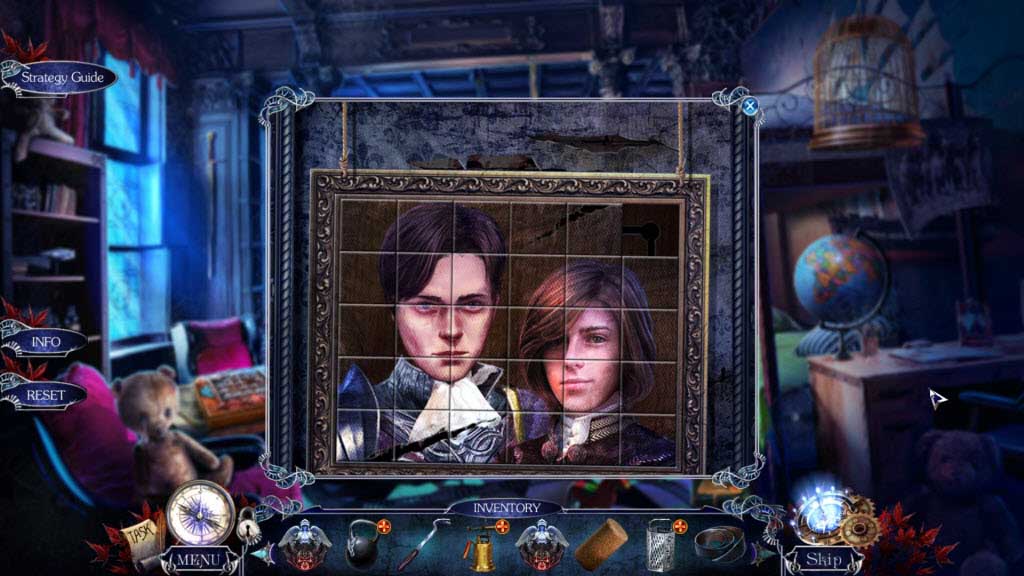
- You need to move the tiles to form the portrait image.
- When you are done, take the Soldier and the Stencil.
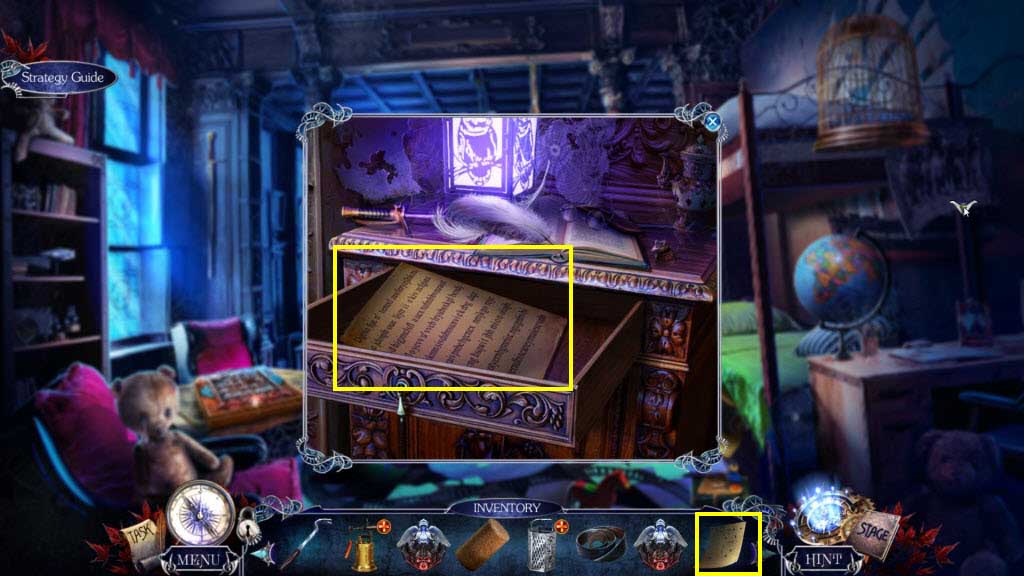
- Zoom in on the drawer on the right with the coded message.
- Use the Stencil on the coded message.
- Take the Amethyst Eye and the Soldier.
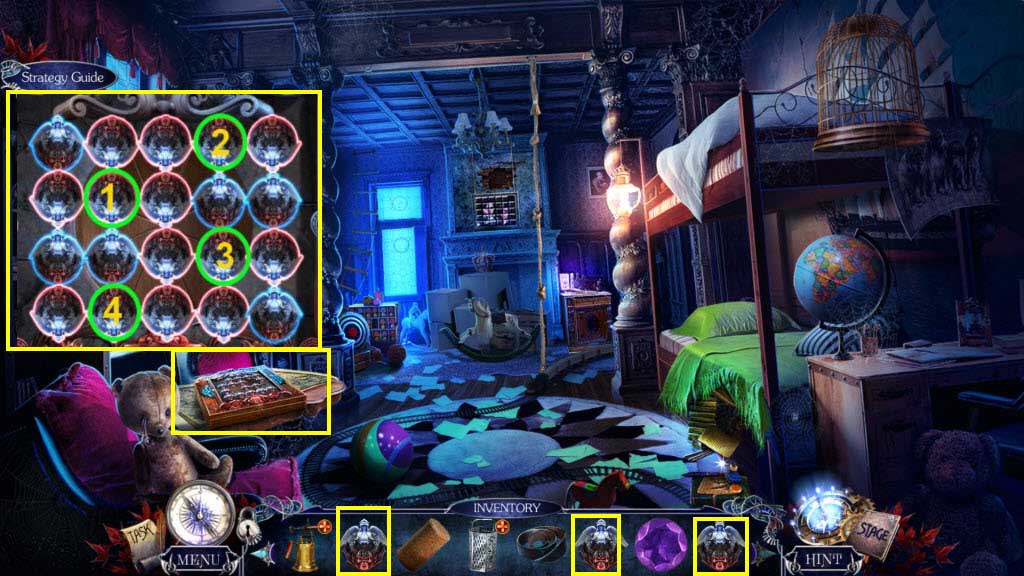
- Zoom in on the table on the left.
- Use the 4 Soldiers on the board.
- Play the mini-game.
- You need to click on the pieces so that only angels are present.
- See the screenshot for the solution.
- Take the Kerosene and the Rune.
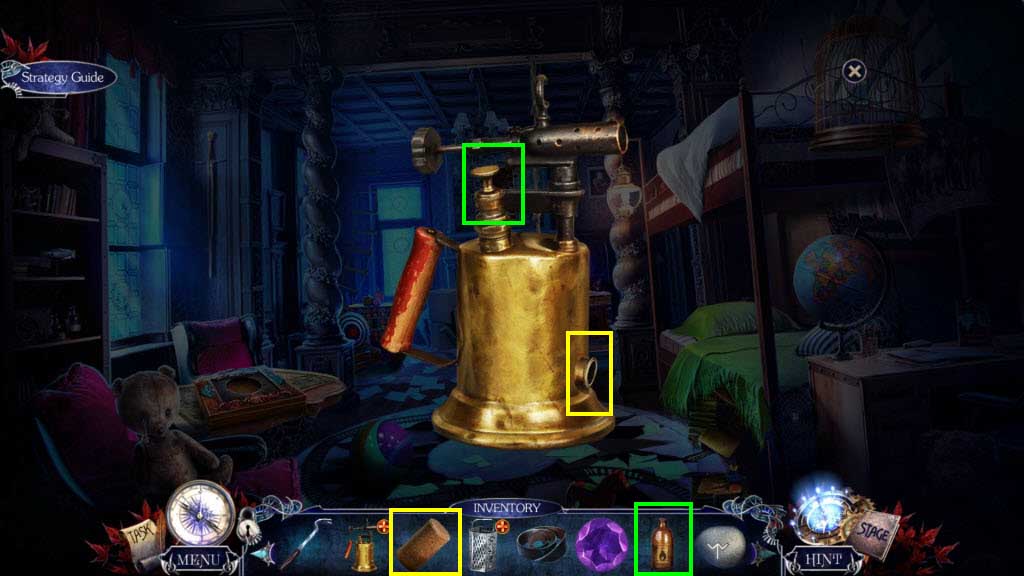
- Zoom in on the Broken Blowtorch in your inventory.
- Click to remove the cap from the top.
- Use the Cork on the bottom hole.
- Use the Kerosene to fill the blowtorch.
- Take the Blowtorch.
- Go to the Vault Entrance.
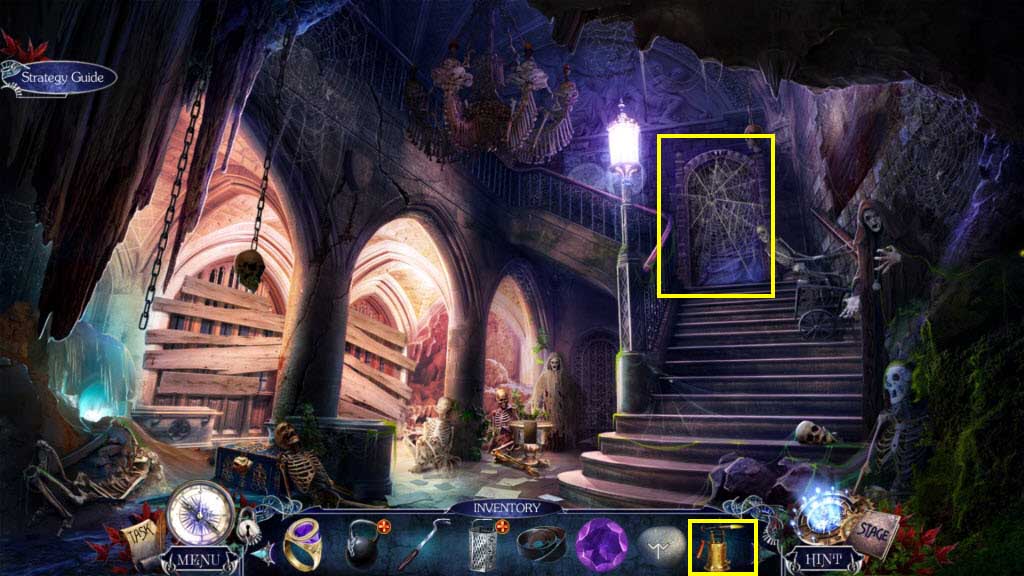
- Zoom in on the door.
- Use the Blowtorch on the webbing.
- Go forward.
Comments will load when you reach this part of the walkthrough.