

Chapter Two: Greed
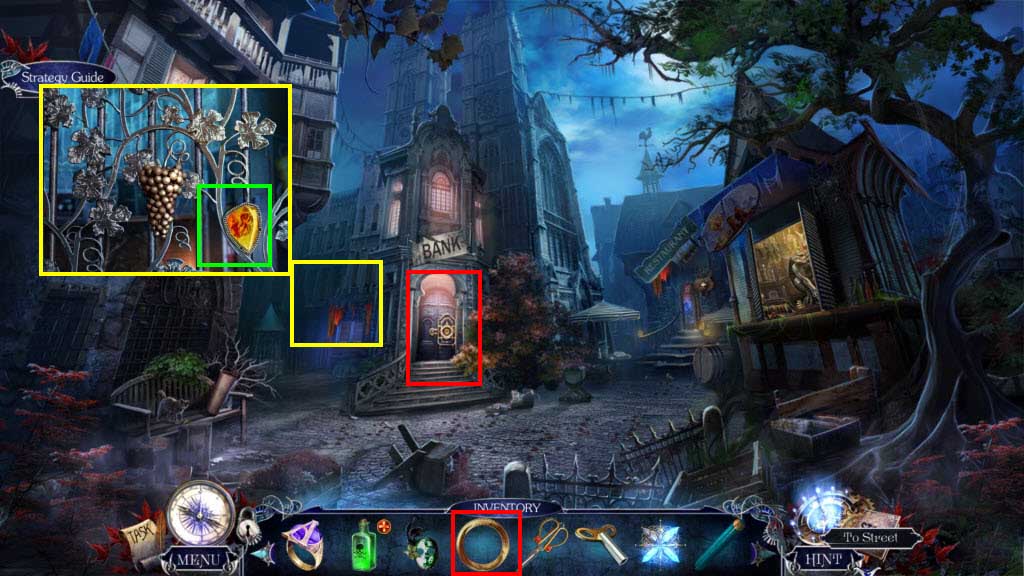
- Click to zoom in on the Bank Window.
- Use the Pencil on the shutters.
- Take the Bank Note.
- Click to zoom in on the Bank Door.
- Use the Bank Note and the two Lock Parts on the door.
- Play the mini-game.
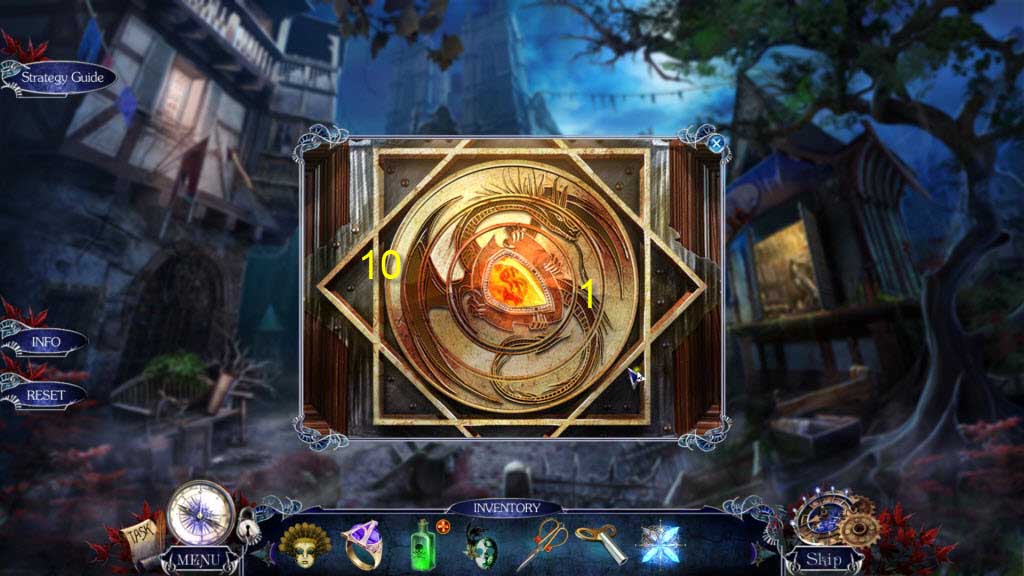
- You need to rotate the rings of the lock to form the picture.
- Click the outer ring 10 times and the next ring in 1 time.
- Enter the bank.
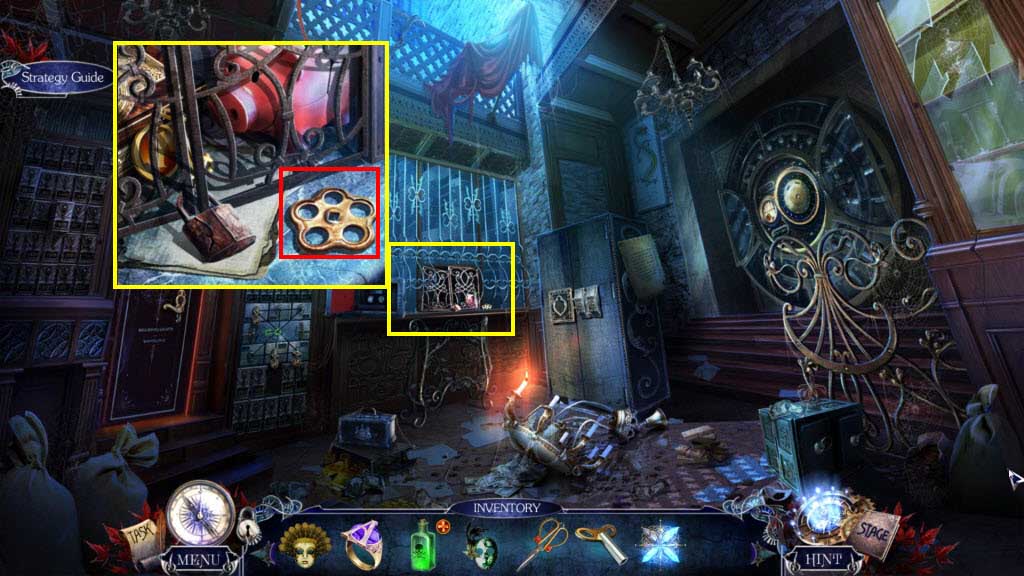
- Click on the princess.
- Click to zoom in on the counter.
- Take the Valve.
- Go back to the street.
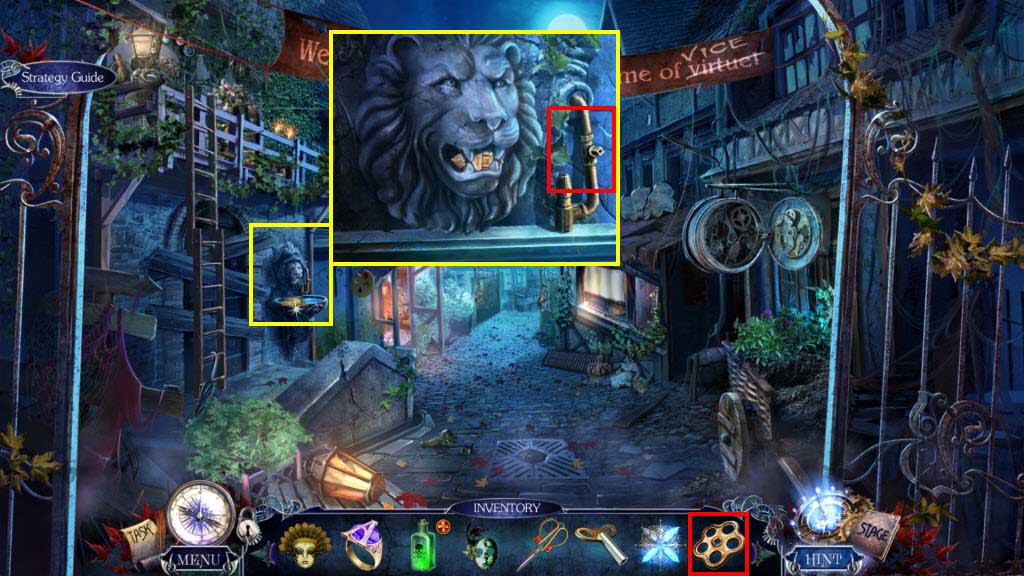
- Click to zoom in on the fountain.
- Use the Valve on the fountain.
- Take the Bank Token.
- Return to the bank.
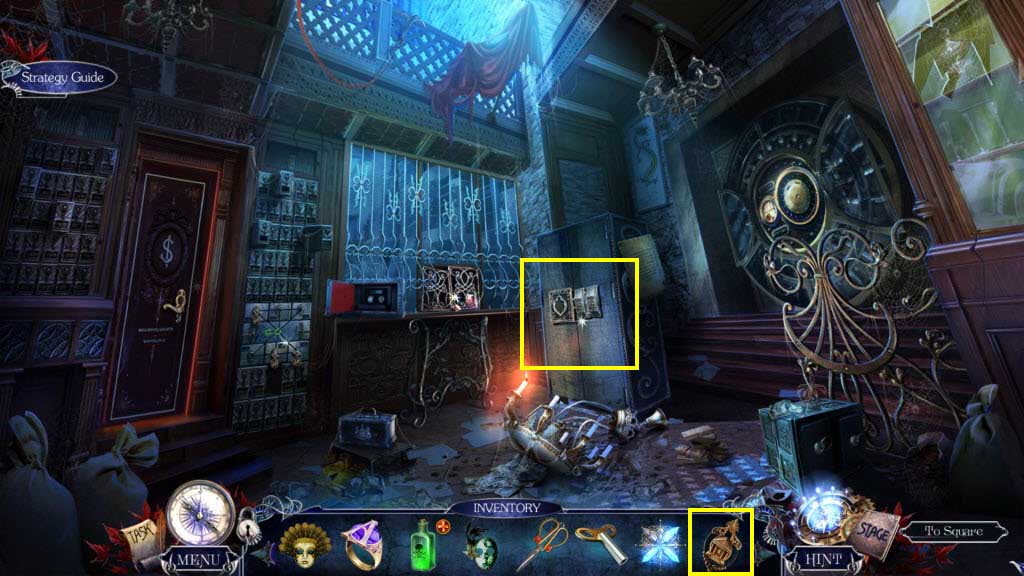
- Click to zoom in on the cabinet.
- Use the Bank Token on the slot.
- Click on the sparkles to play the HOG.
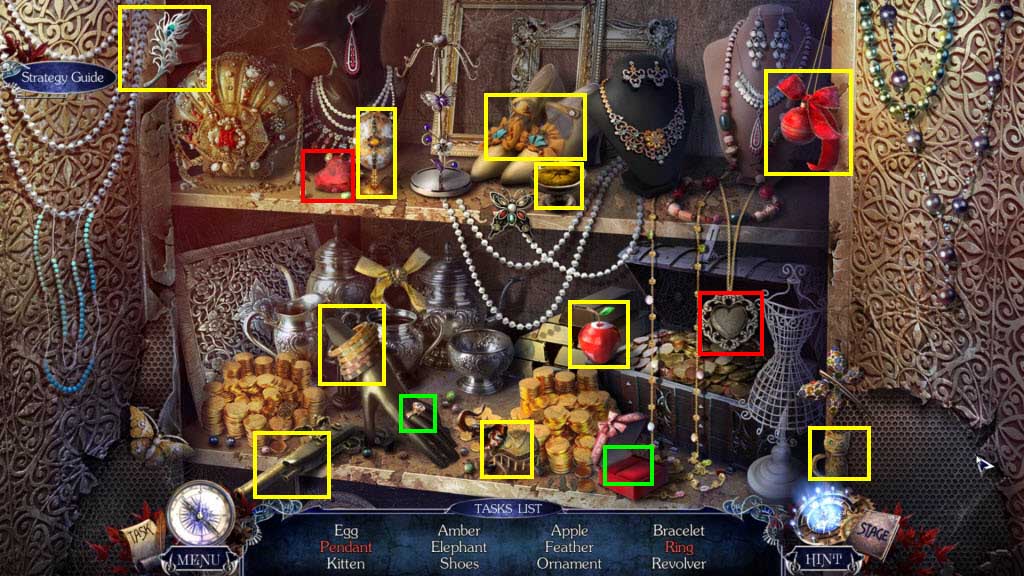
- Find all the items on the list.
- You will receive the Mechanical Egg.
- Click to zoom in on the Mechanical Egg.
- Use the Wind-Up Key on the egg.
- Take the Profile Key.
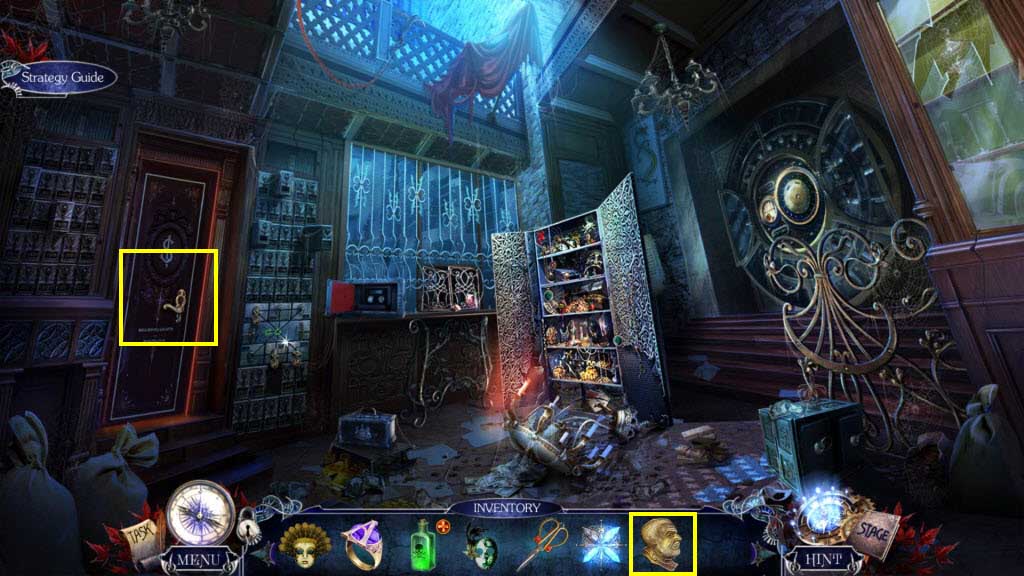
- Click to zoom in on the office door.
- Use the Profile Key on the door.
- Enter the office.
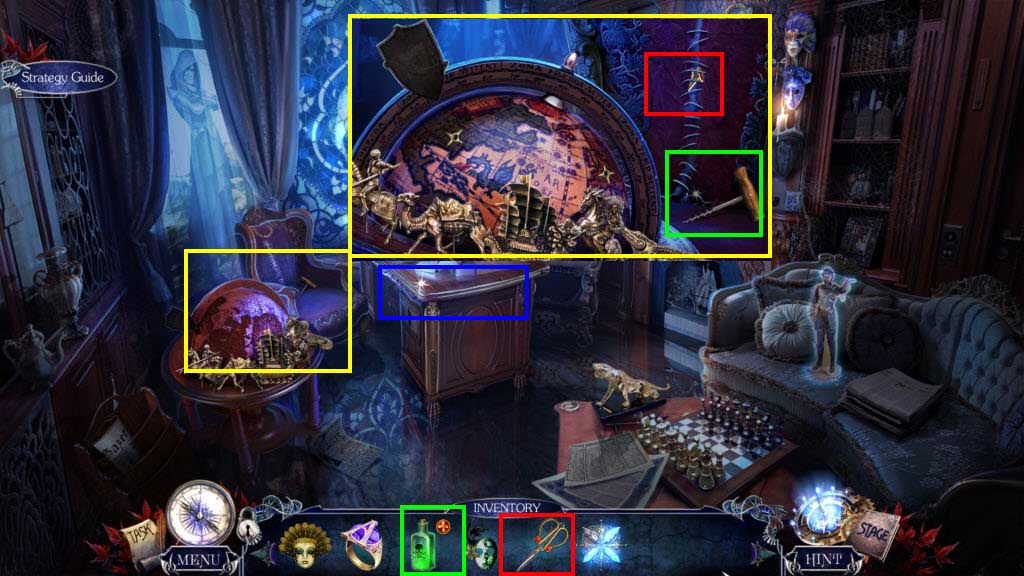
- Click to zoom in on the globe.
- Take the Corkscrew.
- Use the Scissors on the chair.
- Take the Numbered Key.
- Click to zoom in on the Bottle of Acid on your Inventory.
- Use the Corkscrew on the bottle of acid.
- Take the Acid.
- Click to zoom in on the desk.
- Take the Paperweight.
- Go back one screen.
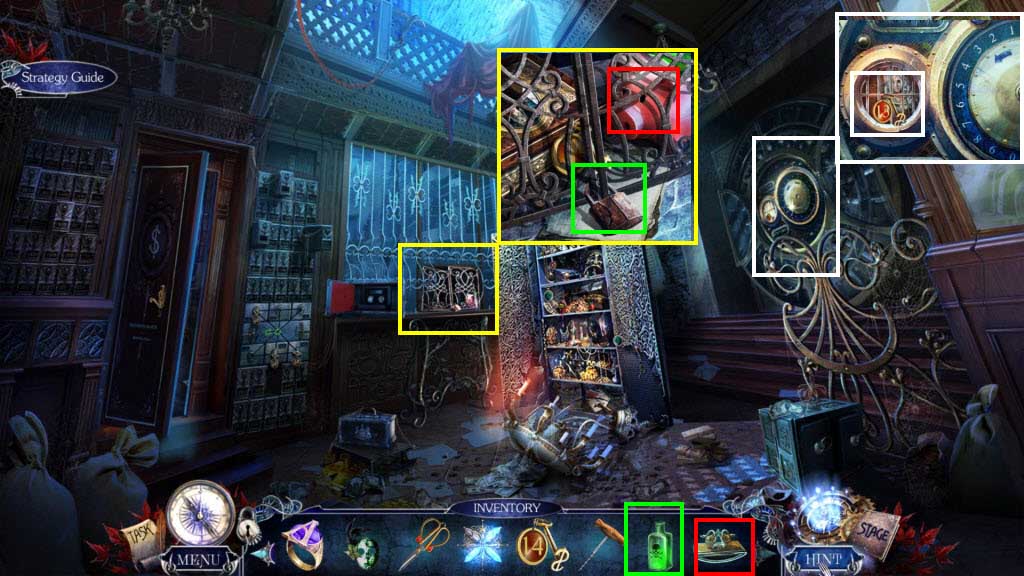
- Click to zoom in on the counter.
- Use the Acid on the lock.
- Open the grate.
- Use the Paperweight on the piggybank.
- Take the Emerald.
- Take the Numbered Key.
- Click to zoom in on the vault.
- Take the Numbered Key.
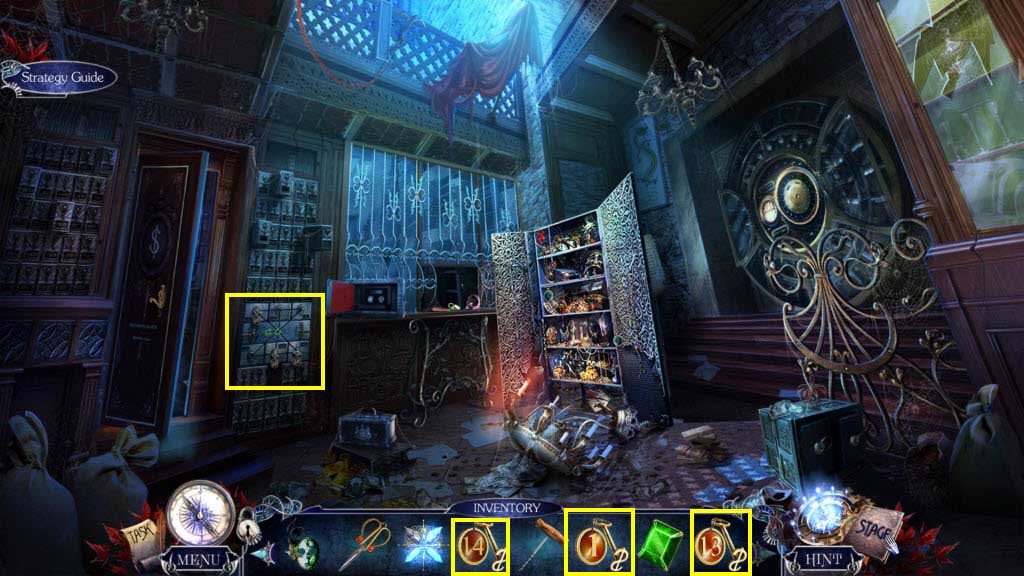
- Click to zoom in on the safety deposit boxes.
- Use the three Numbered Keys on the boxes.
- Play the mini-game.
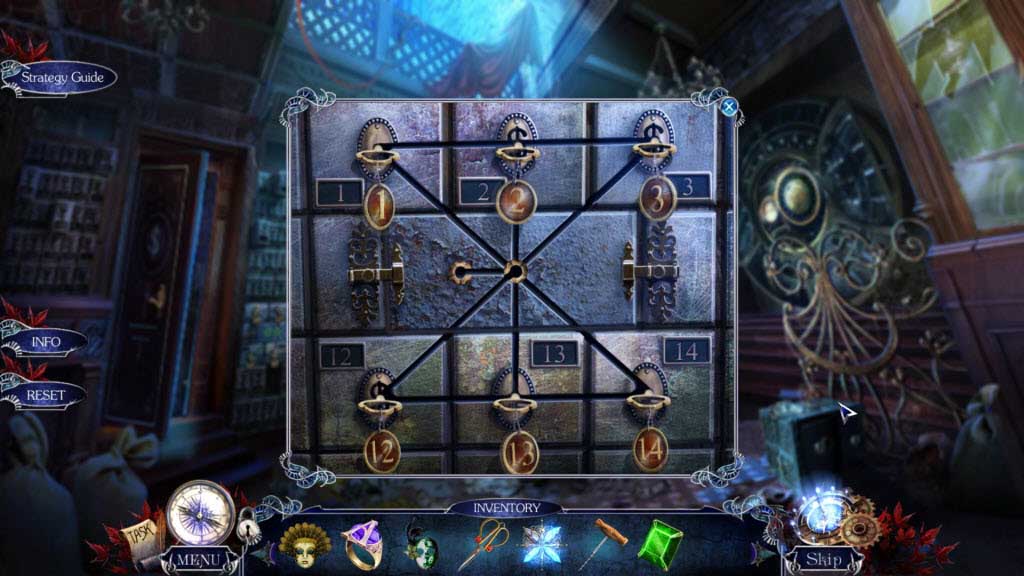
- You will need to move each key to the matching slot.
- Use the middle slot as a holder as you move the keys around.
- Take the King Figurine.
- Go into the office.
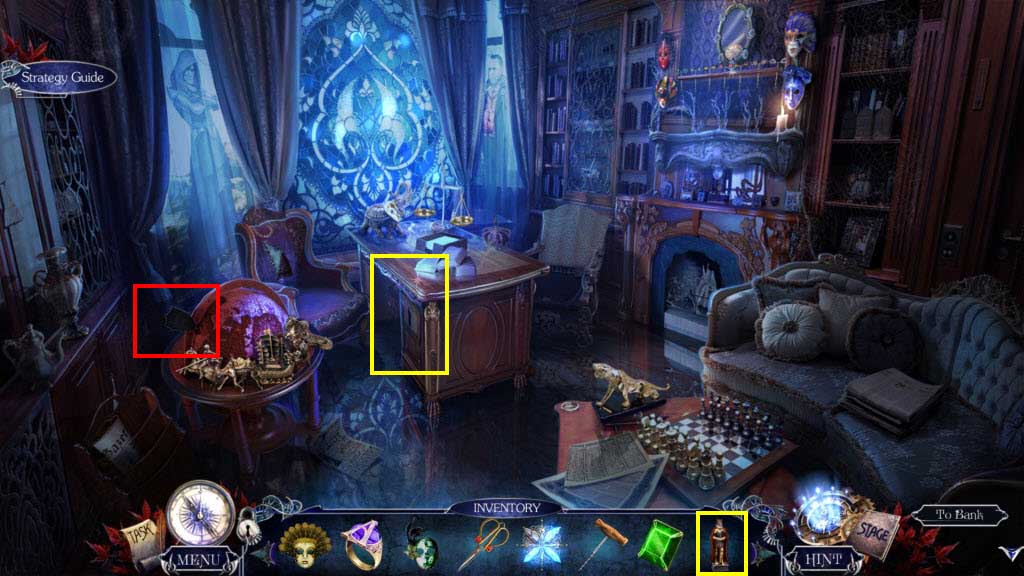
- Click on the desk to zoom in.
- Use the King Figurine in the empty slot.
- Take the Coat of Arms and the Puppet Part.
- Click to zoom in on the globe.
- Use the Coat of Arms on the empty slot.
- Play the mini-game.
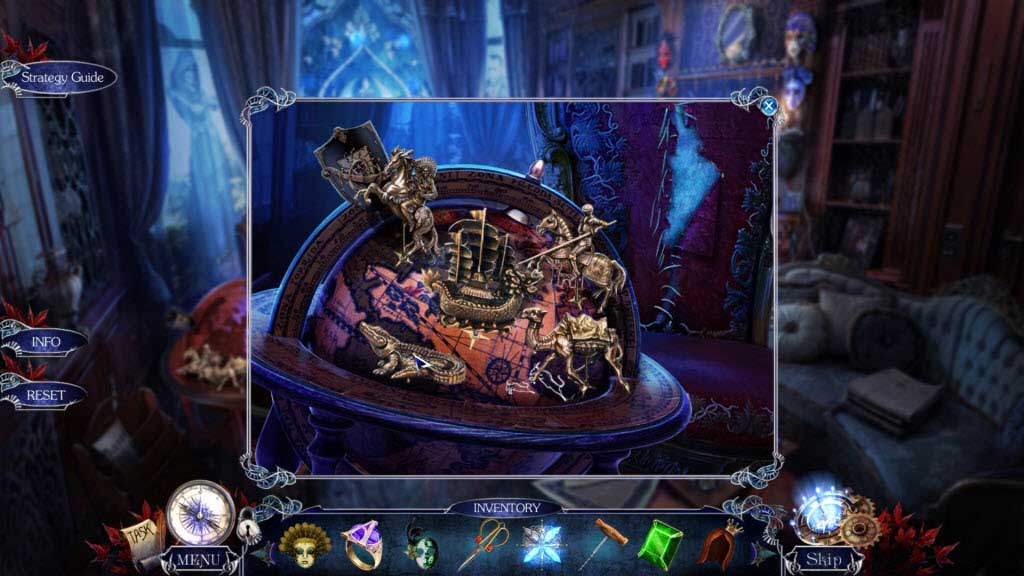
- You need to place the figurines on the correct country.
- Take the Scroll and the Mask.
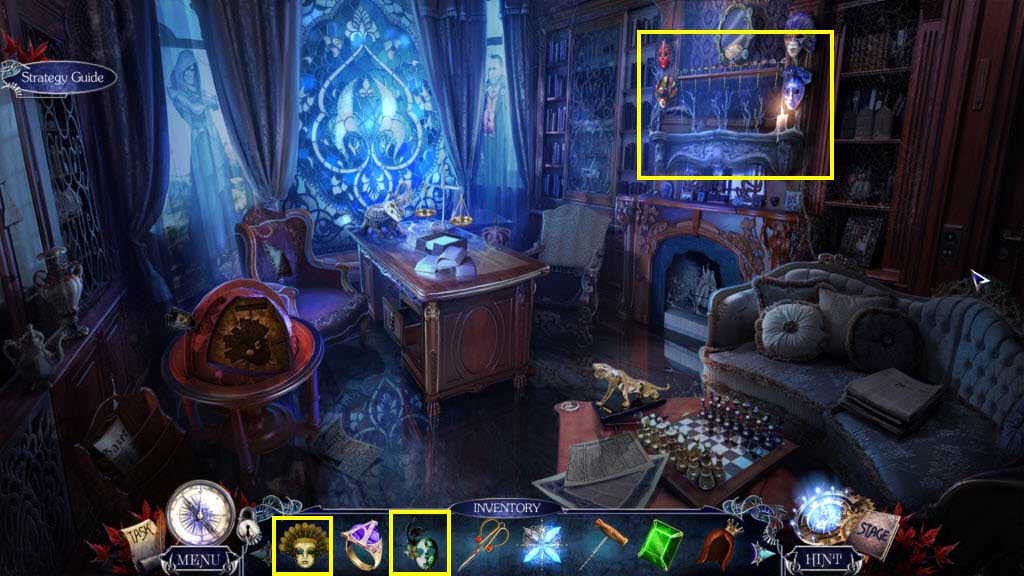
- Click to zoom in on the wall with the masks.
- Use the three Masks from your inventory on the wall.
- Play the mini-game.
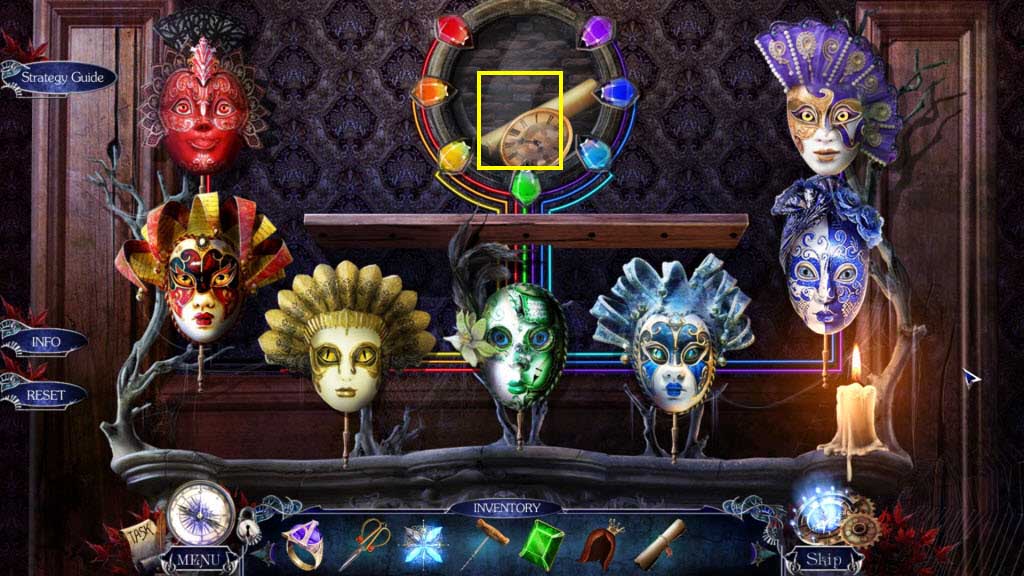
- You need to place the eyes on the right mask.
- Take the Clock Face and the Scroll when you are done.
- Go to the Restaurant.
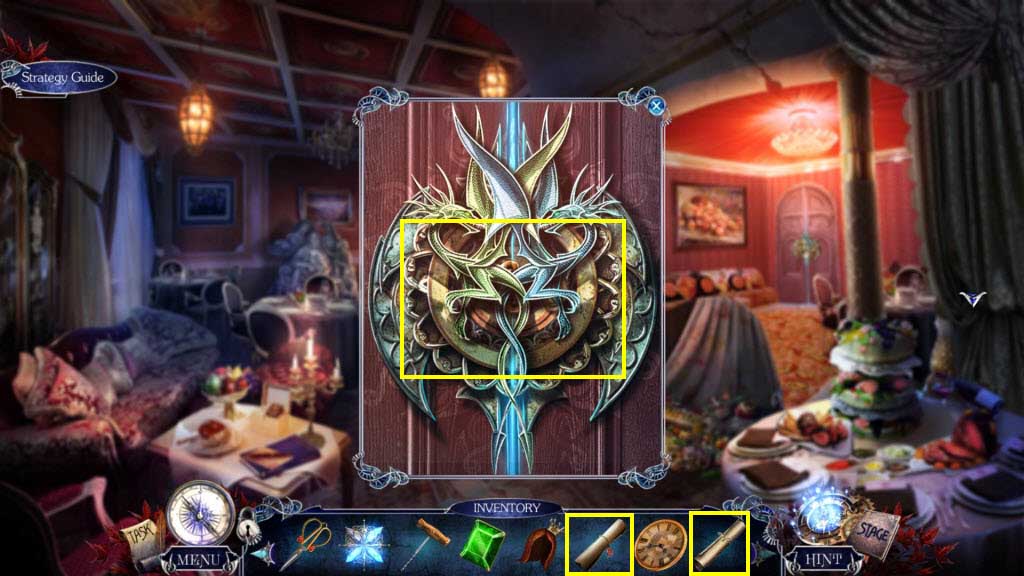
- Click on the door to zoom in.
- Use the two Scrolls on the door.
- Enter the Secret Passage.
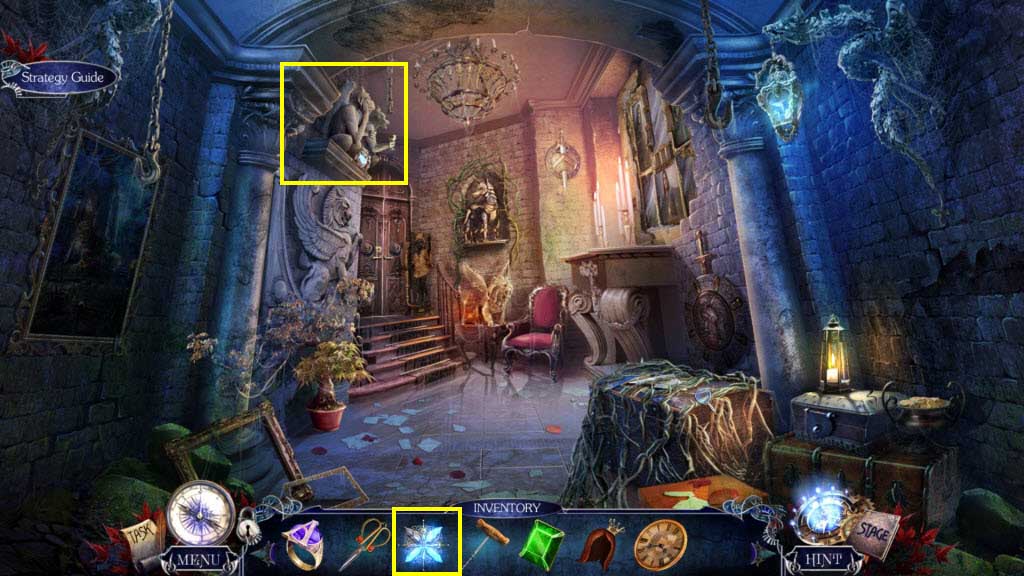
- Click to zoom in on the gargoyles.
- Use the Drained Banishing Crystal on the empty slot.
- Take the Charged Banishing Crystal.
- Go to the bank.
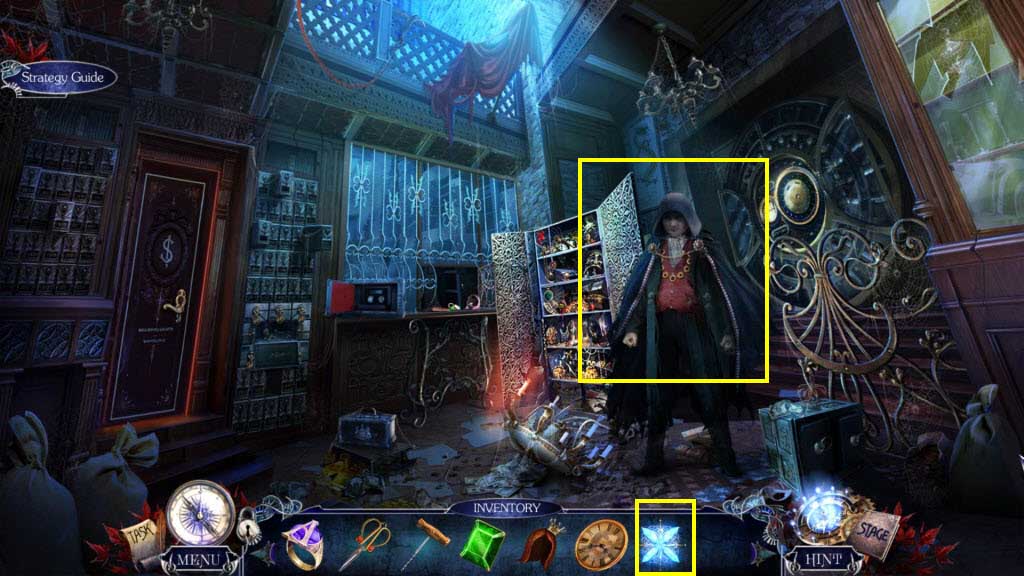
- Use the Charged Banishing Crystal on Greed.
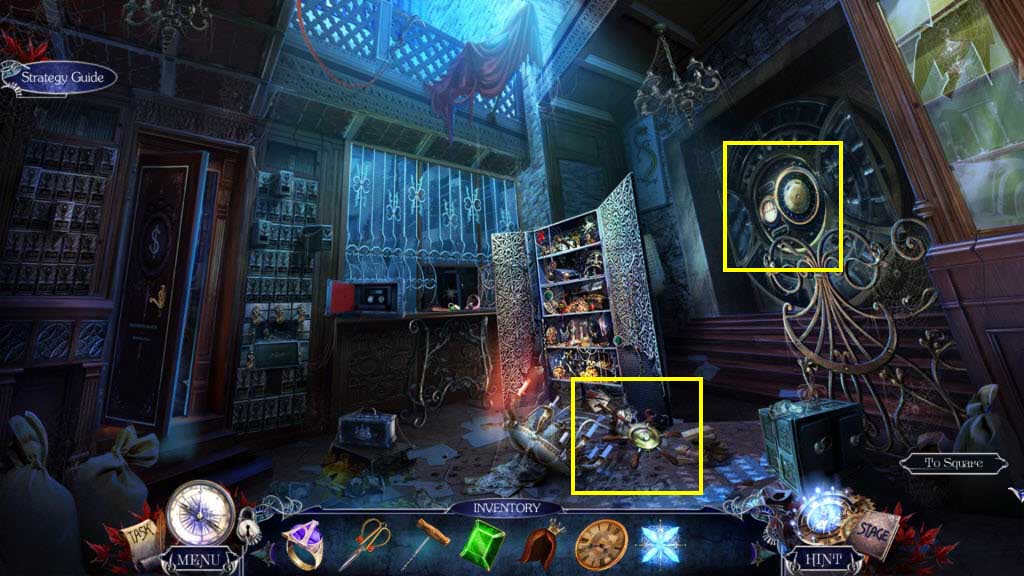
- Take the Safe Handle.
- Click to zoom in on the vault.
- Use the Safe Handle on the vault.
- Play the mini-game.
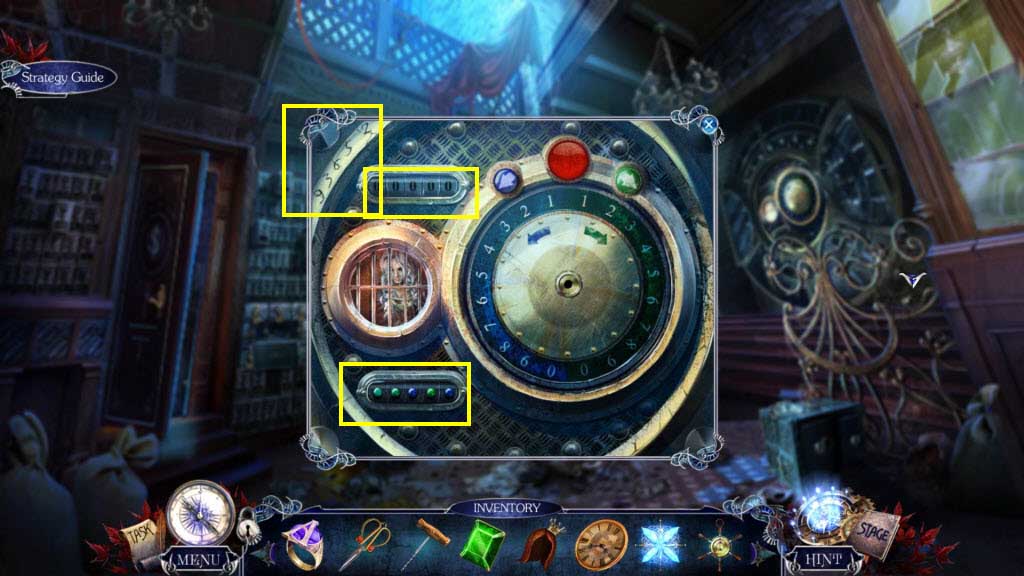
- The combination is on the top left.
- Note the numbers are in blue and green. See a hint for what color to use on the bottom left.
- The combo is: 9-green, 3-green, 6-blue, 5-green, 2-blue.
-
Enter the treasury.
Comments will load when you reach this part of the walkthrough.