

Chapter Six: The Lighthouse
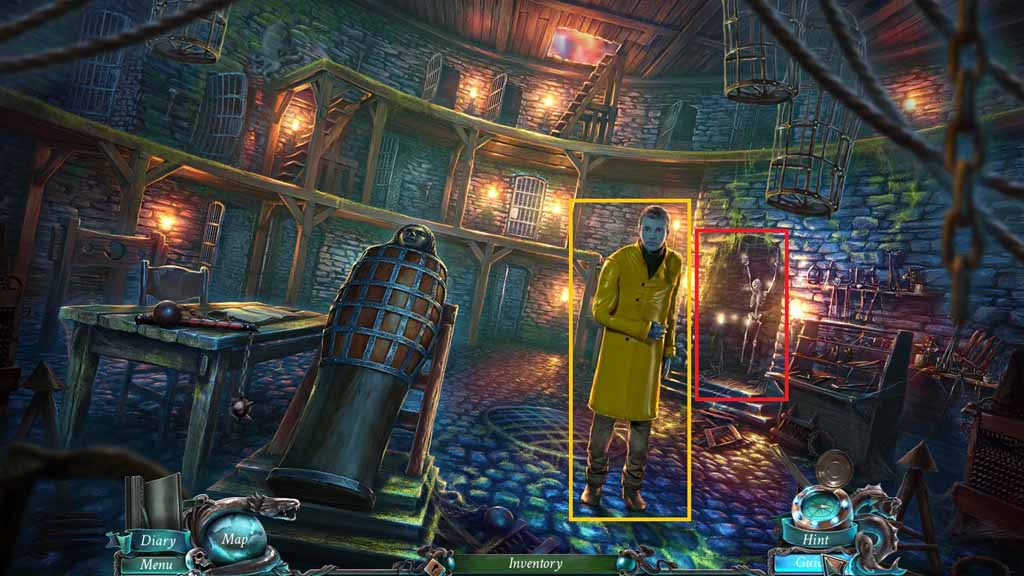
- Speak to the fisherman.
- Click the skeleton to activate a hidden objects area.
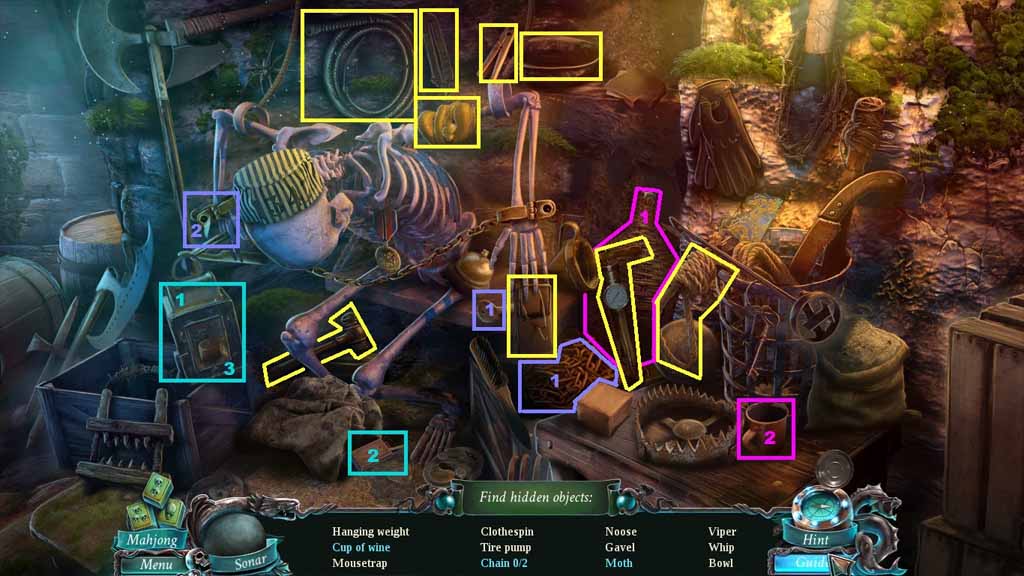
- Find the listed items.
- Select the bottle and pour the liquid into the cup; collect the cup of wine.
- Select the key and insert it into the shackle lock; collect 1 / 2 chains.
- Click the lantern open, select the matches and use it to ignite the candle; collect the moth.
- Collect the chain.
- Move upstairs to the Storeroom.
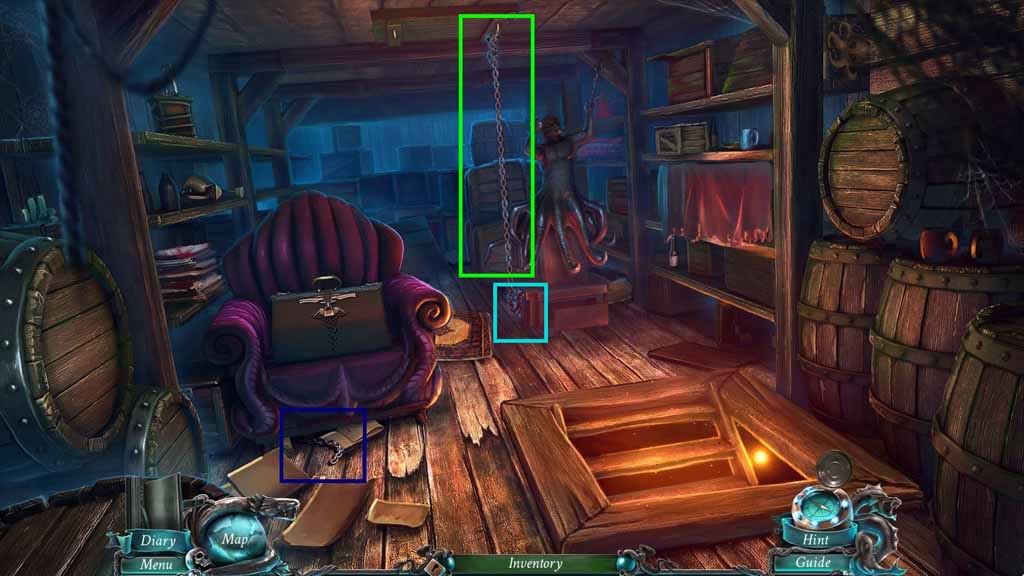
- Click the sheet.
- Zoom into the statue and attach the chain onto the leg.
- Click the sheet.
- Zoom into the chair and collect the old chain.
- Zoom into the trapdoor and place the old chain onto it.
- Zoom into the statue and click the chain; click the statue 2 times.
- Move upstairs to the kitchen.
- Click the pantry door to trigger a hidden objects area.
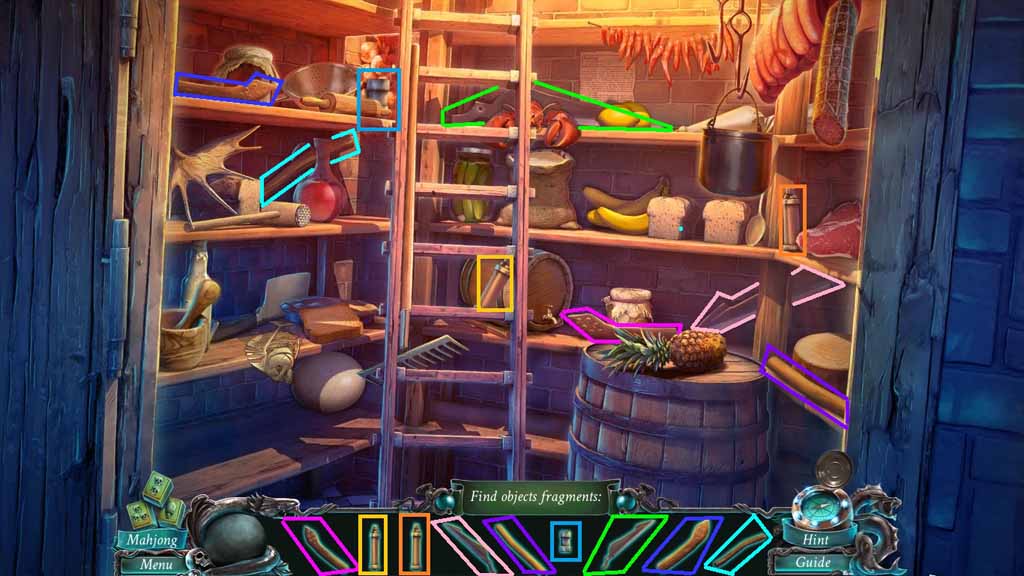
- Find the items.
- Collect the garden shears.
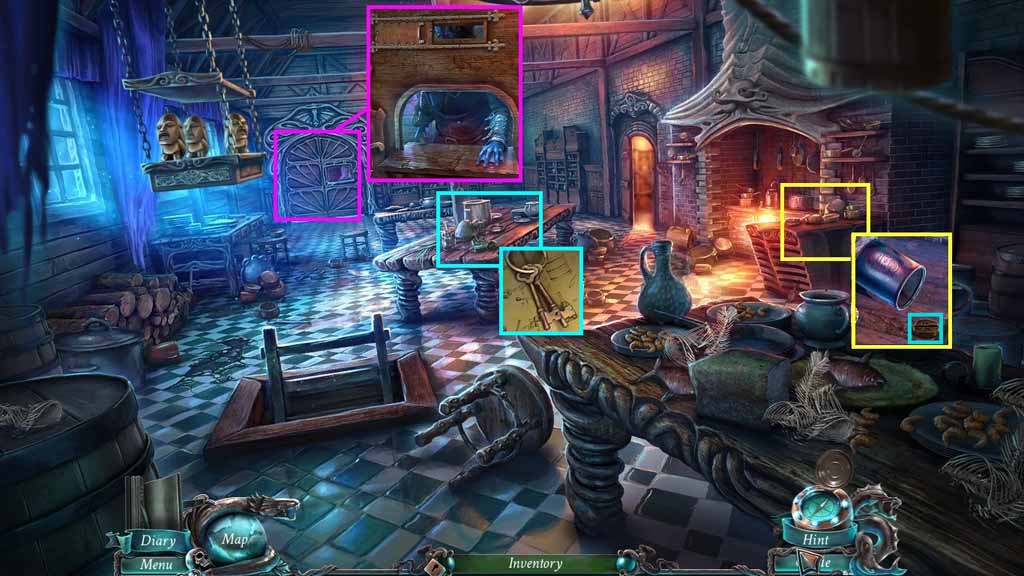
- Zoom into the door; click the hatch.
- Speak to the Guardian.
- Zoom into the table.
- Select the dagger to open the can and collect the coffee symbol.
- Zoom into the workbench; collect the keys.
- Move to the Prison.
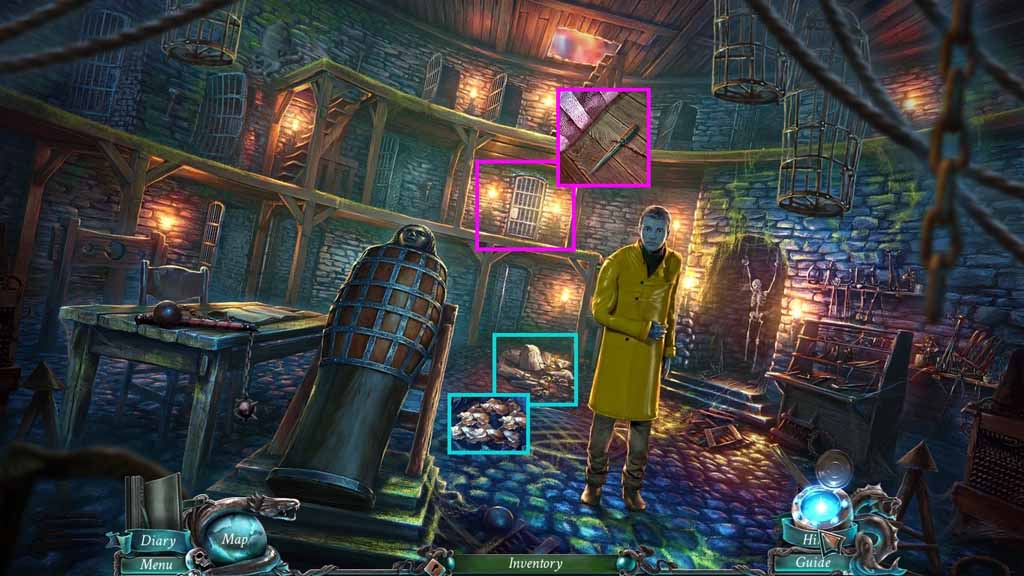
- Zoom into the rubble.
- Click the stones; collect the 1 / 3, 2 / 3, and 3 / 3 golden flakes.
- Zoom into the cell and insert the keys.
- Zoom into the cot and click the mattress; collect the ice pick.
- Move to the Catacombs.
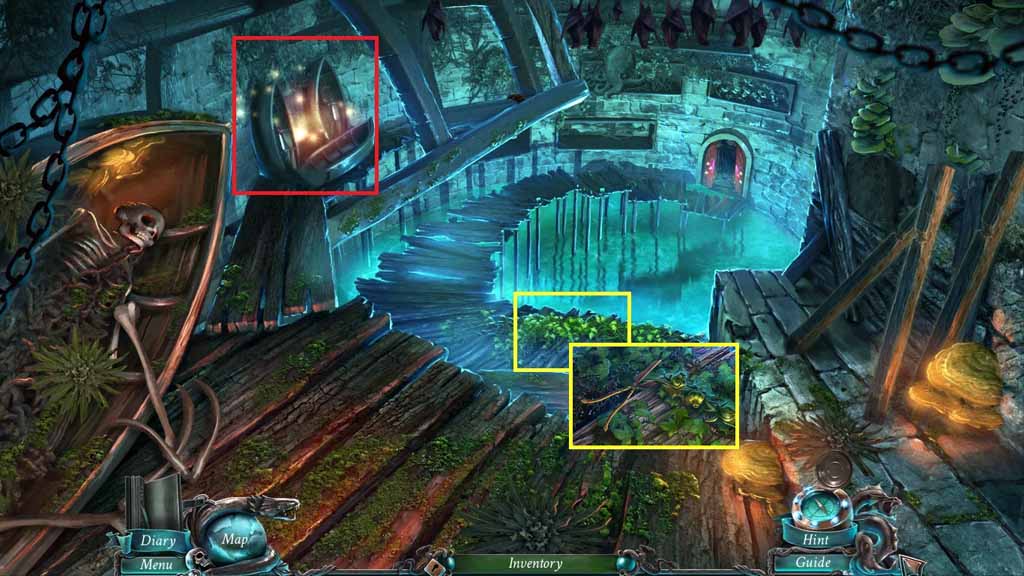
- Zoom into the vines.
- Select the garden shears to collect the flower stalk.
- Click the boat to trigger a hidden objects area.
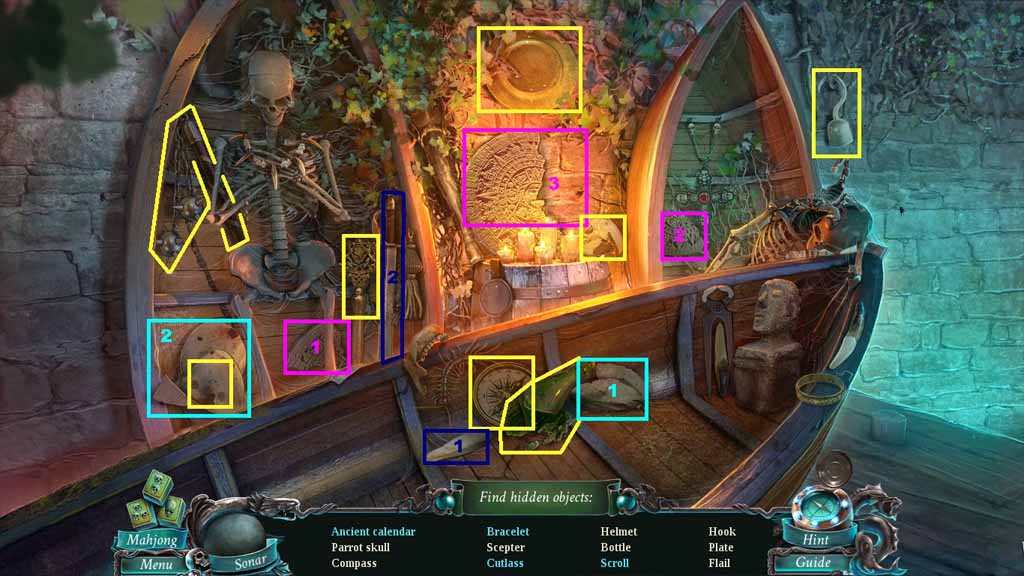
- Find the listed items.
- Select the calendar pieces and attach it to the larger calendar piece; collect the ancient calendar.
- Select the rocks and rub them together to ignite the bomb; collect the bracelet and the scroll.
- Select the rock and use it to sharpen and collect the cutlass.
- Collect the pliers.
- Move to the Passenger Cabin.
- Zoom into the bed to trigger a hidden objects area.
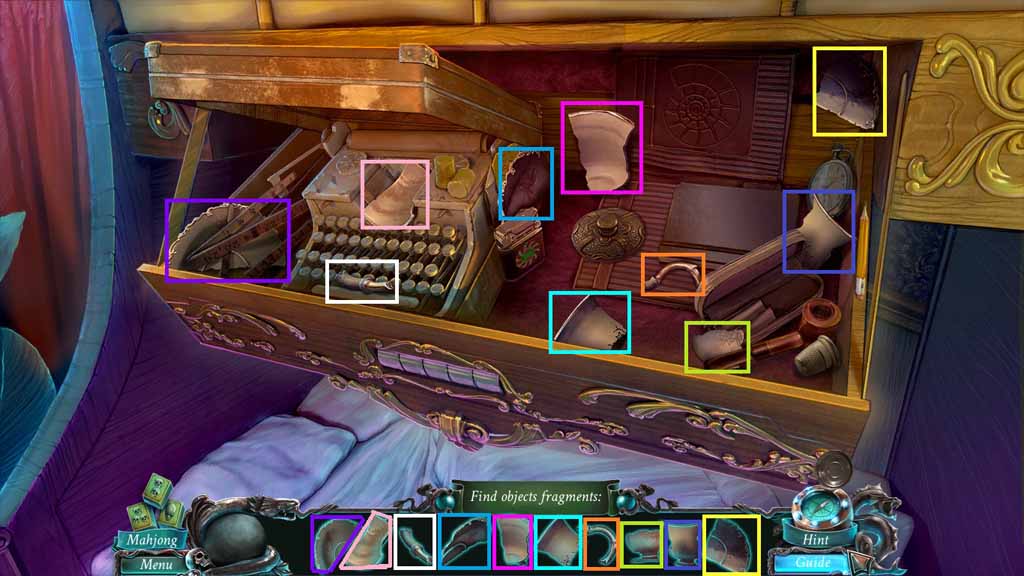
- Find the silhouetted items.
- Collect the china cup.
- Move to the Storeroom.
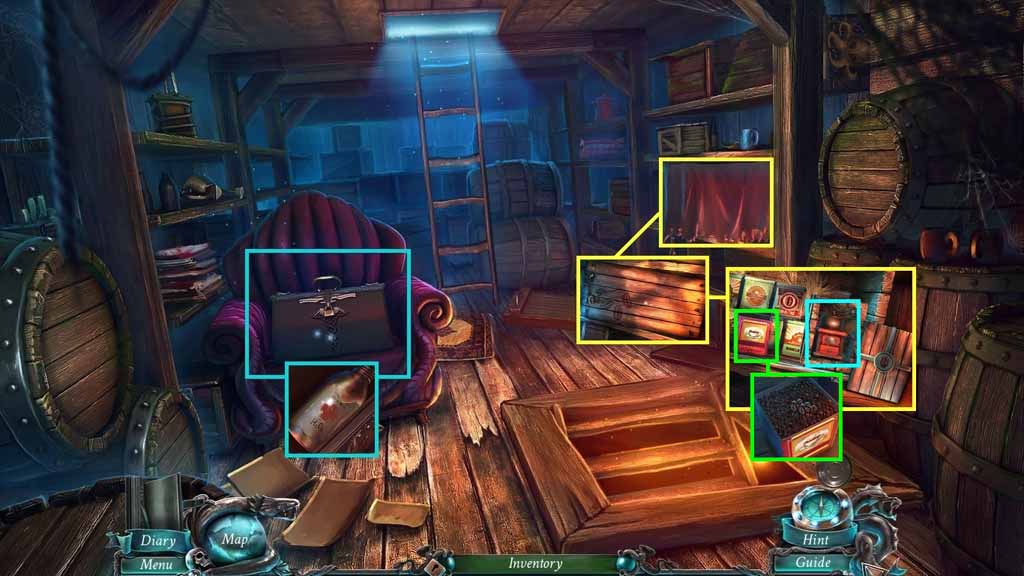
- Zoom into the chair.
- Insert the key into the lock and click the 2 latches.
- Collect the hydrogen peroxide.
- Click the cloth.
- Zoom into the crates and use the pliers to remove the nails.
- Click the crate and insert the coffee symbol.
- Click the box and collect the coffee grinder.
- Zoom into the tin; open the lid using the dagger and collect the coffee beans.
- Move to the Kitchen.
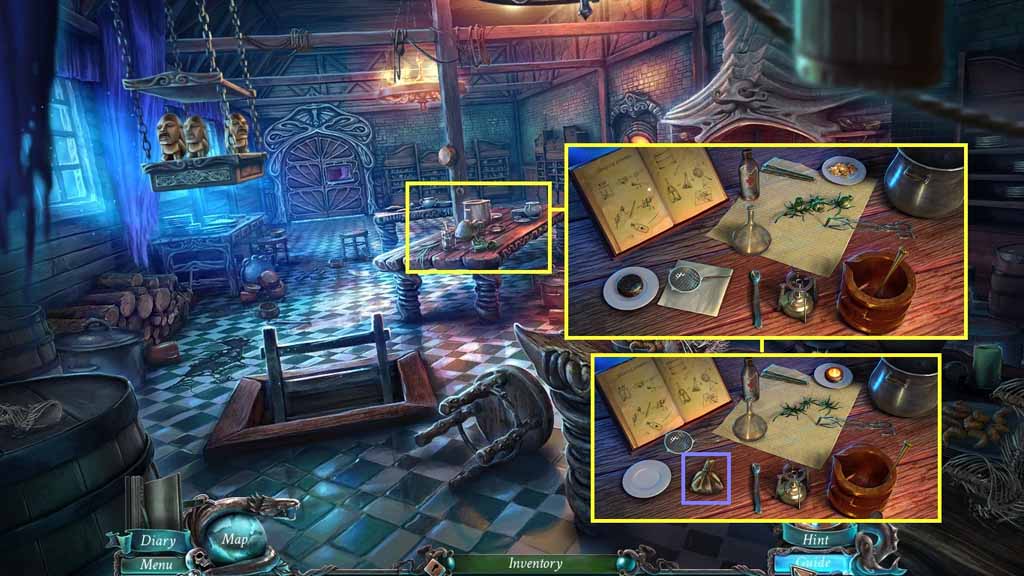
- Zoom into the workbench.
- Place down the hydrogen peroxide, the flower stalks and the 3 / 3 golden flakes to trigger a puzzle.
- Follow the directions per the recipe to solve the puzzle.
- Collect the sleeping powder.
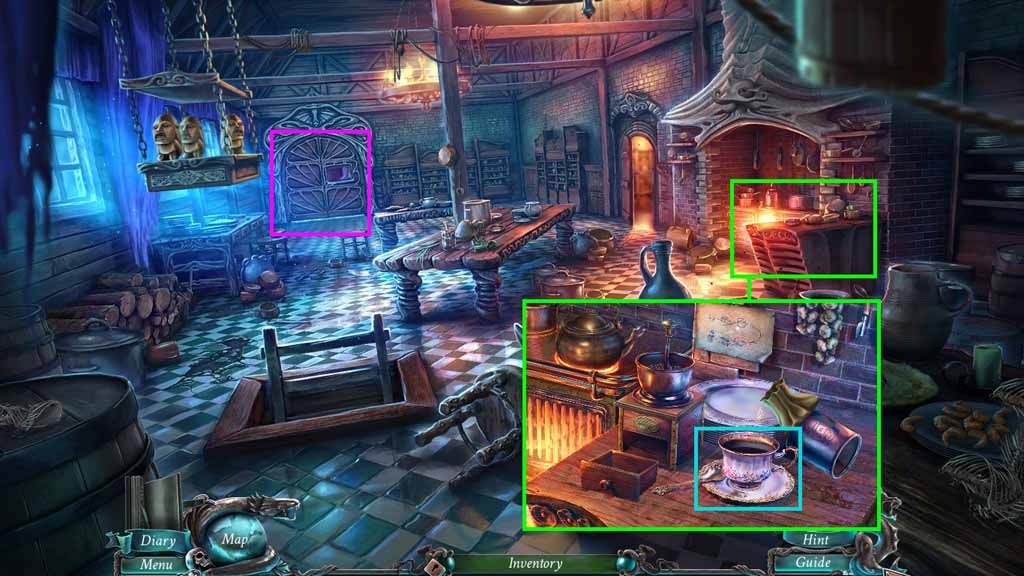
- Click the table.
- Select the ice pick to chip the ice.
- Click the kettle open and insert the ice.
- Put the china cup onto the plate.
- Put the coffee grinder and the coffee beans onto the device.
- Click the crank and pour the ground coffee into the cup.
- Click the kettle.
- Pour the sleeping powder into the china cup; collect the spiked coffee.
- Zoom into the door.
- Give the guard the spiked coffee.
- Click the door handle and move right to the Quarters.
Comments will load when you reach this part of the walkthrough.