

Chapter Five: Shipwreck Graveyard
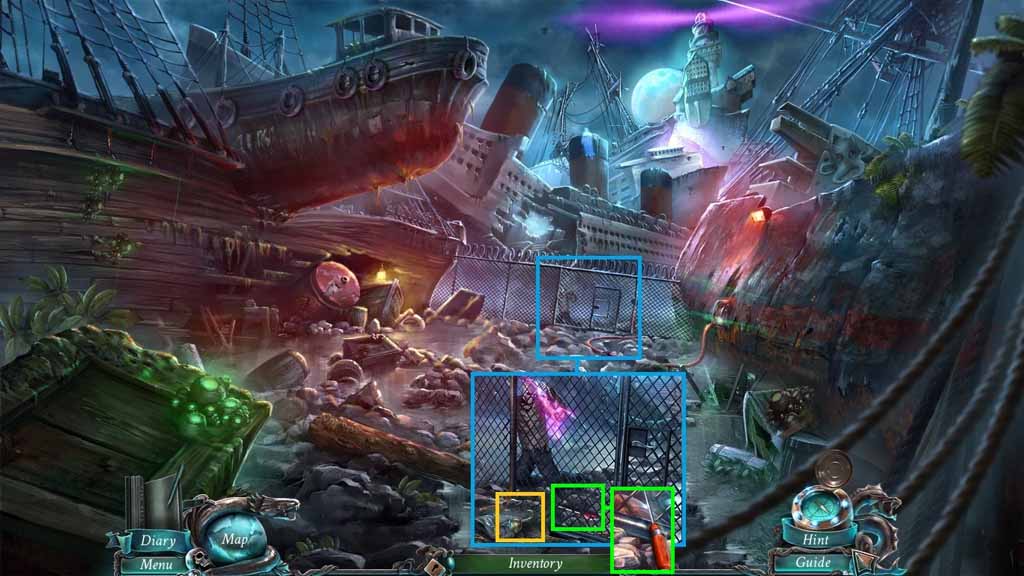
- Zoom into the gate.
- Click the handle; collect the hook.
- Zoom into the fence.
- Select the hook to collect the screwdriver.
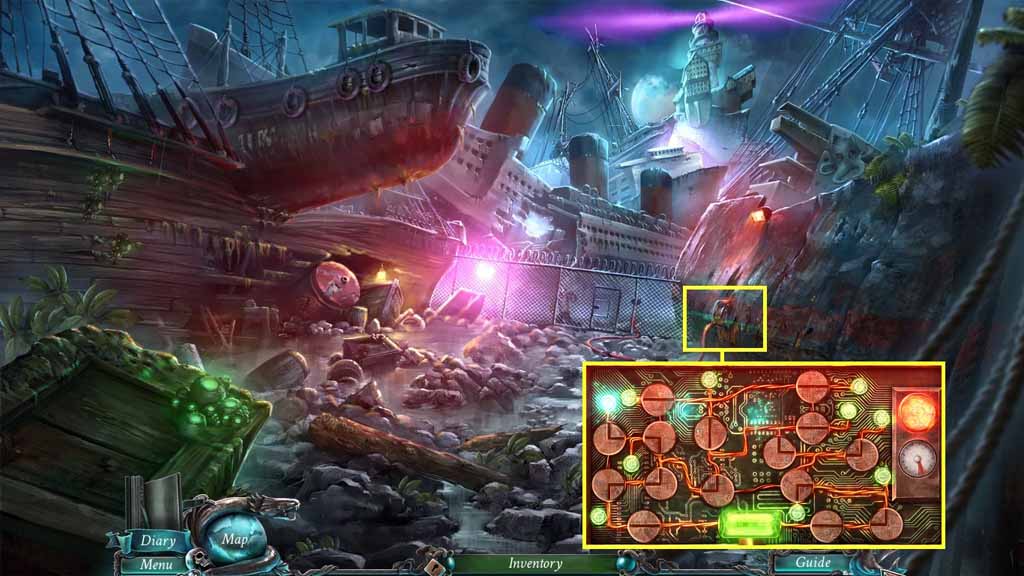
- Zoom into the circuit breaker and use the screwdriver on the screws to trigger a puzzle.
- Solve the puzzle by clicking the buttons to illuminate all the green lights.
- Zoom into the gate, click the door and move into the Foyer.
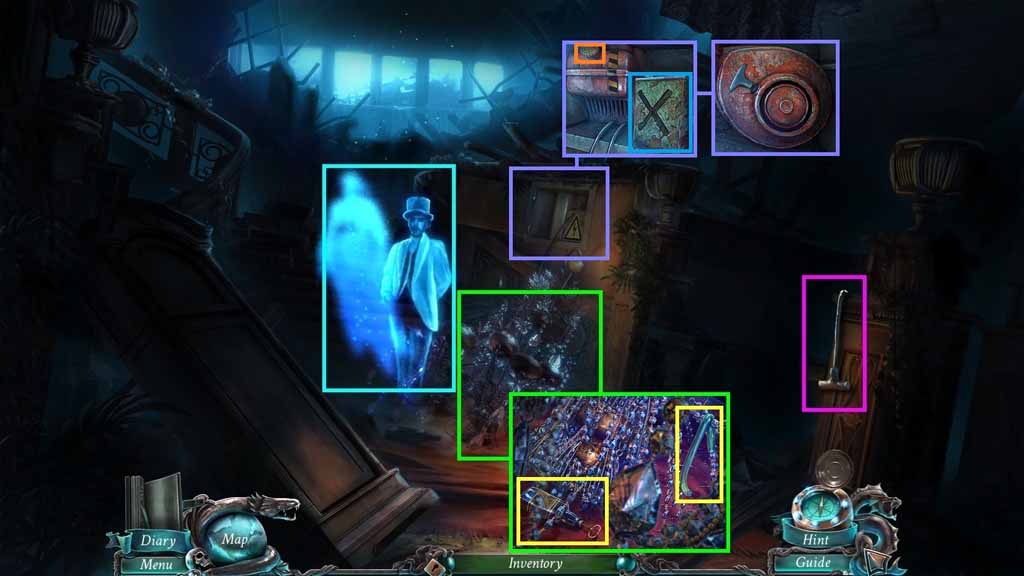
- Speak to the ghost.
- Collect the starter cord.
- Zoom into the chandelier and collect the tube.
- Zoom into the bottle and collect the corkscrew.
- Zoom into the panel; remove the nozzle and collect the empty fuel can.
- Click the old starter cord.
- Move down once.
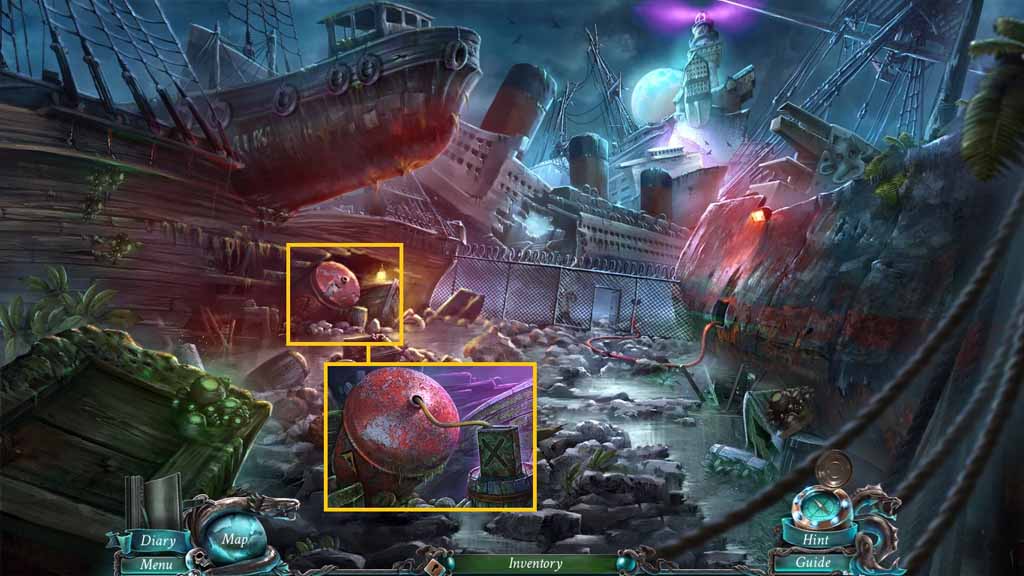
- Click the tank.
- Insert the corkscrew into the cork.
- Place the tube and the empty fuel can next to the tank; collect the full fuel can.
- Move ahead.
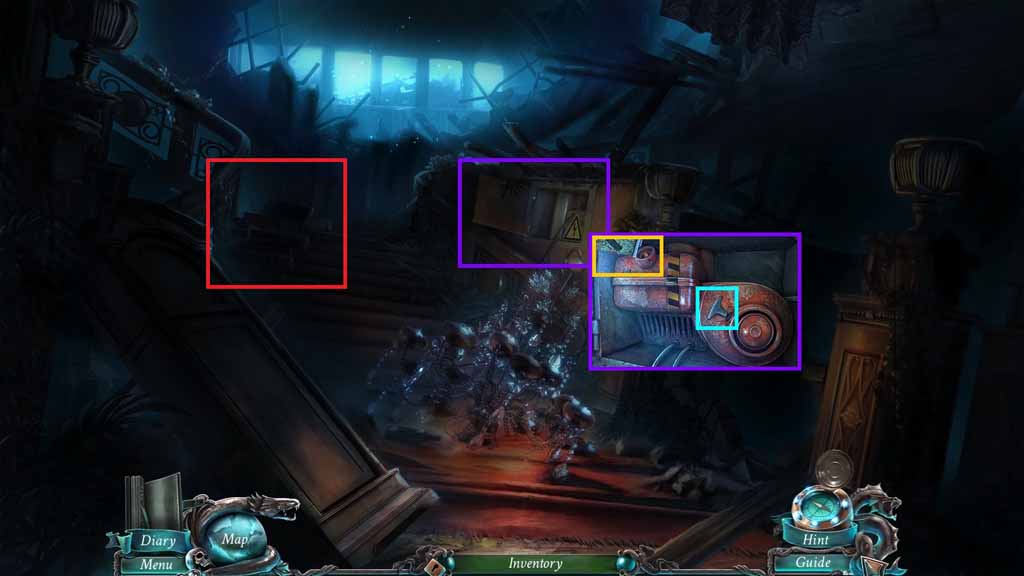
- Zoom into the generator and pour the full fuel can into the nozzle.
- Insert the starter cord and click it 3 times.
- Zoom into the beams and click the stairs to trigger a hidden objects area.
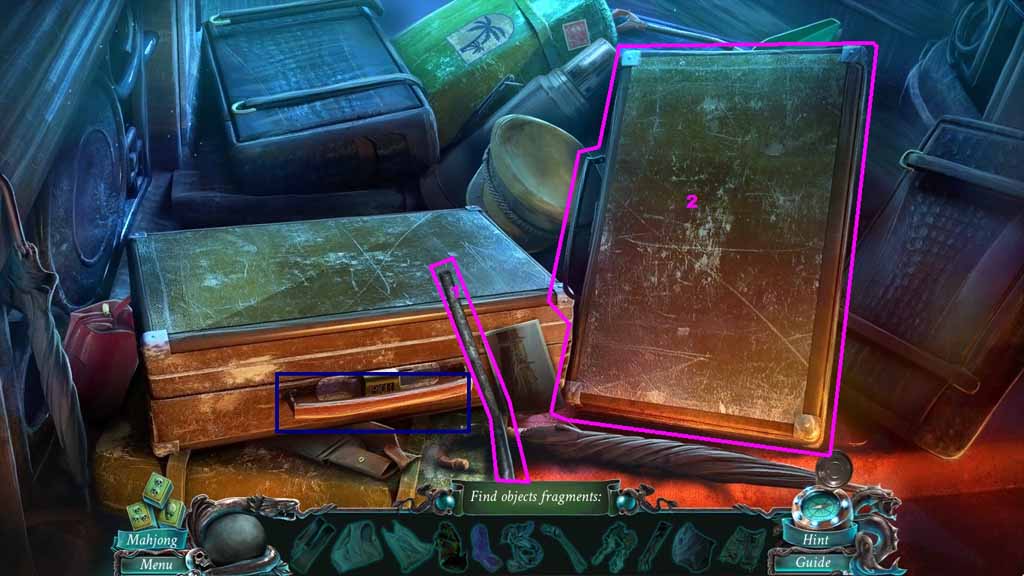
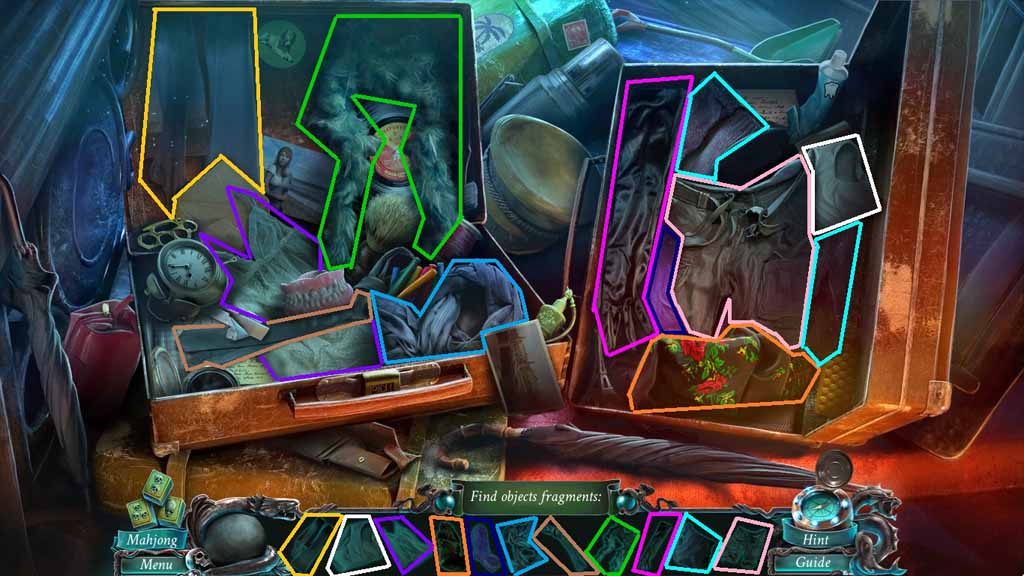
- Find the silhouetted items.
- Select the suitcase handle.
- Select the crowbar to open the suitcase.
- Collect the improvised rope.
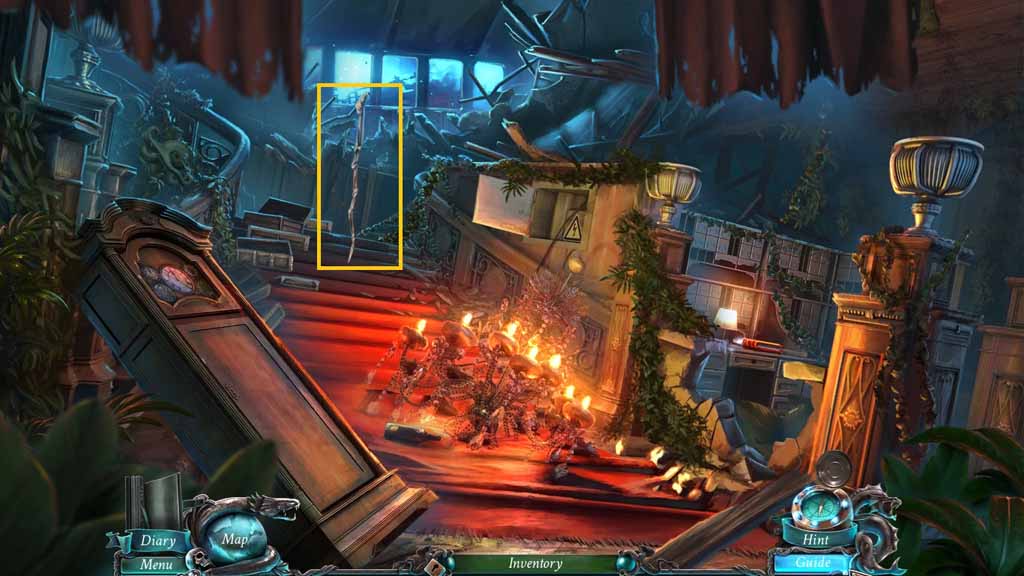
- Zoom into the boards and place the improvised rope on them.
- Move ahead to the Bridge.
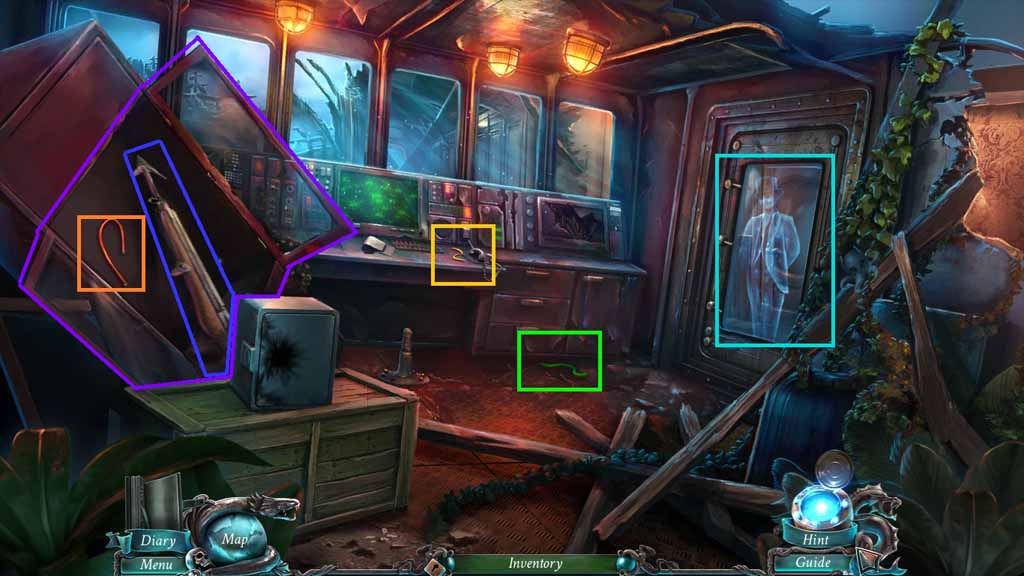
- Speak to the ghost.
- Collect the 1 /3 cables.
- Zoom into the display and click the doors.
- Collect the 2 /3 cables and the harpoon gun.
- Zoom into the console and collect the 3 / 3 cables.
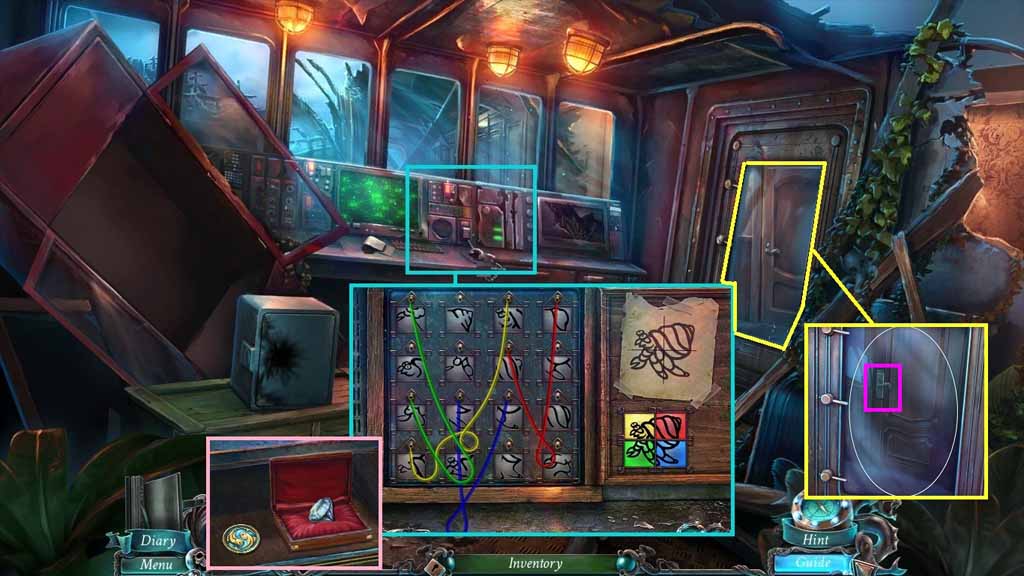
- Click the console panel and zoom in.
- Insert the 3 / 3 cables to trigger a puzzle.
- Solve the puzzle by placing the cables into the slots to complete the picture.
- The solution is random.
- Click the jewelry box and collect the diamond and the 5 /12 golden fish.
- Zoom into the door and select the diamond to cut the glass.
- Click the glass and click the handle.
- Move into the Passenger Cabin.
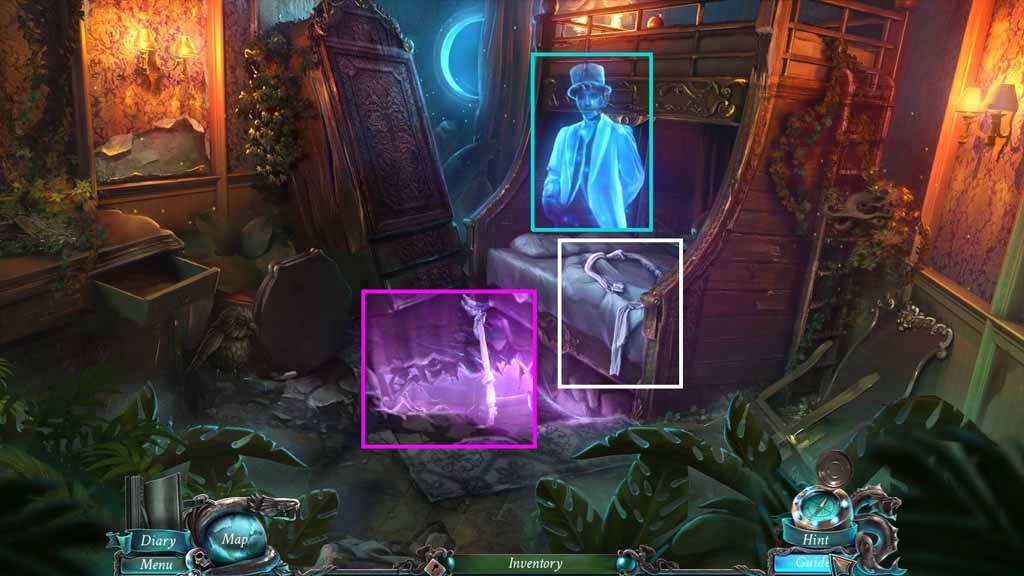
- Speak to the ghost.
- Click the sheet; collect the sheet rope.
- Click the rug and zoom into the hole.
- Hang the sheet rope on the beam.
- Move into the Captain’s Cabin.
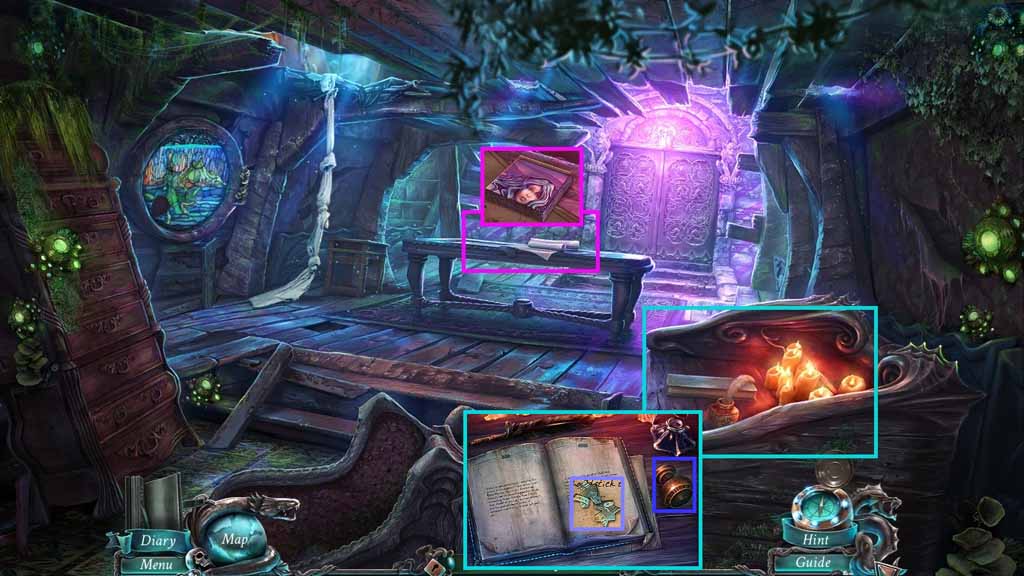
- Zoom into the table; collect the stone picture.
- Zoom into the desk; collect the knob.
- Click the book 2 times; collect the 3 /3 printing matrix pieces.
- Move to the Foyer.
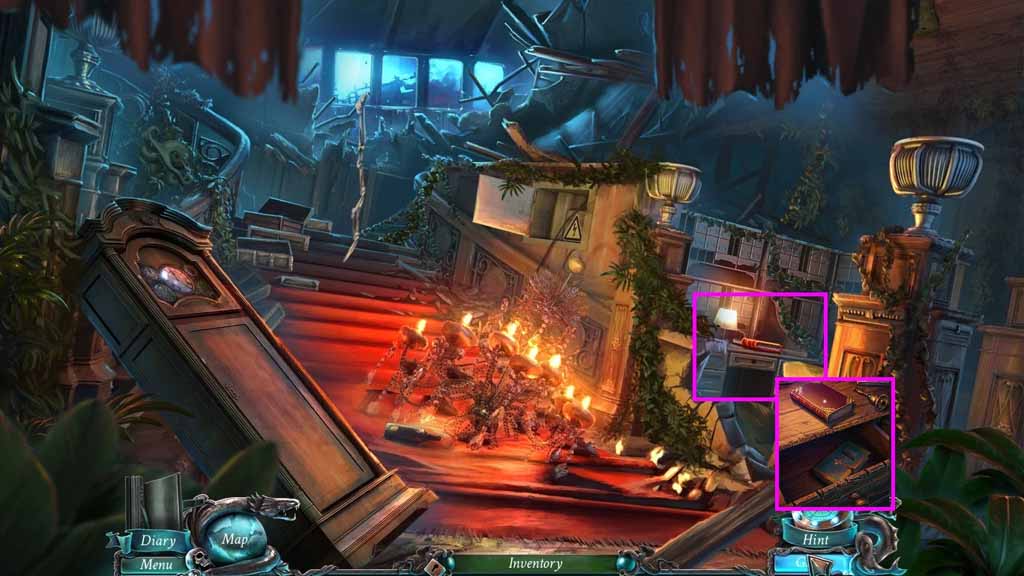
- Zoom into the desk; collect the red book and insert the knob.
- Click the knob and zoom into the book.
- Move to the Passenger Cabin.
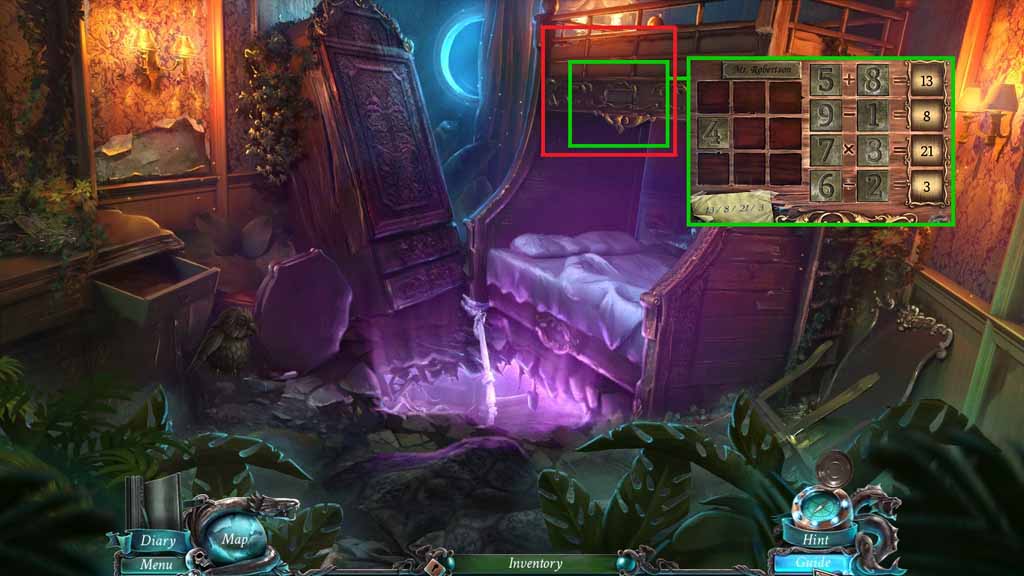
- Zoom into the bed to trigger a puzzle.
- Move the tiles so that the math equations are correct.
- Zoom into the compartment to trigger a hidden objects area.
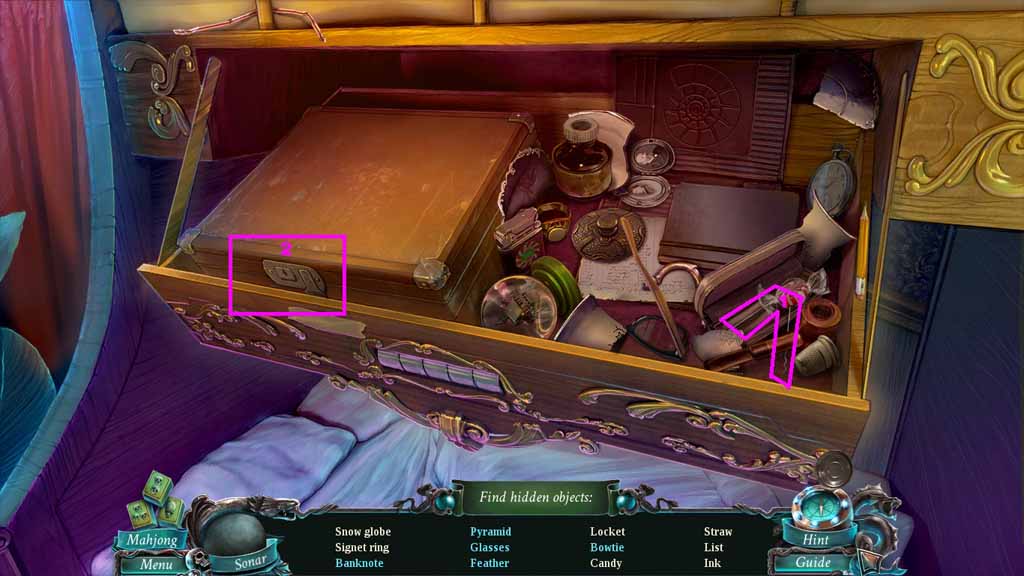
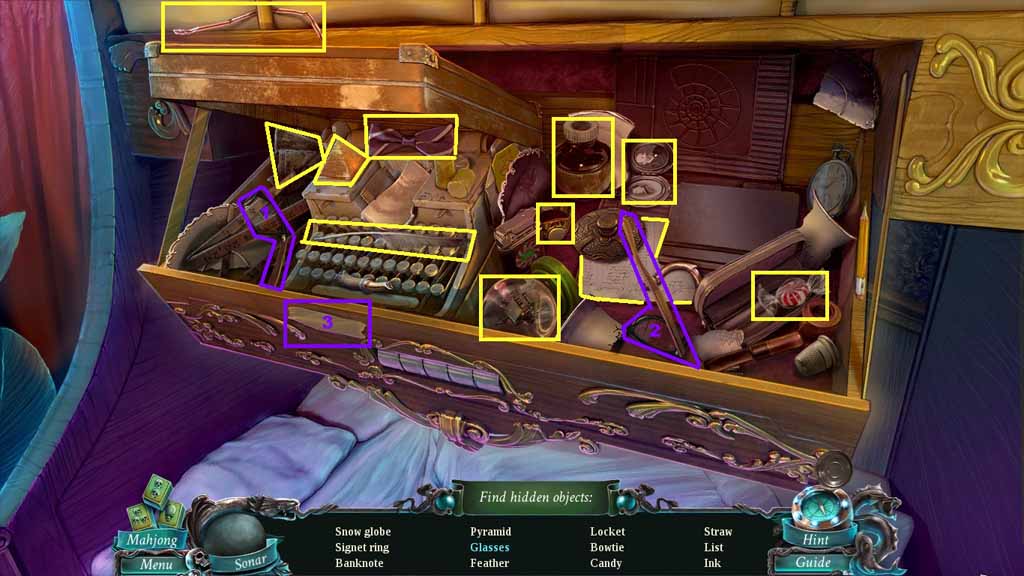
- Select the lock pick to open the suitcase.
- Find the listed items.
- Select the ½ glasses frame and place it with the other ½ glasses frame and select the tape to secure them; collect the glasses.
- Collect the printing ink.
- Move to the Underground.
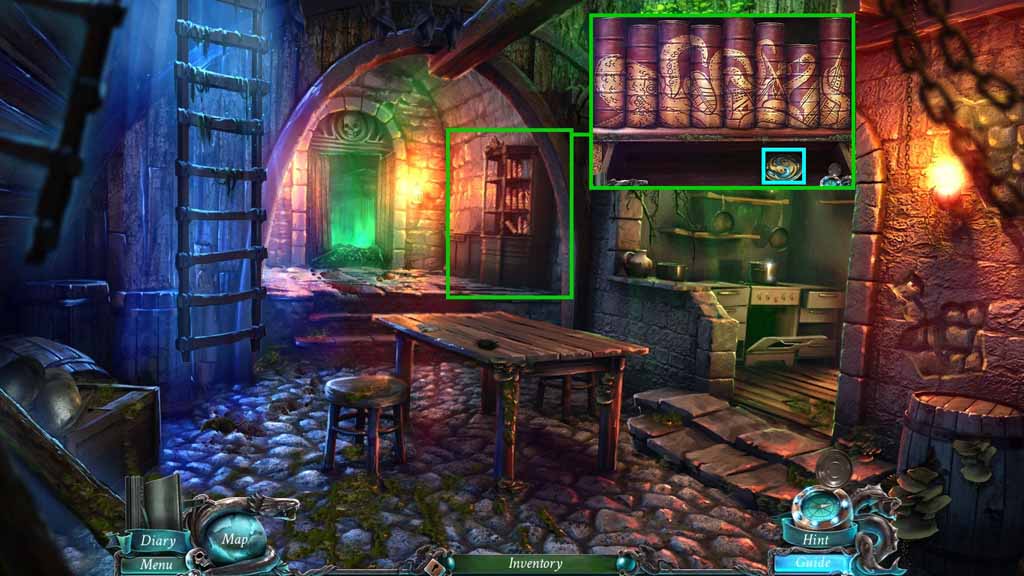
- Zoom into the bookshelf and insert the red book to trigger a puzzle.
- Move the books to create a completed image.
- Collect the golden fish 6 /12.
- Move to the Fountain.
- Zoom into the stall to access a hidden objects area.
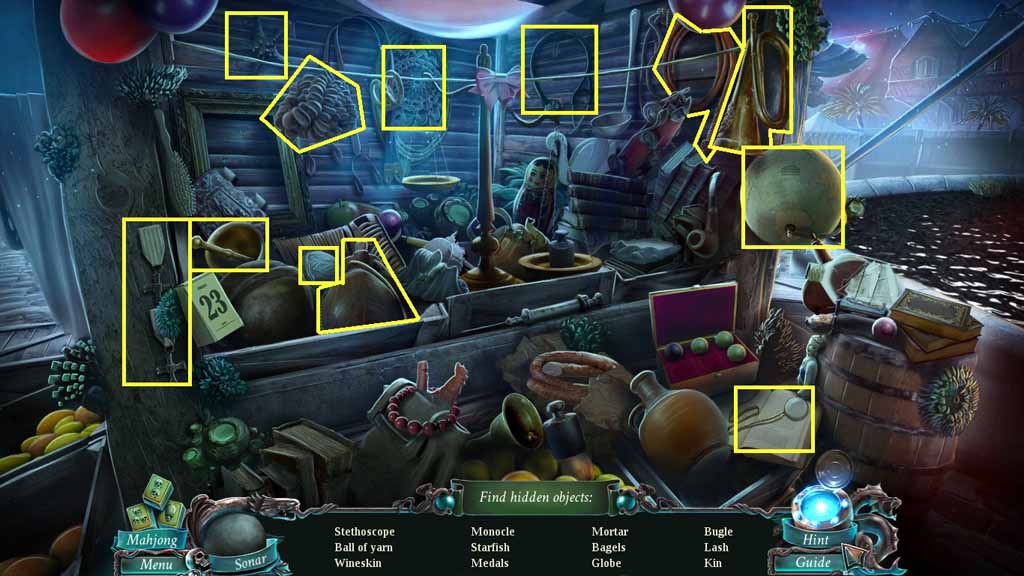
- Find the listed items.
- Collect the stethoscope.
- Move to the Hideout.
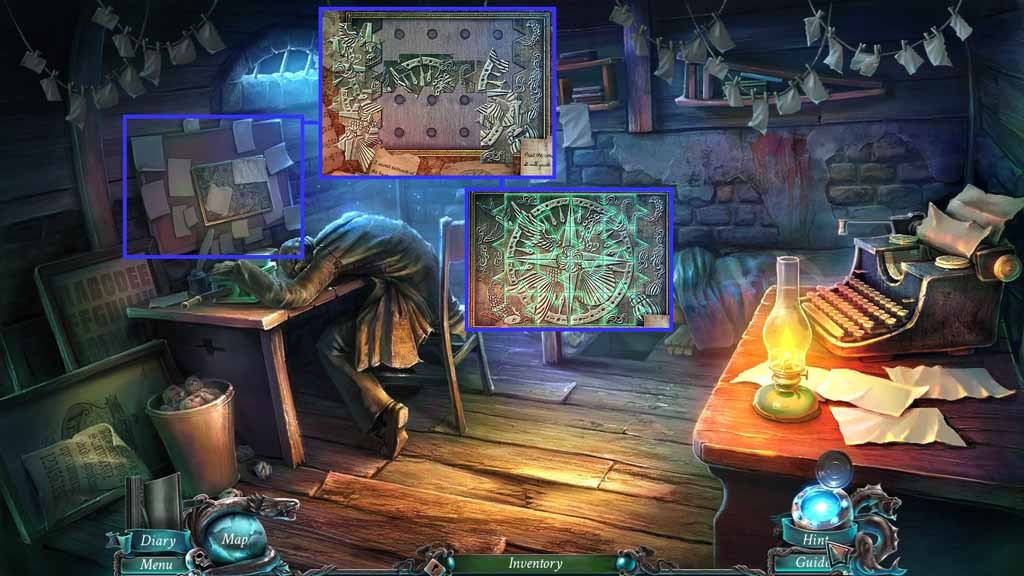
- Zoom into the bulletin board.
- Click the notes and attach the 3/3 printing matrix pieces to trigger a puzzle.
- Move the pieces around to complete the picture.
- Collect the matrix.
- Move down once.
- Click the table to trigger a hidden objects area.
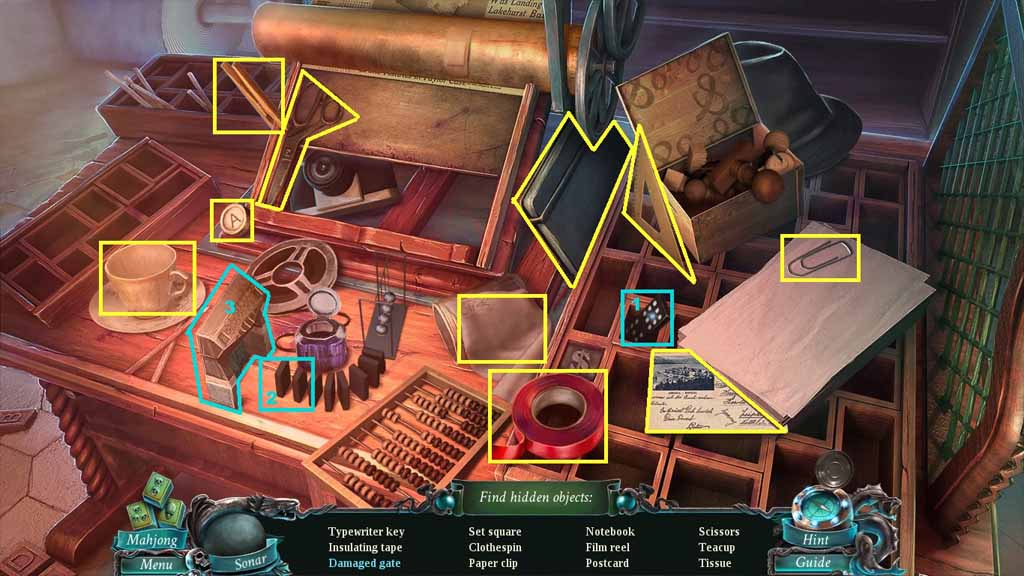
- Find the listed items.
- Select the domino and place it with the other dominos and click it once; collect the damaged gate.
- Collect the insulating tape.
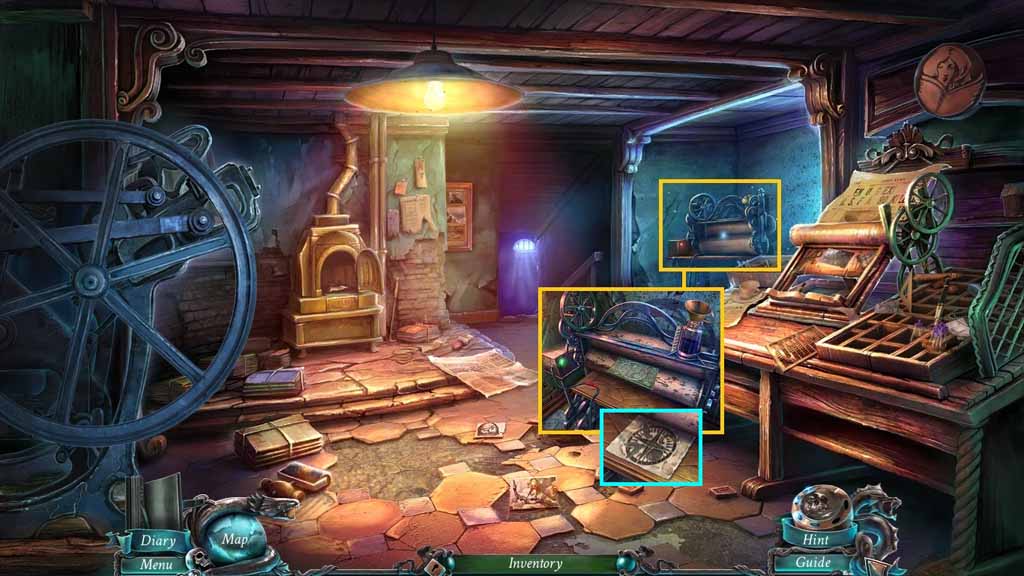
- Zoom into the press.
- Pour the printing ink into the nozzle and place the matrix and the insulating tape onto it.
- Click the valve and collect the ring’s pattern.
- Move to the Statue.
- Zoom into the junk to access a hidden objects area.
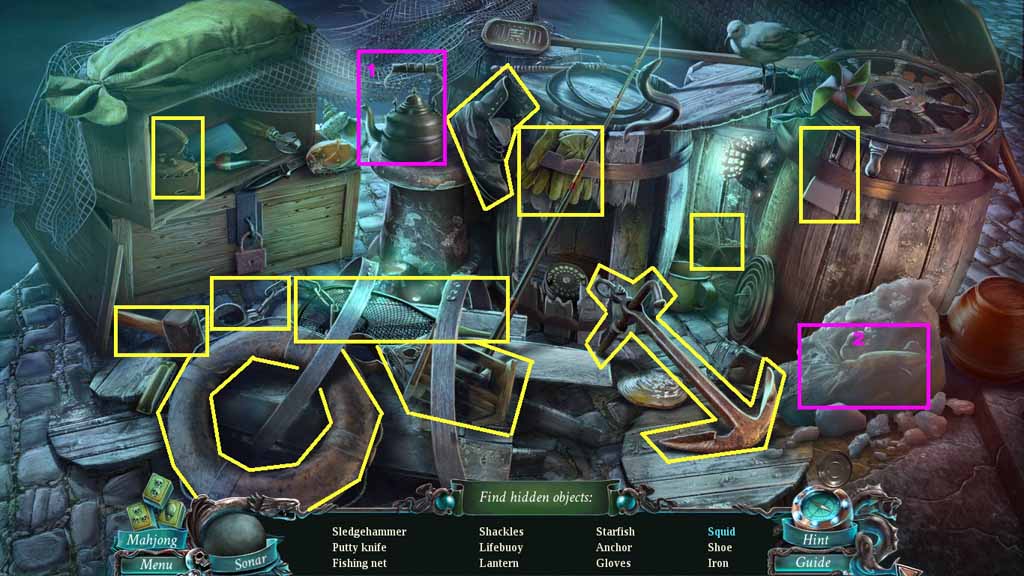
- Find the listed items.
- Select the kettle and pour it onto the ice; collect the squid.
- Collect the sledgehammer.
- Move into the Secret Chamber.
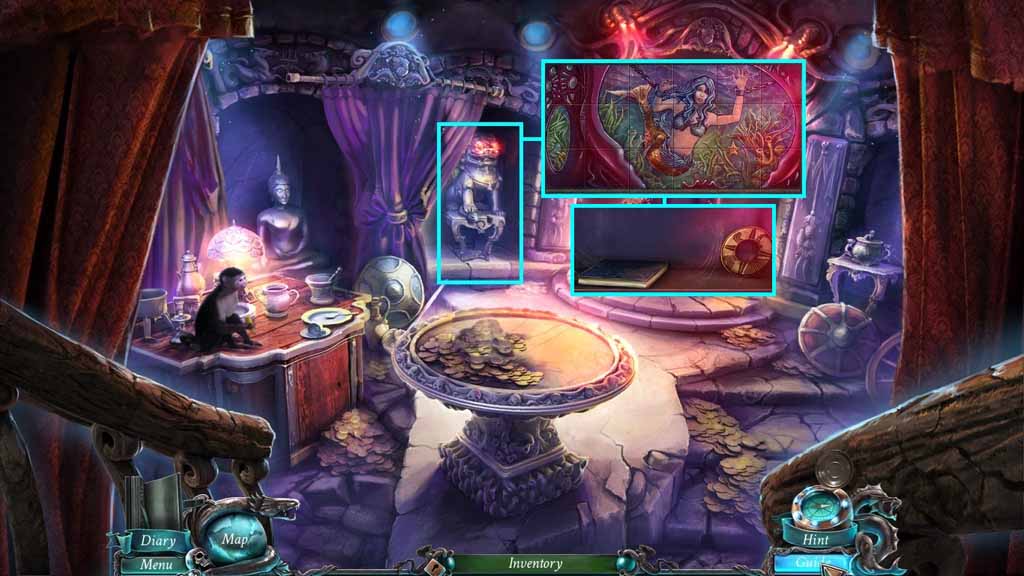
- Click the statue.
- Zoom into the painting and place the stone picture onto it to trigger a puzzle.
- Solve the puzzle by switching the tiles around to complete the picture.
- Collect the stone ring.
- Move to the Passenger Cabin.
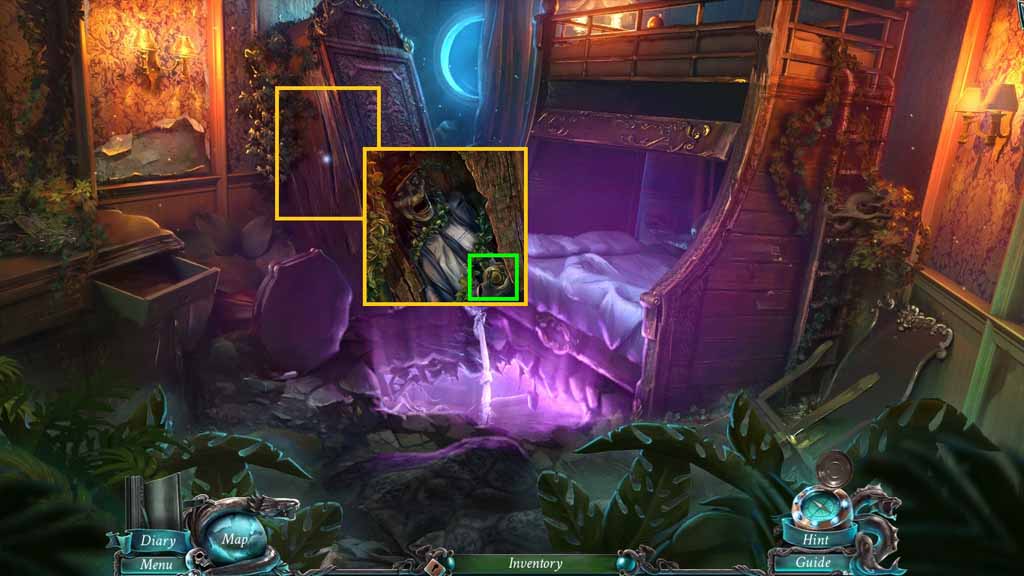
- Zoom into the armoire.
- Select the sledgehammer to use on the crack 3 times.
- Zoom into the hand; click it 2 times and collect the safe dial.
- Move down to the Bridge.
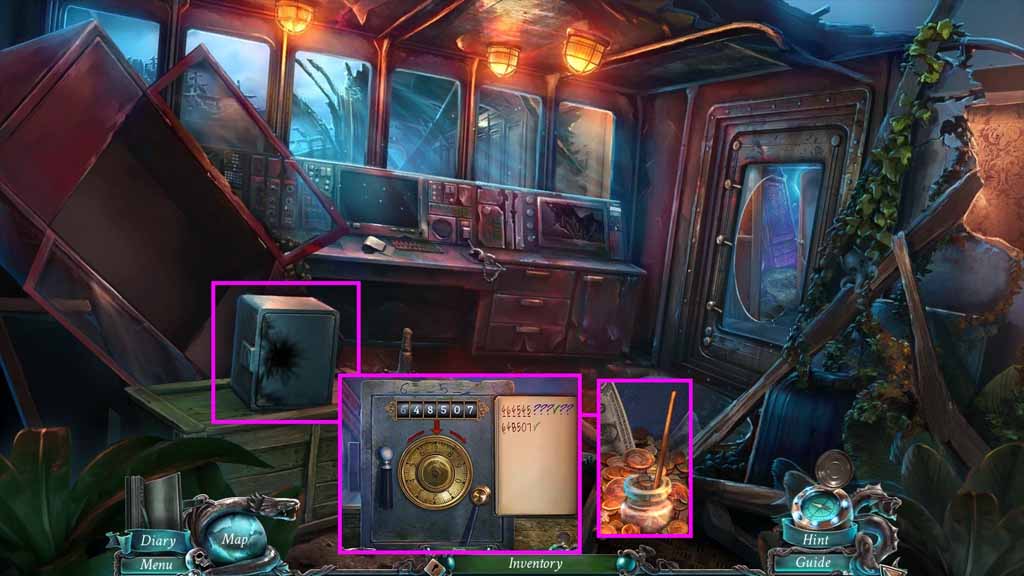
- Zoom into the safe.
- Put the stethoscope and the safe dial onto the safe to trigger a puzzle.
- Solve the puzzle by trying different combinations.
- Use the following combo to crack the puzzle: 6 – 4 – 8 – 5 – 0 - 7
- Collect the sticky resin.
- Move to the Captain’s Cabin.
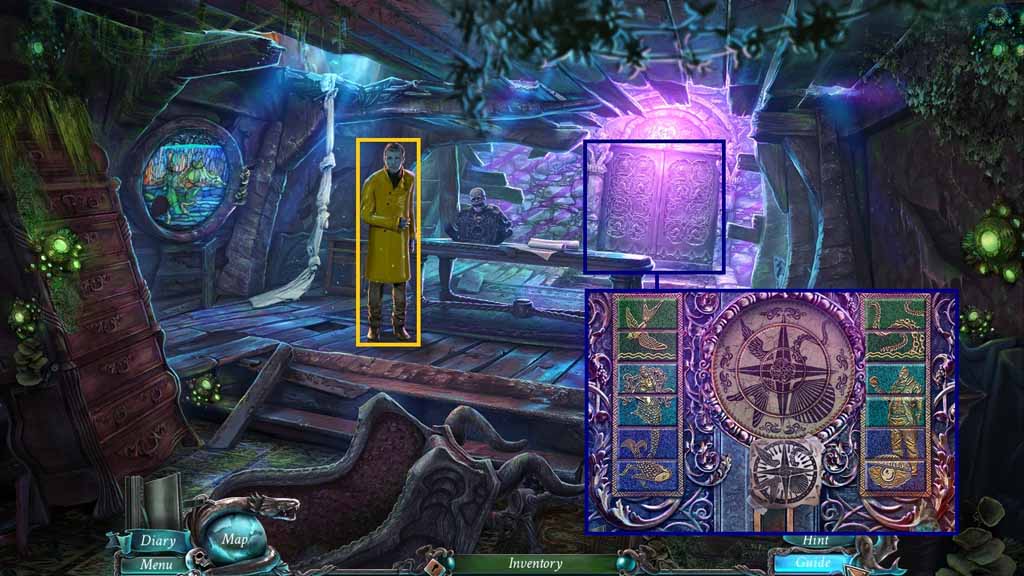
- Speak to the Fisherman.
- Zoom into the door and attach the stone ring and the ring’s pattern to trigger a puzzle.
- Move into the Prison.
Comments will load when you reach this part of the walkthrough.