
Chapter Four: The Maid
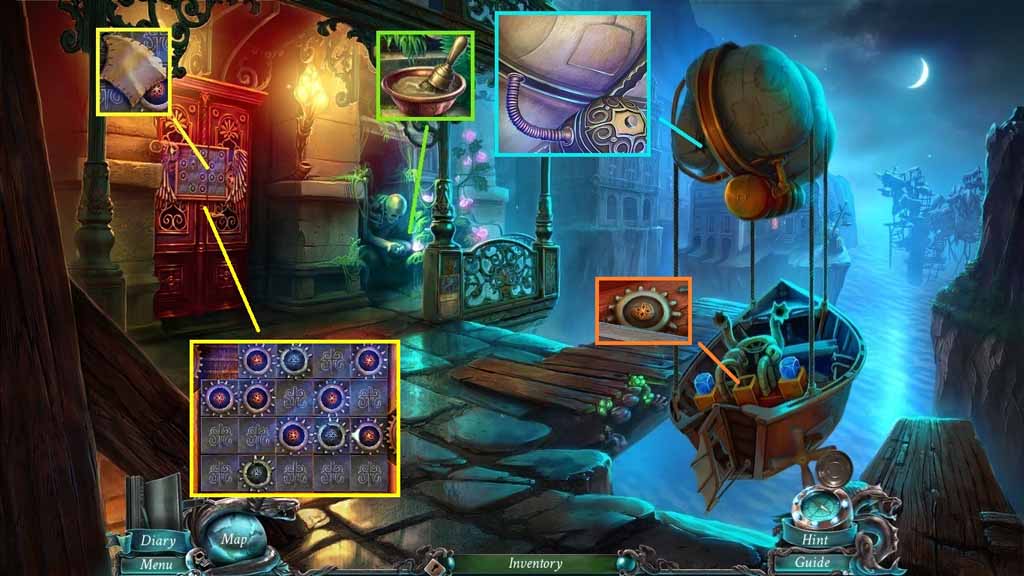
- Collect the glue.
- Collect the patch.
- Connect the pipe and apply the glue and the patch.
- Collect 2 /2 cogs.
- Insert the cog into the door to trigger a puzzle.
- Solve the puzzle by moving the tiles to connect the outer cogs.
- Move ahead into the Laboratory.
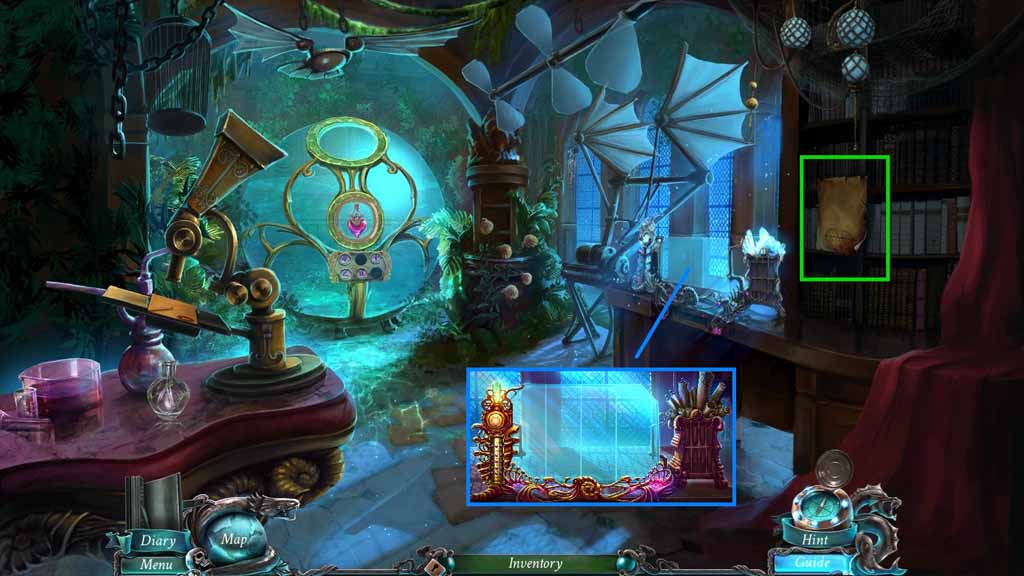
- Read the notice.
- Collect the square crystal.
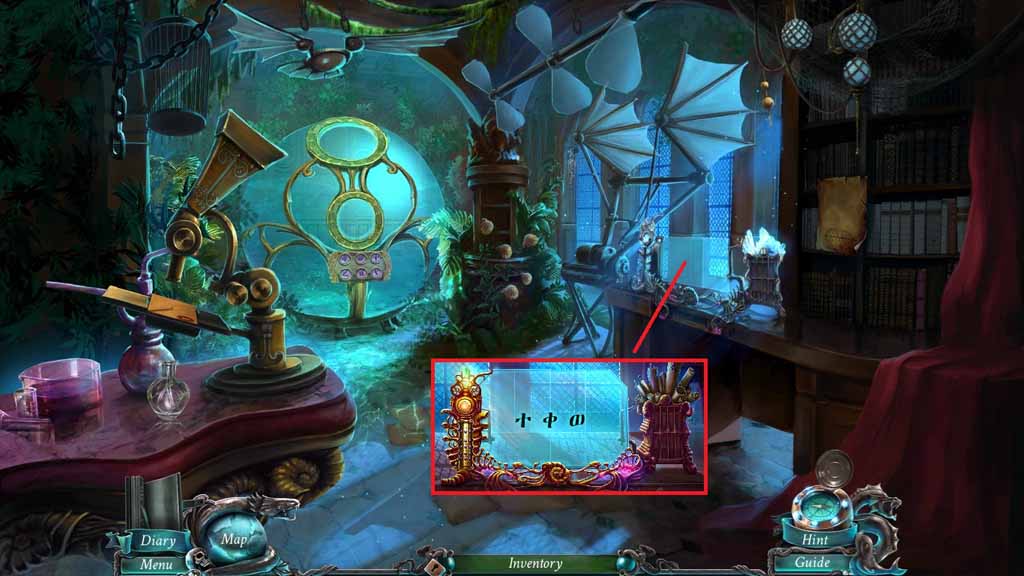
- Insert the diary roll and click the button.
- Move back 2 times.

- Insert the square crystal.
- Click the switches down.
- Click the ship.
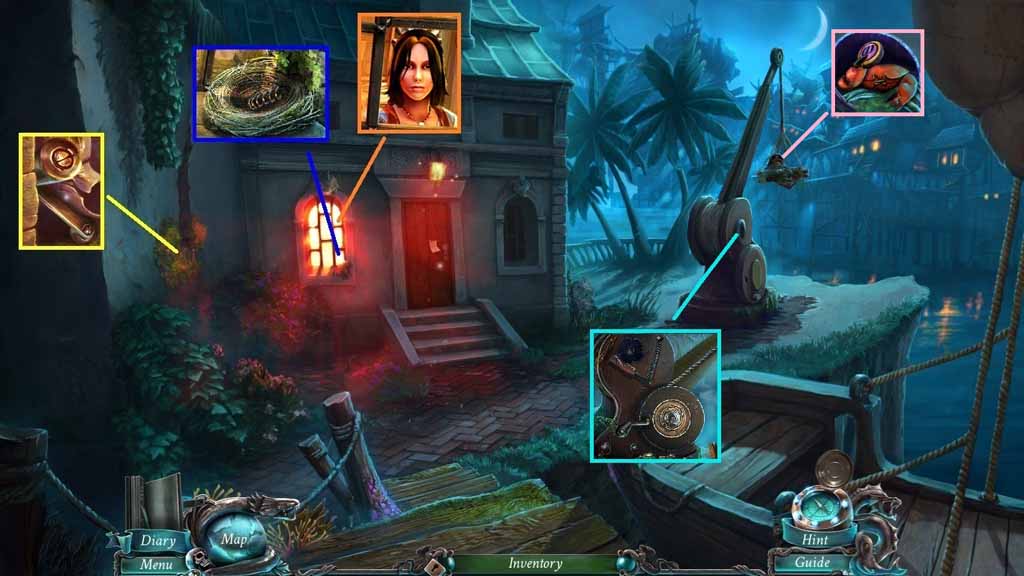
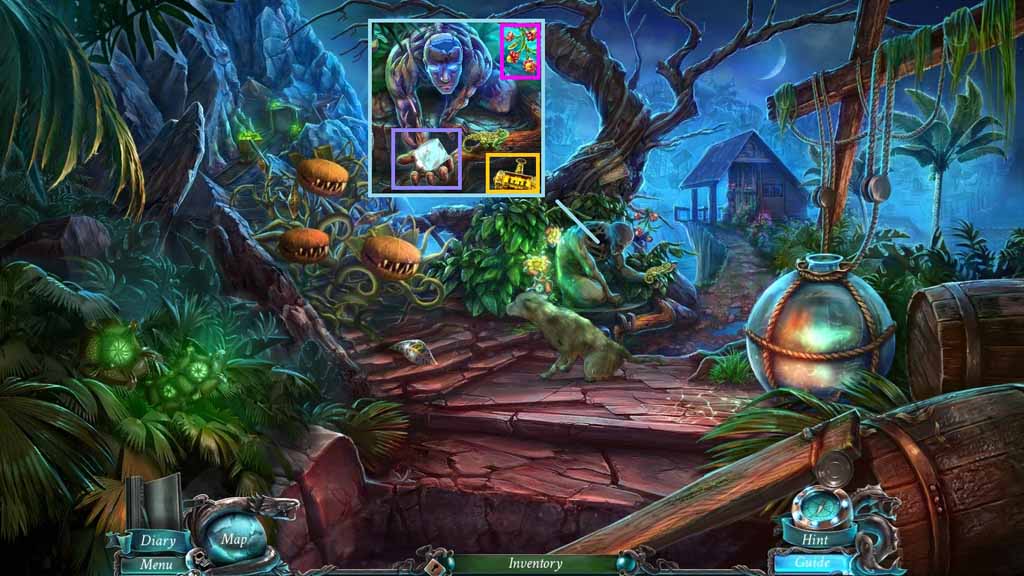
- Collect the crane crank.
- Click the items in the nest; collect the spring.
- Speak to Cory.
- Place the crane crank onto the crank and click it once.
- Click the broken spring and insert the spring.
- Click the crab; collect the missing key.
- Move to the Laboratory.
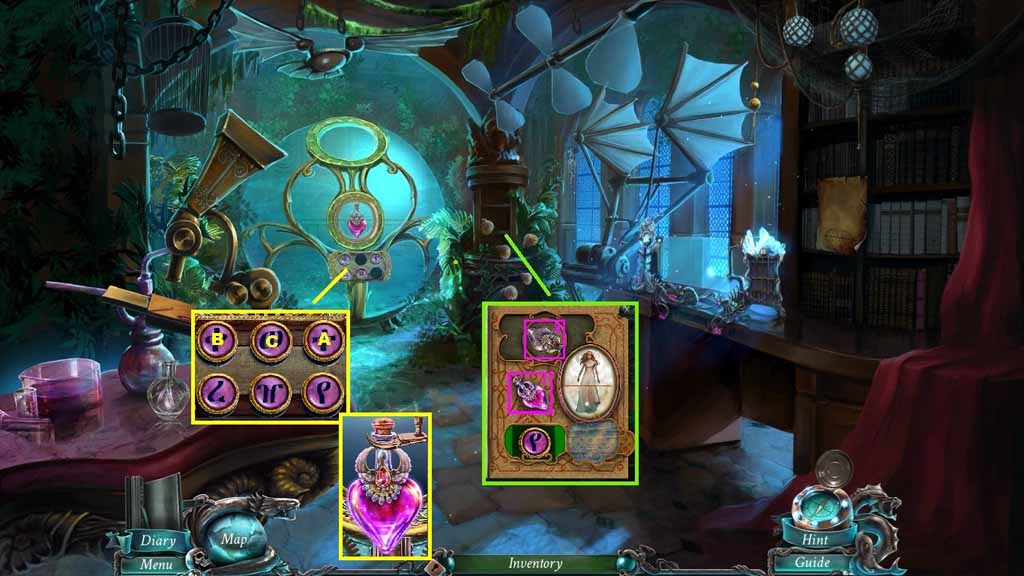
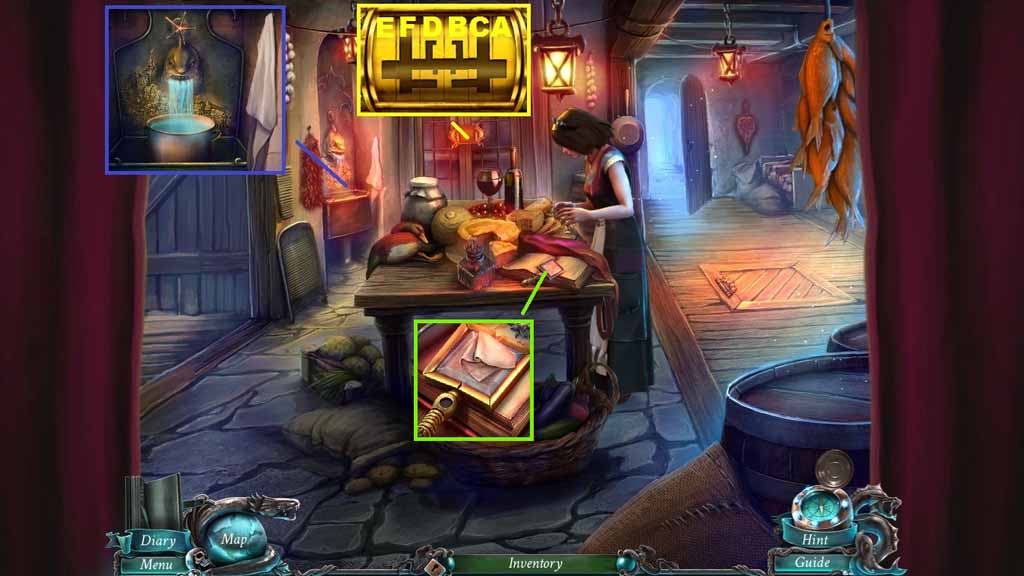
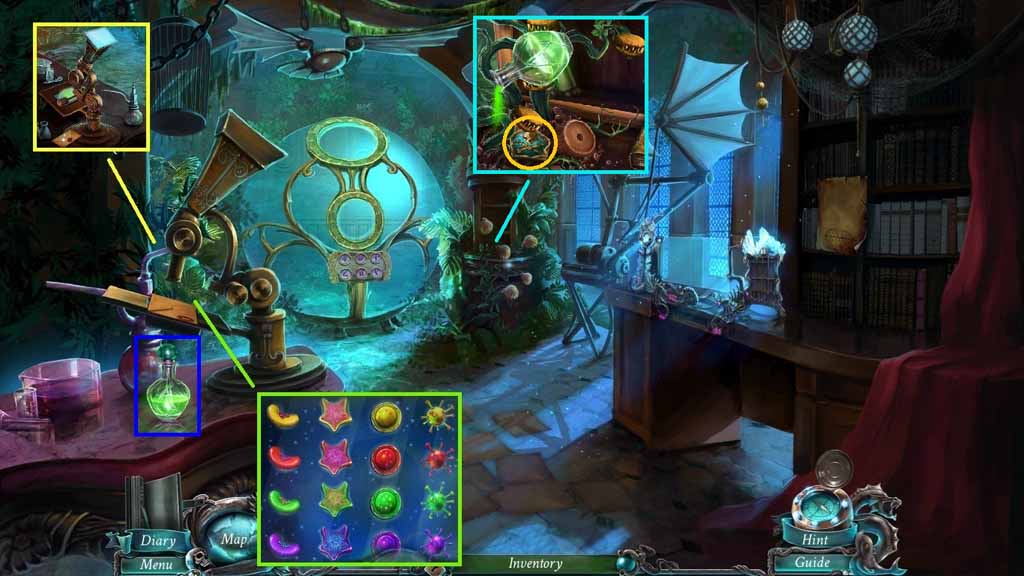
- Zoom into the book and place the potion down to trigger a mini game.
- Solve the game by switching the tiles around to match the picture as shown.
- Collect the missing key.
- Insert the missing keys into the keypad; click the keys in the correct order.
- Collect the reviving potion.
- Move to the Icehouse.

- Click the broken green crystal and replace it using the green crystal.
- Select the reviving potion and use it.
- Collect the doubloon and diary roll two.
- Move to the Laboratory.
- Insert the diary roll two into the
- Click the button to trigger a hidden objects area.
- Find the silhouetted items.
- Select the key to open the box; collect the gear.
- Place the gear into the mechanism; collect the ring.
- Place the ring into the box and align the rings to create the image.
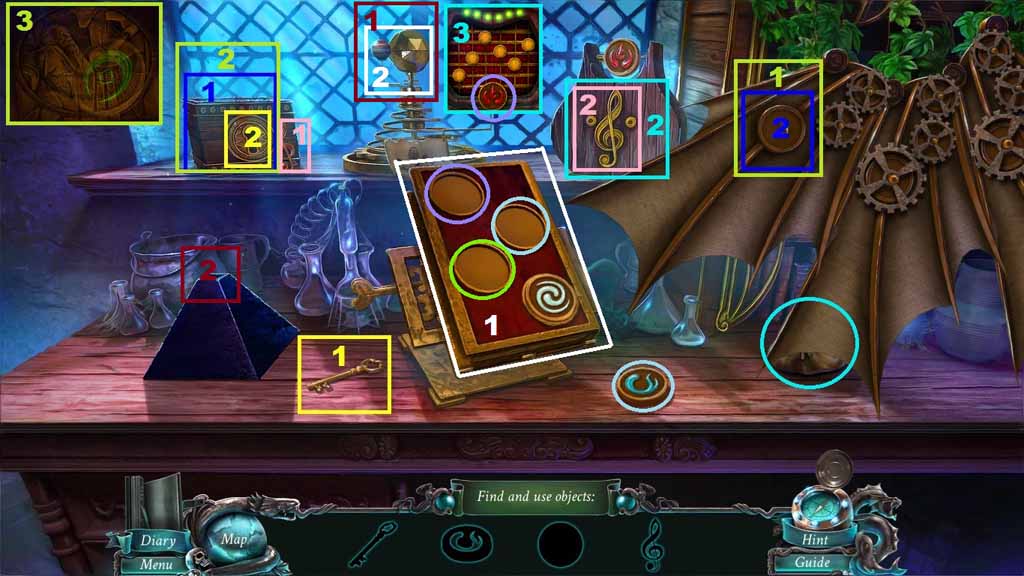
- Collect the earth symbol.
- Click the pouch and collect the music box token.
- Select the music note and place it into the groove.
- Insert the music box token to trigger a mini game.
- Align the tokens correctly; collect the fire symbol.
- Insert the fire, earth and water symbols into the book.
- Collect the planet.
- Place the planet onto the solar system and align them as shown in the diagram.
- Collect the crystal.
- Place the crystal into the pyramid.
- Collect the dagger.
- Move to the Palace Back Door.
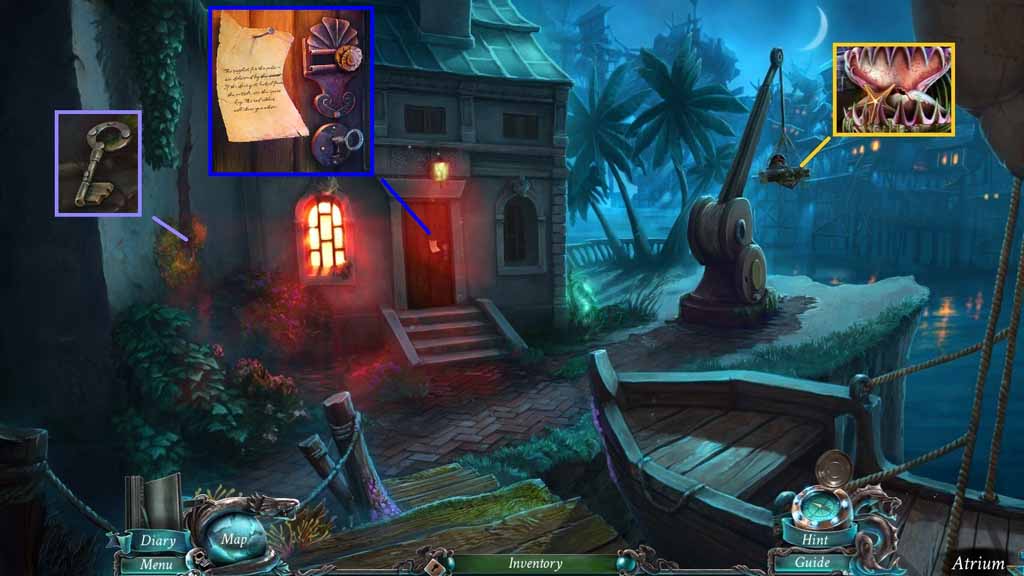
- Select the dagger to open the clam; collect the faucet.
- Use the dagger to cut the over growth.
- Click the stone and collect the kitchen key.
- Read the note.
- Insert the kitchen key into the lock and click it.
- Click the shell.
- Move into the Kitchen.
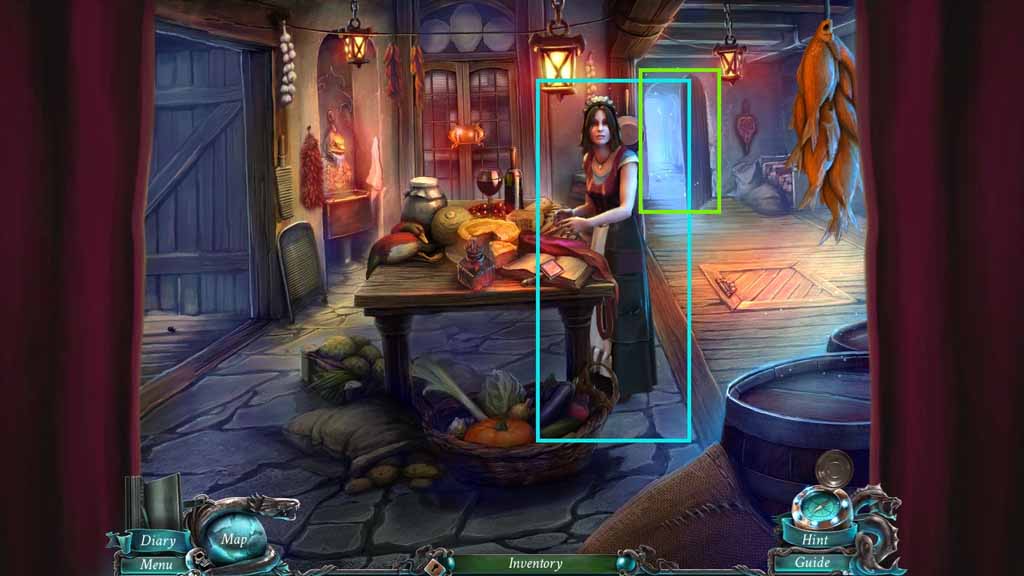
- Speak to Cory 2 times.
- Move to the Road.
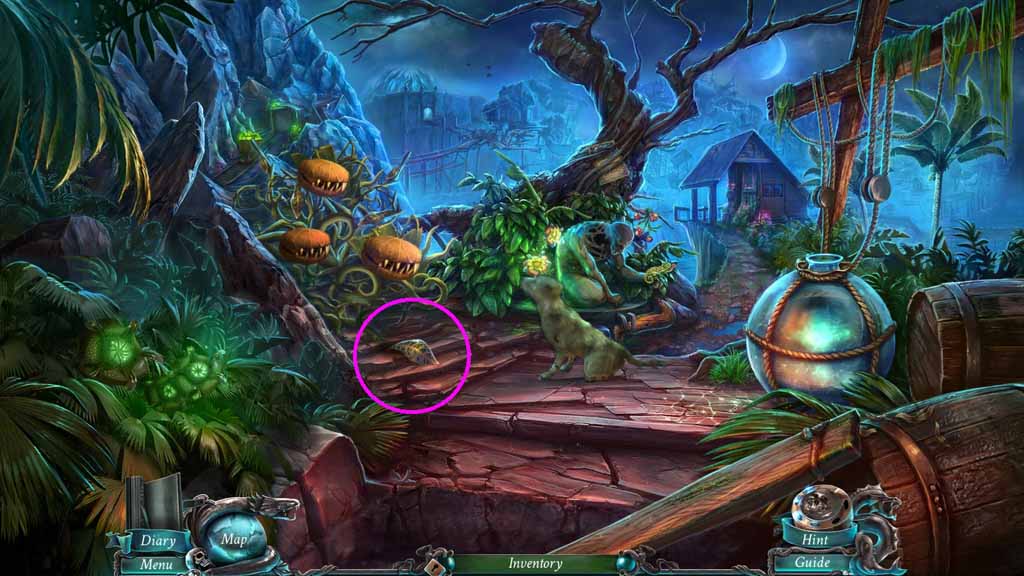
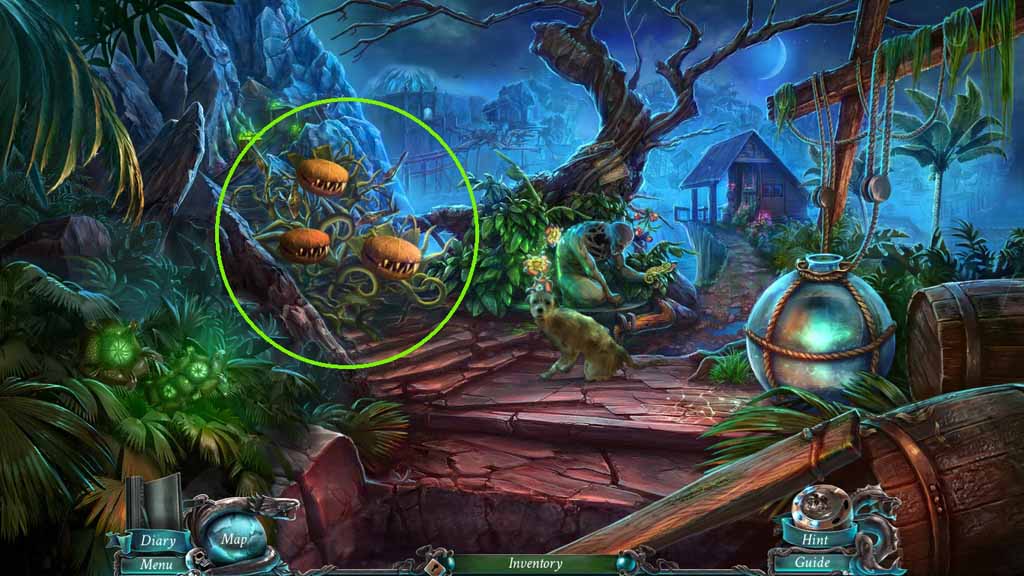
- Click the flowers.
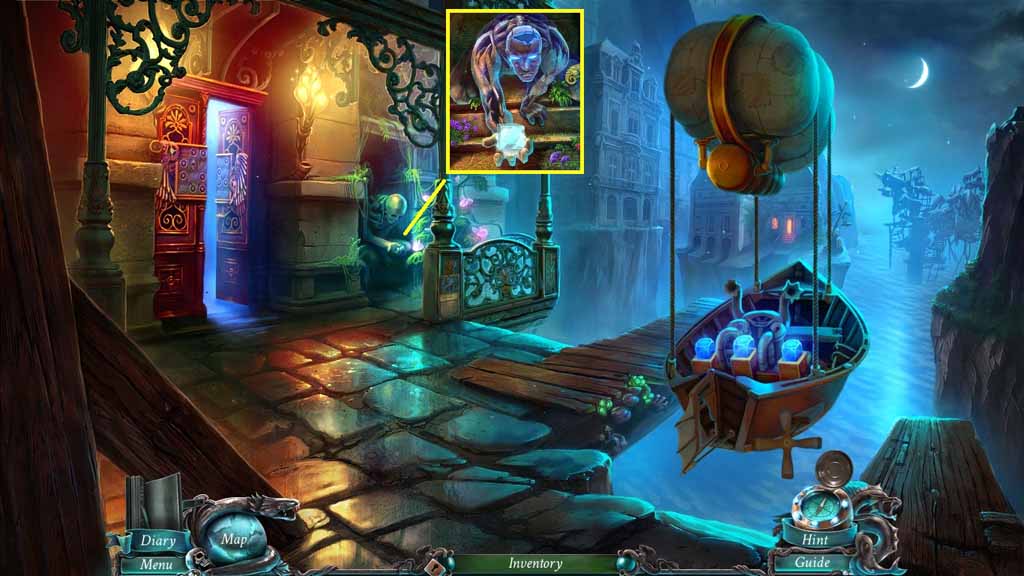
- Insert the doubloon into the guardian’s hand.
- Collect 1 / 3 puzzle pieces and the cabinet tile.
- Move to the Kitchen.
- Insert the cabinet tile into the cabinet to trigger a puzzle.
- Solve the puzzle by scrolling the dials in the correct order.
- Collect the large pot and place it into the sink.
- Attach the faucet and click it once; collect the pot with water and the cloth.
- Select the dagger to unscrew the lens frame.
- Select the cloth to clean and collect the lens.
- Move ahead to the Road.
- Select the pot of water to use on the jar; collect the door knob.
- Place the door knob onto the door and click it once.
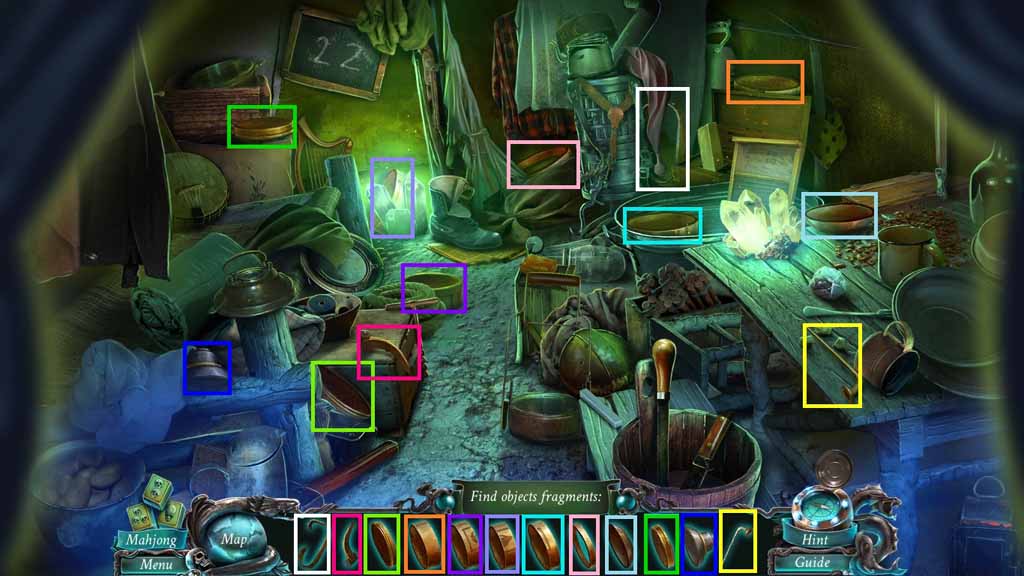
- Move into the hut to access a hidden objects area.
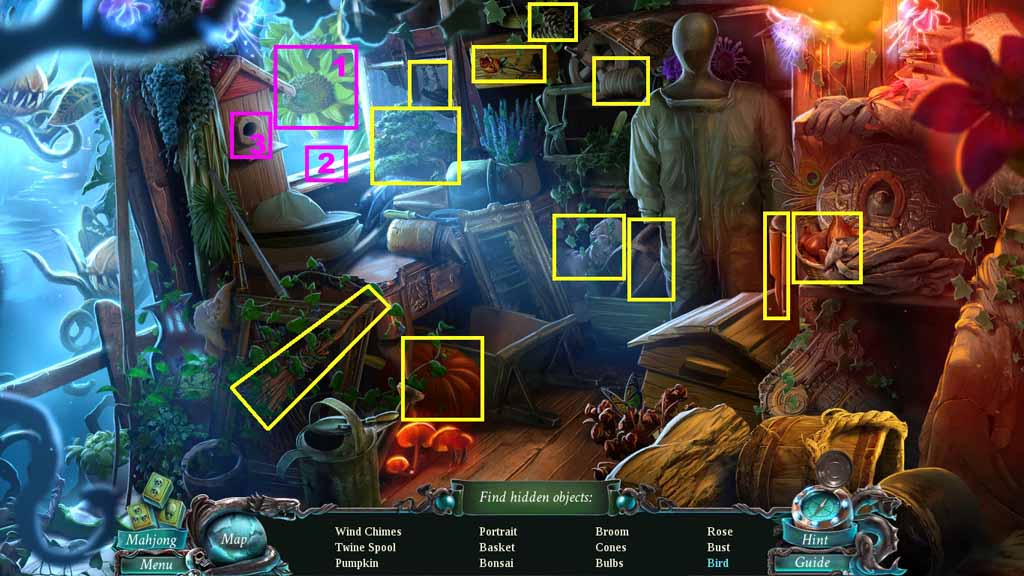
- Find the listed items.
- Click the sunflower and select the sunflower seeds.
- Place the sunflower seeds onto the bird house; collect the bird.
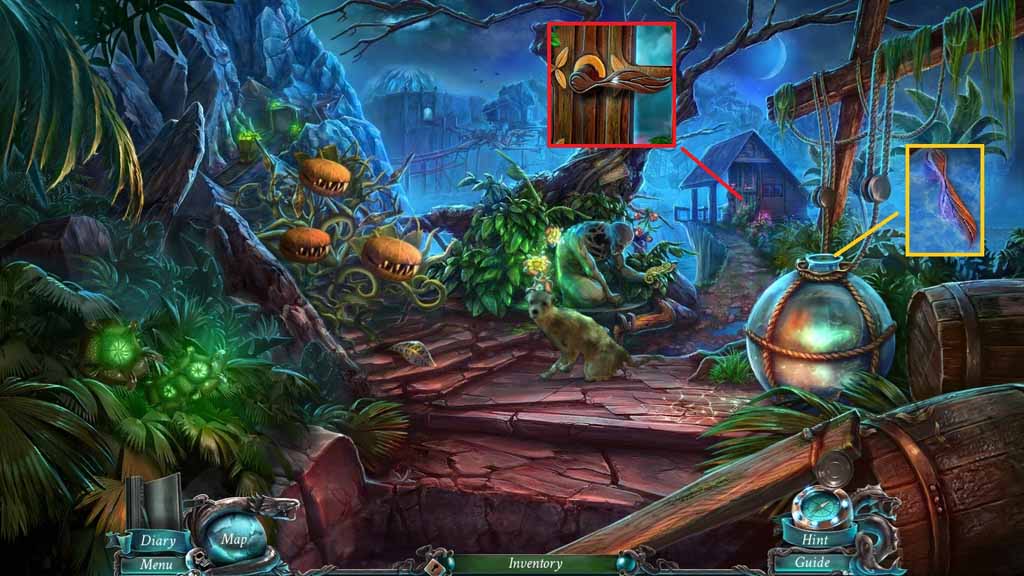
- Collect the broom.
- Select the broom to use on the leaf; collect the weed leaf.
- Move to the Laboratory.
- Read the note.
- Insert the weed leaf and the lens.
- Zoom into the microscope to trigger a puzzle.
- Solve the puzzle by aligning the cells as shown on the diagram.
- Collect the weeding potion and use it on the weeds.
- Collect the doubloon.
- Move back once.
- Insert the doubloon into the guardian’s hand.
- Collect 2 /3 puzzle pieces.
- Move to the Kitchen and click the trapdoor to trigger a hidden objects area.
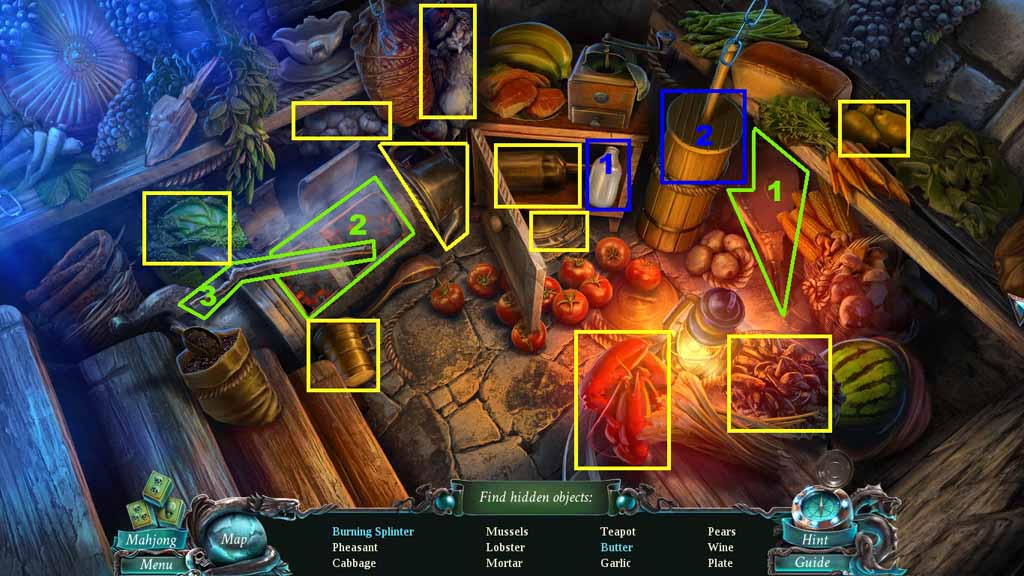
- Find the listed items.
- Click the cabinet to collect the wine.
- Select the milk and pour it into the churn; collect the butter.
- Select the bellows to stoke the fire; collect the burning splinter.
- Collect the burning splinter.
- Move ahead to the Road.
- Select the weeding potion to use on the weeds.
- Move left to the Entrance and click the tent to trigger a hidden objects area.
- Find the pictured items.
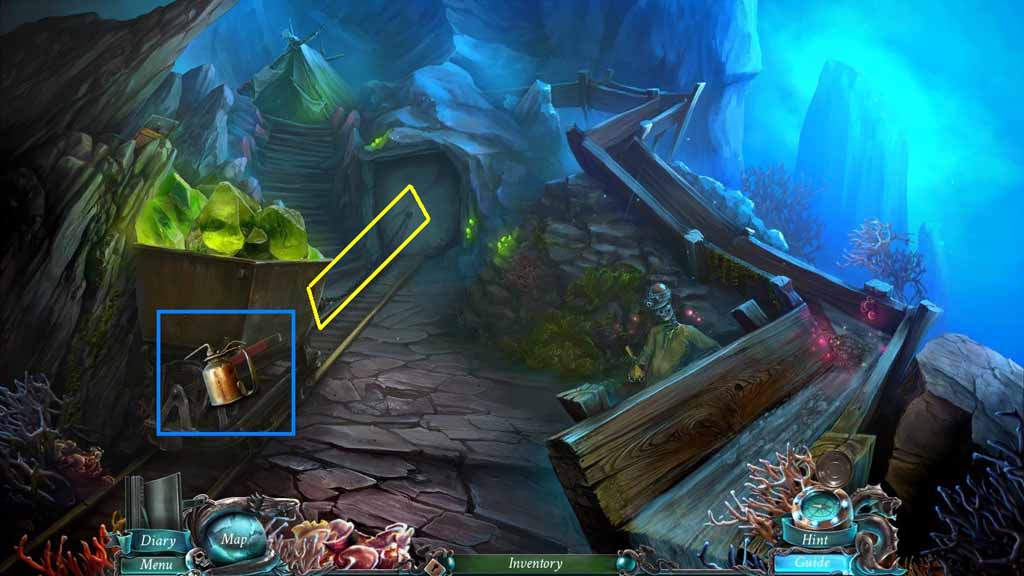
- Collect the oil can.
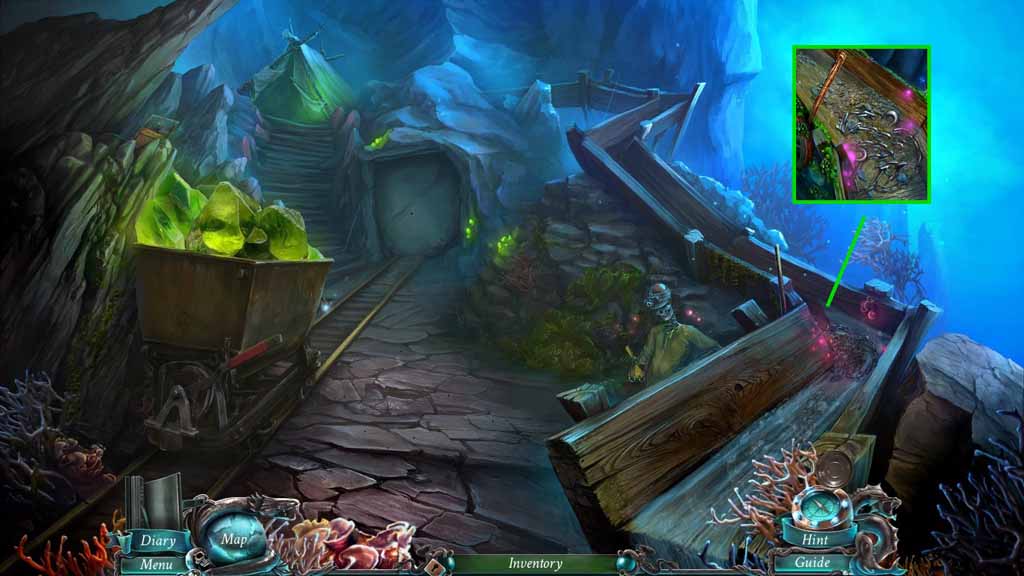
- Collect the chain and the rod.
- Move to the Road.

- Insert the rod into the screw and click it once.
- Collect the screw with eye.
- Move to the Entrance.
- Insert the screw with eye into the tunnel wall.
- Attach the chain and hook it onto the loop.
- Hook the chain onto the hook of the cart.
- Select the oil can to lubricate the brake.
- Click the lever.
- Move into the Tunnels.
Comments will load when you reach this part of the walkthrough.