

Chapter Five: The Town of Nightsville
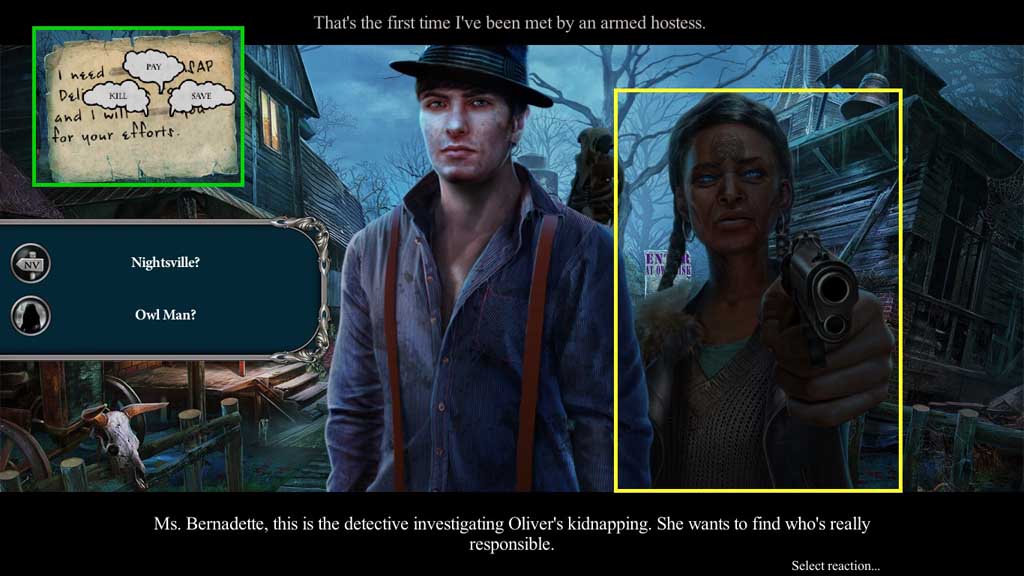
- Speak to Ms. Bernadette.
- Click the envelope and select samples and pay; collect the letter.
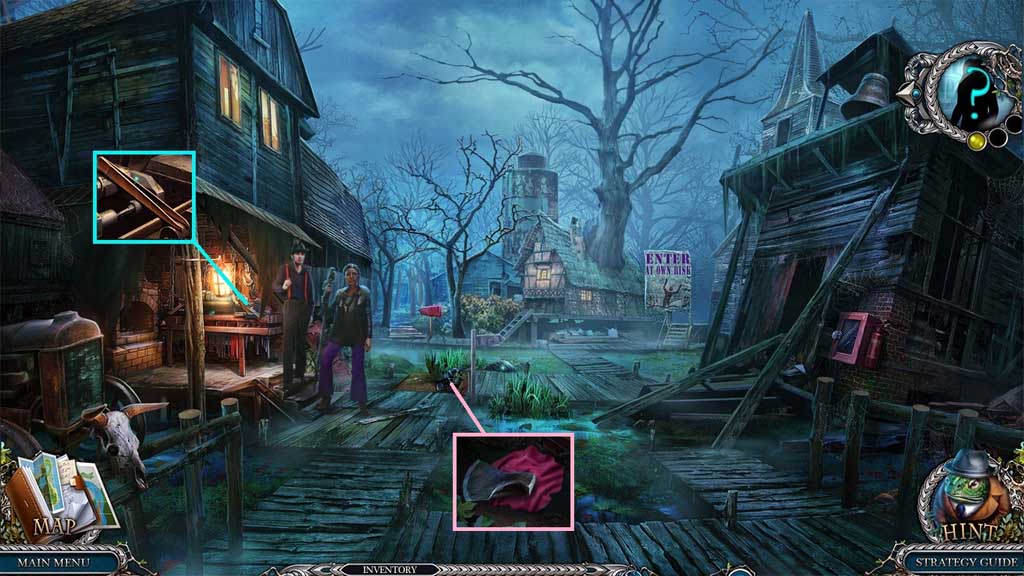
- Collect the tweezers.
- Click the items aside; collect the axe blade and the hanky.
- Move ahead.
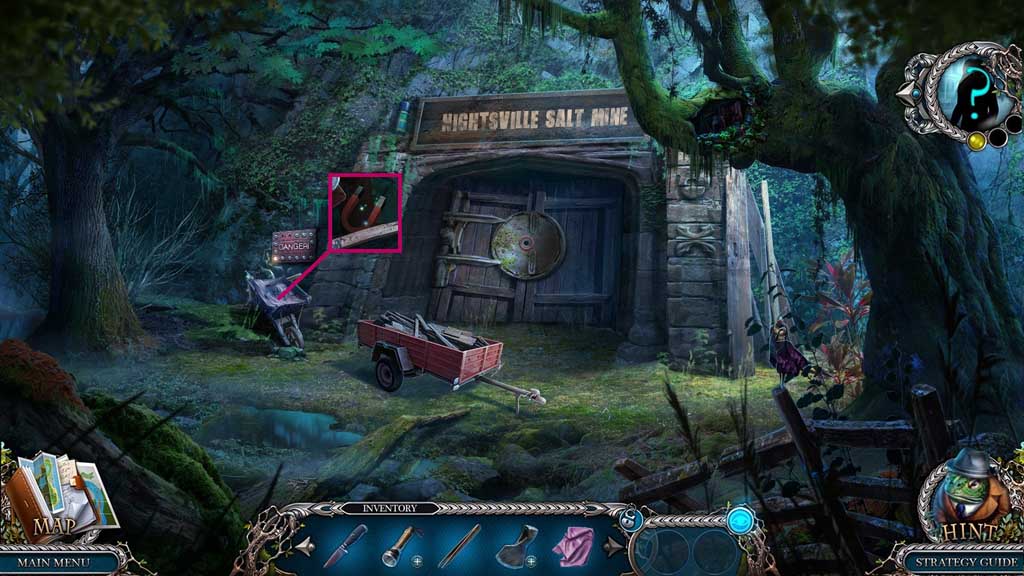
- Click the wheel barrel tarp; collect the magnet.
- Move down once.
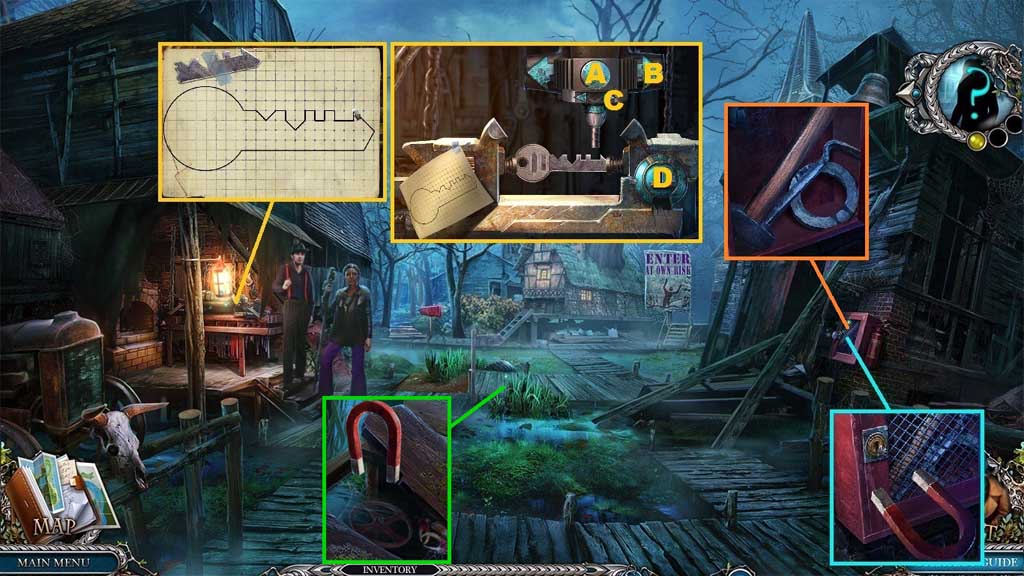
- Select the magnet to collect the broken key and place it into the device to trigger a mini game.
- Draw the outline then direct the machine to cut the key to solve the game.
- Use the following sequence to solve: D – C – A – B – D – A – B – D – C x 2 – A – B – C x 2 - A
- Collect the firebox key and insert it into the firebox.
- Collect the crowbar, the sledgehammer and the chest part.
- Select the crowbar to lift the planks.
- Select the magnet to collect the valve.
- Move ahead.
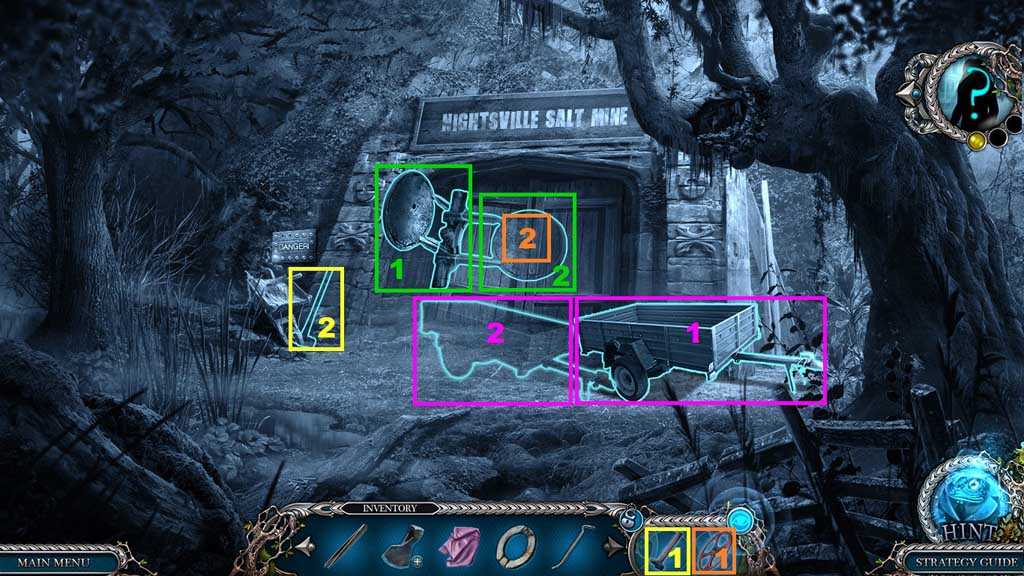
- Click the foresight button.
- Restore the items to the proper positioning.
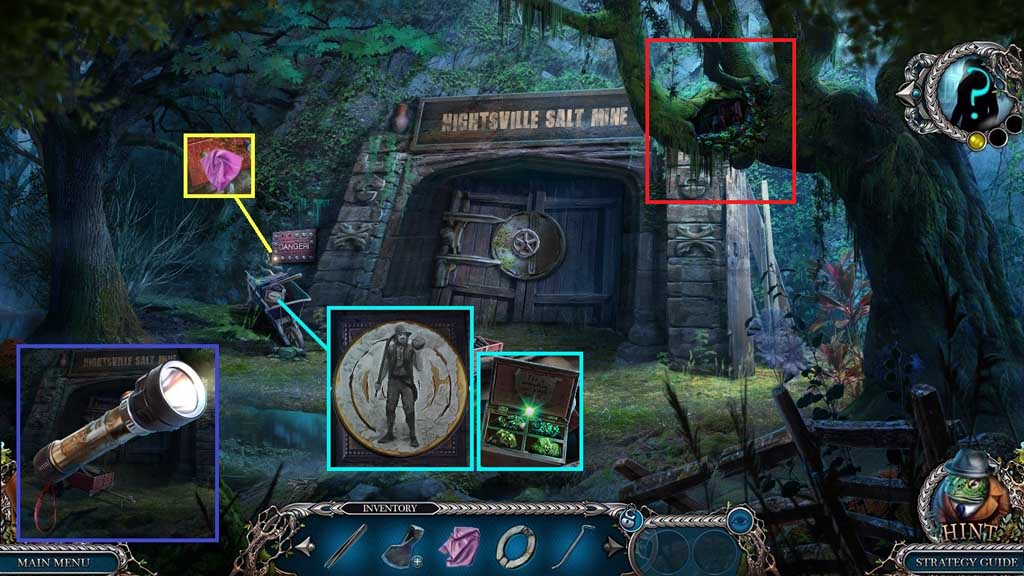
- Select the hanky to collect the bulb and insert it into the flashlight.
- Insert the chest part to trigger a mini game.
- Solve the game by restoring the image.
- Collect the box of samples.
- Use the flashlight to illuminate the dark hole and trigger a hidden objects area.
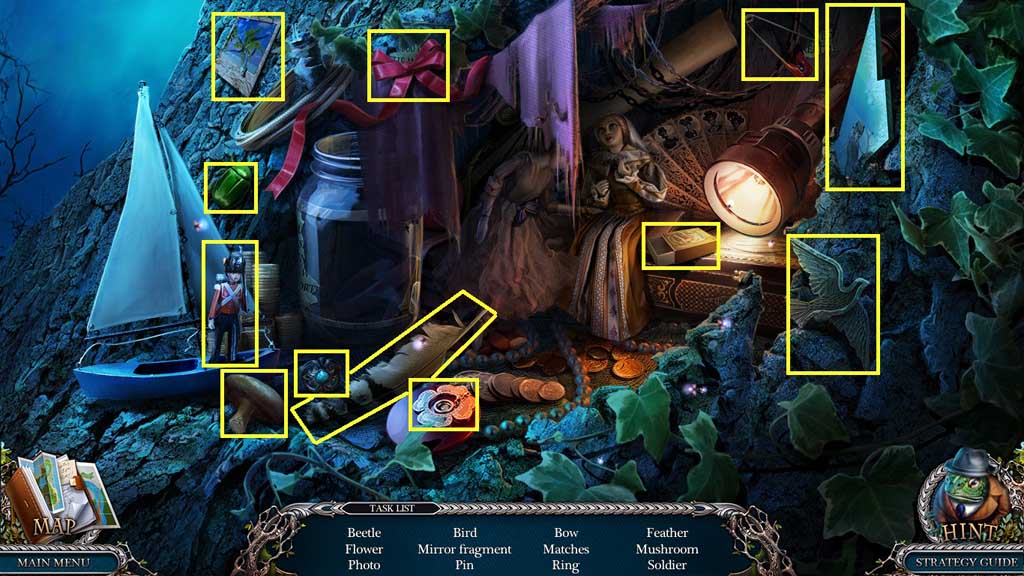
- Find the items and collect the fragments beneath them.
- Collect the receipt.
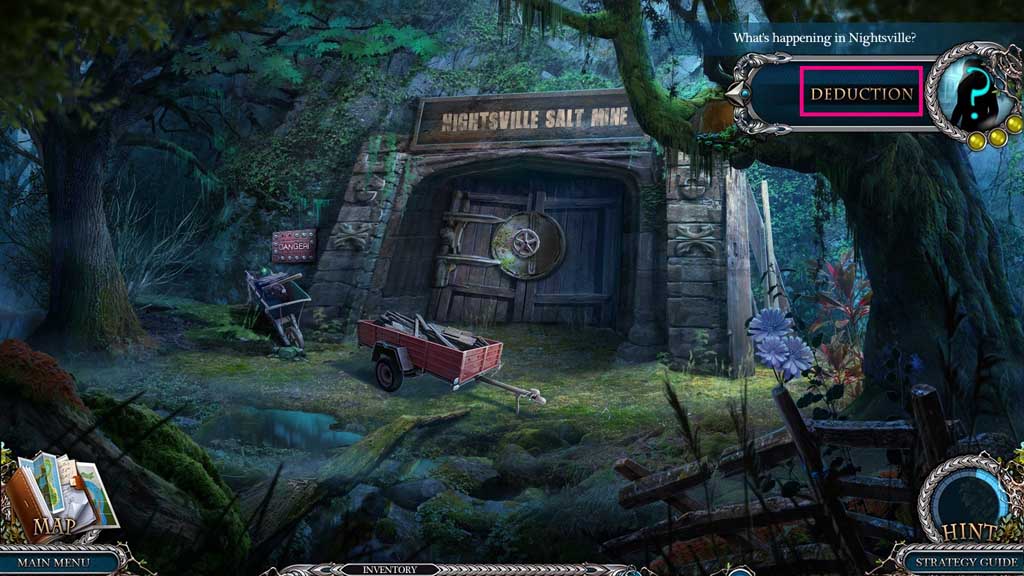
- Click deduction.
- Move down once.
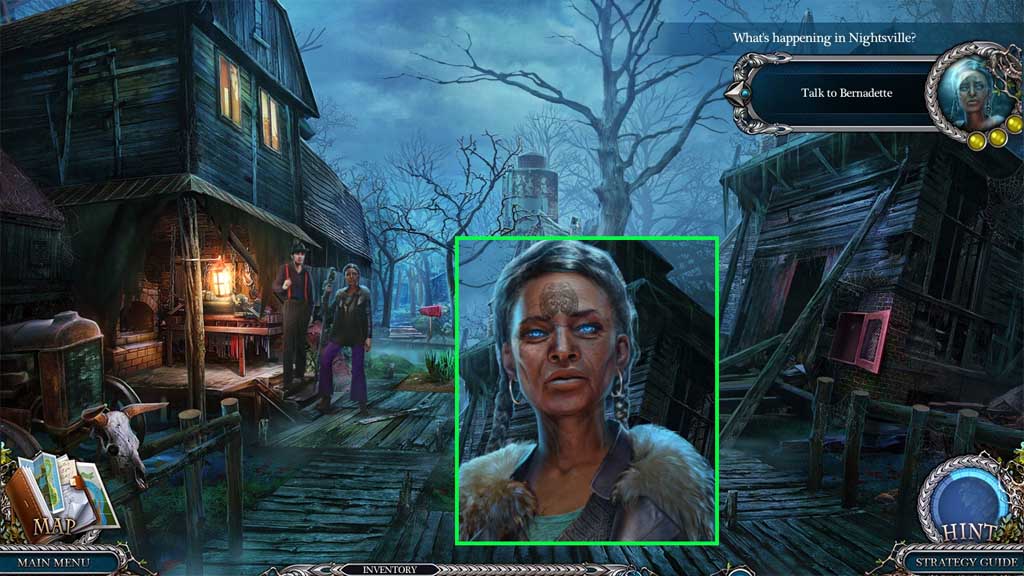
- Speak to Bernadette.
- Move ahead.
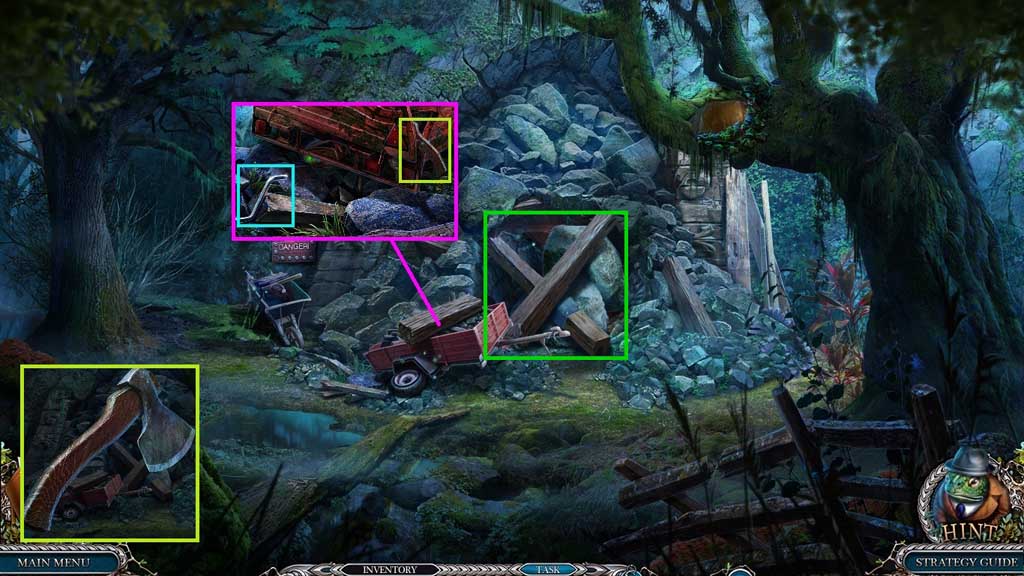
- Click the mine entrance.
- Collect the screw driver and the axe handle.
- Attach the axe blade and handle together.
- Select the axe to remove the wood beams and use the crowbar to remove the stones.
- Move ahead.
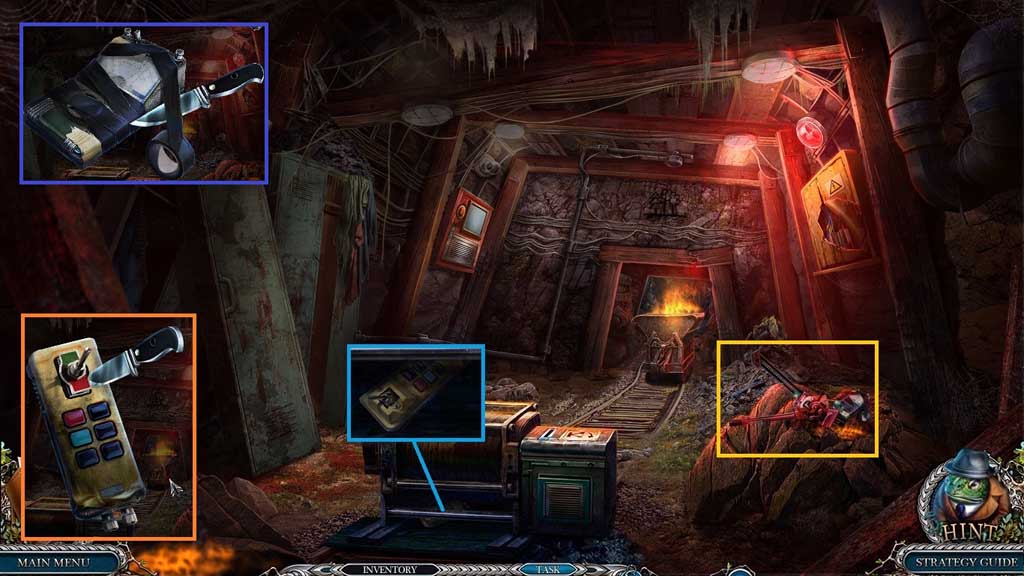
- Select the crowbar to remove the bar; collect the remote control.
- Select the remote control, the screw driver and the knife to create the toggle switch.
- Collect the jack and the meter.
- Select the meter and the knife to collect the electrical tape.
- Move down once.
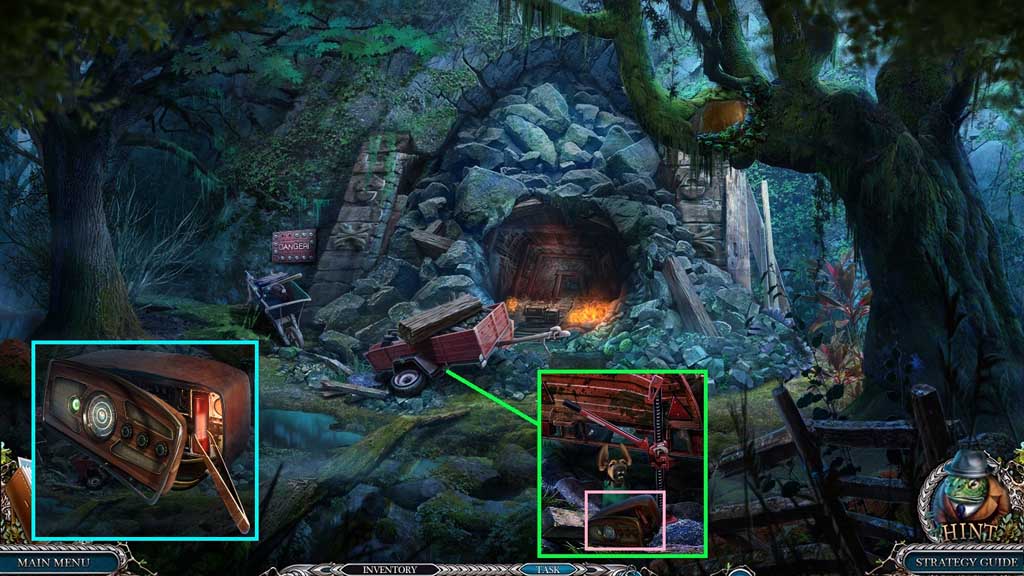
- Select the jack to hoist the trailer.
- Select Elf to collect the receiver pieces.
- Select the receiver pieces and the tweezers to collect the fuse.
- Move ahead.
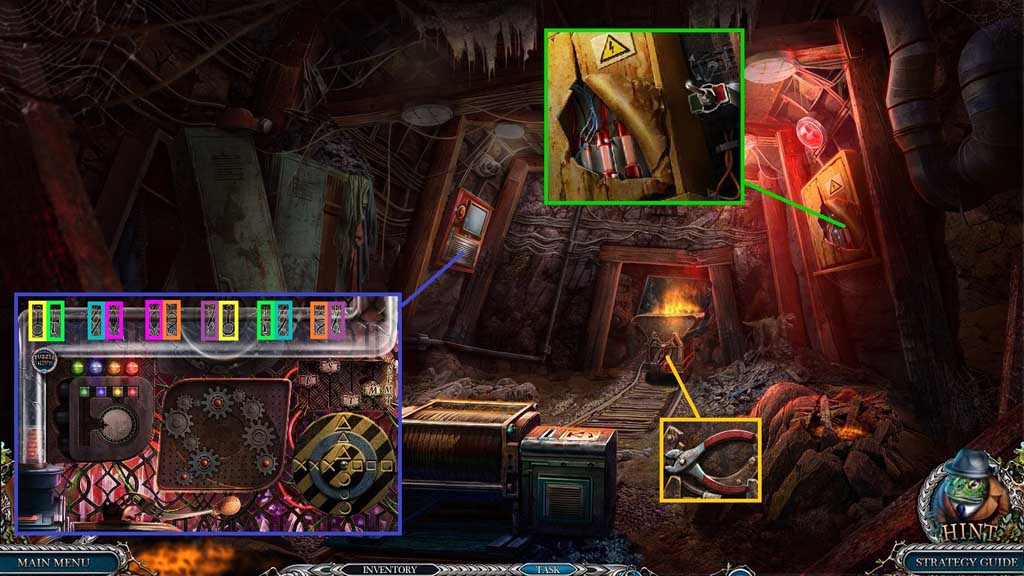
- Select the electrical tape, the fuse and the toggle switch to repair the fuse box.
- Click the switch.
- Select the screwdriver to remove the grate and trigger a mini game.
- Solve the game as follows:
- Click the lever 5x’s.
- Align the gears correctly.
- Arrange the color cubes to match the light pattern above them.
- Arrange the rings correctly as shown.
- Align the letters as shown.
- Select the matching symbols.
- Collect the clippers.
- Move down once.
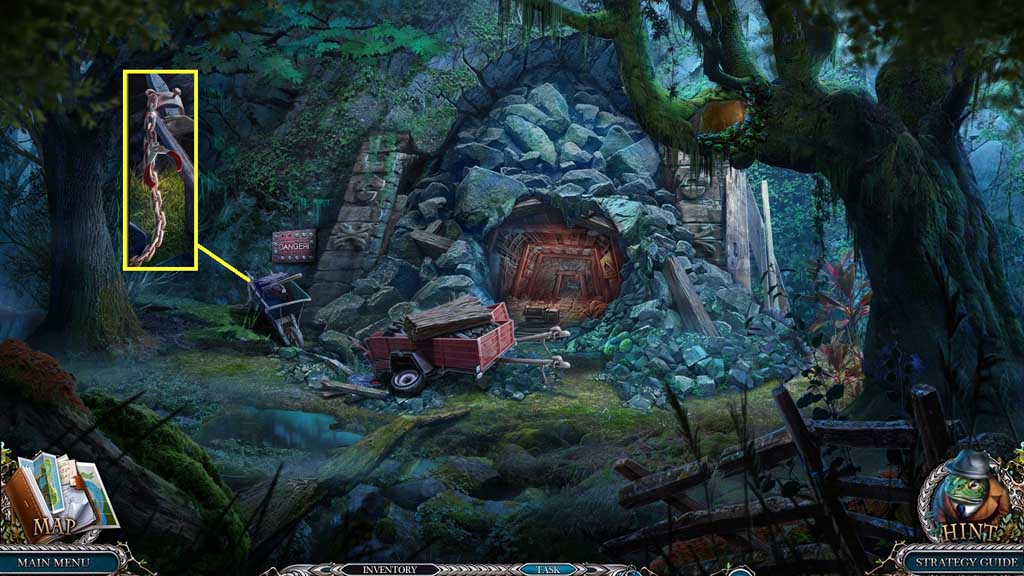
- Select the clippers to collect the chain.
- Move ahead.
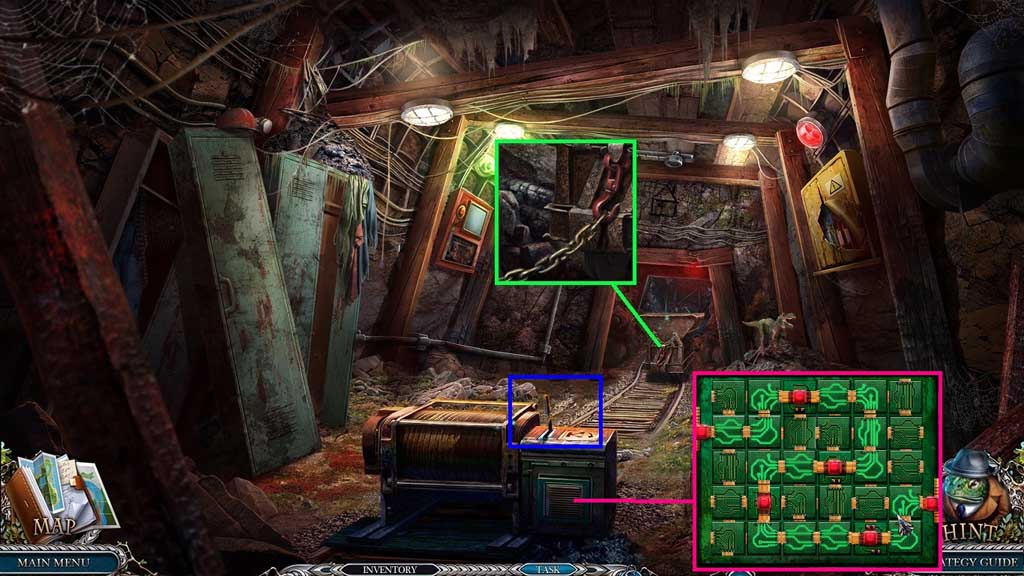
- Attach the chain onto the hook.
- Insert and click the knife into the machine to trigger a mini game.
- Solve the game by connecting the power current.
- Click the knife lever.
- Move ahead.
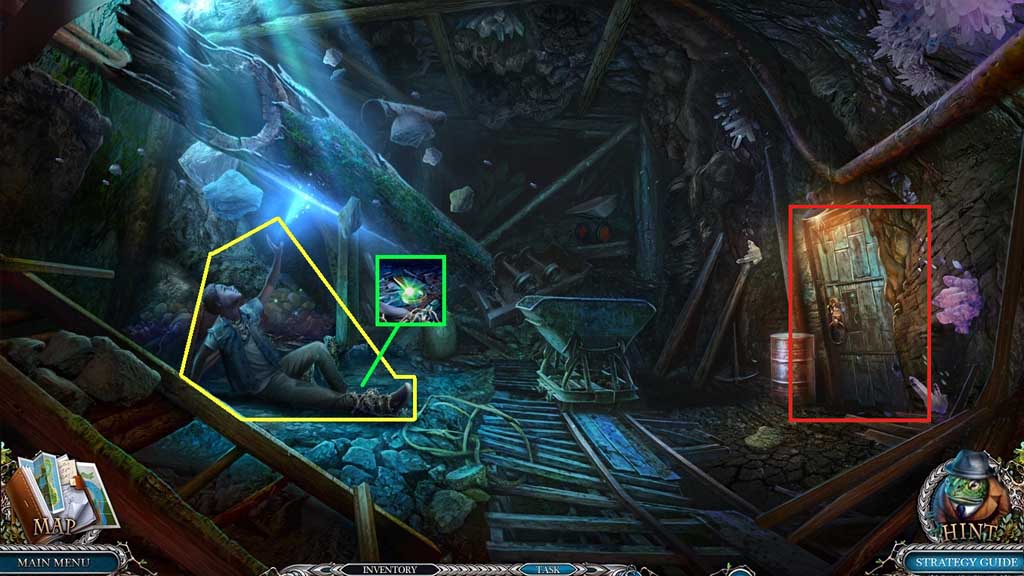
- Speak to the man.
- Collect the storeroom key and insert it into the lock.
- Move ahead and click the hidden objects area.
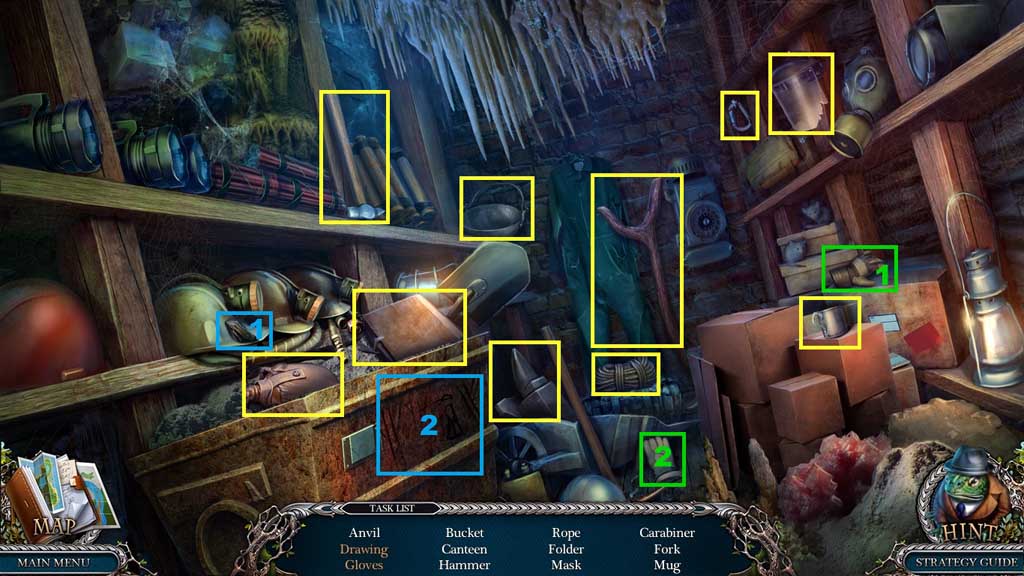
- Find the items.
- Collect the fork.
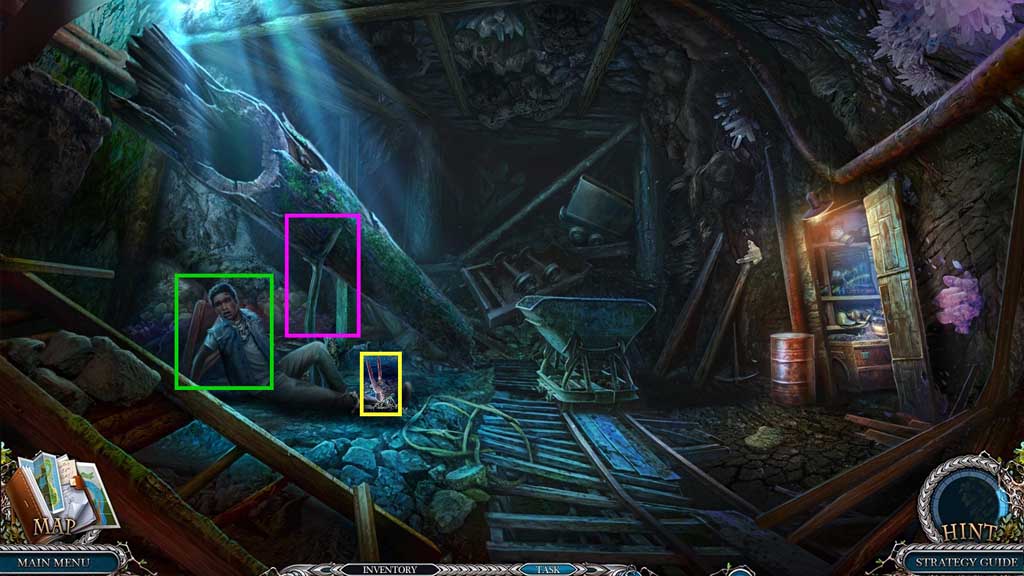
- Place the fork to support the log.
- Select the clippers to clip the wire.
- Click the man.
- Move down once.
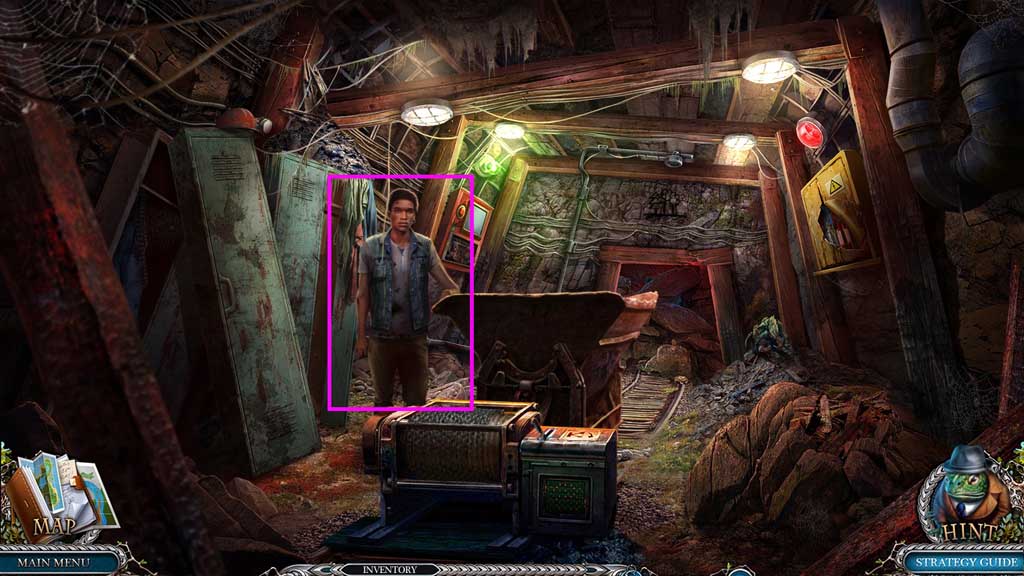
- Speak to Kevin.
- Receive the map.
- Move down 2x’s.
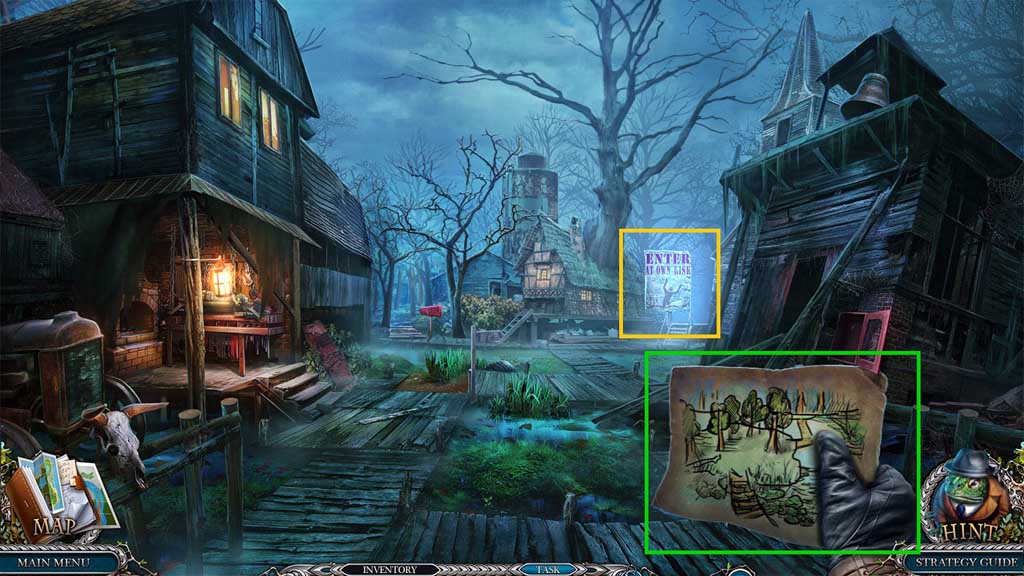
- Select the map to trigger a mini game.
- Move to the right.
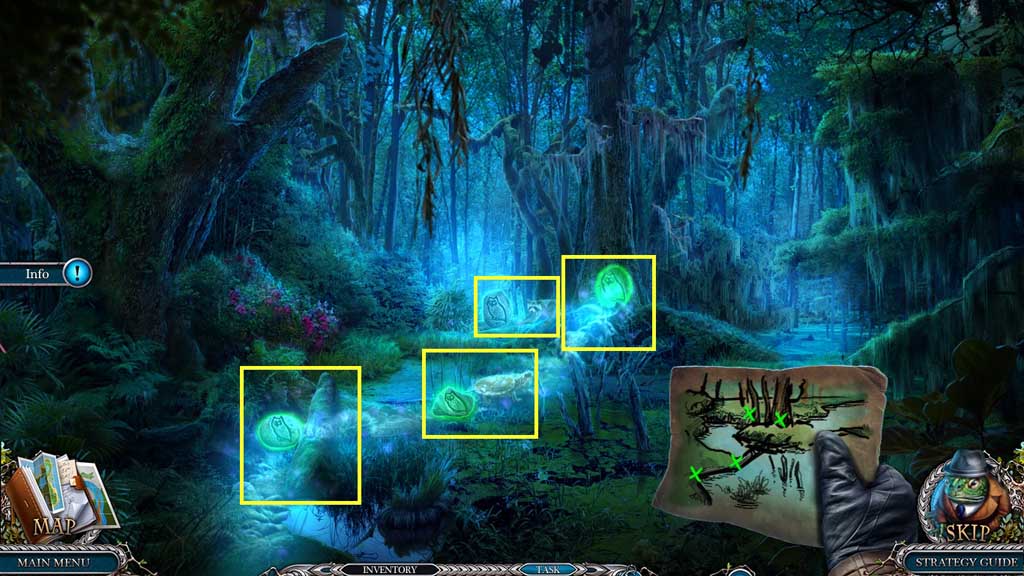
- Reveal the symbols and click the stones.
- Move ahead.
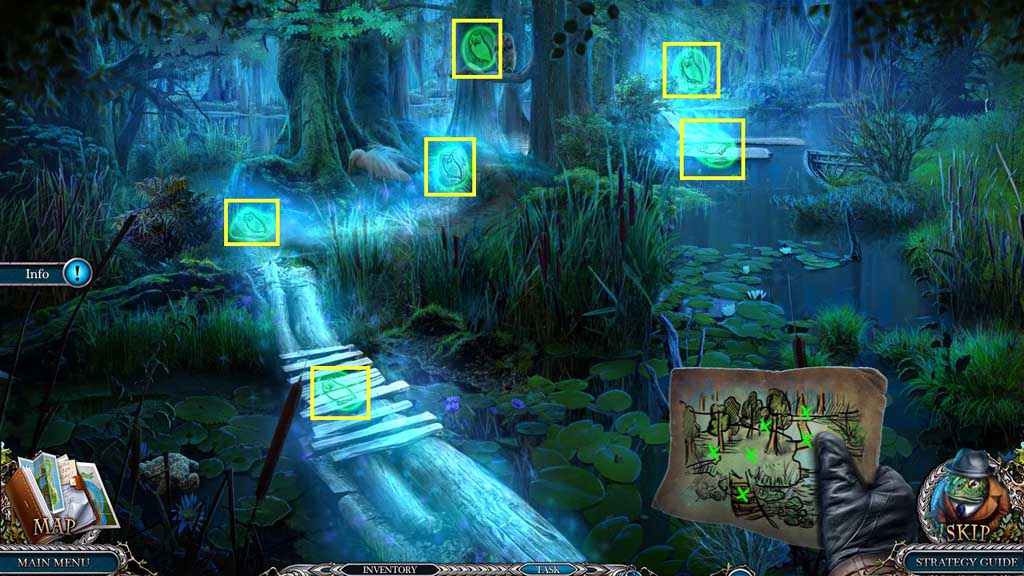
- Reveal the symbols and click the stones.
- Move ahead.
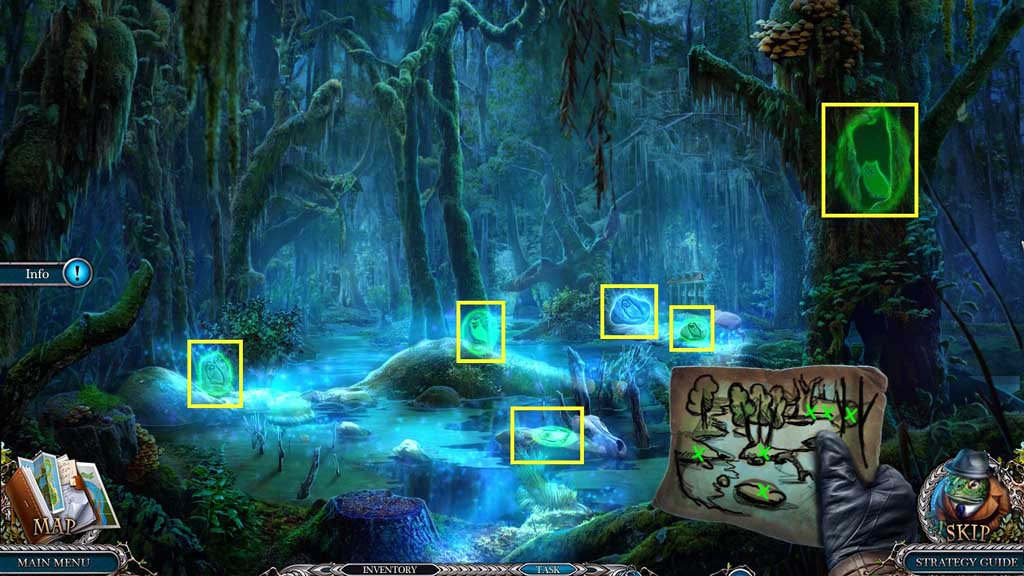
- Reveal the symbols and click the stones.
- Move ahead once.
Comments will load when you reach this part of the walkthrough.