

Dream Three: Your Soul
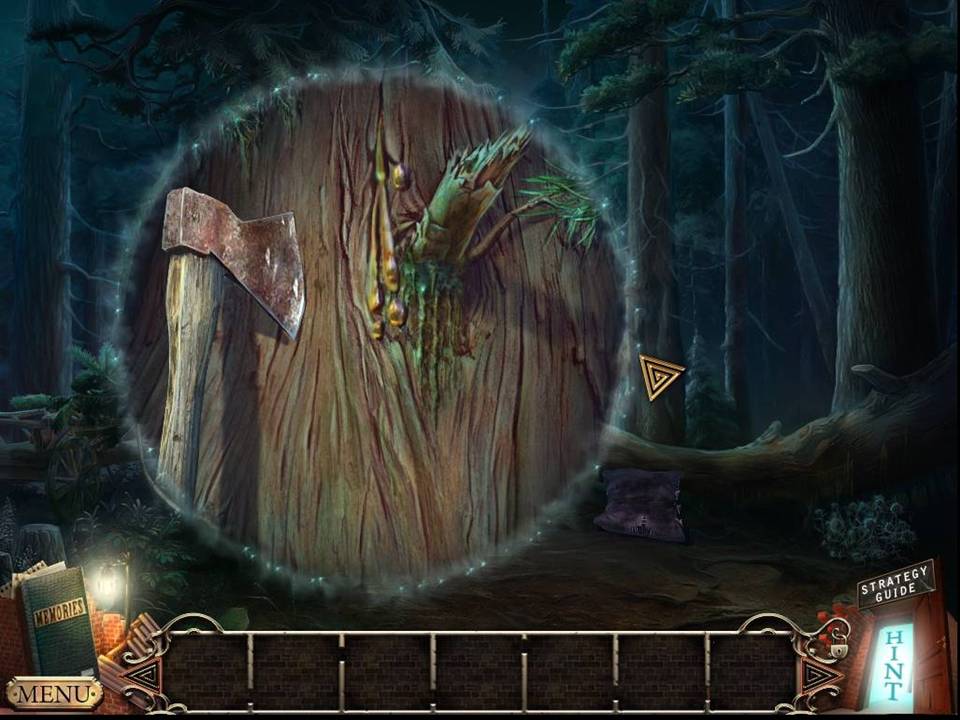
- Zoom into the tree.
- Take the BLUNT AXE.
-
Go forward to the cabin.
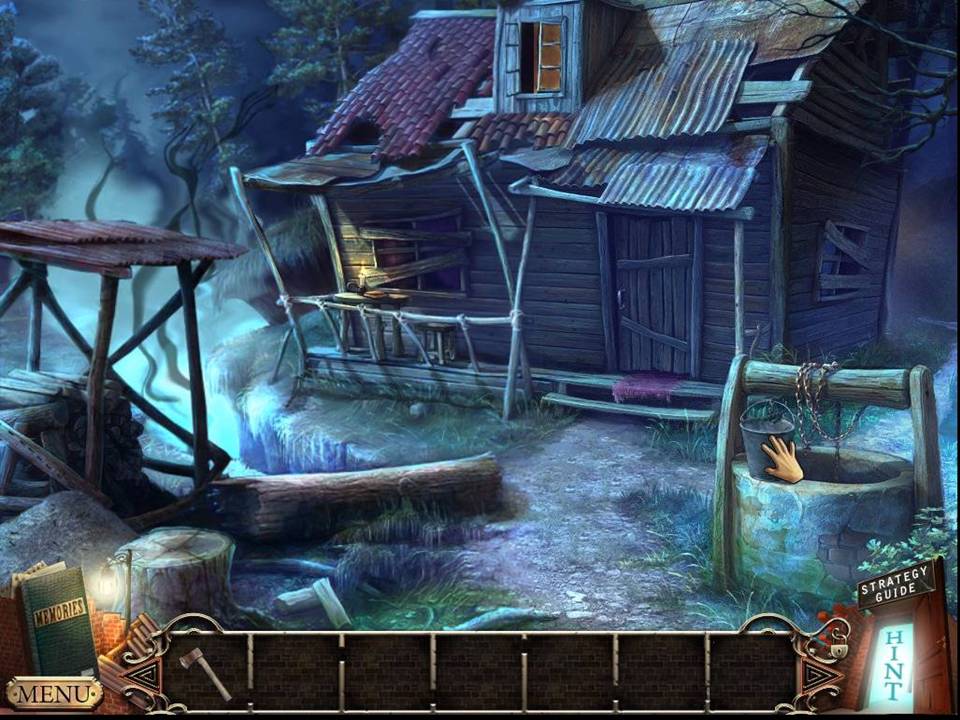
-
Click the bucket to make it fall into the well.
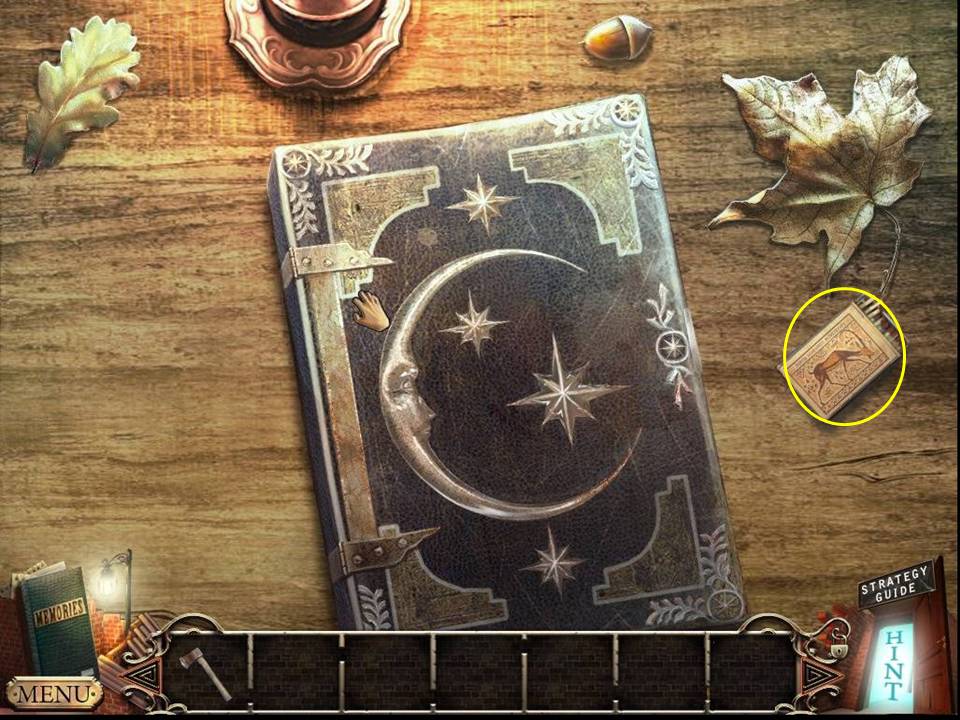
- Zoom into the table.
- Take the MATCHES.
- Open the book.
- Click the page and take the ELIXIR OF LIFE.
-
Go to the back of the cabin.
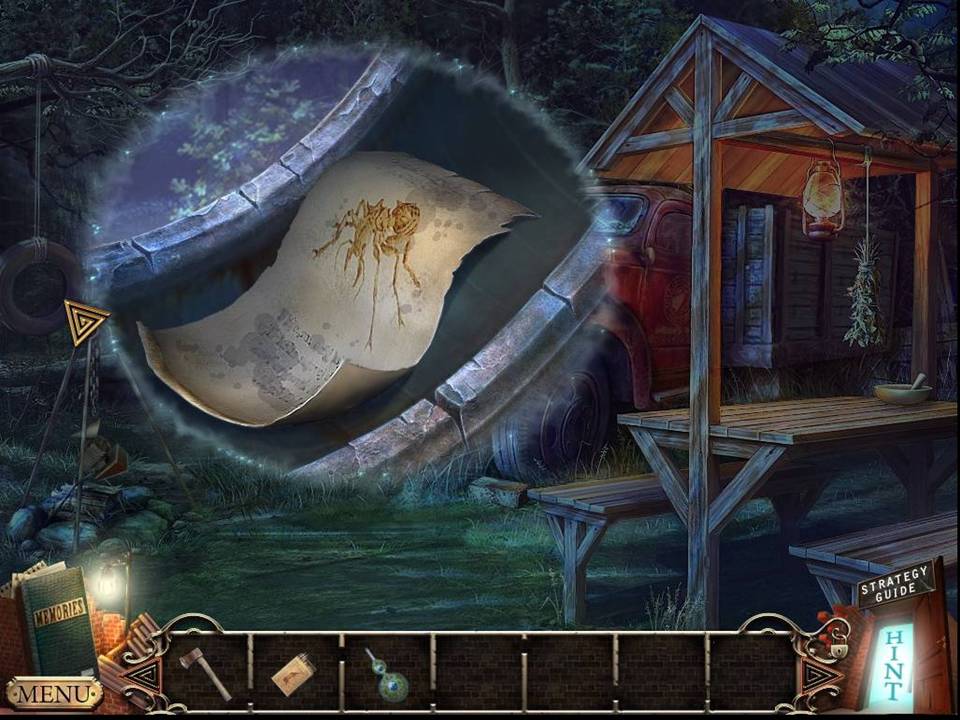
- Zoom into the tire swing.
-
Take the note and the WELL HANDLE from underneath.
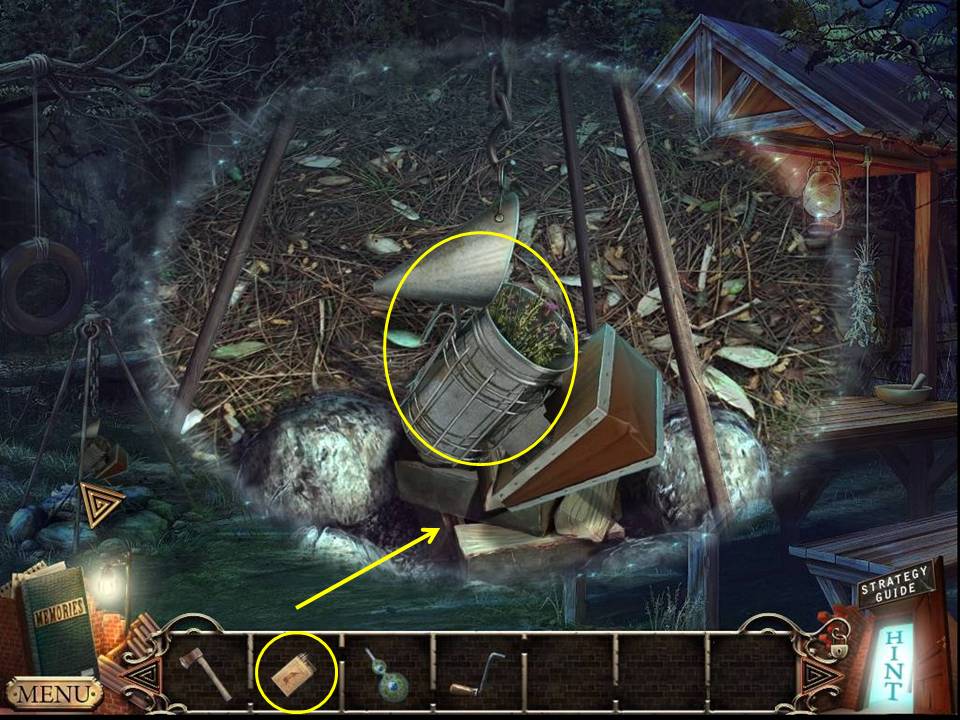
- Zoom into the firepit.
- Take the BEE SMOKER.
-
Start the fire with the MATCHES.
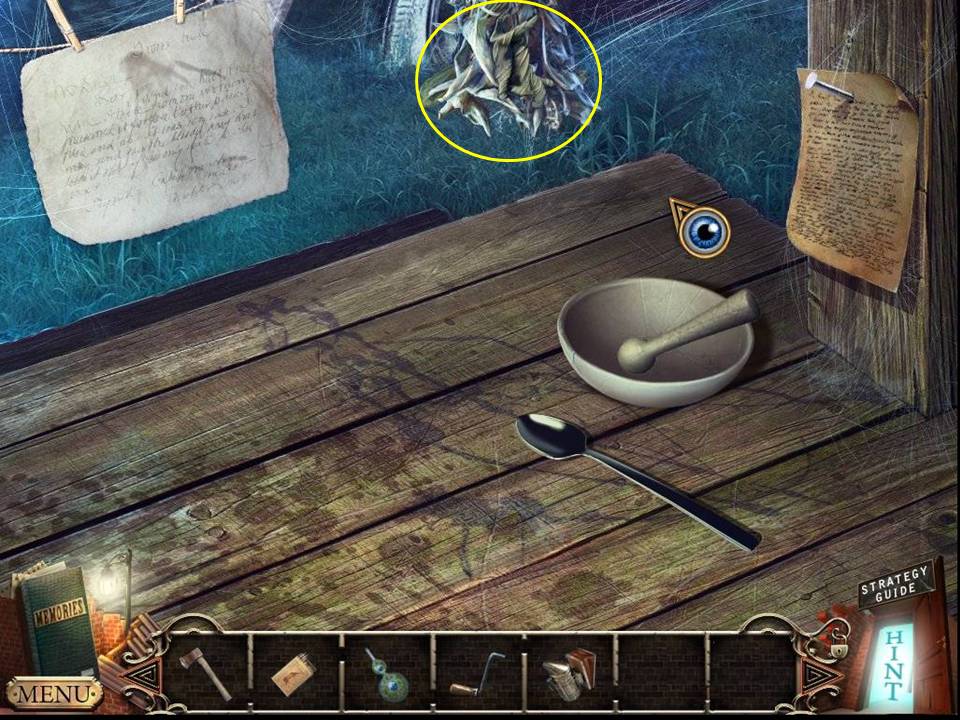
- Zoom into the table.
- Take the DRY LEAVES.
-
Go to the front of the cabin.
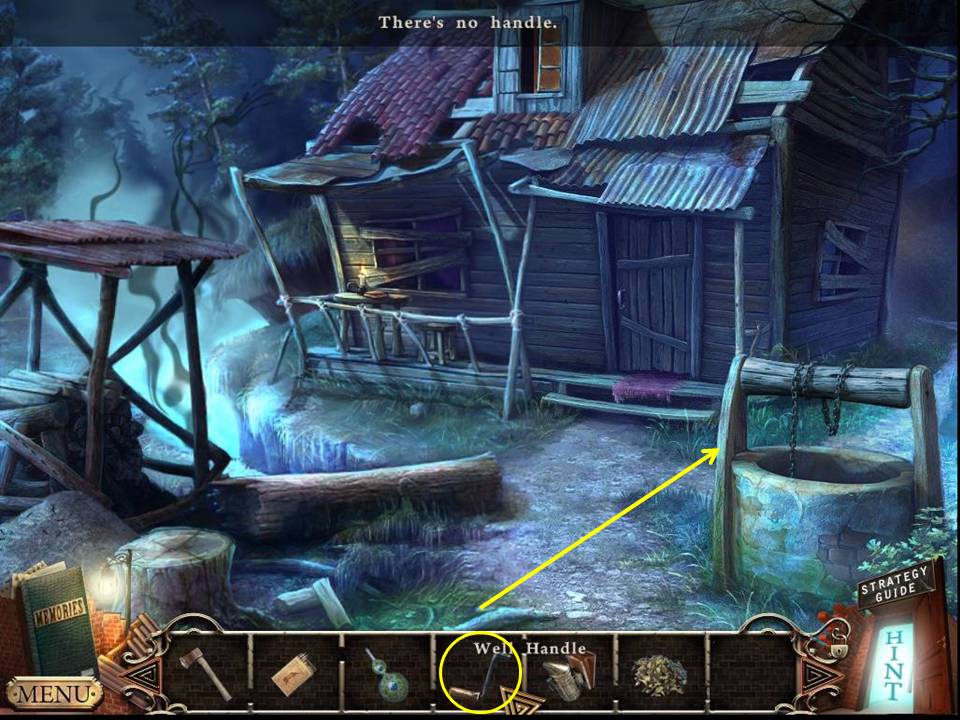
- Put the WELL HANDLE on the well.
- Zoom into the well.
-
Take the BRUSH from the raised bucket.
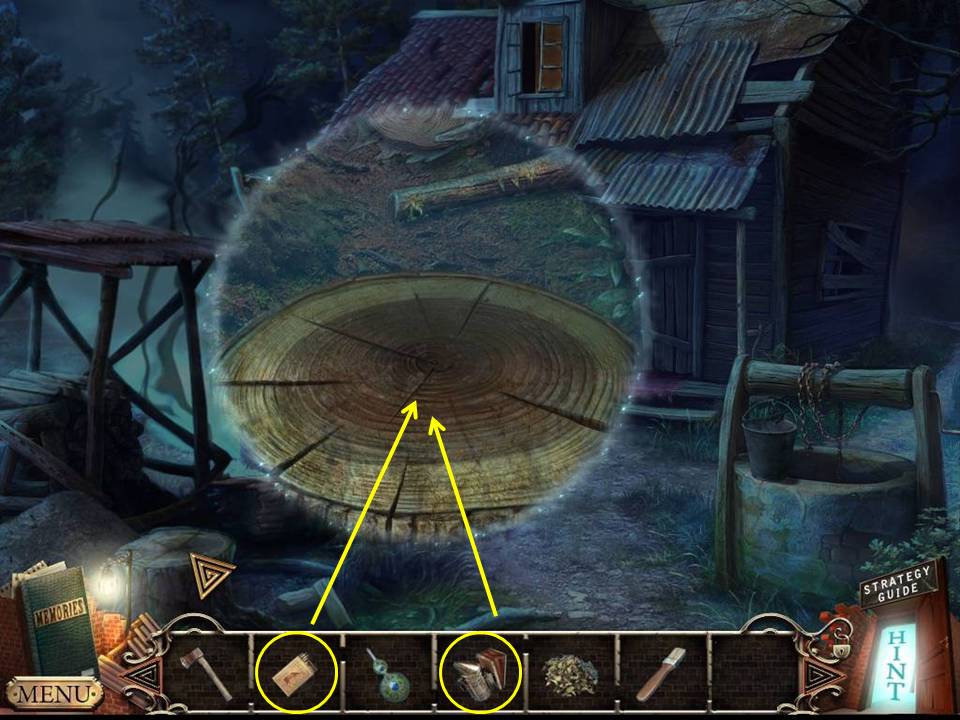
- Zoom into the stump.
- Place the BEE SMOKER in the scene and light it with the MATCHES.
-
Play the HOA.
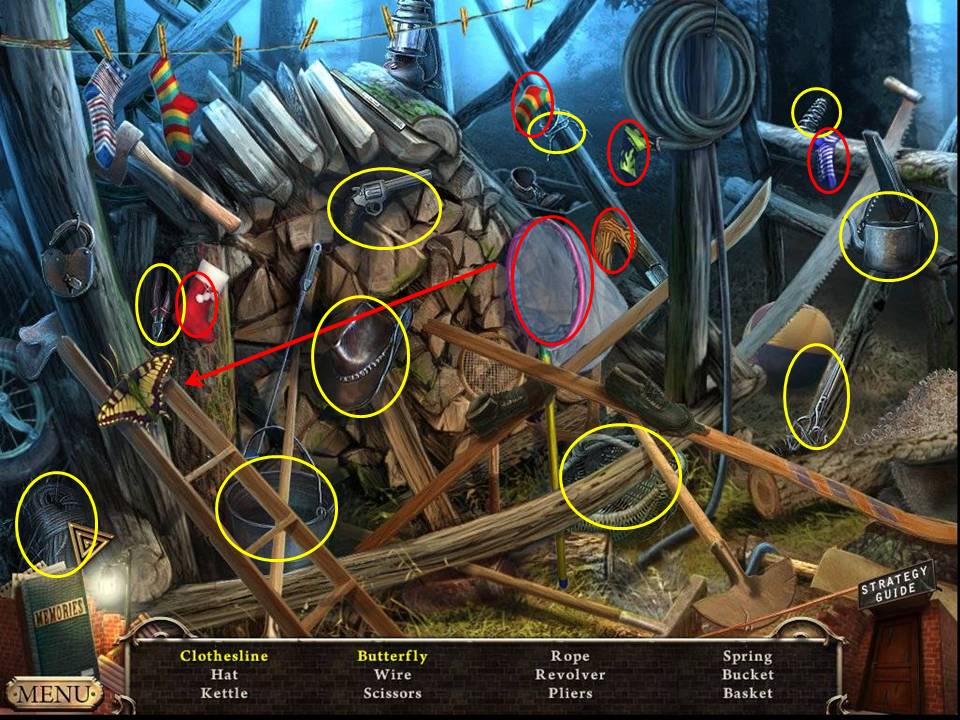
- Find the items listed.
- Place five socks on the clothesline.
- Use the net to get the butterfly.
-
Receive the WIRE.
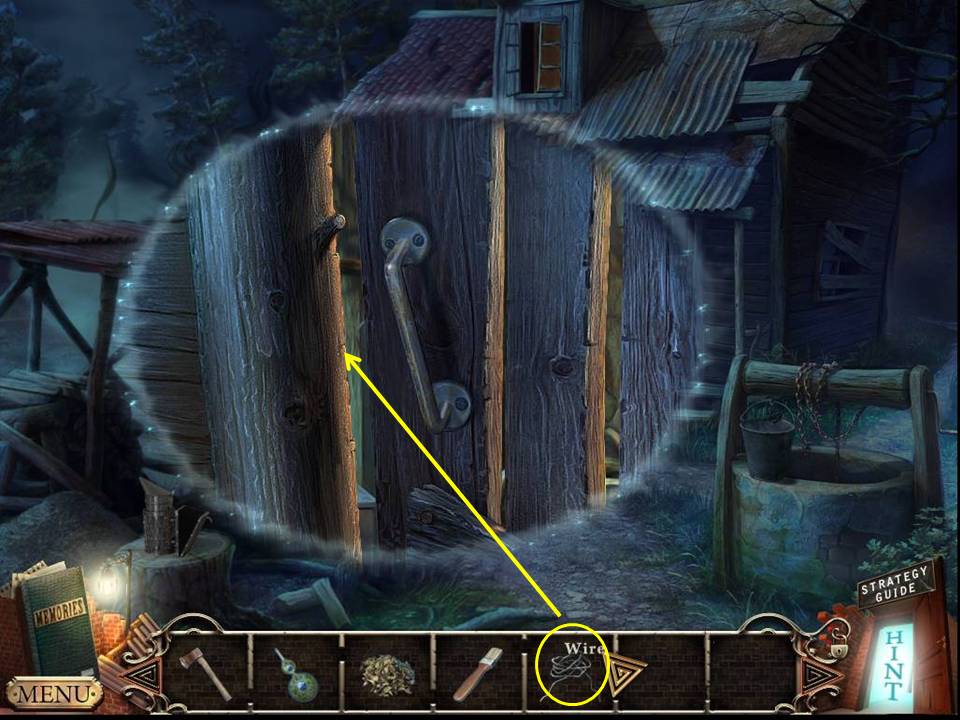
- Zoom into the door.
- Use the WIRE to open the latch.
-
Open the door and enter the cabin.
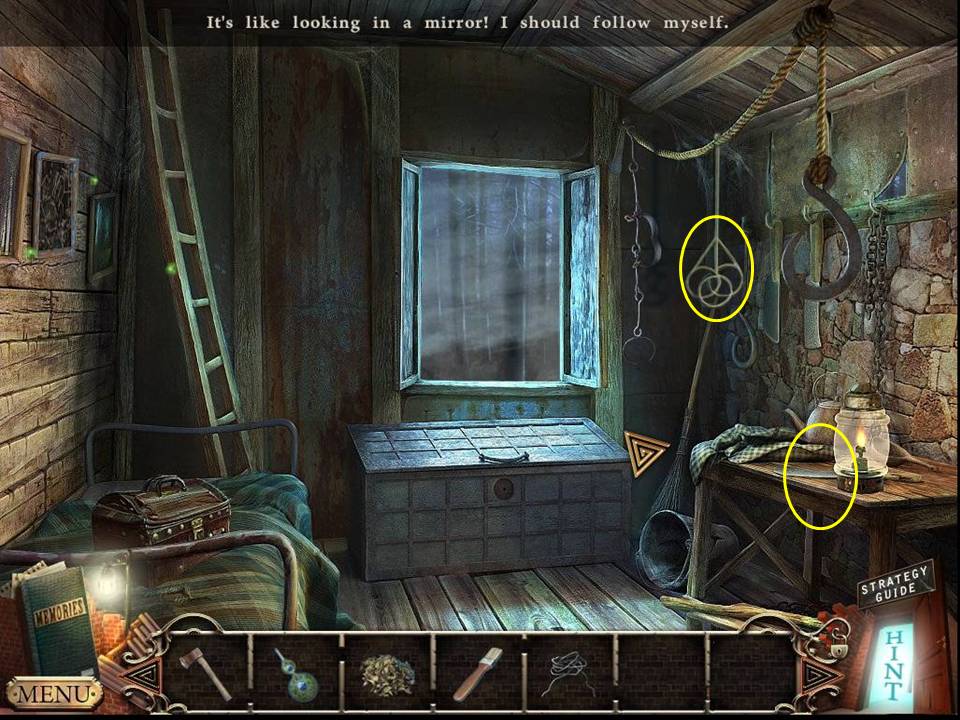
- Take the CARPET BEATER.
- Zoom into the desk.
- Take the PINCERS.
-
Zoom into the photo.
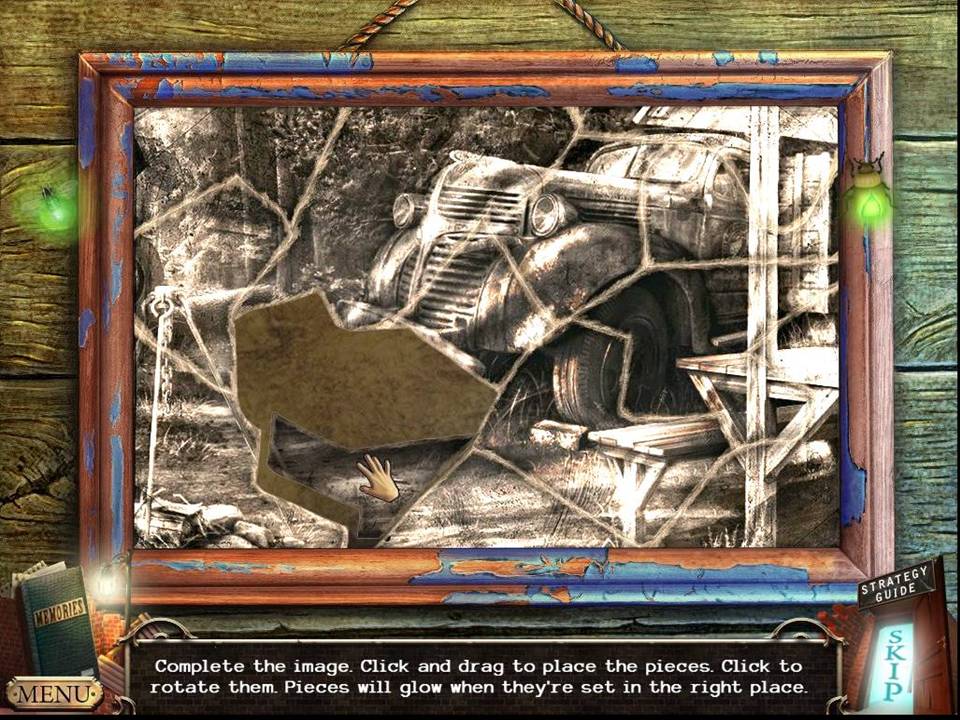
- Assemble the pieces of the photo as shown in the screenshot.
- Note: The photo is incomplete.
-
When finished, go back to the rear of the cabin.
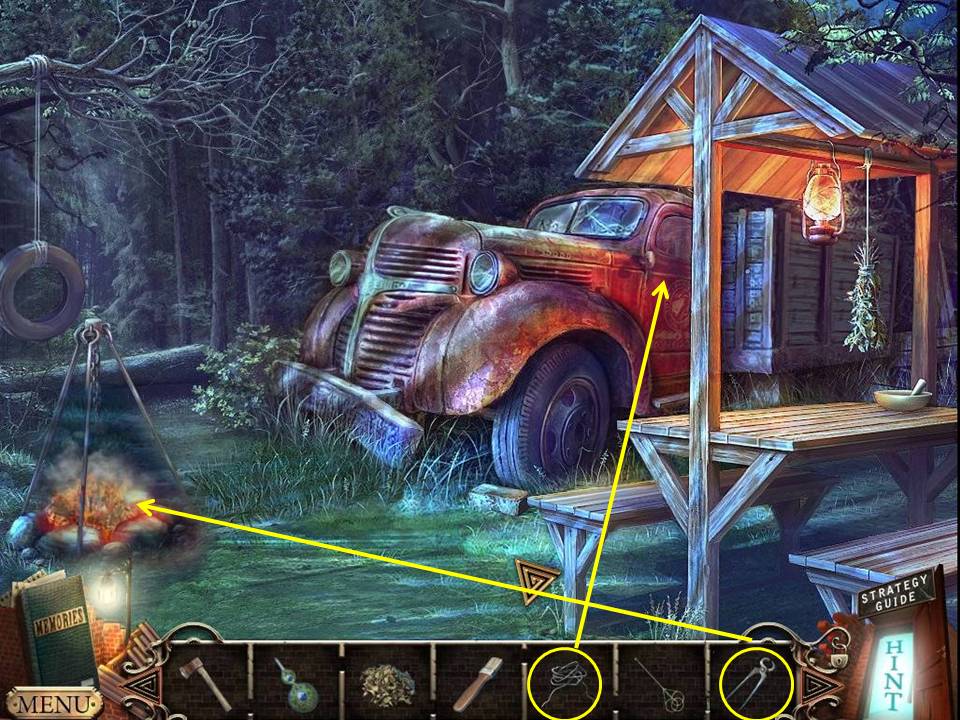
- Zoom into the truck.
- Open the door with the WIRE.
- Take the GARDEN SHEARS.
- Zoom into the fire.
- Retrieve a piece of COAL with the PINCERS.
-
Go back to the forest scene from the beginning of the chapter.
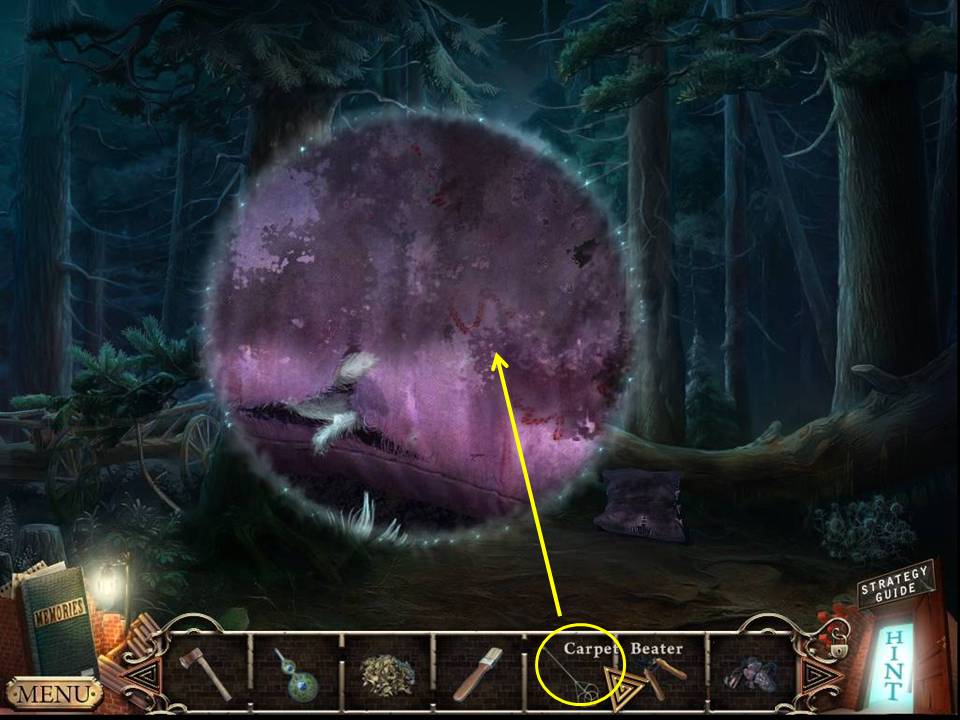
- Zoom into the pillow.
-
Pound the pillow with the CARPET BEATER to get a code.
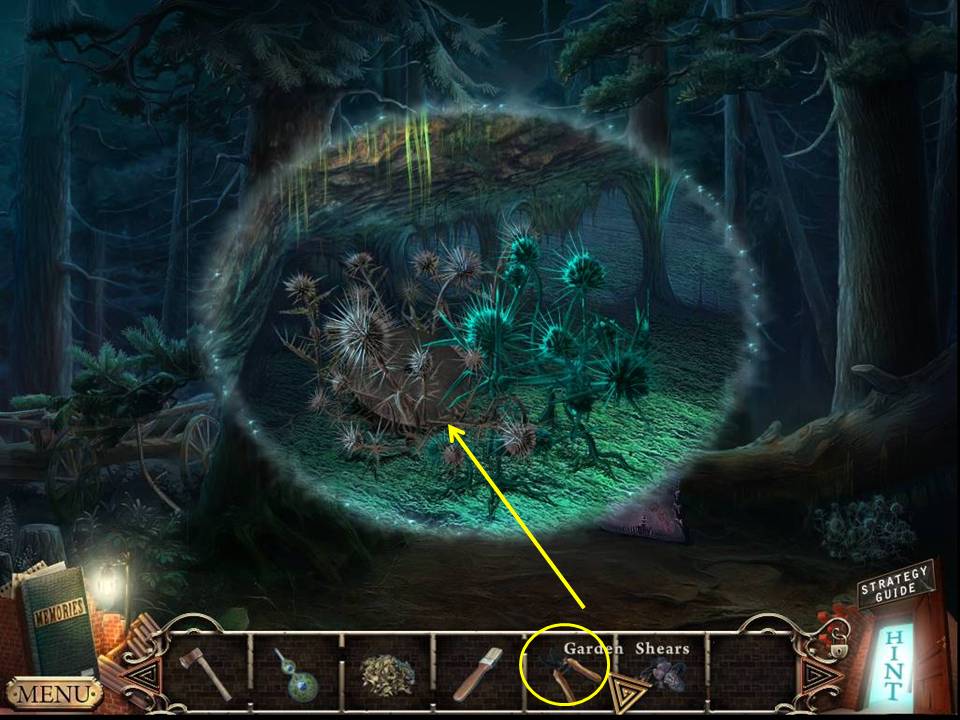
- Zoom into the bush.
- Clip the branches with the GARDEN SHEARS.
- Take the GRINDSTONE.
-
Go back to the cabin.
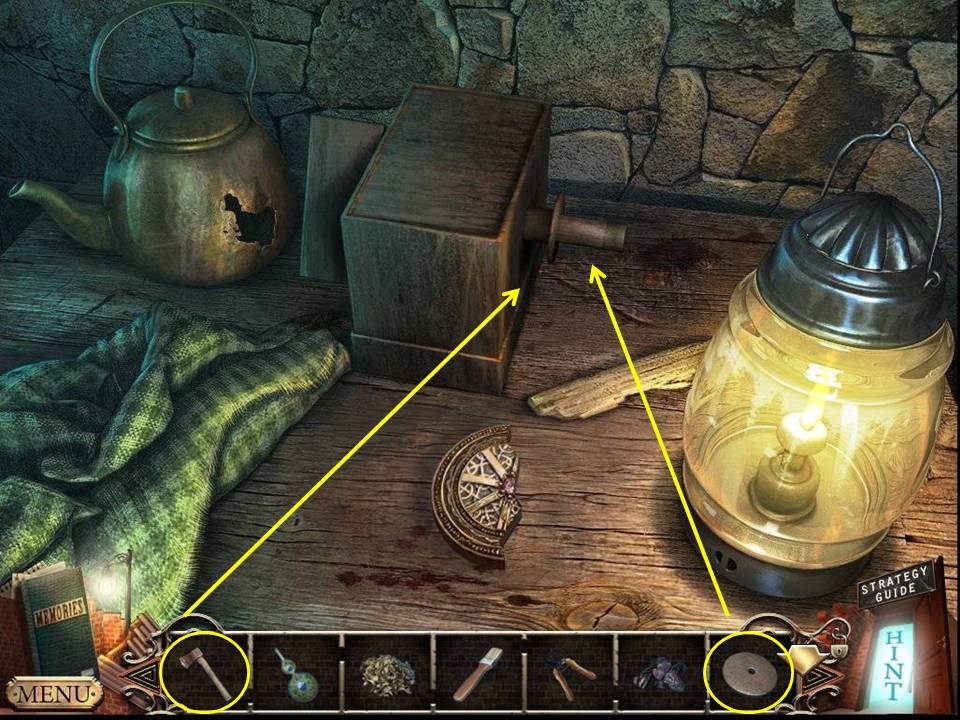
- Zoom into the desk.
- Put the GRINDSTONE on the wheel.
- Sharpen the BLUNT AXE to get the SHARPENED AXE.
-
Zoom out.
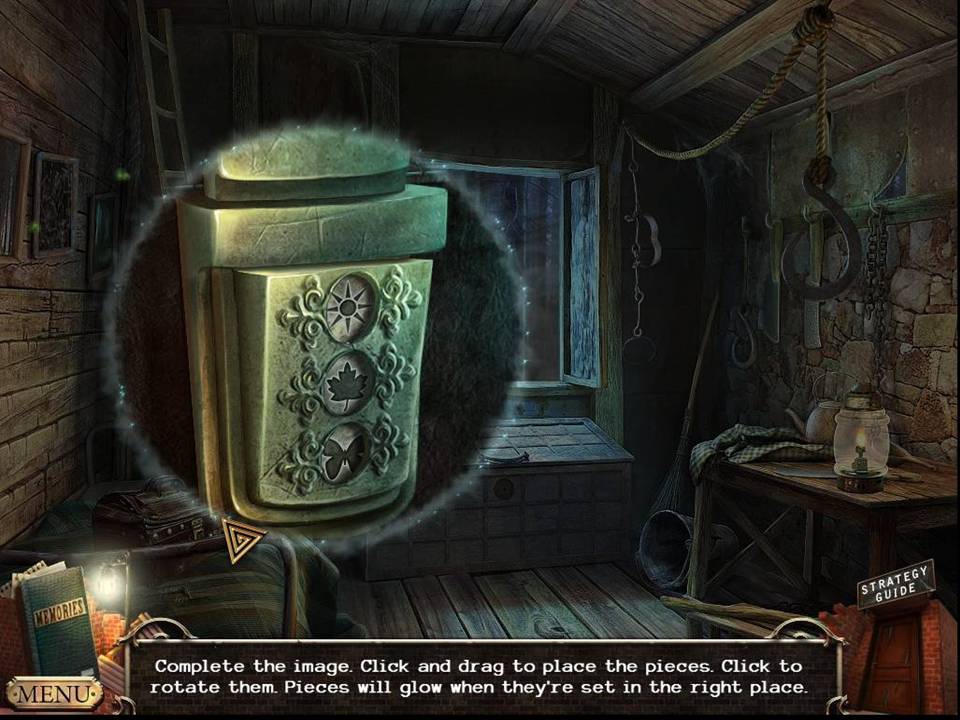
- Zoom into the bag.
- Click the buttons to match the code (flower, butterfly, leaf).
- Zoom into the open bag.
- Take the note and the NAIL PULLER.
-
Go back to the forest.
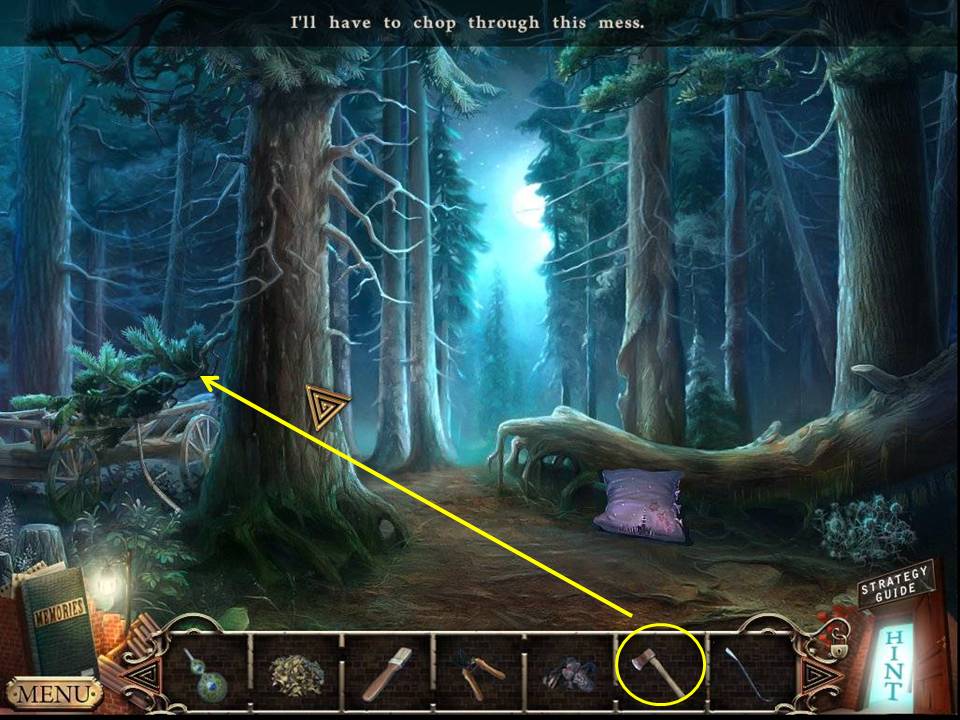
- Use the SHARPENED AXE to chop the tree branch.
-
Play the HOA.
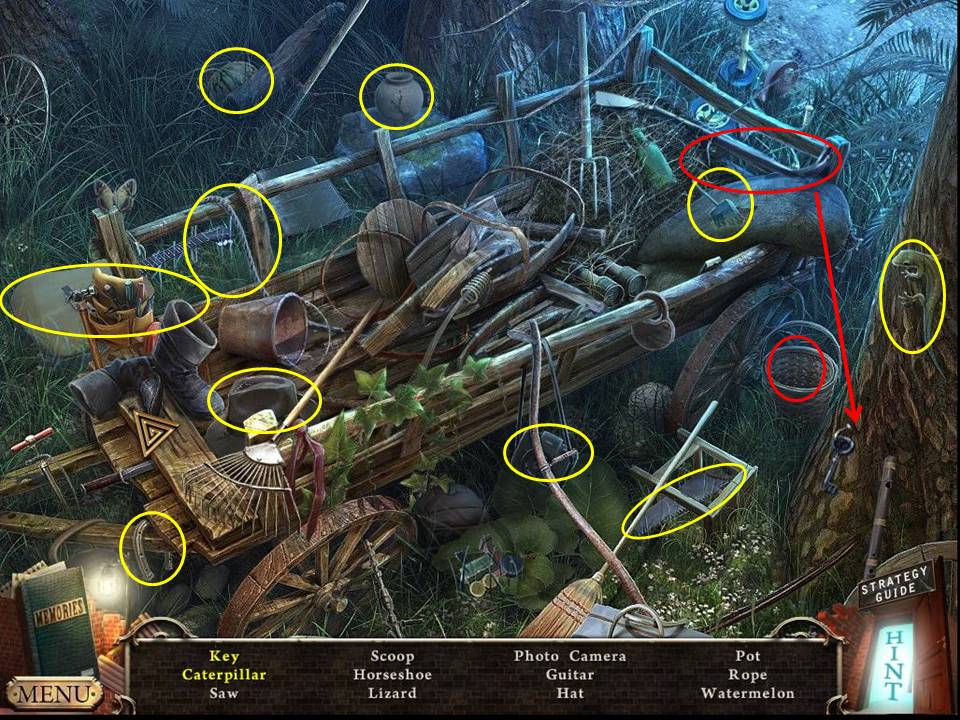
- Find the items listed.
- Find the caterpillar in the basket.
- Pry the nail from the key with the crowbar.
- Receive the ATTIC KEY.
-
Go back to the cabin.
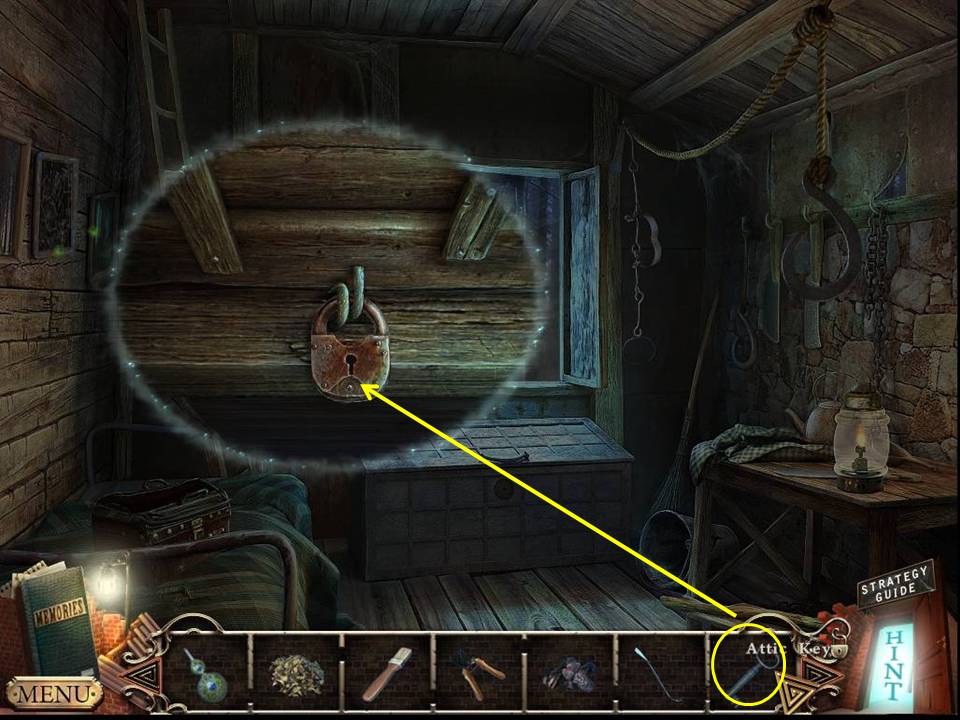
- Zoom into the attic door and unlock it with the ATTIC KEY.
-
Enter the attic.
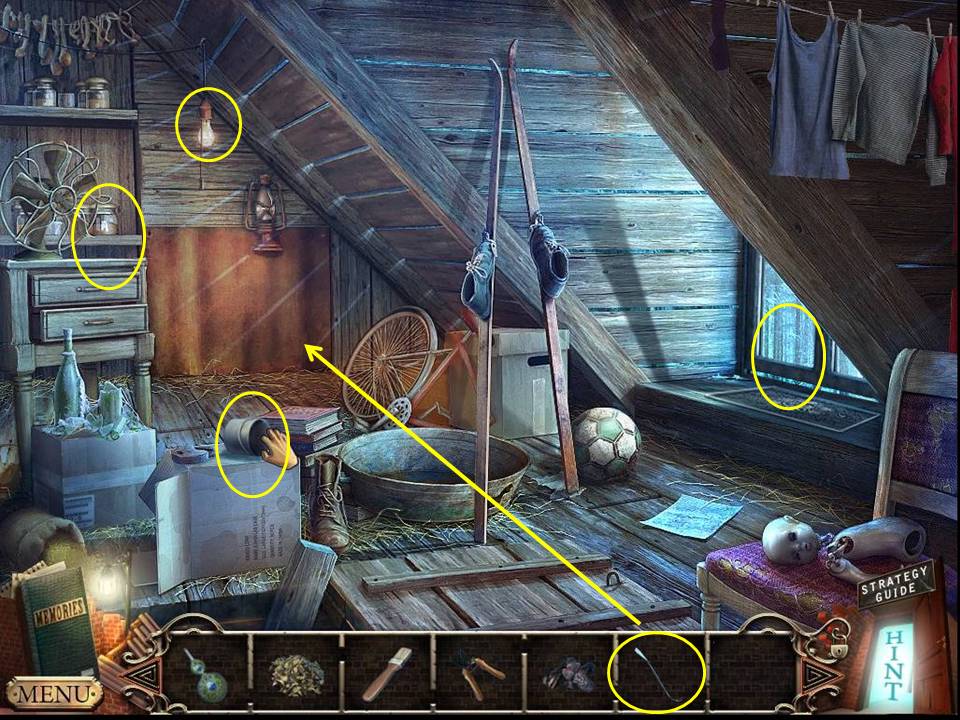
- Take the BUCKET.
- Zoom into the window.
- Take the instructions and the RAT REPELLENT.
- Zoom into the dresser.
- Take the LOCK PARTS.
- Use the NAIL PULLER to remove the panel.
- Zoom into the panel, then out again.
-
Click the light off.
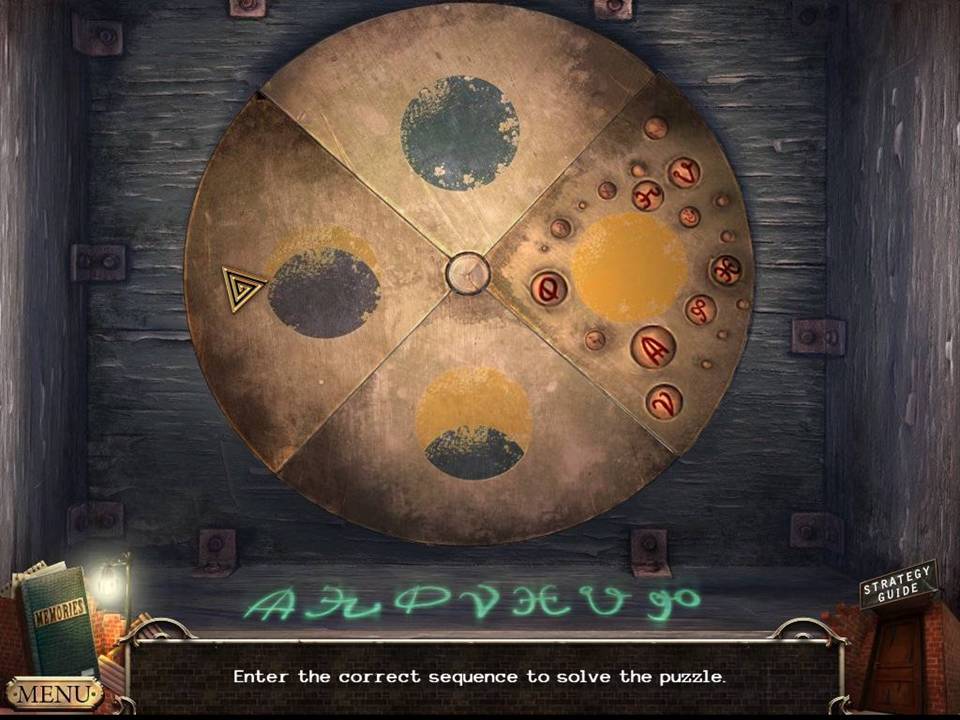
- Zoom back into the panel.
-
Click the buttons in the order shown.
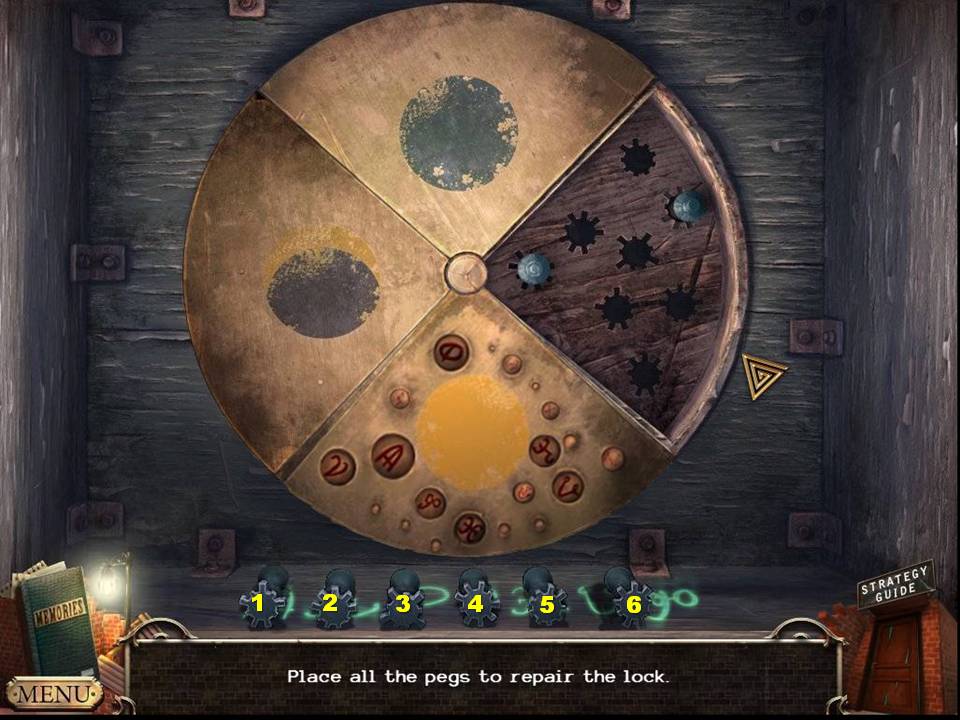
- Place the LOCK PARTS in the scene.
- Assuming the lock parts are numbered one to six from left to right, place the parts in this order beginning at the top and going down: 5, 4, 3, 1, 2, 6.
- When these are in position, numbered levers will appear.
- Move the numbered levers in this order: 8, 5, 2, 7, 1, 5.
- Take the BATTERY from the compartment that appears.
-
Go back to the forest.
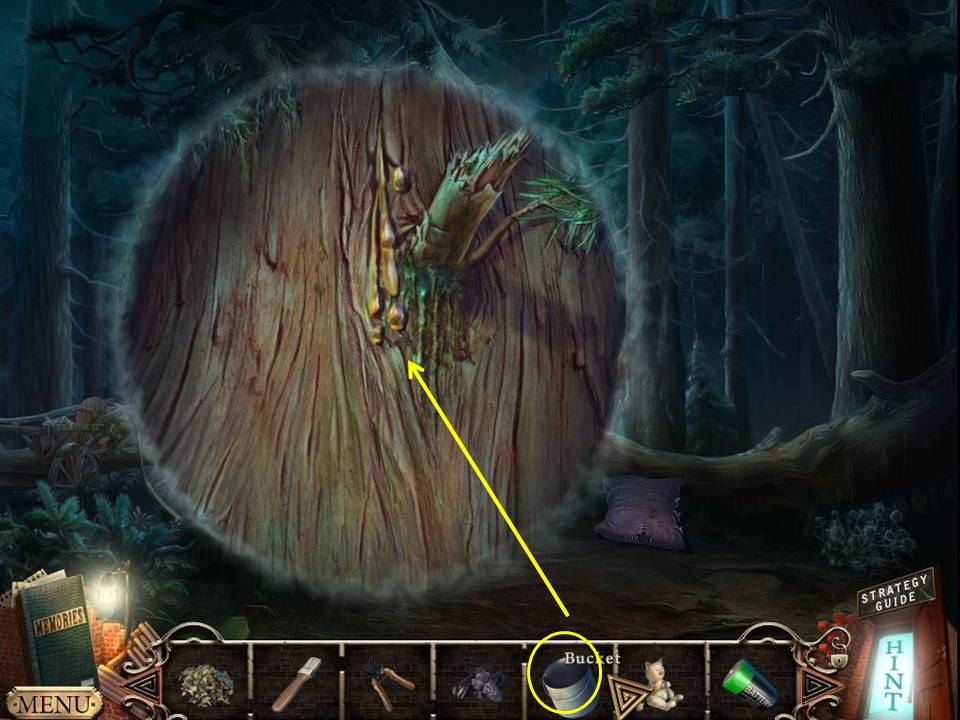
- Zoom into the tree.
- Put the BUCKET under the sap.
-
Take the MAPLE SYRUP.
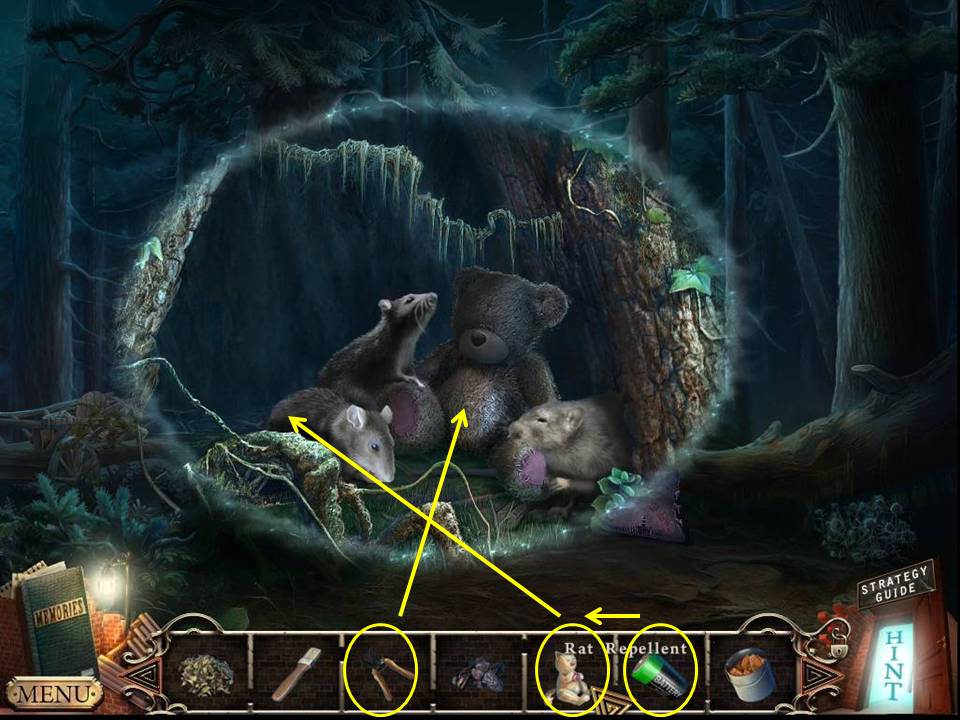
- Zoom into the base of the tree in the foreground.
- Put the RAT REPELLENT near the rats.
- Insert the BATTERY and pull the cord.
- Move the bear closer and cut it open with the GARDEN SHEARS.
- Take the PUZZLE PIECE.
-
Go to the back of the cabin.
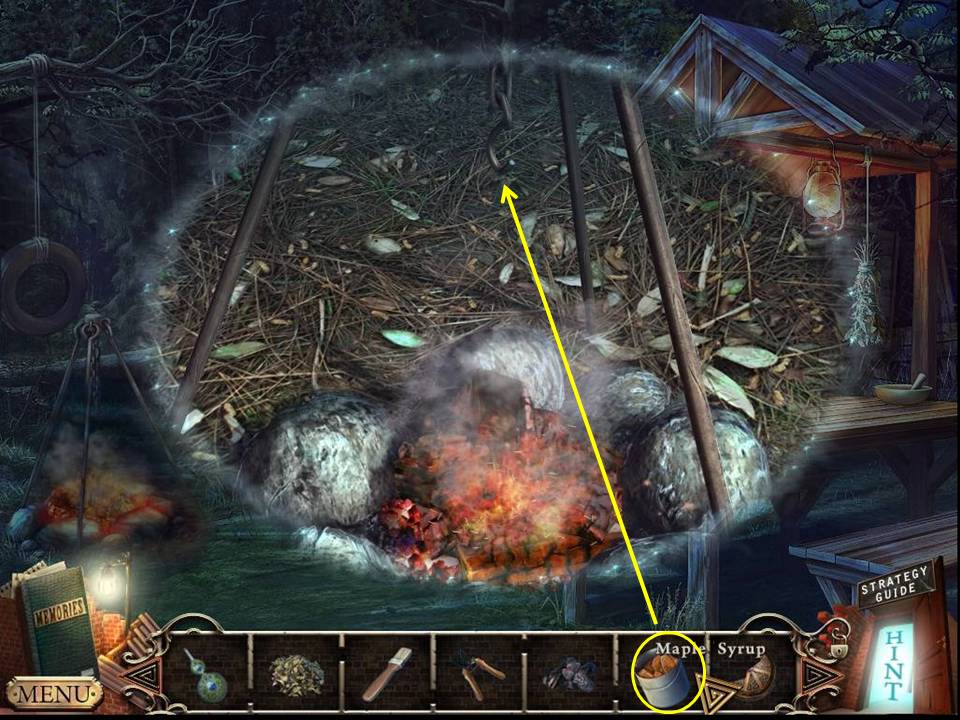
- Zoom into the fire.
- Put the MAPLE SYRUP on the hook.
-
Take the BUCKET OF HOT SYRUP.
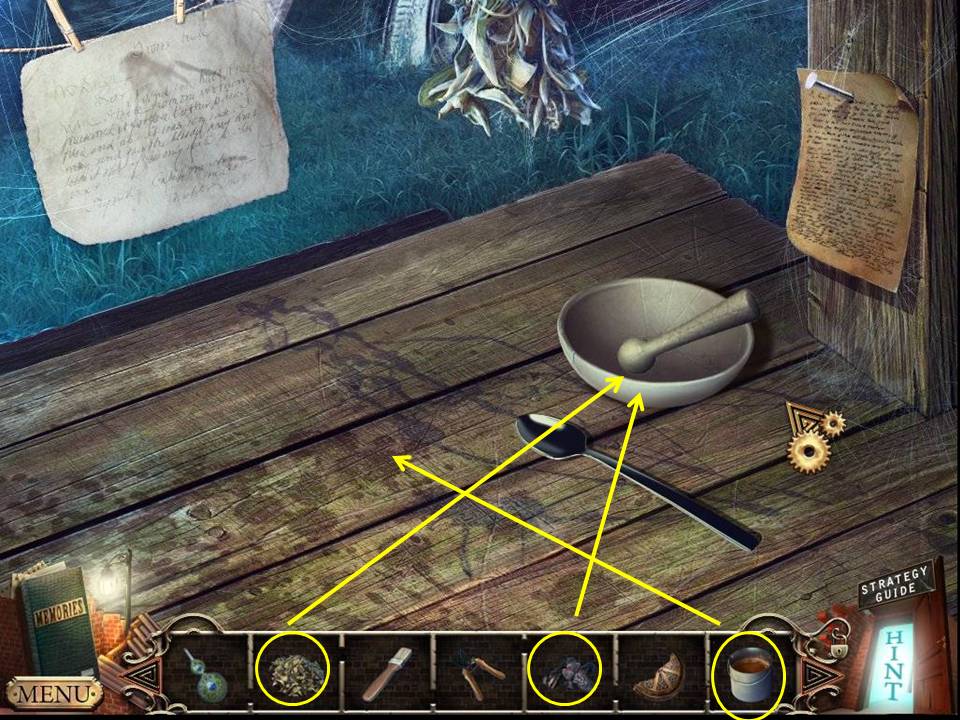
- Zoom into the table.
- Put the BUCKET OF HOT SYRUP on the table.
- Put the DRIED LEAVES in the mortar.
- Put the COAL in the mortar.
- Stir the mixture with the spoon.
- Take the BUCKET OF GLUE.
-
Go back to the cabin.
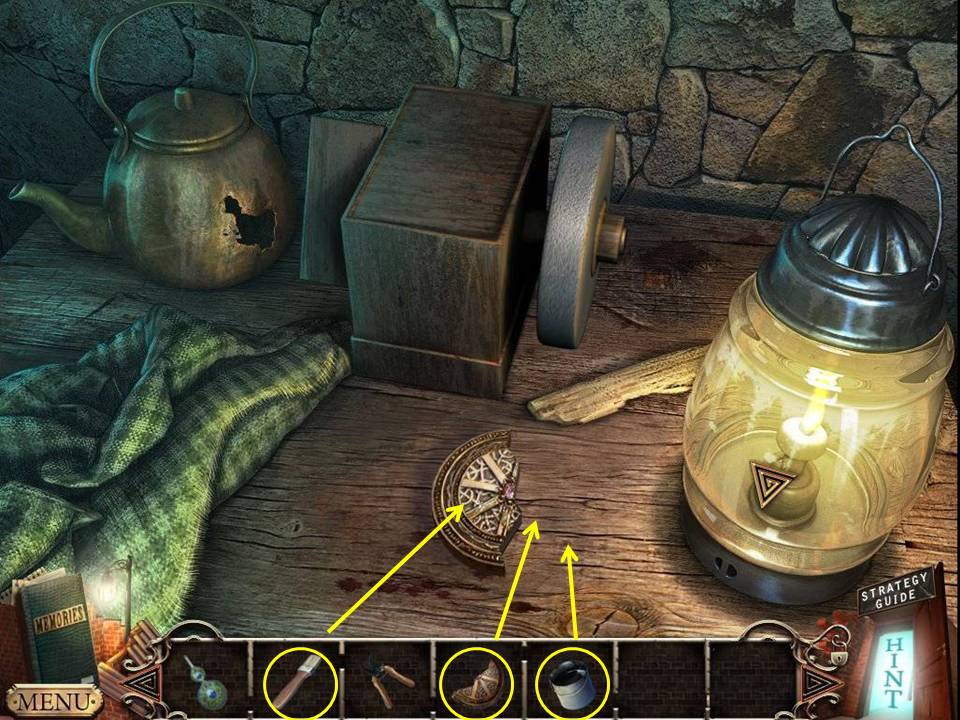
- Zoom into the desk.
- Put the BUCKET OF GLUE on the surface.
- Put the PUZZLE PIECE next to the other half.
- Dunk the BRUSH in the GLUE.
- Repair the pieces to get the PUZZLE PART.
-
Zoom into the chest. Put the PUZZLE PART in the lock. Play the HOA.
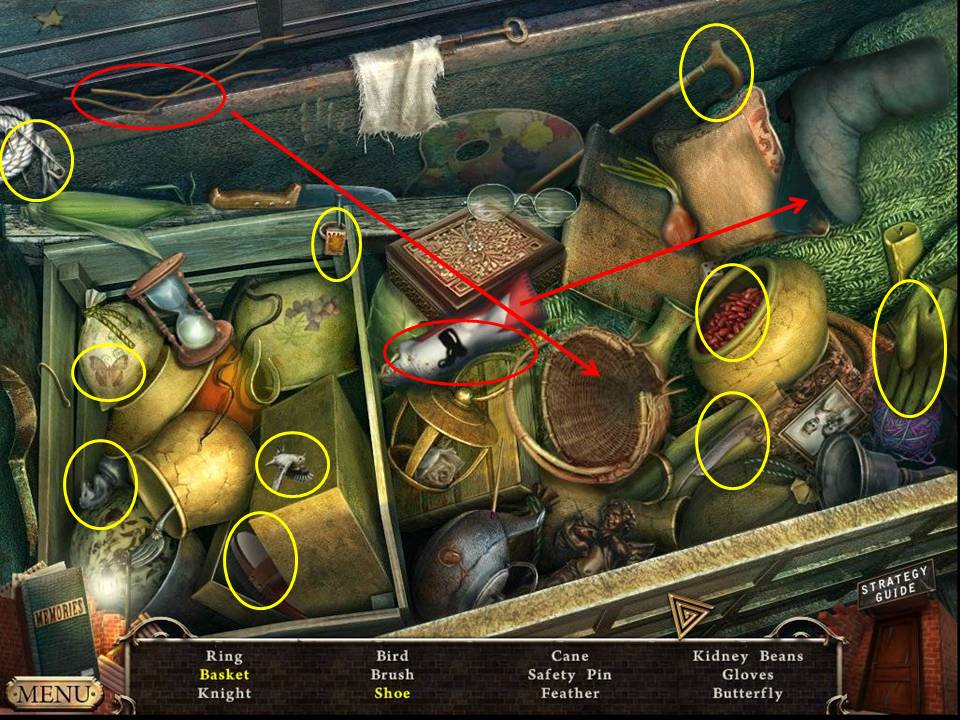
- Find the items listed.
- Glue the shoe.
- Mend the basket with the twigs.
- Receive the BRUSH.
-
Go back to the attic.
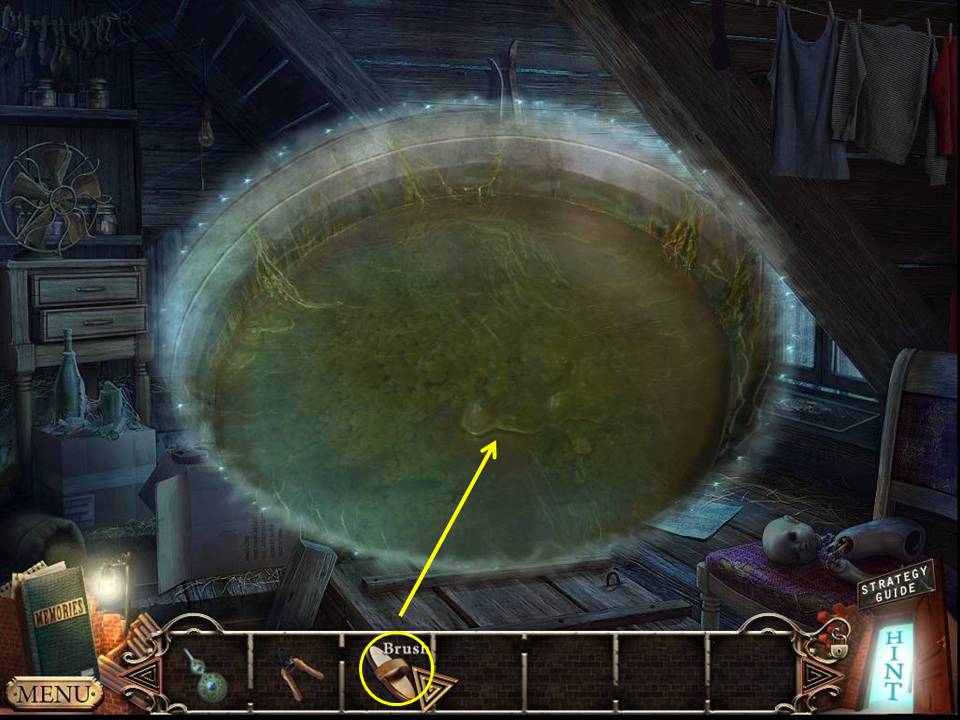
- Zoom into the pan.
- BRUSH the water to get the PHOTO FRAGMENT.
- Note the code.
-
Return downstairs.
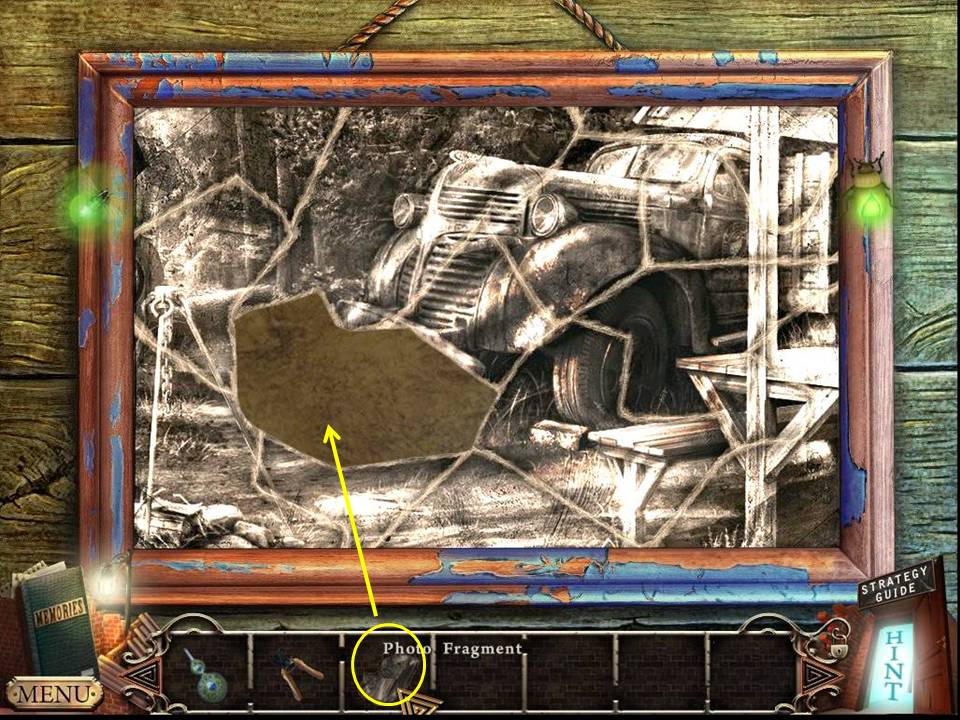
- Zoom into the photo.
-
Insert the PHOTO FRAGMENT.
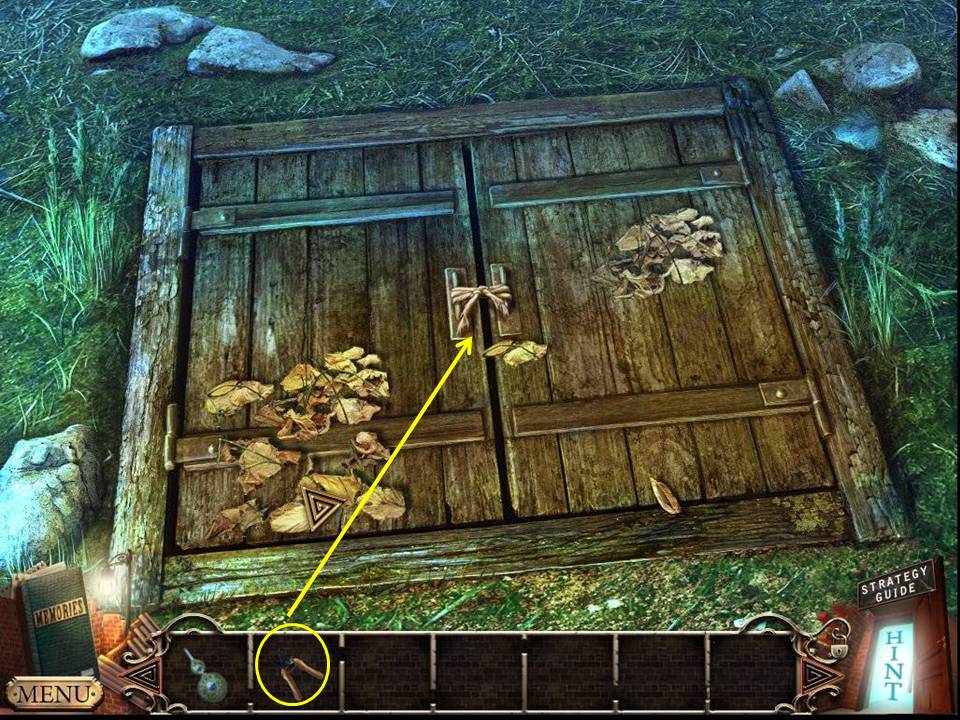
- Zoom into the cellar door.
- Use the GARDEN SHEARS to cut the rope.
-
Play the HOA.
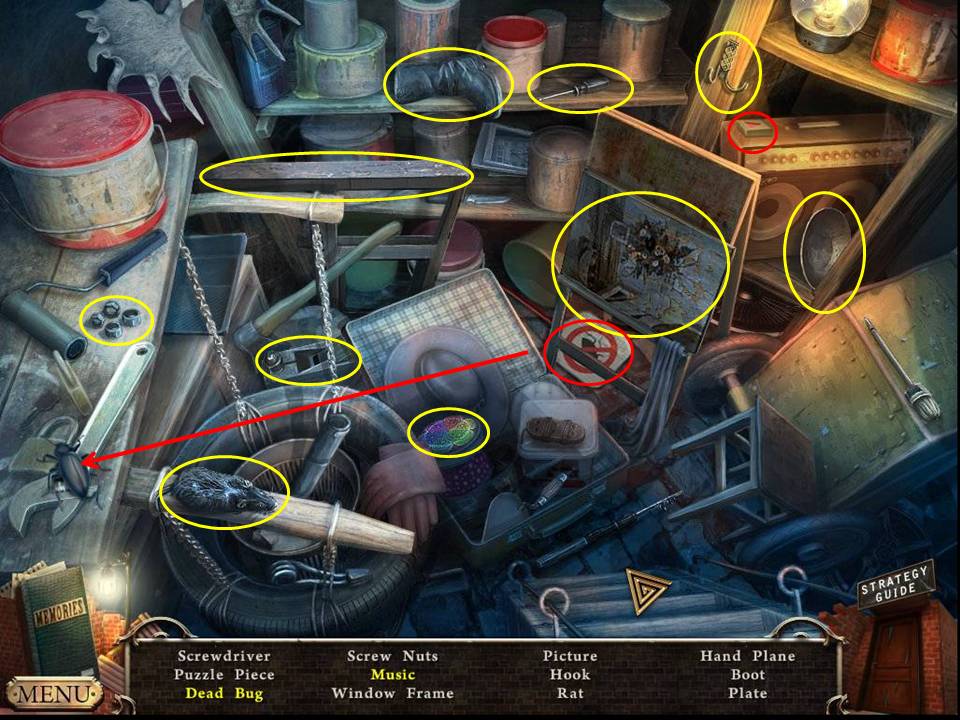
- Find the items listed.
- Swat the bug to get the dead bug.
- Click the radio to get music.
- Receive the PUZZLE PIECE.
-
Go back to the attic.
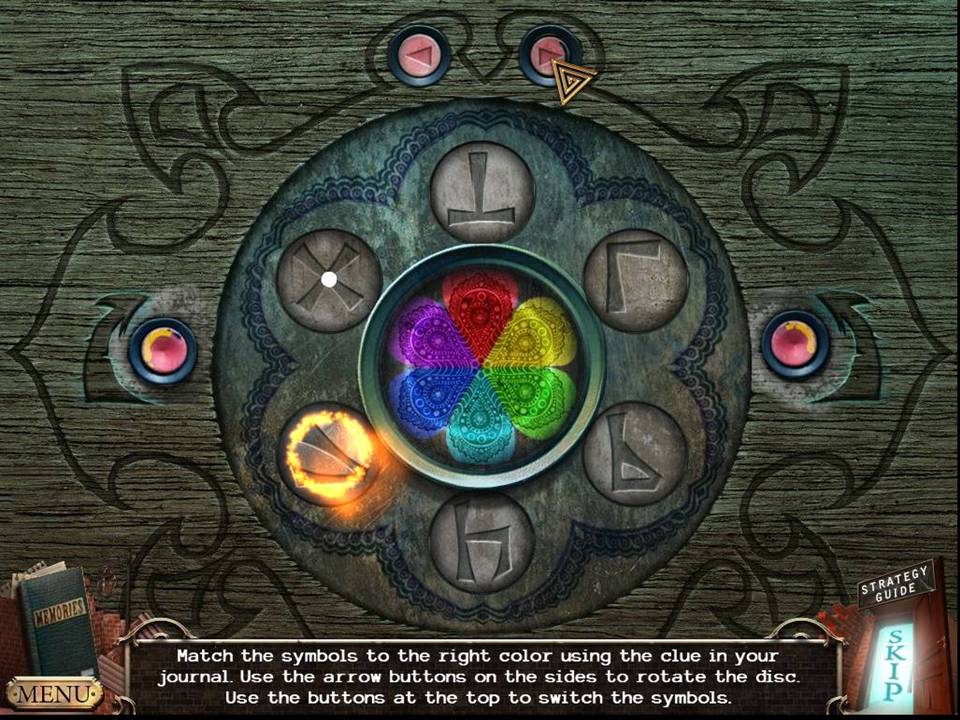
- Zoom into the window.
- Put the PUZZLE PIECE in the center.
- Arrange the symbols as shown in the screenshot.
-
Look out the window.
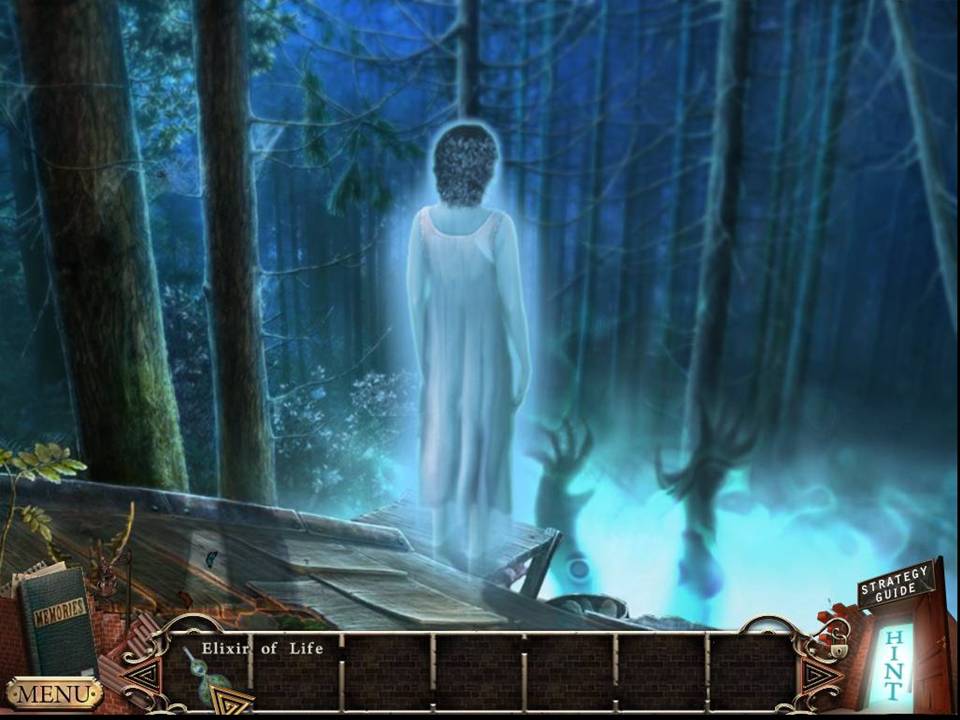
- Pour the ELIXIR OF LIFE on your spirit.
Comments will load when you reach this part of the walkthrough.