

Dream Two: Your Grandpa
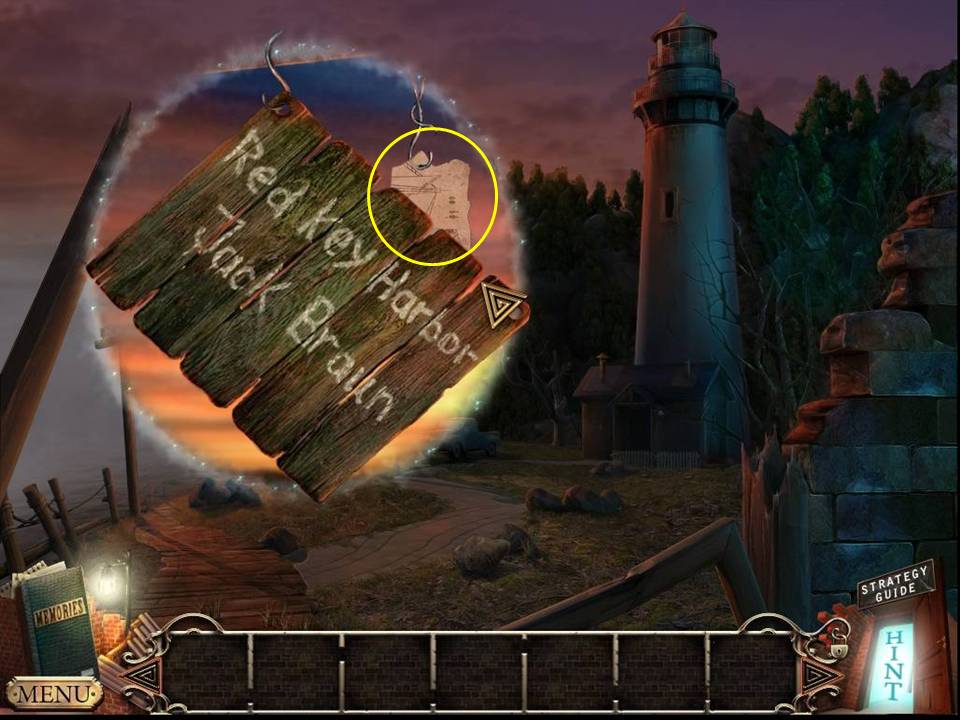
- Zoom into the sign.
- Take the BLUEPRINT PIECE.
- Go left.
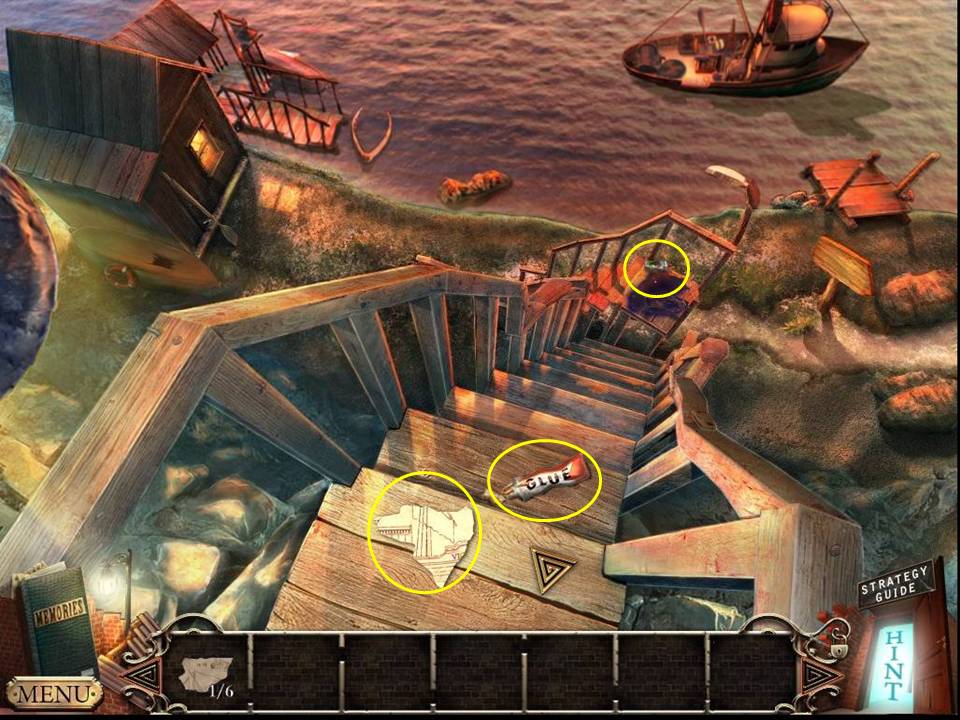
- Take the GLUE and another BLUEPRINT PIECE.
- Zoom into the landing.
- Take the CLEANSER.
- Return to the first scene.
- Go to the lighthouse door.
- Play the HOA by the barrel at left.
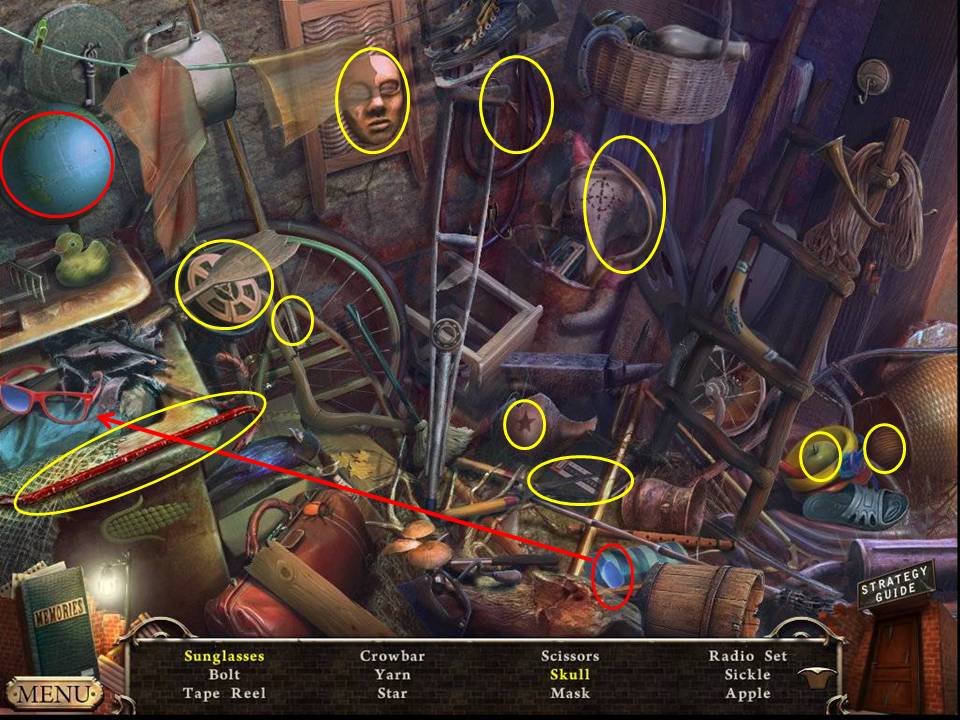
- Find the items listed.
- Spin the globe to get the skull. Insert the lens in the sunglasses.
- Receive the CROWBAR.
- Return to the first scene.
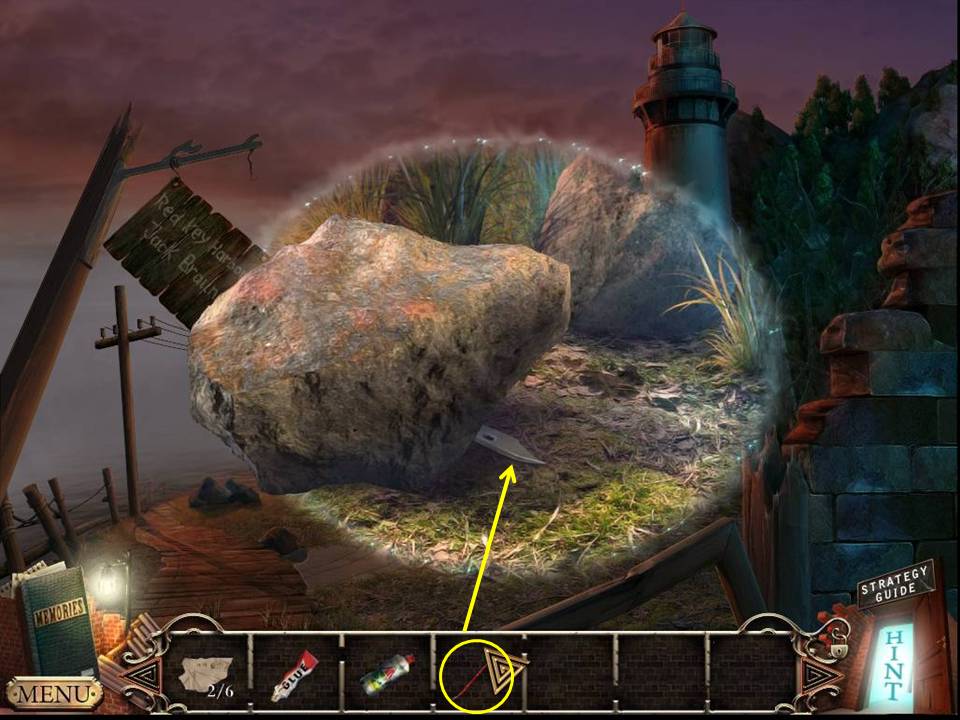
- Zoom into the stone.
- CROWBAR the stone.
- Receive the KNIFE.
- Return to the lighthouse door.
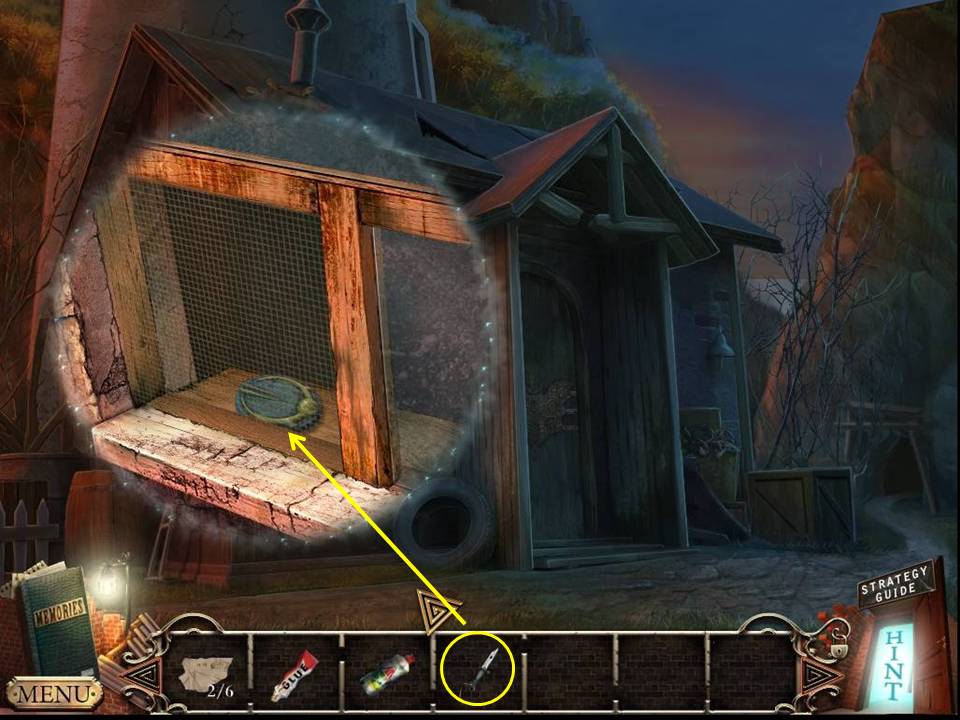
- Zoom into the window.
- Cut the screen with the KNIFE.
- Take the PUZZLE PIECE.
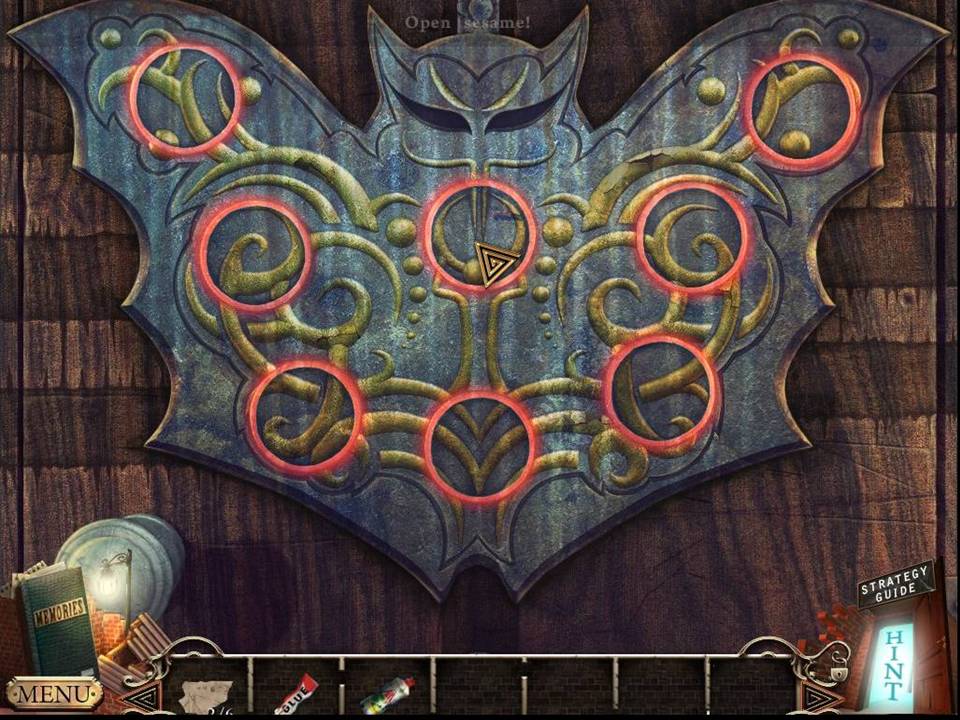
- Zoom into the door.
- Insert the PUZZLE PIECE into the slot to initiate a puzzle.
- The object of the puzzle is to arrange the disk as shown.
- Right click the disks to rotate them.
- See screenshot for solution.
- When finished, enter the lighthouse.
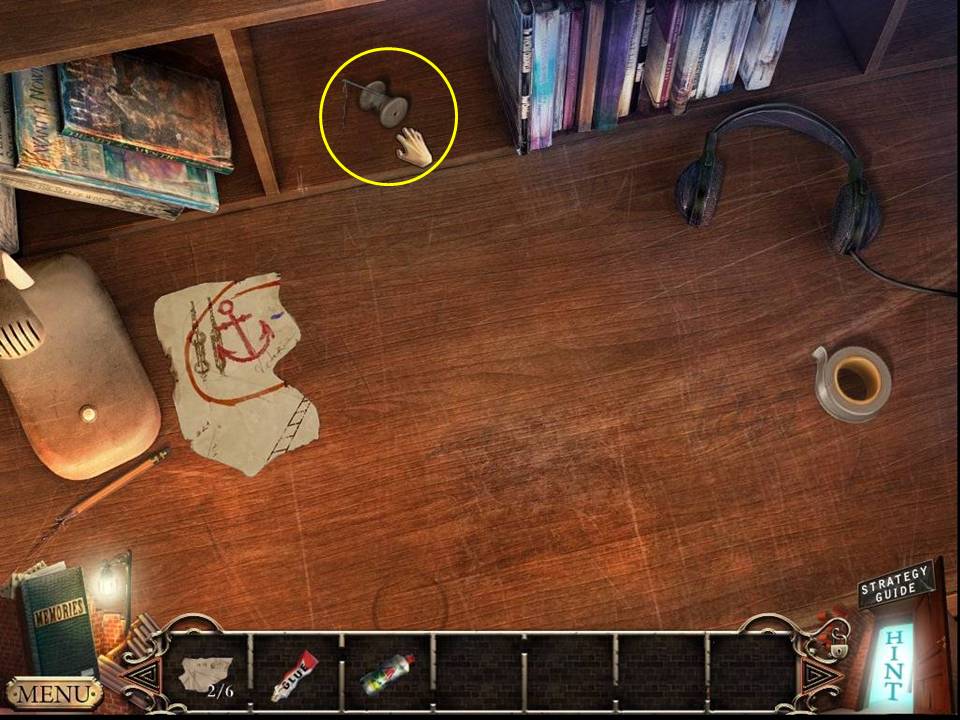
- Zoom into the desk.
- Take the NEEDLE AND THREAD.
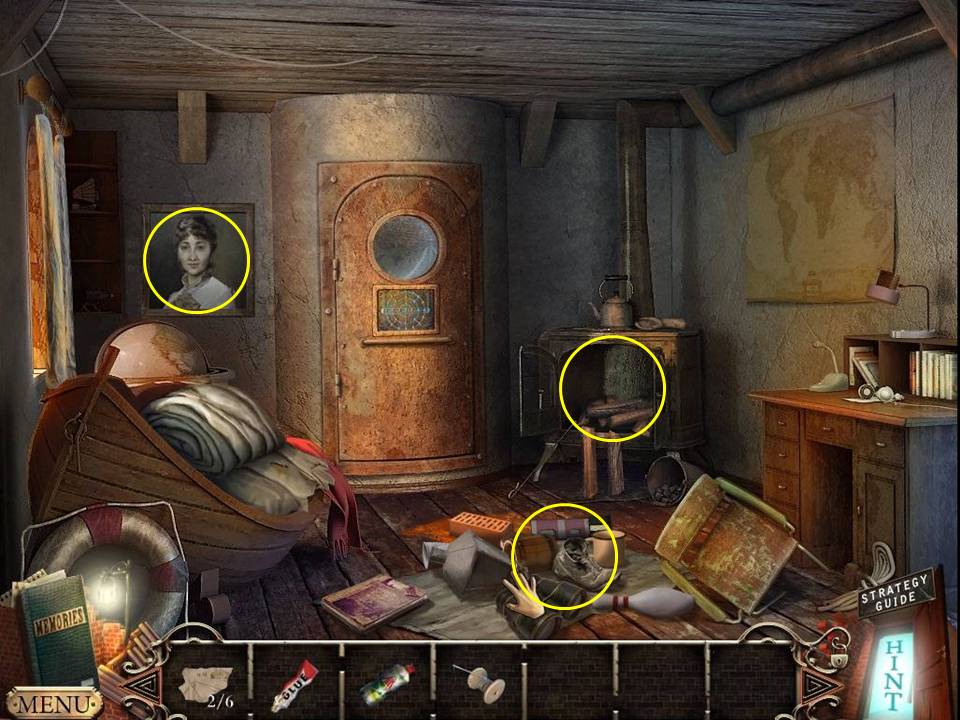
- Move the items on the floor.
- Take a third BLUEPRINT PIECE.
- Zoom into the painting.
- Zoom into the stove.
- Move the wood.
- Take the WRENCH.
- Take the WORK GLOVE.
- Exit the lighthouse and click down once.
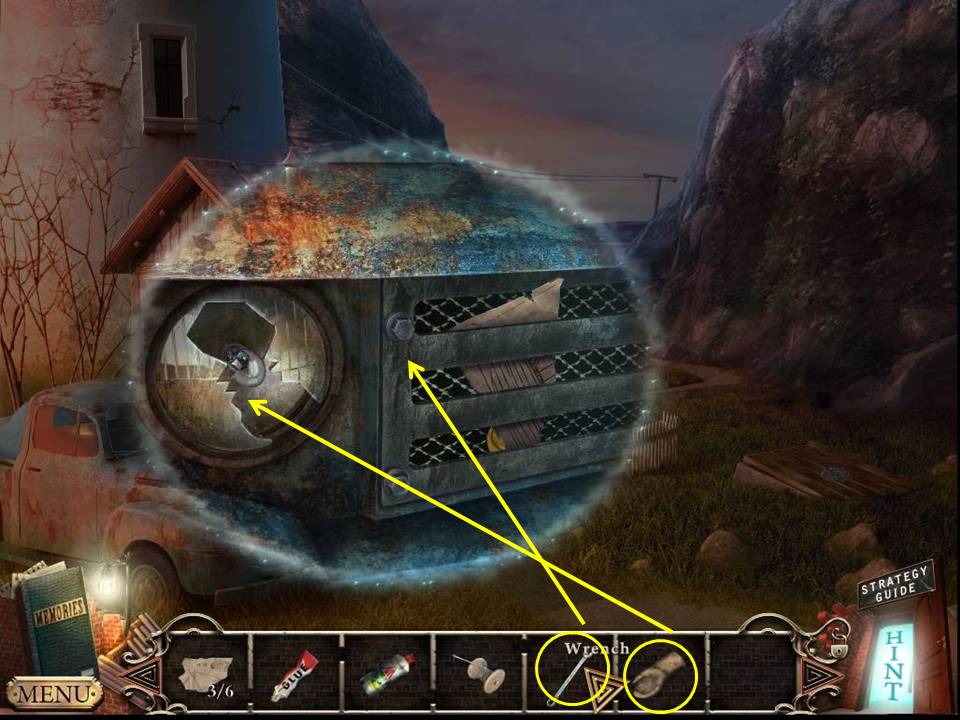
- Zoom into the front of the truck.
- Remove the grill with the WRENCH.
- Take the fourth BLUEPRINT PIECE and PUZZLE PIECE.
- Remove the LIGHT BULB with the WORK GLOVE.
- Return to the lighthouse.
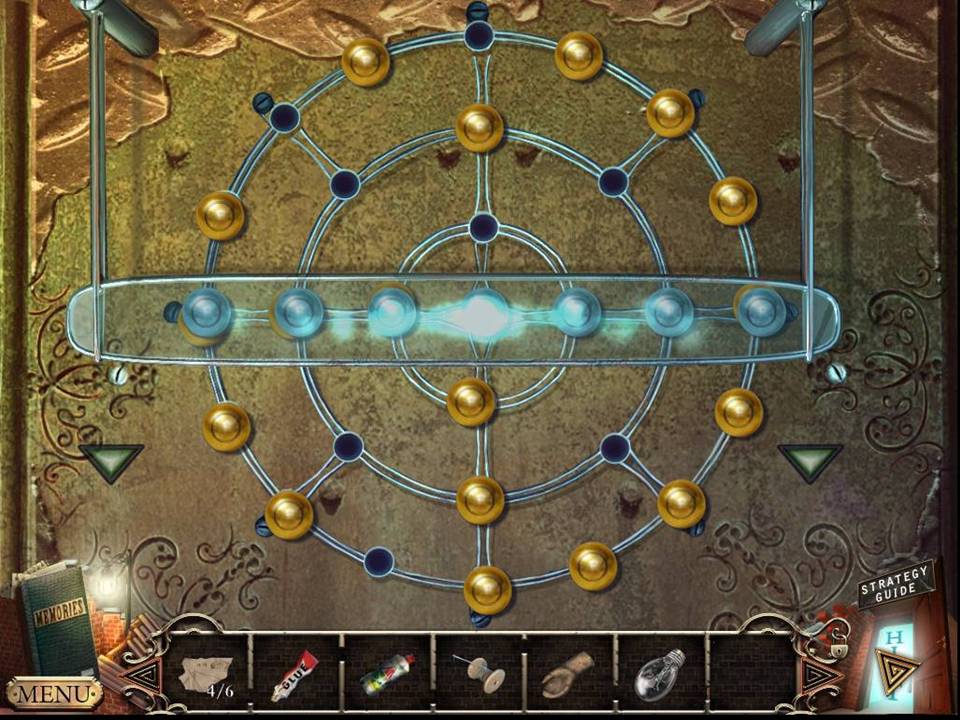
- Zoom into the door lock.
- Insert the PUZZLE PIECE into the lock to initiate a puzzle.
- Use the arrows to rotate the rings.
- You can move the marbles from ring to ring along the eight access points.
- Rotate the rings until a yellow marble can be moved from the outer ring into the middle ring along one of the access points. The middle ring does not rotate and is a good place to place the yellow marbles.
- Rotate the rings until you can move one of the yellow marbles out of the middle line.
- Try to remove all of the yellow marbles, replacing them with blue ones from the center out.
- Remain focused on your center line. You may have to swap your marbles several times until you have them in the correct line.
- When finished, enter the stairwell.
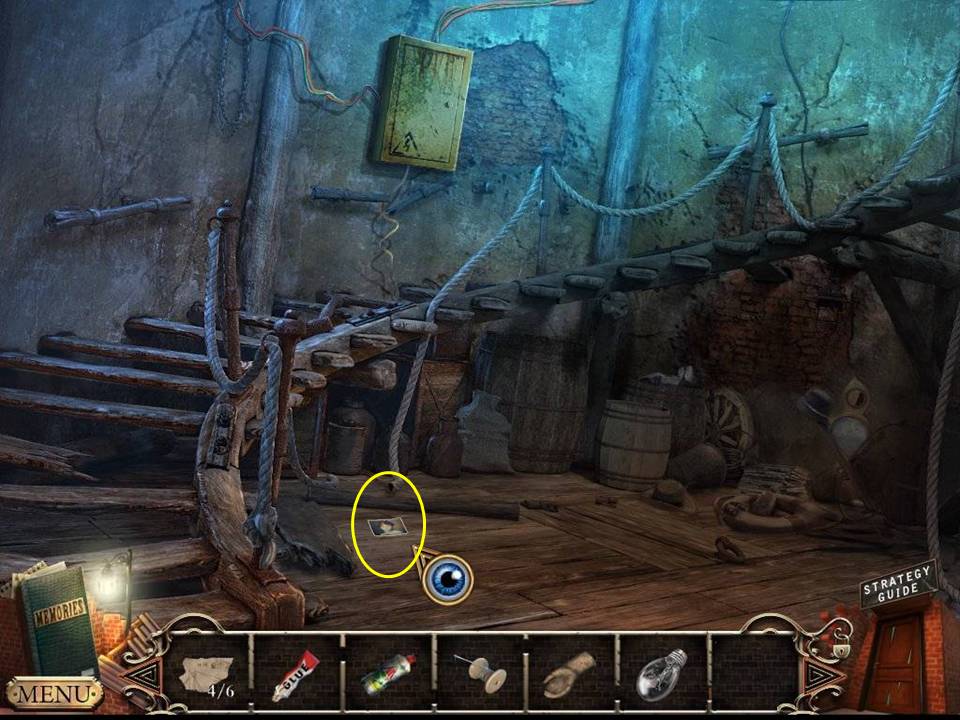
- Take the phone.
- Go upstairs to the lens room.
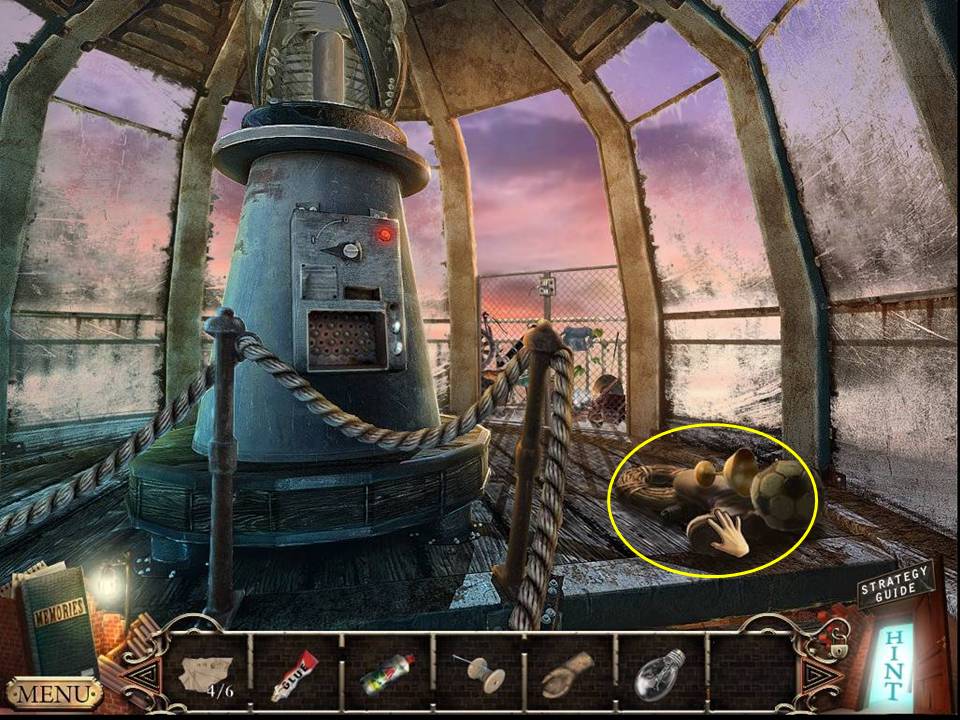
- Move the items on the floor.
- Take a fifth BLUEPRINT PIECE.
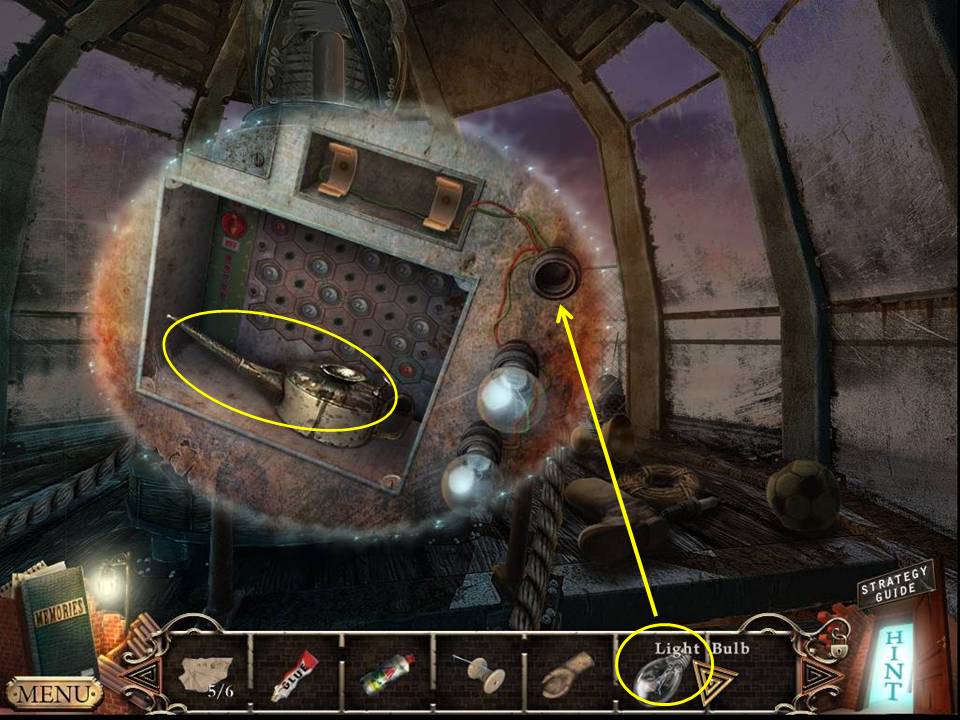
- Zoom into the panel.
- Take the OIL CAN.
- Insert the LIGHT BULB in the light.
- Return to the first floor.
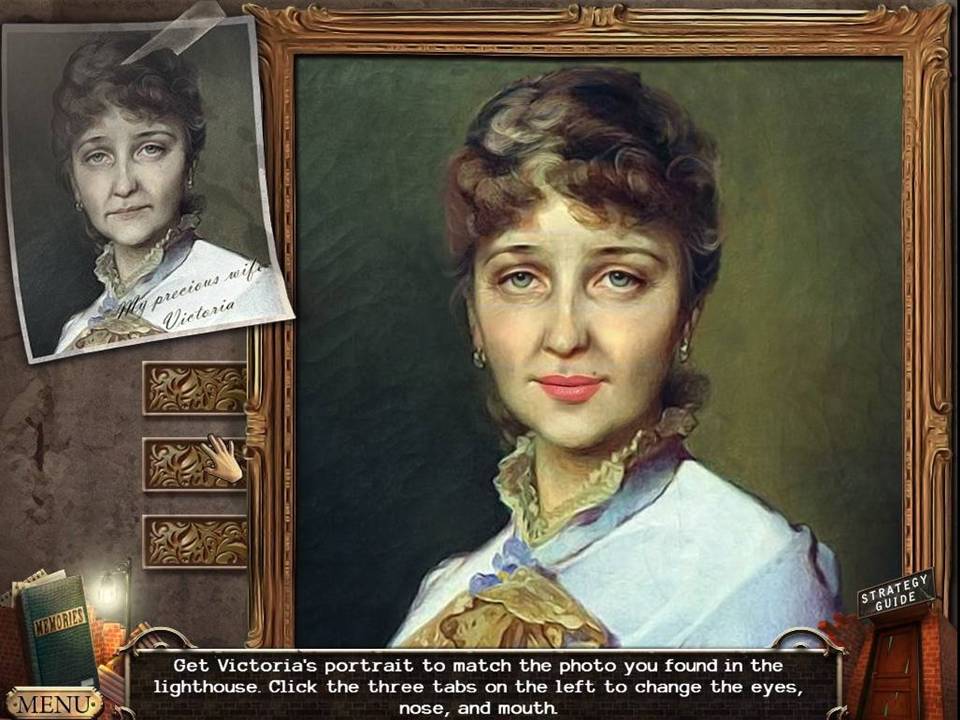
- Zoom into the painting.
- Press the levers on left to change the eyes, nose and lips to match the screenshot.
- Take the sixth BLUEPRINT PIECE.
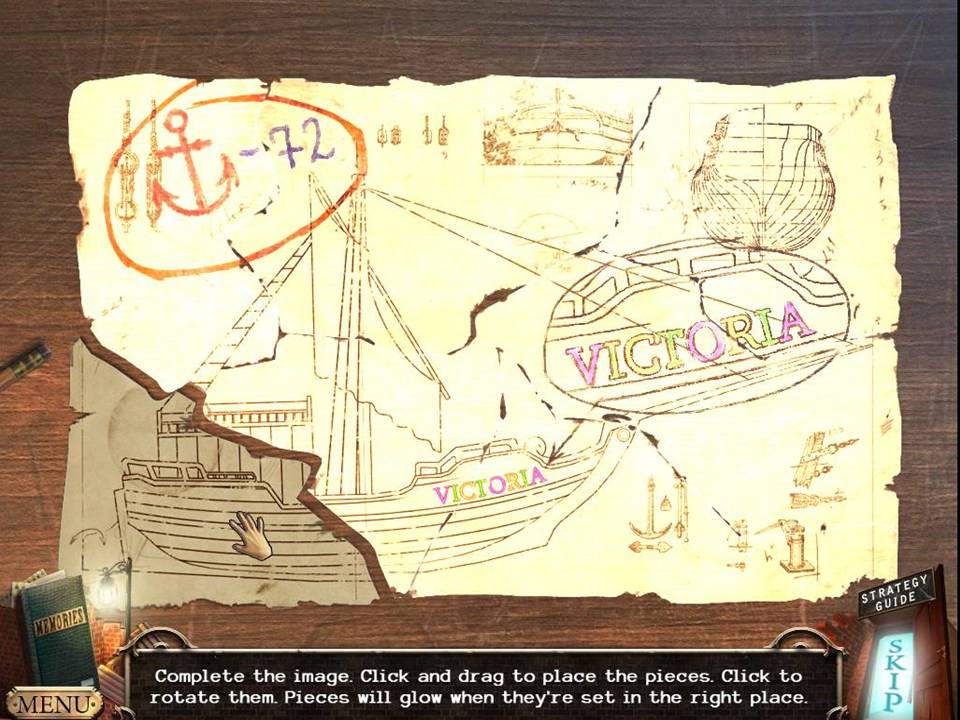
- Zoom into the desk.
- Place all the BLUEPRINT PIECES on the surface and arrange to match the screenshot.
- Exit the lighthouse and click down once.
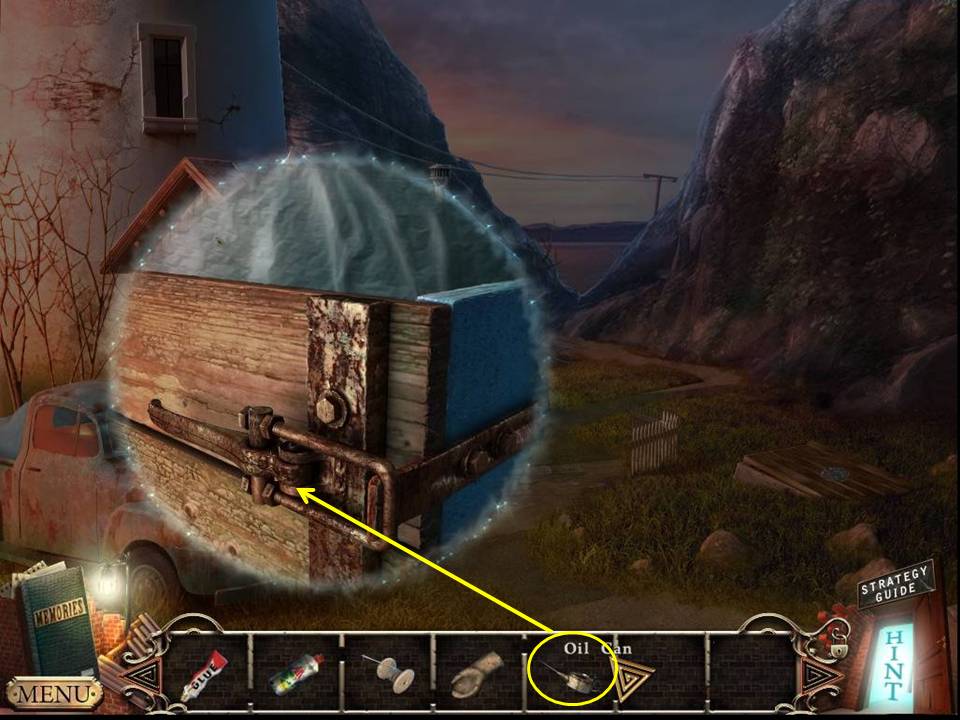
- Zoom into the back of the truck.
- OIL CAN the latch.
- Play the HOA.
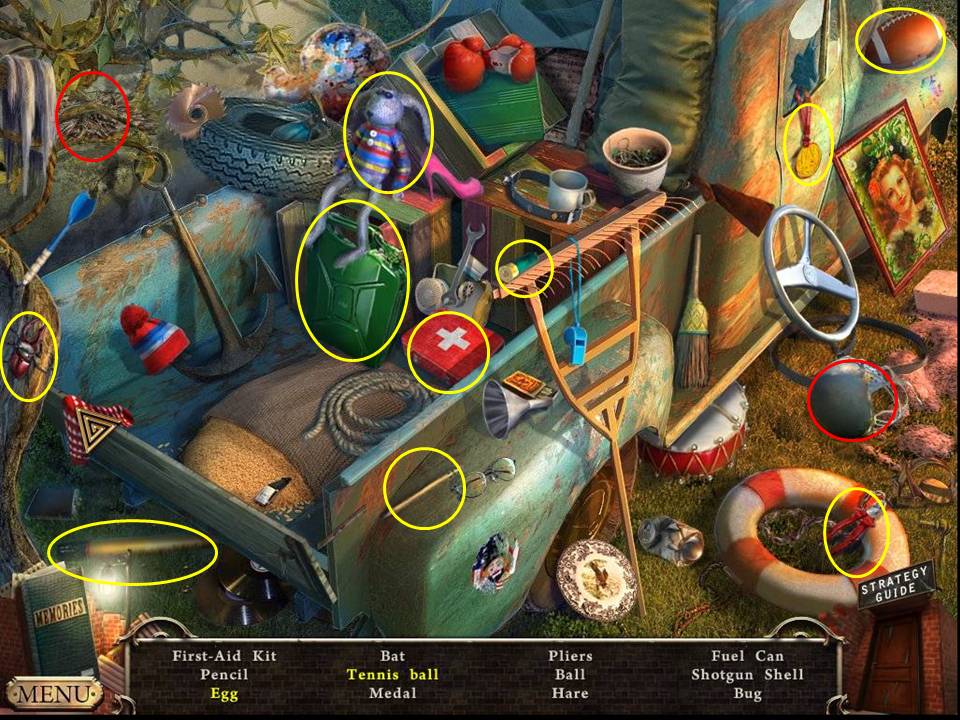
- Find the items listed.
- Click the helmet to get the tennis ball.
- Find the egg in the nest.
- Receive the PLIERS.
- Return to the lighthouse's lens room.
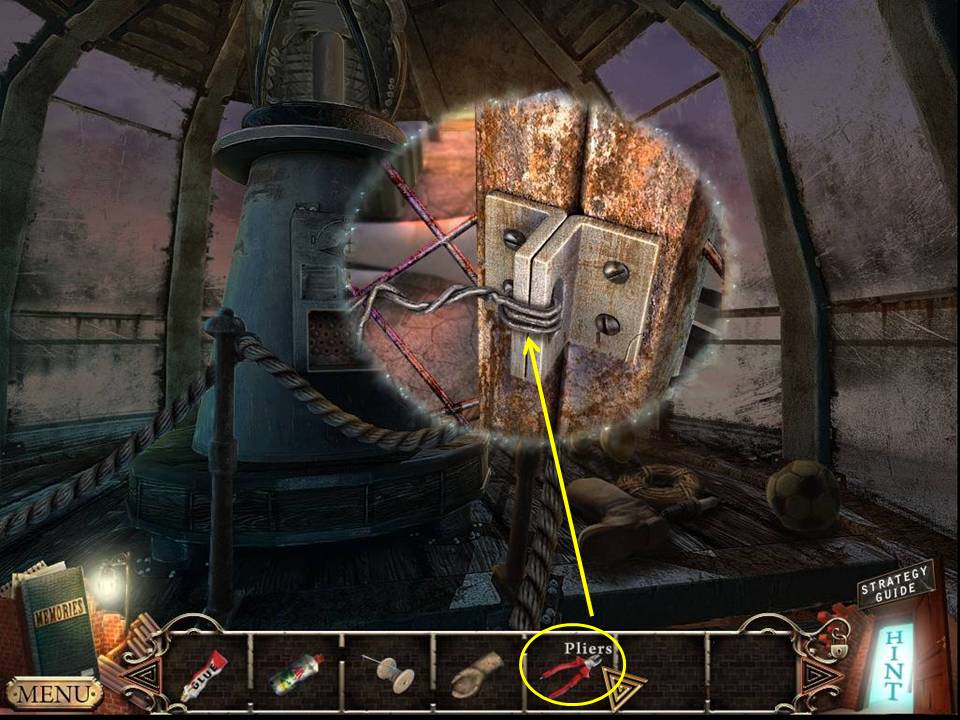
- Zoom into the chain link gate.
- Remove the wire with the PLIERS.
- Play the HOA.
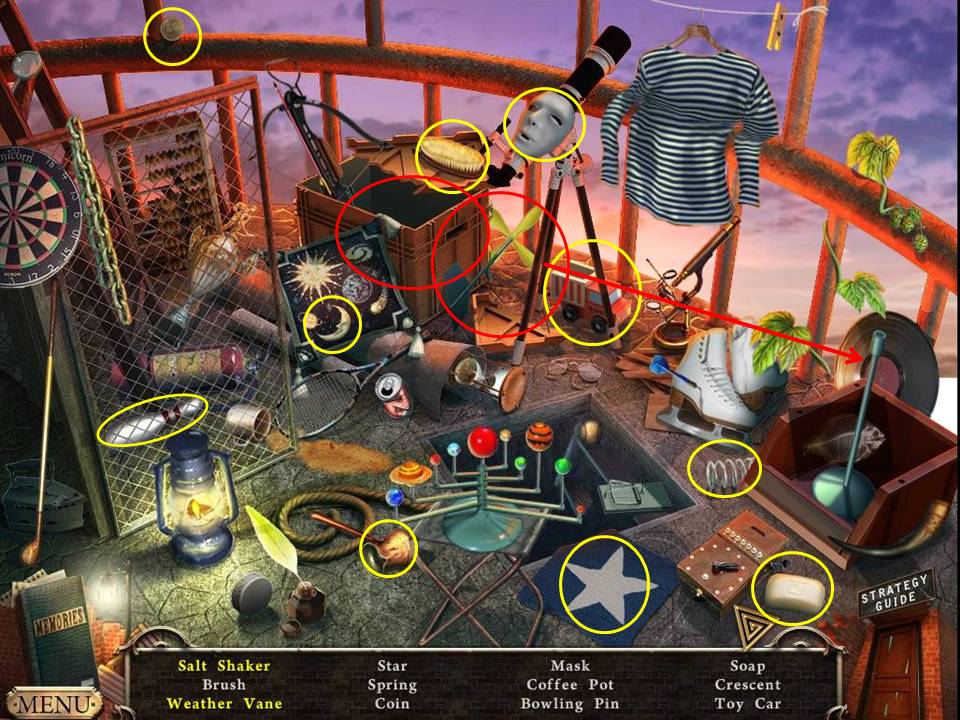
- Find the items listed.
- Look in the crate to get the salt shaker.
- Reassemble the weather vane.
- Receive the BRUSH.
- Depart the lighthouse.
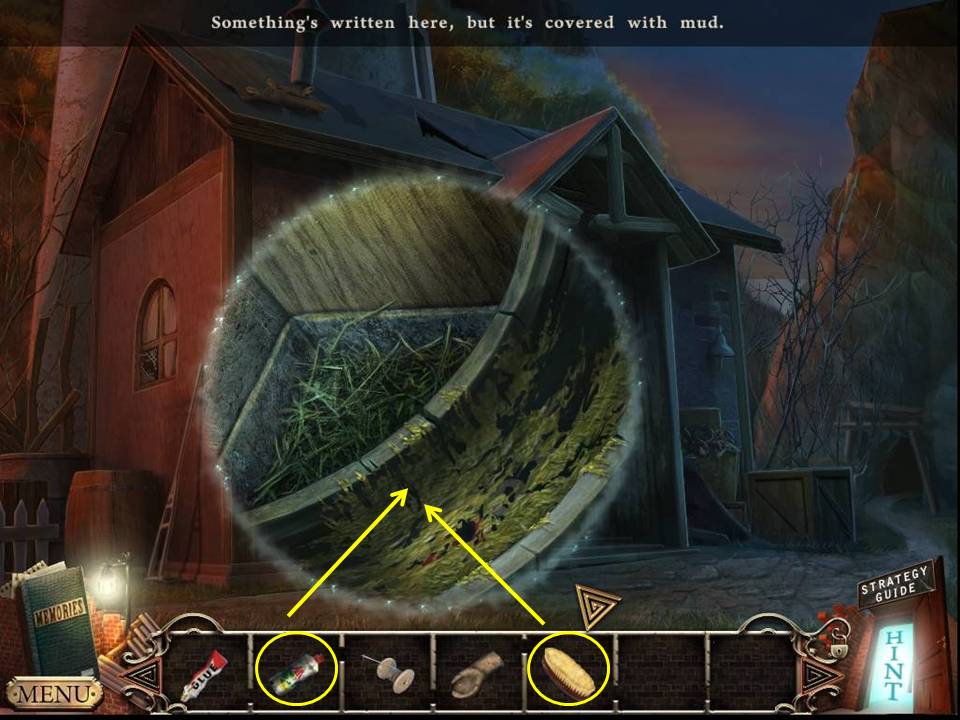
- Zoom into the tire.
- Clean the tire with the CLEANSER and BRUSH to get a code.
- Return to the lighthouse.
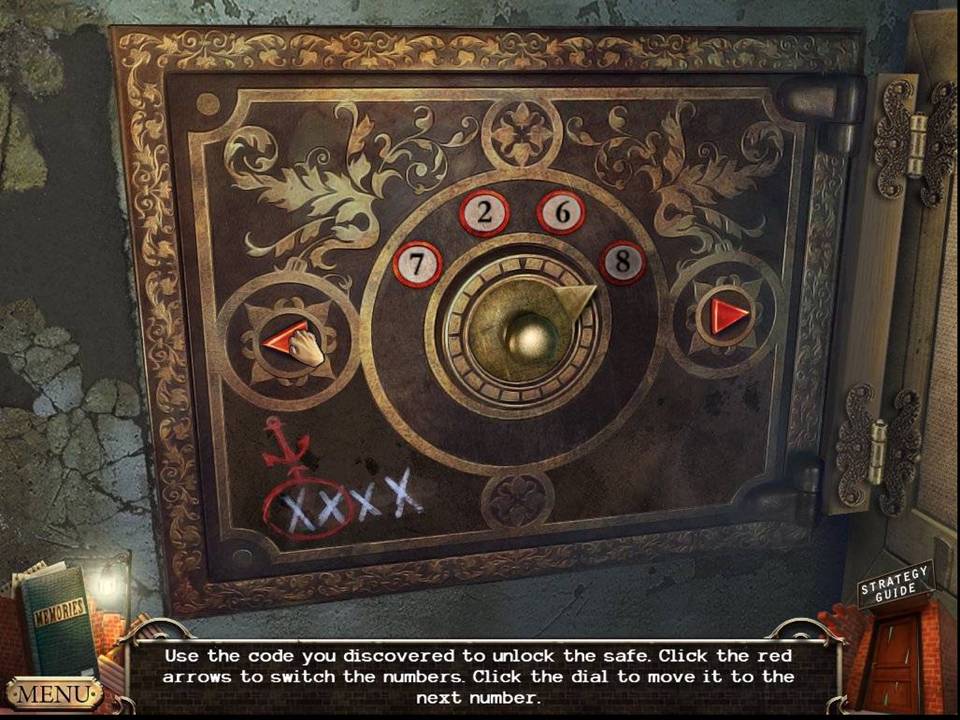
- Zoom into the wall safe and input the code 7268.
- Open the safe.
- Take the note, CELLAR KEY and LEVER.
- Go to the stairwell.
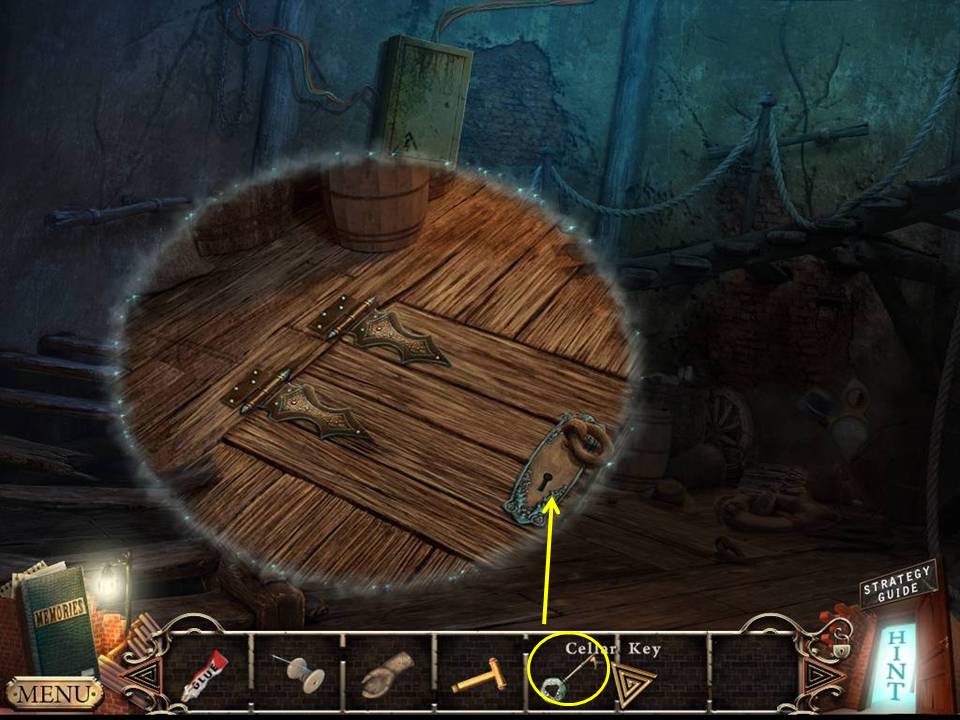
- Zoom into the cellar.
- Unlock with the CELLAR KEY.
- Take the PHOSPHORESCENT POWDER and CANVAS.
- Click down once.
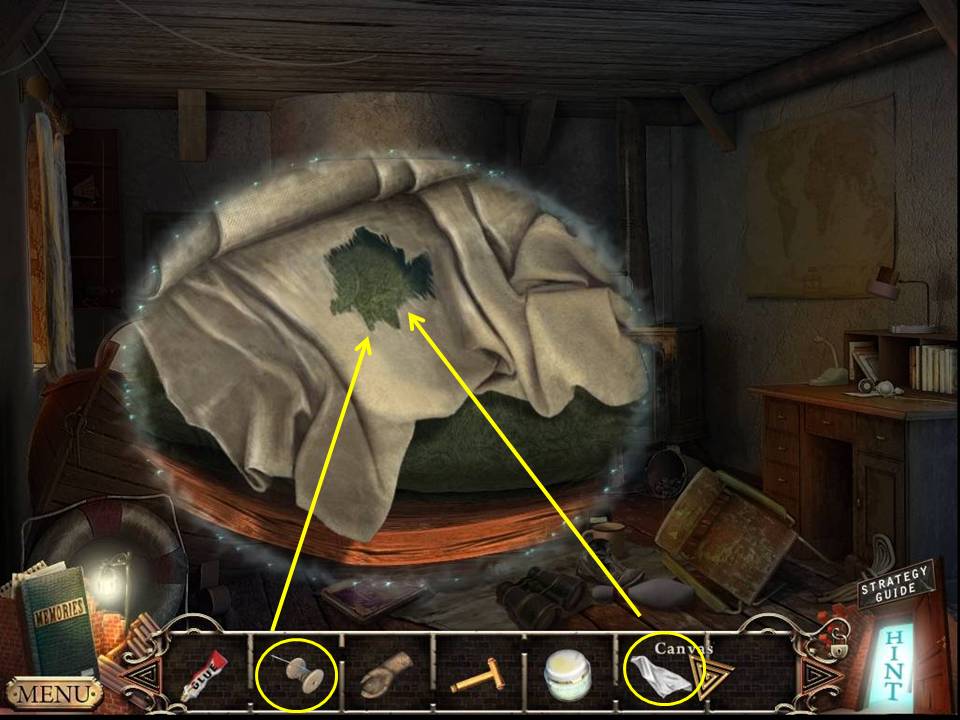
- Zoom into the boat.
- Place the CANVAS on the SAIL.
- Patch it with the NEEDLE AND THREAD.
- Take the SAIL.
- Take the AXE.
- Depart the lighthouse and go right to the mine entrance.
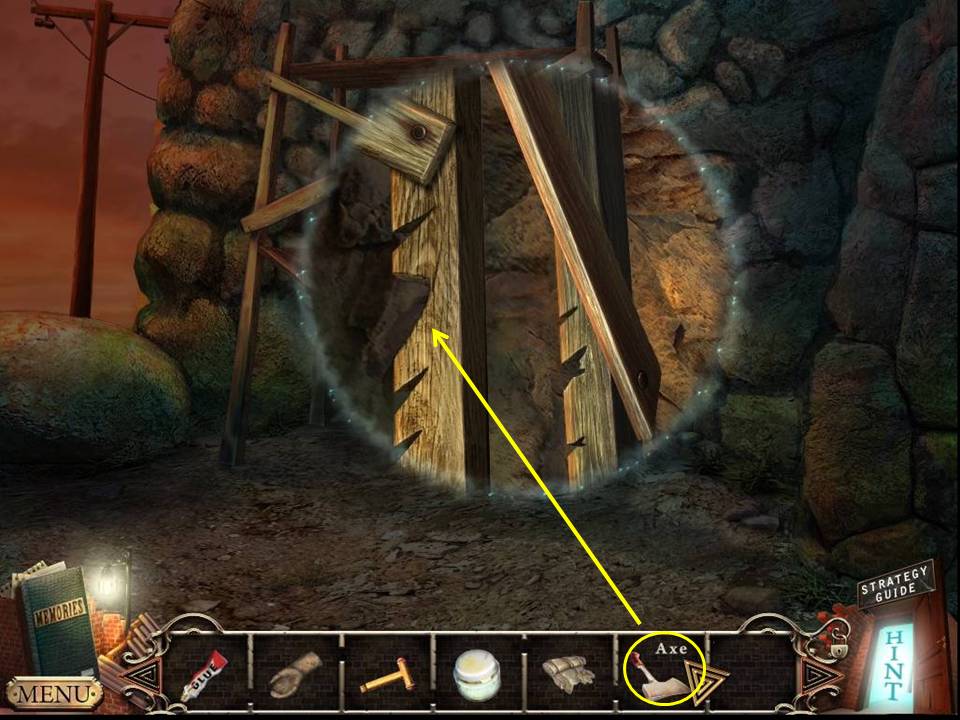
- Zoom into the scaffolding.
- Chop the scaffolding with the AXE.
- Play the HOA.
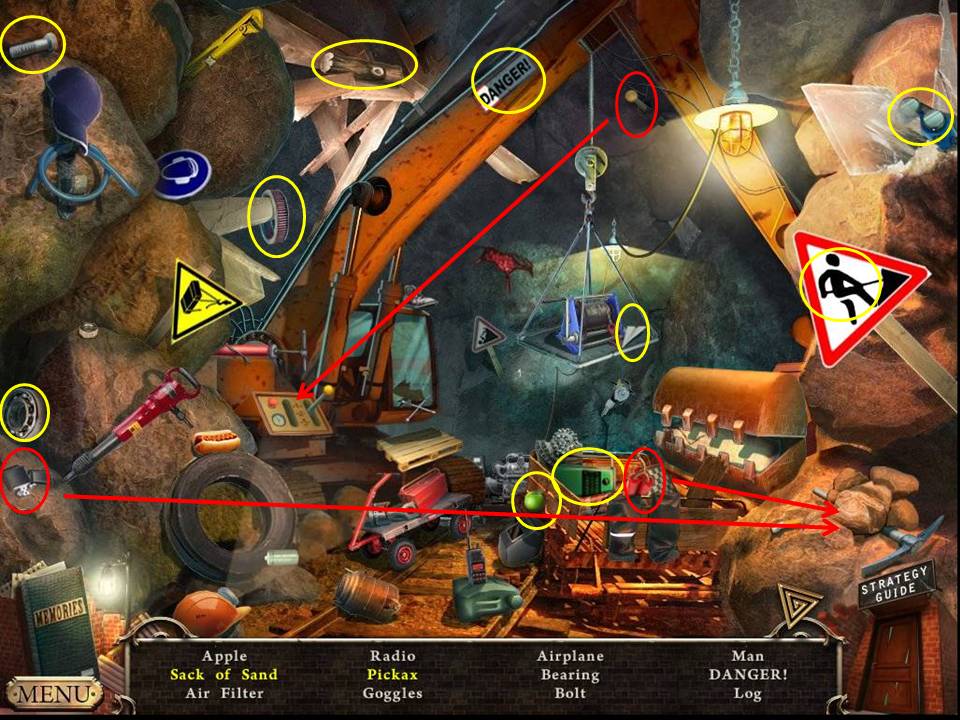
- Find the items listed.
- Place the dynamite next to the pickaxe.
- Light the dynamite with the lighter.
- Insert the lever in the panel and click it to get the sack of sand.
- Receive the SANDBAG.
- Return to the first scene and take the path to the left.
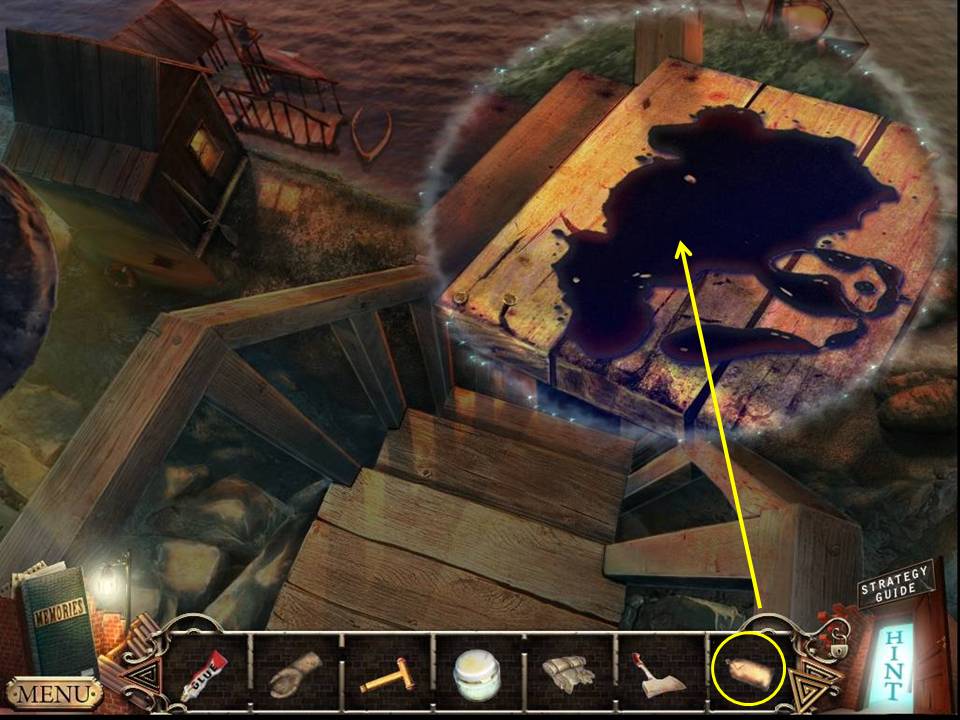
- Zoom into the landing.
- Cover the oil with the sand from the SANDBAG.
- Go down the stairs to the fisherman's hut.
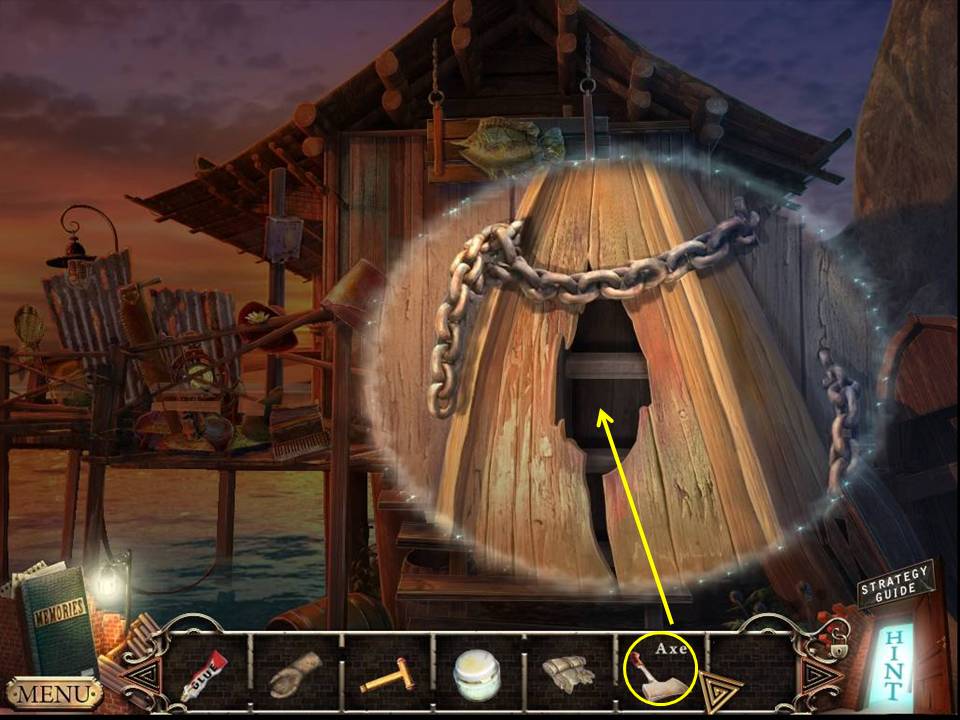
- Zoom into the boat.
- Chop the bottom with the AXE.
- Take the LADDER.
- Click down once and move right to the ship.
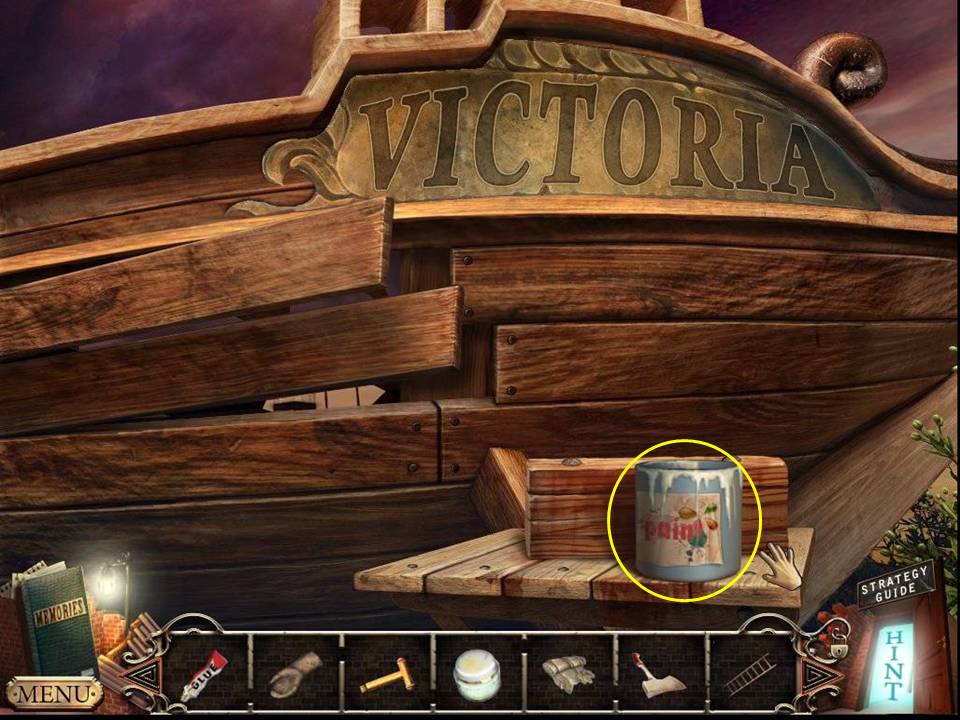
- Zoom into the ship.
- Take the DRIED PAINT.
- Go back to the lighthouse door.
- Prop the LADDER against the wall.
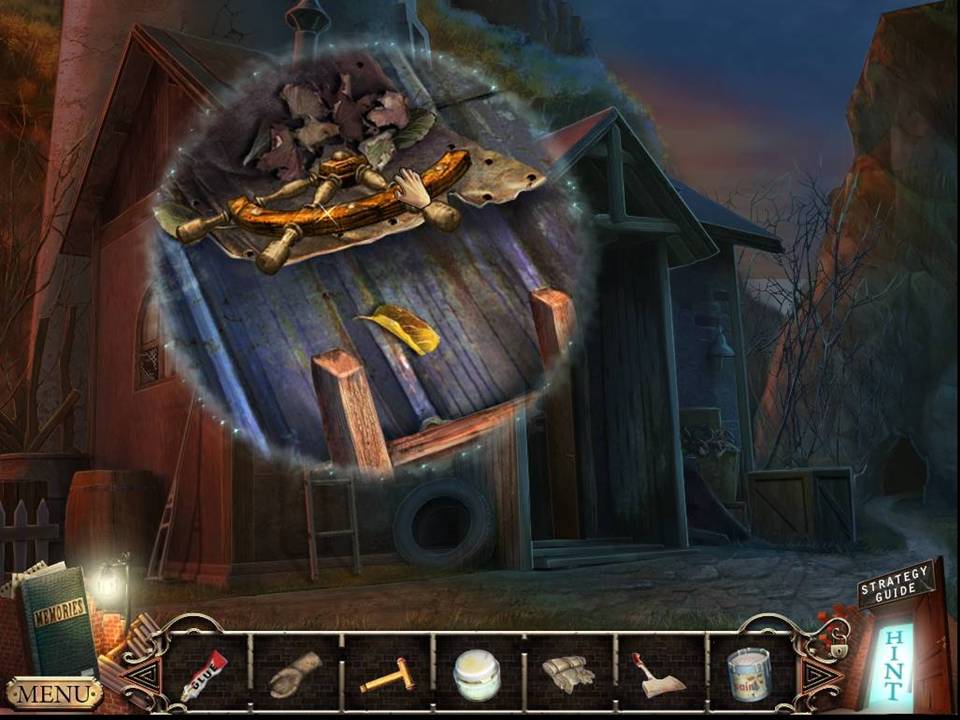
- Zoom into the roof.
- Take the STEERING WHEEL SECTION.
- Click down once.
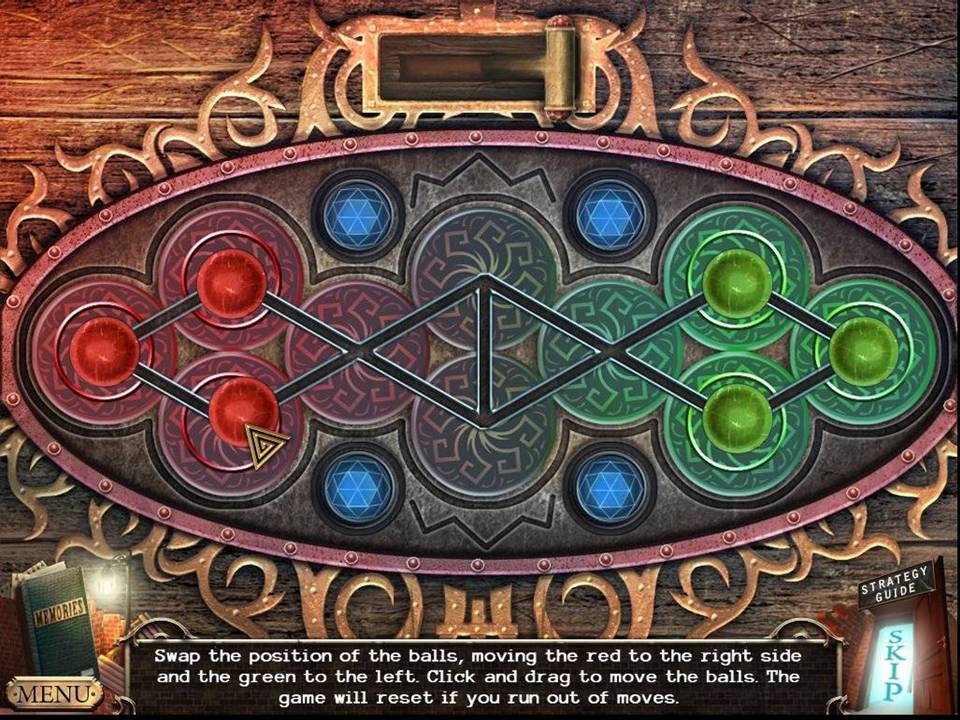
- Zoom into the storm cellar hatch.
- Insert the LEVER to initiate a puzzle.
- The object of the puzzle is to move all the green balls to the right and all the red balls to the left.
- When finished, enter the storm cellar and play the HOA.
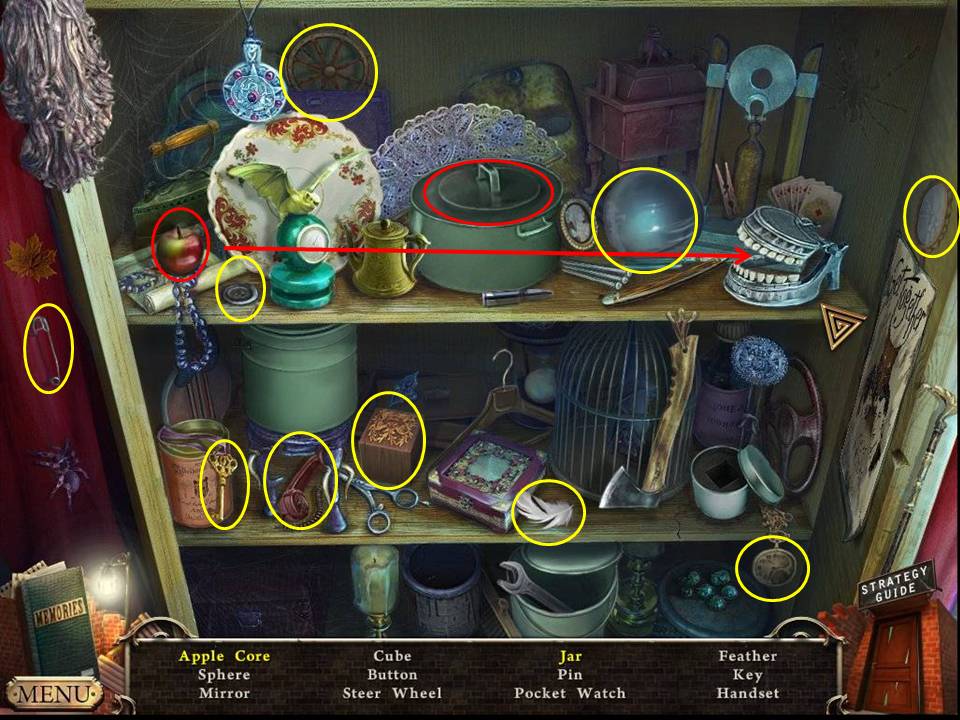
- Find the items listed.
- Have the teeth bite the apple to get the apple core.
- Uncover the pan to get the jar.
- Receive the CUBE.
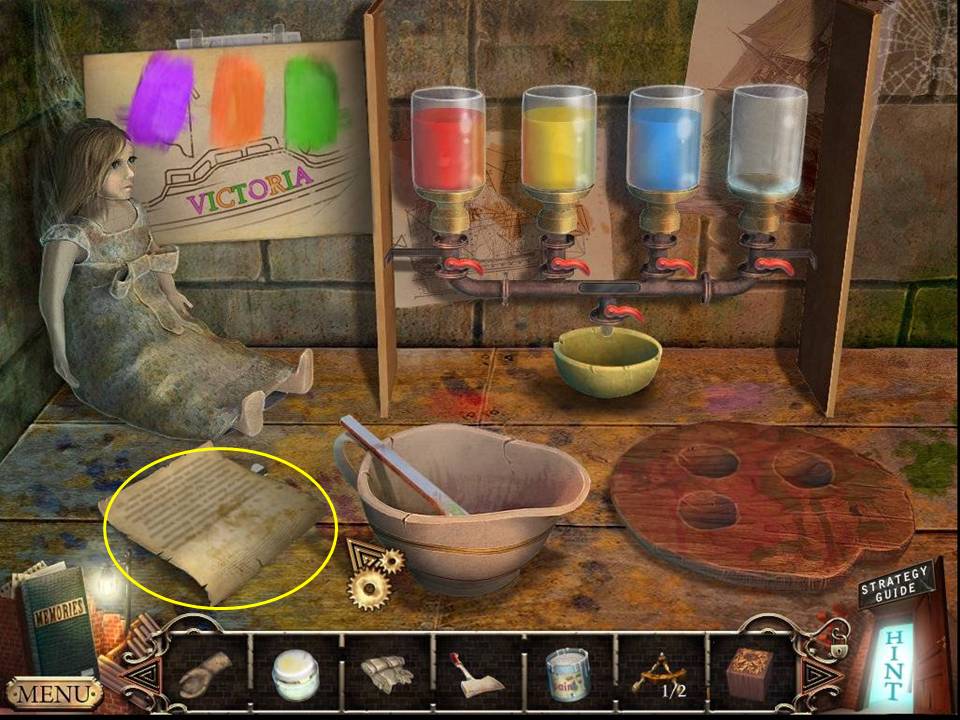
- Zoom into the desk.
- Take the letter and the HANDLE from underneath.
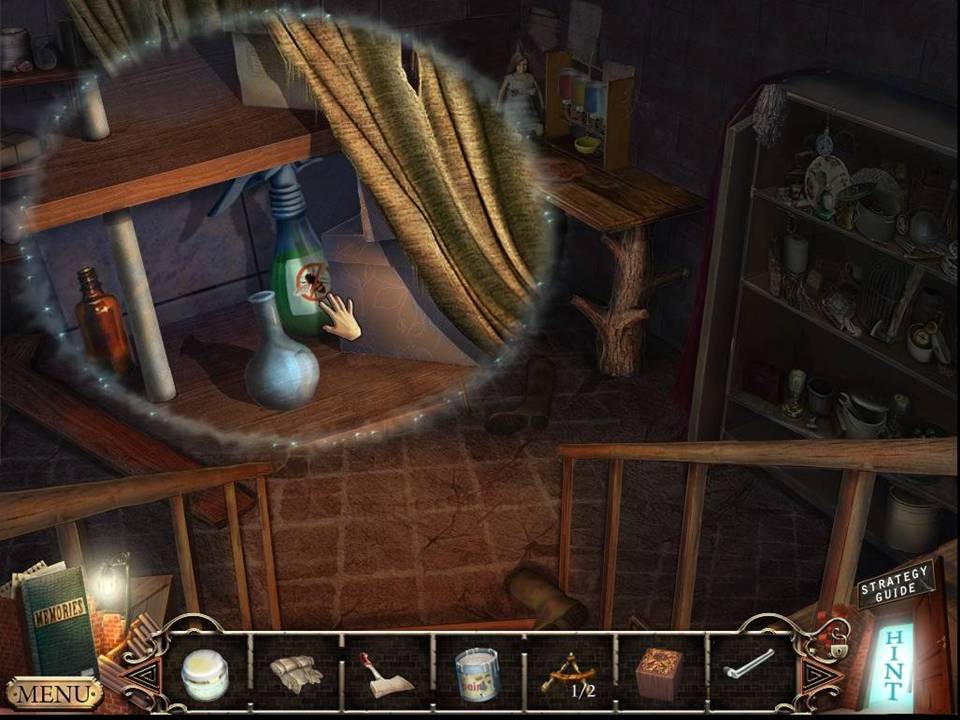
- Zoom into the shelf.
- Take the INSECT REPELLANT.
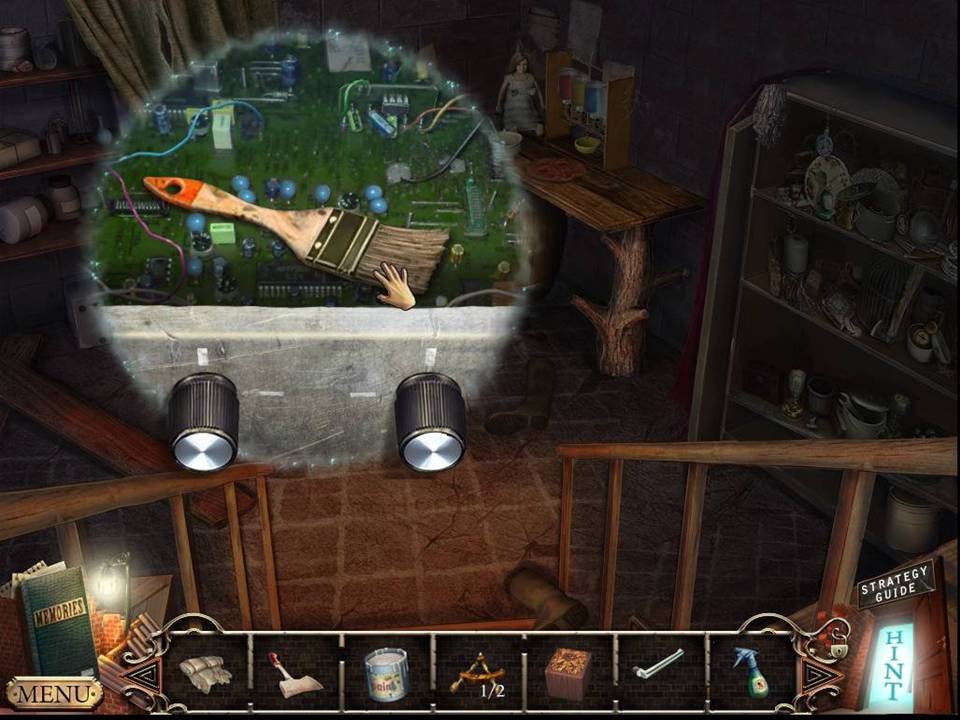
- Zoom into the radio.
- Take the BRUSH.
- Return to the lighthouse door.
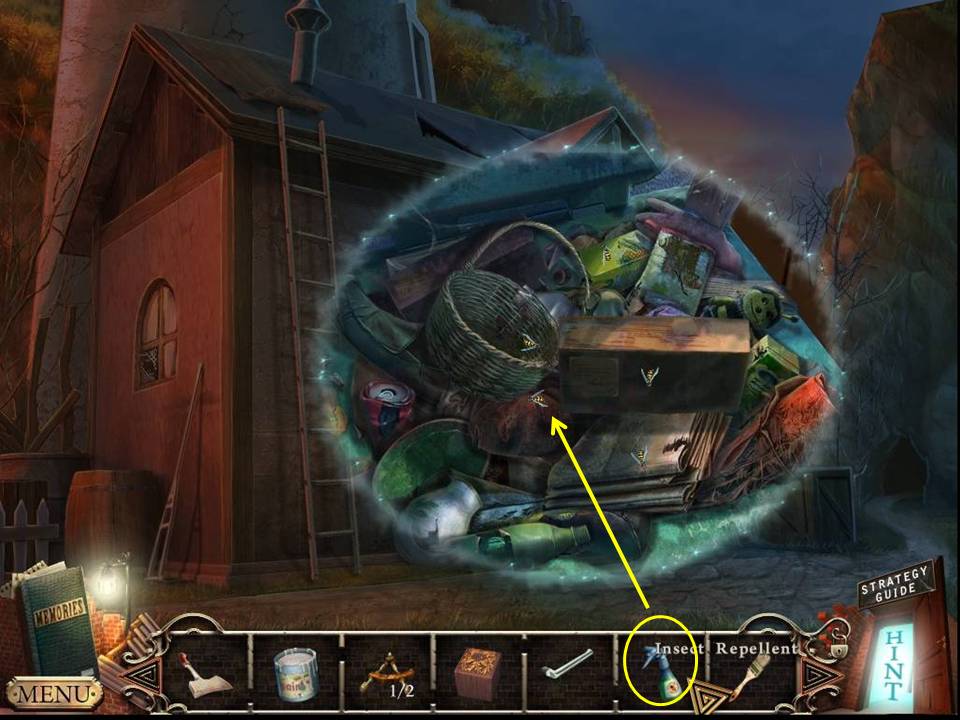
- Zoom into the crate.
- Spray the INSECT REPELLANT on it.
- Use the WORK GLOVE to move items.
- Take the SOLVENT.
- Return to the fisherman's hut.
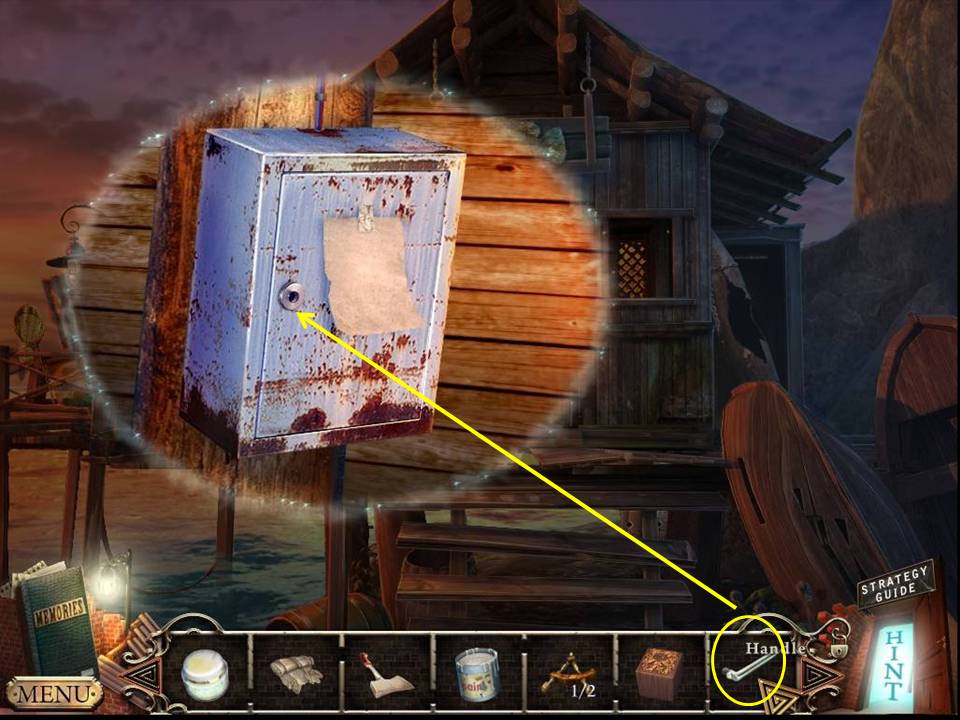
- Zoom into the panel.
- Put the HANDLE on the door.
- Take the NAILS.
- Click the switch.
- Play the HOA.
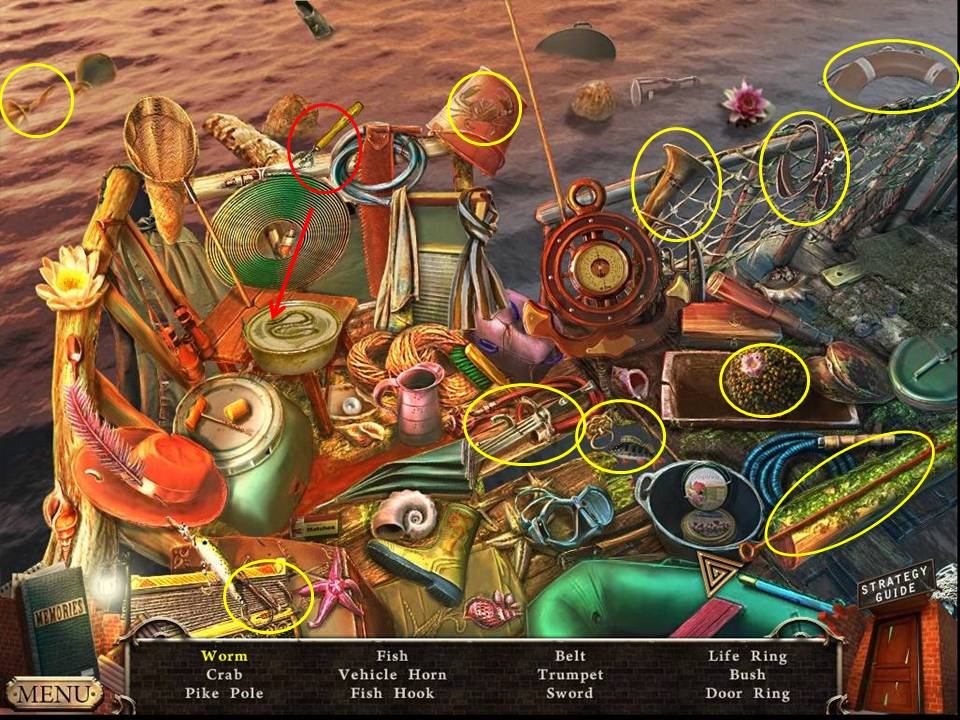
- Find the items listed.
- Use the can opener to open the can and get the worm.
- Receive the PIKE POLE.
- Click down once and move right to the ship.
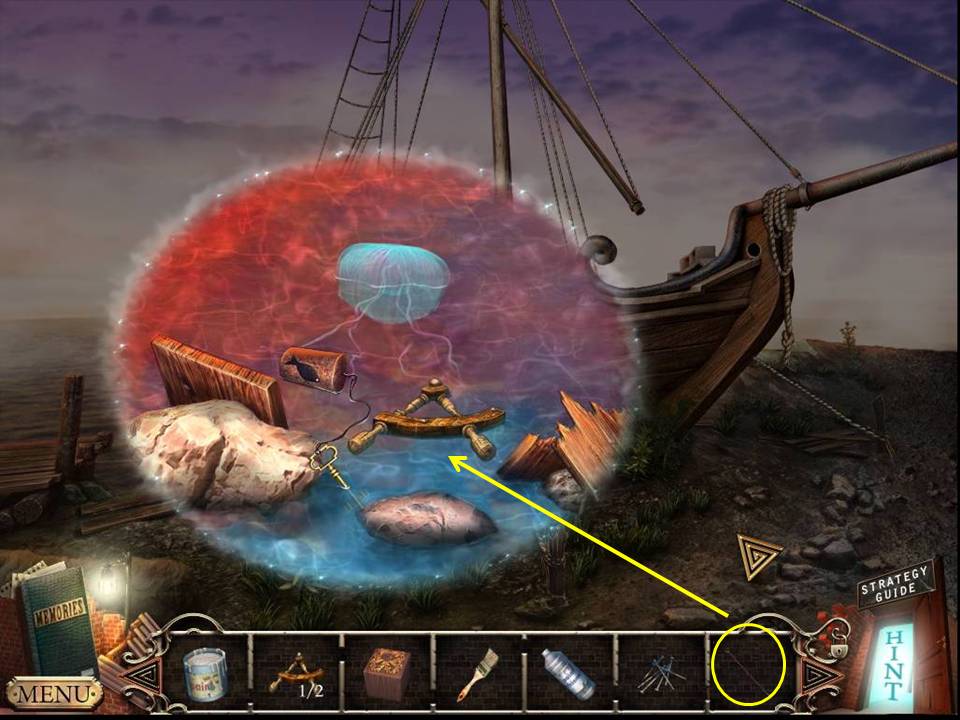
- Zoom into the water.
- Fish out a second STEERING WHEEL SECTION and FISHERMAN'S HUT KEY with the PIKE POLE.
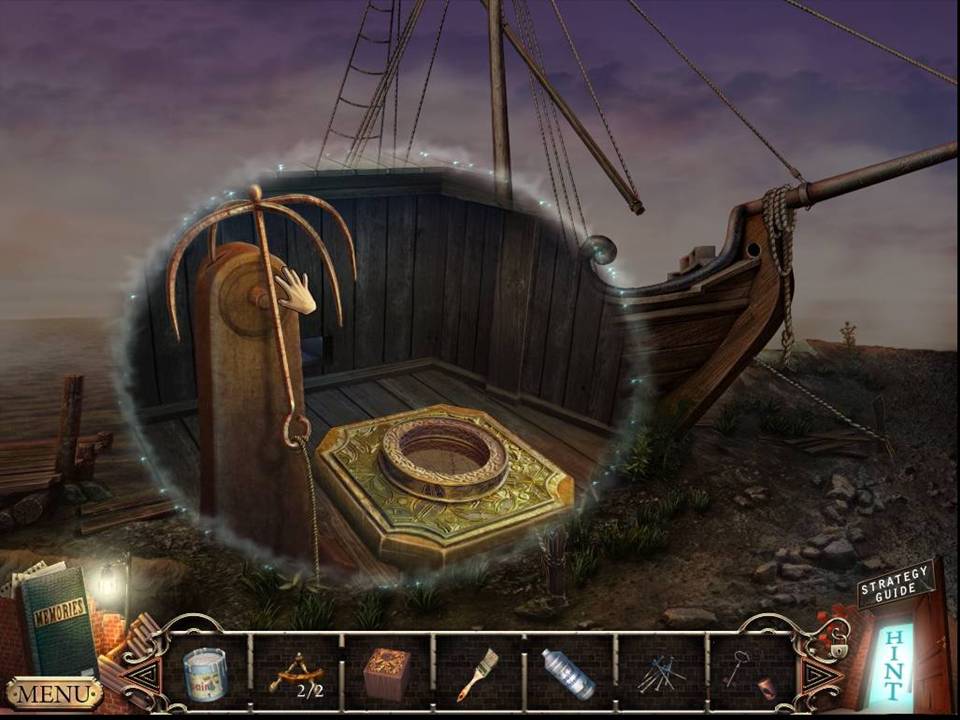
- Zoom into the ship.
- Take the GRAPNEL.
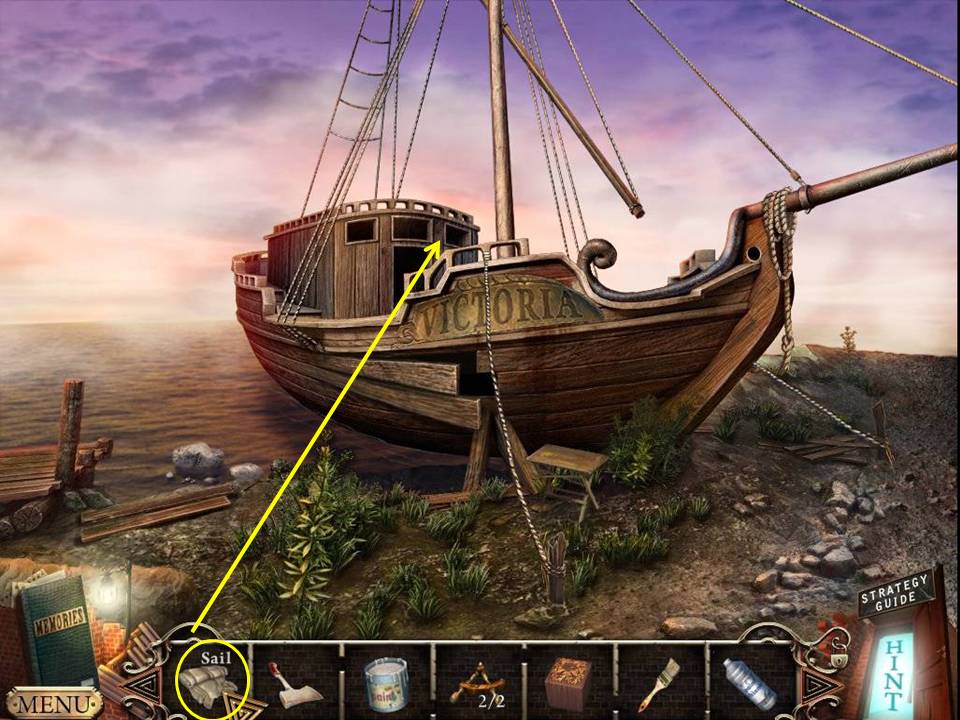
- Place the SAIL on the boat.
- Click down once.
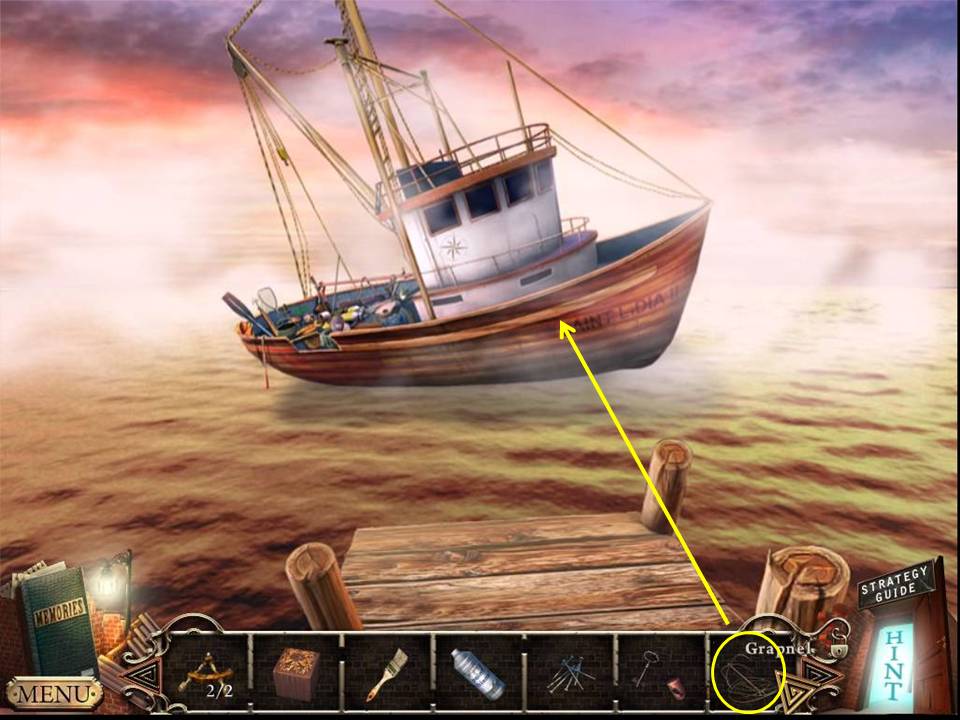
- Zoom into the tug boat.
- Pull the boat in with the GRAPNEL.
- Play the HOA.
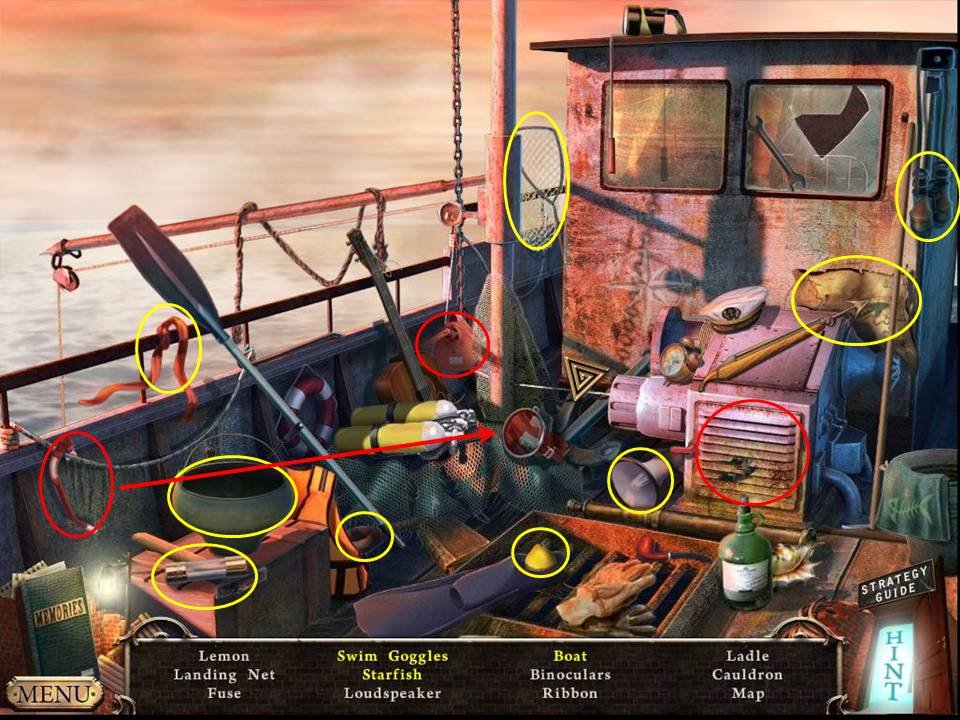
- Find the items listed.
- Spin the crane handle to raise the net from the side of the boat.
- Take the toy boat.
- Place the snorkel on the swim goggles.
- Click the vent to get the starfish.
- Receive the FUSE.
- Return to the fisherman's hut.
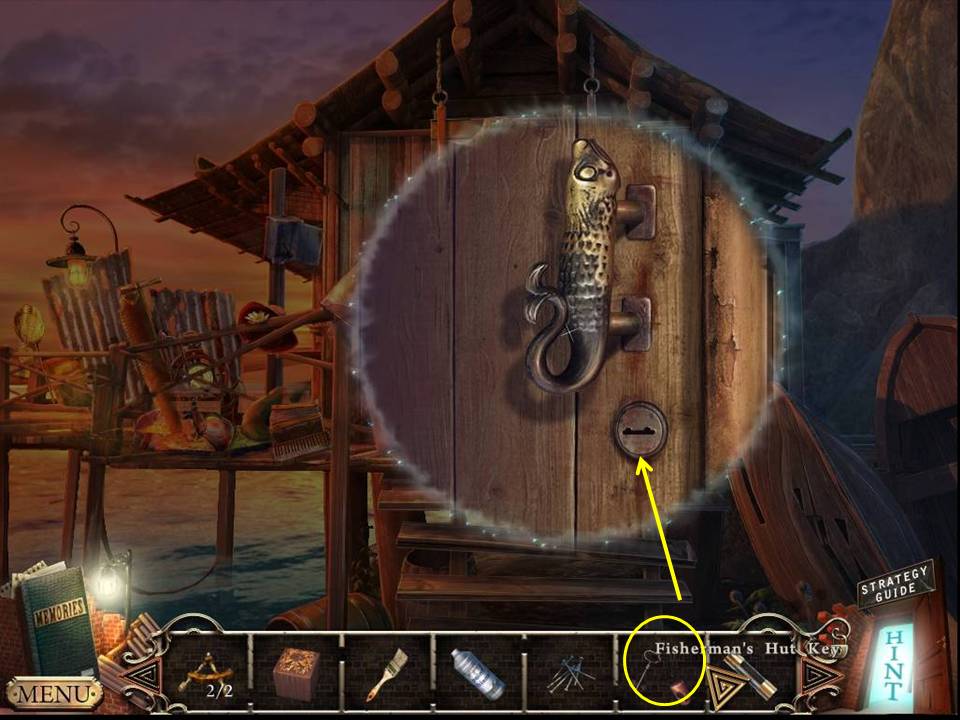
- Zoom into the door and unlock it with the FISHERMAN'S HUT KEY.
- Enter the hut.
- Play the HOA.
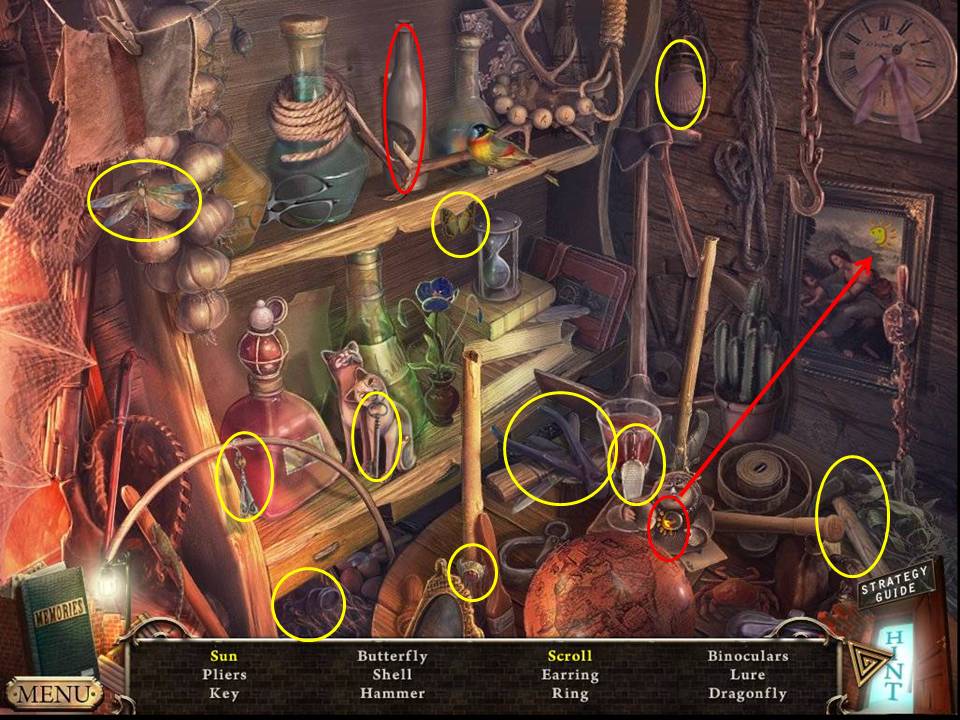
- Find the items listed.
- Move the bottle to get the scroll.
- Reassemble the sun.
- Receive the HAMMER.
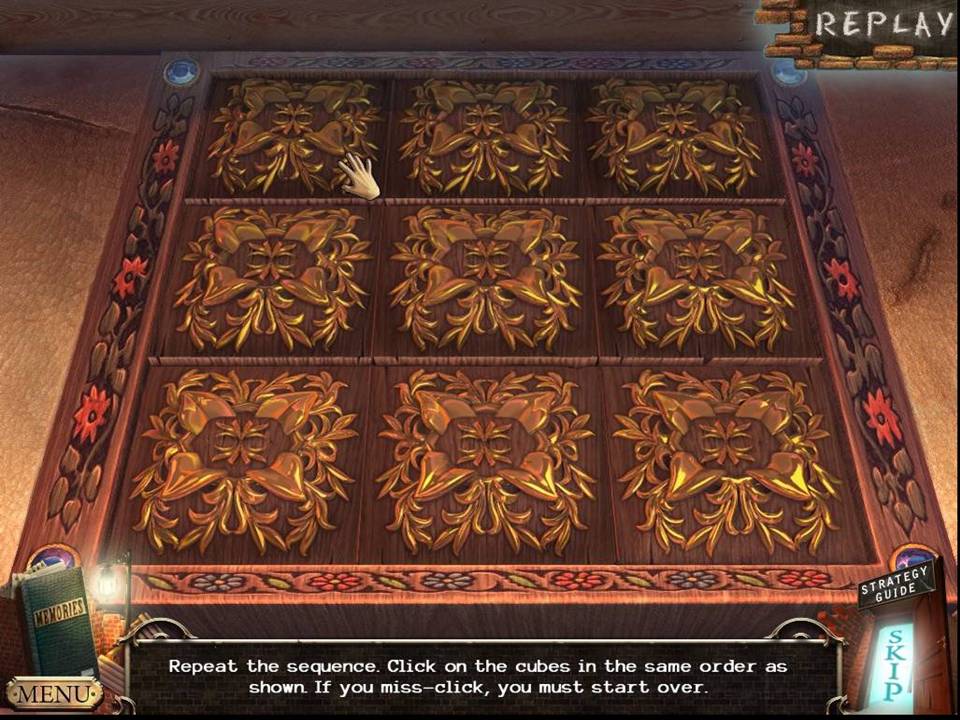
- Zoom into the chest and place the CUBE in the space to initiate a puzzle.
- The object of the puzzle is to watch the sequence pressed.
- Repeat the pattern.
- The puzzle may be random.
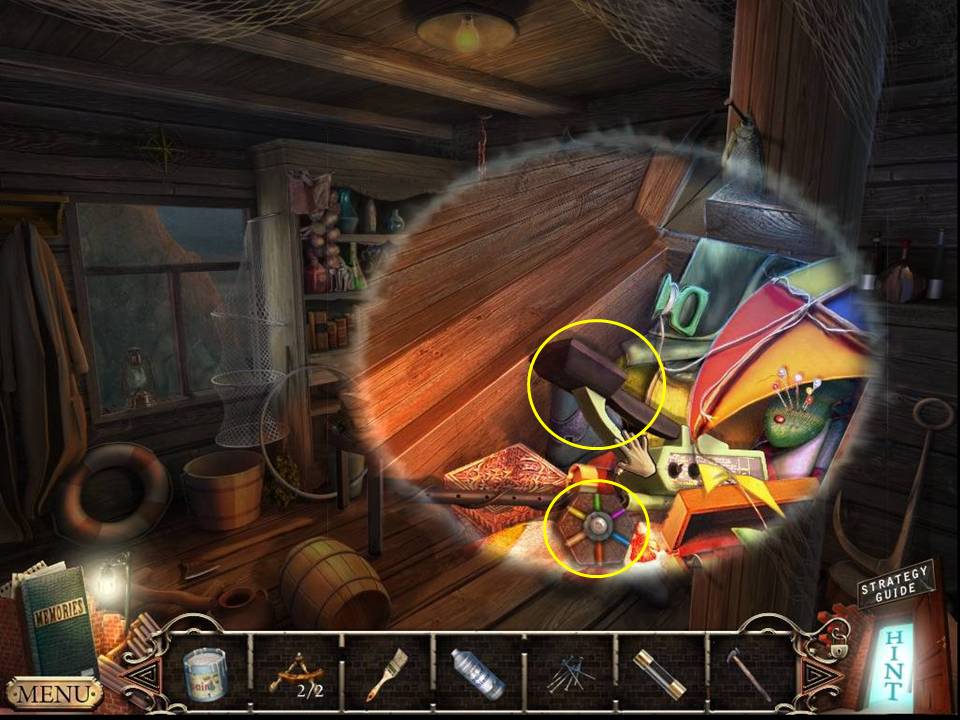
- Zoom into the chest.
- Take the METAL DETECTOR and TRANSISTOR.
- Return to the lighthouse lens room.
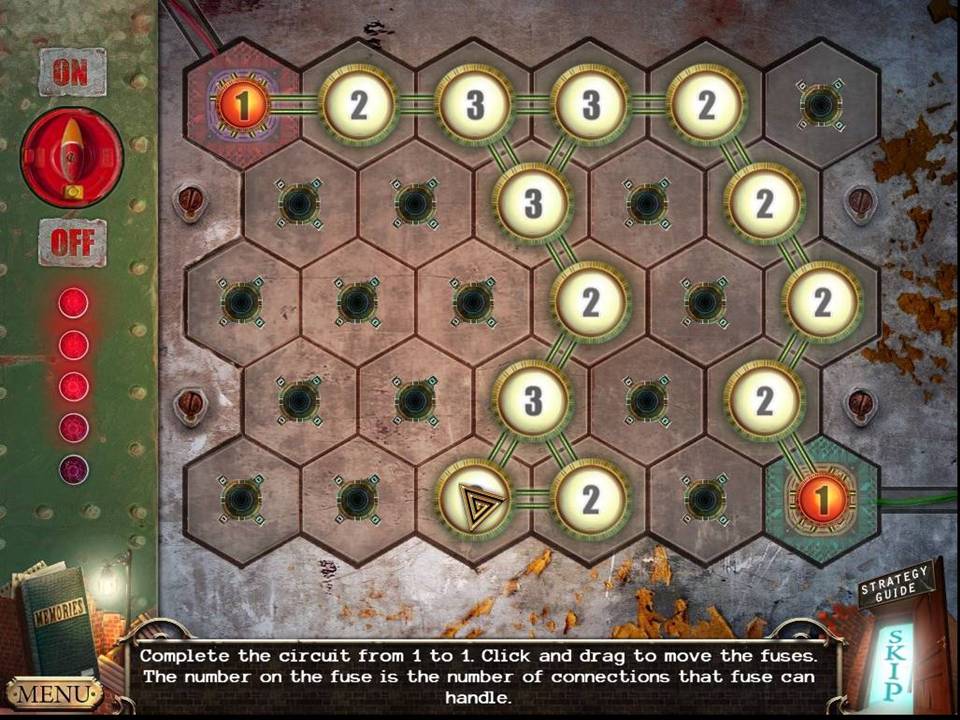
- Zoom into the panel.
- Insert the FUSE to initiate a puzzle.
- See screenshot for solution.
- Return to the stairs.
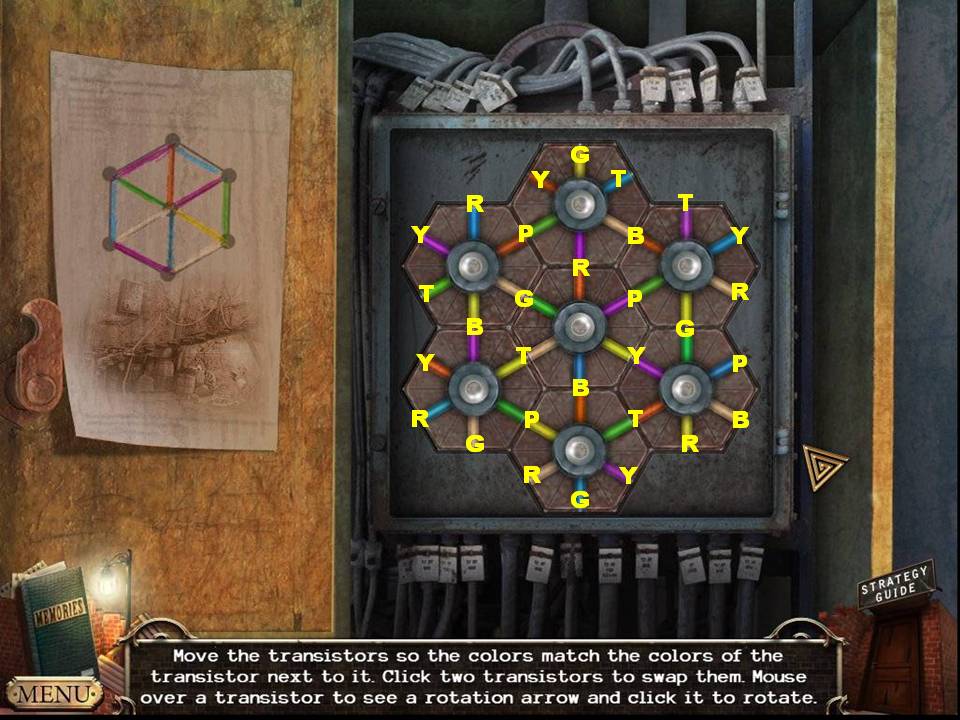
- Zoom into the panel.
- Place the TRANSISTOR into the space to initiate a puzzle.
- Arrange the disks by swapping or rotating to match the positions shown in the screenshot.
- The code is as follows: R = red, Y= yellow, B = blue, P = purple, G = green and T = tan.
- When finished, play the HOA.
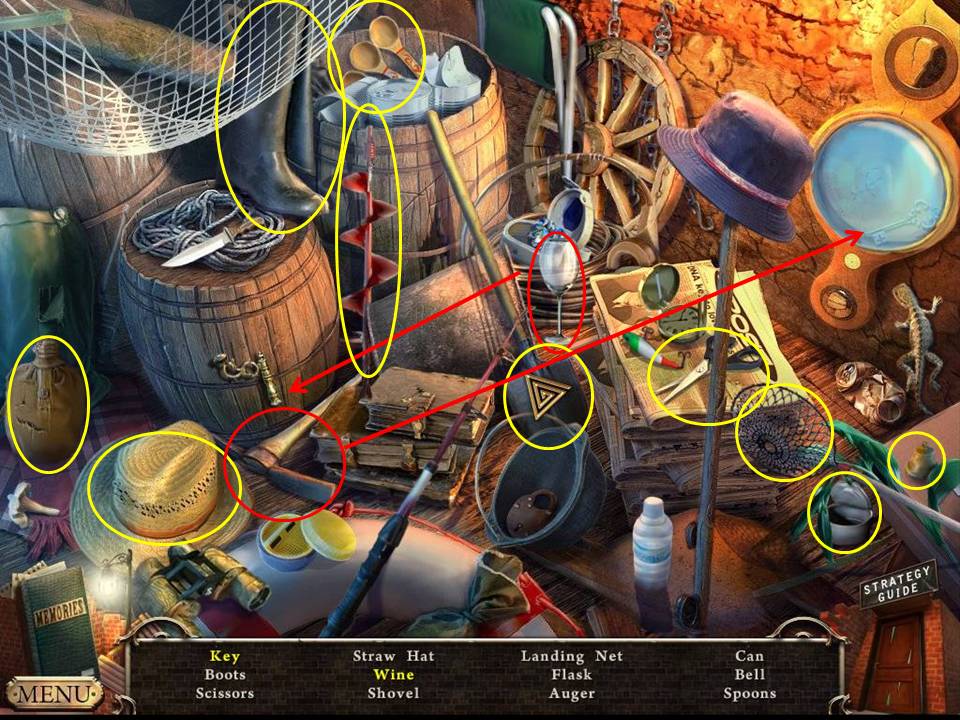
- Find the items listed.
- Put the wine glass under the spigot to get the wine.
- Pickaxe the glass to get the key.
- Receive the SHOVEL.
- Return to the cellar.
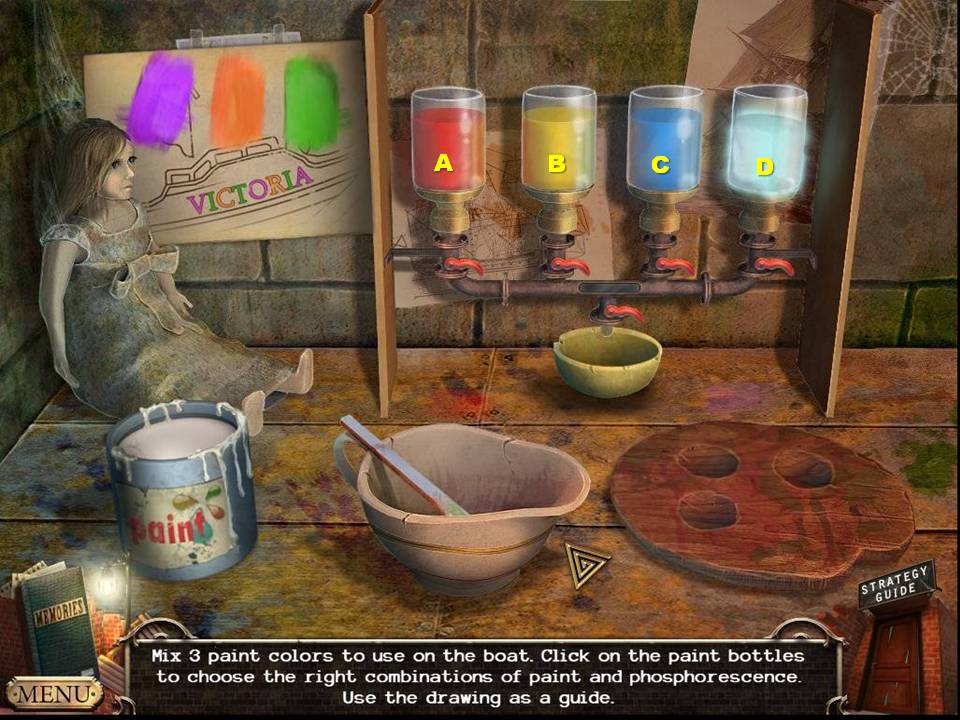
- Zoom into the desk.
- Place the DRIED PAINT, SOLVENT and PHOSPHORESCENT POWDER on the surface.
- Assuming the bottles with the powders are labeled A-D, mix A, C, and D to get purple.
- Mix A, B, and D to get orange.
- Mix B, C, and D to get the green.
- Receive the PAINT.
- Return to the mine entrance.
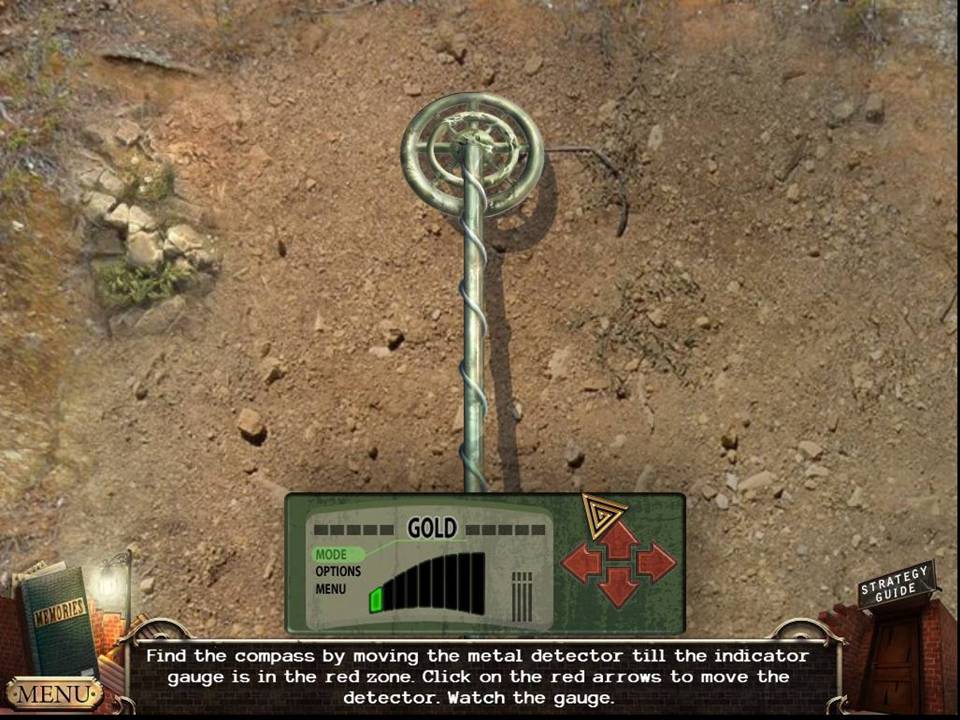
- Put the METAL DETECTOR in the scene.
- Move it down and to the right.
- Move up three times, left nine times and up three times.
- SHOVEL the dirt at the spot.
- Take the compass.
- Return to the fisherman's hut.
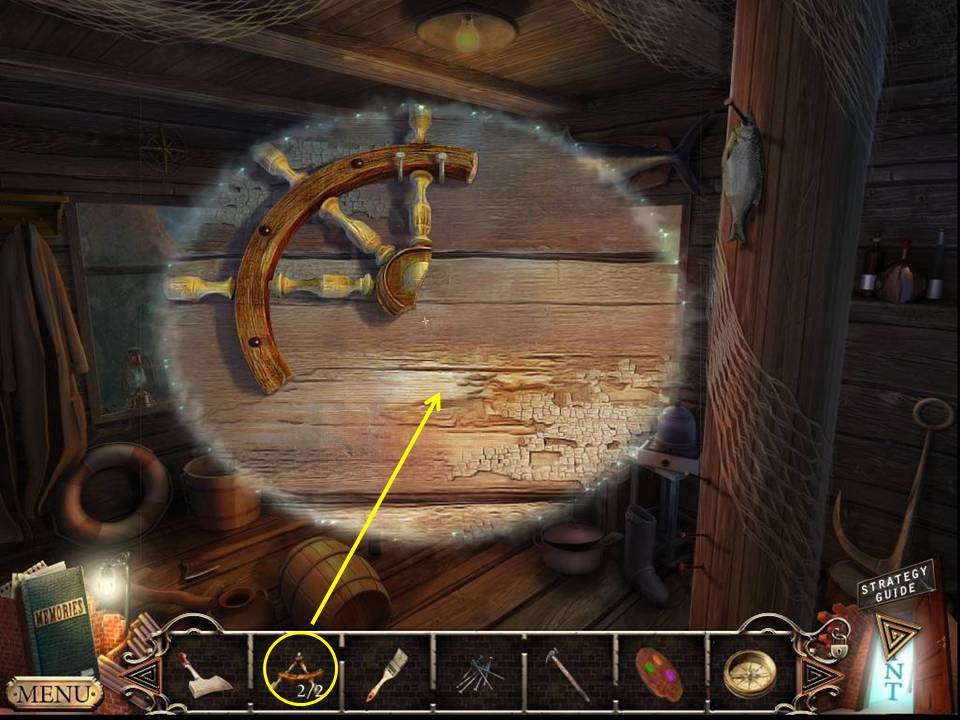
- Zoom into the steering wheel part.
- GLUE the two STEERING WHEEL SECTIONS on it.
- Take the STEERING WHEEL.
- Return to the ship.
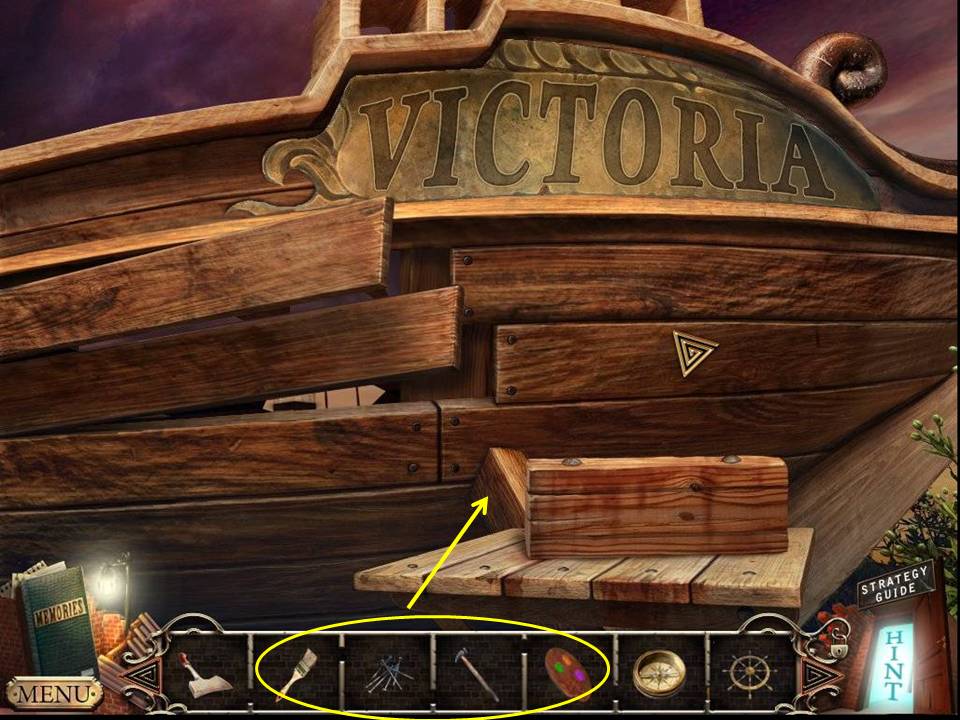
- Zoom into the ship's side.
- Put the PAINT and BRUSH on the shelf.
- Put the NAILS on the board.
- HAMMER the nails.
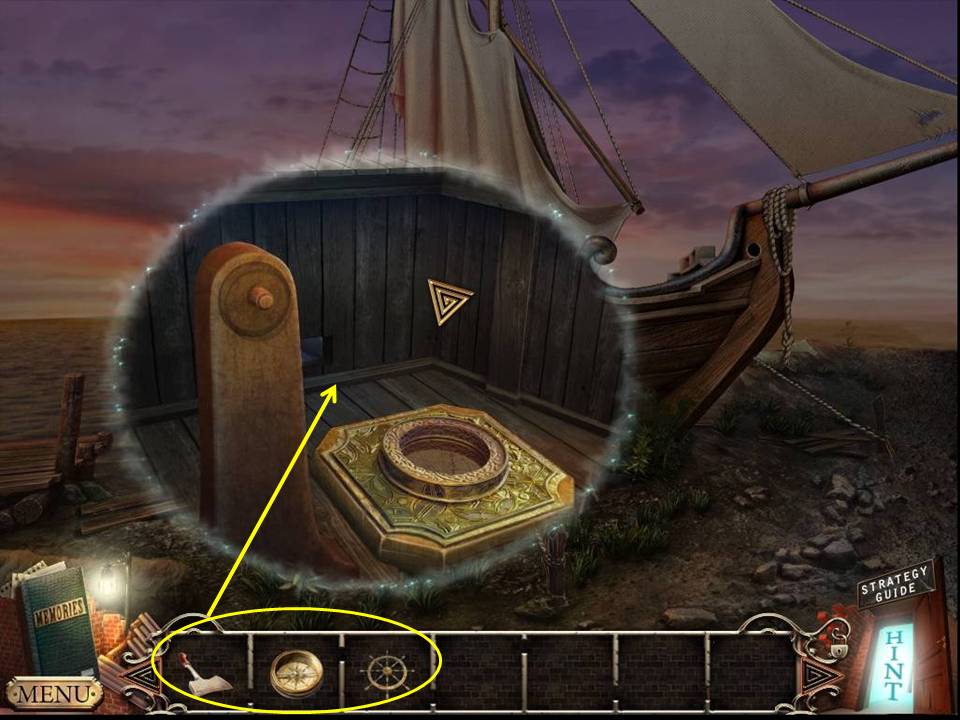
- Zoom into the ship.
- Put the COMPASS and STEERING WHEEL in place.
- Chop the ropes with the AXE.
Comments will load when you reach this part of the walkthrough.