

Chapter Five: Into the Glen
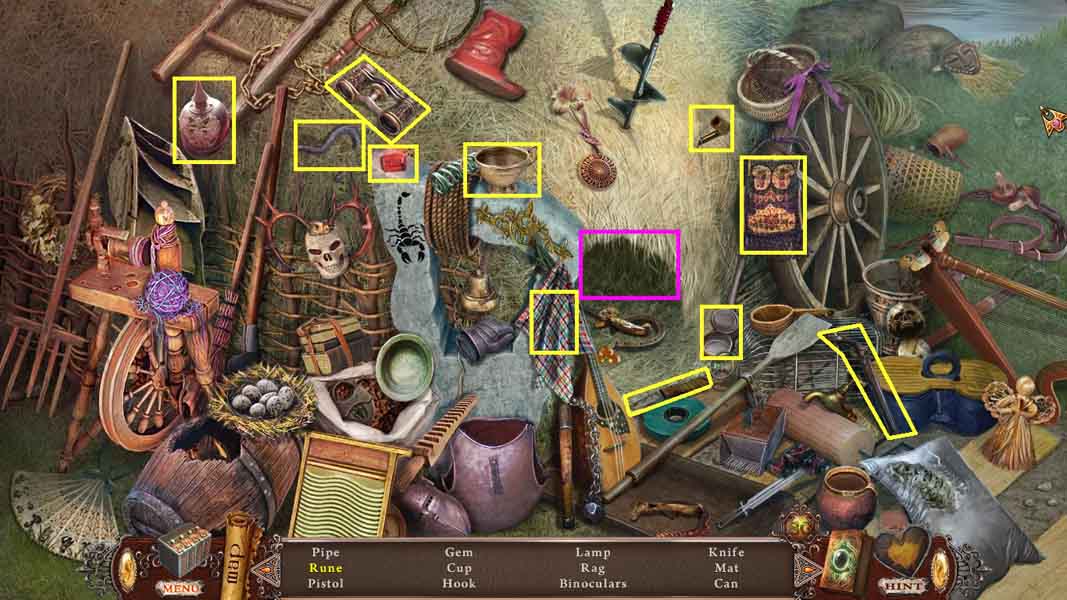
- Click the hidden objects area.
- Find the listed items.
- Zoom into the niche of hay; collect the rune.
- Collect the rune of energy.
- Move ahead to the mushrooms.
- Click the hidden objects area.
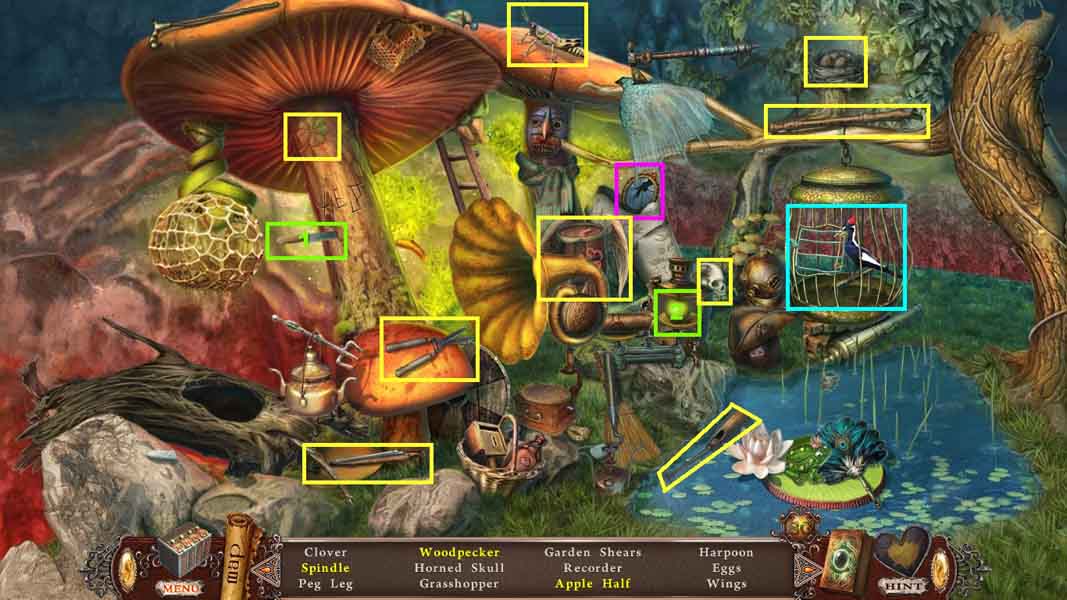
- Find the listed items.
- Click the mirror to collect the spindle.
- Click the cage open to collect the woodpecker.
- Select the knife and use it to slice the apple; collect the apple half.
- Collect the garden shears.
- Move down to the Glen.
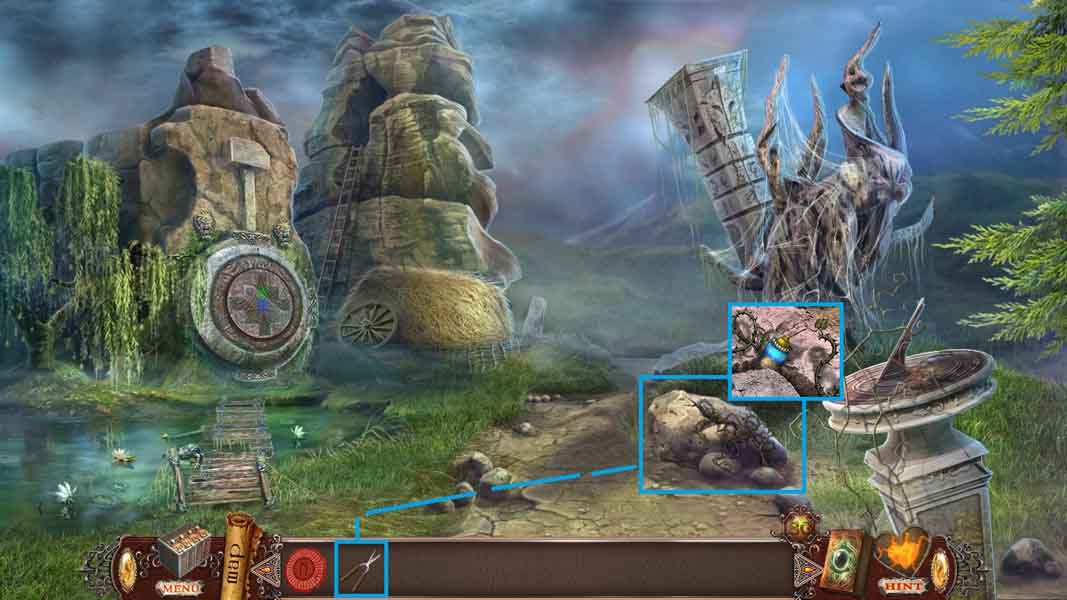
- Click the stone and use the garden shears to cut the vines.
- Collect the glue.
- Move ahead.
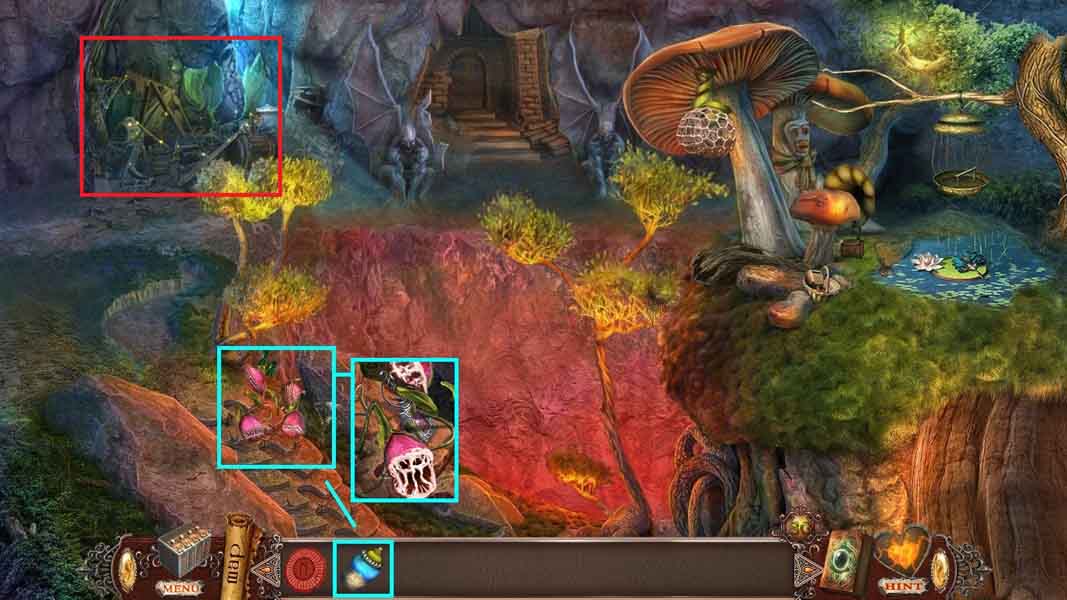
- Click the carnivorous plants.
- Give them the glue and collect the oilcan.
- Click the hidden objects area.
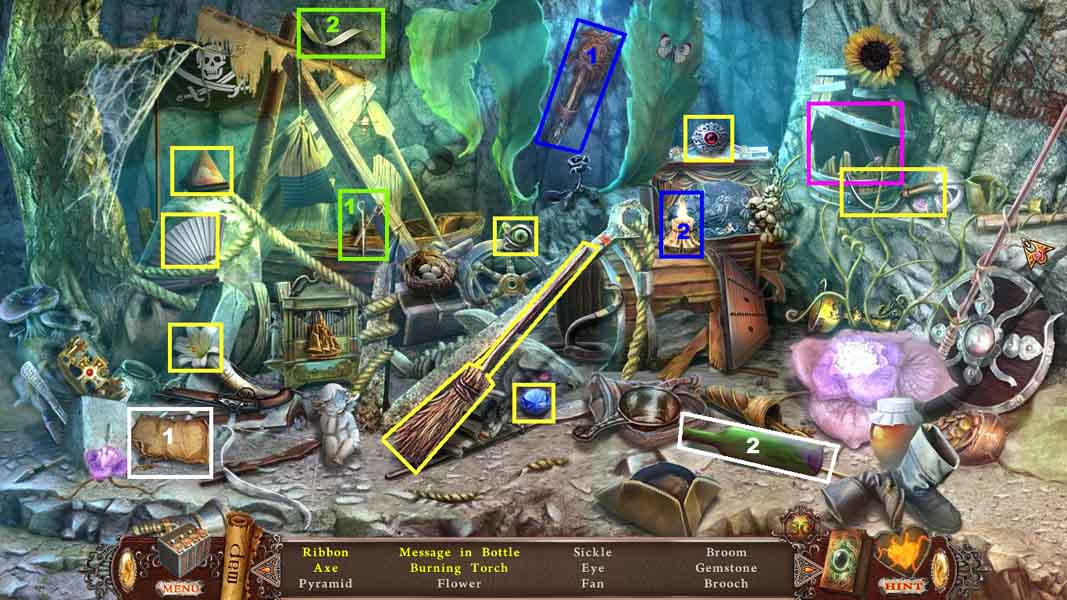
- Find the listed items.
- Select the shears and use them to cut and collect the ribbon.
- Select the note and place it into the bottle; collect the message in a bottle.
- Select the torch and place it near the candle; collect the burning torch.
- Zoom into the broken barrel; collect the axe.
- Collect the torch.
- Move ahead to the Throne Hall Entrance.
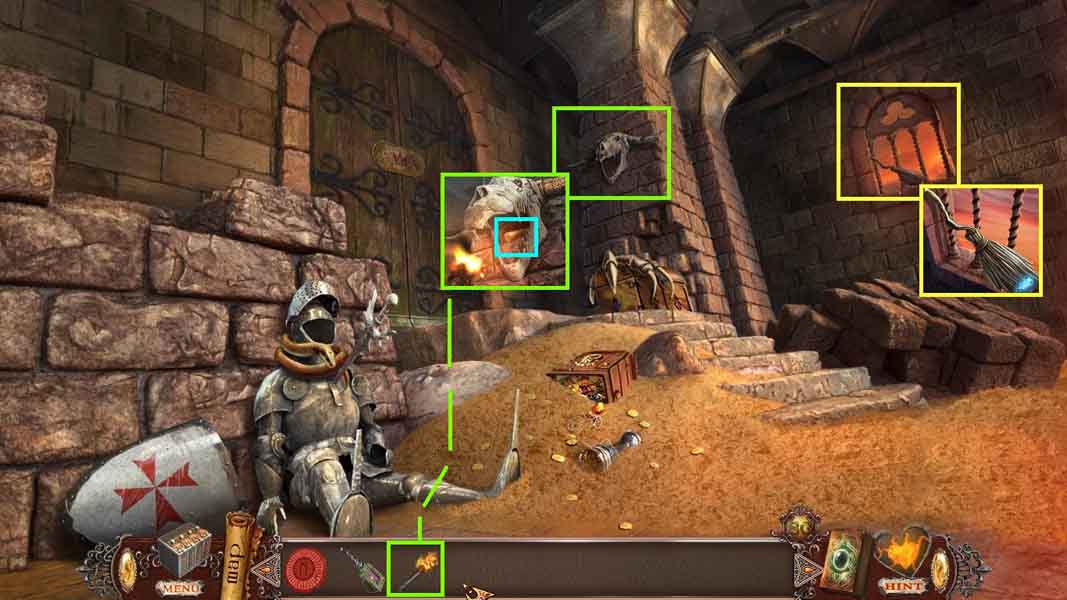
- Click the window; collect the gem and the broom.
- Click the hanging skull and use the torch on it; collect the note.
- Move to the guardians of Silence.
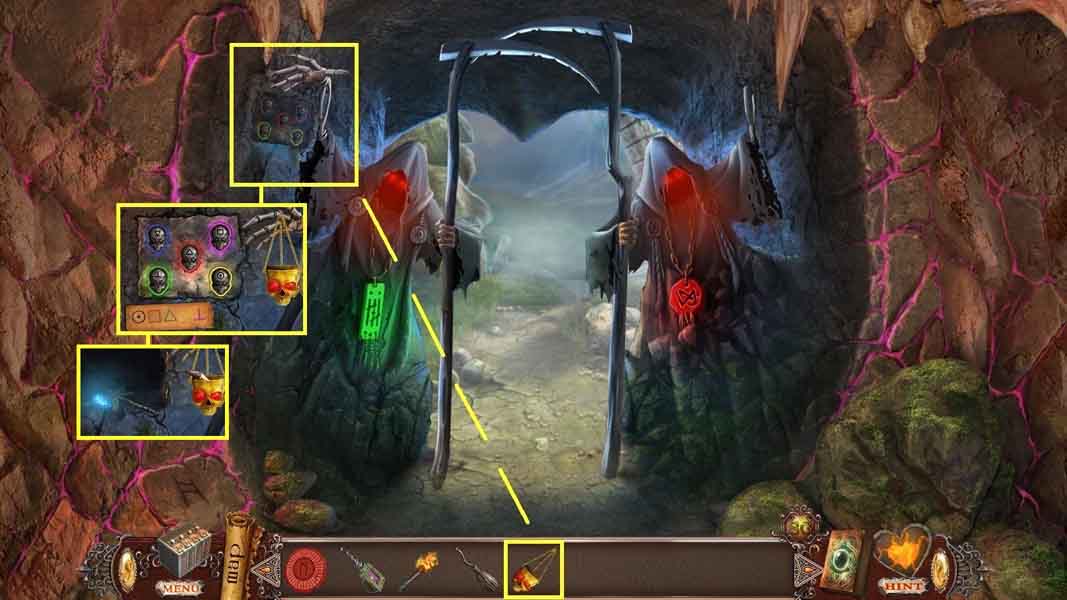
- Click the wall on the left and hang the lantern to trigger a puzzle.
- Move the skull symbols as shown on the clue.
- Collect the finger, the gem and the stone dragonfly.
- Move ahead.
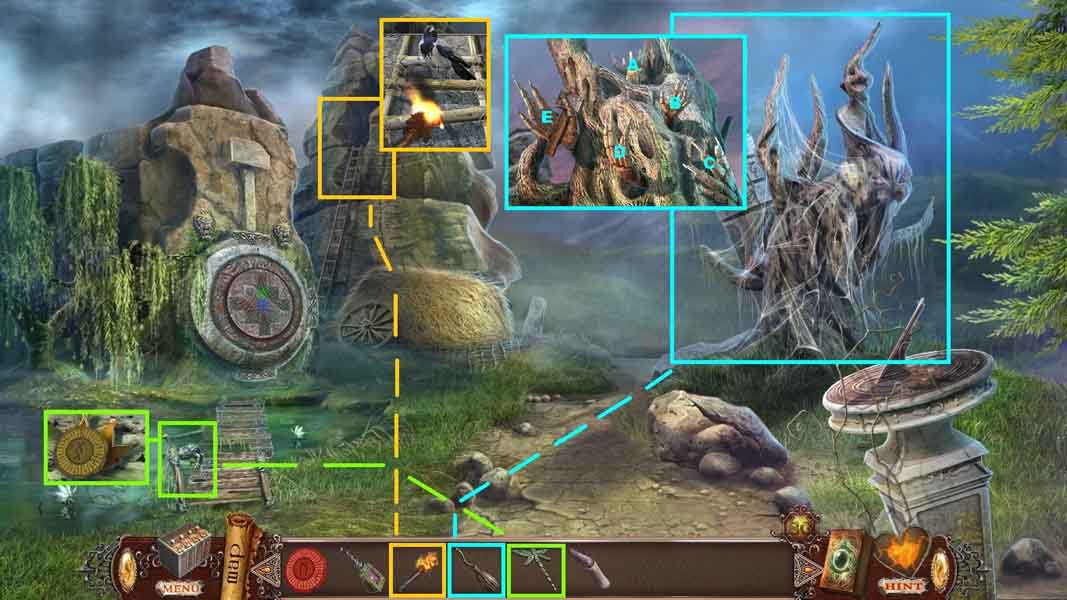
- Click the stone frog; place the stone dragonfly onto its head.
- Collect the rune of renewal, the gem and the crown.
- Select the broom to remove the cobwebs on the tree.
- Click the tree to trigger a puzzle.
- Click the hands in ABC order.
- Collect the hammer.
- Click the ladder and use the torch to chase away the bird.
- Move the up ladder to the Idol Room.
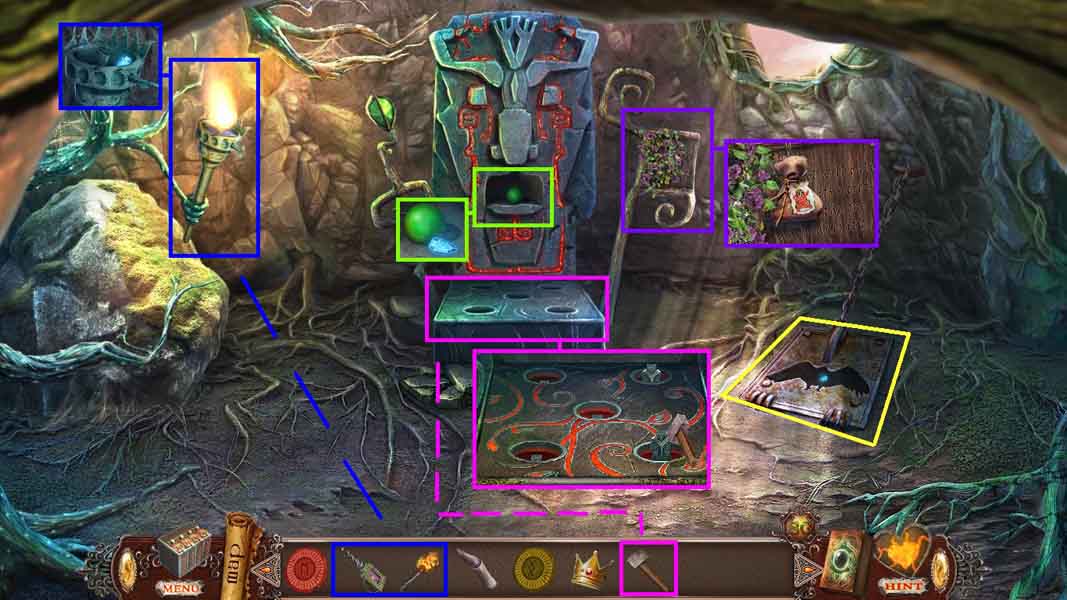
- Click the torch; collect the gem.
- Pour the oilcan onto the torch and use the lit torch to light it.
- Click the plate; collect the gem.
- Click the sign then click the flowers; collect the soporific powder.
- Click the idol base to trigger a puzzle.
- To solve the puzzle hit the idols using the hammer 10 consecutive times.
- Click the niche; collect the gem and the green marble.
- Move to the Throne Hall Entrance.
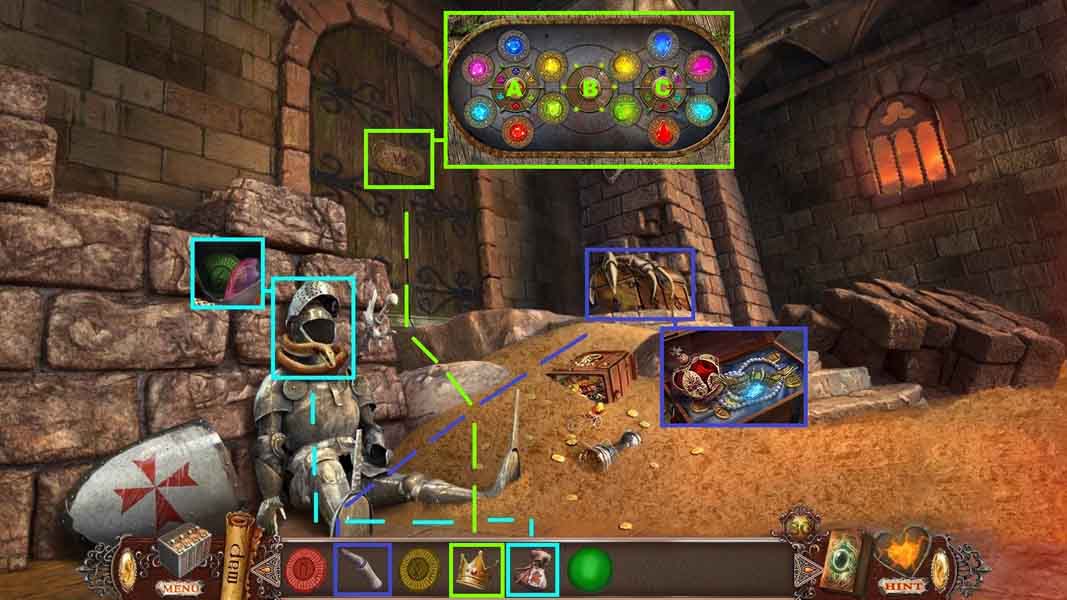
- Click the armor and use the soporific powder on the snake.
- Collect the throne gem and the rune of inspiration.
- Click the chest and attach the finger onto the hand.
- Collect the gem and the eagle token.
- Click the door and insert the crown to trigger a puzzle.
- Place the tokens in the areas of the same shape and color.
-
Click the tokens as follows to solve the puzzle:
- C: 4x’s
- B: 5x’s
- A: 5x’s
- Enter the doorway to the Throne Hall.
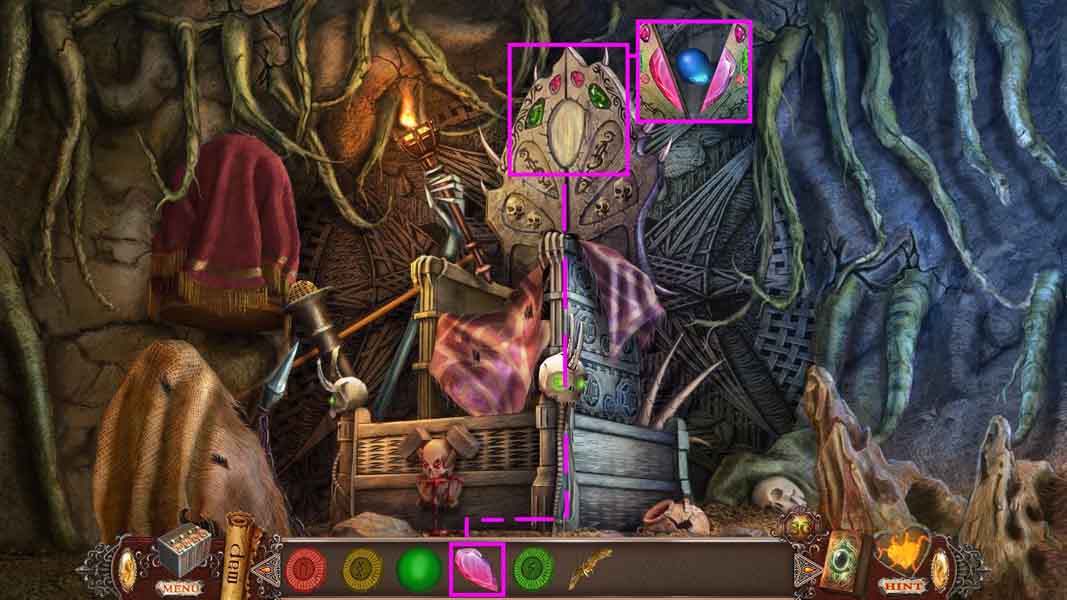
- Click the stone and insert throne gem.
- Collect the gem and the blue marble.
- Move to the Idol Room.
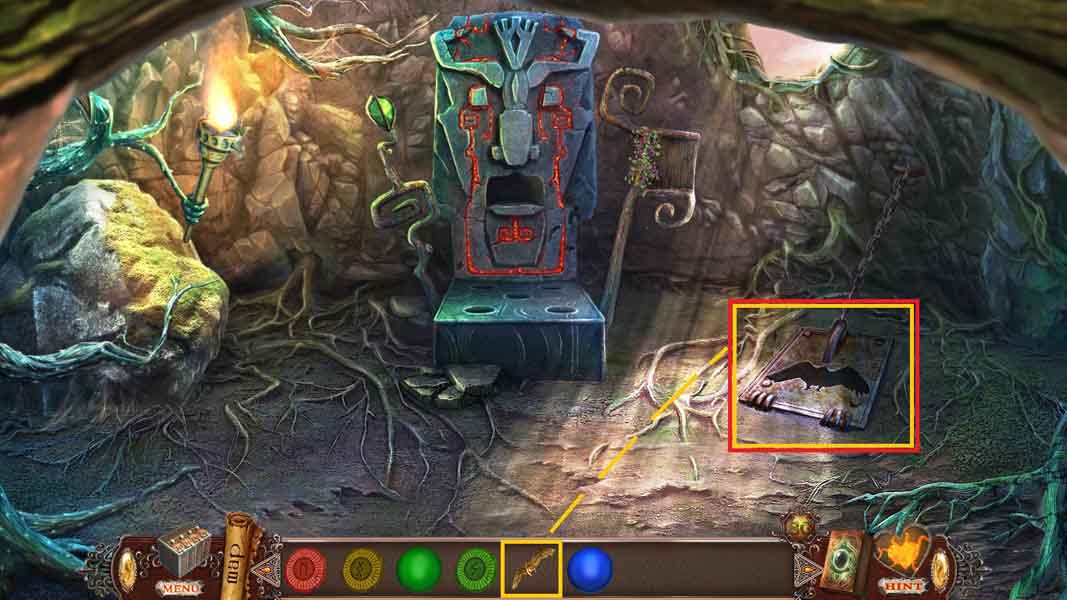
- Click the plate and insert the eagle token to trigger a hidden objects area.
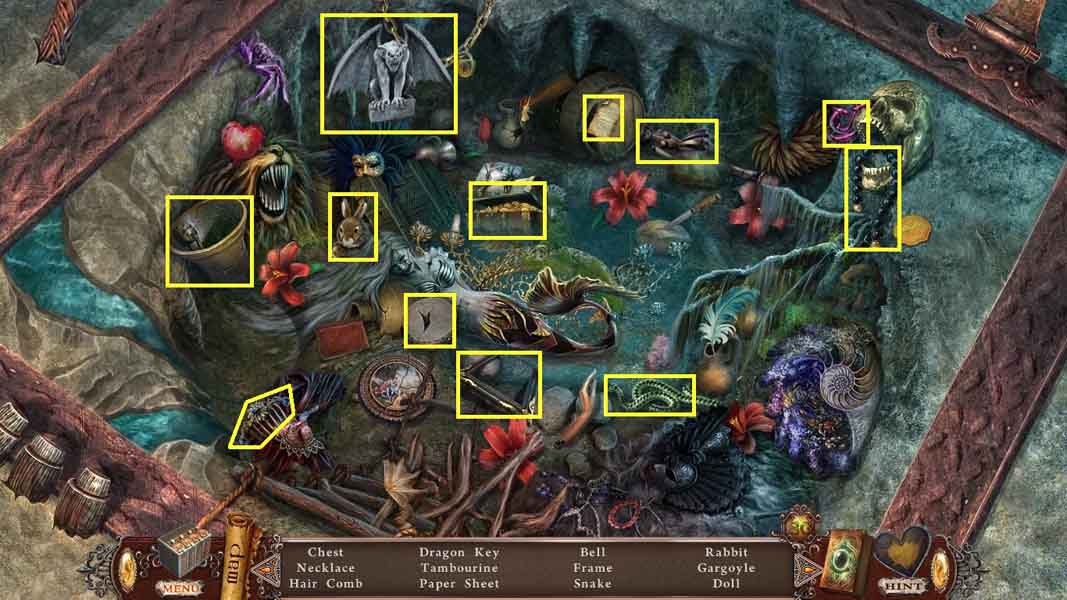
- Find the listed items.
- Collect the dragon key.
- Move to the Throne Hall.
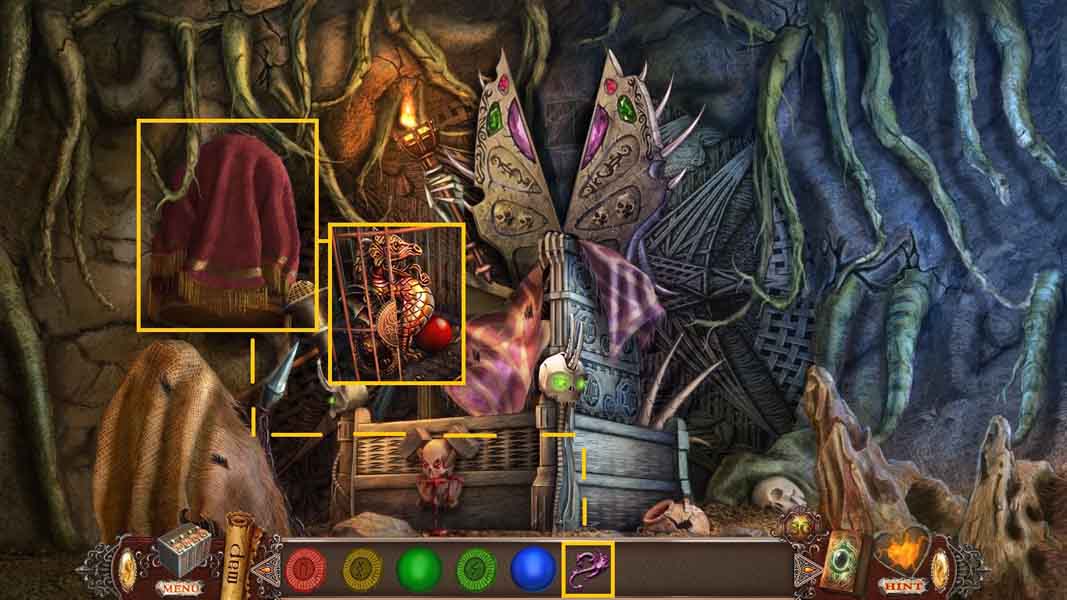
- Click the cloth and click the cage.
- Insert the dragon key into the lock; collect the red marble and the fire dragon.
- Move to the Glen.
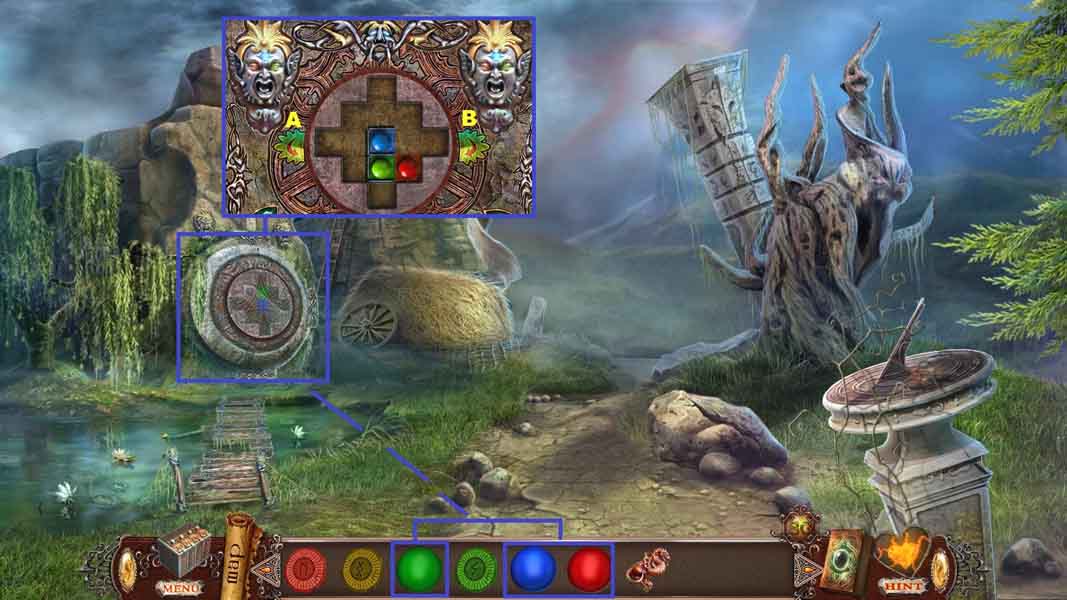
- Click the wall.
- Insert the green, blue and red marbles to trigger a puzzle.
- Click the arrows as follows to solve the puzzle.
- A, B, A, A, A, B, B, B, B, A, A, A, A, B
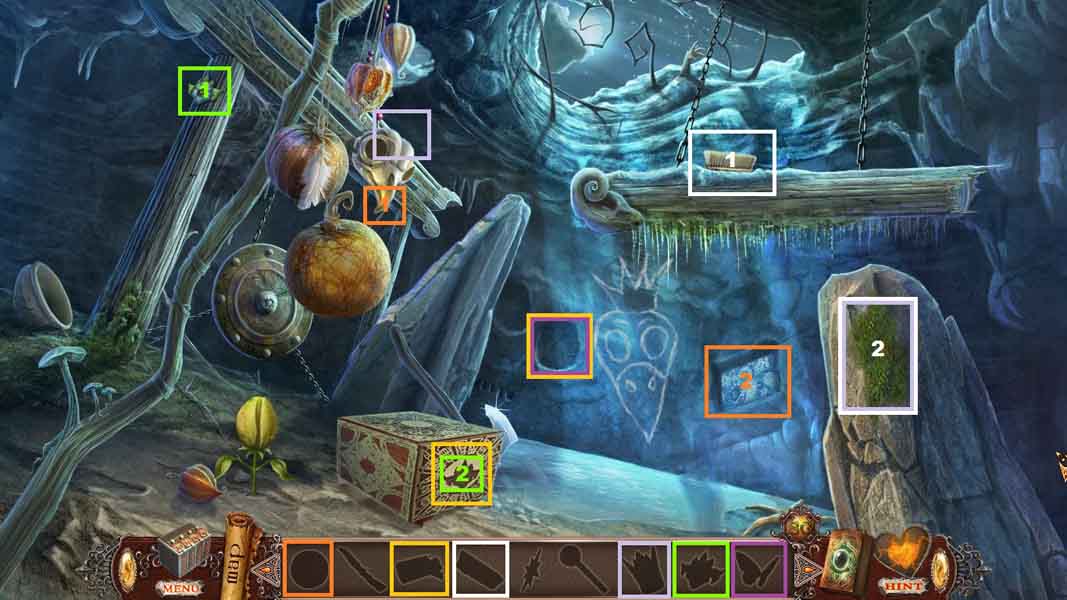
- Find the silhouetted items.
- Insert the emblem into the slot; collect the matches.
- Click the niche; use the matches to light the candle and collect the butterfly.
- Select the brush to clear the moss; collect the crown.
- Place the crown onto the bird’s head and collect the disc.
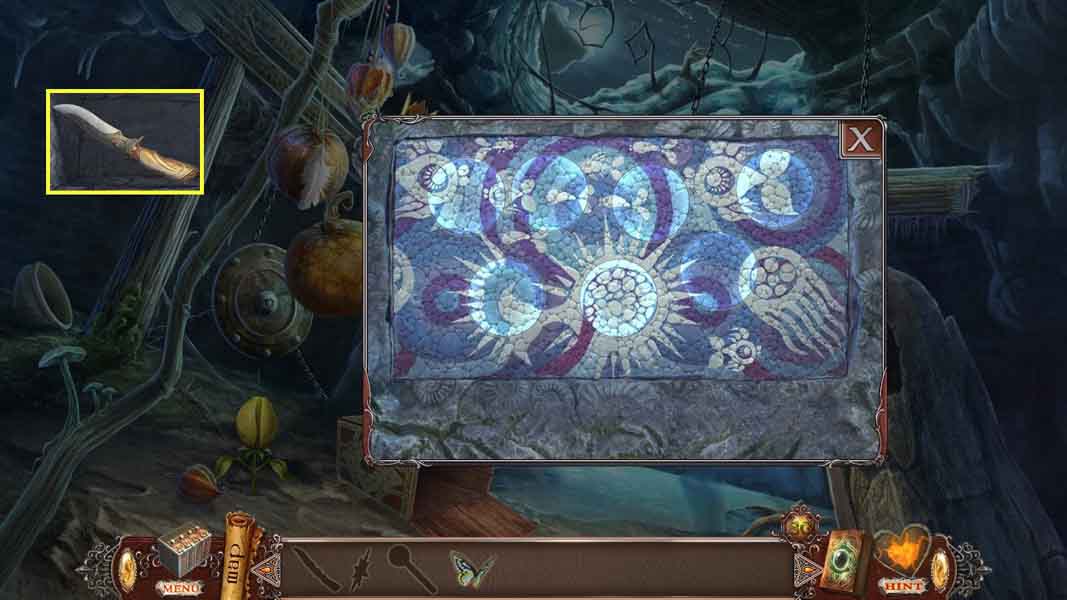
- Click the niches and insert the disc to trigger a puzzle.
- Click all the pieces into place.
- Collect the knife.
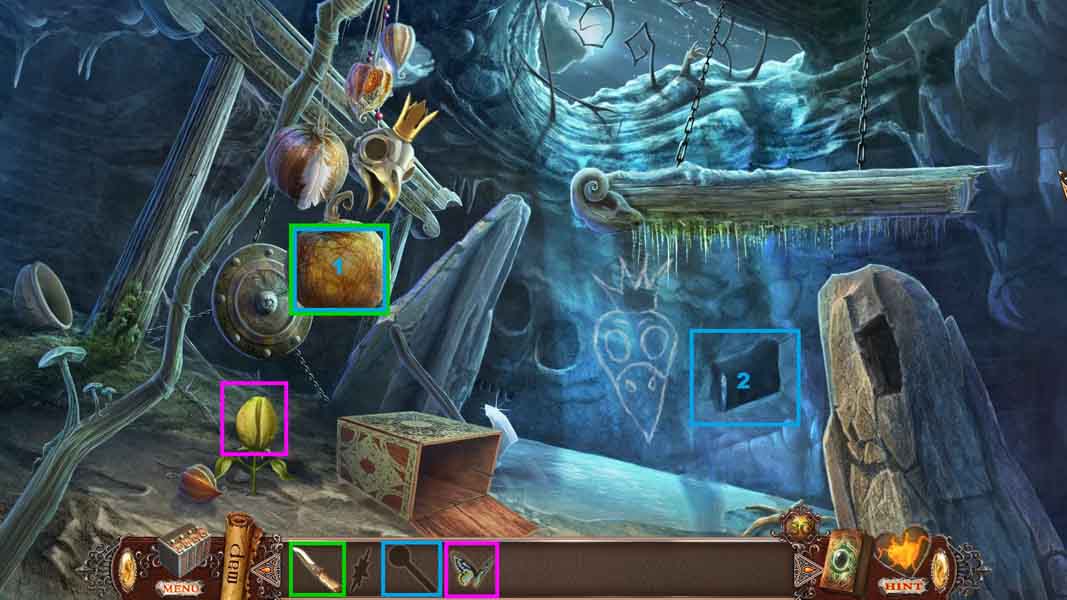
- Put the butterfly onto the flower.
- Select the knife to cut the pod; collect the lever.
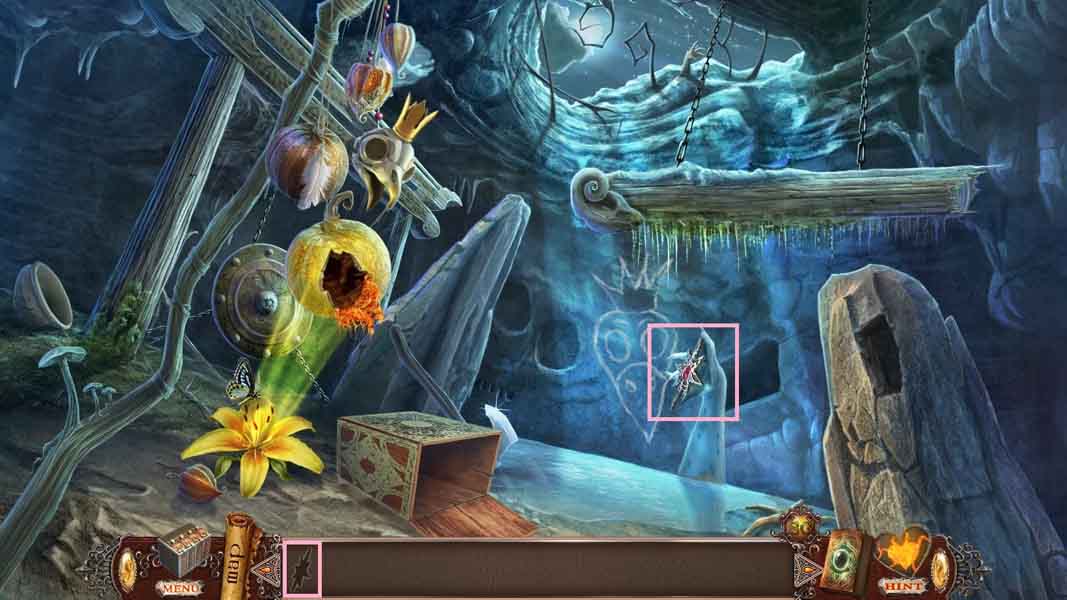
- Click the niche and insert the lever; click the lever.
- Collect the star.
- Move to the Chasm.
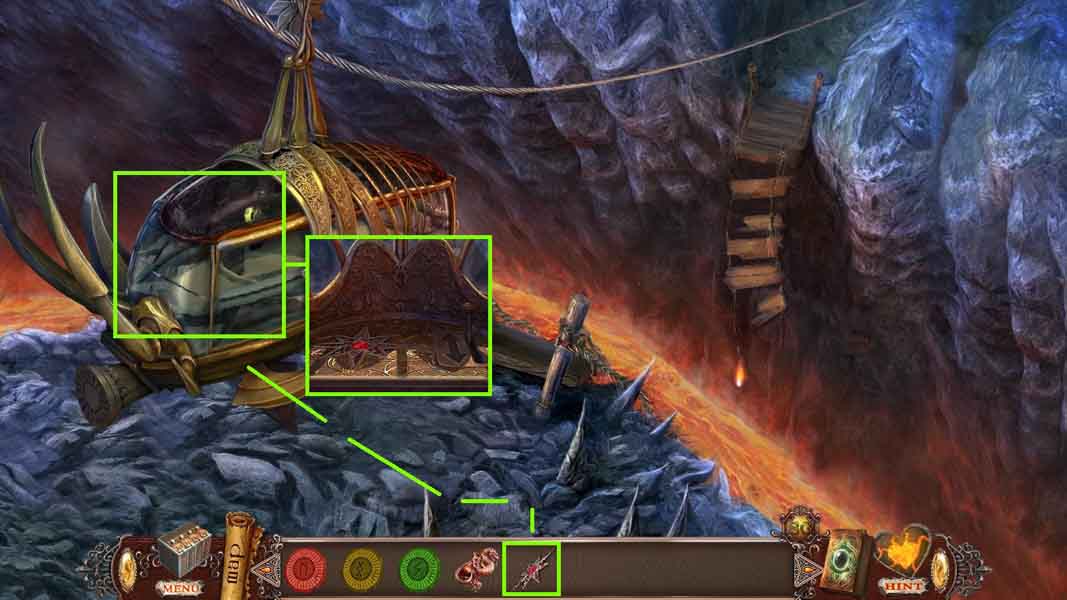
- Click the tram.
- Insert the star and click the lever.
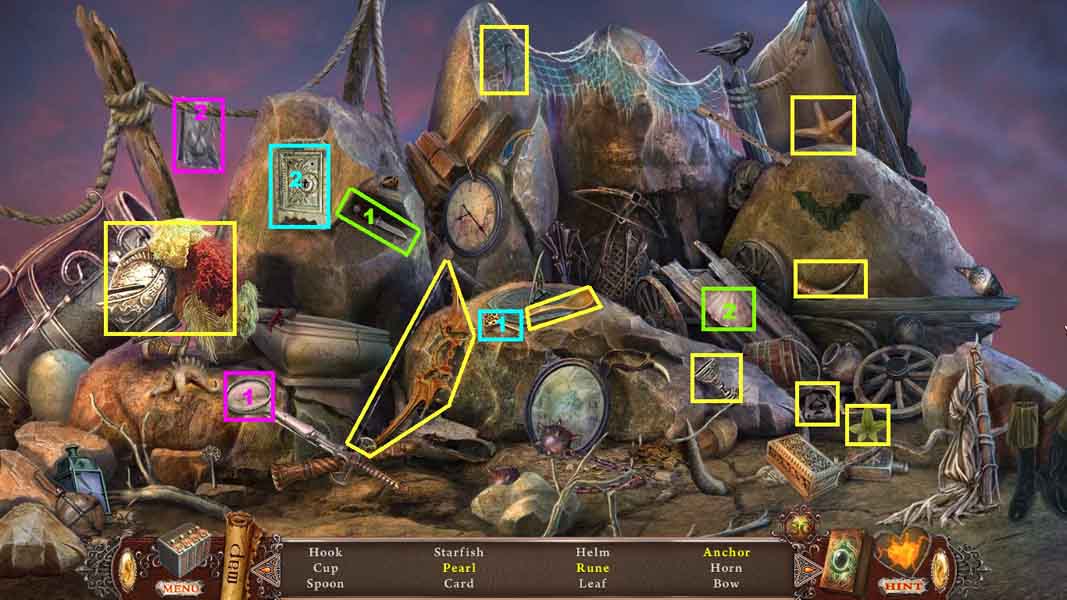
- Find the listed items.
- Select the knife and use it to open the oyster shell; collect the pearl.
- Select the key and insert it into the safe; collect the rune.
- Select the magnifying glass and place it in front of the cloth; collect the anchor.
- Collect the rune of justice.
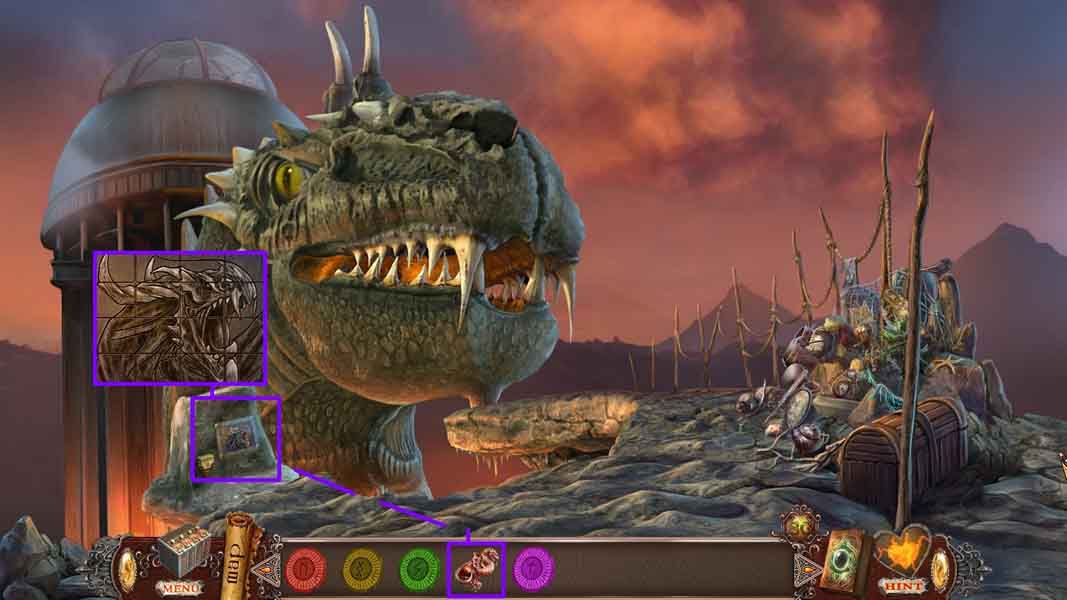
- Click the stone and insert the fire dragon to trigger a puzzle.
- Move the tiles to reassemble the picture.
- Move to the dragon’s mouth the access the Cup of Evil.
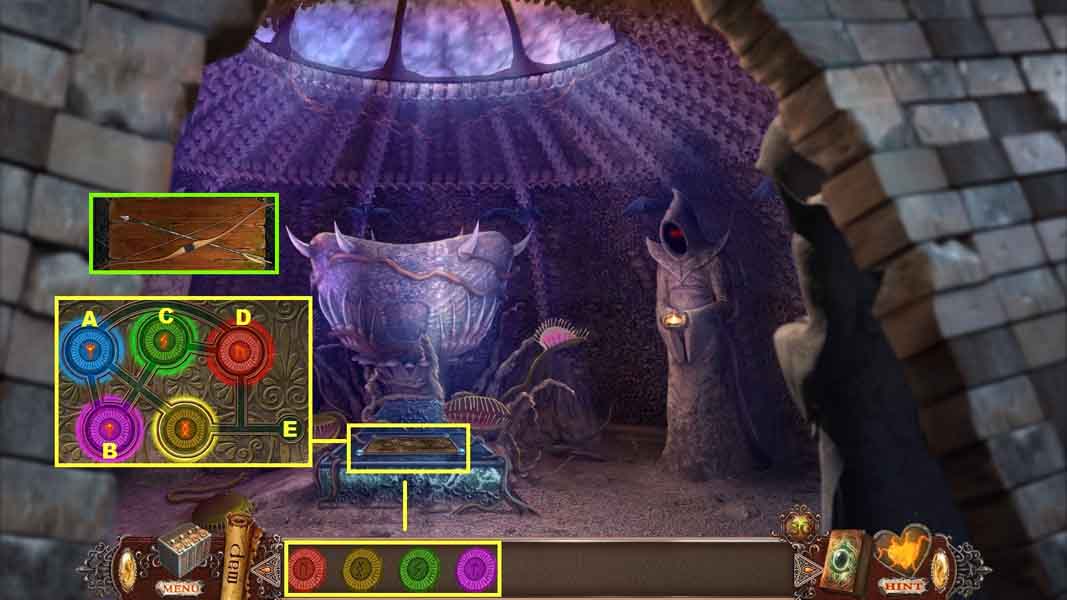
- Click the plate.
- Insert the runes of Justice, Inspiration, Renewal and Energy to trigger a puzzle.
- Move the runes to empty spots until all the tokens are on their matching color.
- Click the runes in ABC order.
- Collect the magic bow and arrow.
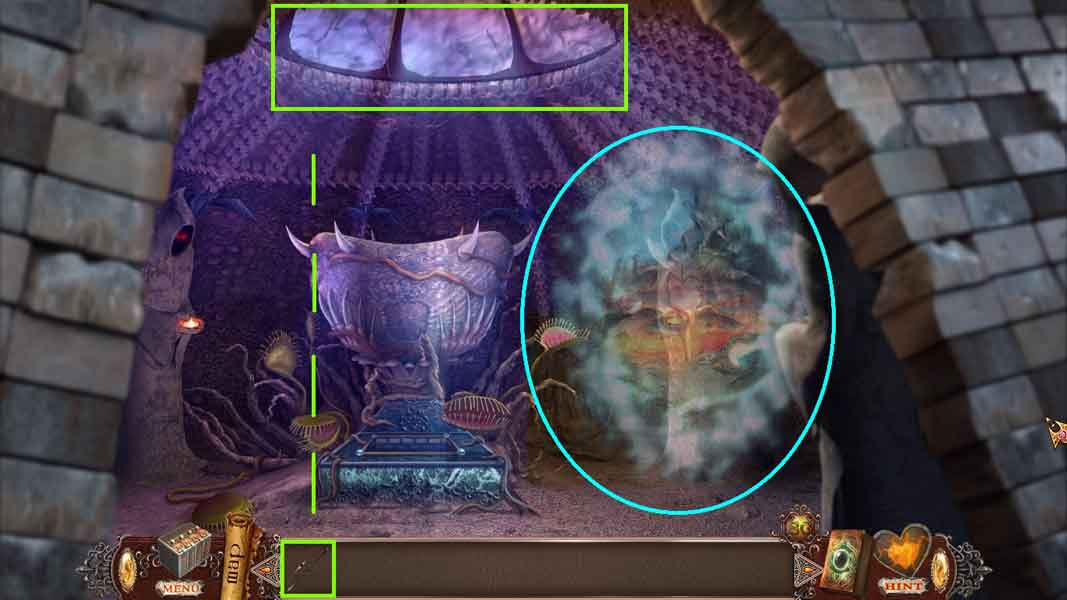
- Shoot the magic bow and arrow toward the dome.
- Collect the mirror shard.
- Move into the portal.
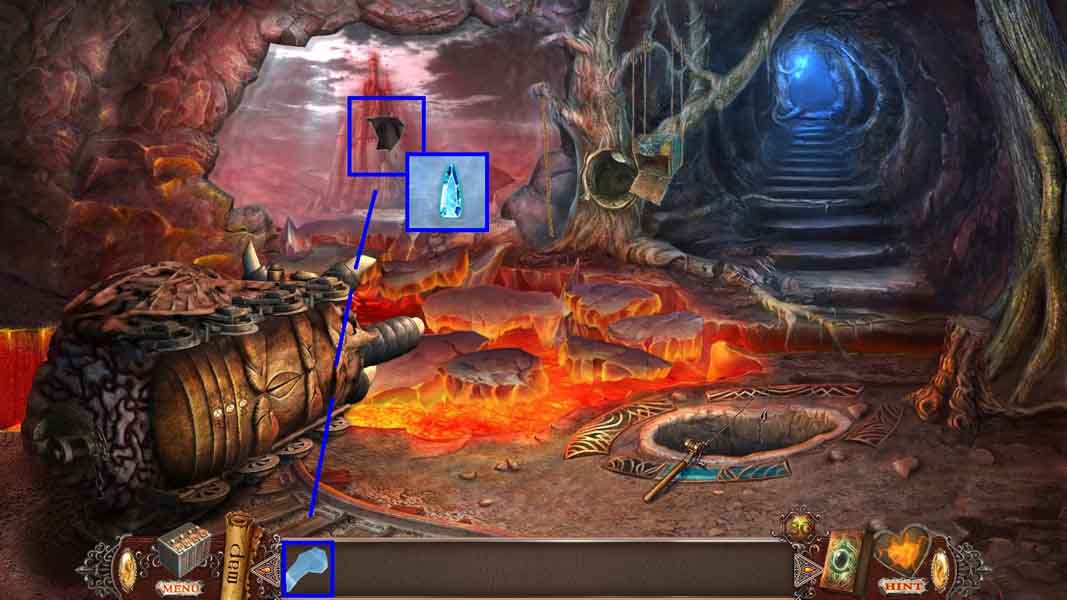
- Click the mirror and insert the mirror shard.
- Collect the gem and receive the diadem.
- Move to Alura’s Cage.
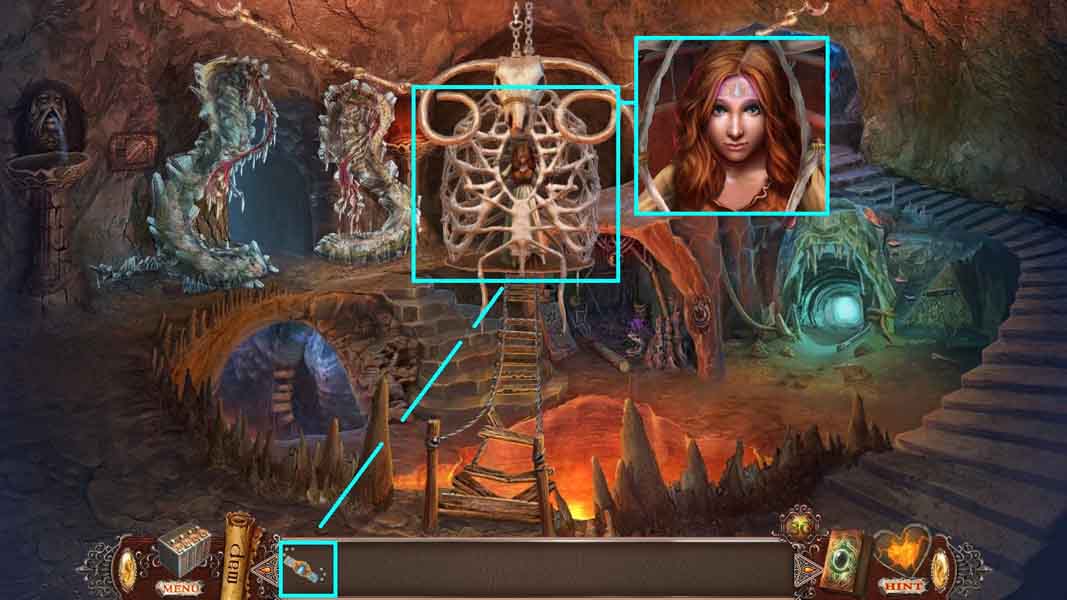
- Click the cage and give her the diadem.
-
Congratulations! You have successfully completed Love Chronicles: Salvation
Comments will load when you reach this part of the walkthrough.