

Chapter One: The Light Wizard's Village
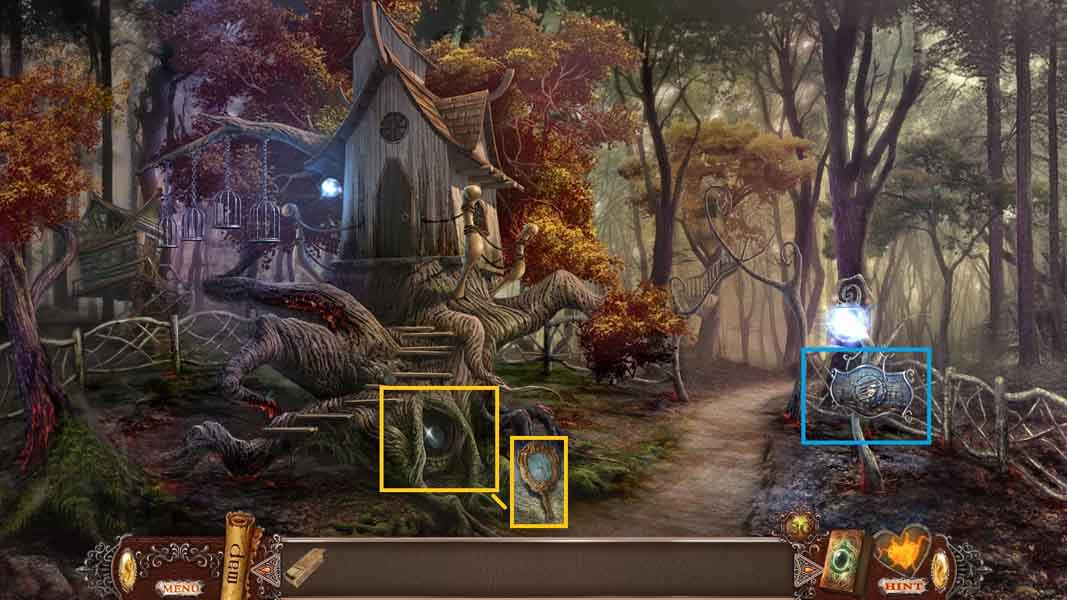
- Click the tree hollow then click the mirror.
- Collect the mirror.
- Examine the sign.
- Move ahead to the Well of the World of Evil.
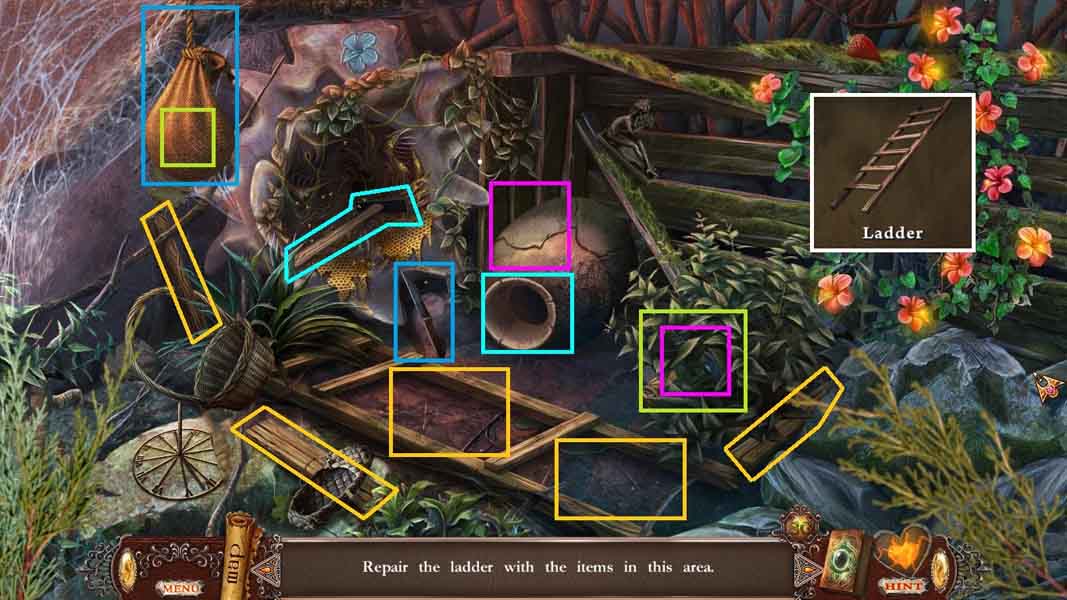
- Click the sparkles to access a mini-game.
- Lay the 3 wooden planks onto the ladder.
- Select the knife to slice the rope and collect the shears.
- Select the shears to trim the bush; collect the bottle.
- Use the spray bottle on the bees; collect the hammer.
- Select the hammer to smash the vase; collect the nails.
- Place the nails into the ladder.
- Drive the nails into the ladder using the hammer; collect the ladder.
- Move ahead to Alura’s flower.
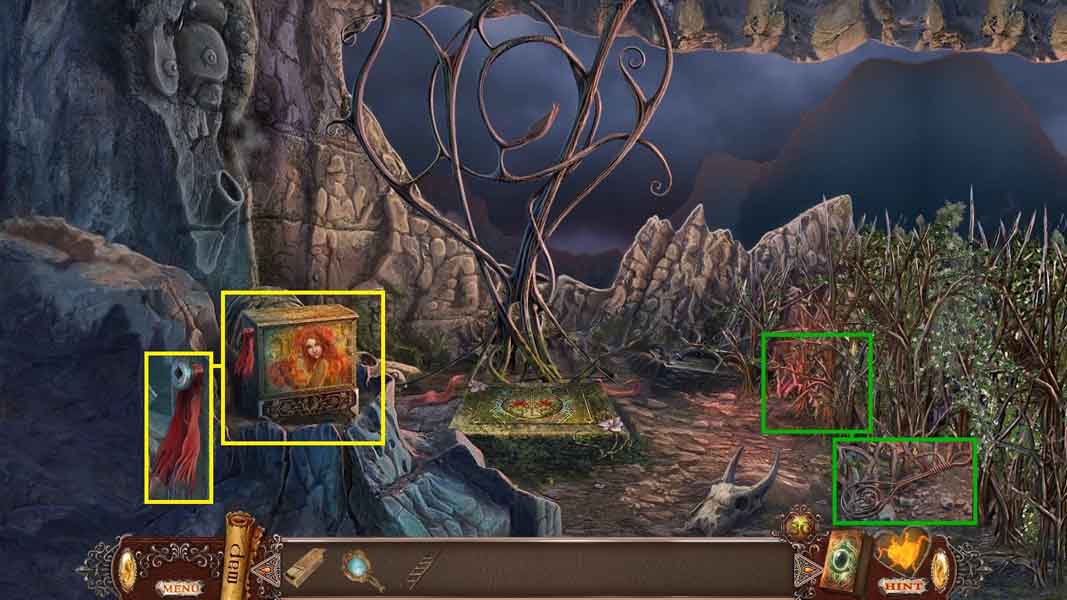
- Click the bush; collect the carpet beater.
- Click the box; collect the red scarf.
- Move to the Village of the Light Wizards.
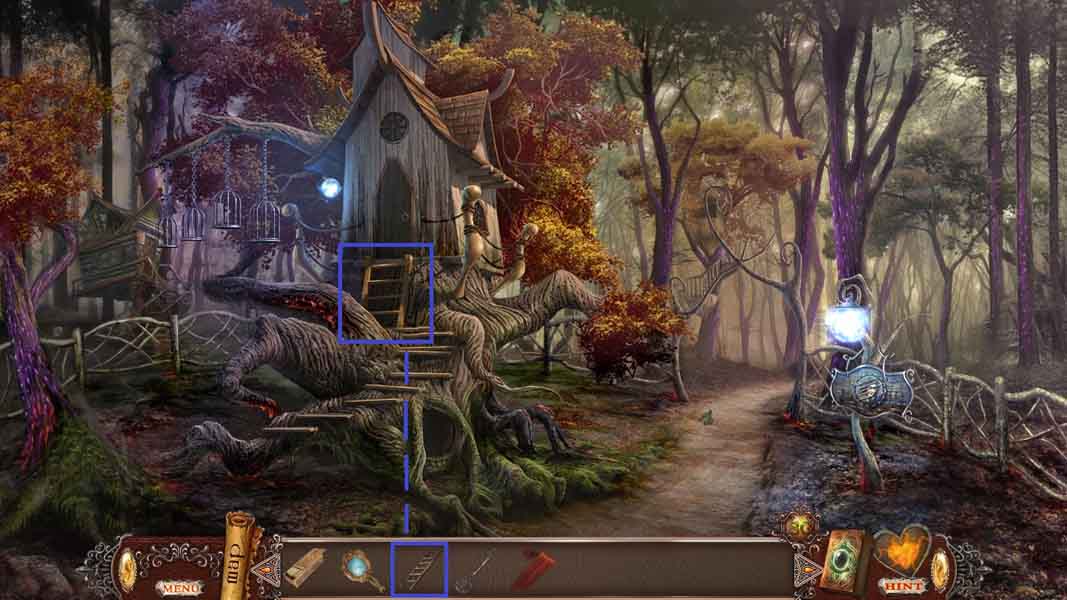
- Place the ladder onto the door.
- Move inside of the Wizard’s house.
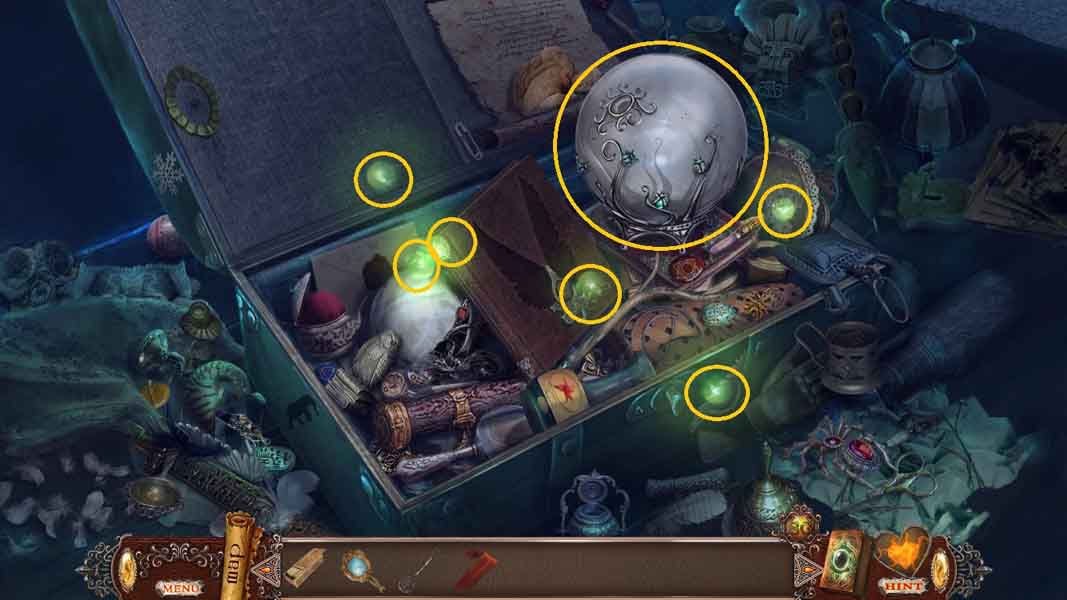
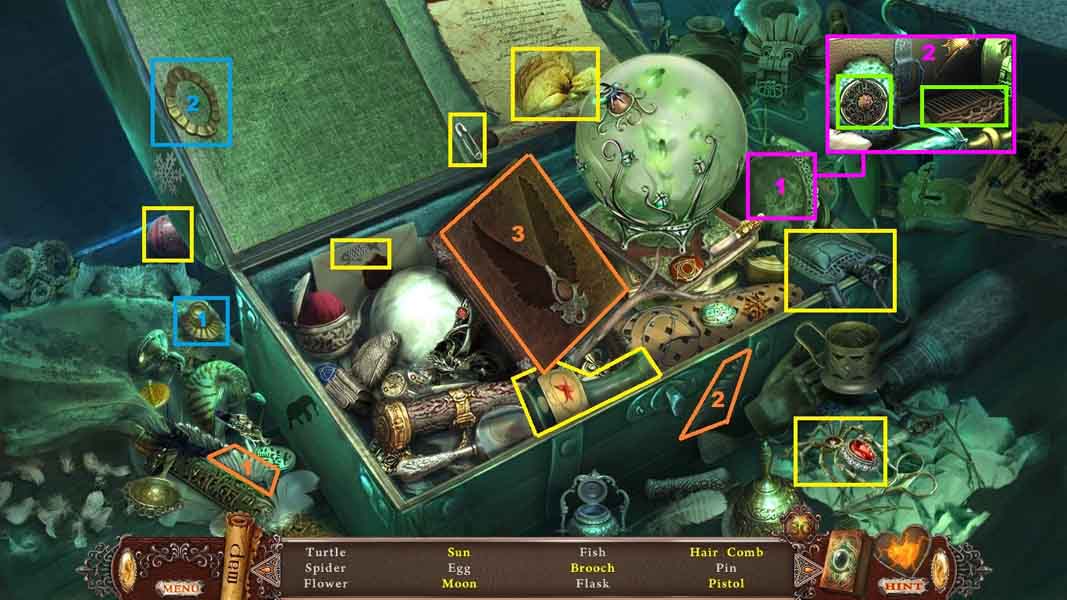
- Click the fireflies.
- Collect six of the fireflies and insert them into the globe to light up the scene.
- Play the hidden objects area.
- Collect the wings and insert them into the book; collect the sun.
- Place the knob onto the suitcase and click it; collect the pistol and the moon.
- Click the mirror; collect the brooch and the hair comb.
- Collect the flask.
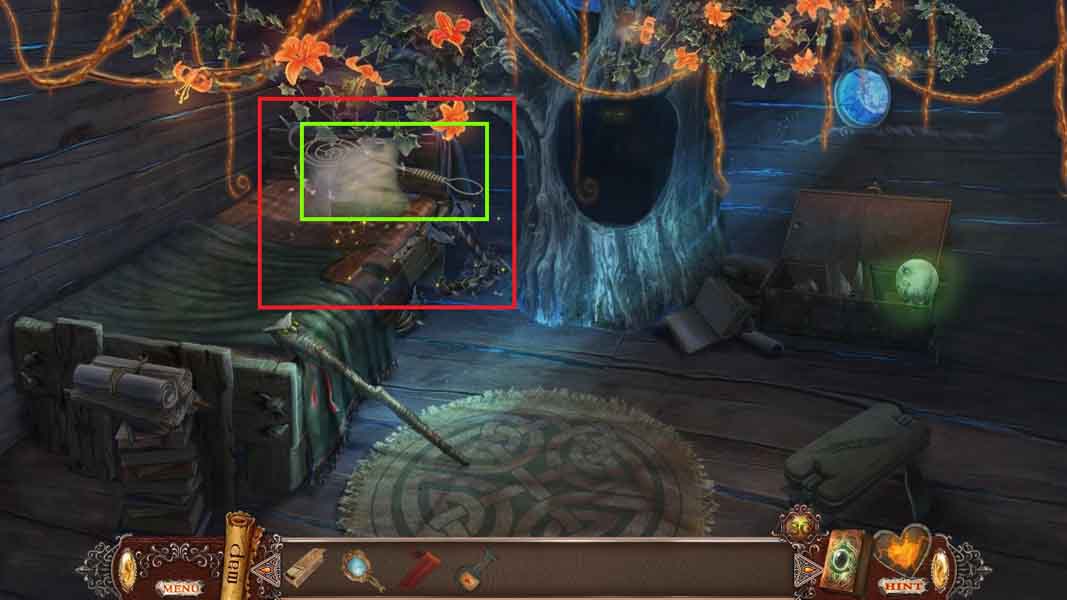
- Select the carpet beater and use it on the pillow.
- Click the pillow to access a hidden objects area.
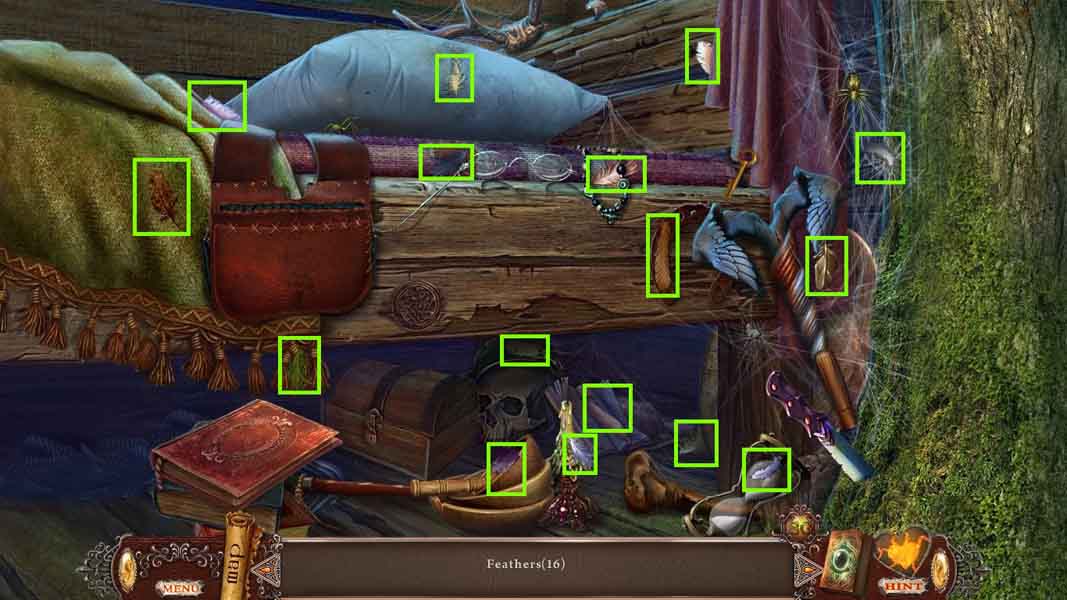
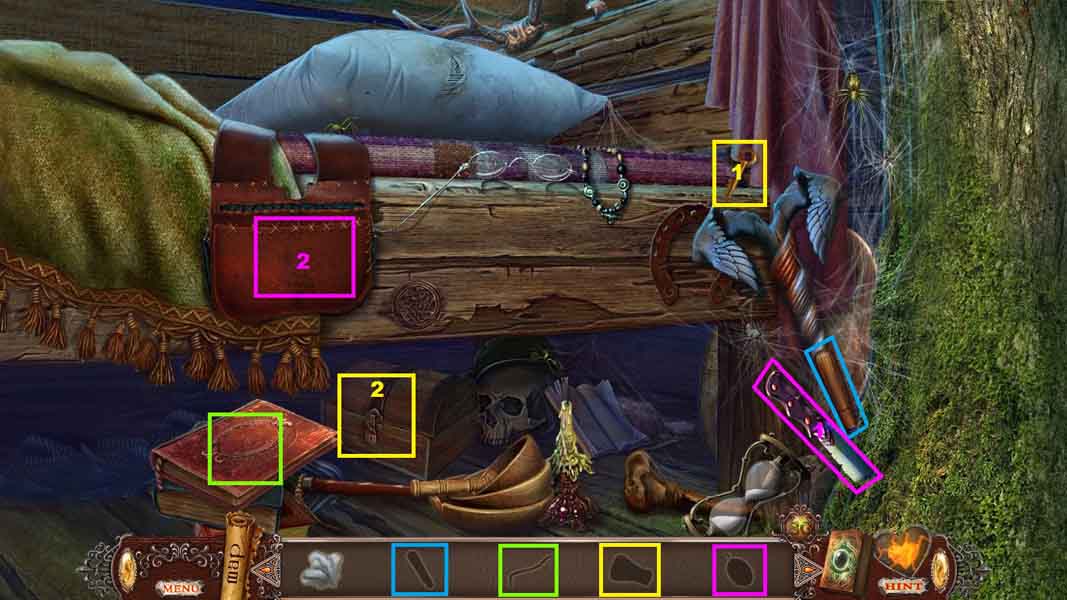
- Find the 16 feathers.
- Find the silhouetted items.
- Collect the feather duster.
- Move down once.
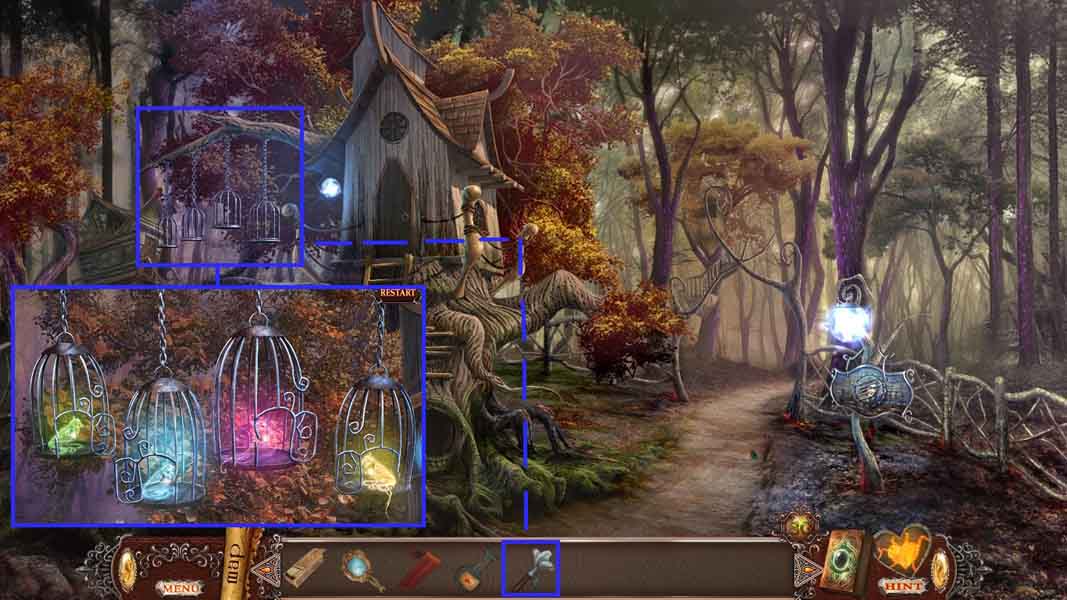
- Click the cages.
- Use the feather duster on the cages to trigger a puzzle.
- Solve the puzzle by clicking the birds in the same pattern that they chirp and flap 3 times.
- Collect the 4 coins.
- Move to the Wizard’s house.
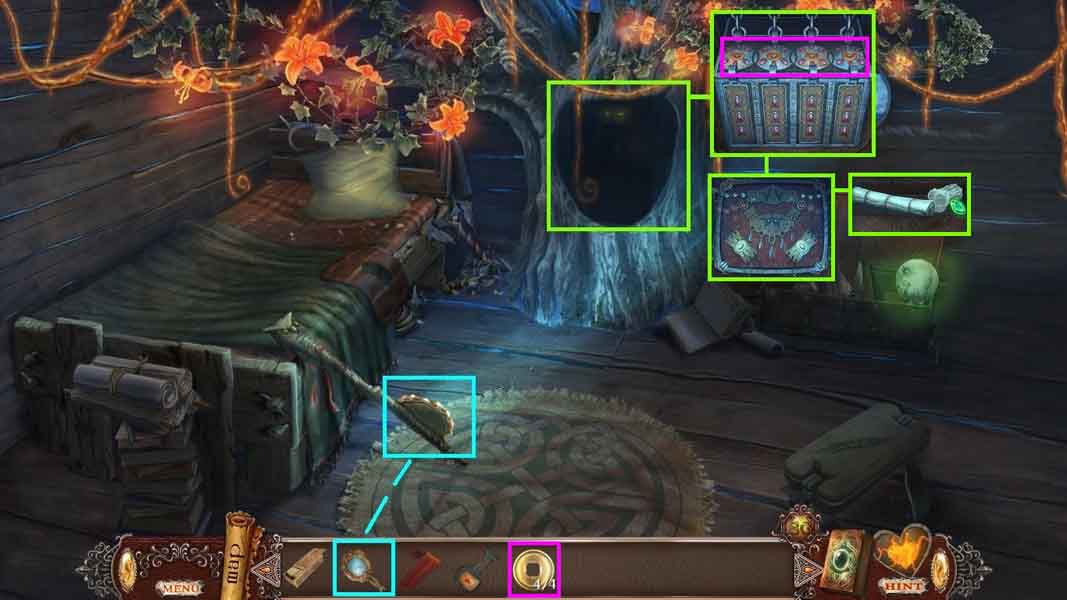
- Lay the mirror against the staff.
- Click the hollow of the tree 2 times.
- Insert the 4 coins into the chest and click it open; collect the amulet holder, the gem, the note and the candle.
- Move to the Well to the World of Evil.
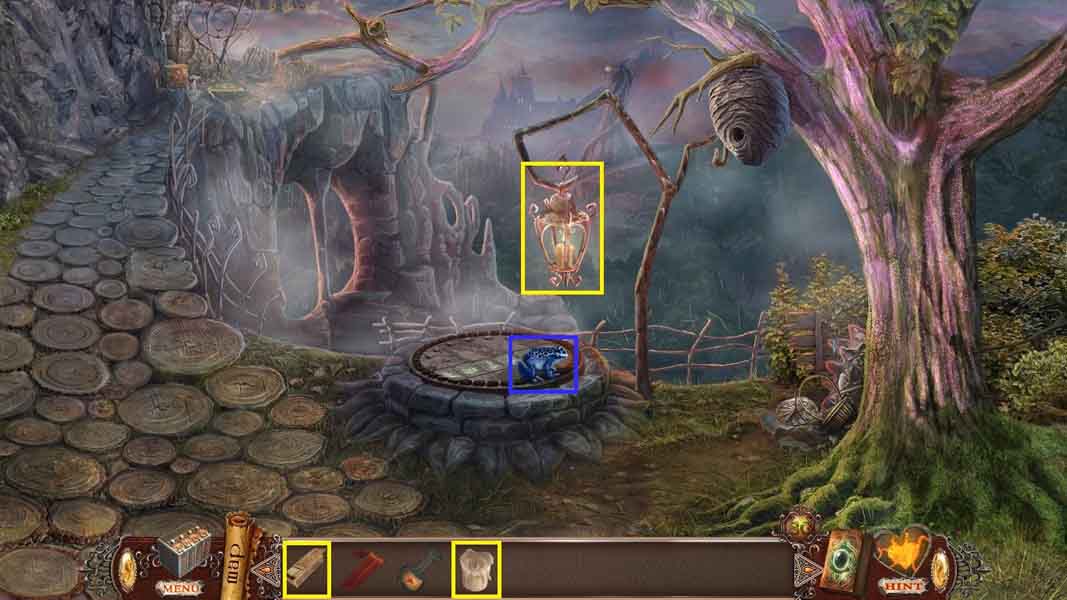
- Click the lantern and insert the candle.
- Use the matches to light the candle.
- Click the frog and zoom into the well to trigger a puzzle.
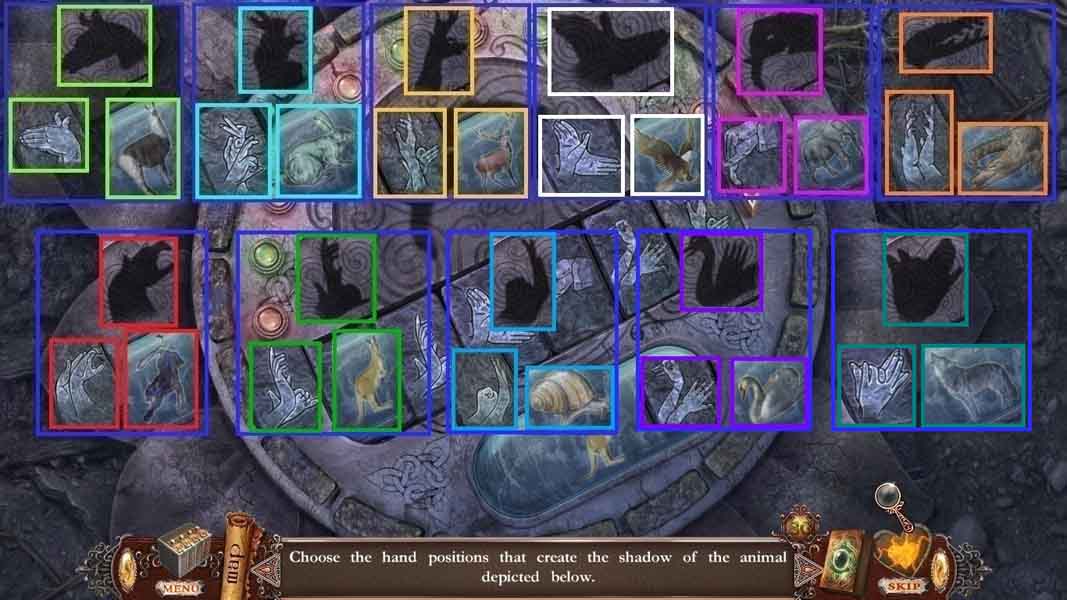
- Match the animals to their shadows to solve the puzzle.
- Move into the Well to the World of Evil.
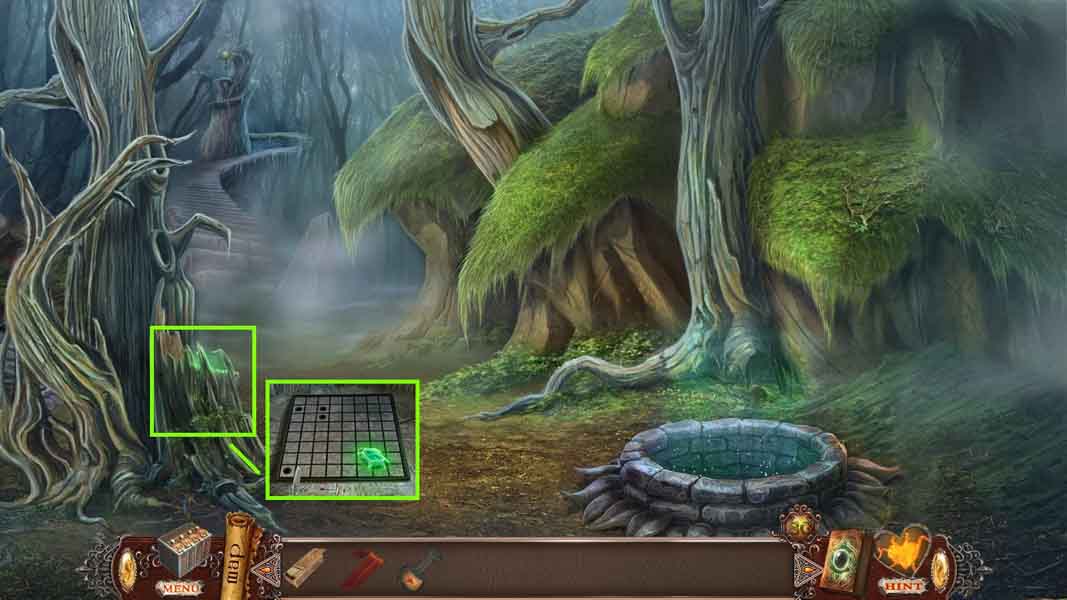
- Click the tree stump and collect the gem and the plates 1 / 2.
- Move ahead to Zander’s mountain.
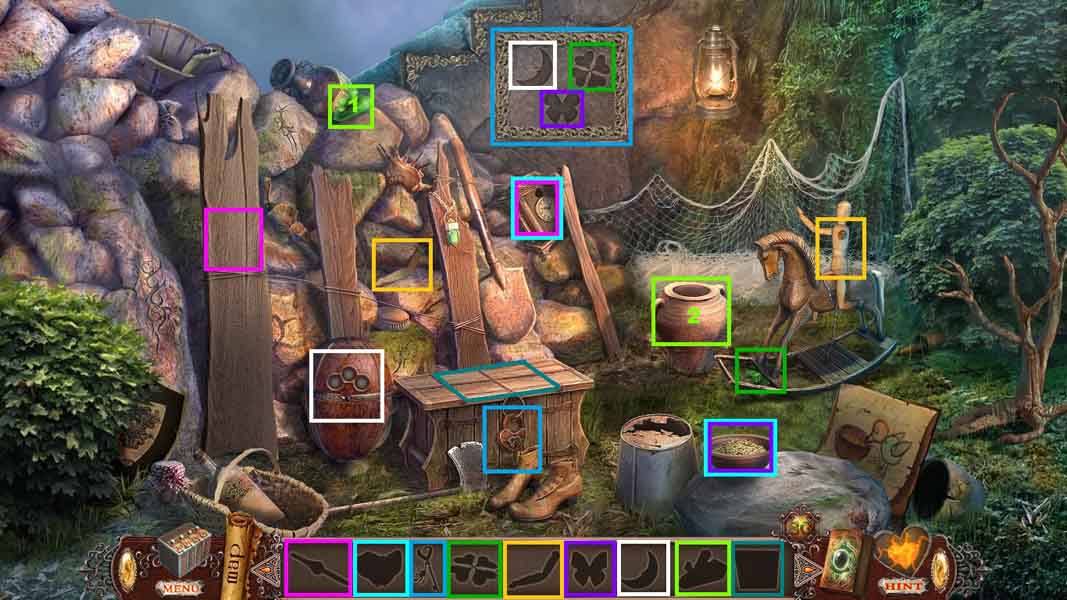
- Click the hidden objects area.
- Click the board and collect the clock hand.
- Click the clock and insert the clock hand; change the time to 12:00 and collect the bird.
- Place the bird onto the seeds and collect the butterfly.
- Attach the arm onto the dummy.
- Click the dummy and collect the clover.
- Collect the glowing crystal.
- Click the vase and insert the glowing crystal.
- Click the pod and change the number to 713; collect the moon.
- Insert the moon, butterfly and clover into the slots.
- Collect the key and insert it into the lock.
- Click the chest and collect the plates 2 / 2.
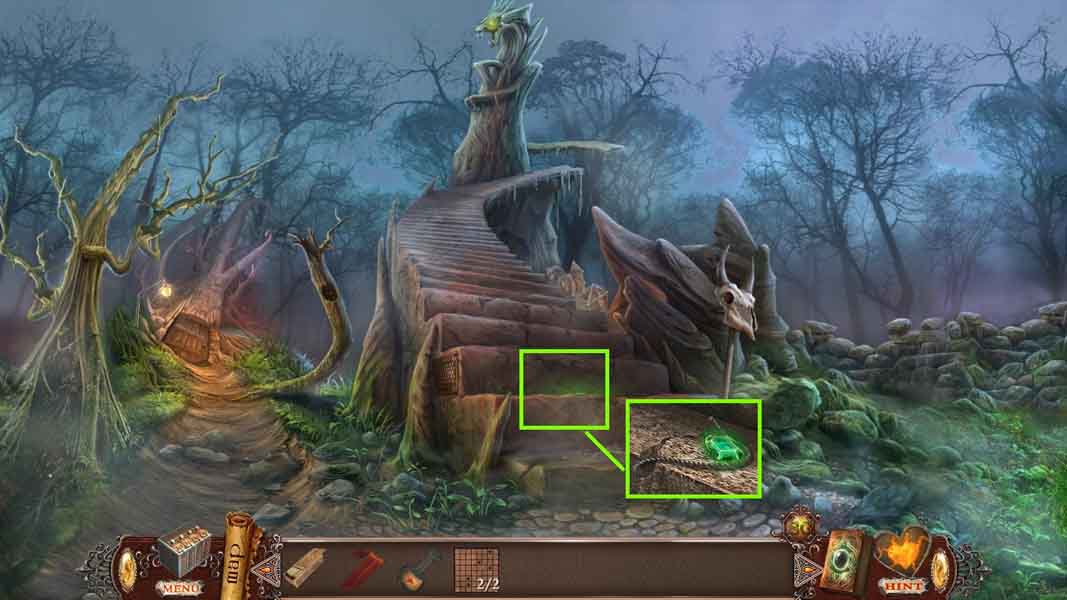
- Click the steps and collect the rope and the gem.
- Move ahead on the left.
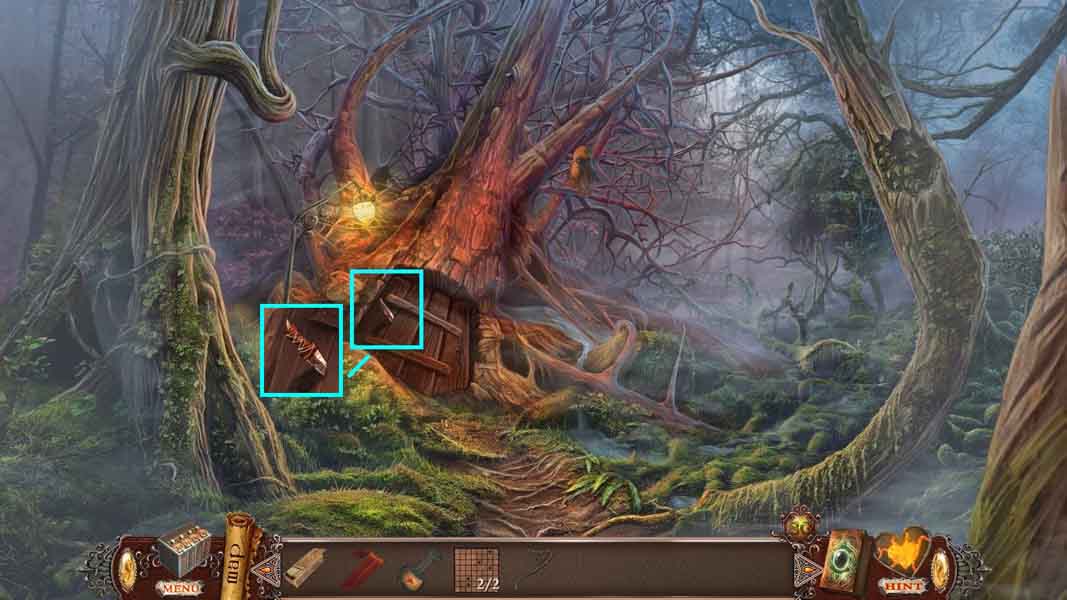
- Zoom into the door.
- Place the red scarf onto the blade.
- Connect the rope to the blade; collect the hunting knife.
- Move to Alura’s Flower.
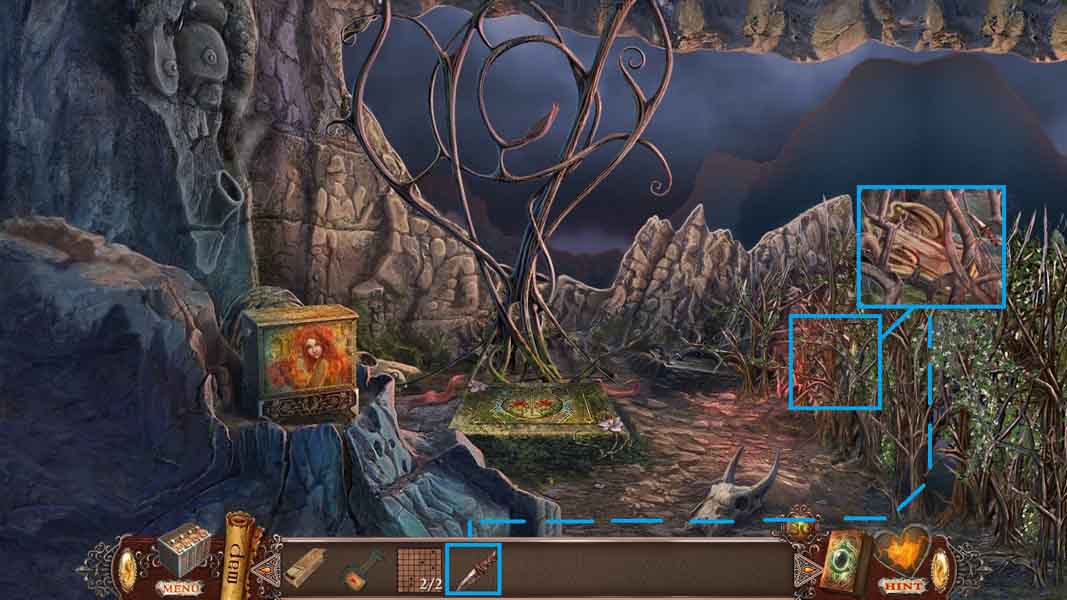
- Click the bushes and cut them using the hunting knife; collect the brushwood.
- Collect the wizard figurine.
- Move to Zander’s mountain.
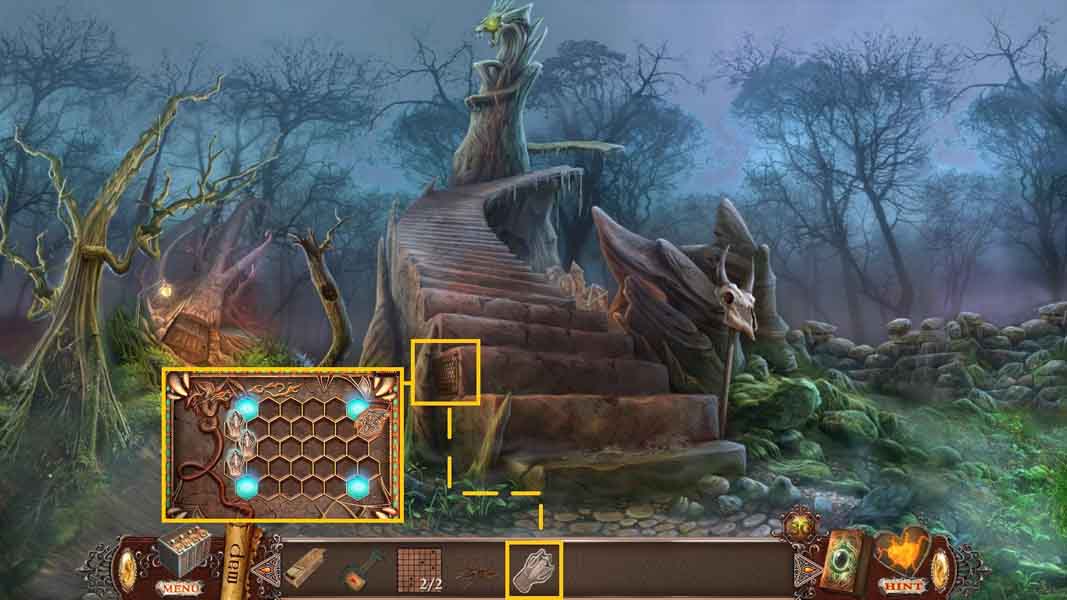
- Click the side of the steps and insert the wizard figurine to trigger a puzzle.
- Move the wizards into the correct areas to move the dragon into the blue zone.
- The solution is random.
- Move up the stairs to the Mountain Top.
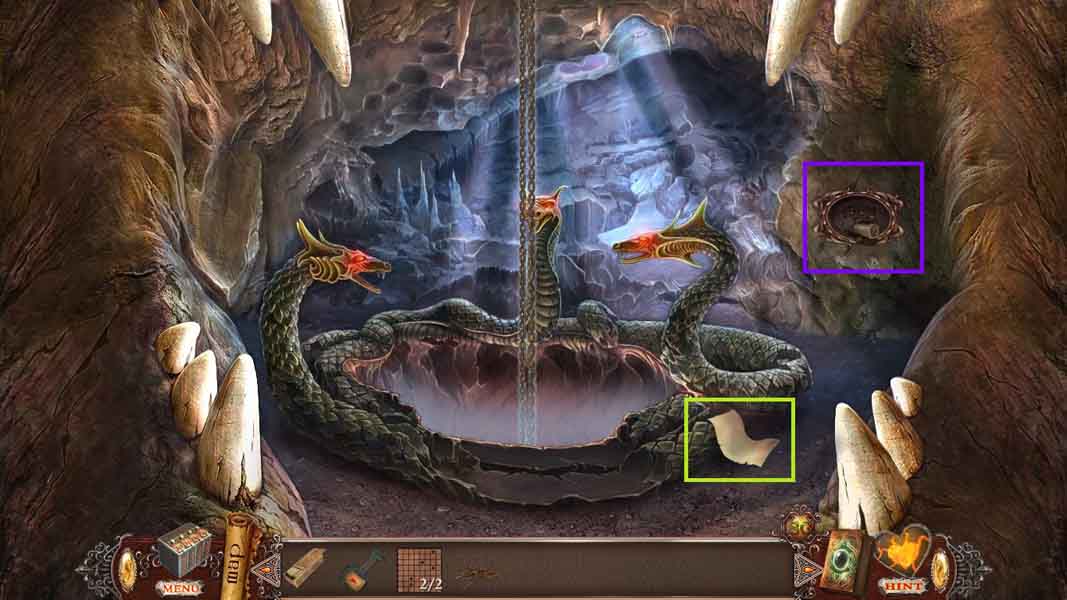
- Collect the paper sheet.
- Click the niche; collect the note and the door handle.
- Move to the shack on the marsh.
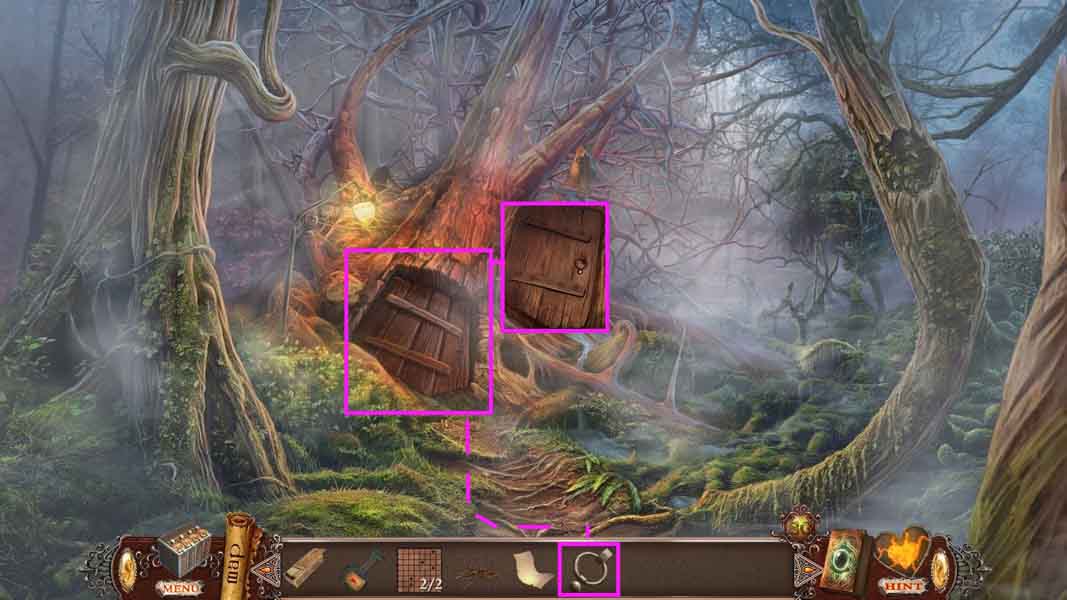
- Click the door and attach the door handle.
- Click the handle and move inside of the forge.
- Click the hidden objects area.
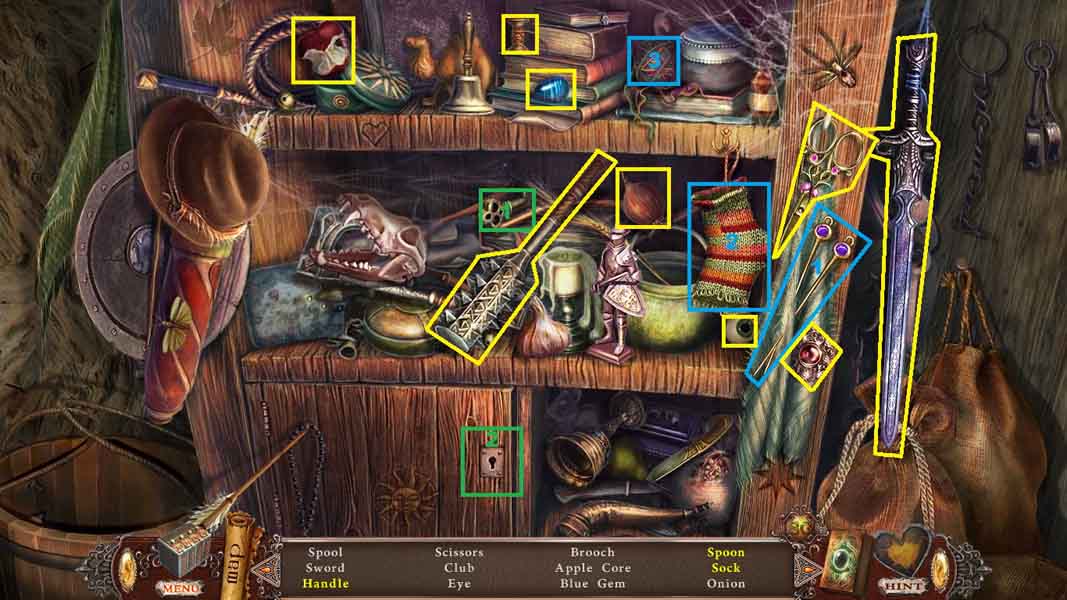
- Find the listed items.
- Select the key and use it to unlock the cabinet; collect the spoon and the handle.
- Select the sewing needles and insert them into the sock then attach the yarn; collect the mended sock.
- Collect the handle.
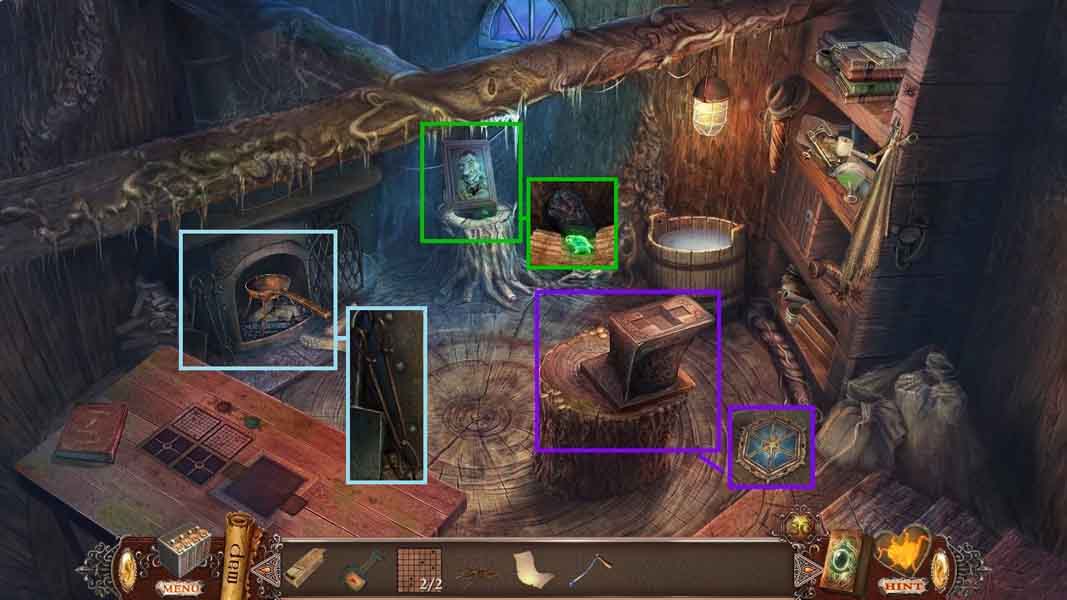
- Click the tree stump; collect the gem to receive the bracelet.
- Collect the coal.
- Click the fireplace and collect the tongs.
- Zoom into the molding and collect the amulet.
- Move to At the Mountain Top.
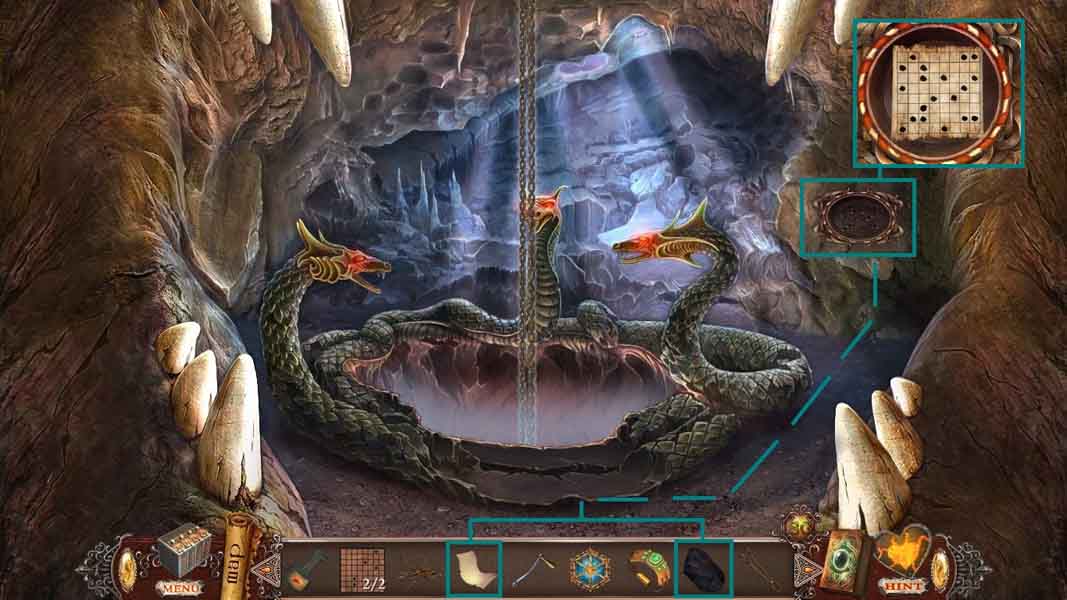
- Click the niche and insert the paper sheet.
- Use the coal on the paper sheet to read the clue.
- Collect the lock impression.
- Move to Alura’s flower.
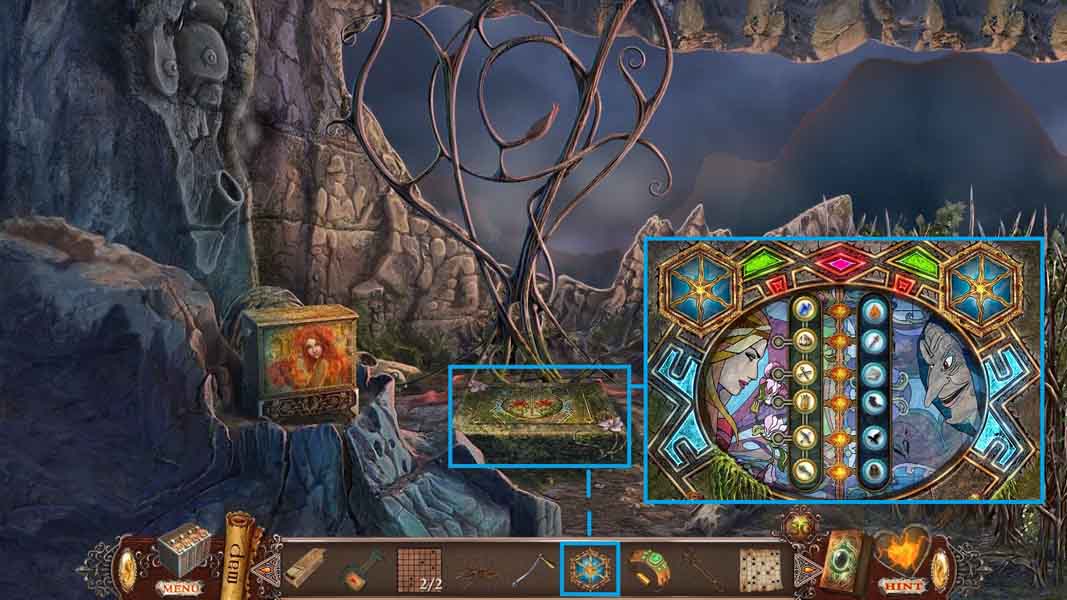
- Click the mosaic and insert the amulet to trigger a puzzle.
- Arrange the tokens to match the elements.
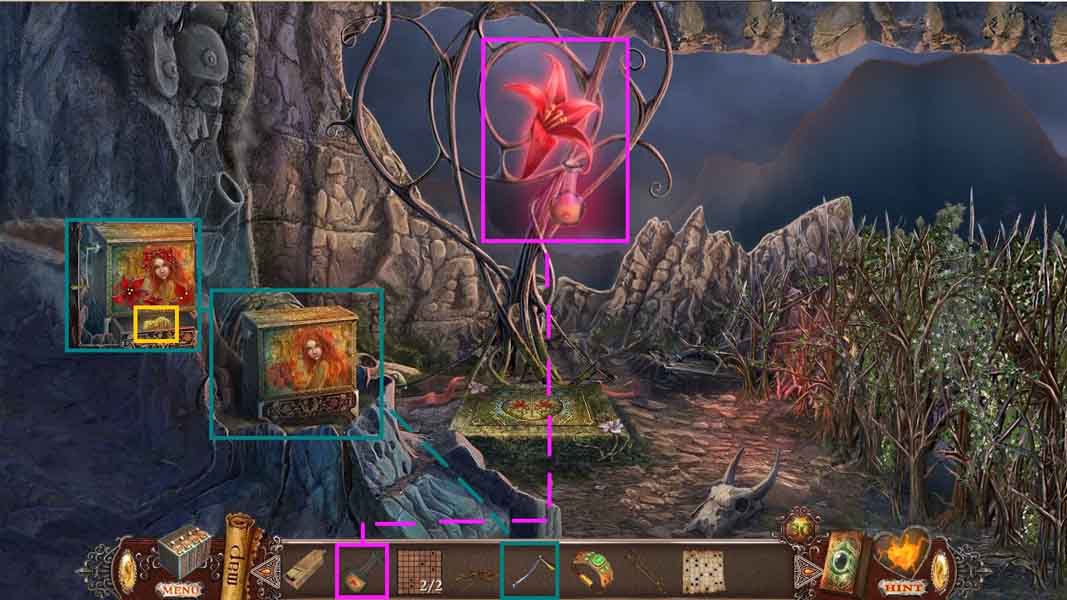
- Place the flask onto the flower; collect the flask with nectar.
- Click the box and attach the handle.
- Click the handle; collect the precious metal.
- Move to the Forge.
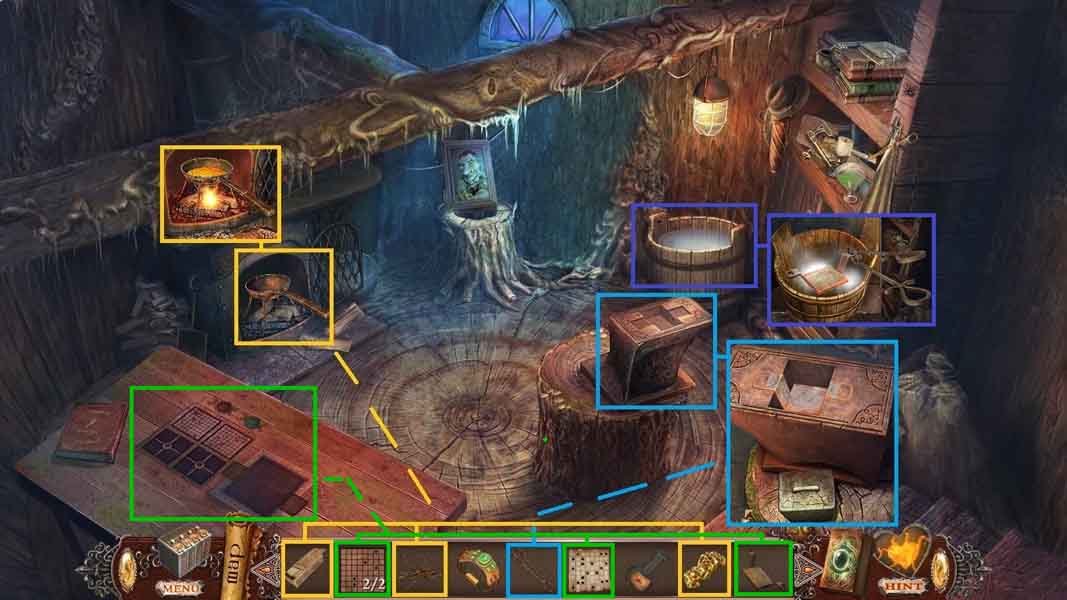
- Click the fireplace and insert the brushwood.
- Use the matches to light the wood.
- Insert the precious metal into the pan; collect the molten metal.
- Click the mold and insert the molten metal.
- Click the brick and use the tongs to collect the molten flat key.
- Click the bucket and insert the molten flat key; collect the flat key.
- Click the table.
- Place down the 2 plates, the lock impression and the flat key to trigger a puzzle.
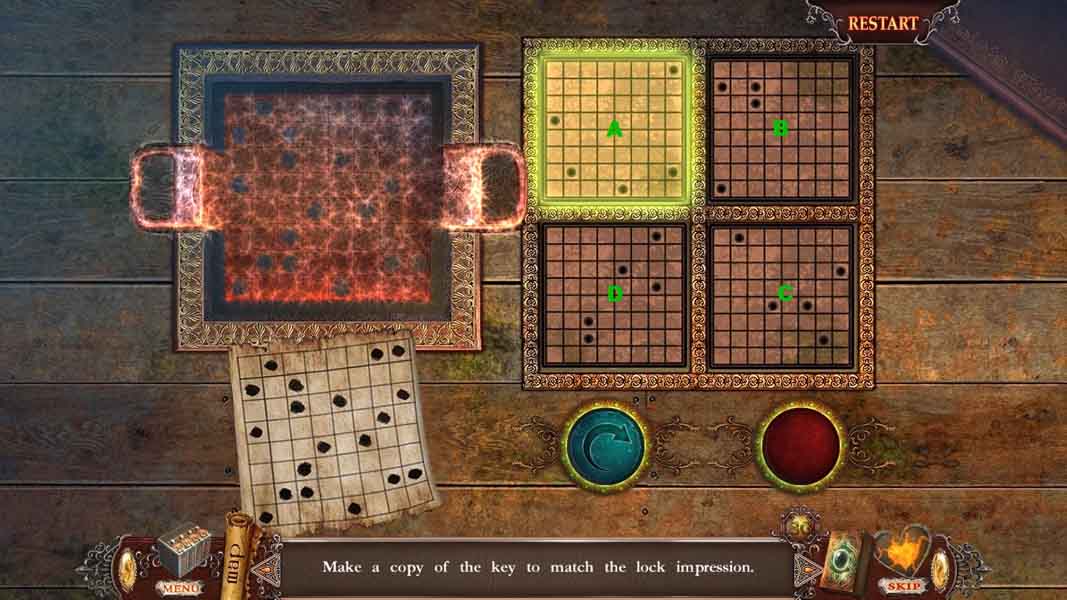
- To solve the puzzle create a copy of the key that matches the lock impression.
- Rotate the trays in ABC order to match the trays shown.
- When the trays are all in position click them in ABC order using the red button to create the impression.
- Collect the special key.
- Move to At the Mountain Top.
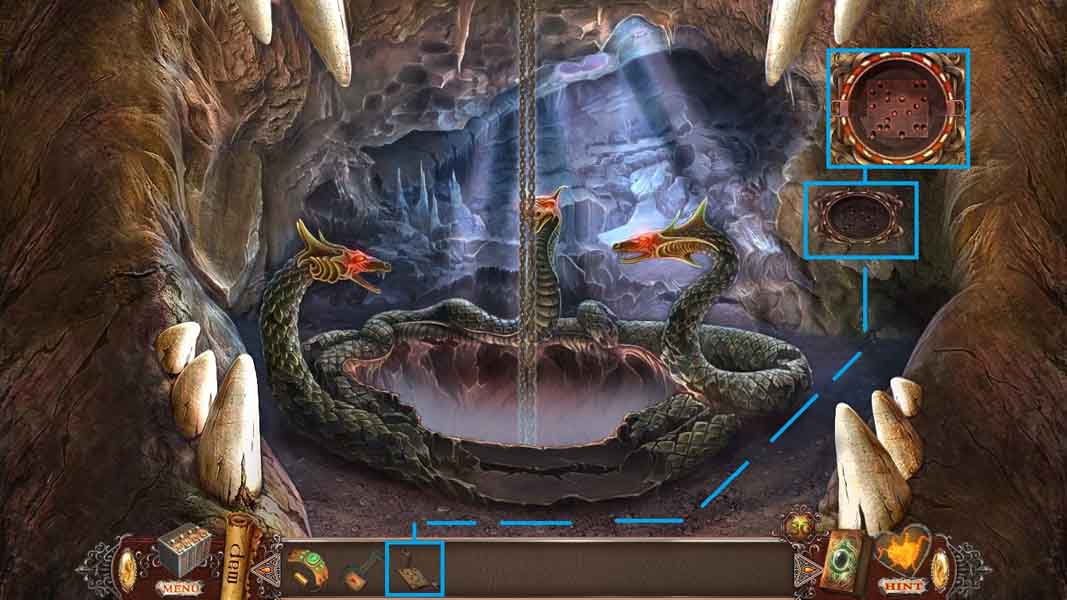
- Click the niche; place the special key into it.
- Move down the elevator.
Comments will load when you reach this part of the walkthrough.