

Chapter Six: The Lake
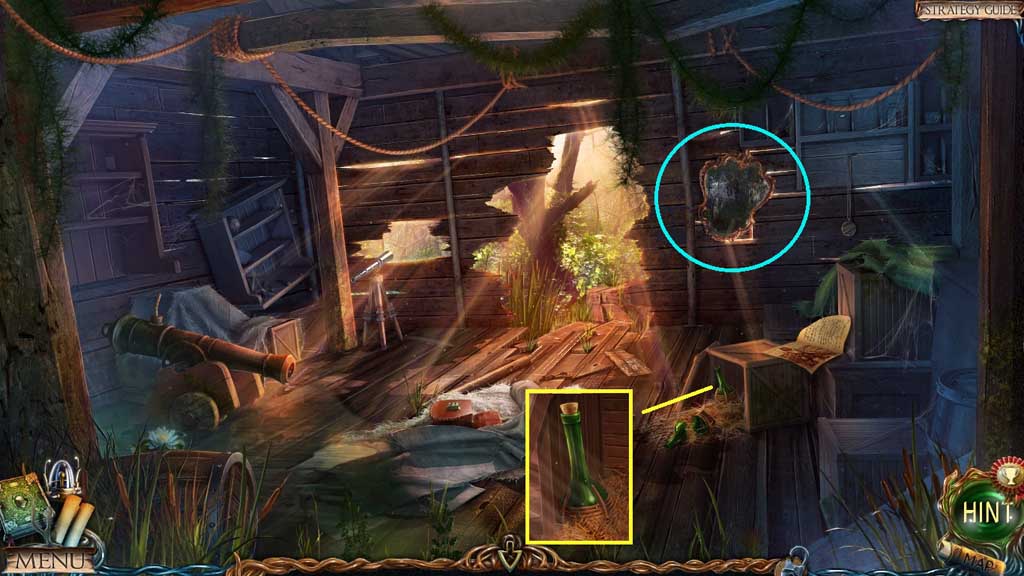
- Insert the cork; collect the bottle of rum.
- Clean and collect the mirror.
- Move ahead.
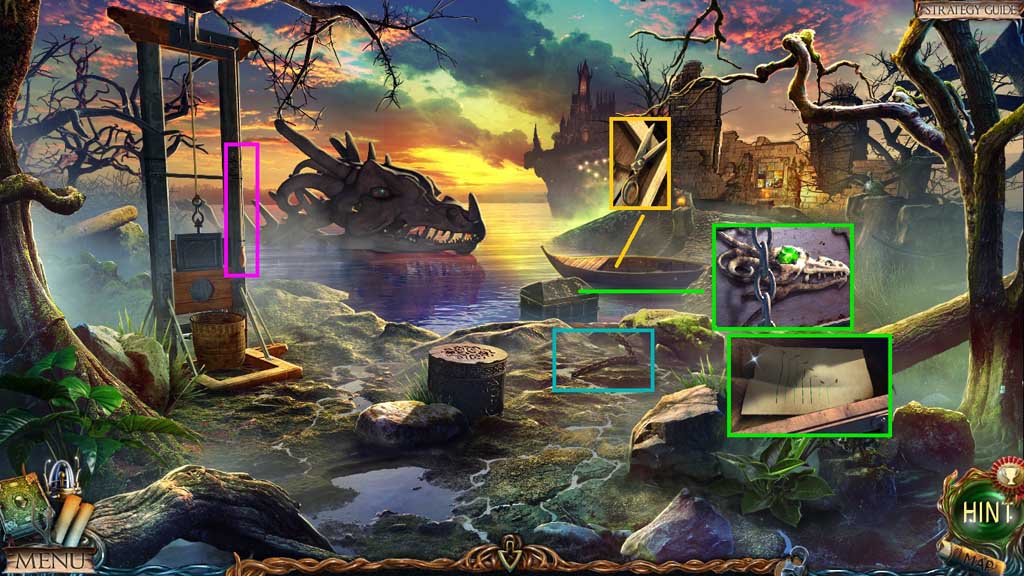
- Collect the scissors.
- Click the chain 2x’s.
- Insert the precious stone; collect the tuning table.
- Click the rope.
- Move down 2x’s.
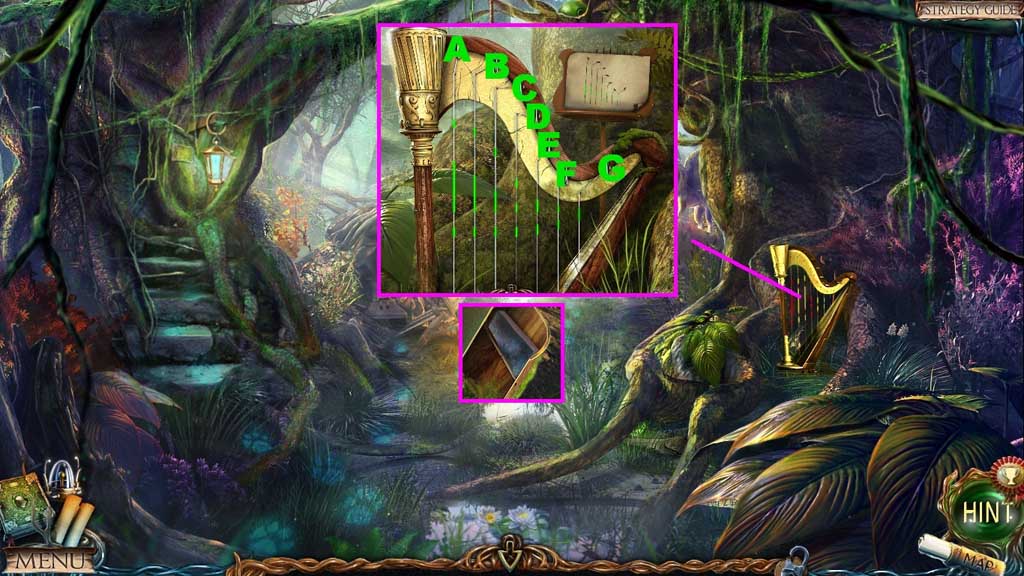
- Place the tuning table near the harp to trigger a mini game.
- Solve the game by arranging the markers as shown in the diagram.
- Use the following solution to solve: A x 4 – B x 3 – C x 5 – D x 2 – E x 5 – F x 7 – G x 5
- Collect the fresco detail.
- Move ahead 2x’s.
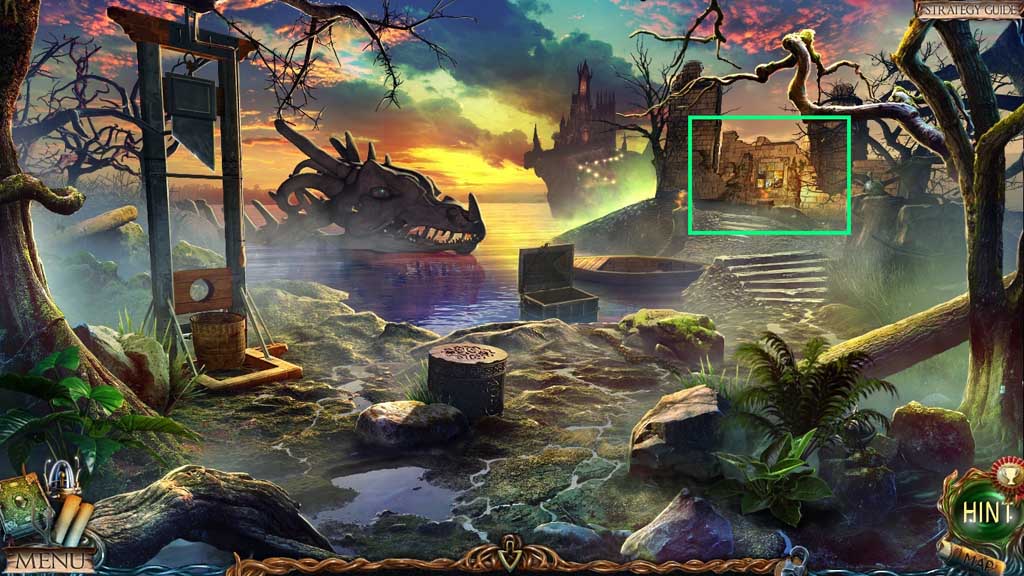
- Insert the fresco detail.
- Move to the Dwarf Slums.
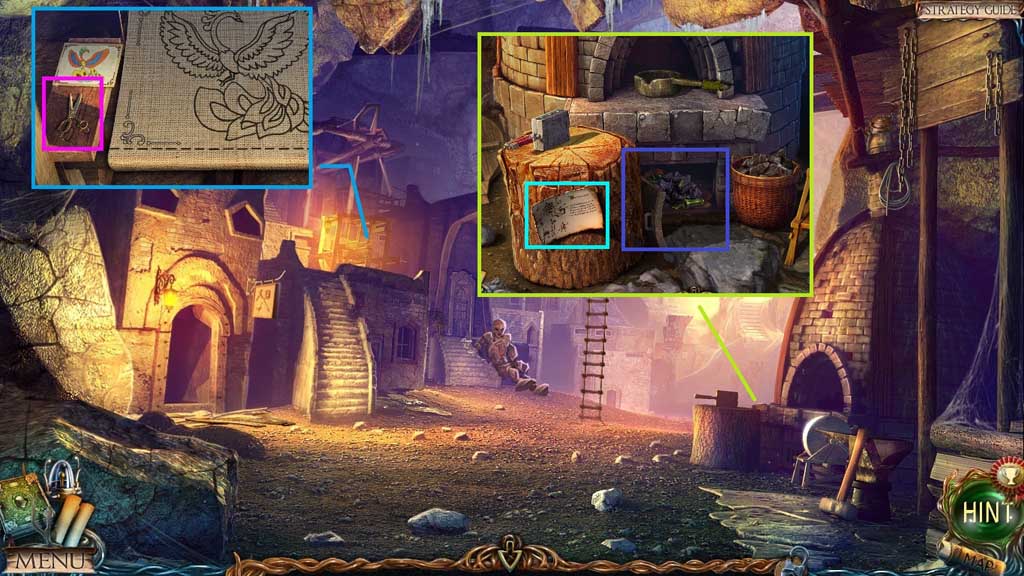
- Place the scissors near the tapestry.
- Read the recipe.
- Click the oven door; place the coal inside and toss in the bottle of rum.
- Move to the Marquee.
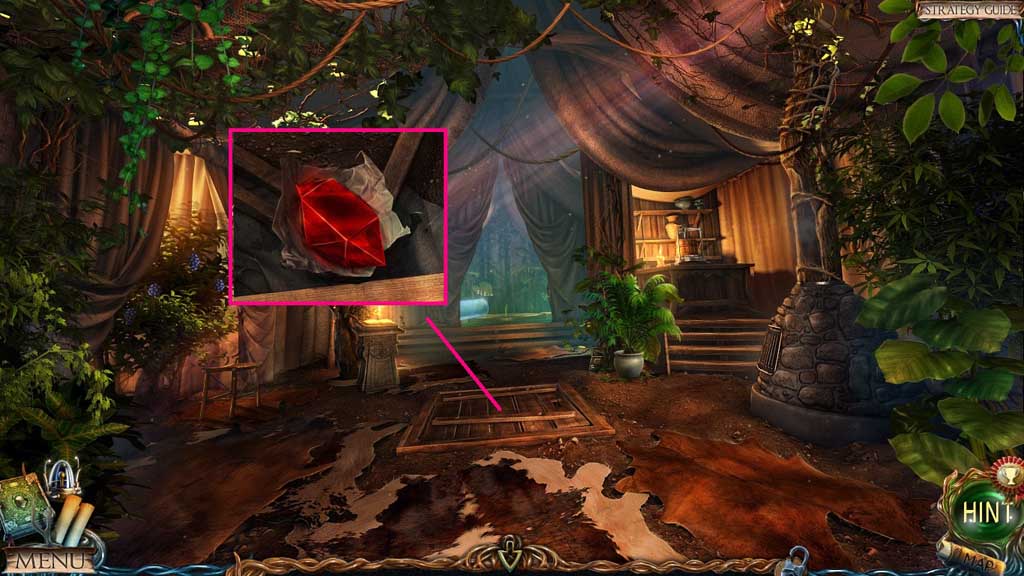
- Attach the handle onto the trapdoor; click it.
- Click the package; collect the red stone and read the note.
- Move down 3x’s.
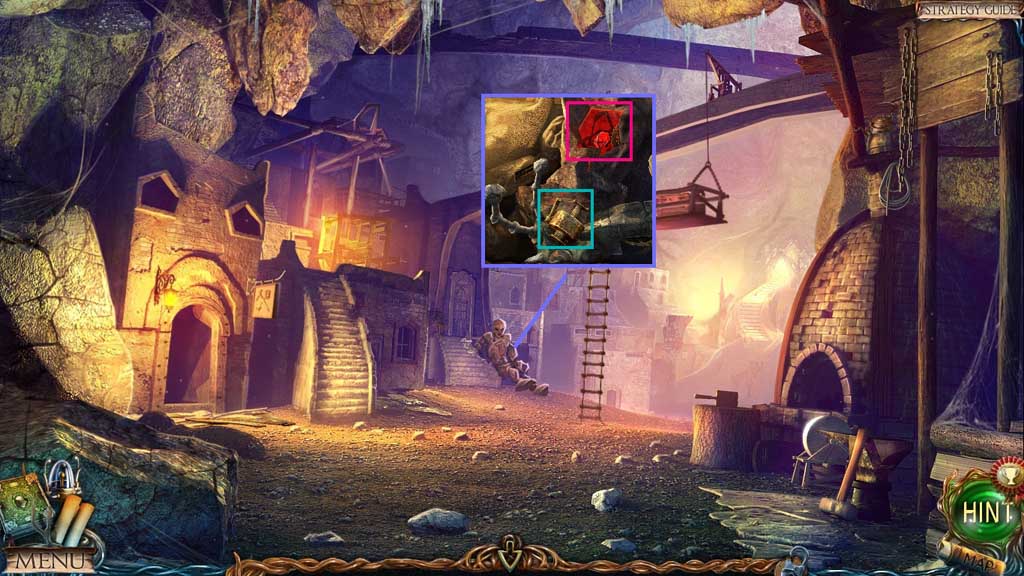
- Click the compartment and insert the red stone.
- Collect the jack.
- Move to the right.
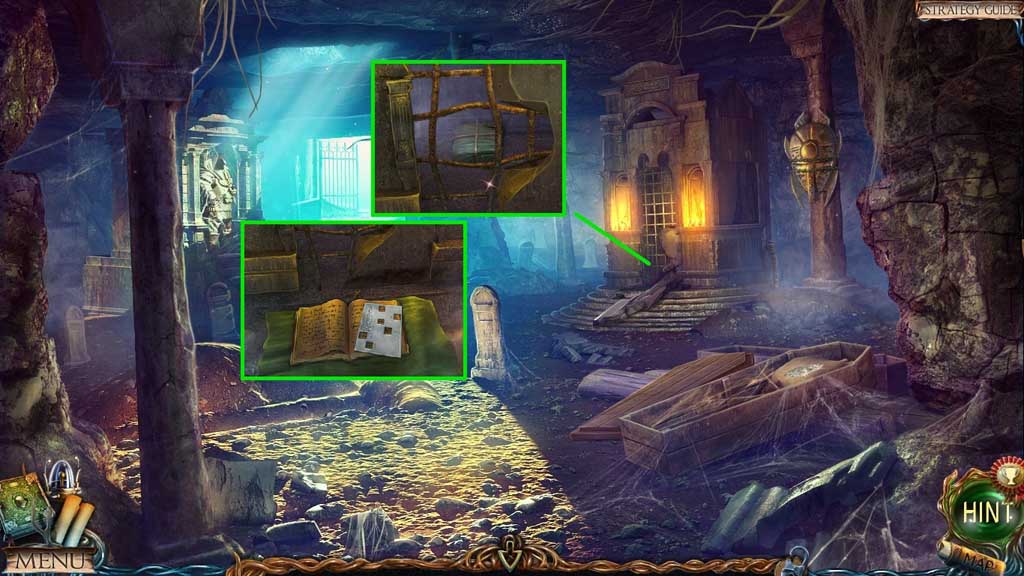
- Select the jack to collect the parcel.
- Select the knife to open the parcel and the book.
- Collect the punch card.
- Move to Maaron’s Cottage.
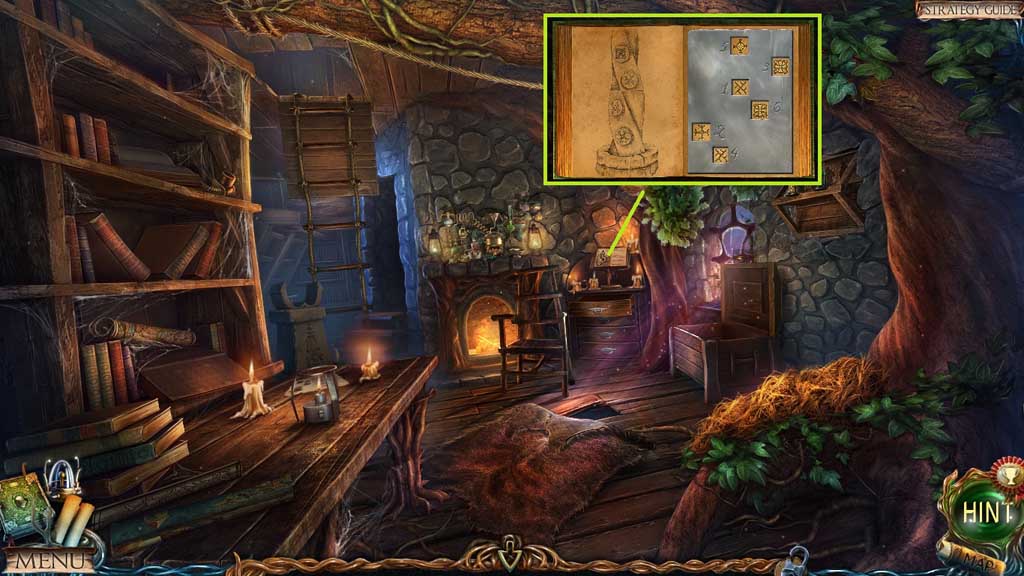
- Place the punch card onto the book.
- Notice the symbols.
- Move to the Abandoned Halfling Settlement.
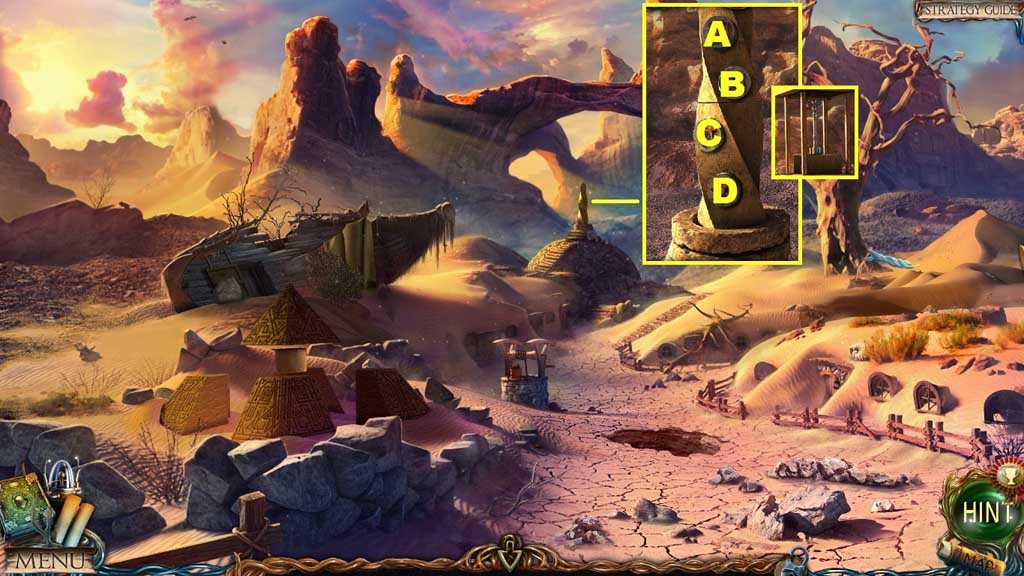
- Click the symbols in the correct sequence.
- Use the following solution: B – D – A – B – C – A
- Collect the key.
- Move to the Canyon.
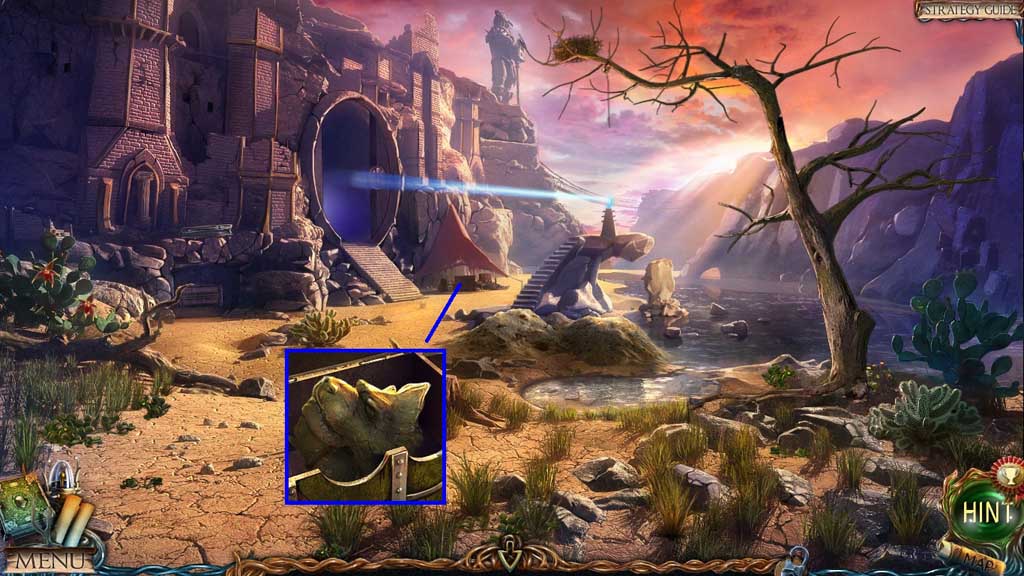
- Insert the key.
- Collect the chimera head.
- Move to the Swamps.
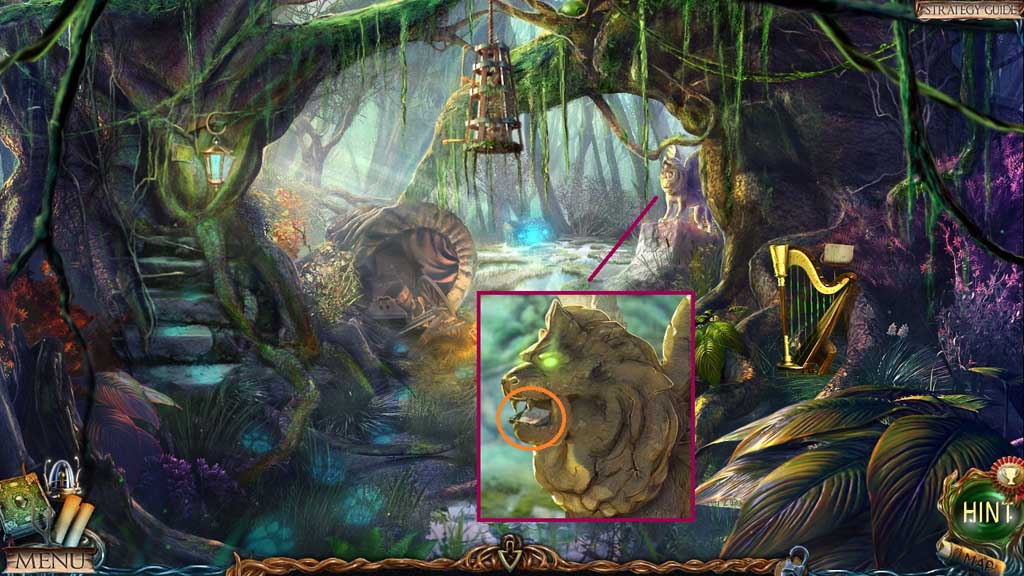
- Attach the chimera head; collect the fresco detail.
- Move ahead 2x’s.
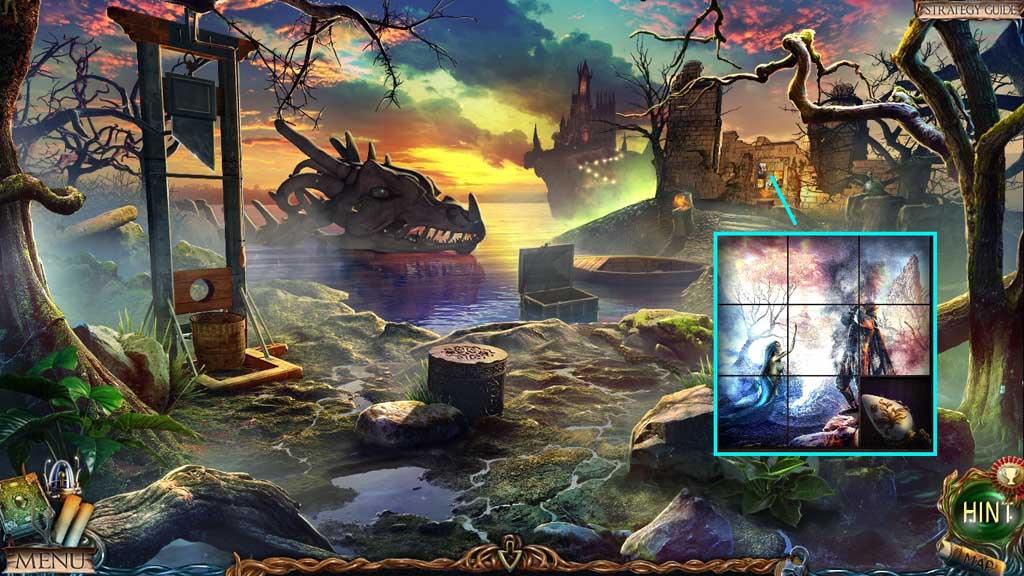
- Insert the fresco detail to trigger a mini game.
- Solve the game by reassembling the image.
- Collect the vial for living water.
- Move to the Lake of Life.
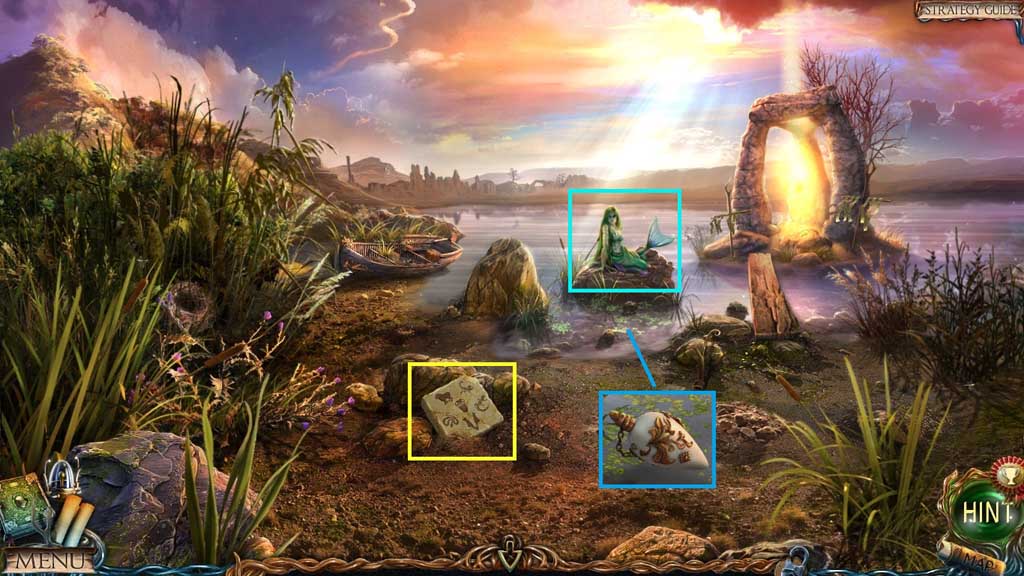
- Speak to the mermaid.
- Dip the vial for living water to collect the living water.
- Zoom into the plate.
- Move to the Canyon.
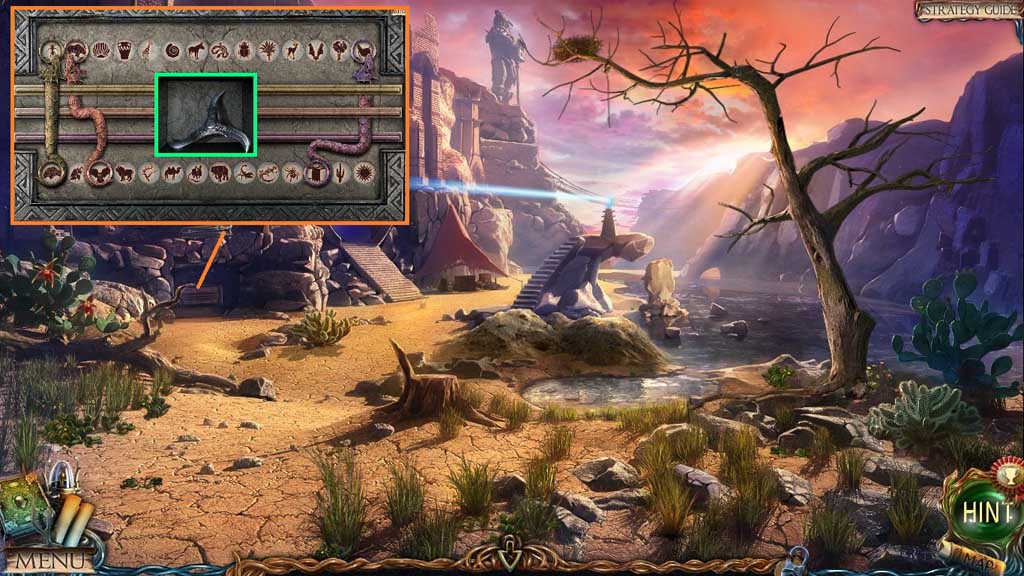
- Zoom into the cove to trigger a mini game.
- Solve the game by arranging the snakes to point the symbol pairs.
- Collect the boomerang.
- Move to the Swamps.
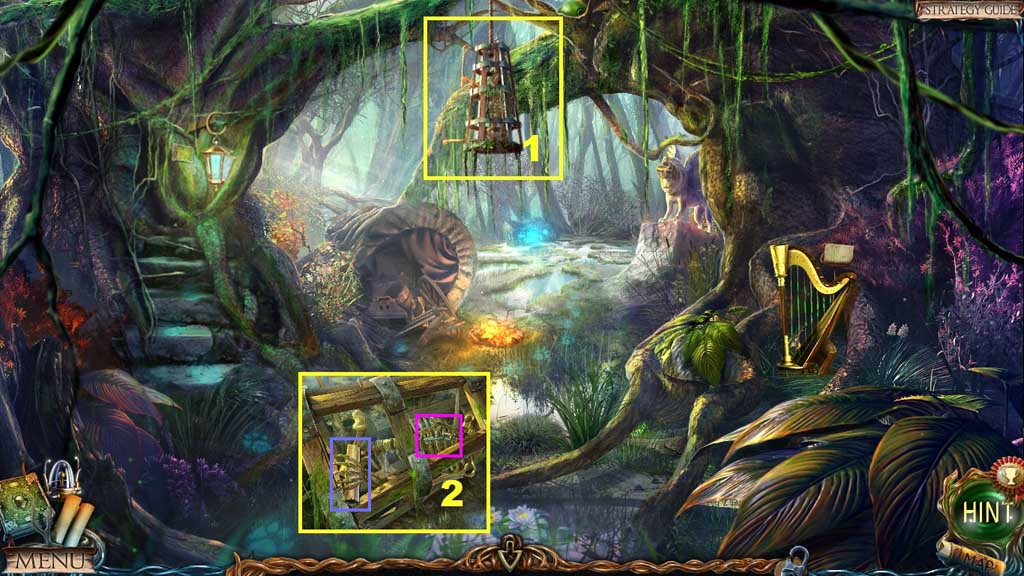
- Toss the boomerang.
- Collect the note and the key.
- Move down once.
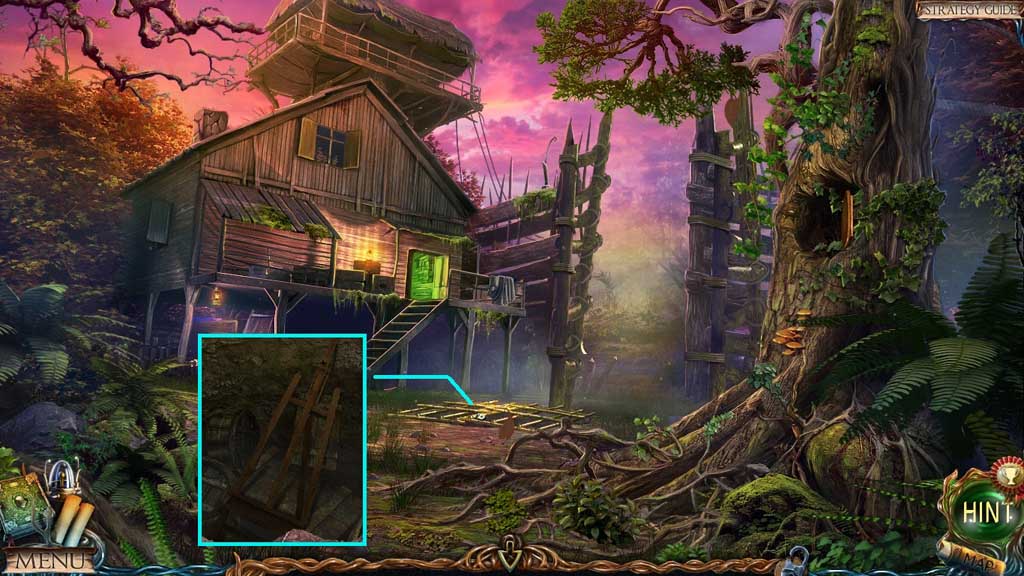
- Insert the key.
- Collect the easel.
- Move to the Tower Hall.
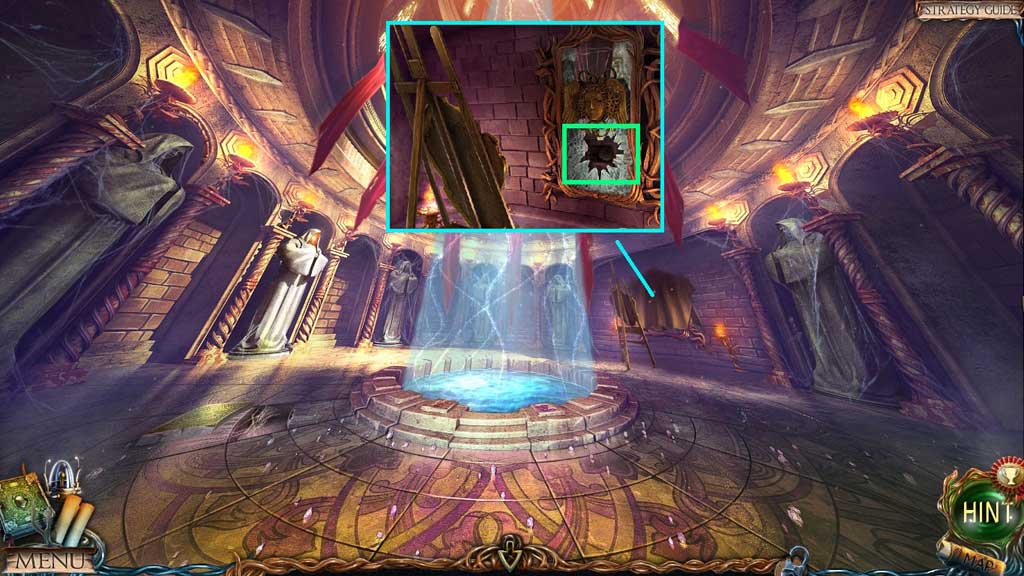
- Place down the easel and the mirror.
- Click the blanket.
- Collect the rune.
- Move down 2x’s.
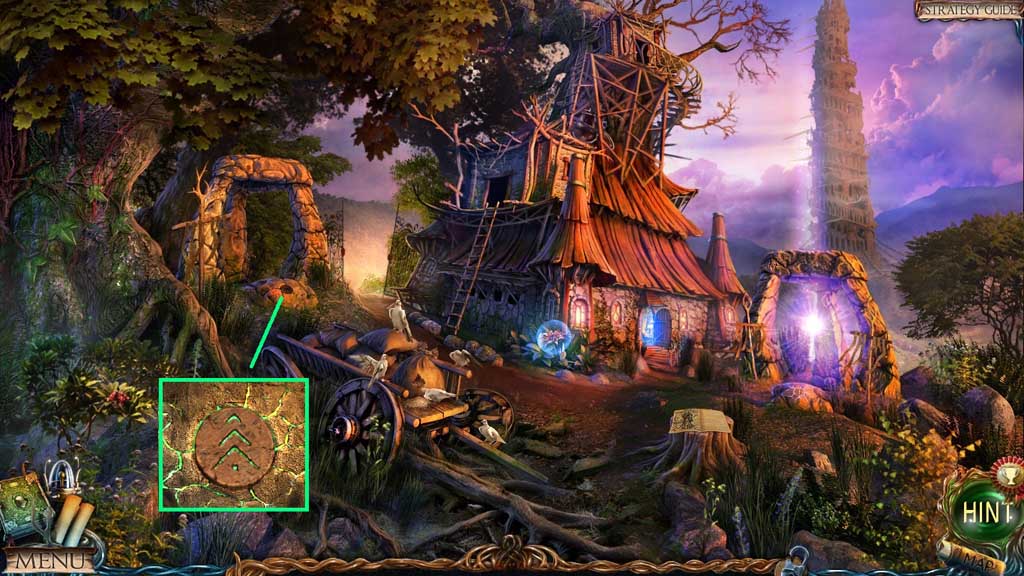
- Insert the rune.
- Click the hidden objects area.
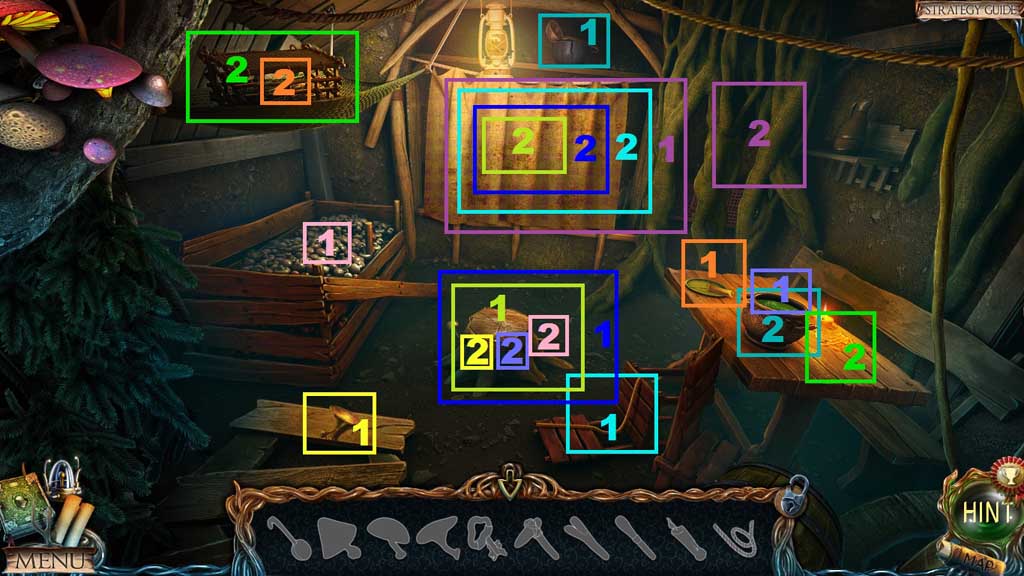
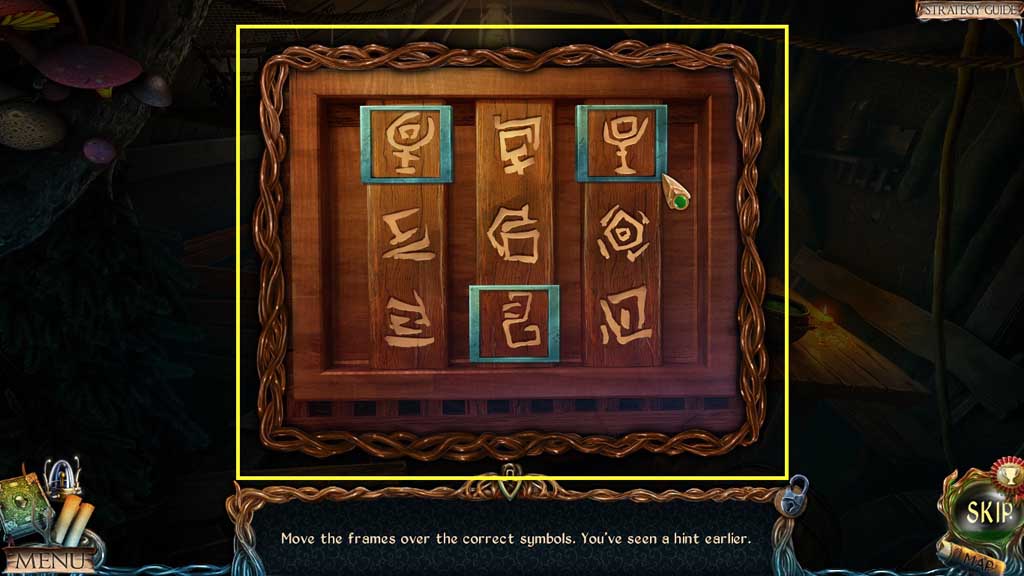
- Find the items.
- Collect the colorful threads.
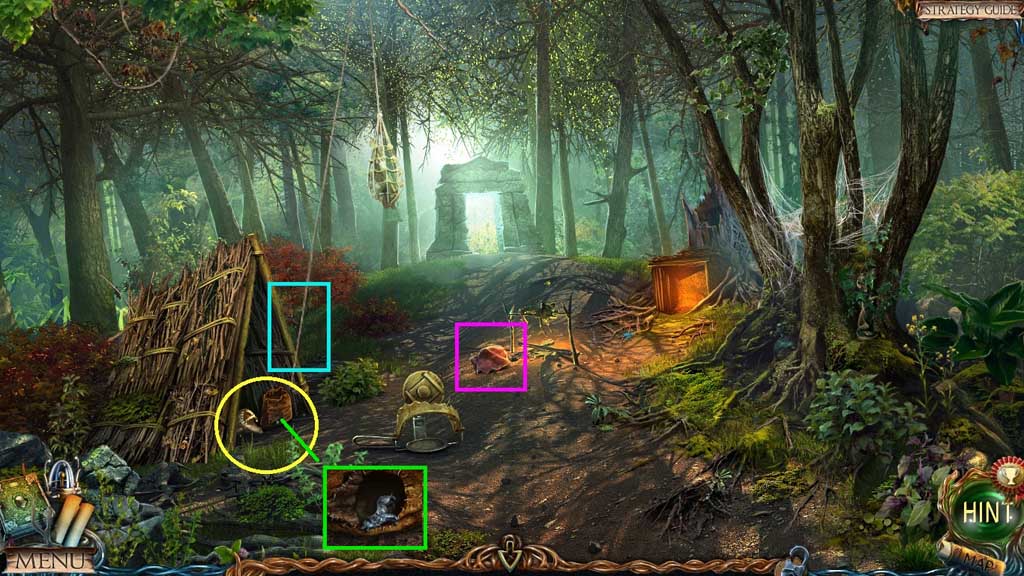
- Collect the boar skin.
- Collect the ram.
- Select the knife to cut the rope.
- Click the patch; collect the wolf figurine.
- Move ahead.
Comments will load when you reach this part of the walkthrough.