

Chapter Five: The Hut
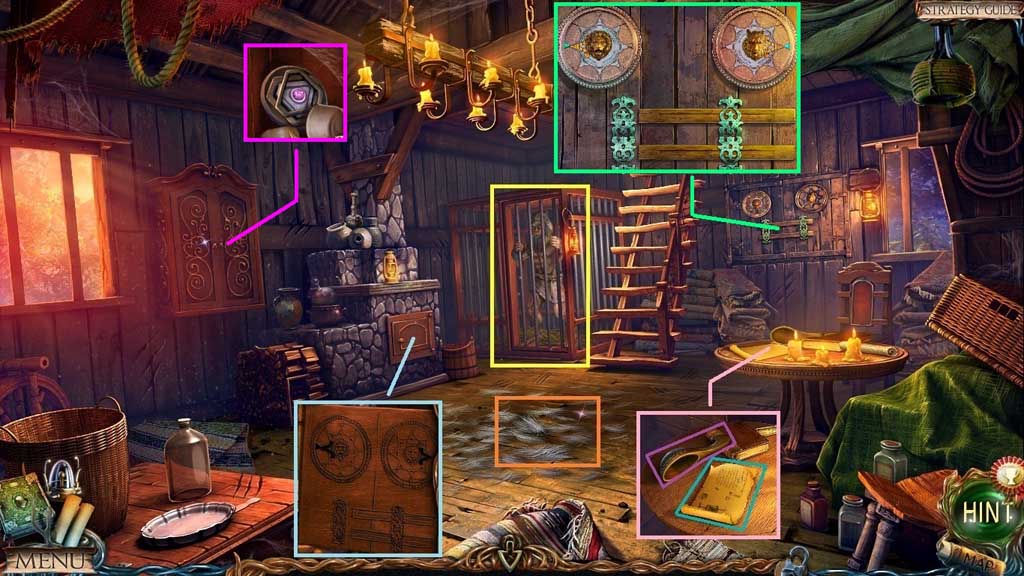
- Speak to the werewolf.
- Collect the wool.
- Collect the scoop and read the recipe.
- Click the oven door and zoom into it.
- Click the wall area to trigger a mini game.
- Solve the game by rotating the discs as shown on the oven door.
- Click the cupboard; collect the medallion.
- Move to the Dwarf Temple.
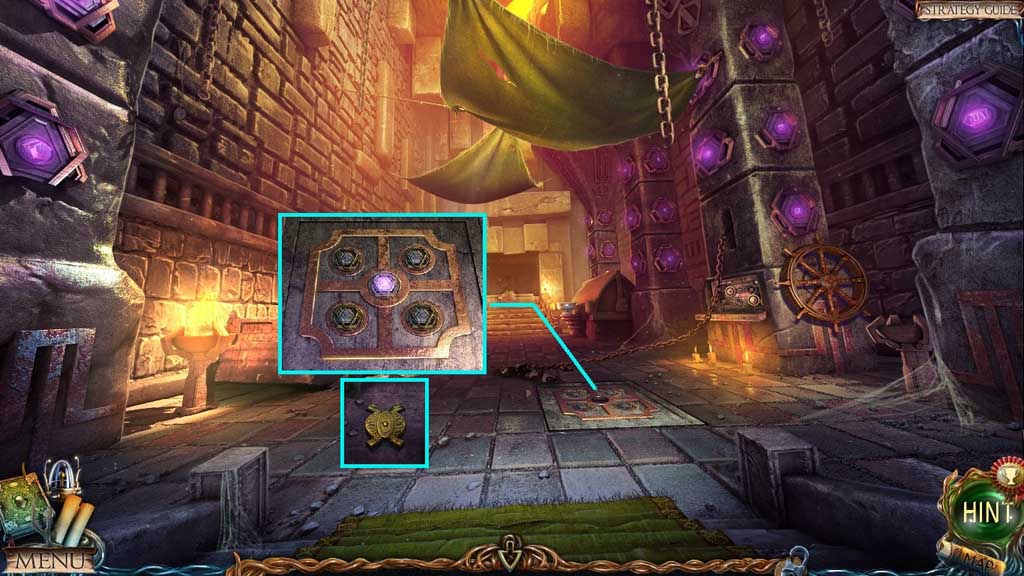
- Insert and click the medallion.
- Click the armor; collect the medallion.
- Move to the Mines.
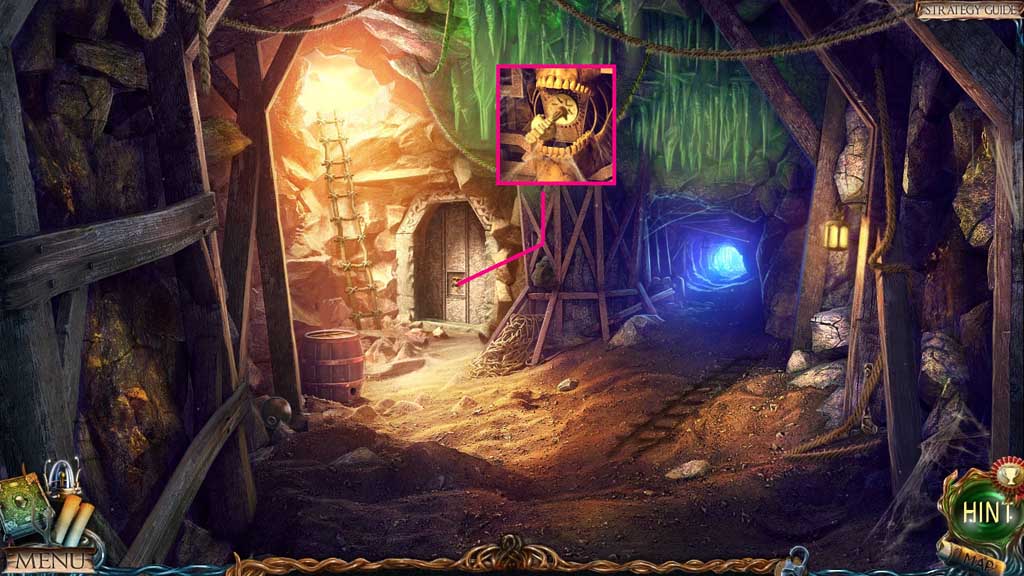
- Insert the key.
- Move into the Fire’s Dwelling.
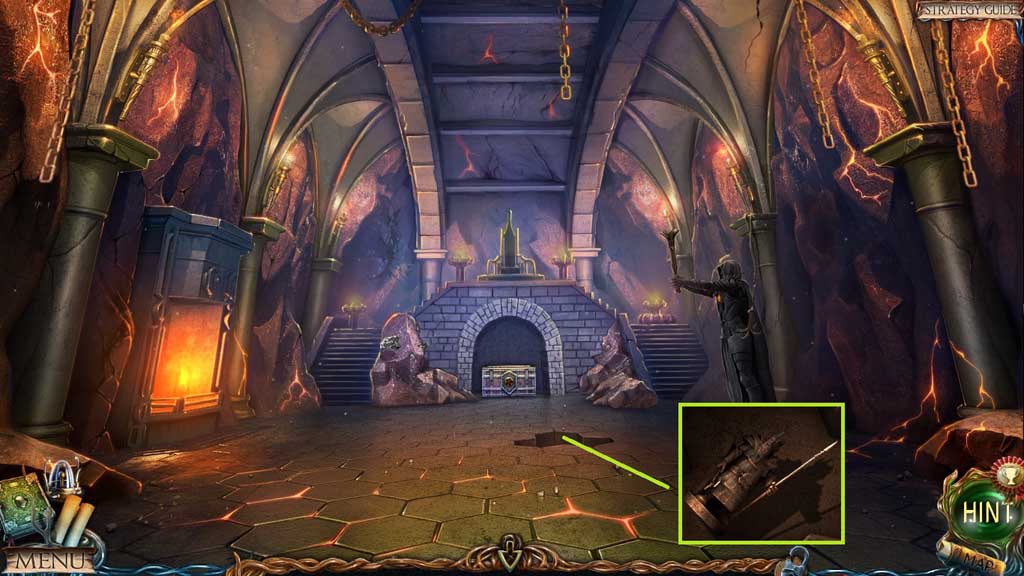
- Collect the dwarf figurine.
- Move to the Dwarf Cemetery.
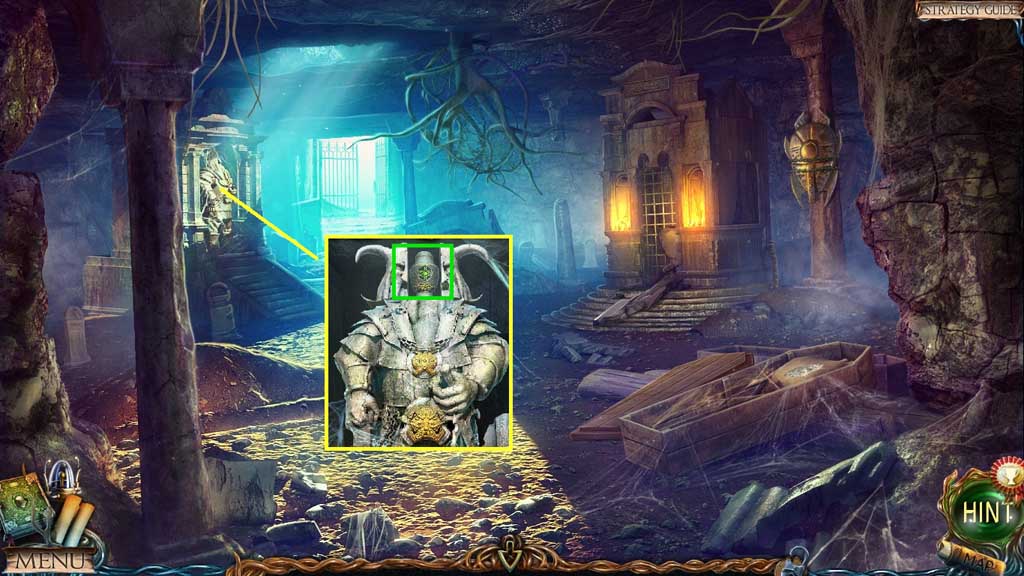
- Insert the medallion into the statue.
- Collect the urn of ashes.
- Move ahead.
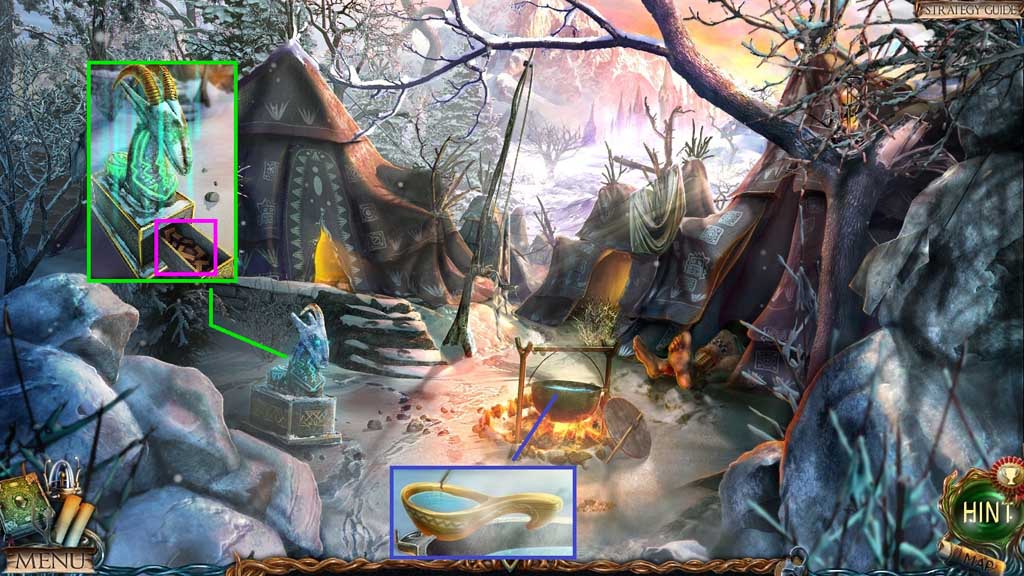
- Click the lid and insert the scoop; collect saucepan of boiling liquid and use it to defrost the statue.
- Insert the horn to collect the puzzle.
- Move to the left.
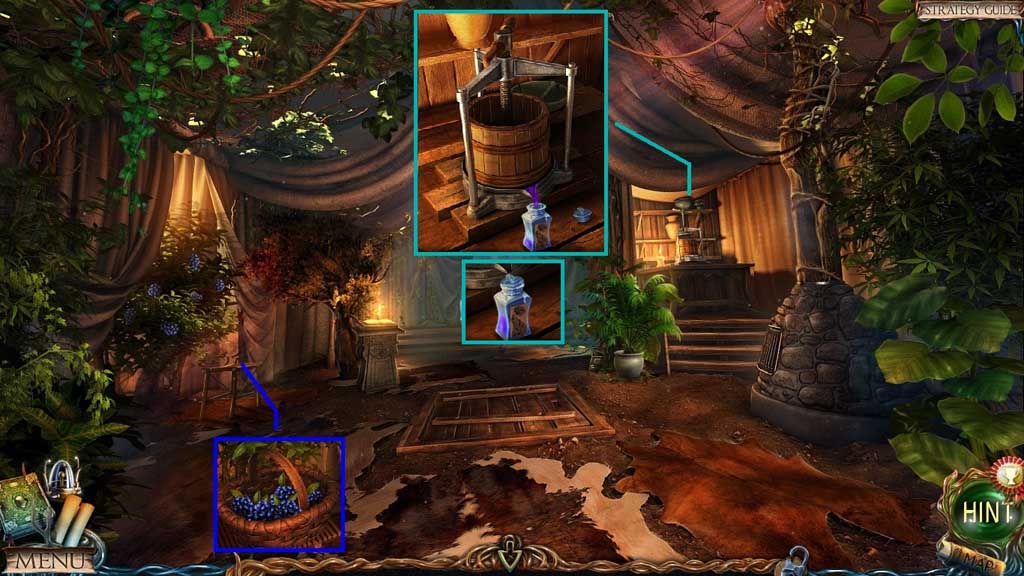
- Place the basket down and click the berries.
- Collect the basket of berries.
- Place the basket of berries and the bubbles into the presser; crush the berries.
- Select the sack of ashes and the urn of ashes to pour into the bottle; click the bottle closed and collect the turning potion.
- Move to the Fire’s Dwelling.
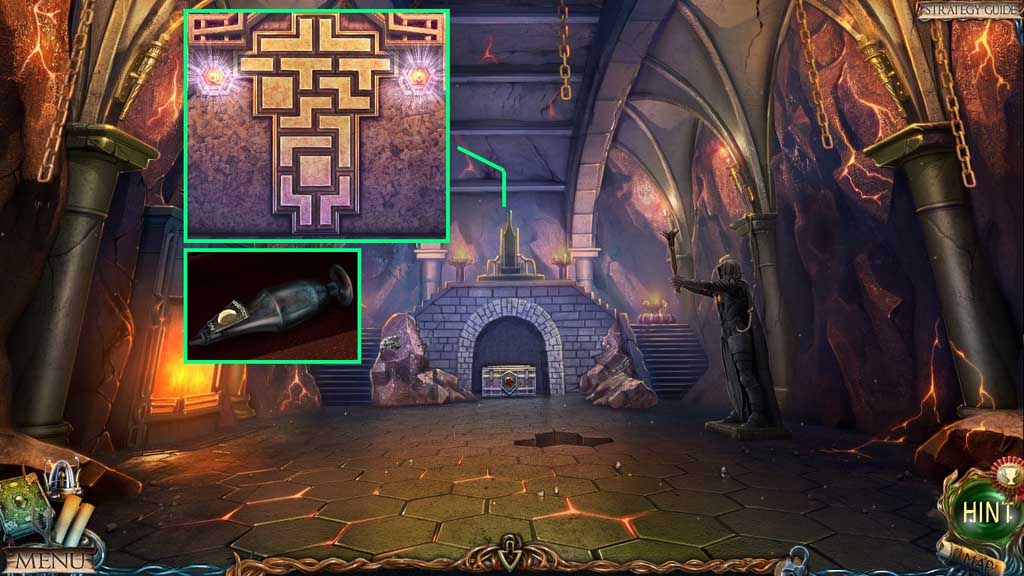
- Zoom into the throne.
- Insert the puzzle to trigger a mini game.
- Solve the game by arranging the pieces correctly.
- Collect the moon dust.
- Move to Maaron’s Cottage.
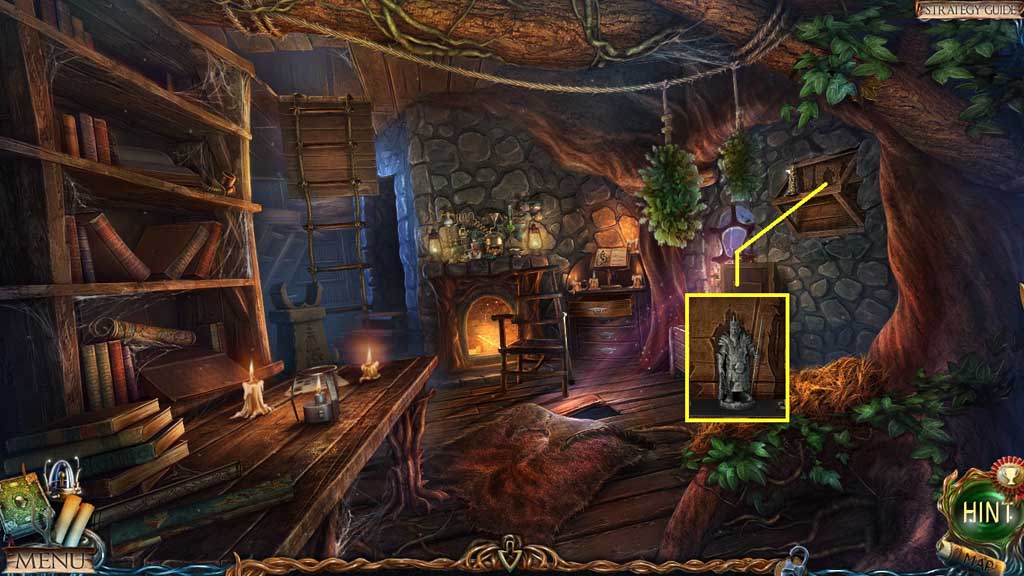
- Place the dwarf figurine onto the shelf.
- Move to the Werewolf’s Hut.
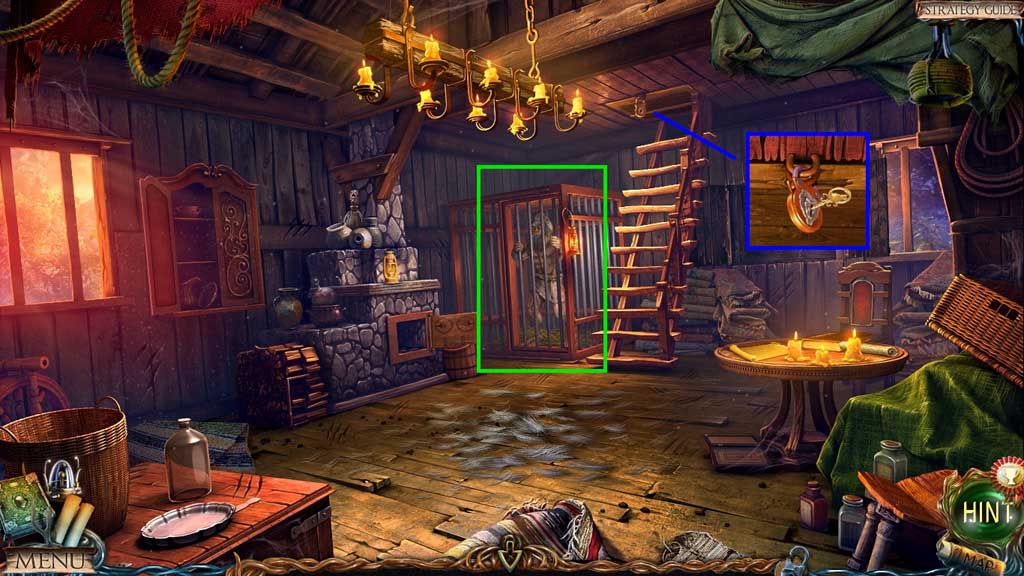
- Select the turning potion to use on the werewolf; collect the key and use it to open the trapdoor.
- Move upstairs and click the hidden objects area.
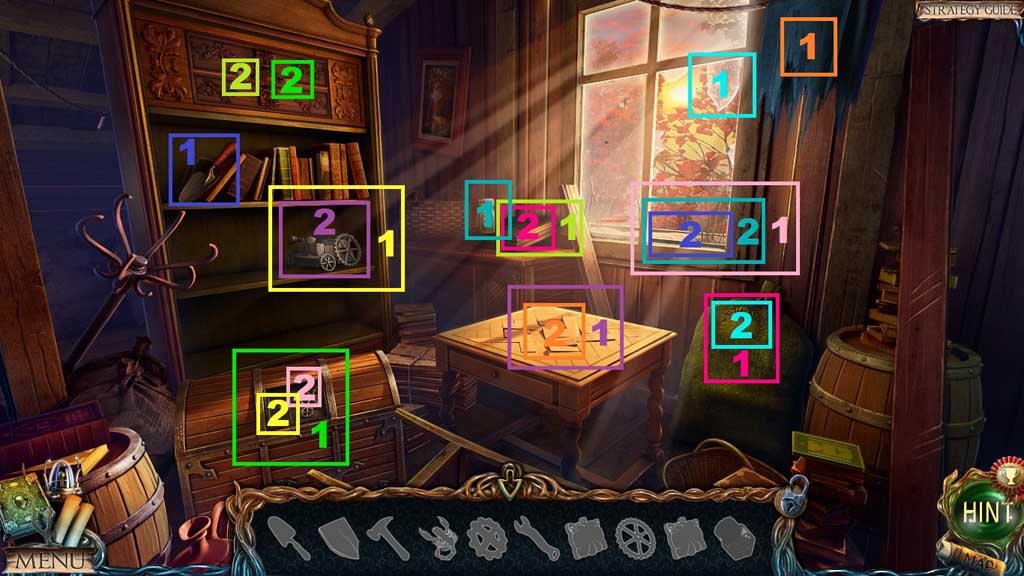
- Find the items.
- Collect the lantern.
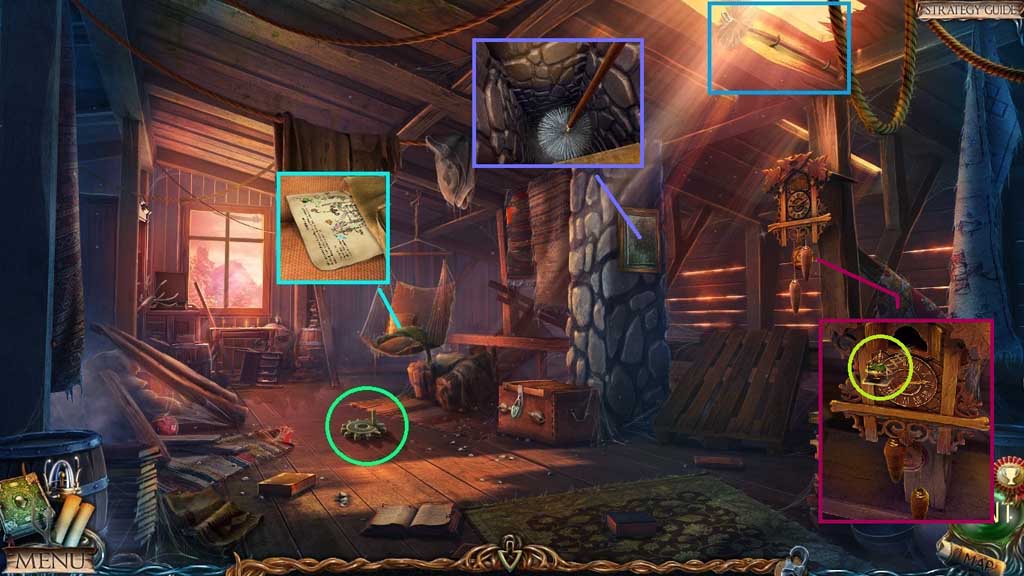
- Collect the brush.
- Collect the latching mechanism gear.
- Click the compartment and select the brush to push the debris.
- Click the blanket; collect the lantern potion recipe.
- Click the weight and collect the vial.
- Move down once.
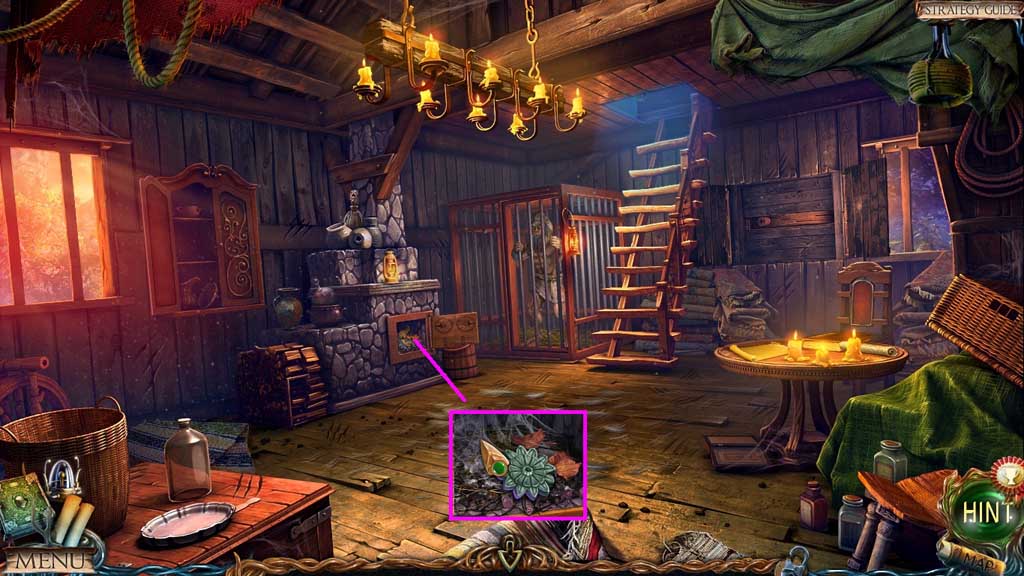
- Click the debris; collect the stone flower.
- Move down once.
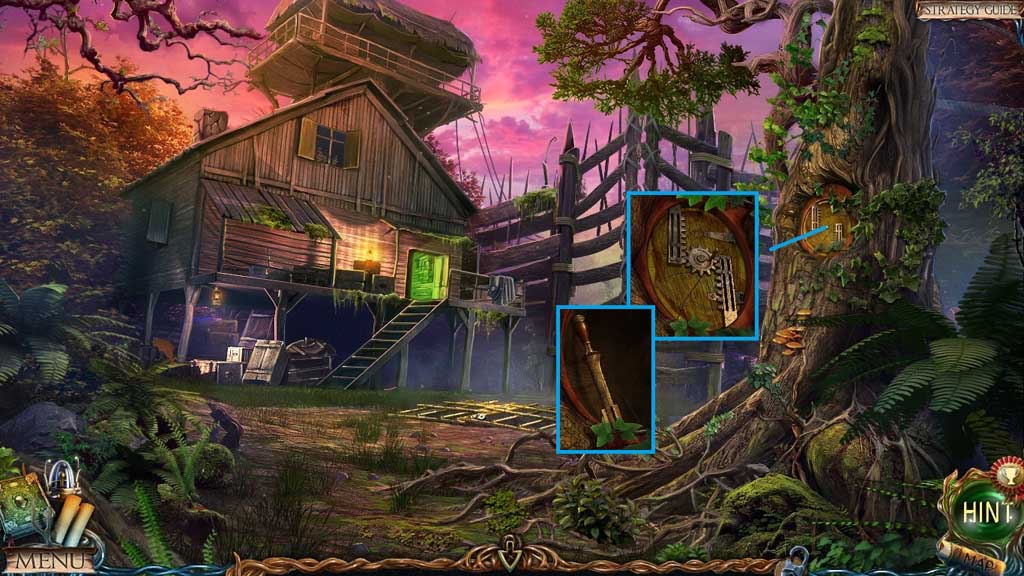
- Attach and click the latching mechanism gear.
- Collect the lever.
- Move ahead.
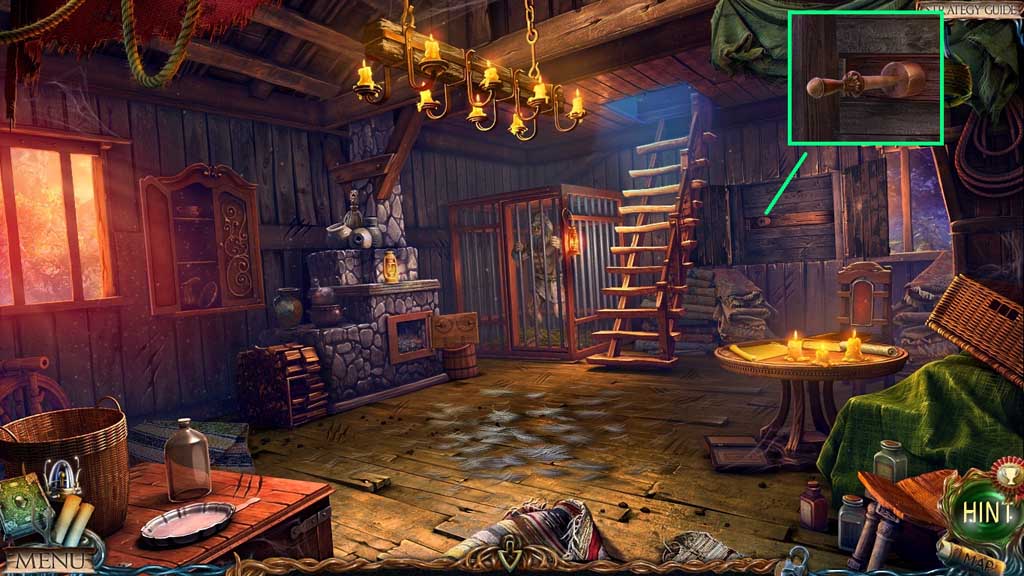
- Attach and click the lever.
- Move down once and to the right; click the hidden objects area.
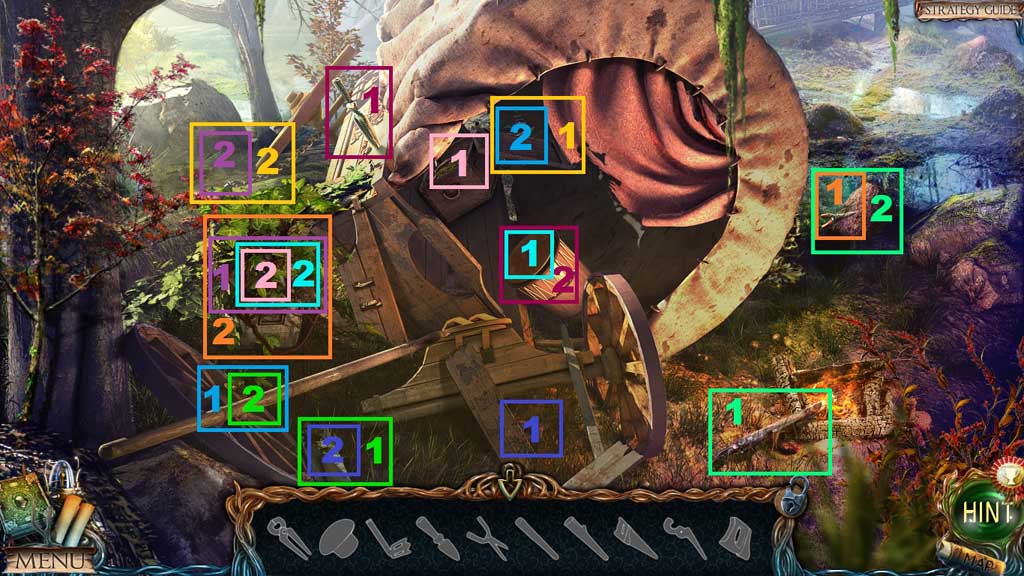
- Find the items.
- Collect the weight.
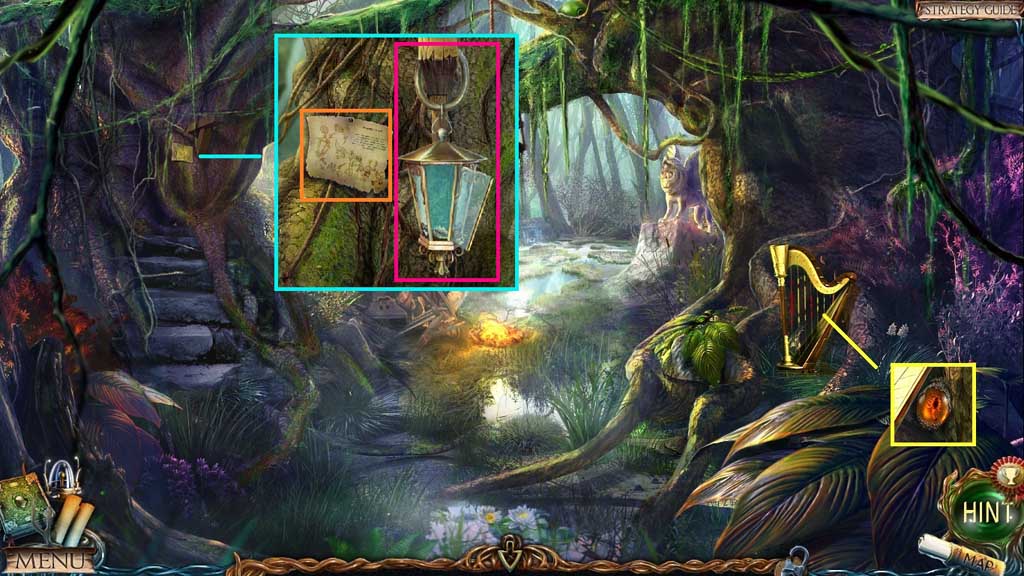
- Collect the stone of fire.
- Read the note.
- Hang the lantern and insert the wool.
- Move to the Halfling Settlement.
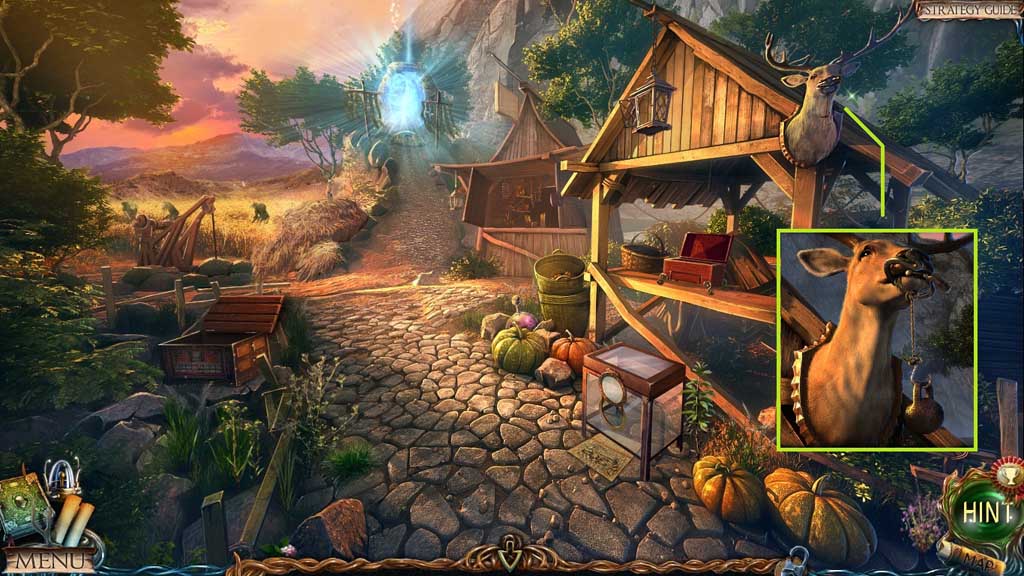
- Attach the weight; collect the handle.
- Move to Maaron’s Cottage.
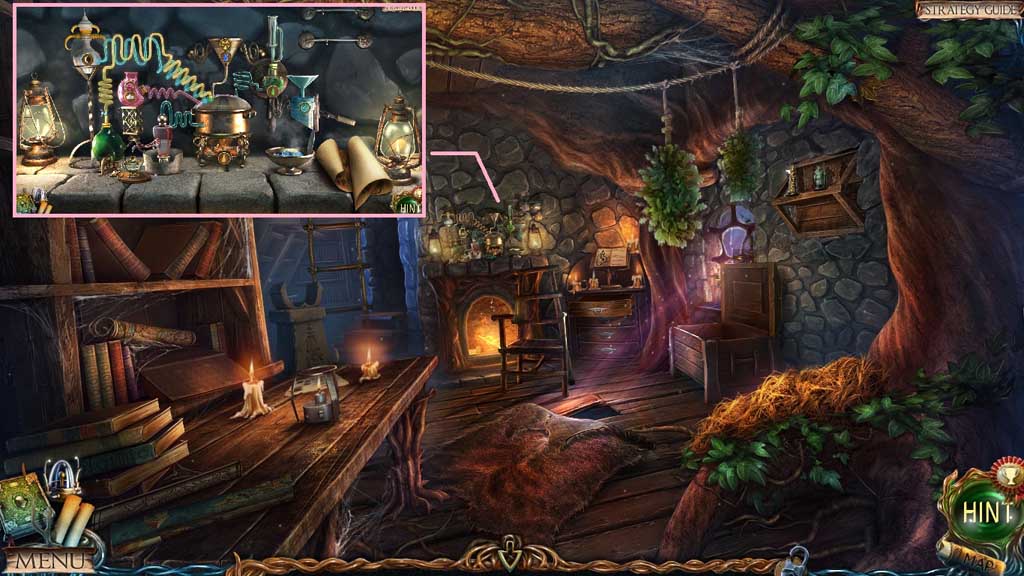
- Zoom into the mantle and place the lantern potion recipe and the vial down.
- Prepare the potion based on the diagram.
- Move to the Upper Corridor.
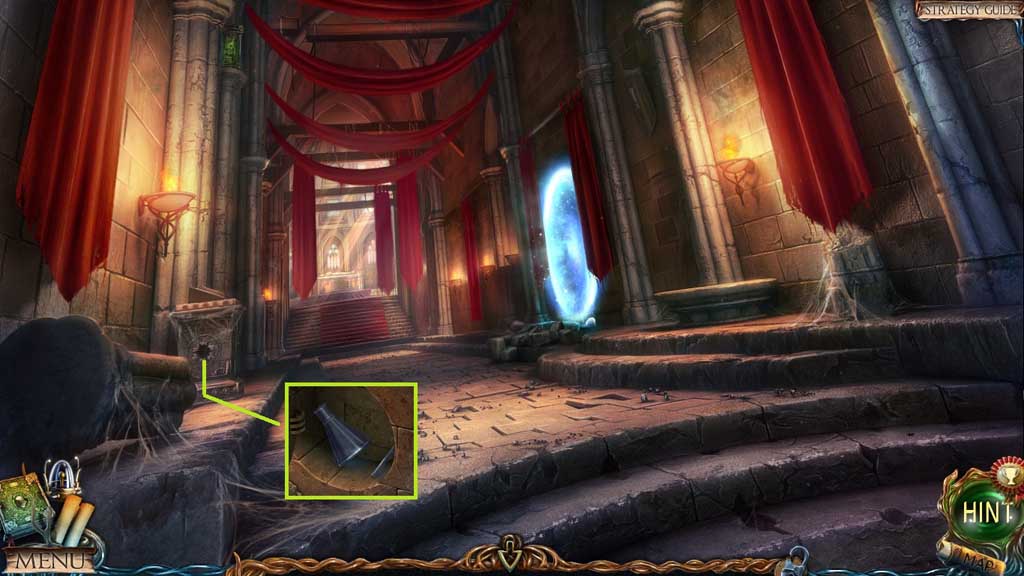
- Insert the stone flower.
- Collect the flask and the glass pipe.
- Move to the Forsaken Sea.
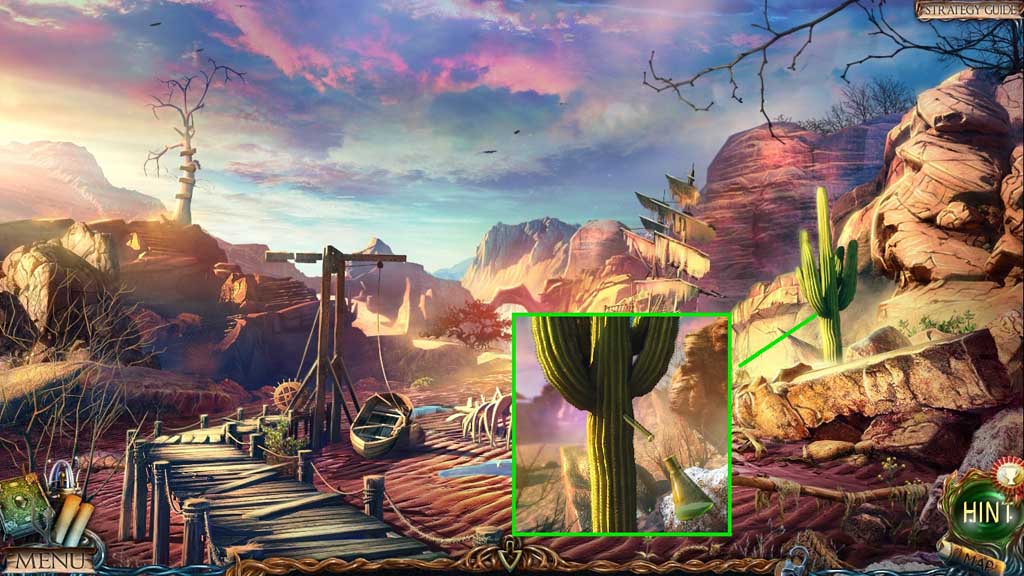
- Select the glass pipe and the flask to collect the cactus juice.
- Move to the Fire’s Dwelling.
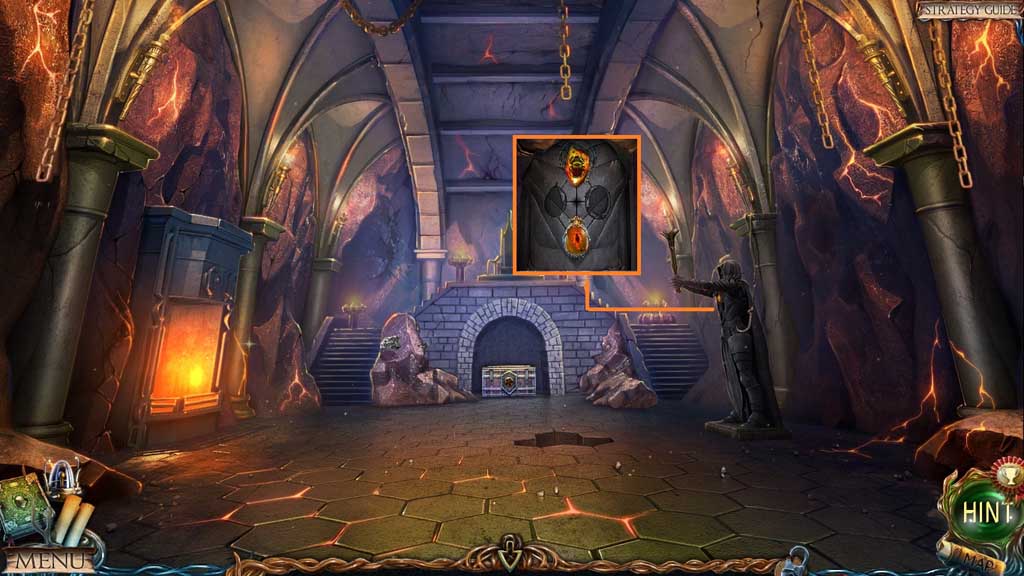
- Insert the stone of fire.
- Move to Maaron’s Cottage.
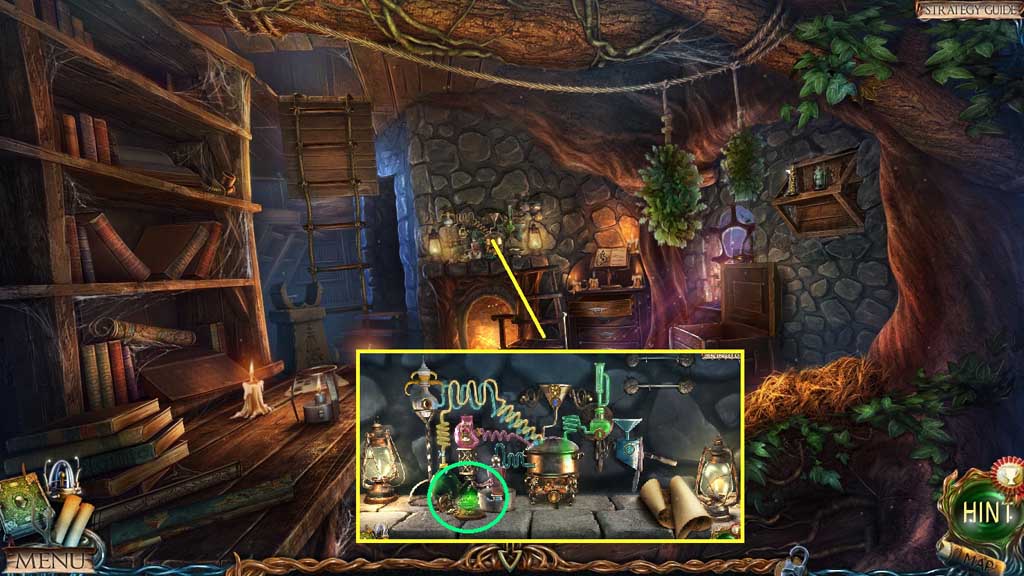
- Select the cactus juice to complete the recipe; collect the lantern potion.
- Move to the Swamps.
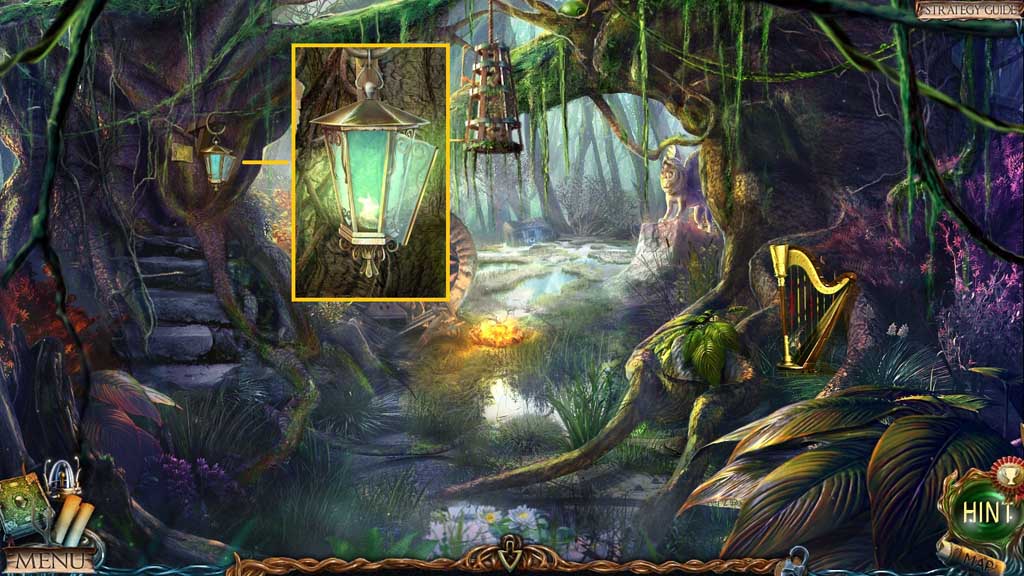
- Select the lantern potion to light the lantern.
- Move ahead.
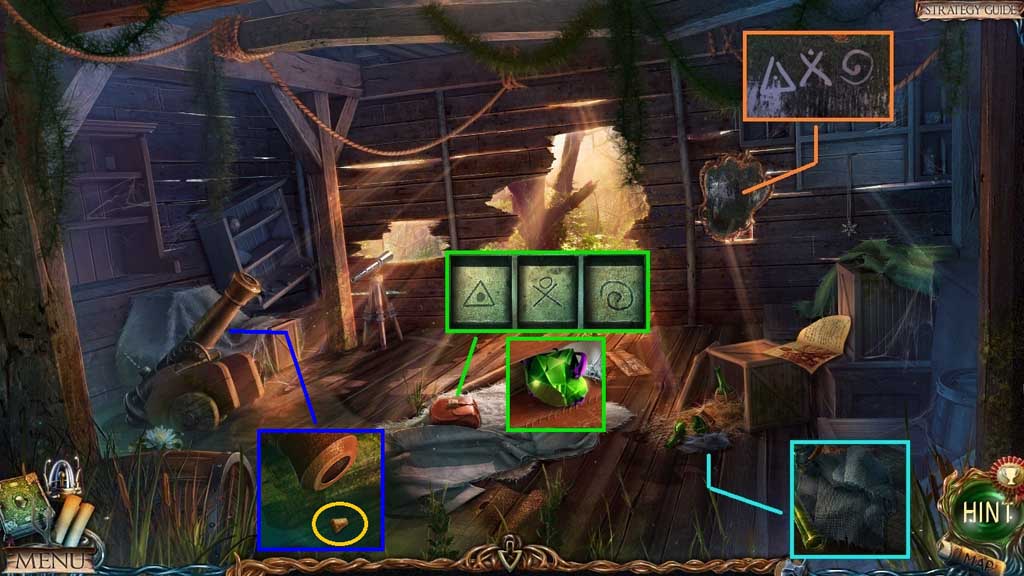
- Collect the alcohol soaked cloth.
- Zoom into the mirror; notice the symbols.
- Enter the code correctly; collect the precious stone.
- Select the hammer to strike the cannon; collect the cork.
Comments will load when you reach this part of the walkthrough.