

Chapter Three: The Temple
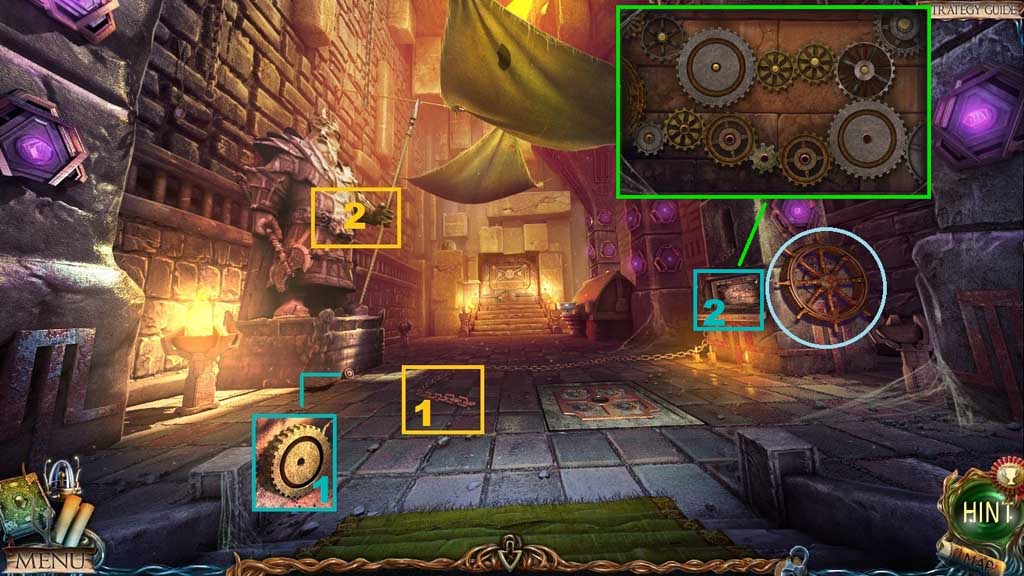
- Attach the chain onto the statue.
- Attach the ship’s wheel.
- Collect the gear and place it into the mechanism to trigger a mini game.
- Solve the game by arranging the gears correctly.
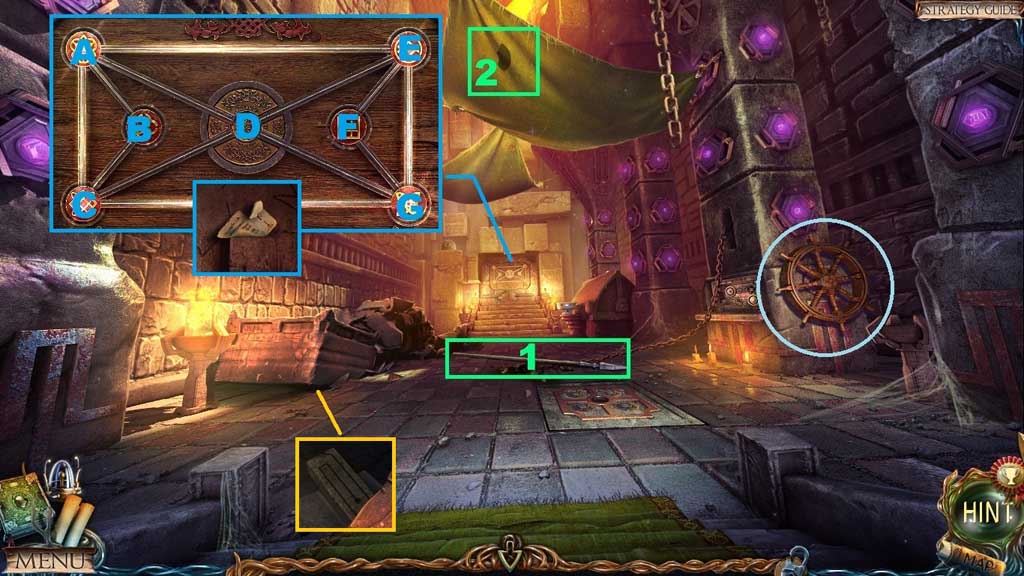
- Click the wheel.
- Collect the spear and use it to collect the mosaic fragment from the canvas.
- Insert the 5 mosaic fragments to trigger a mini game.
- Solve the game by adjusting the symbols into the correct spots.
- Use the following sequence to solve: A – E – D – C – G – D – E – F – G – D – A – B – C – D – M – E – D – G – F – E – D – M – B – C – G – D –A – B – C – G – D – A – C – D – G – F – E –A – D – E – F – G – D – C – G - D
- Collect the note with the symbols.
- Collect the rune stone.
- Move to the Abandoned Halfling Settlement.
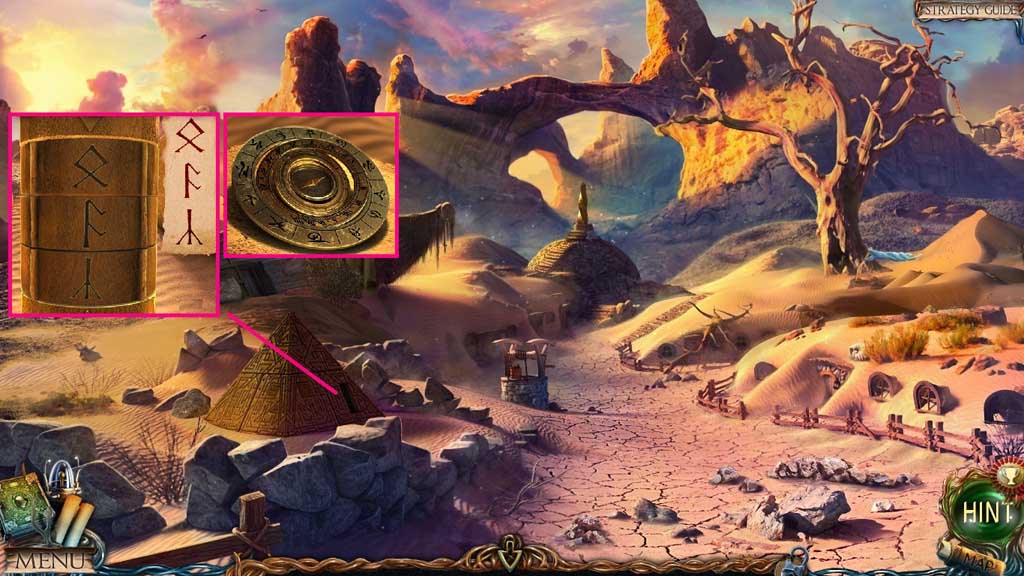
- Insert the stone rune and click the structure.
- Place the note with symbols and enter the correct symbols based on the note.
- Collect the device.
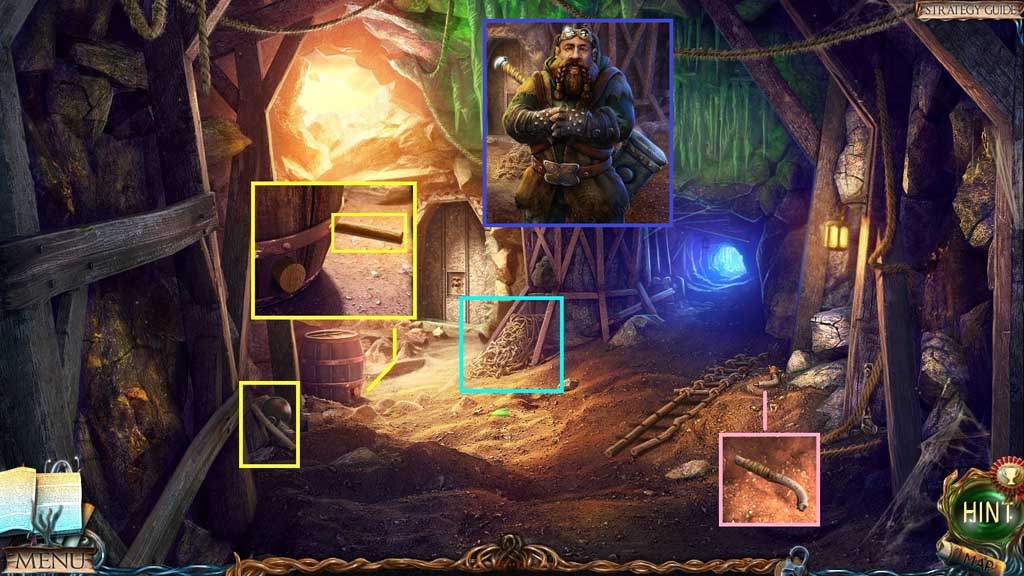
- Speak to the Dwarf.
- Collect the 2 steps, the lever and the rope sections.
- Move to the right.
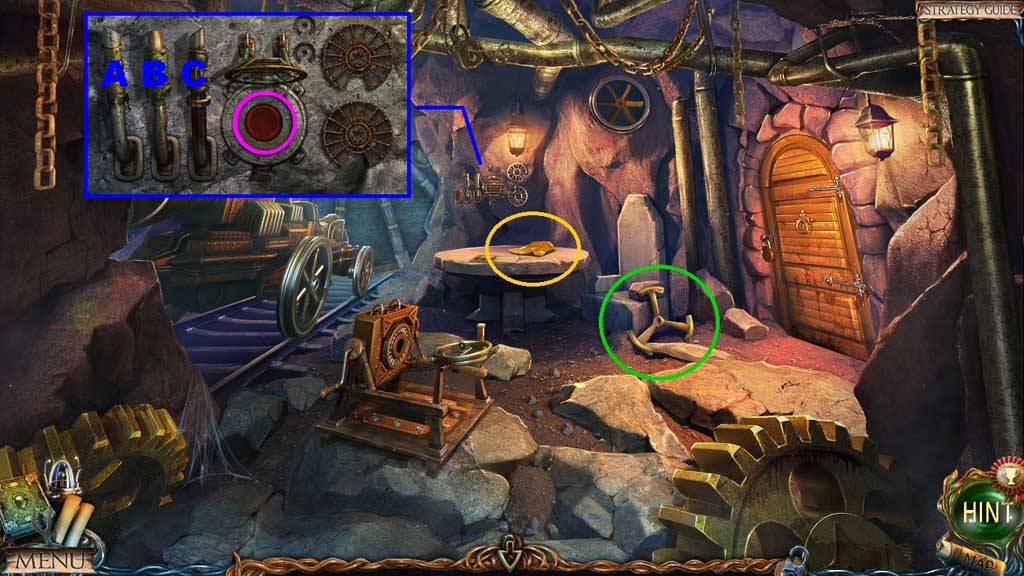
- Collect the glove and the flywheel.
- Attach the lever to trigger a mini game.
- Use the following solution to solve: C – B x 2 – A x 3 – B x 2 – C x 2 – B x 6
- Click the button.
- Move down once.
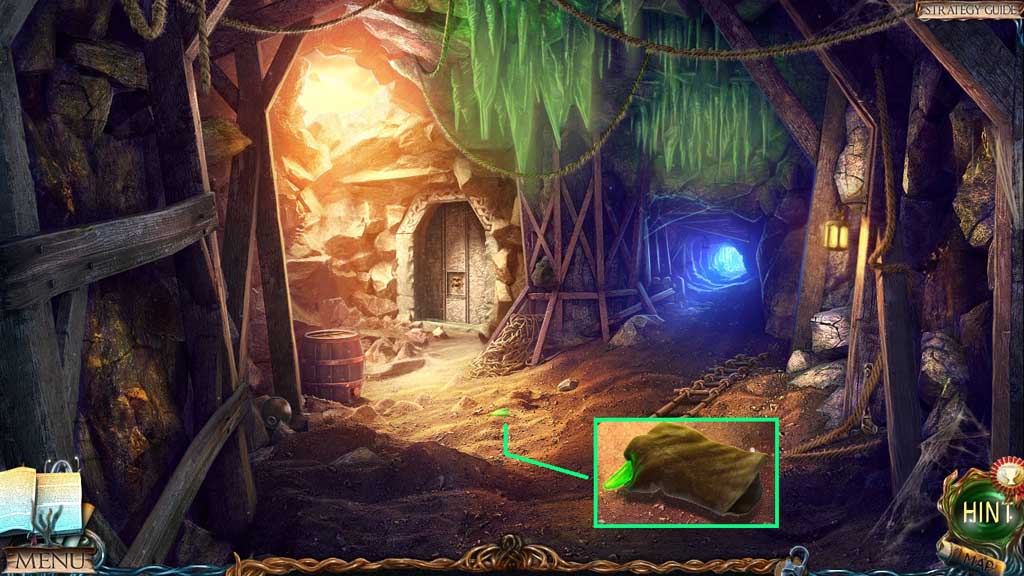
- Select the glove to collect the crystal.
- Move to the right.
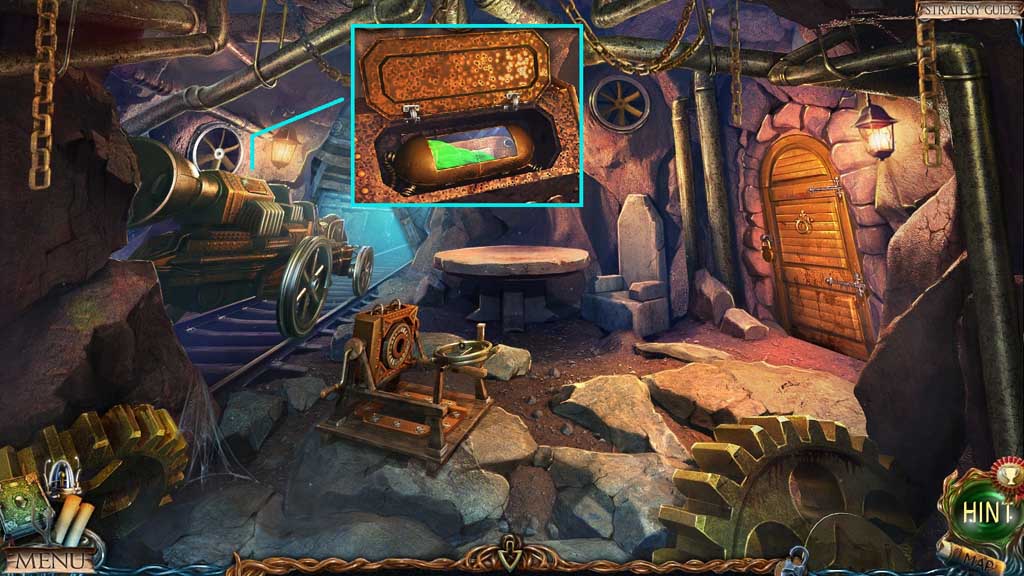
- Zoom into the compartment and insert the crystal.
- Click the cap and the compartment lid.
- Move ahead.
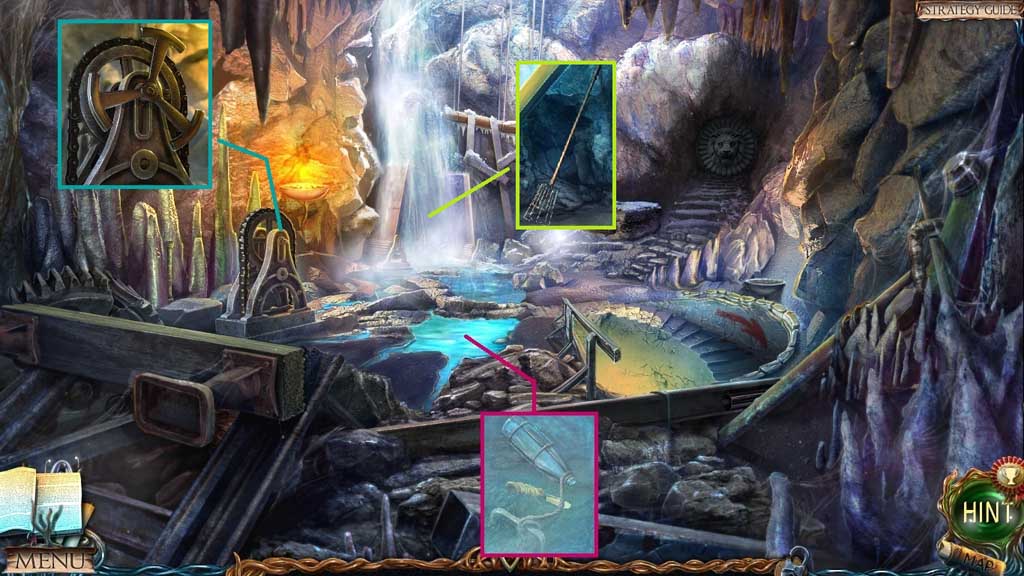
- Speak with the dwarf.
- Select the knife to collect the bottle of cold water.
- Attach the flywheel.
- Collect the yield remover.
- Move downstairs.
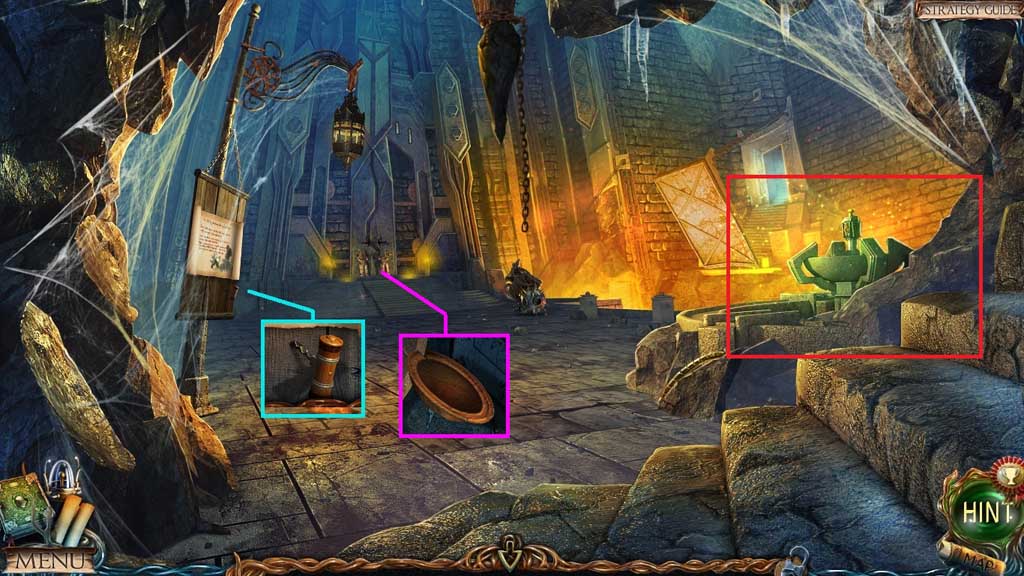
- Collect the corkscrew and the bowl.
- Click the hidden objects area.
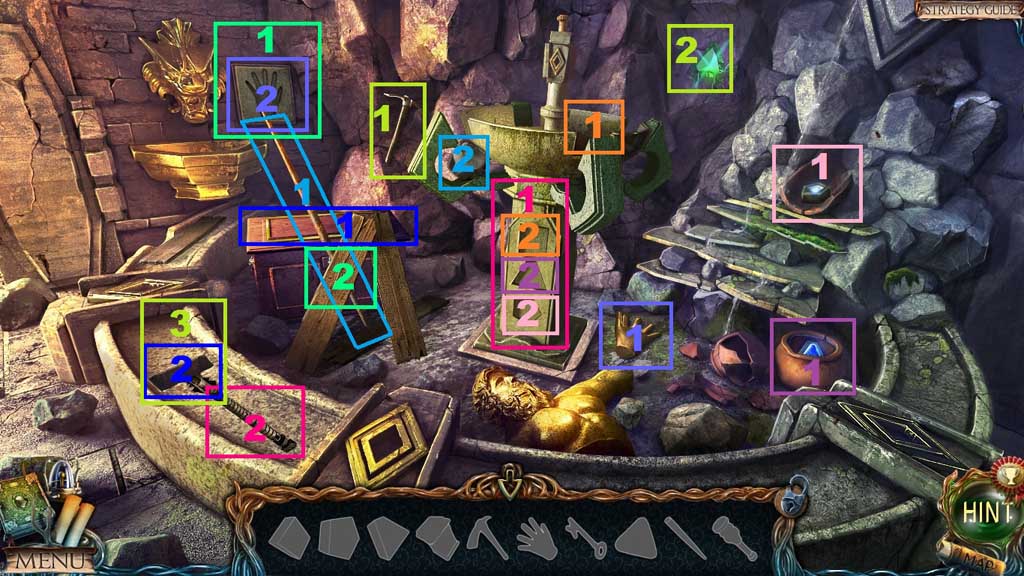
- Find the items.
- Collect the hammer.
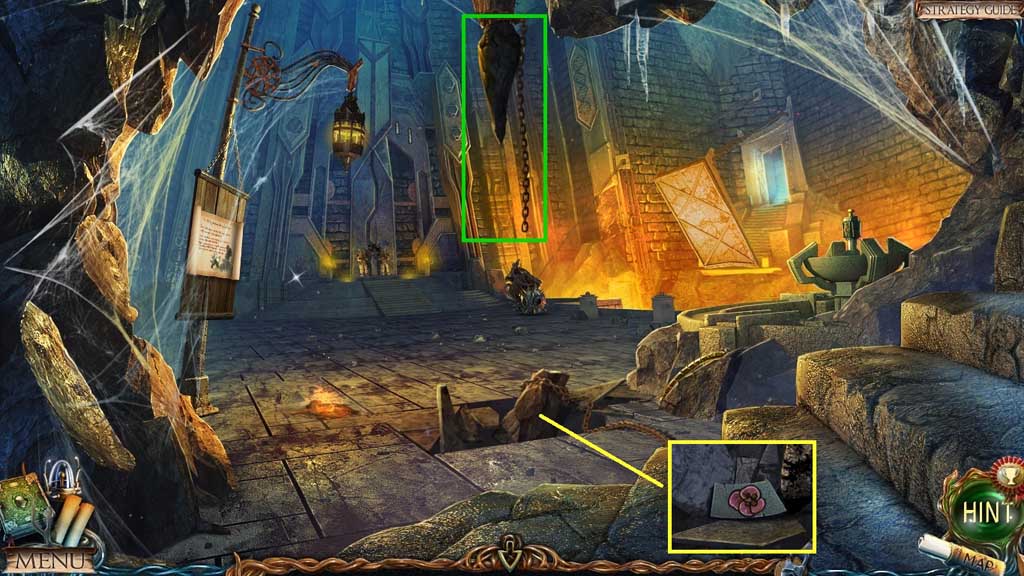
- Click the chain 2x’s.
- Collect the circle sector.
- Move down 3x’s.
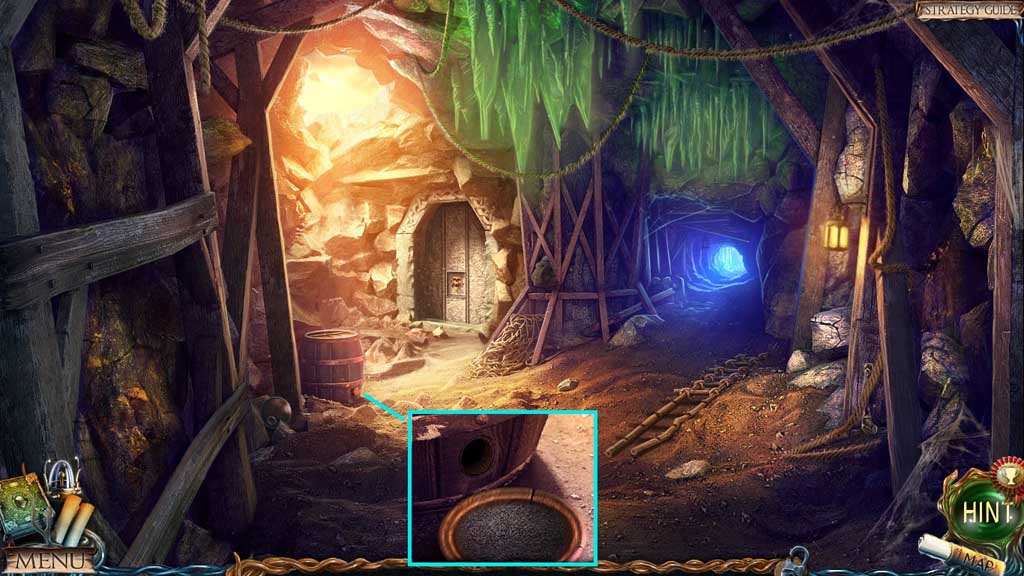
- Select the corkscrew to remove the cork and place the bowl to collect the powder.
- Move to the Square.
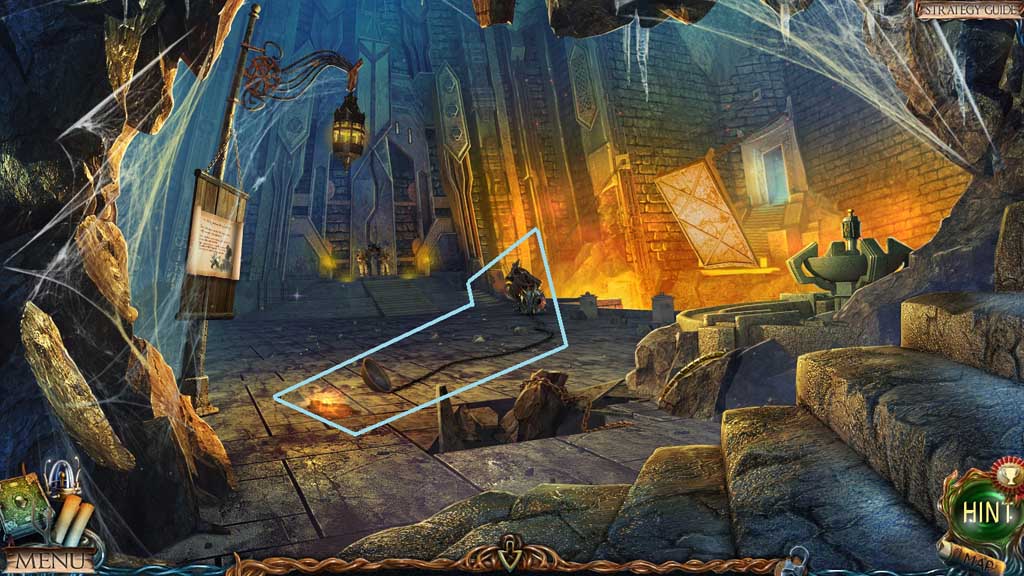
- Select the powder to create a powder chain.
- Move to the right 2x’s.
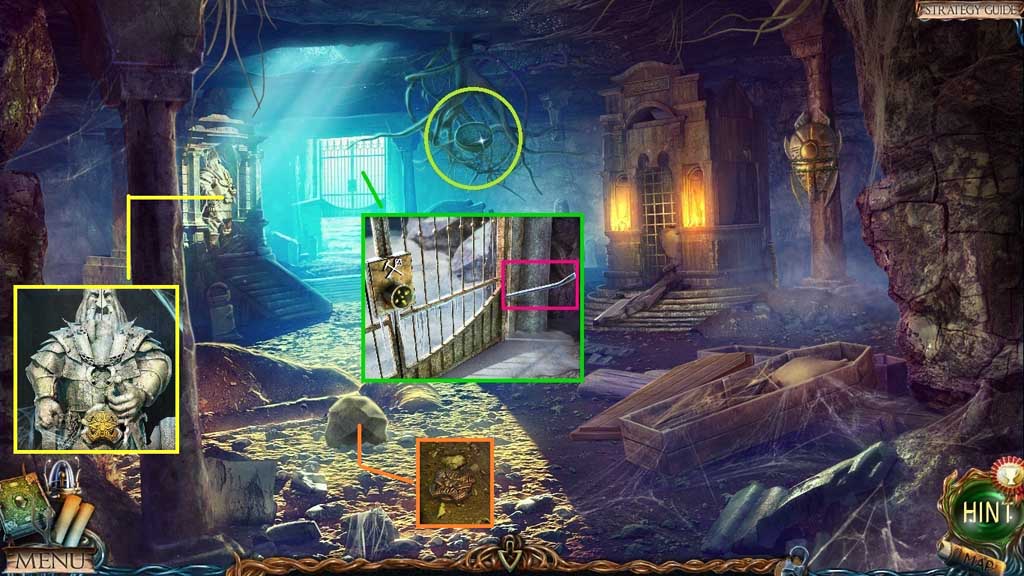
- Collect the crowbar.
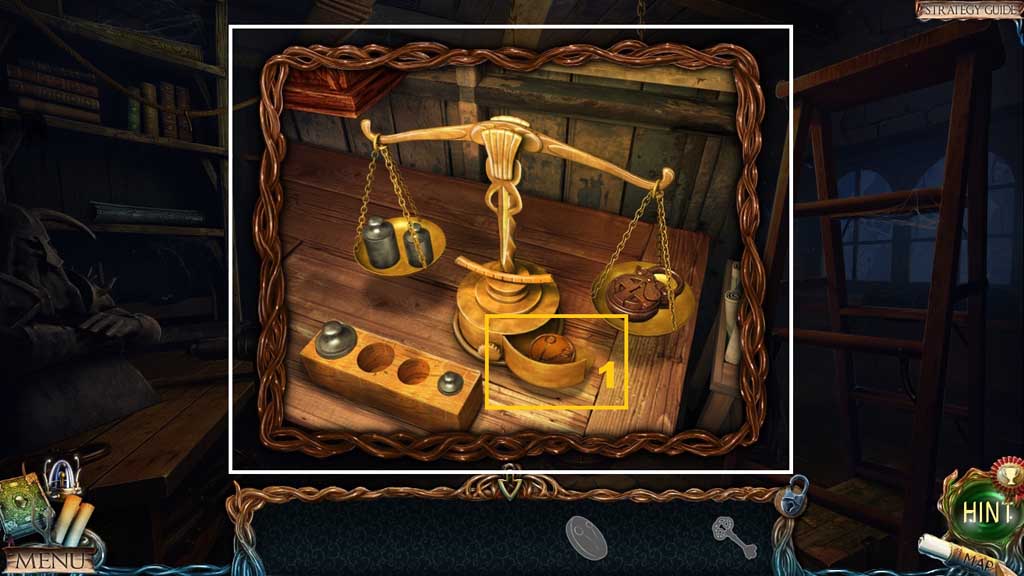
- Collect the sieve.
- Click the stones; collect the medallion and insert it into the statues belt.
- Move down once.
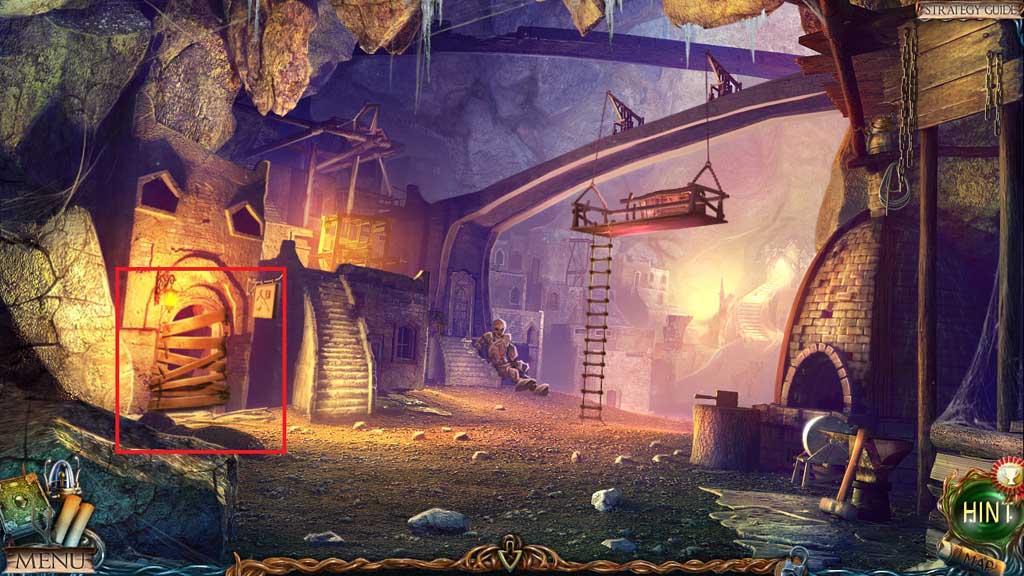
- Select the crowbar to remove the boards and trigger a hidden objects area.
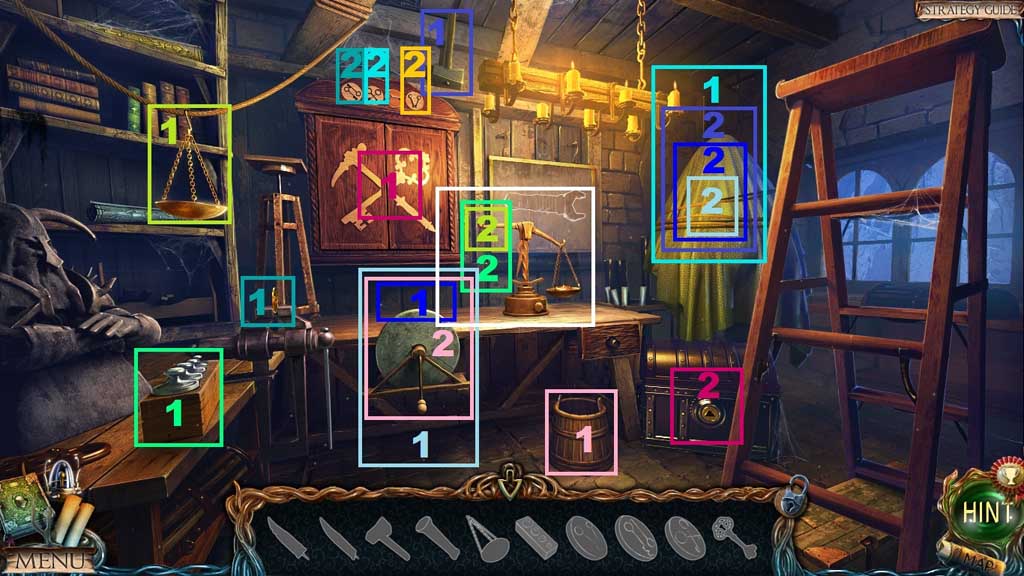
- Find the items.
- Collect the emerald symbol.
- Move down once.
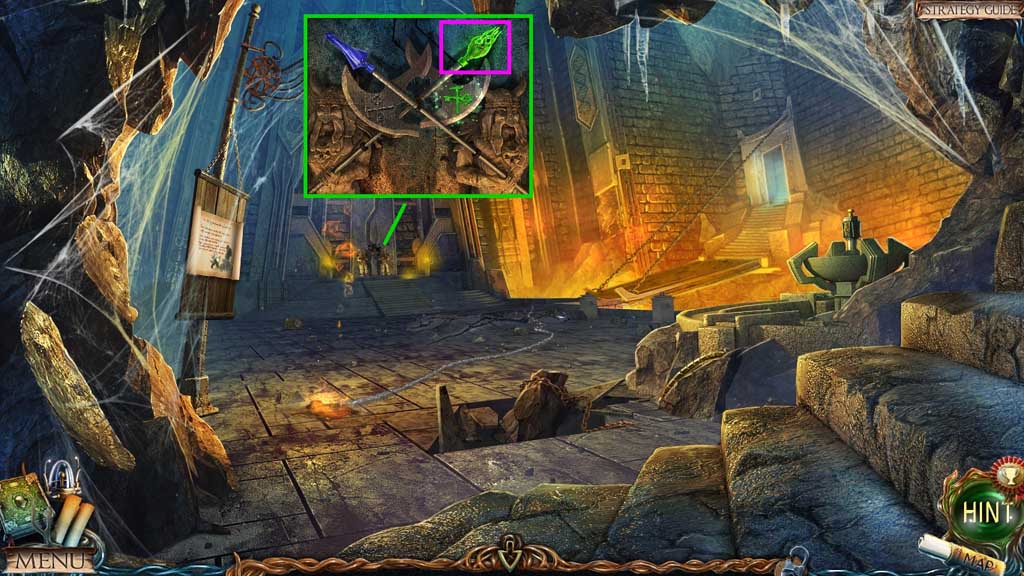
- Insert the emerald symbol.
- Collect the emerald key.
- Move to the right 2x’s.
Comments will load when you reach this part of the walkthrough.