

Chapter Six: Into the Museum
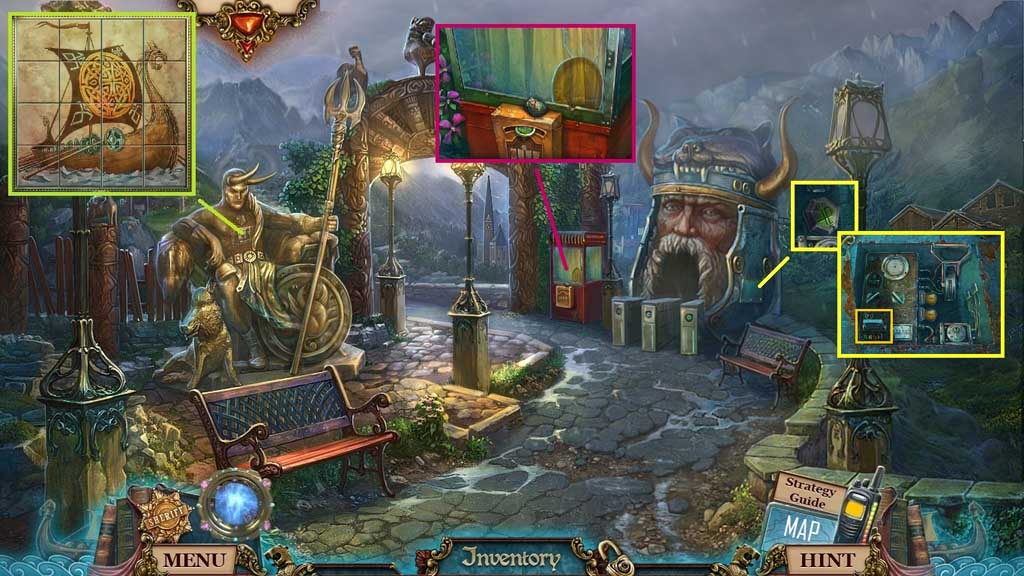
- Speak to Jones.
- Place the plates to trigger a mini game.
- Solve the game by restoring the image; collect 2 /3 Viking symbols.
- Select the screwdriver to remove the screws and to collect 3 /3 Viking symbols and insert the electronic chip.
- Collect the button.
- Move to the Basement.
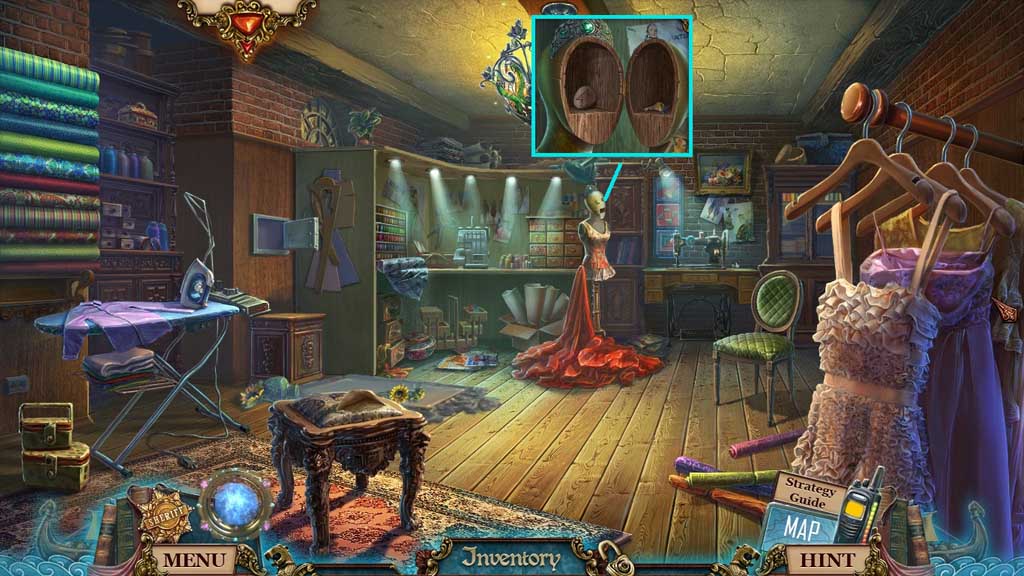
- Click the broken button and replace it using the button; collect the ignition key.
- Move to the School.
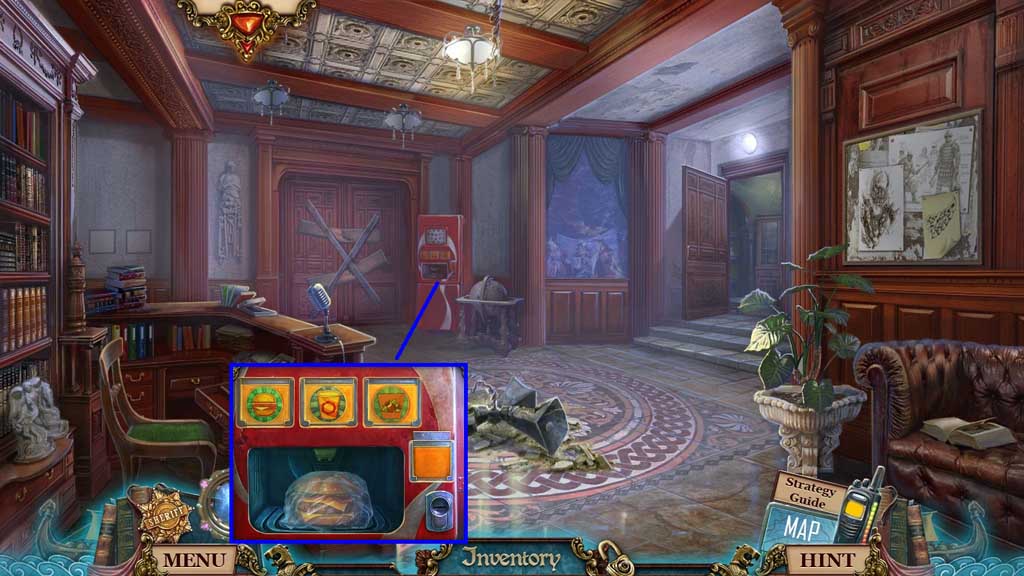
- Click the burger.
- Insert the two dollars and collect the cheeseburger.
- Move to the Museum Entrance.
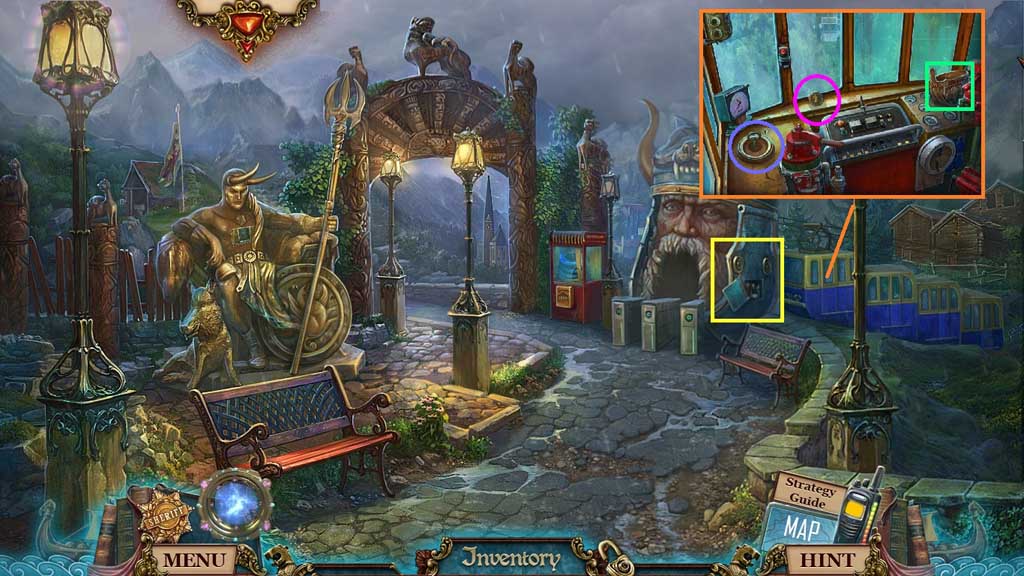
- Insert the ignition key; click the lever.
- Click the helmet; collect the fortune token, the trinket and the old helmet.
- Click the key.
- Move to the right.
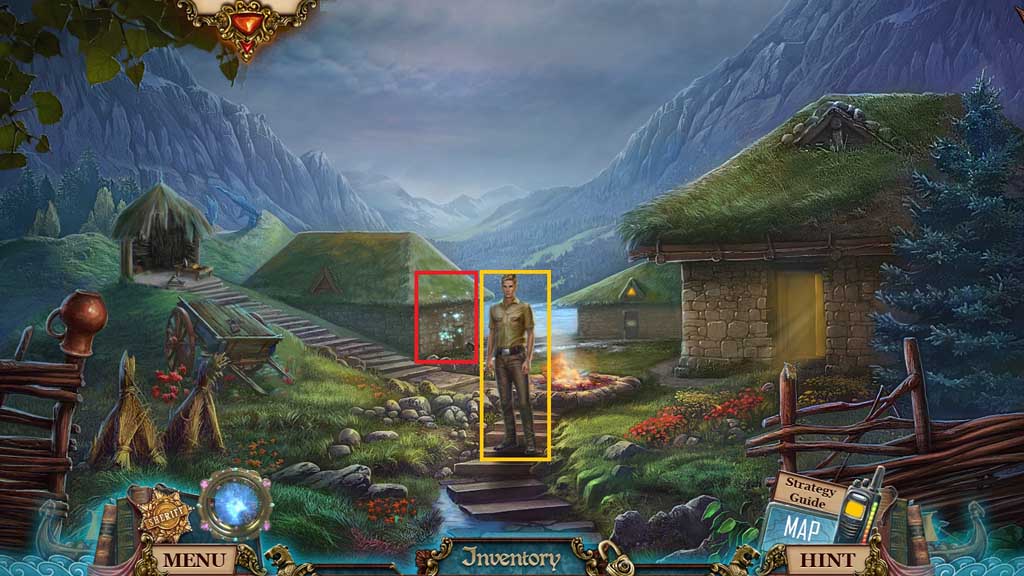
- Speak to Jones.
- Click the hidden objects area.
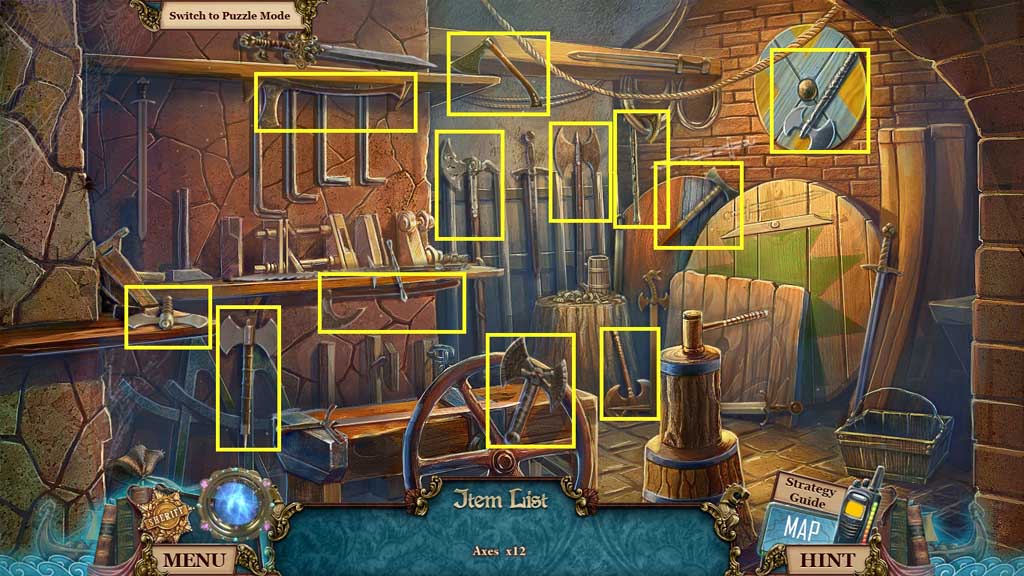
- Find the items.
- Collect the heavy axe.
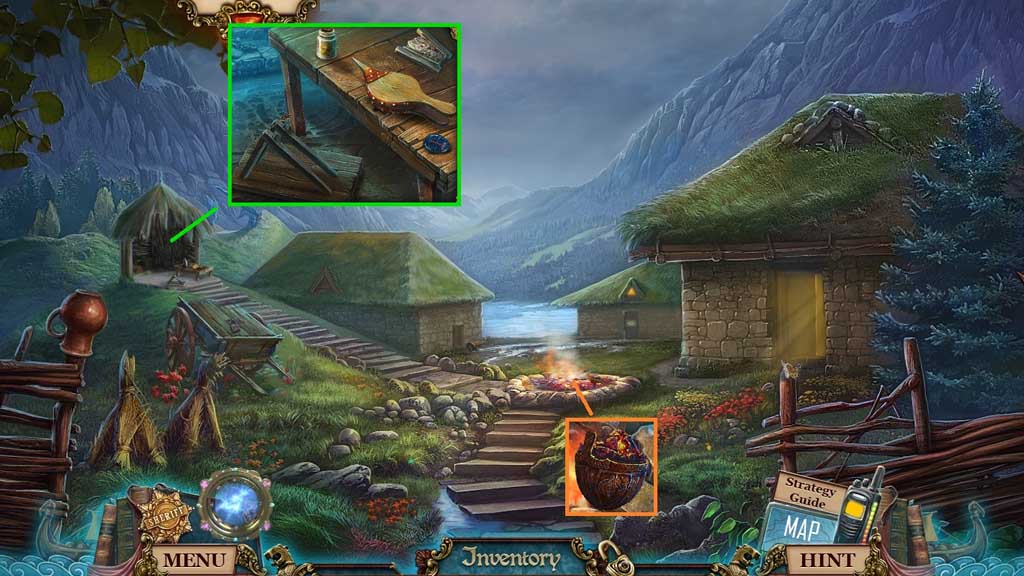
- Select the old helmet to dip into the embers; receive the helmet with embers.
- Collect the arrow, the bellows, the sulfur and the net cartridge.
- Move down once and ahead.
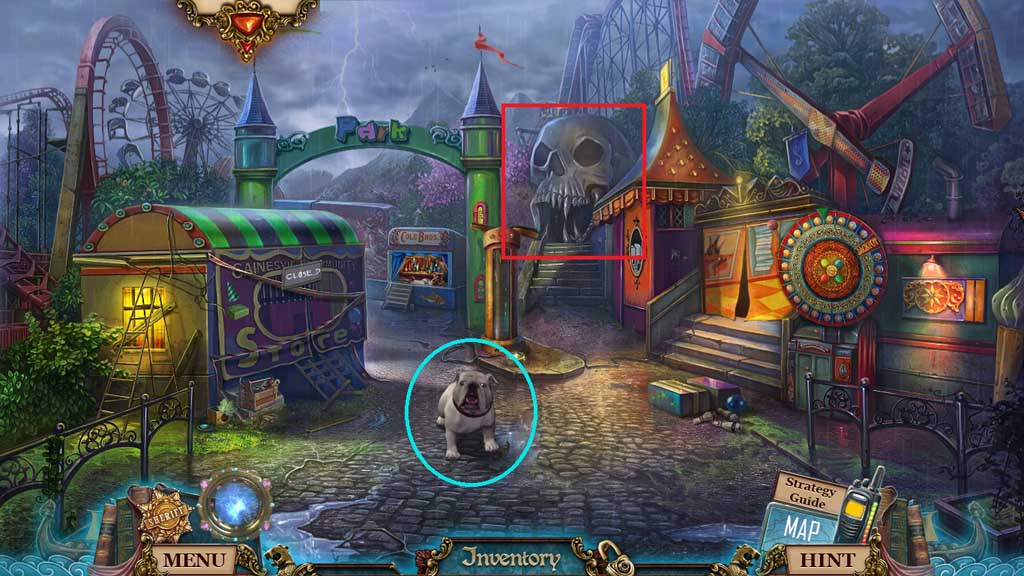
- Give the dog a cheeseburger.
- Collect the deck key.
- Click the hidden objects area.
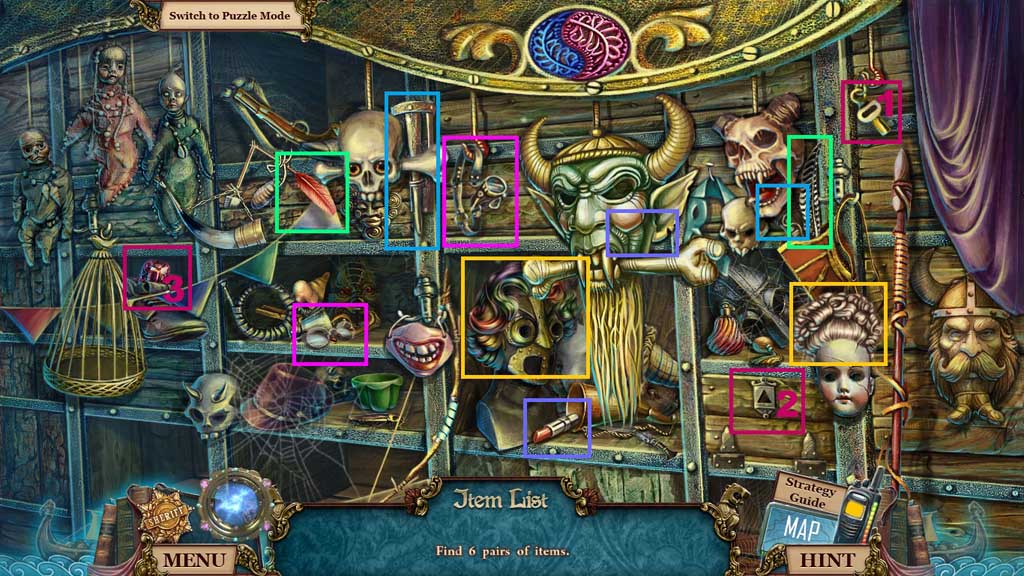
- Find the items.
- Select the key and insert it into the lock; collect the gem.
- Collect the torch.
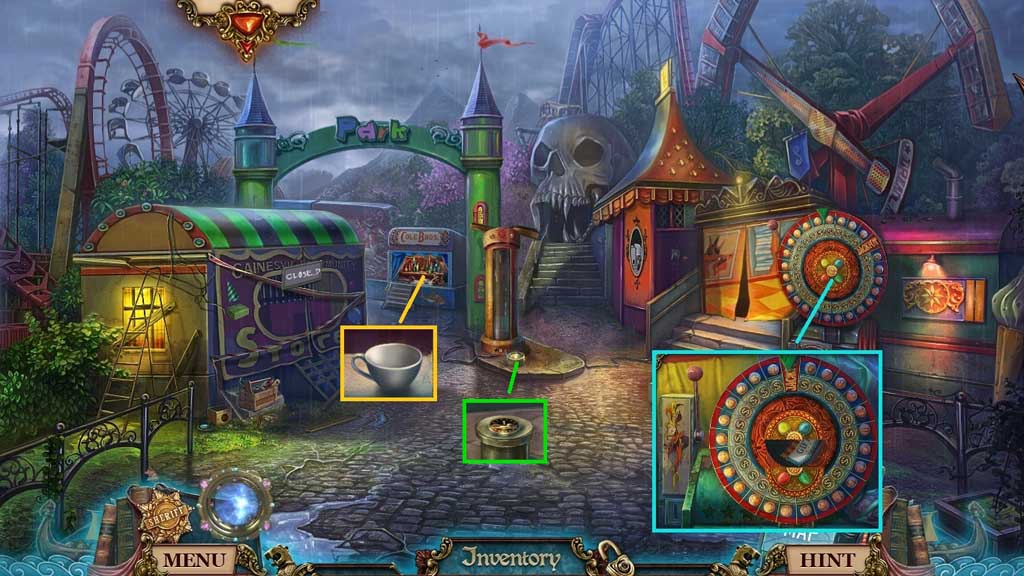
- Insert the fortune token; click the lever 3x’s and collect the gift certificate.
- Collect the one dollar.
- Collect the cup.
- Move down once.
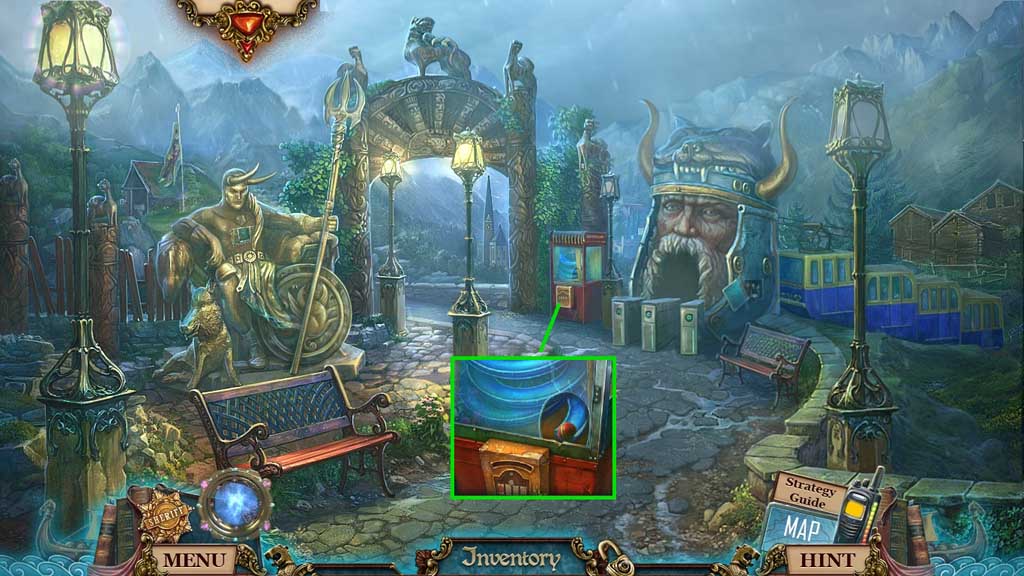
- Click the curtains.
- Insert the gift certificate to collect the golden deer.
- Collect the ball.
- Move ahead.
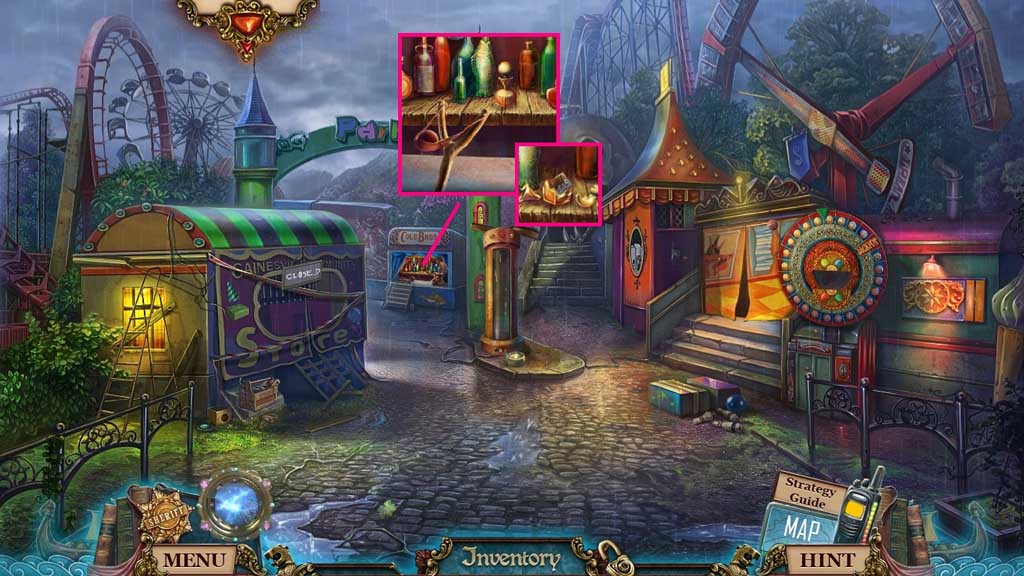
- Select the ball to place into the slingshot.
- Collect 2 /3 map parts.
- Move to the School.
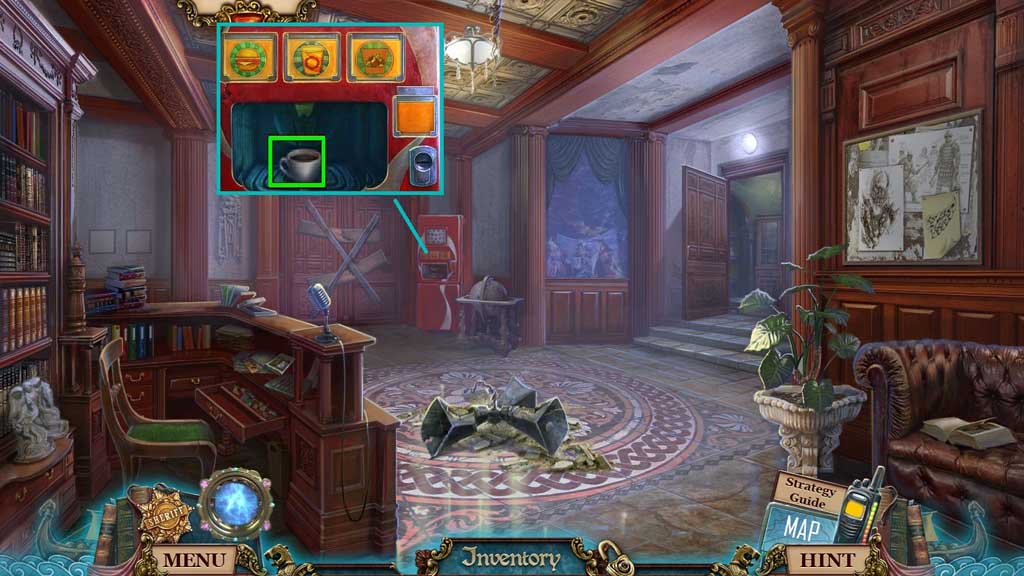
- Select the coffee and insert the cup.
- Insert the one dollar.
- Collect the steaming coffee.
- Move down once and go to the left.
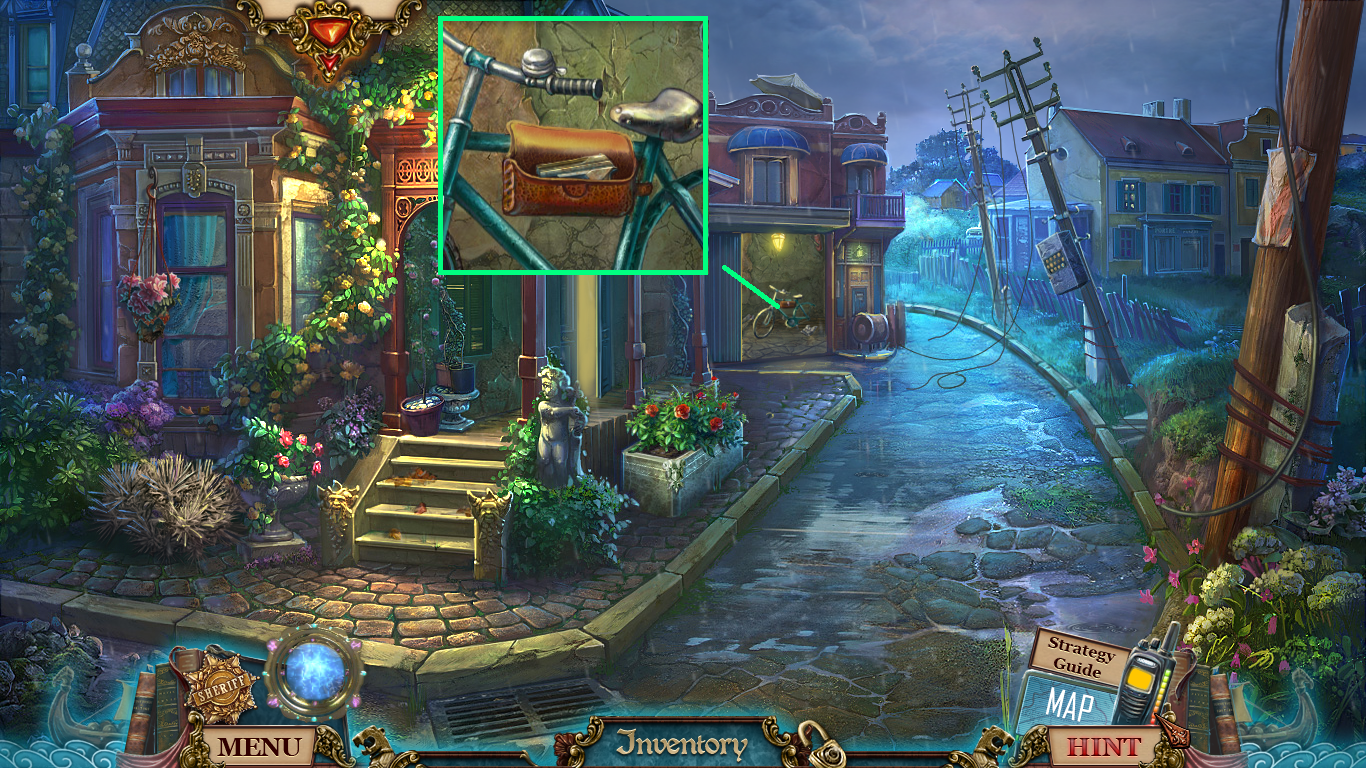
- Insert the trinket; collect the revolver.
- Move to the Hospital Yard.
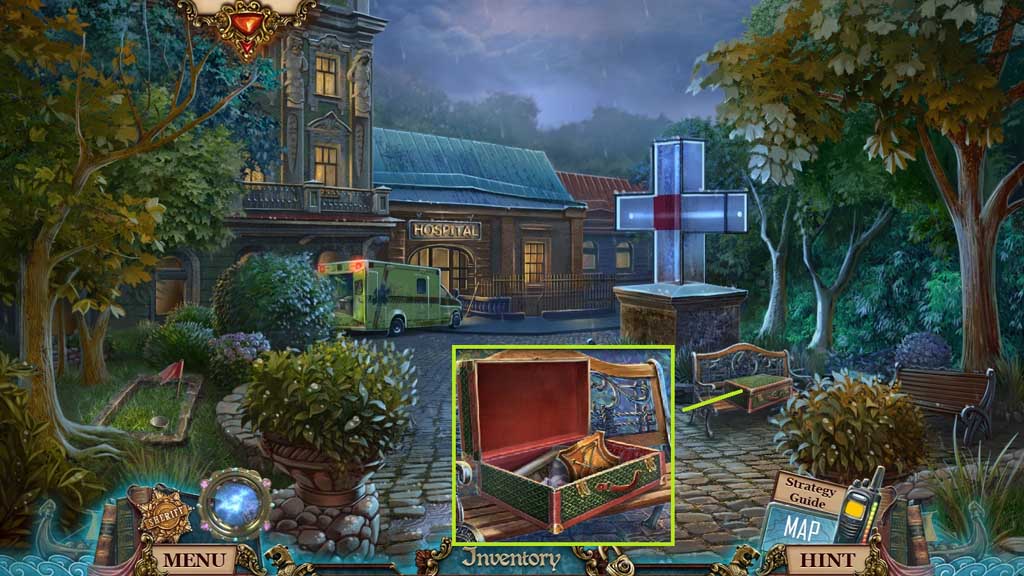
- Attach the latch; click the suitcase open and insert the arrow.
- Collect the bow emblem.
- Move ahead.
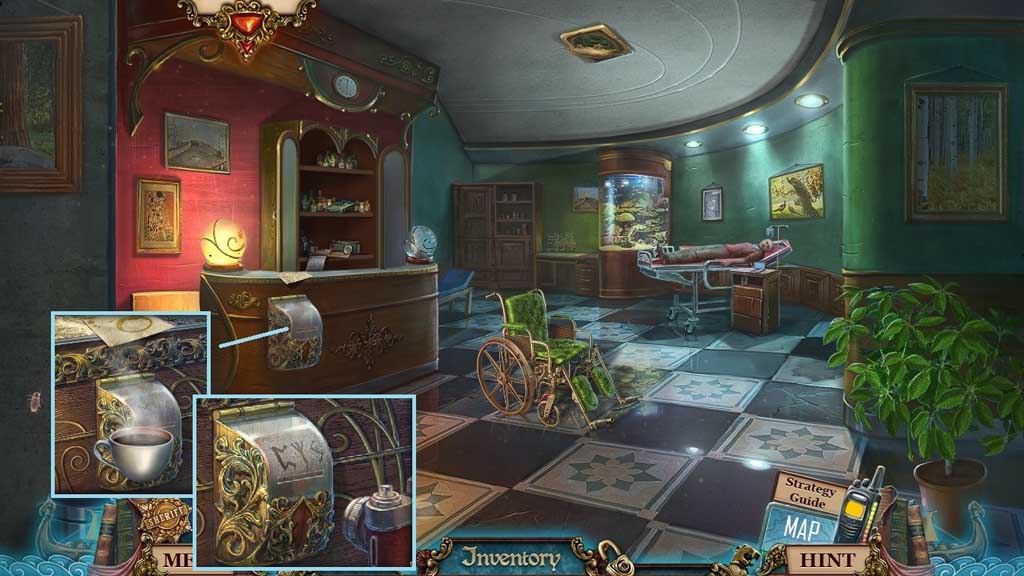
- Select the steaming coffee and the napkin to reveal the code.
- Select and use the camera to receive the photo code.
- Move to the Viking Museum.
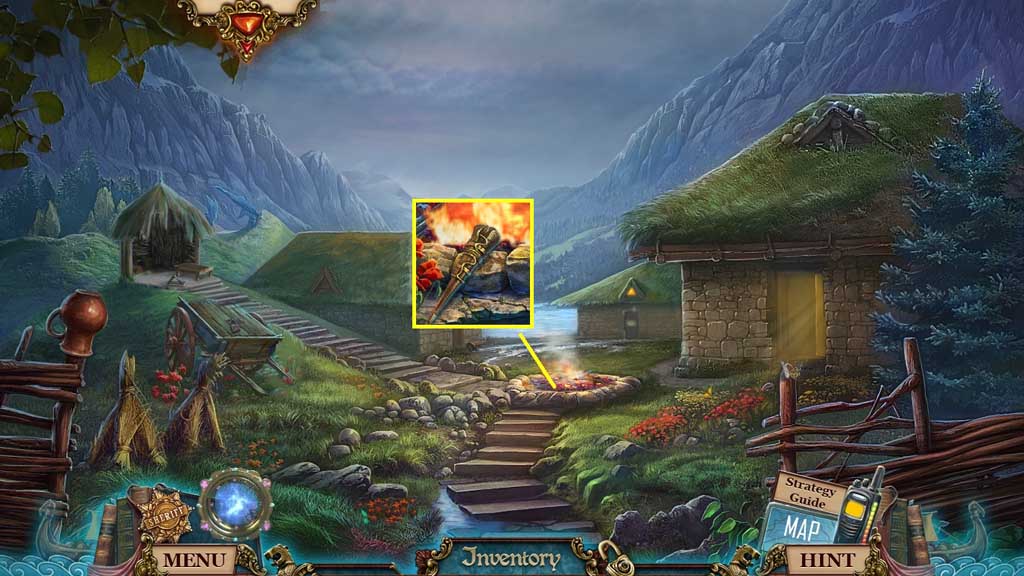
- Ignite the torch; collect the burning torch.
- Move to the right.
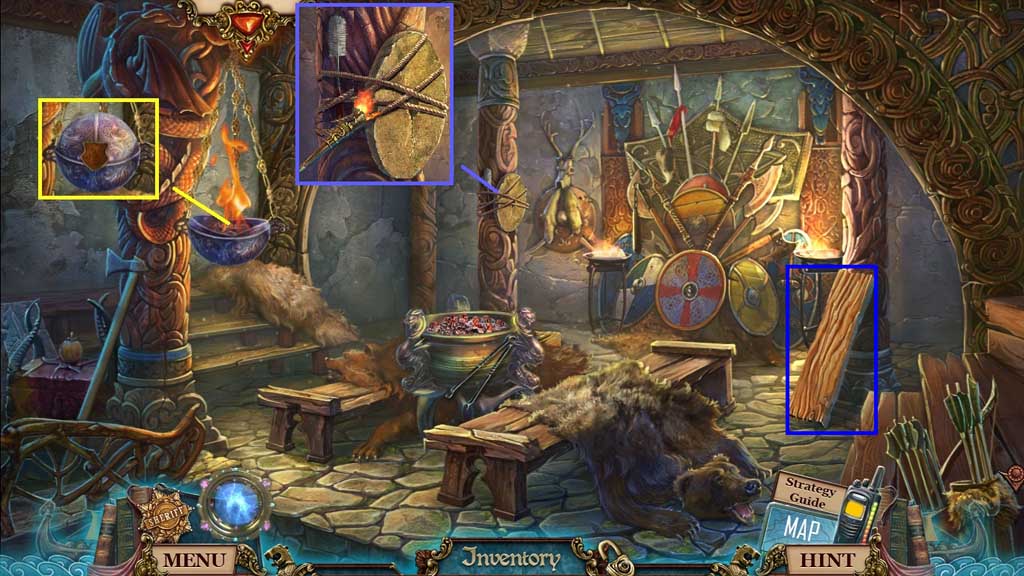
- Insert the bow emblem.
- Click the sphere and select the helmet with embers and sulfur
- Collect the gun brush.
- Select the burning torch to receive the grindstone.
- Collect 1 /3 planks.
- Move down once.
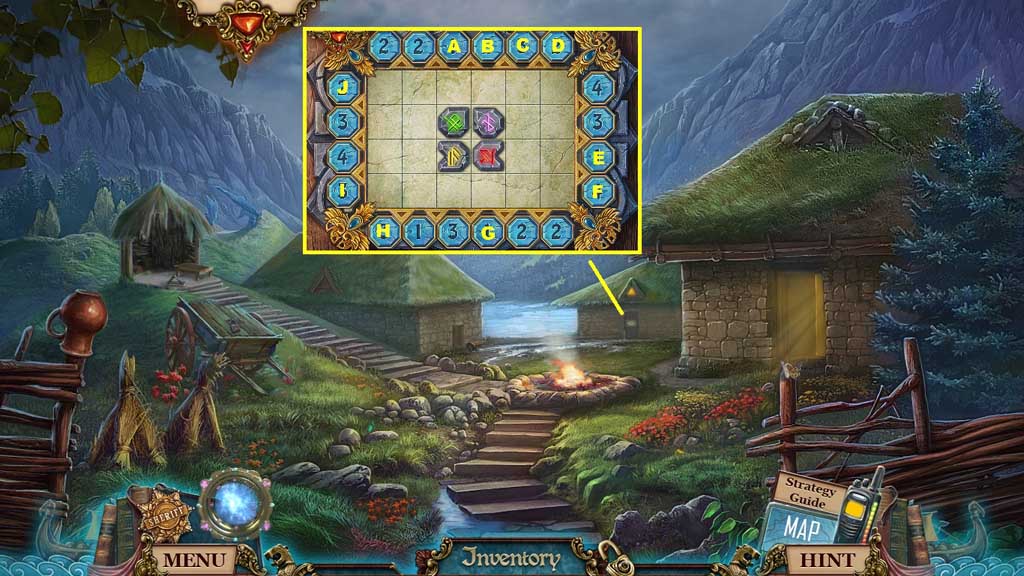
- Insert the Viking symbols to trigger a mini game.
- Solve the game by moving the runes to the correct area.
- Use the following sequence to solve: J –H – J – B – D – E – C – F – H – J – B – A – F – H – J – A – I – G
- Move ahead.
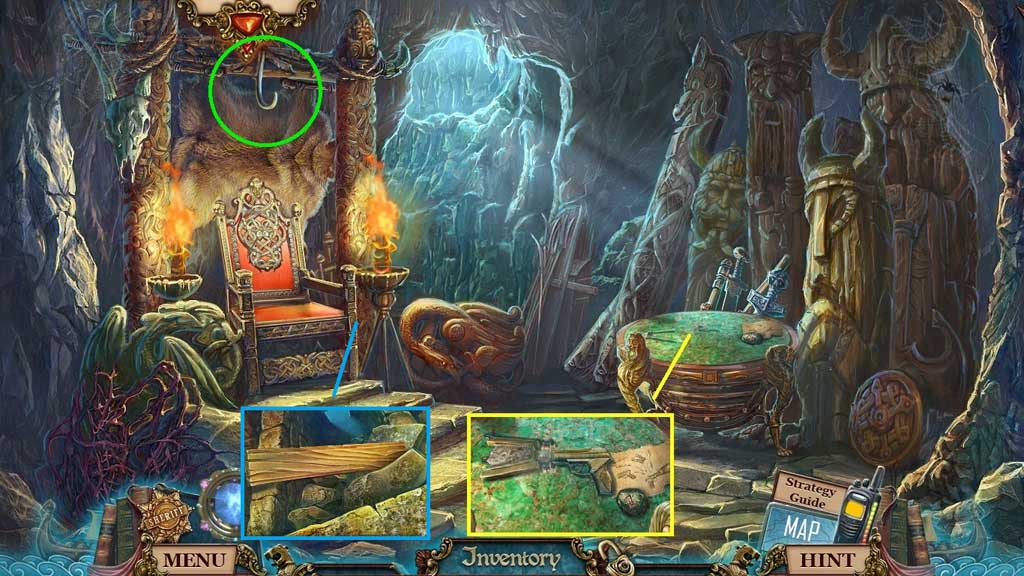
- Attach the net cartridge, the gun and the gun brush to create and collect the loaded net gun.
- Collect 3 /3 map parts.
- Attach the stone head onto the hook.
- Collect 2/3 planks and select the heavy axe to remove the debris.
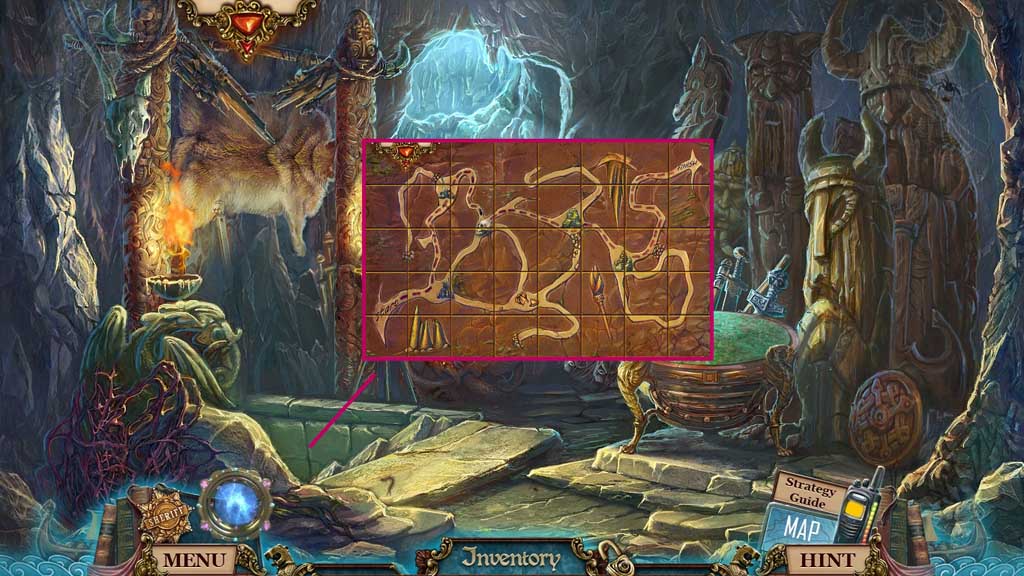
- Insert the map part to trigger a mini game.
- Solve the game by restoring the image by switching the tiles into the correct arrangement.
- Move ahead.
Comments will load when you reach this part of the walkthrough.