

Chapter Three: Victim
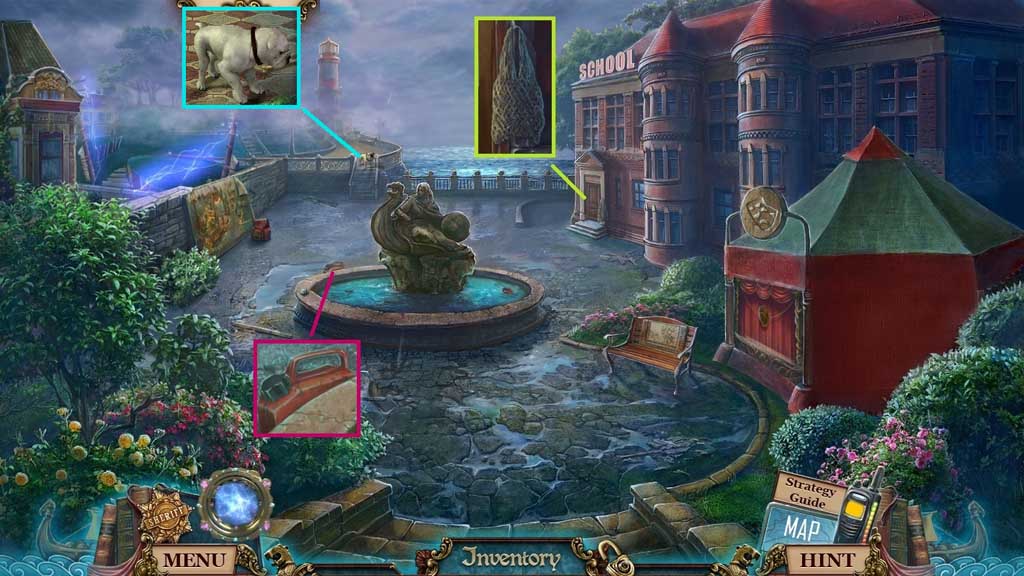
- Collect the gas can.
- Collect the net string.
- Toss the bone to the dog.
- Move ahead.
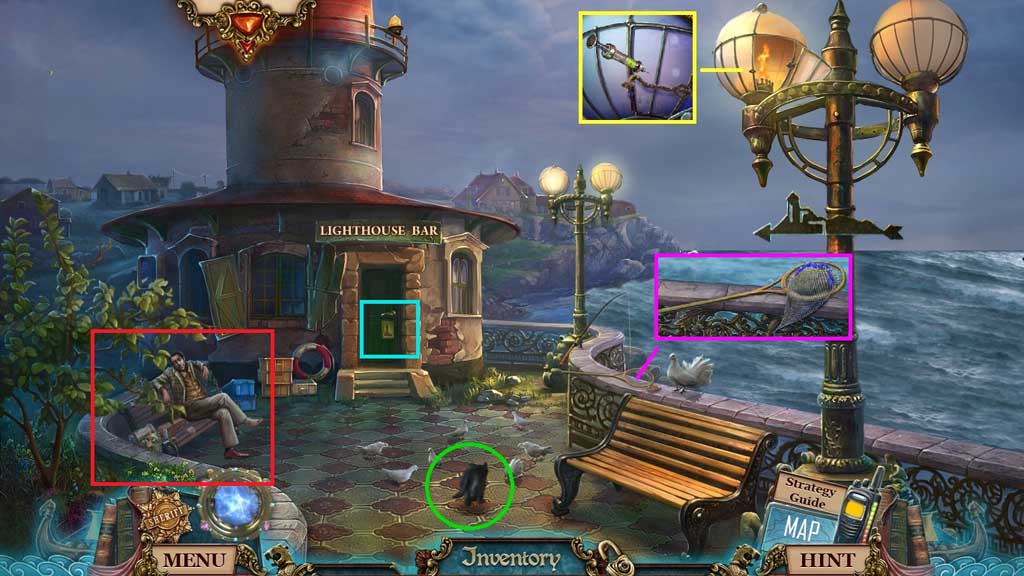
- Select the acid to dissolve the lantern lock.
- Select the gas can and the matches to light the lantern.
- Select the cat to scatter the birds.
- Select the net string and the insulation tape to repair and collect the net.
- Examine the keyhole.
- Click the man on the bench to trigger a hidden objects area.
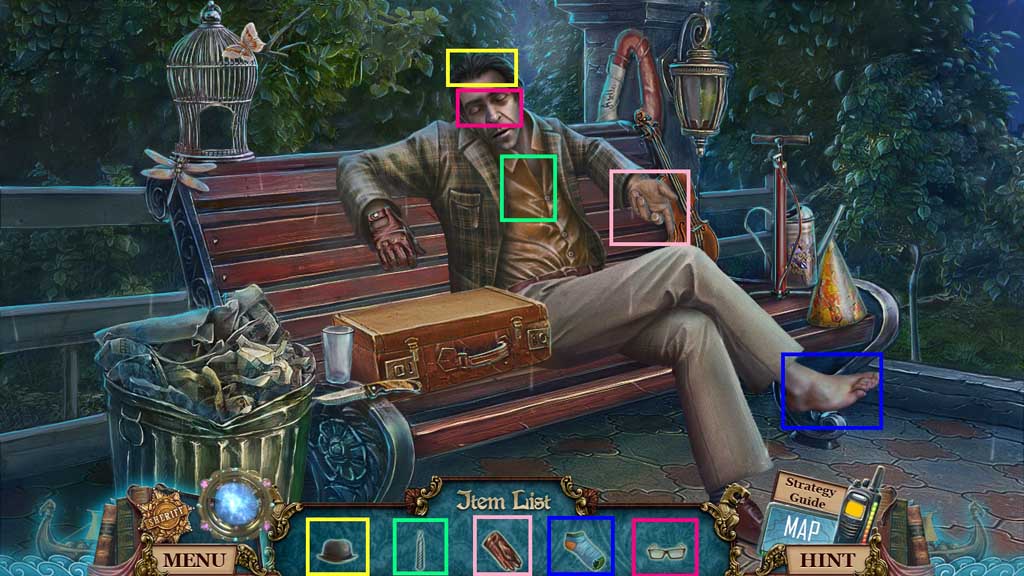
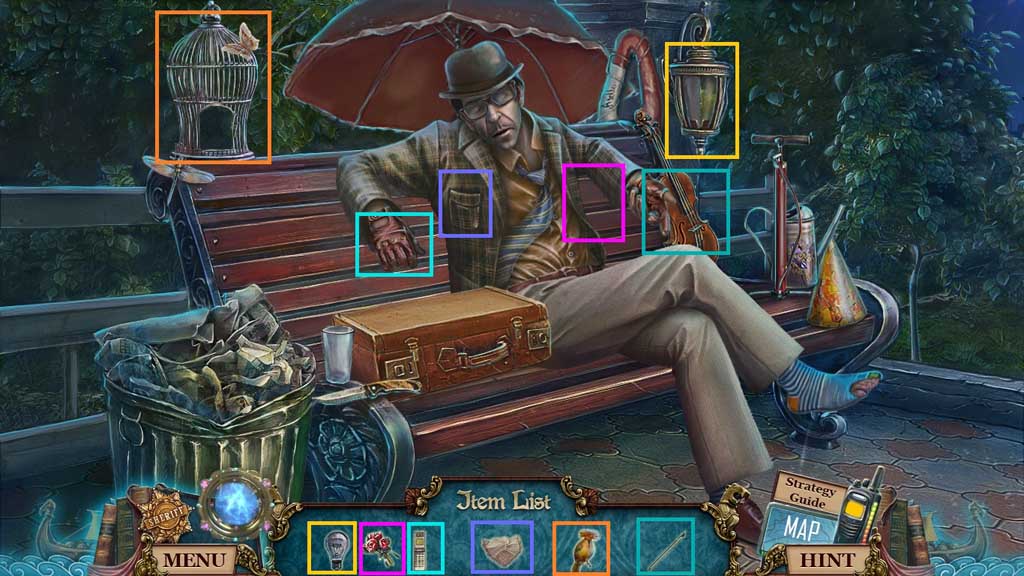
- Place the items where they belong.
- Collect 3 /3 pink pencils.
- Move down once.
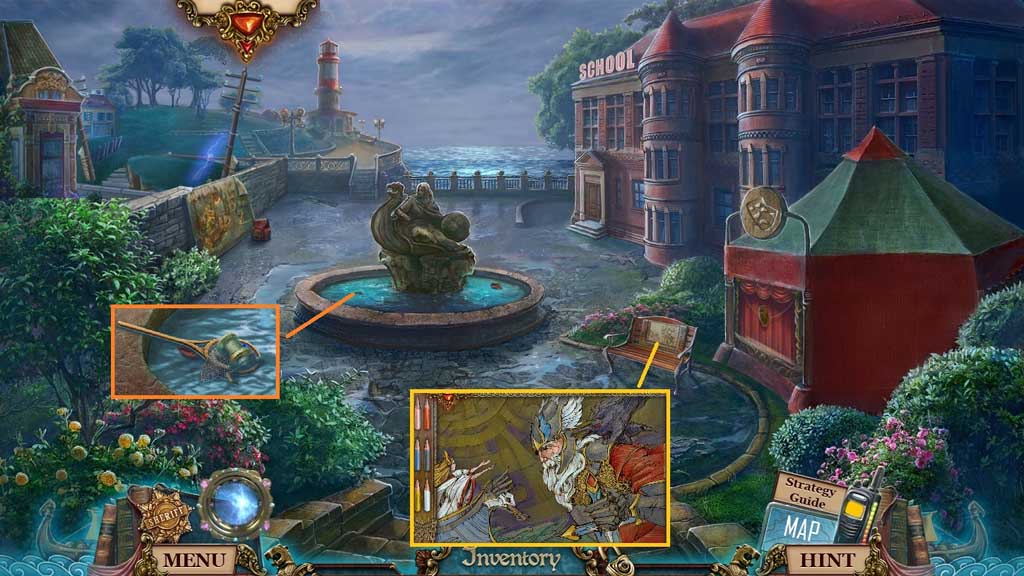
- Zoom into the bench.
- Insert the pencils to trigger a mini game.
- Solve the game by coloring the picture as shown in the examples.
- Collect the painting and the lighthouse.
- Select the net to collect the fishing reel.
- Move ahead.
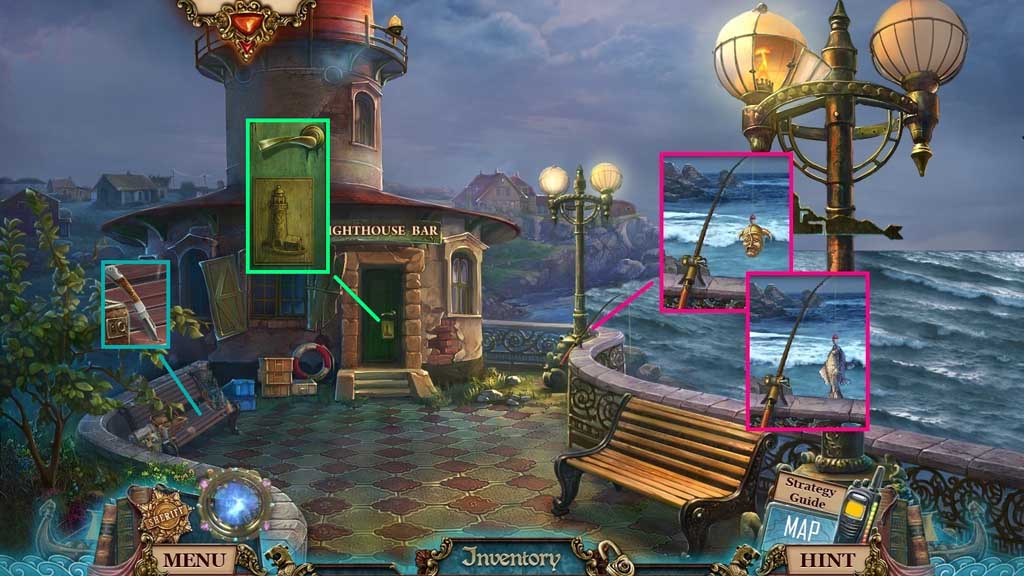
- Select the fishing reel and place it onto the rod; click it 2x’s to collect the tragedy mask and the fish.
- Collect the knife.
- Insert the lighthouse; click the handle.
- Move ahead.
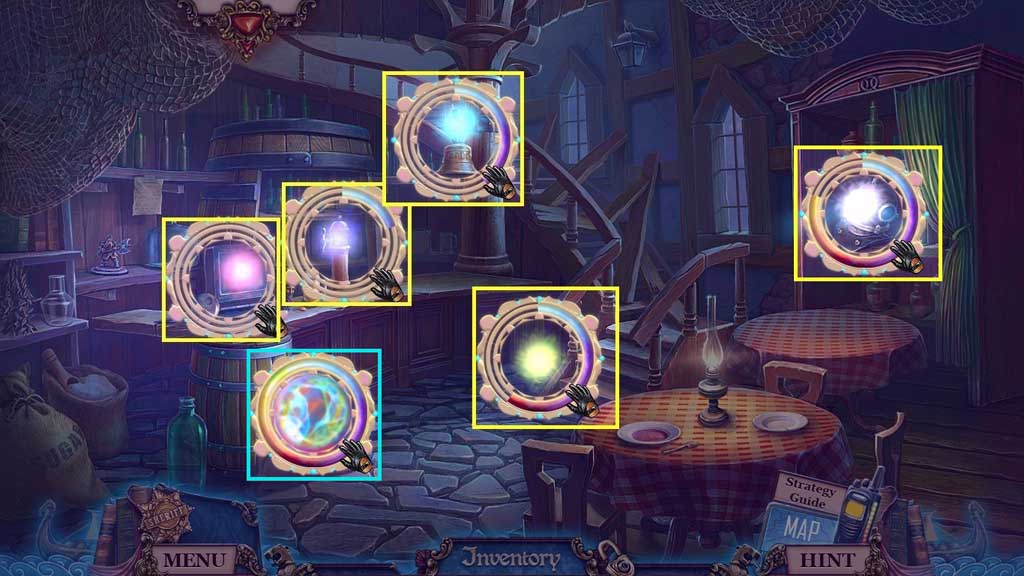
- Select the spirit detector to locate the glowing items.
- Place and click the detector onto the glowing orb.
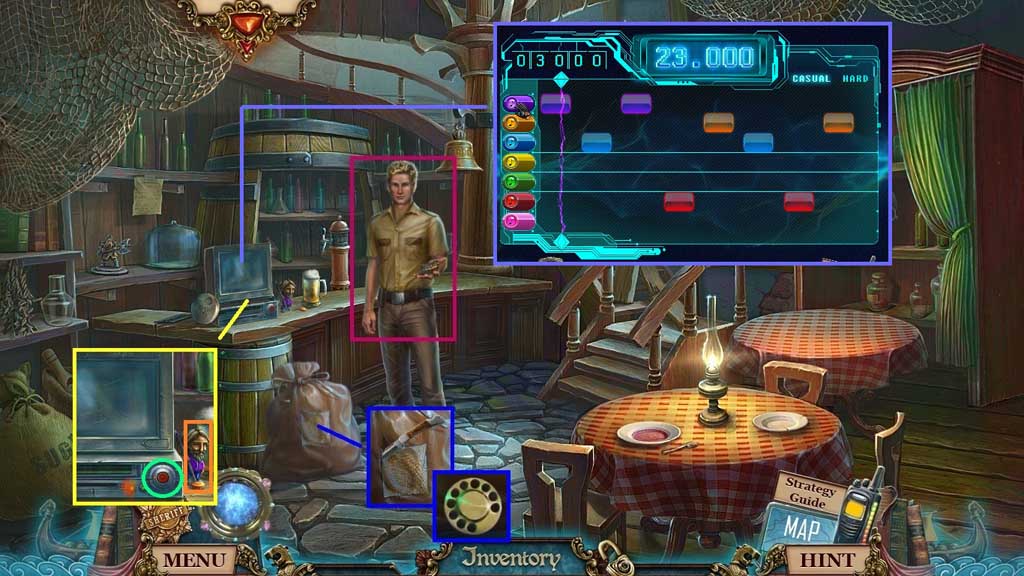
- Speak to Jones; receive more evidence.
- Select the knife to slice the sack; collect the telephone dial.
- Collect the Viking figurine.
- Click the button to trigger a mini game.
- Solve the game by clicking the color matched button whenever a matching color block is within the diamonds.
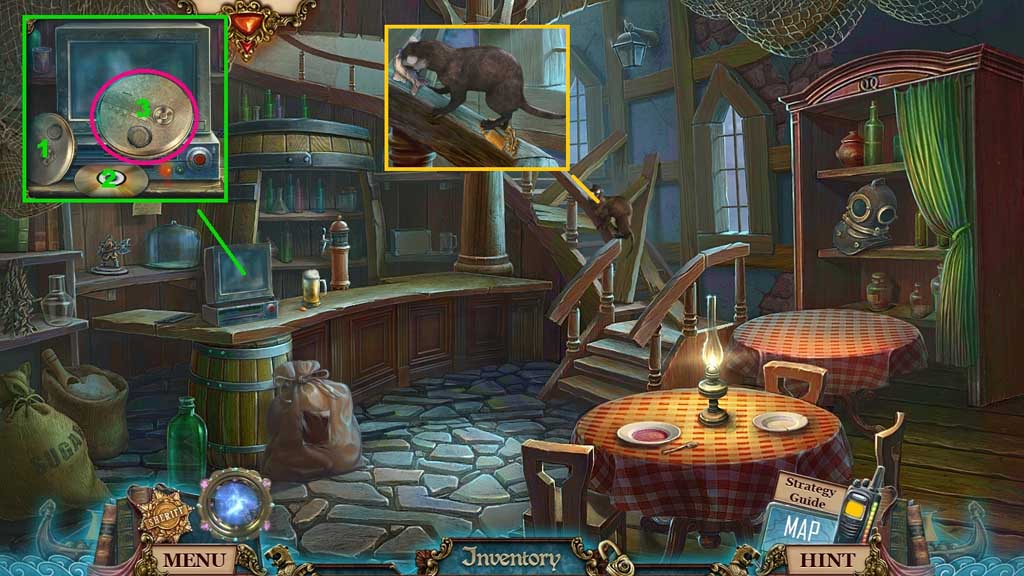
- Insert the CD; collect the voice recording.
- Give the otter the fish; collect the emblem half.
- Move down 2x’s.
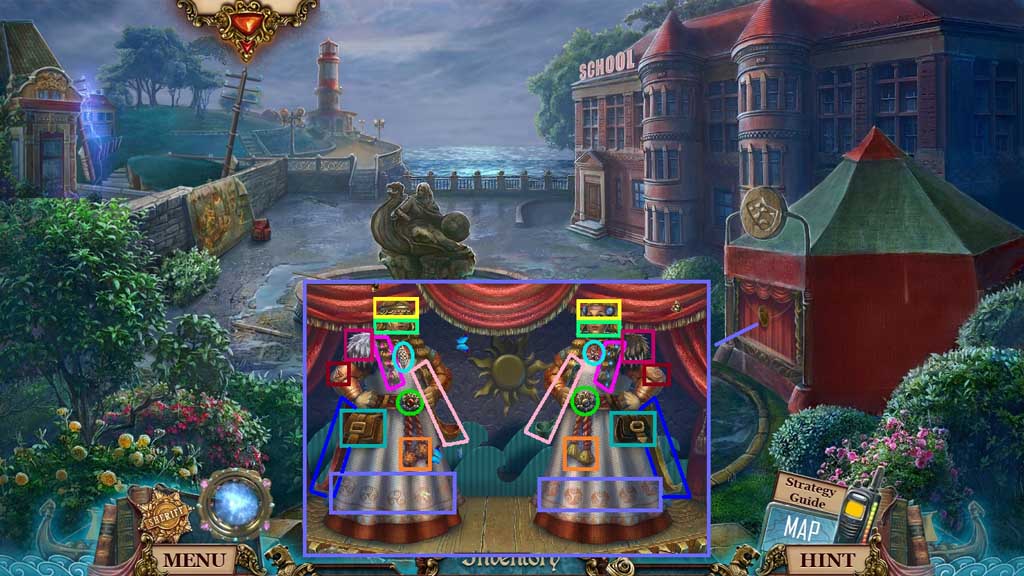
- Insert the comedy and tragedy masks to trigger a mini game.
- Solve the game by spotting the differences; the difference must be selected on both sides of the image.
- Collect the bell rope.
- Move ahead 2x’s.
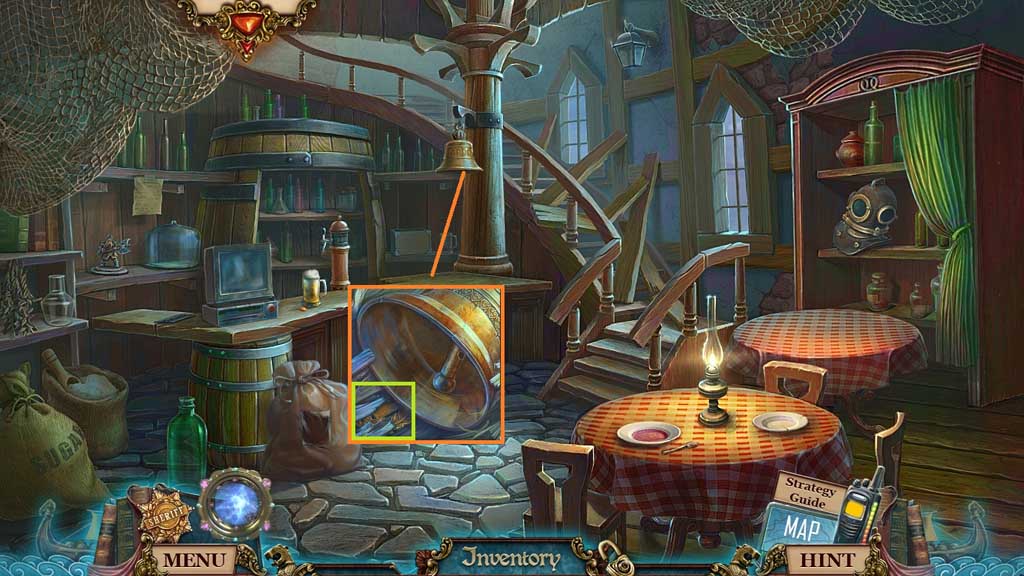
- Attach the bell rope.
- Collect the emblem half.
- Move down 2x’s.
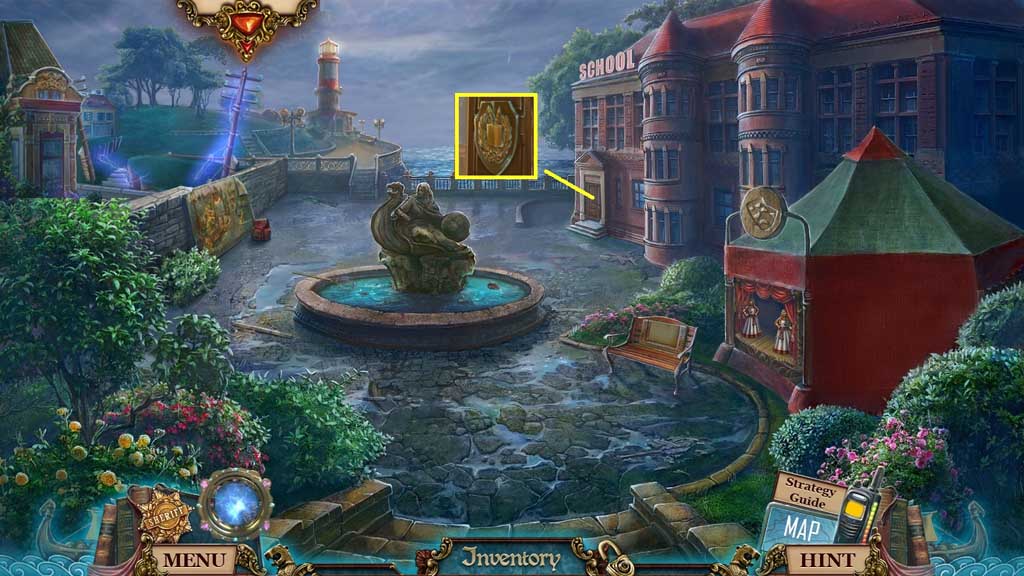
- Insert the 2 emblem halves.
- Move to the right.
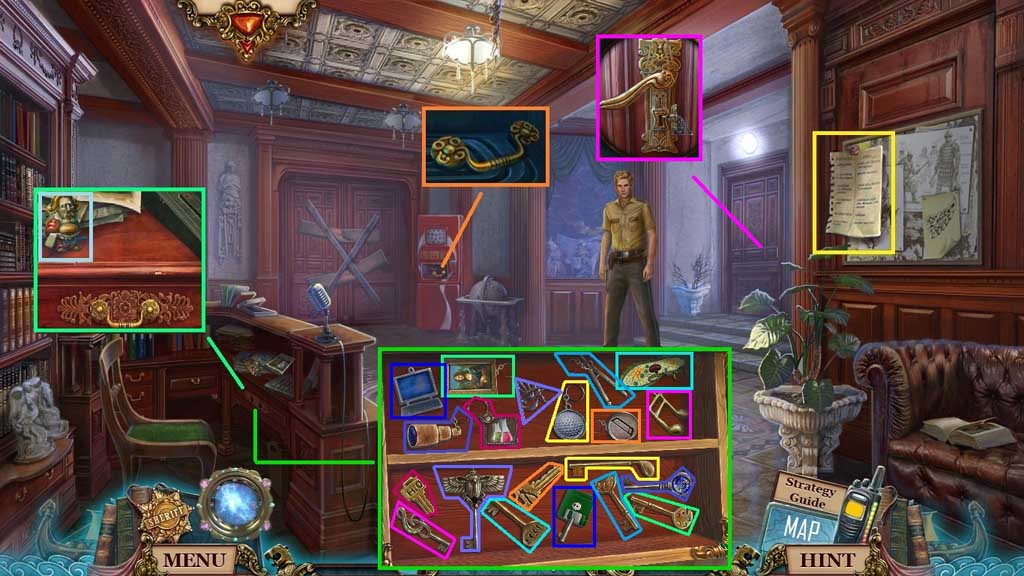
- Examine the scene.
- Collect the evidence.
- Collect the handle.
- Collect the Viking figurine.
- Attach the handle and click the drawer to trigger a mini game.
- Solve the game by matching the keys to their chains.
- Collect the history classroom key and insert it into the door.
- Enter the doorway.
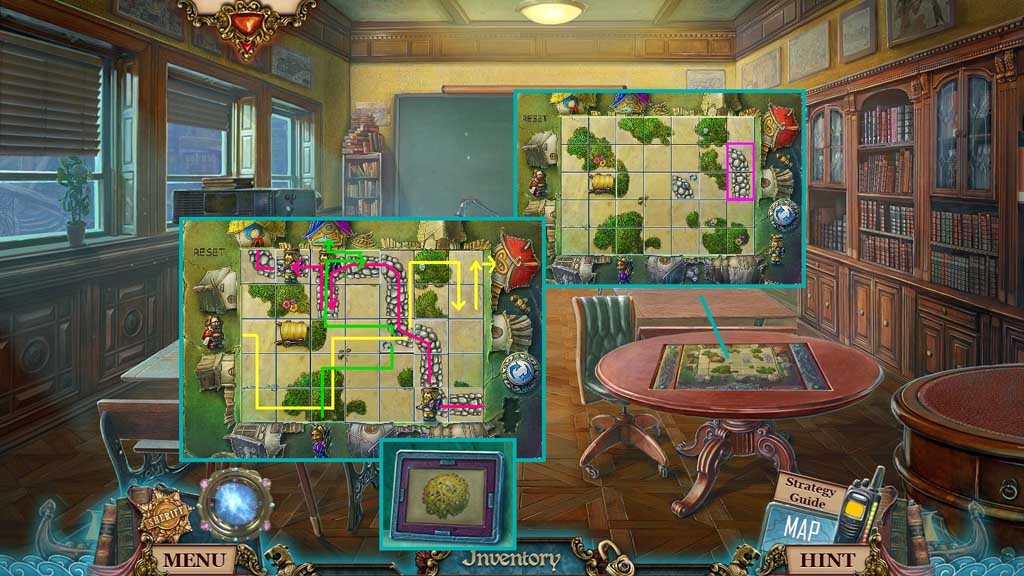
- Insert the 2 Viking figurines to trigger a mini game.
- Solve the game by using the stone tiles to create a path for the Vikings to move to their work places. Place the stone tiles onto the arrow button to adjust their directions.
- Collect the slide.
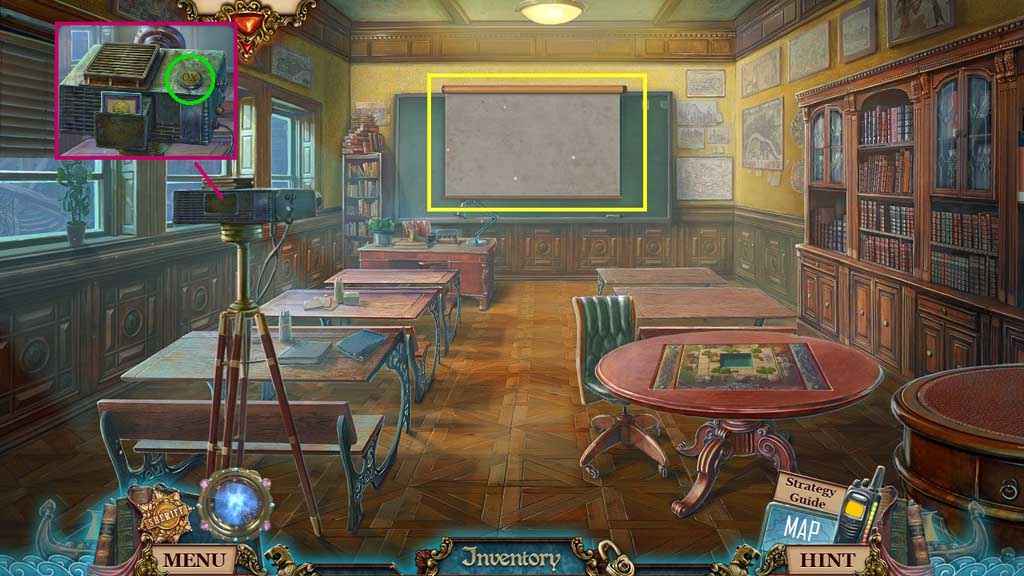
- Click the screen.
- Zoom into the projector; click the slide drawer.
- Click the empty slide and insert the slide; click the button.
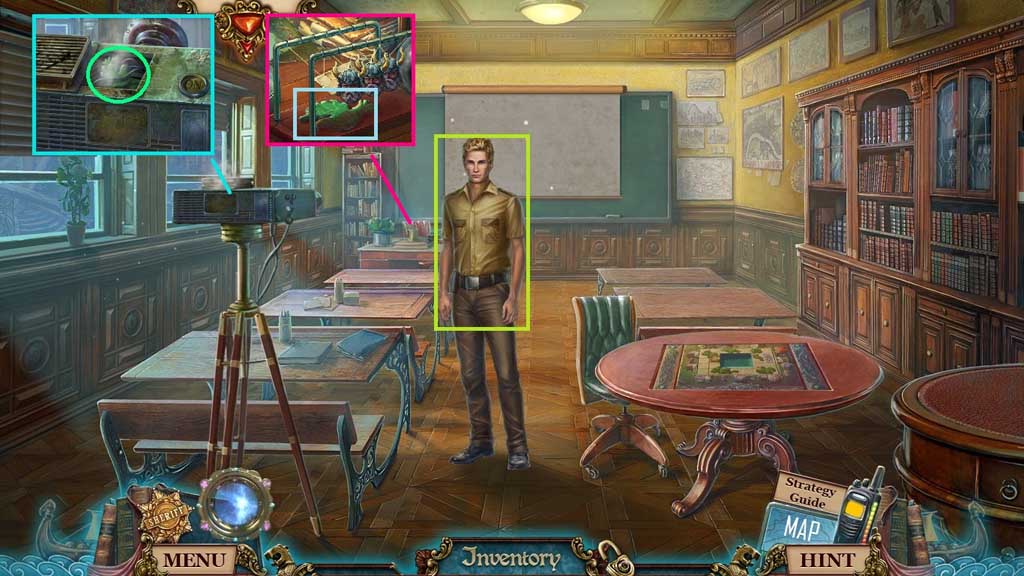
- Speak to Jones.
- Click the projector cover; collect 1 /2 doves.
- Collect 2 /2 doves.
- Move down 2x’s.
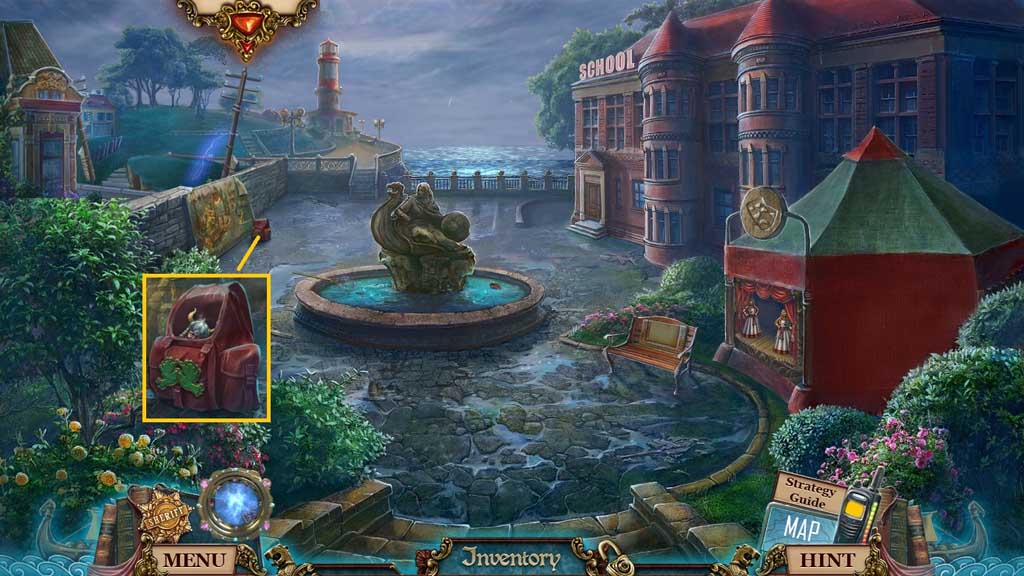
- Insert the 2 doves, click the bag and collect the Viking head.
- Move to the History Classroom.
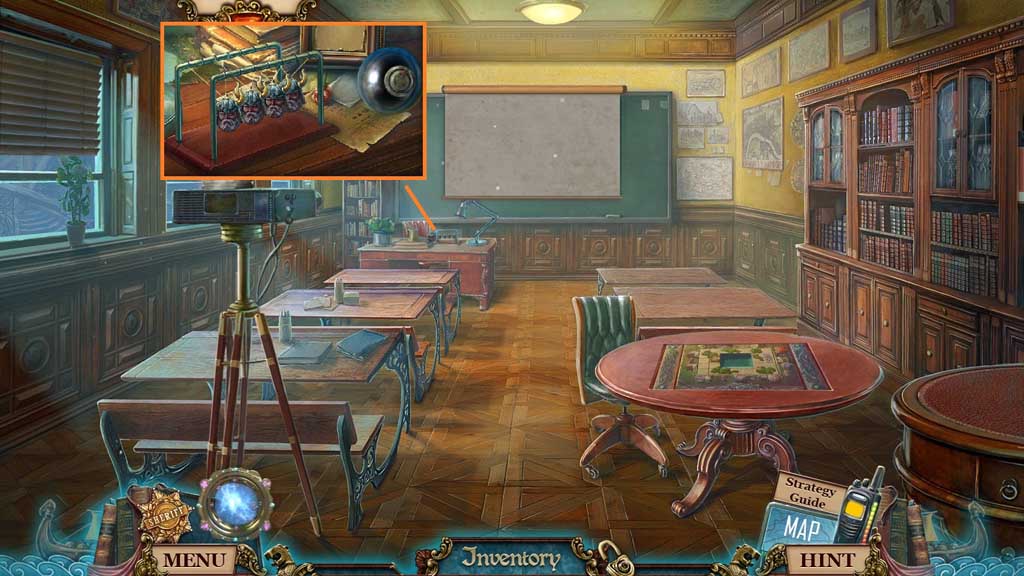
- Attach the Viking head, click the heads.
- Collect the bottle lid and the bomb.
- Move down 2x’s.
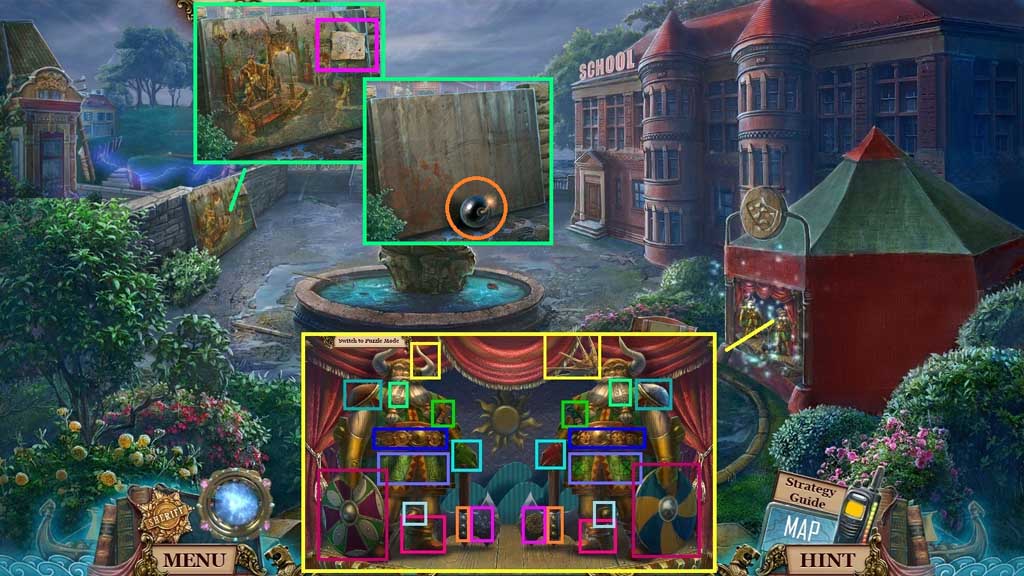
- Click the stage to trigger a mini game.
- Solve the game by spotting the differences; the difference must be selected on both sides of the image.
- Collect the antler.
- Collect the evidence and click the poster.
- Place the bomb and select the matches to ignite it.
- Move ahead.
Comments will load when you reach this part of the walkthrough.