
Chapter 2: The Town Hall and the Fire
- Zoom into the broken carriages behind the puppies.
- Click the gunpowder barrel.
- Use the scalpel from the inventory to cut the leather harness.
- Pick up the leather harness.
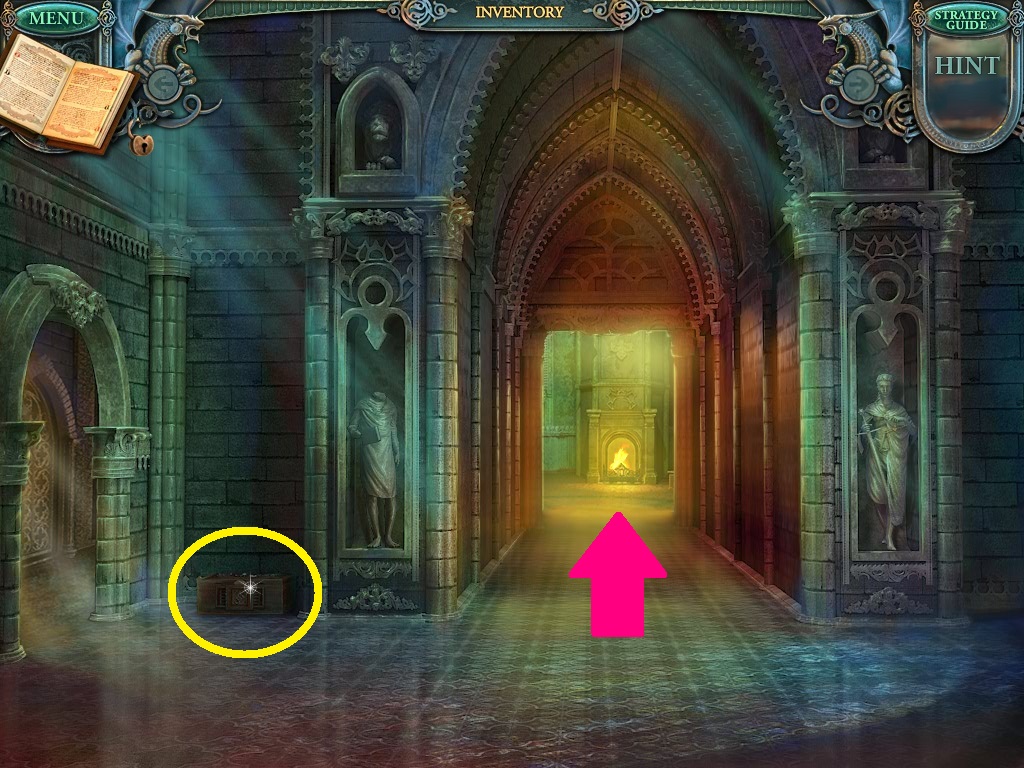
- Go to the staircase.
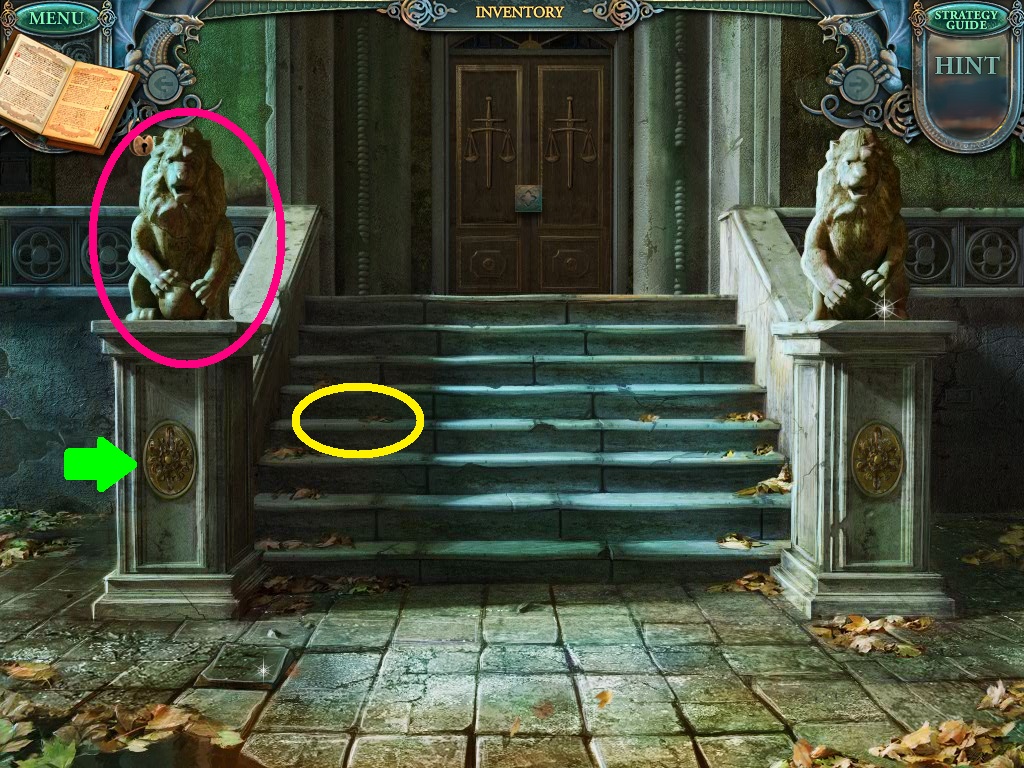
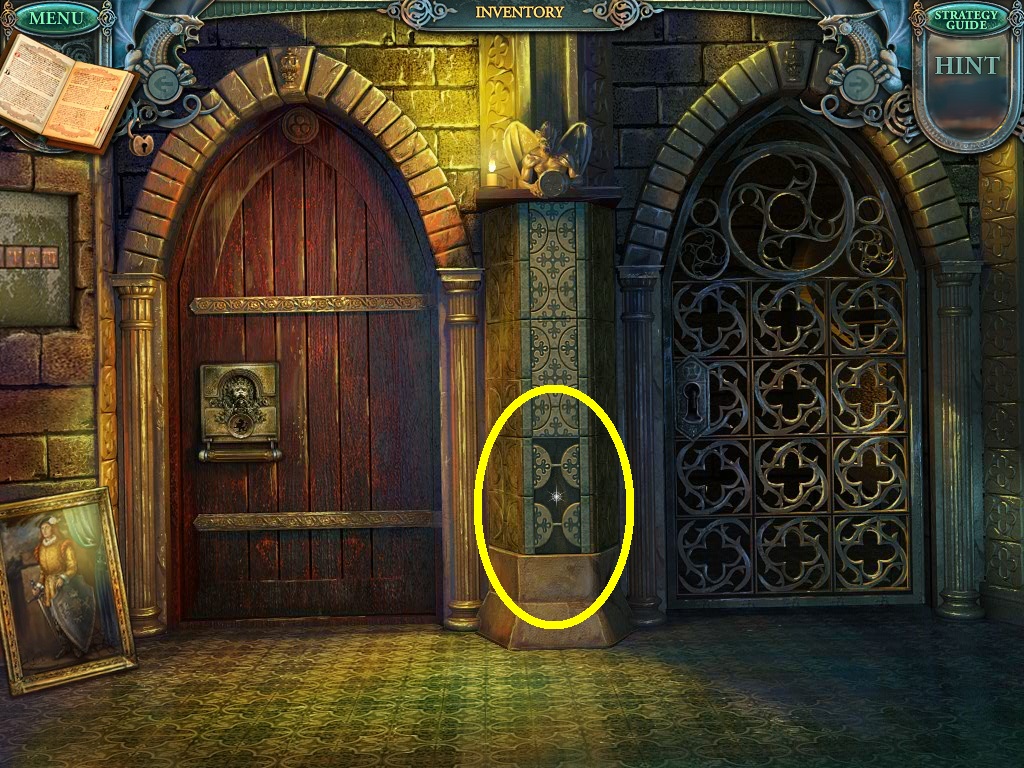
- Click the stairs (yellow circle).
- Pick up the key.
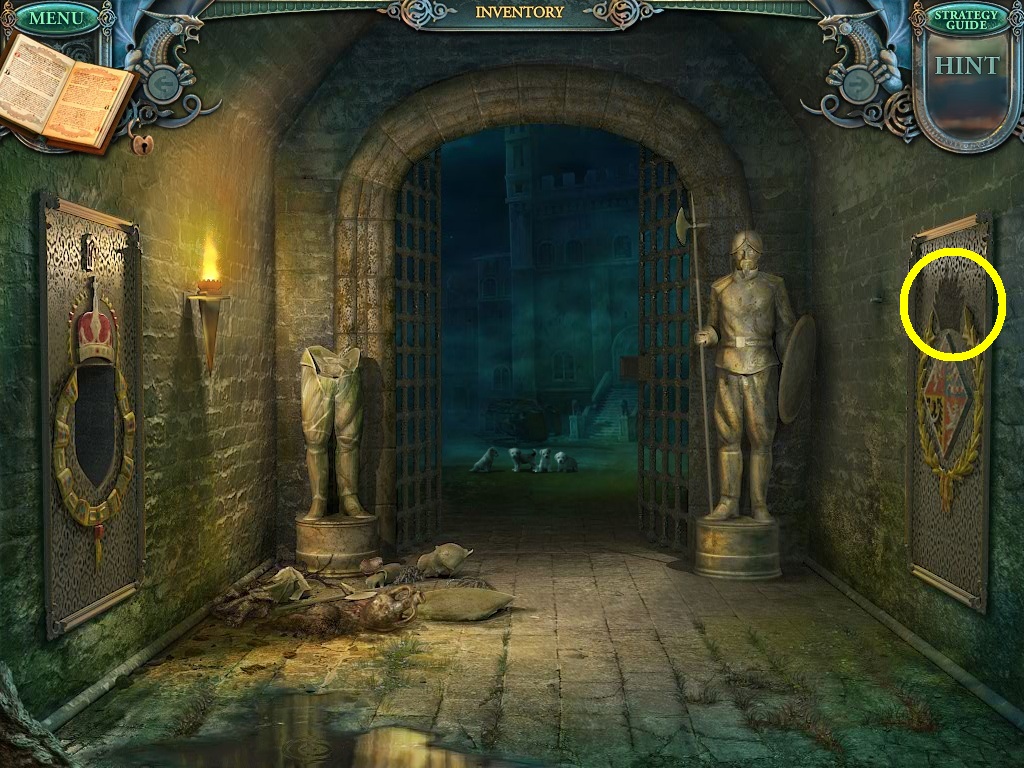
- Click the lion statue (pink circle).
- Pick up the shield piece (green arrow).
- Go to the courtyard.
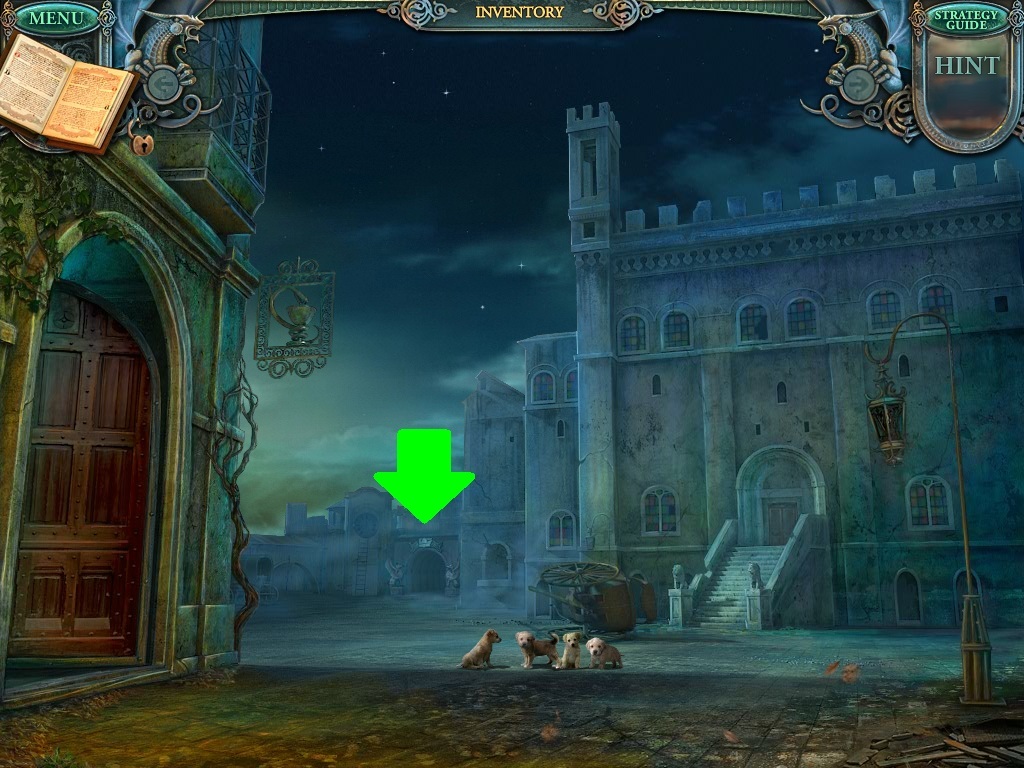
- Go through the entrance (green arrow) to the clock tower.
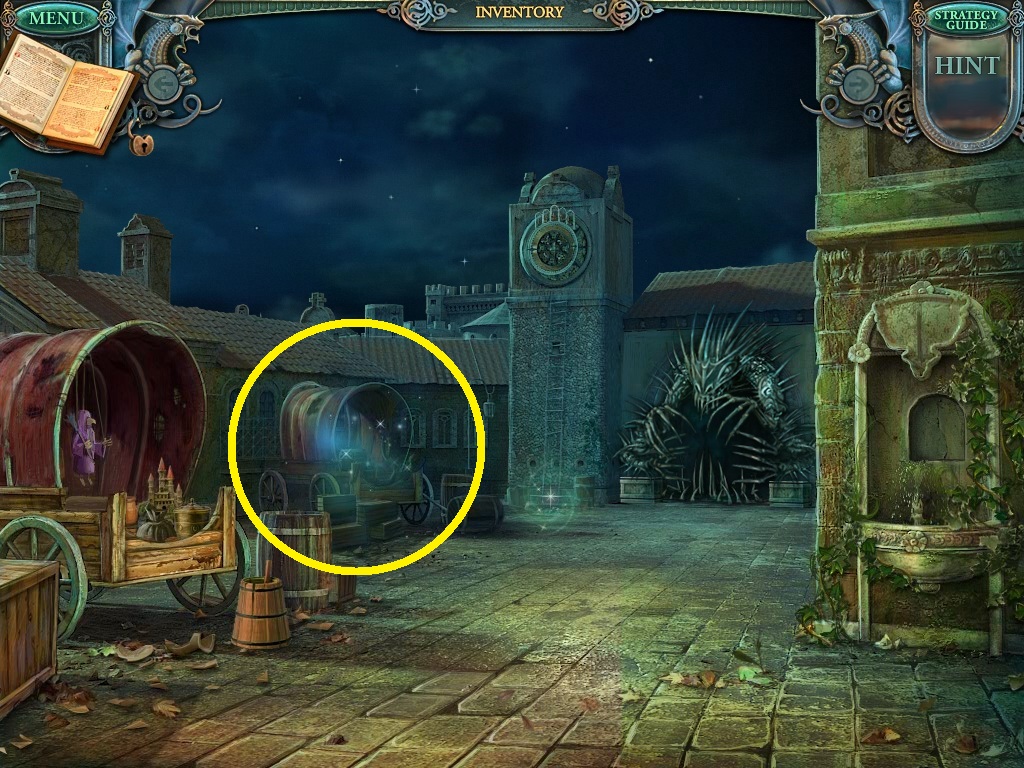
- Click the caravan (yellow circle) to enter the hidden object zone.
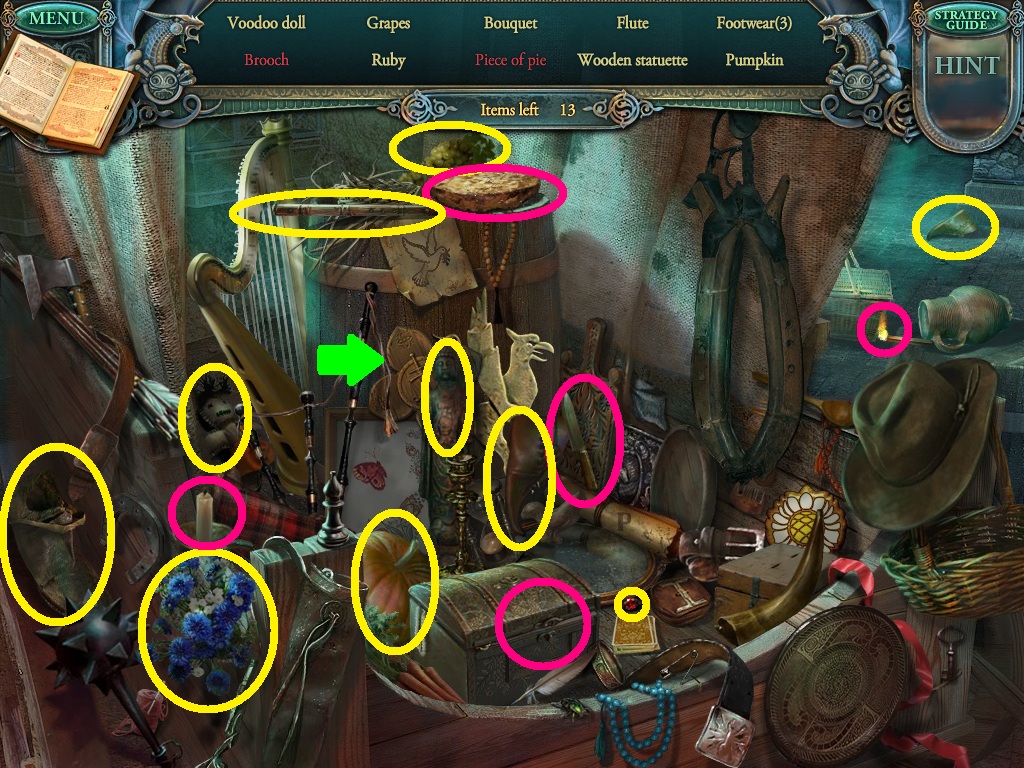
- Find the objects on the list (yellow circles).
- Some items require more actions (pink circles) to be collected.
- Pick up the wooden quatrefoil (green arrow).
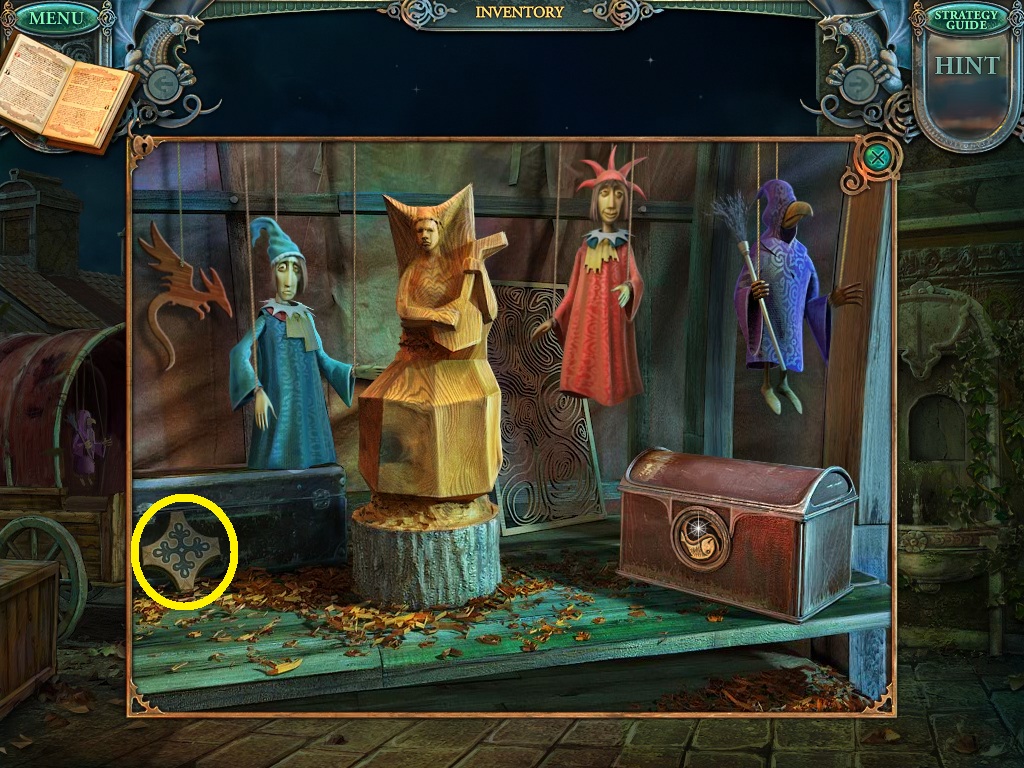
- Click the first caravan.
- Pick up the ceramic piece (yellow circle).
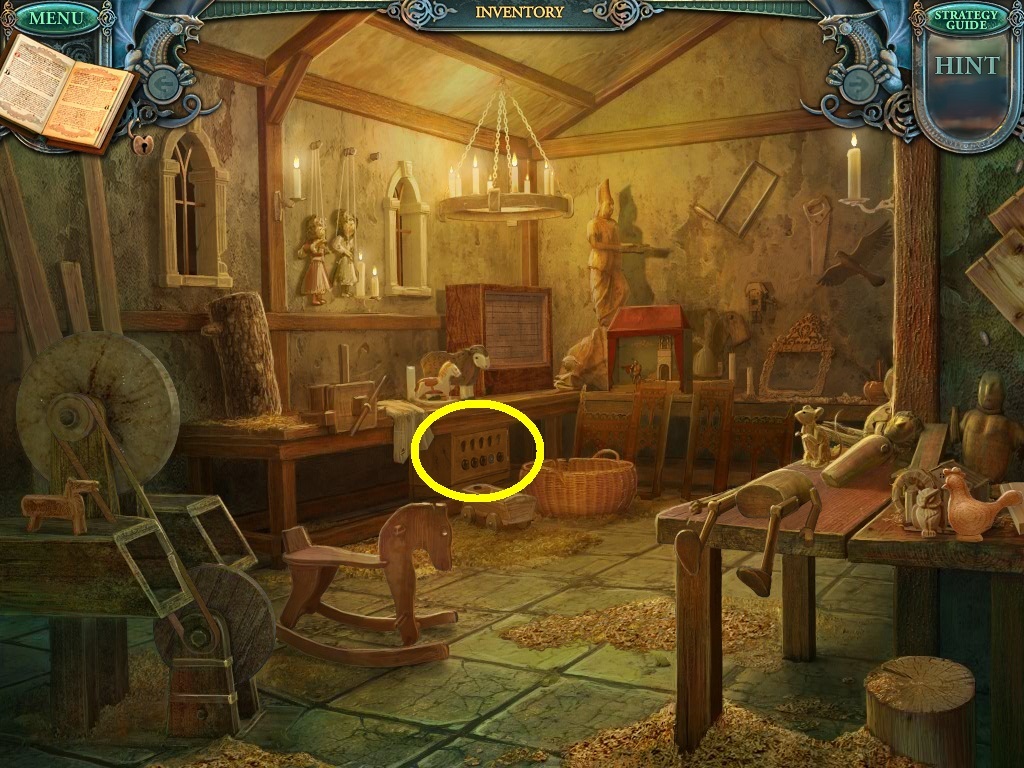
- Go back to the clock tower.
- Click the base of the clock tower.
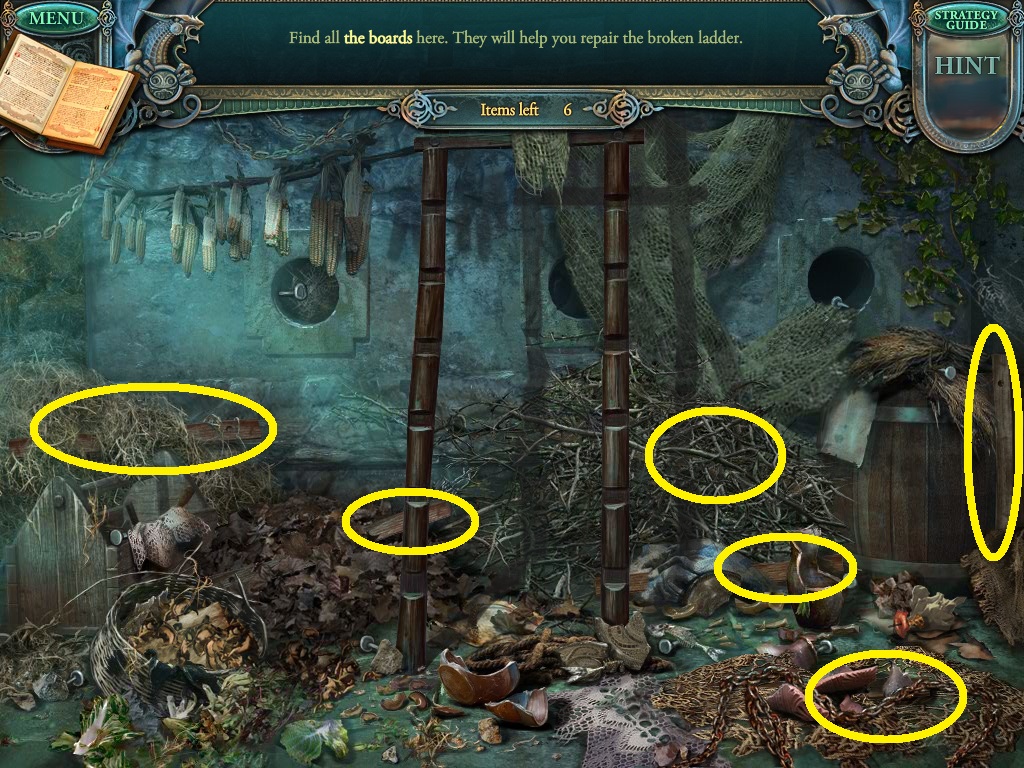
- Find the ladder boards (yellow circles)

- Find the nails (pink circles).
- Go to the central entrance.
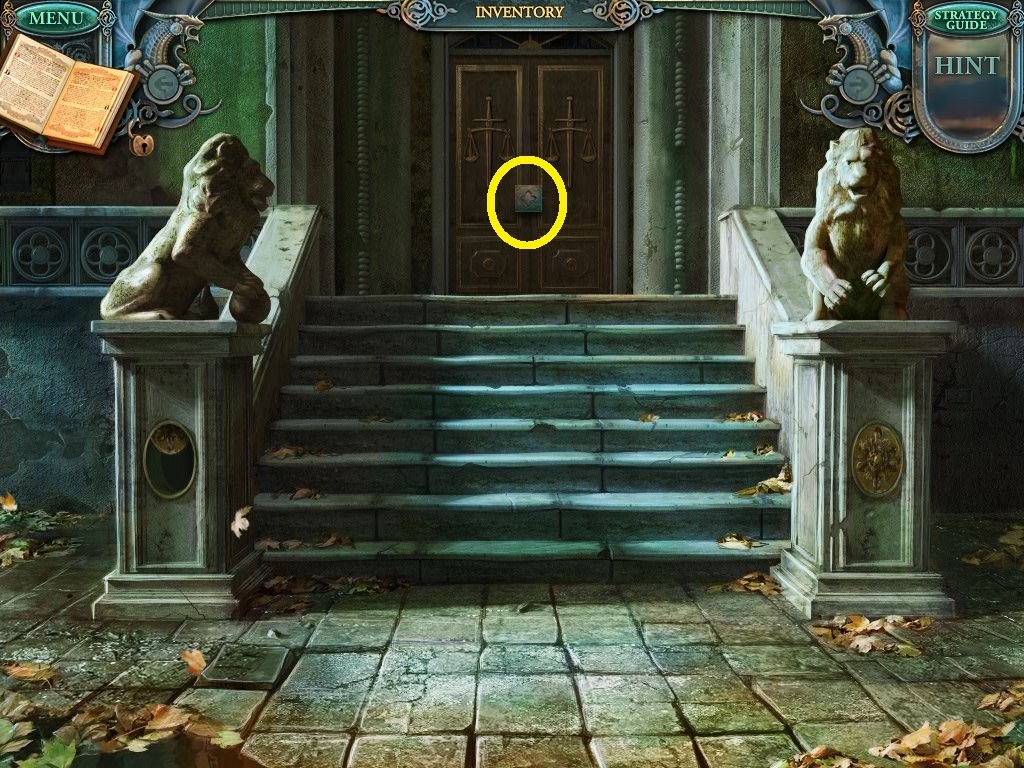
- Zoom into the door lock (yellow circle).
- Use the wood quatrefoil from your inventory to insert into the missing piece.
- It will open a puzzle.
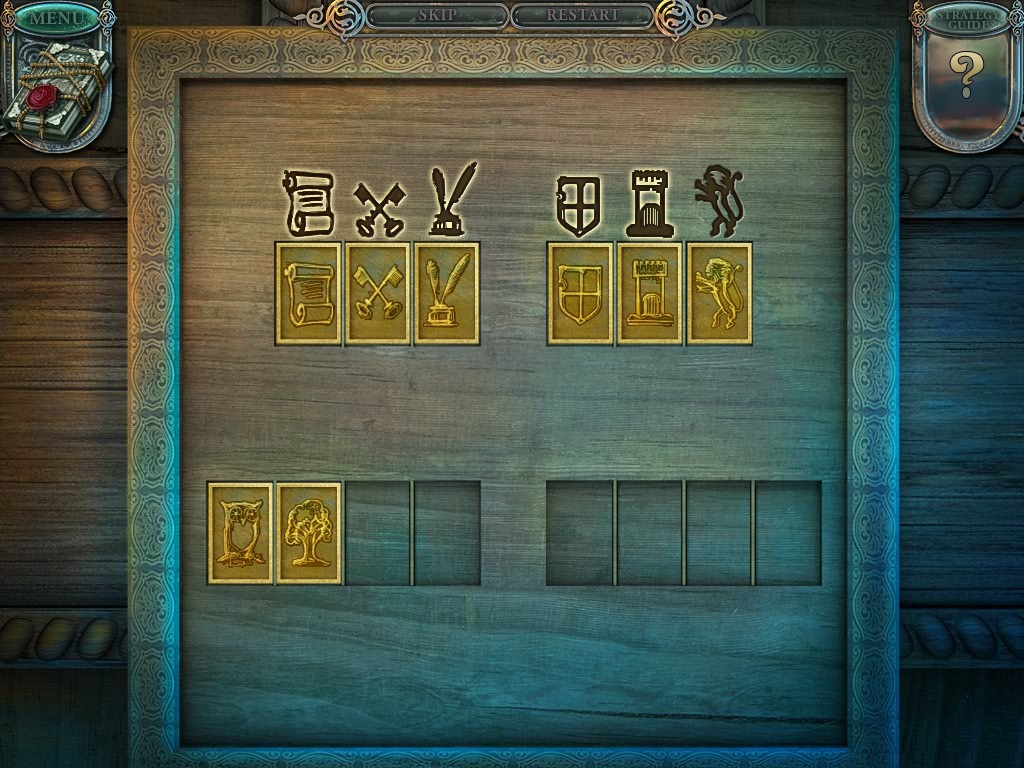
- Solve the puzzle as shown above.
- Follow this pattern.
- Click on the lion and move it to the second box on the upper right.
- Click the keys and move it next to the scroll on the lower right.
- Click the scroll and move it to the first box on the upper left.
- Click on the quills and move them to the bottom left box.
- Click the shield and move it to the second box on the lower right.
- Click the quills and move them to the third box on the upper left.
- Click the tree and move it to the third box on the lower left.
- Click the tower and move it to the third box on the lower right.
- Click the tower and move it to the second box on the upper right.
- Click the owl and move it next to the tree.
- Click the lion and move it to the third box on the upper right.
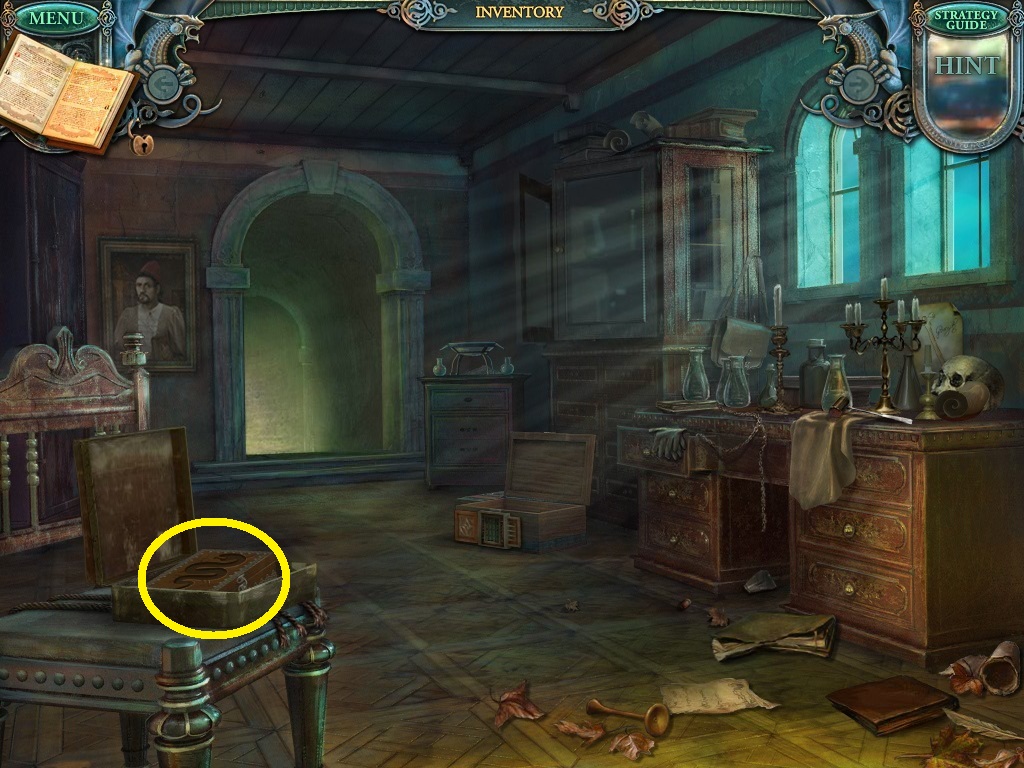
- Go through the doors.
- Notice the side hall entrance (green arrow).
- Notice the box (yellow circle).
- Go to the next scene (pink arrow).
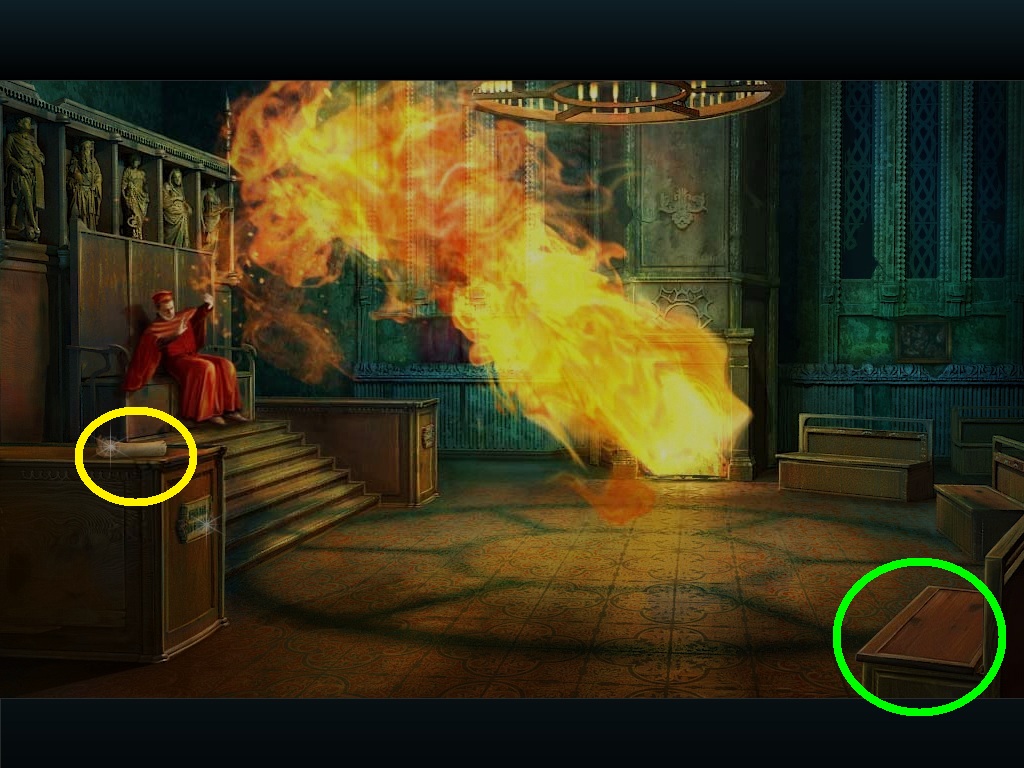
- Click on the scroll (yellow circle).
- Click the trunk (green circle) and pick up the plate of eggs.
- Go back to the town hall entrance.
- Go through the side hall.
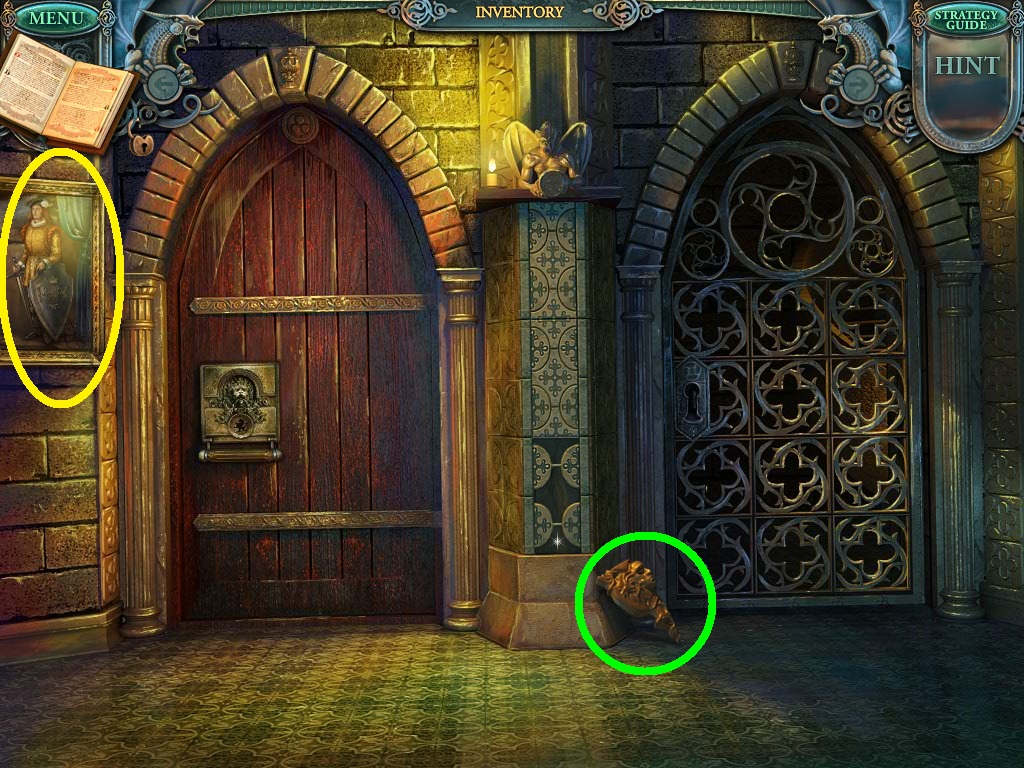
- Click the painting (yellow circle).
- Note the encoded puzzle under it.
- Pick up the ceramic piece (green circle).
- Go to the apothecary.
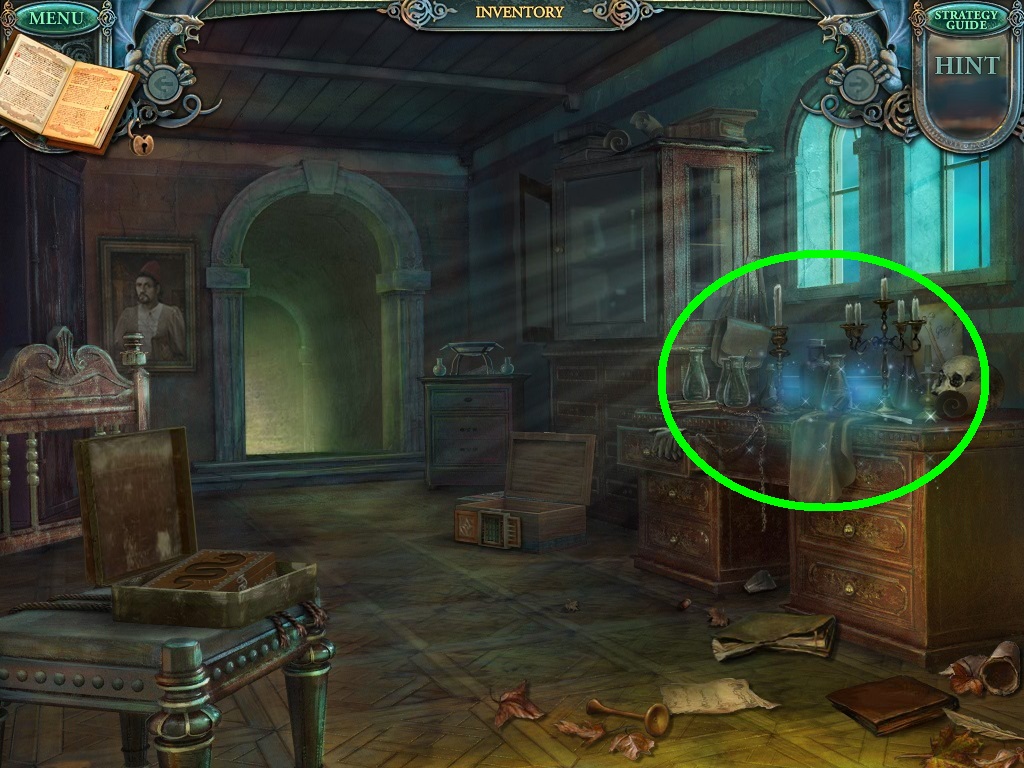
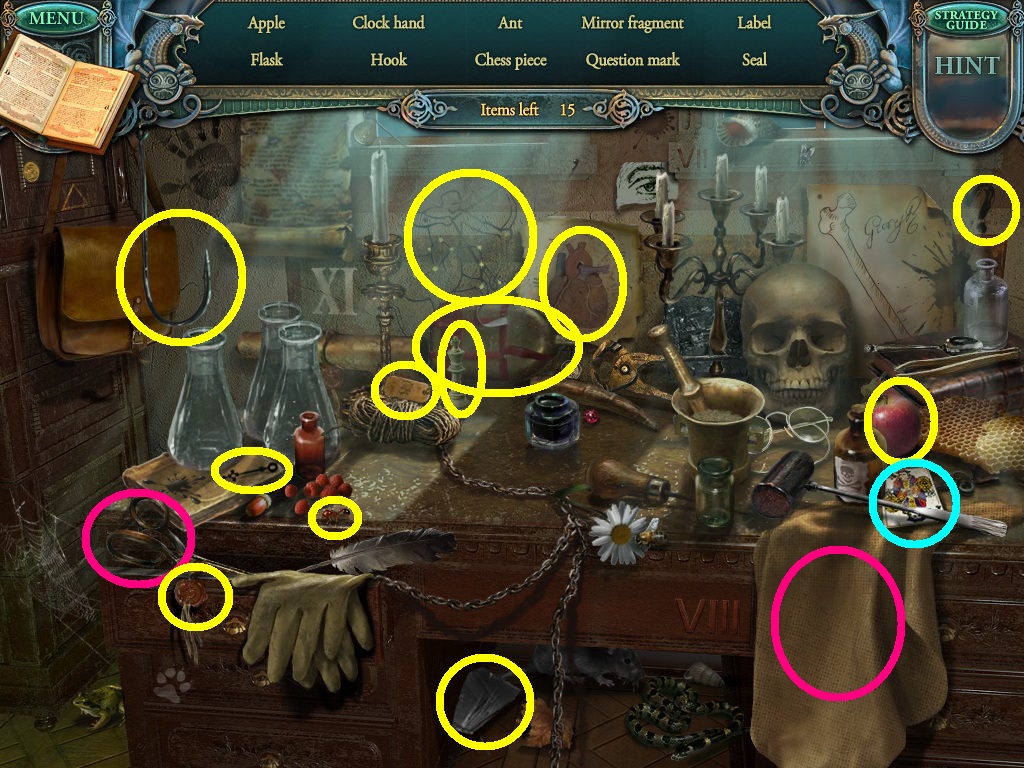
- Click the area above the apothecary’s desk (green circle).
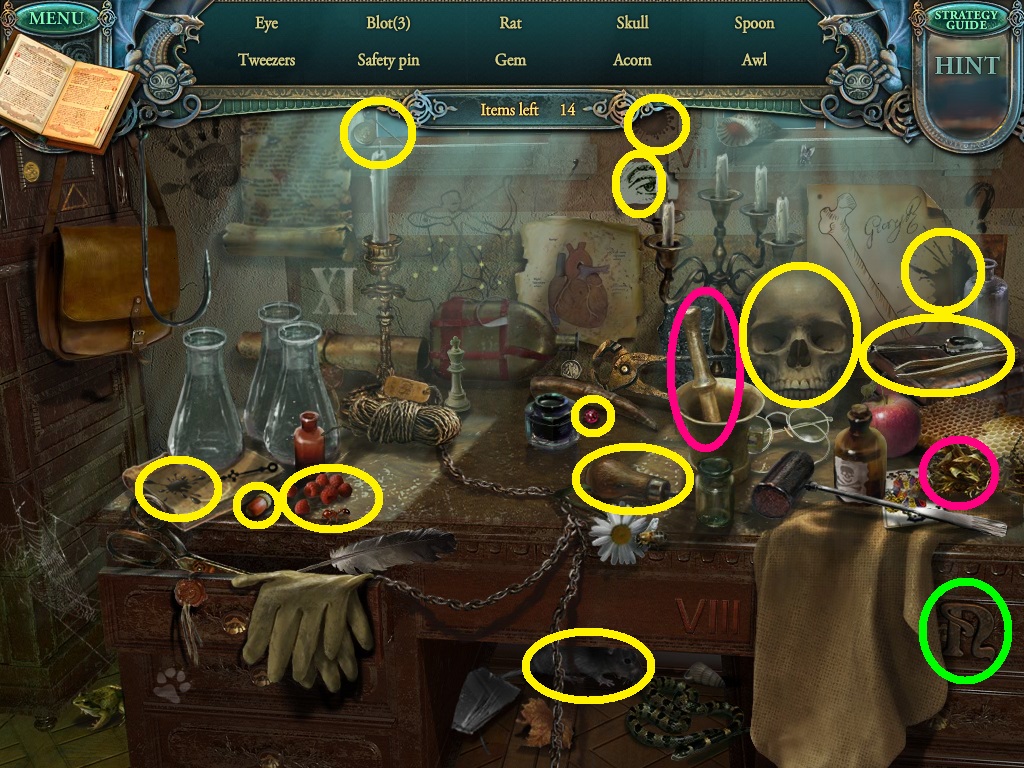
- Find all the listed items (yellow circles).
- Some need more actions to find the items (pink circles).
- Pick up the letter “n” (green circle).
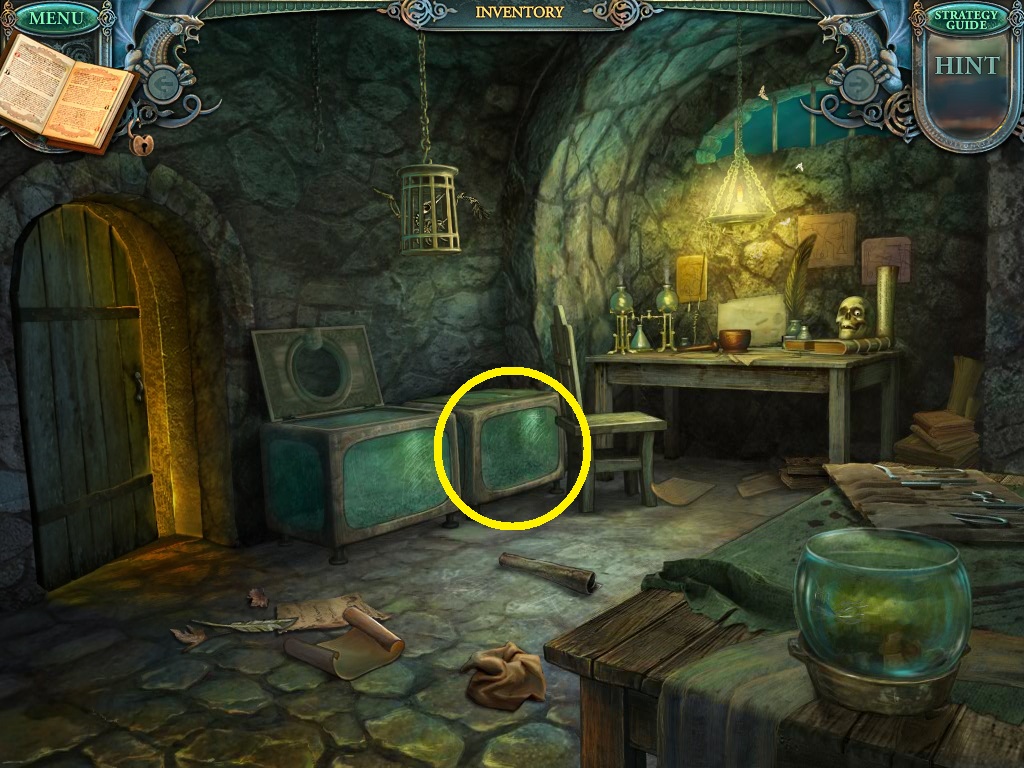
- Go to the storeroom.

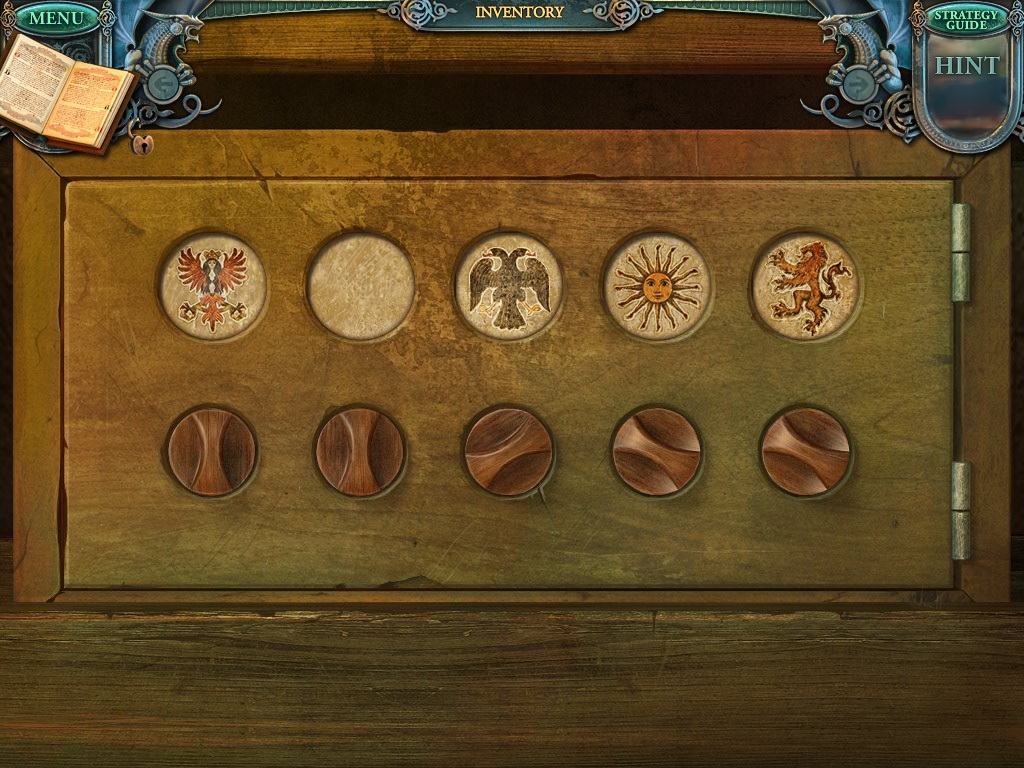
- Click the storeroom chest (yellow circle).
- Use the plate of fish eggs in your inventory to open a puzzle.
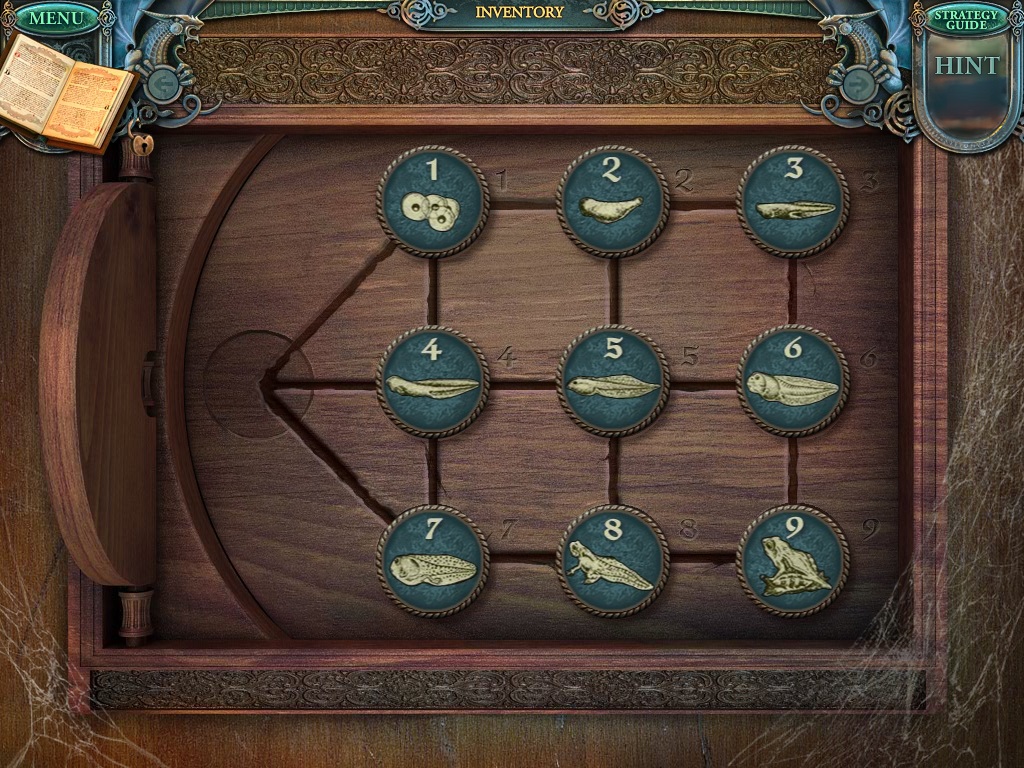
- Solve the puzzle as shown in the picture above.
- Move each coin to an empty slot.
- Each coin should be in the slot with its matching number.
- Follow this pattern to solve the puzzle.
- 1,4,7,3,9,6,3,7,4,8,5,9,6,3,2,4,7,5,8,7,4,1.
- The safe will open.
- Pick up the scroll, the hammer and the fountain piece.
- Go to the clock tower.
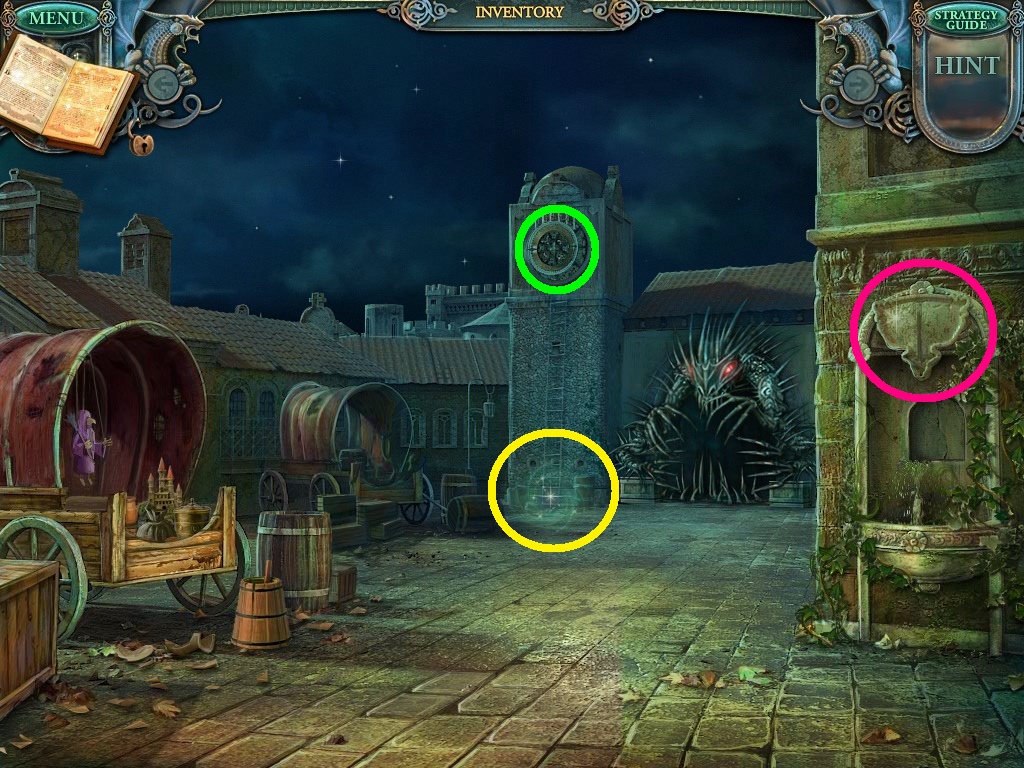
- Use the fountain pieces in your inventory to complete the plaque above the fountain (pink circle).
- Pick up the snake.
- Zoom into the base (yellow circle) of the clock tower.
- Use the hammer in the inventory to secure the nails.
- Zoom into the clock face (green circle).
- Notice the shapes of the figures.
- Go back to the apothecary.
- Click the box (yellow circle) on the chair.
- Use the snake from your inventory to open it.
- Pick up the aquarium handle.
- Open the aquarium (yellow circle) with the handle.
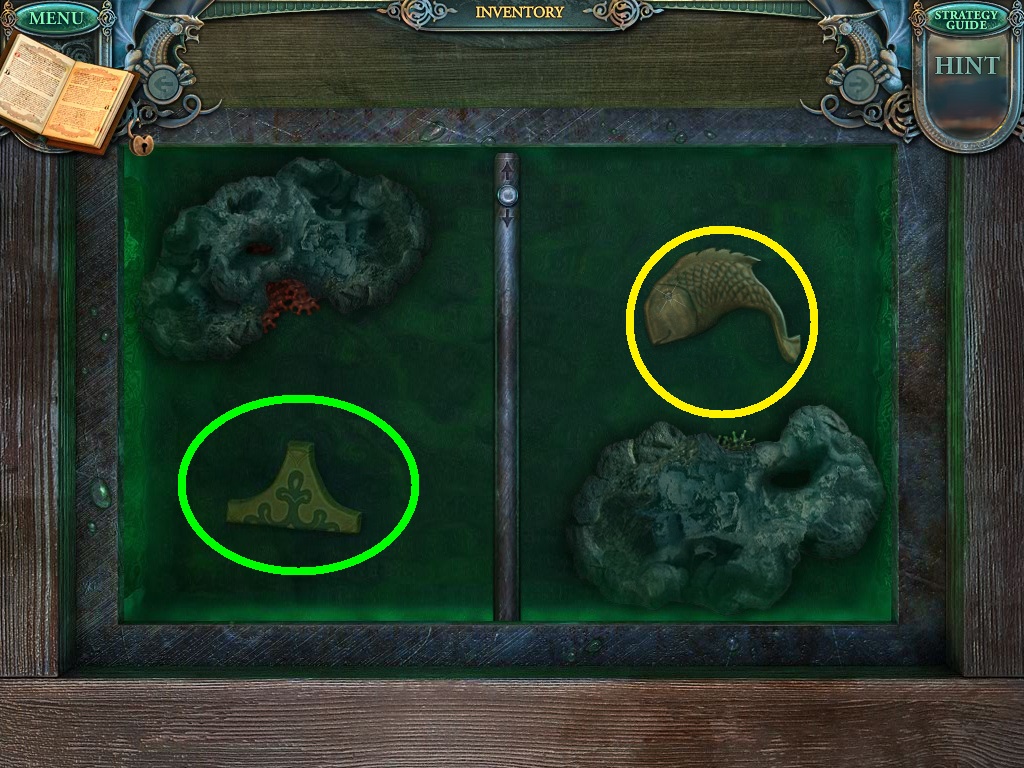
- Solve the puzzle as shown.
- The green water creatures must all eat the red seaweed.
- The red water creatures must all eat the green seaweed.
- Move the barrier up and down to get each color to the opposite side.
- Pick up the ceramic piece (green circle).
- Pick up the fish (yellow circle).
- Go to the apothecary.
- Click on the cupboard (yellow circle).
- Find the color matched items and put them in their right places.
- Get the figurine.
- Go back to the clock tower plaza.

- Zoom into the caravan (yellow circle).
- Use the metal fish in the inventory to unlock the box.
- Pick up the letter "a."
- Go to the side hall.
- Complete the pillar (yellow circle).
- Use the ceramic pieces in your inventory.
- Pick up the letter “d.”
- Go back to the town hall.
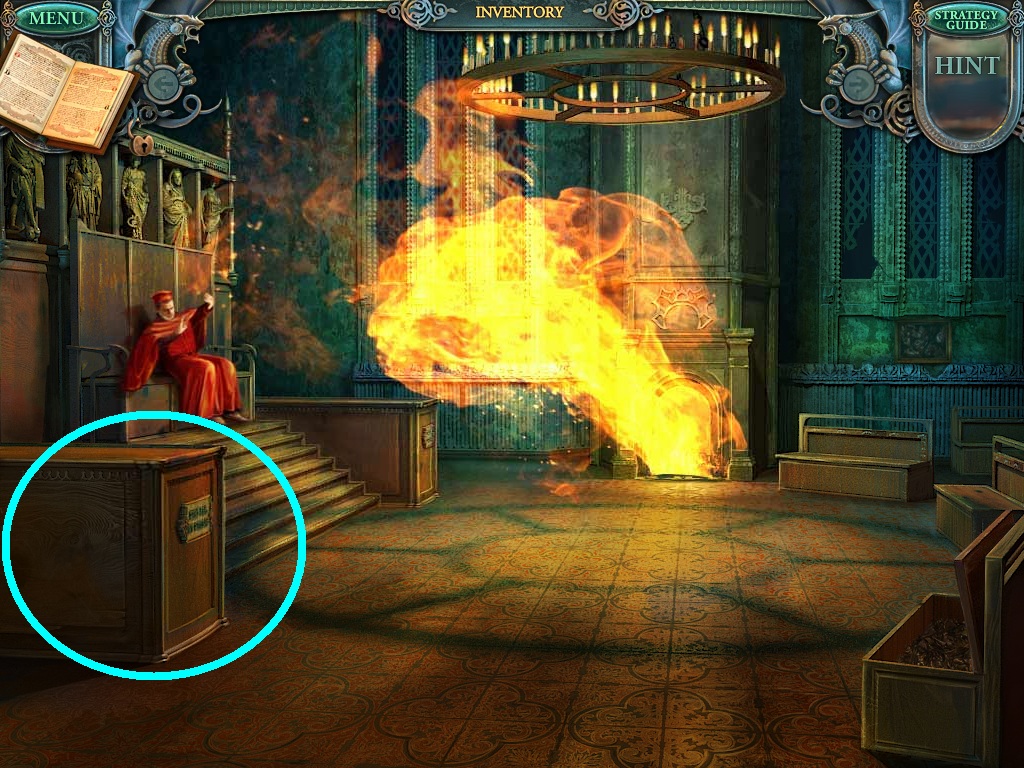
- Click the box (aqua circle).
- Use the letters from your inventory to complete the sign.
- Pick up the crown plate.
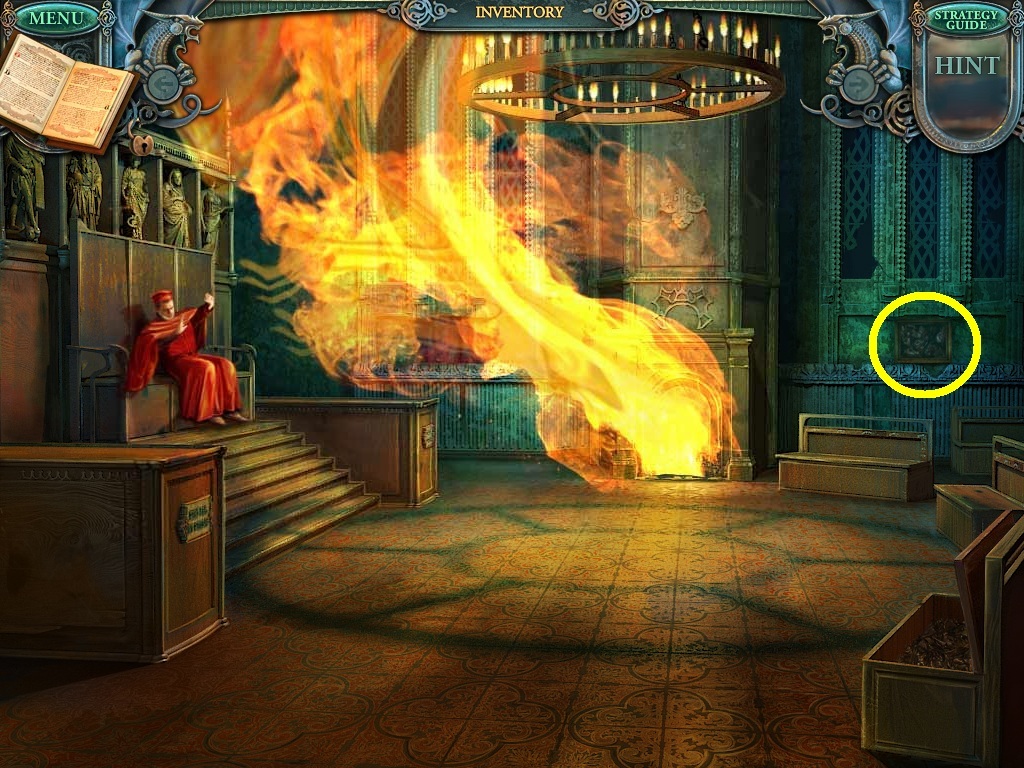
- Go to the town hall entrance.
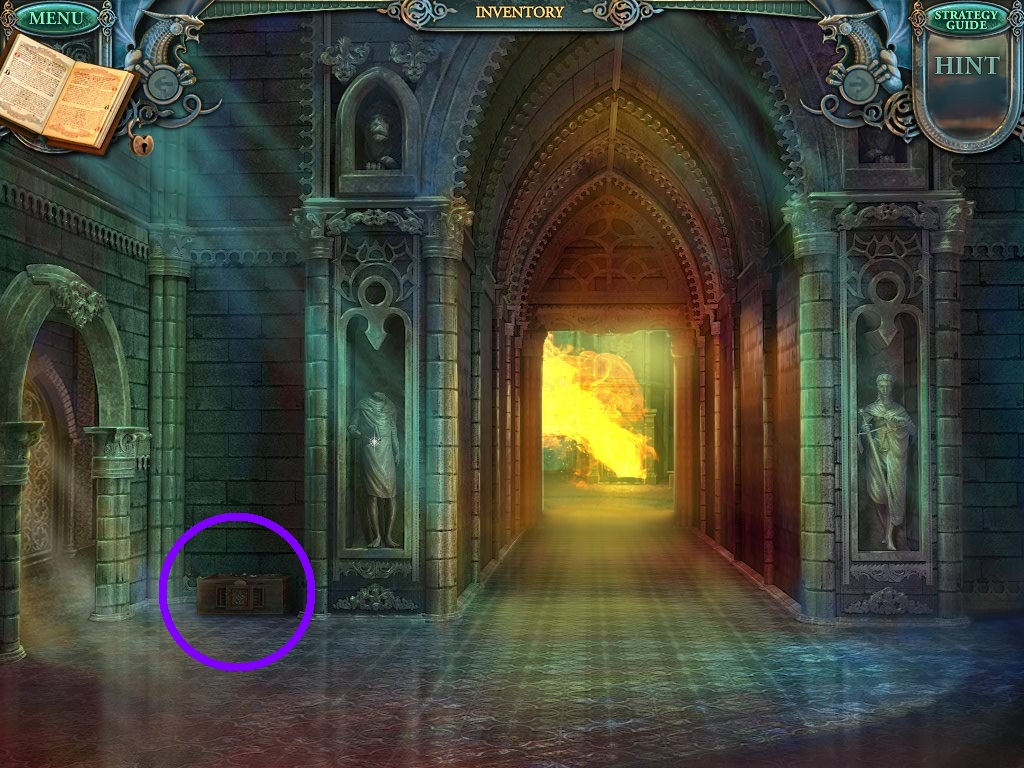
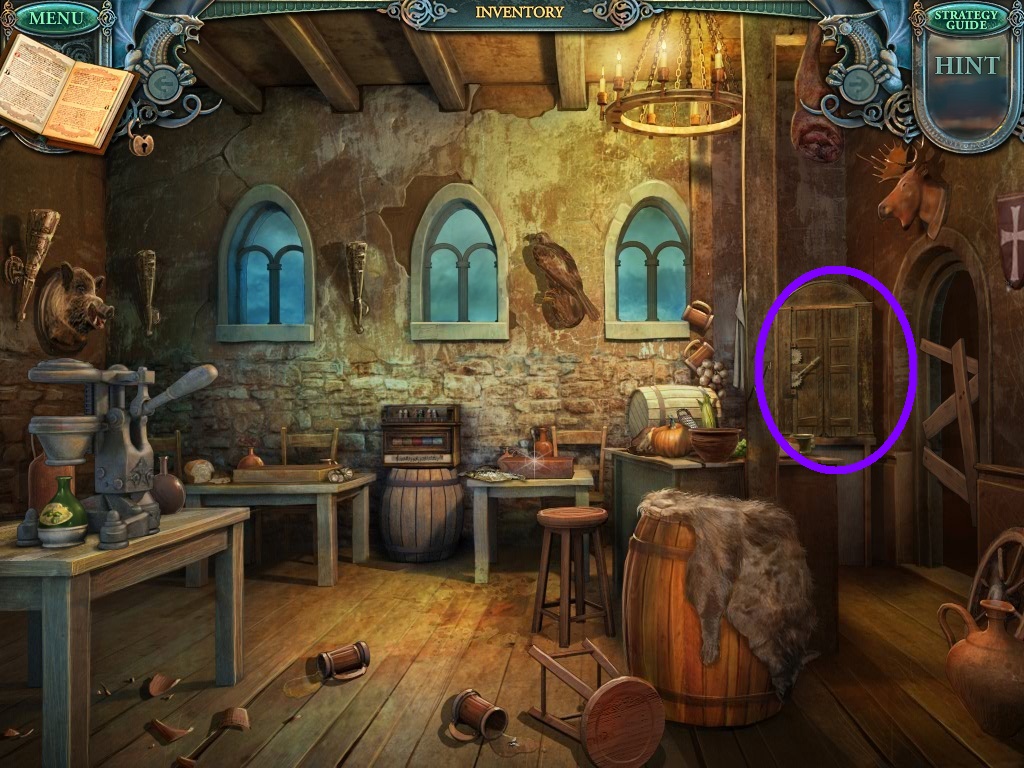
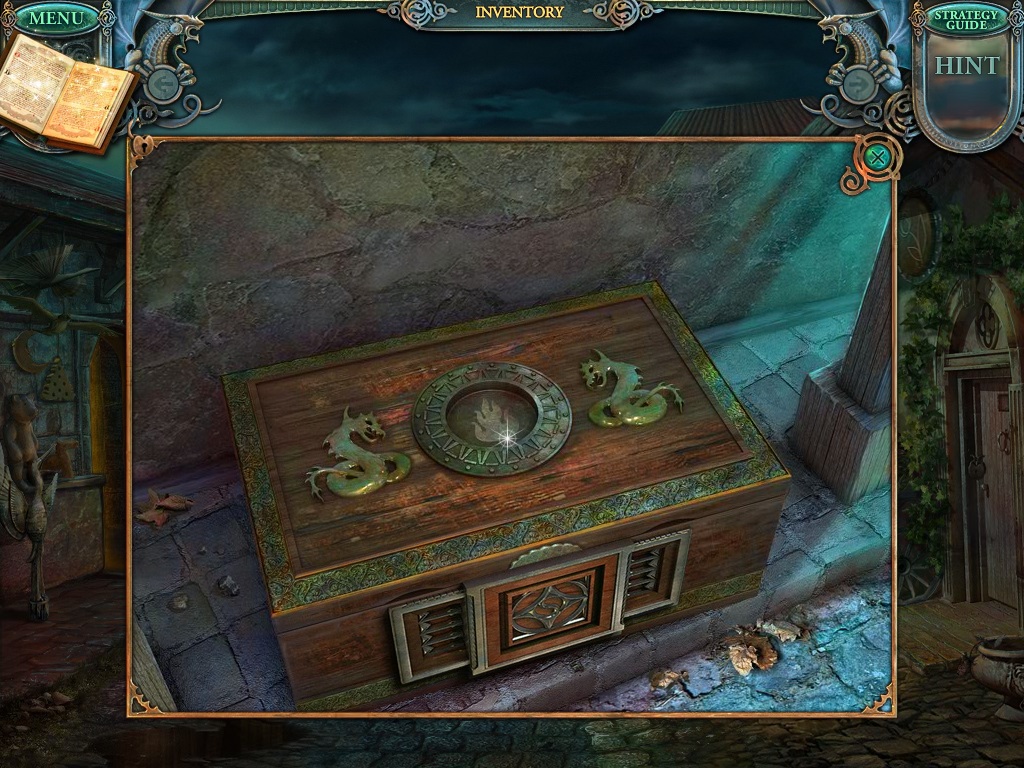
- Zoom into the box (purple circle) on the floor.
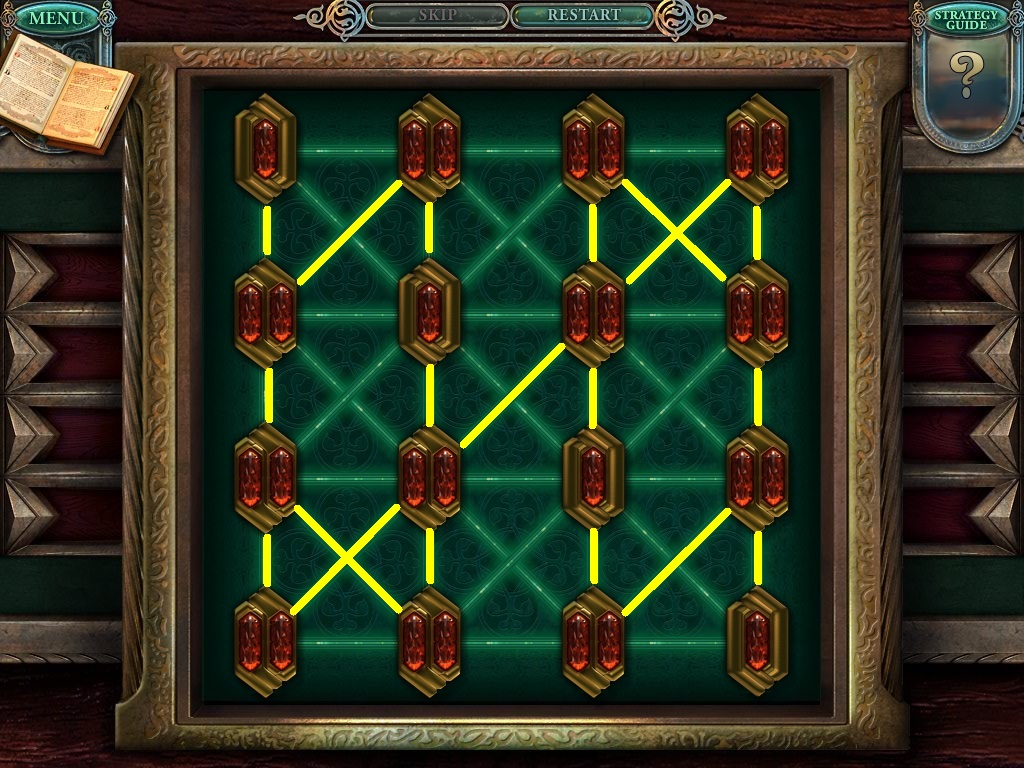
- Use the crown plate in your inventory to open a puzzle.
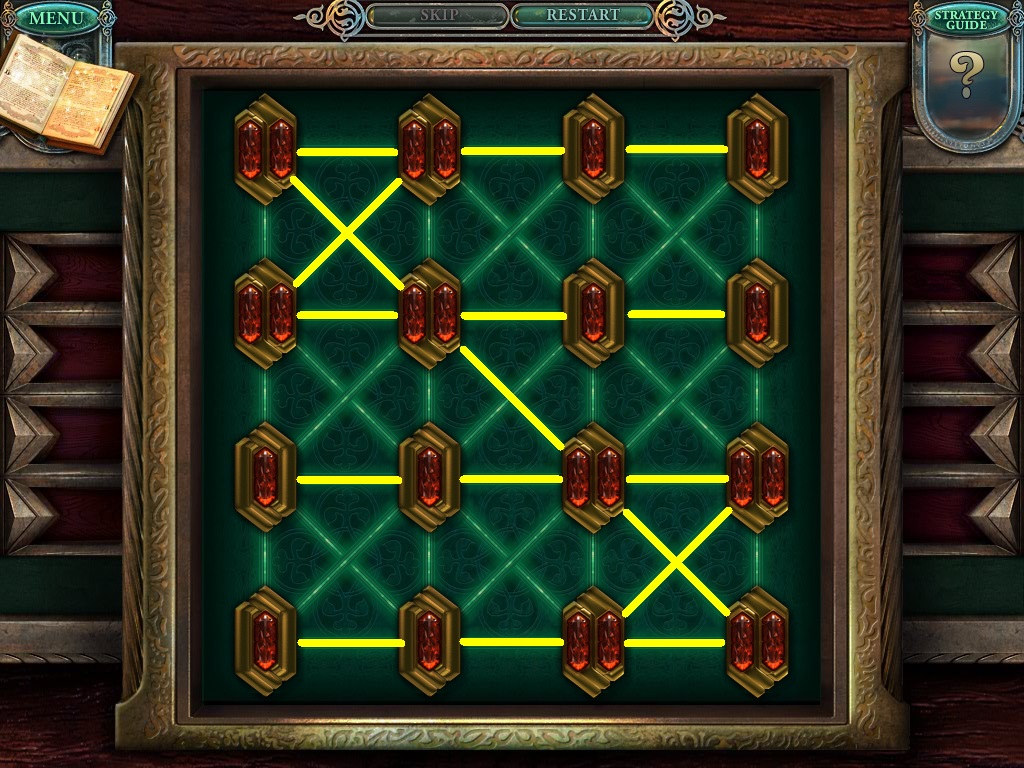
- Solve the puzzle as pictured above.
- Follow the pattern (yellow lines) to solve.
- Click the scroll.
- Click the powder.
- Go to the clock tower plaza.
- Pick up the powder in the inventory.
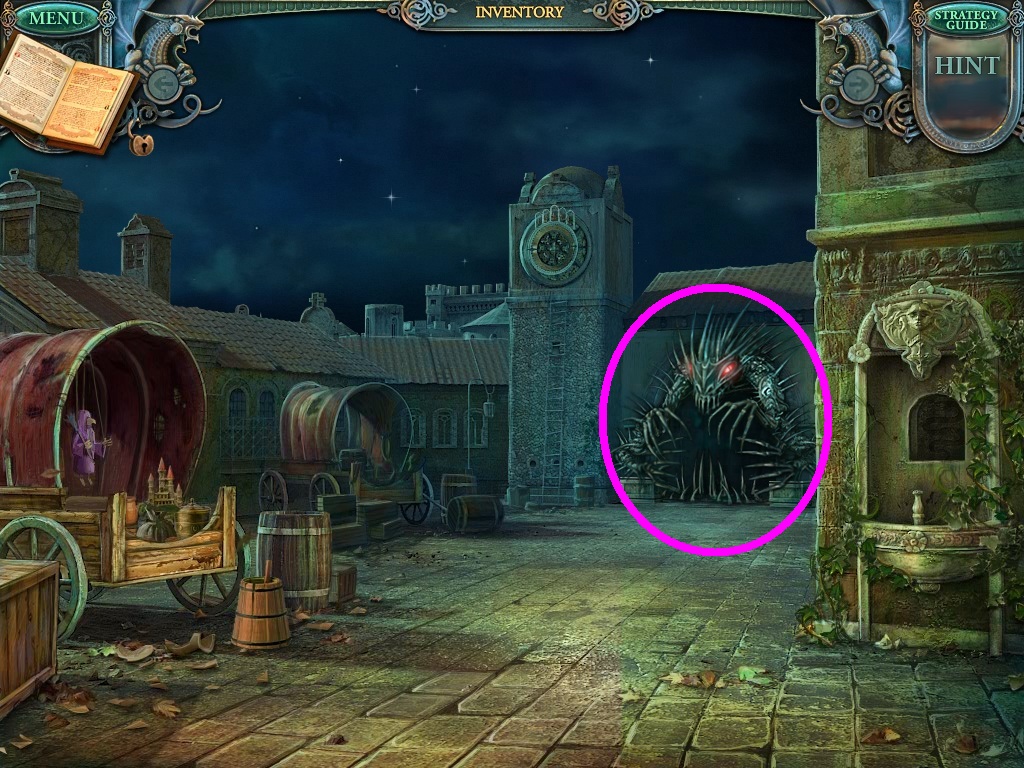
- Throw it on the archway monster (pink circle).
- Pick up the gem stone.
- Go through the archway.
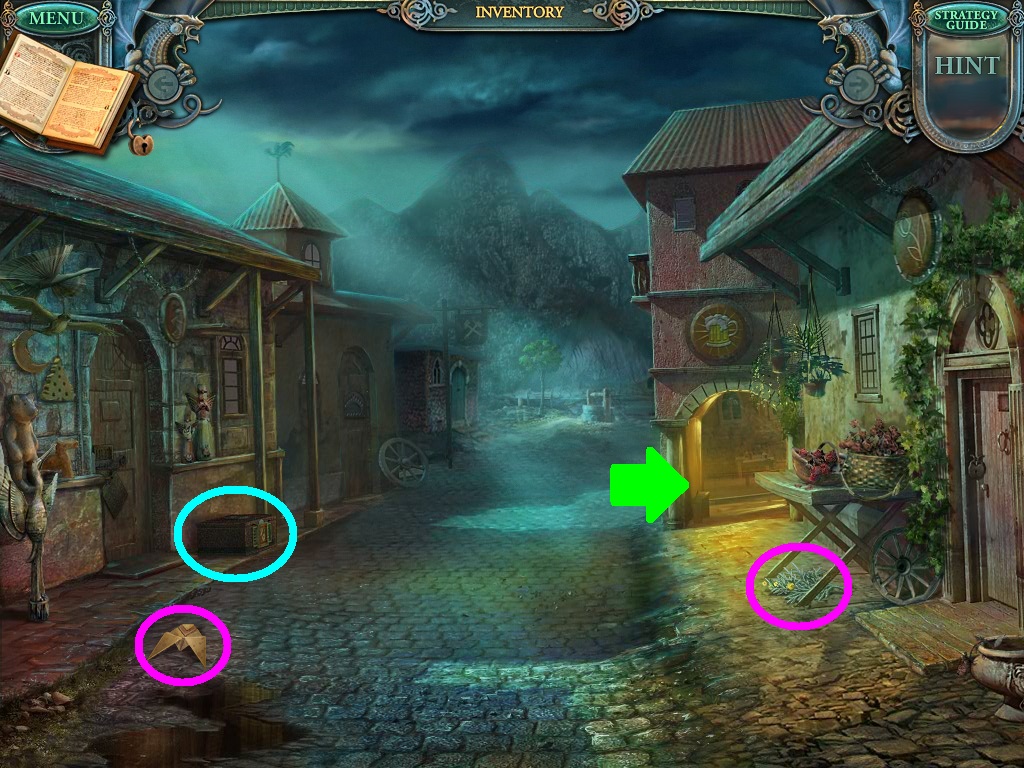
- Pick up the origami and the woodworm (pink circles).
- Notice the box (aqua circle).
- Go through the archway (green arrow) into the brewery.
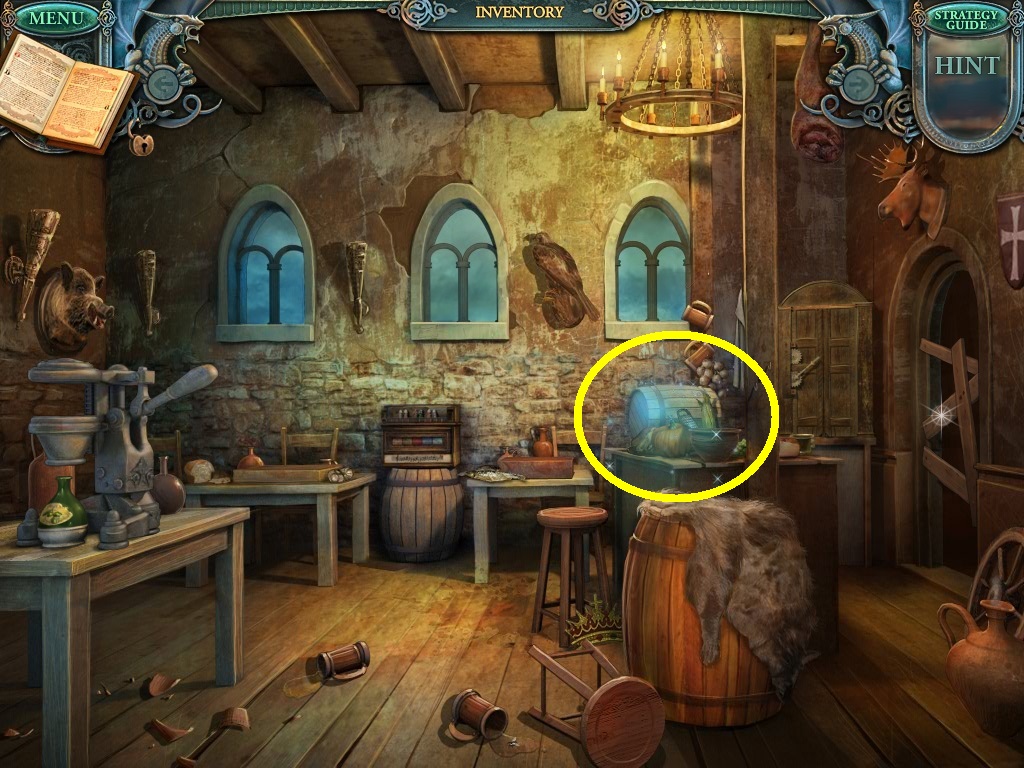
- Click the small barrel (yellow circle).
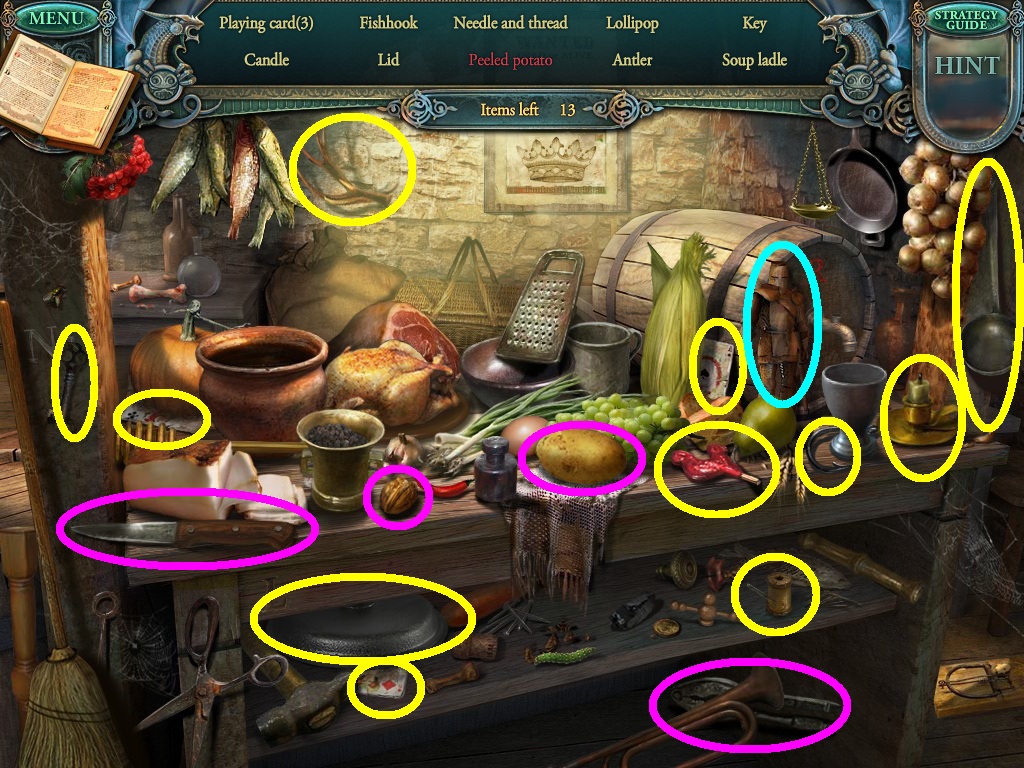
- Find the listed items (yellow circles).
- Some items need additional actions (pink circles) to be performed to find them.
- Pick up the wooden figure (aqua circle).
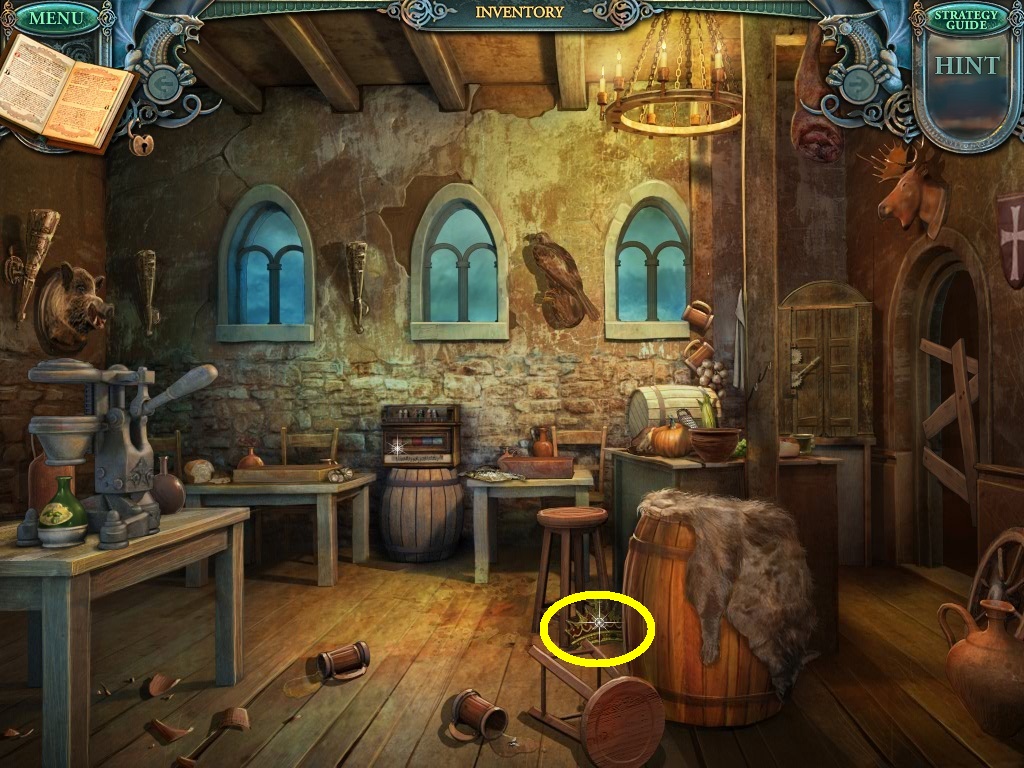
- Pick up the crown (yellow circle) from the brewery floor.
- Go back to the side street.

- Go to the next scene (aqua arrow).
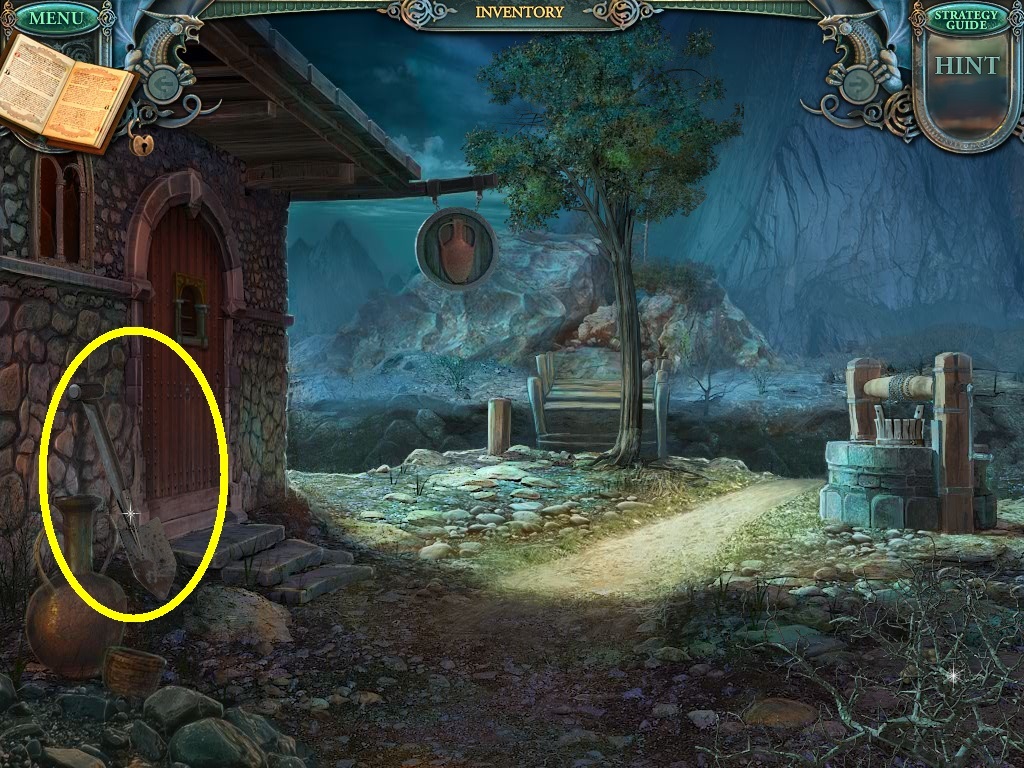
- Pick up the spade (yellow circle).
- Go to the town gate.
- Notice the crown plaque (yellow circle).
- Use the crown from the inventory to complete the plaque.
- Pick up the picture scrap.
- Go to the storeroom.
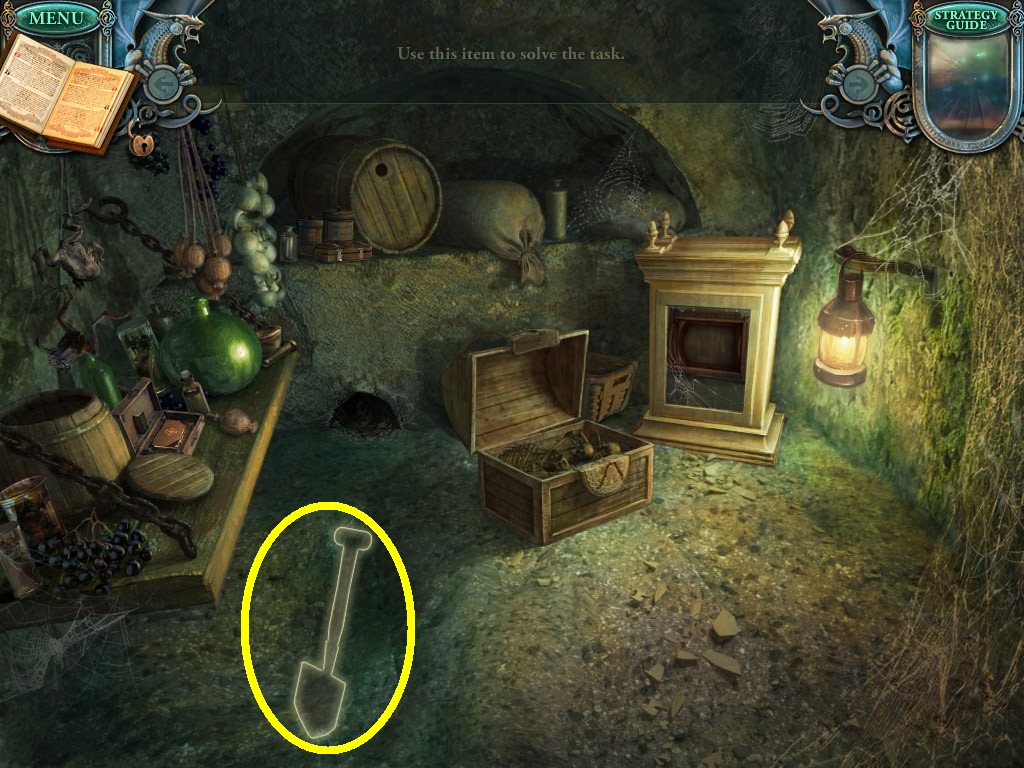
- Use the spade from the inventory to dig the floor (yellow circle).
- Pick up the metal decoration.
- Go to the town hall.
- Click the portrait (yellow circle) in the town hall.
- Use the picture scrap in the inventory to open a puzzle.

- Solve the puzzle as shown above.
- Move the pieces around until the picture is clear.
- Pick up the metal lock piece (pink circle).
- Go back to the well.
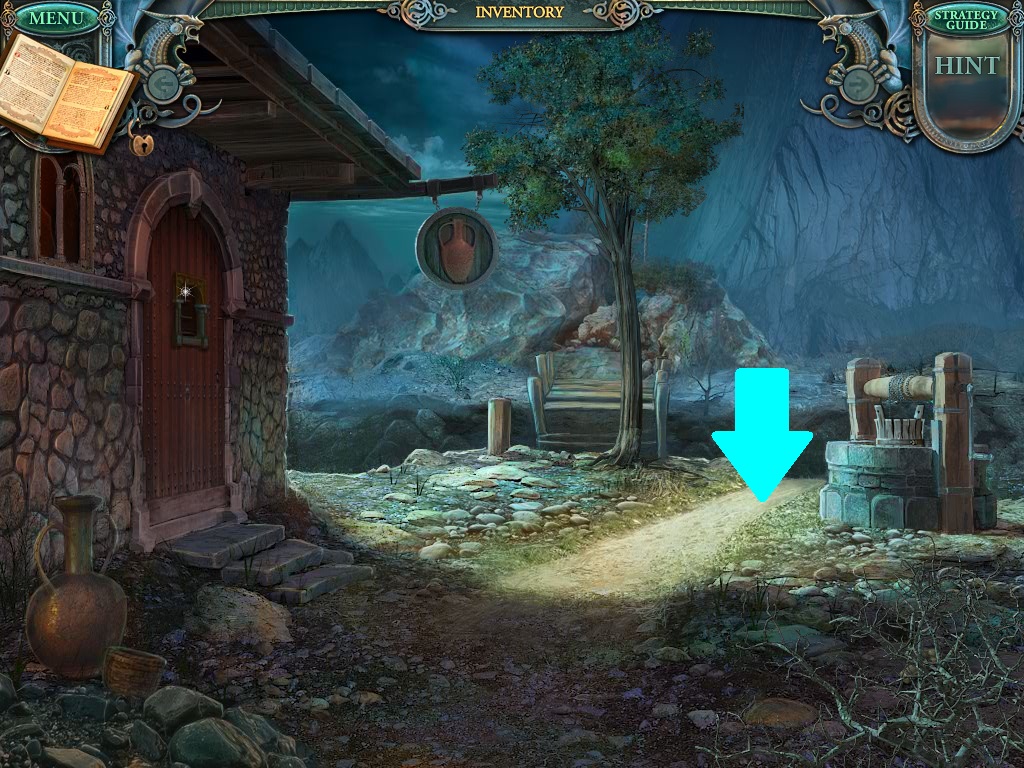
- Go down the dirt path (aqua arrow).

- Click the satchel (yellow circle).
- Pick up the reagent.
- Go back to the apothecary.
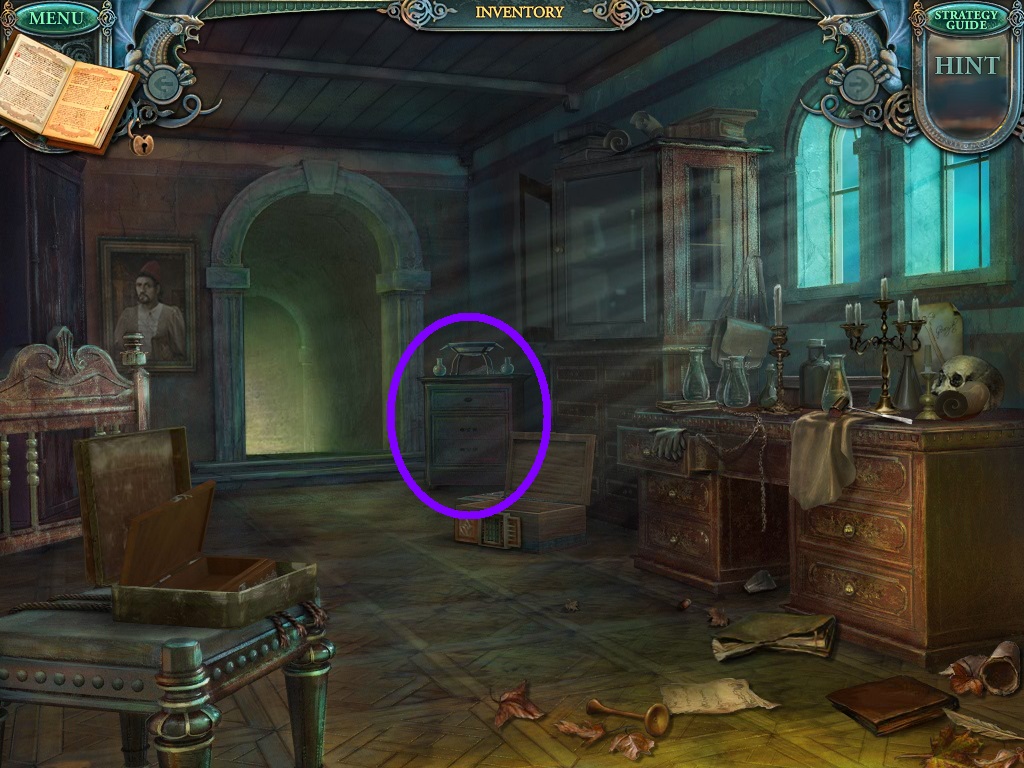
- Click the cabinet (purple circle).
- Use the reagent in the inventory to open a puzzle.
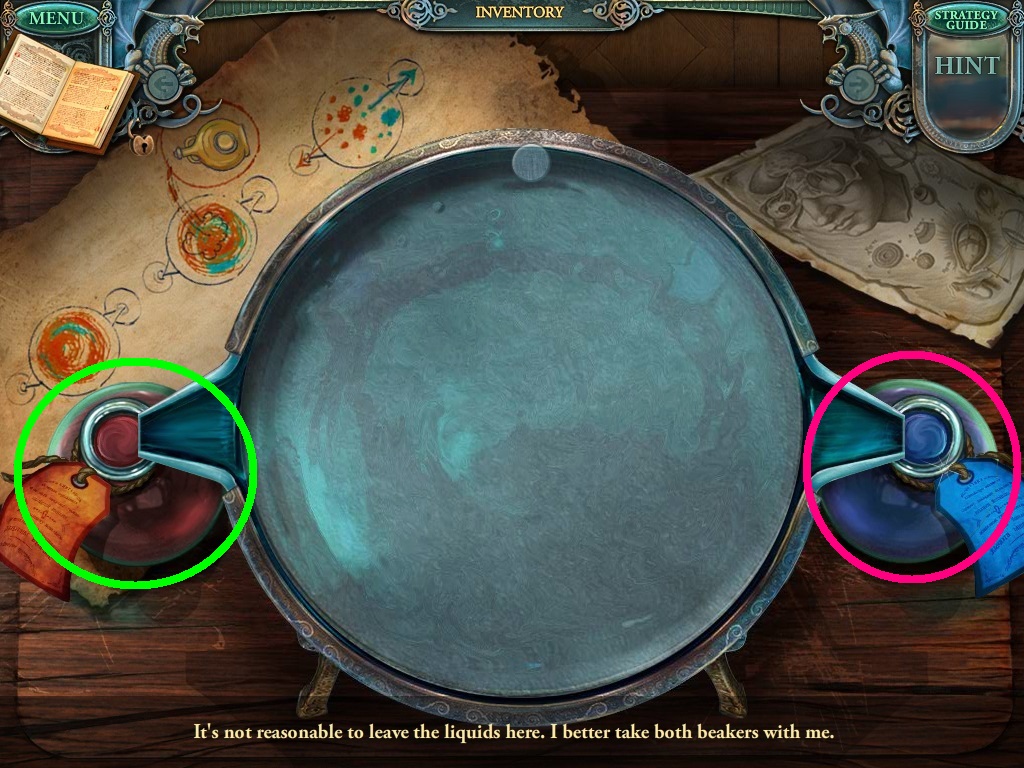
- Solve the puzzle as shown above.
- Separate the colored liquid drops to make 2 different mixtures.
- Focus on one color at a time and fill each beaker.
- Click on the herbicide (green circle).
- Click on the oil (pink circle).
- Go to the well.
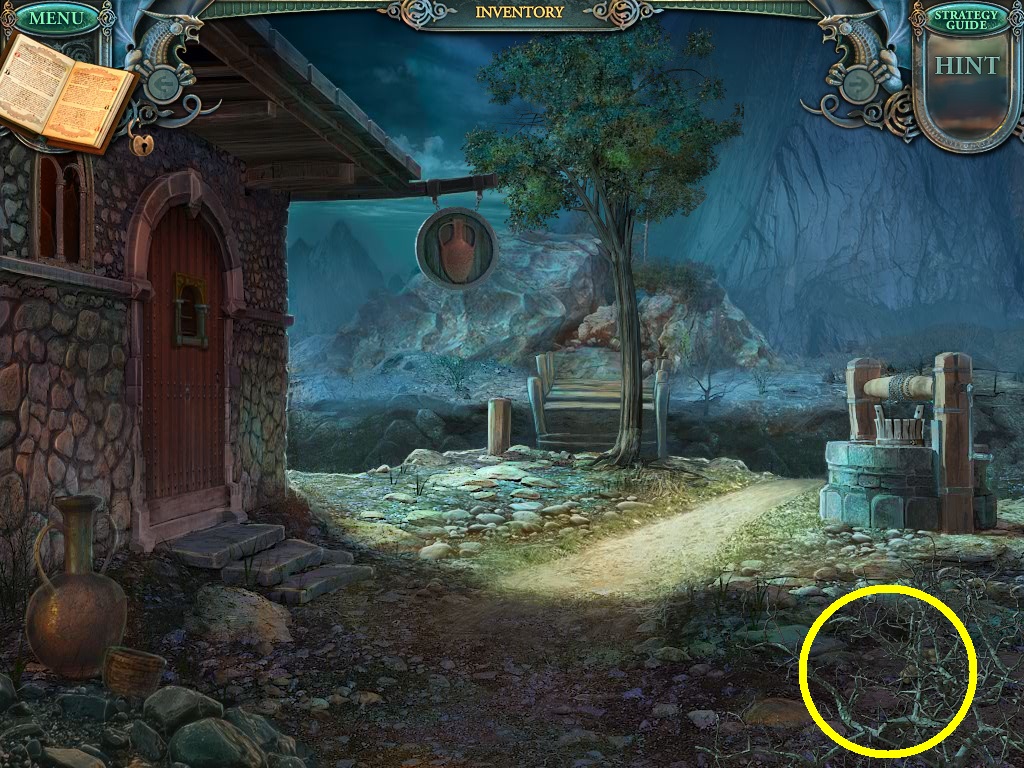
- Pour the herbicide from the inventory onto the thicket (yellow circle).
- Pick up the metal lock piece underneath.
- Go to the side street.
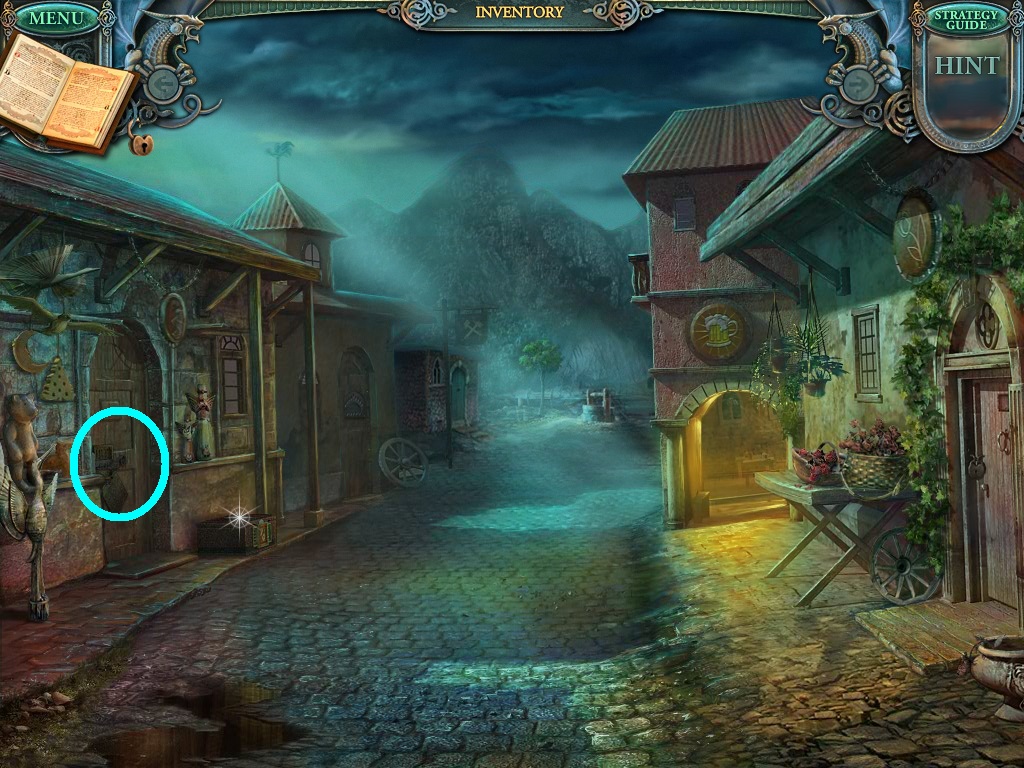
- Click the door (aqua circle).
- Use the metal lock pieces from the inventory to unlock the door.
- Enter the doorway.
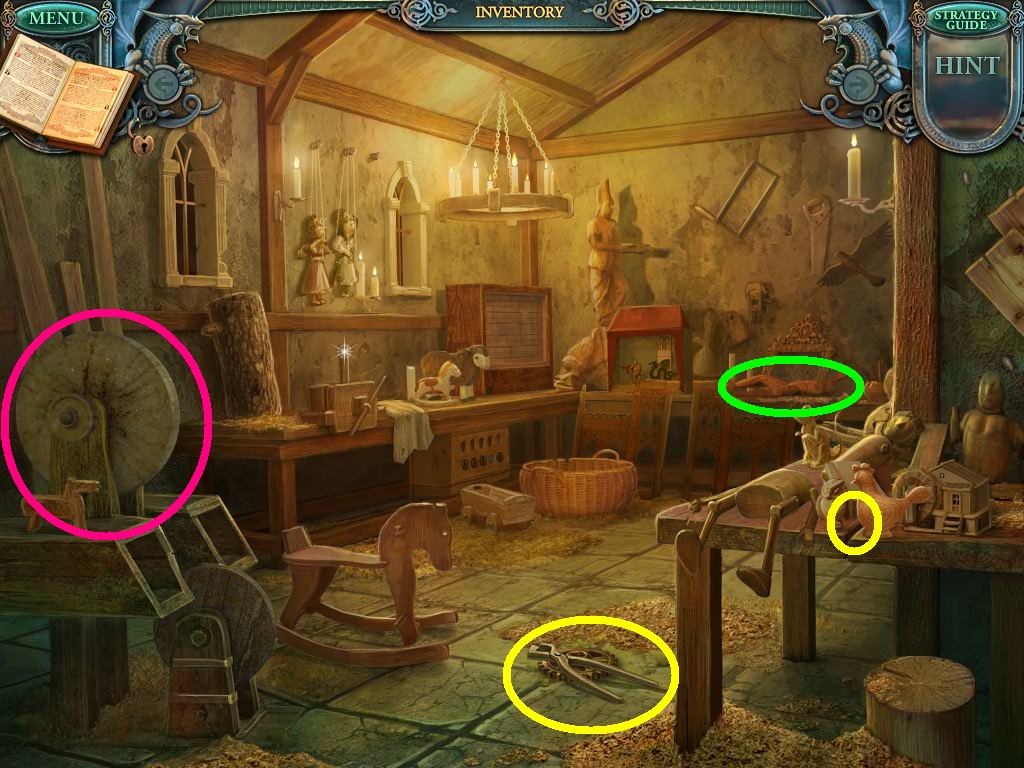
- Pick up the metal tongs, the gear and the carving knife (yellow circles).
- Click figurine (green circle).
- Use the dry brush in the inventory; dip it into the glue pot.
- Use the figurine part from the inventory and glue the arm.
- Use the leather harness in the inventory on the wheel (pink circle).
- Go back to the clock tower plaza.
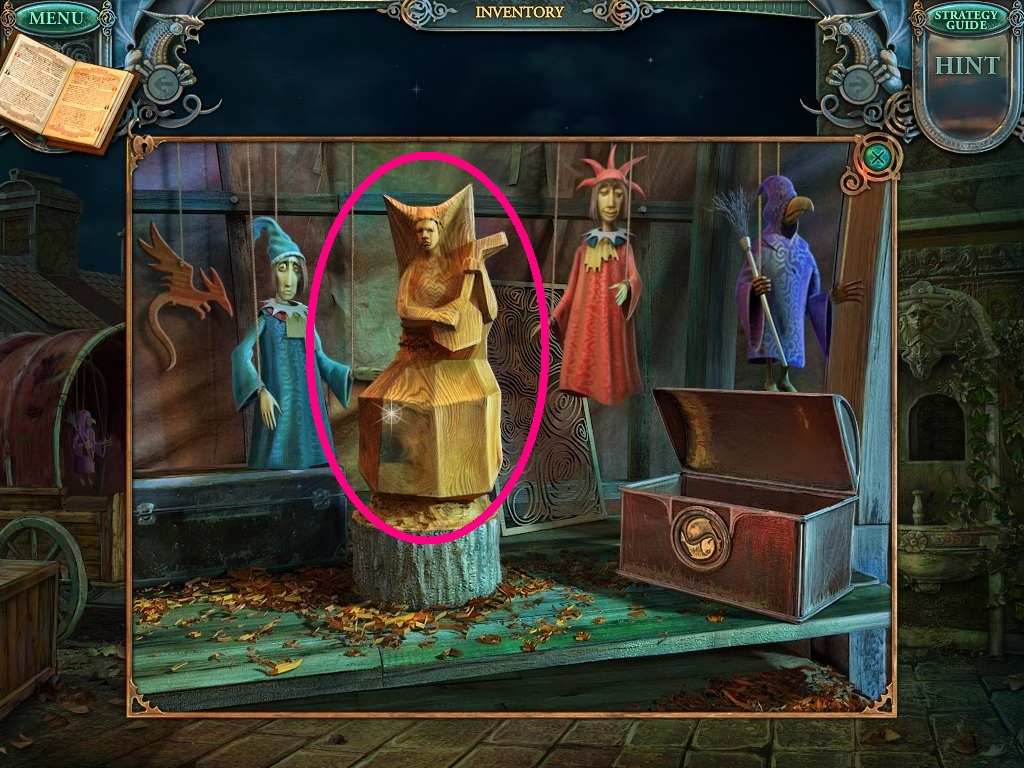
- Zoom into the first caravan.
- Use the carving knife from the inventory to carve the wooden figurine (pink circle).
- Pick up the wooden figurine.
- Go to the brewery.
- Zoom into the cabinet (purple circle).
- Use the gear from the inventory to fix the gears.
- Pick up the mint leaves.
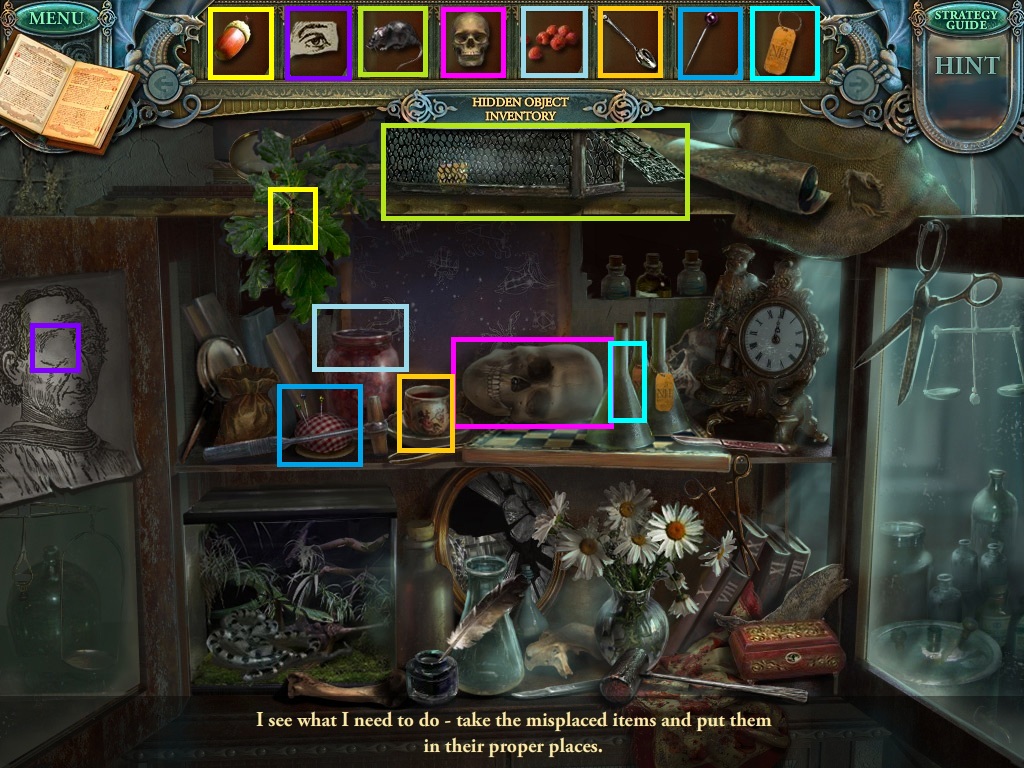
- Go back to the apothecary.
- Click the area over the desk in the apothecary to find the hidden object scene.
- Find the listed items (yellow circles).
- Some items need additional actions to find the items (pink circles).
- Pick up the (blue circle).
- Pick up the card.
- Go to the aquarium.
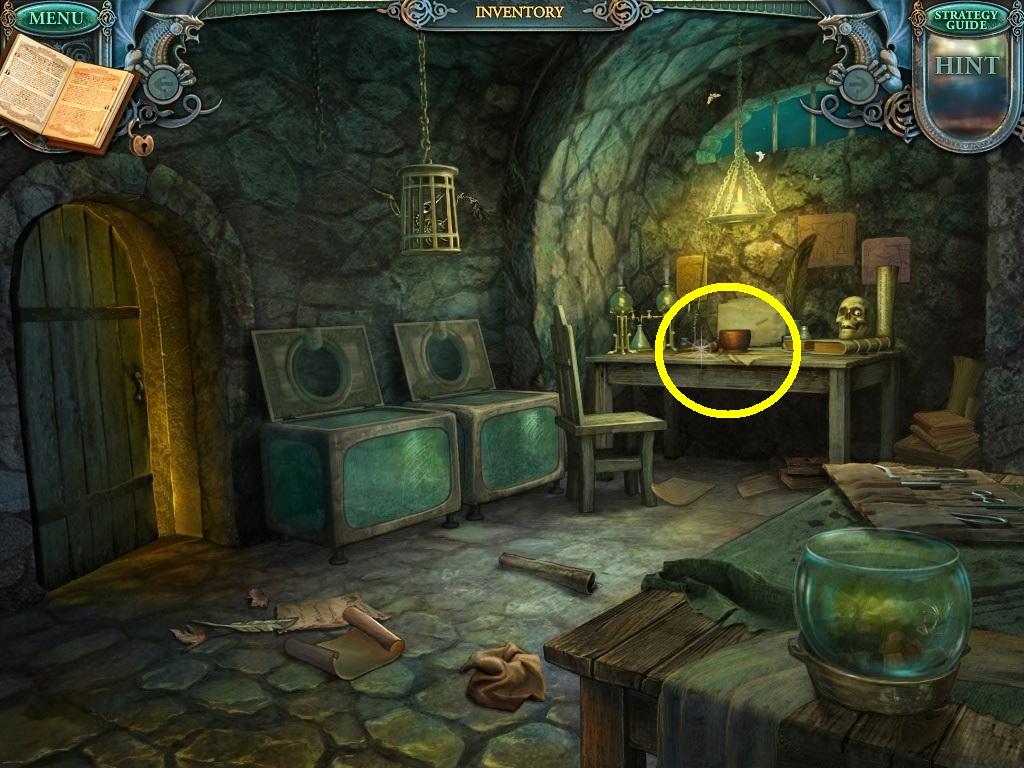
- Click the table (yellow circle).
- Use the following items from the inventory: mint leaves, wormwood and elder leaves put them into the mortar.
- Use the pestle to crush the ingredients.
- Use the oil from your inventory to finish the mixture.
- Pick up the insecticide.
- Go to the forest.
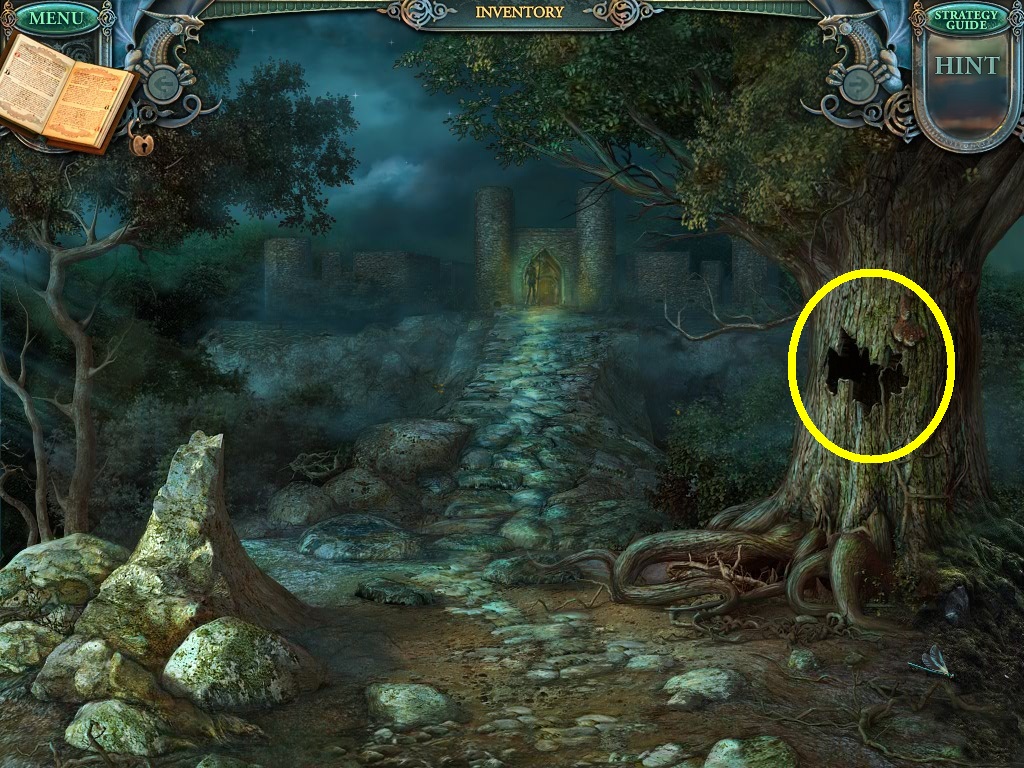
- Zoom into the tree hole (yellow circle).
- Use the insecticide in the inventory to remove the insects from the tree.
- Pick up the tiny sword.
- Go back to the toy shop.
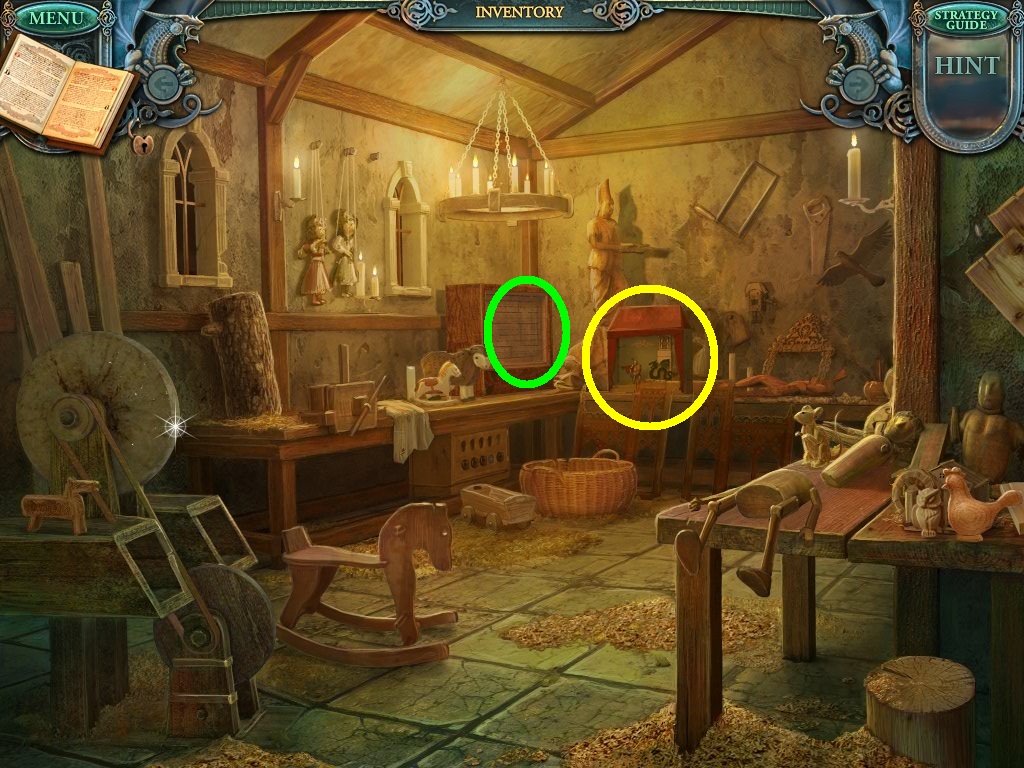
- Zoom into the puppet box (yellow circle).
- Give the tiny sword to the knight.
- Pick up the toy princess.
- Click the box (green circle).
- Insert the princess into the outline to open the puzzle.

- Solve the puzzle as shown above.
- Move the princess along the green path.
- Move the prince along the purple path.
- Pick up the figurine head.
- Use the figurine head to complete the wooden figurine on the back table of the toy room.
- Dip the brush in the glue pot to glue all the parts together.
- Pick up the whole wooden figurine.
- Go to the brewery.
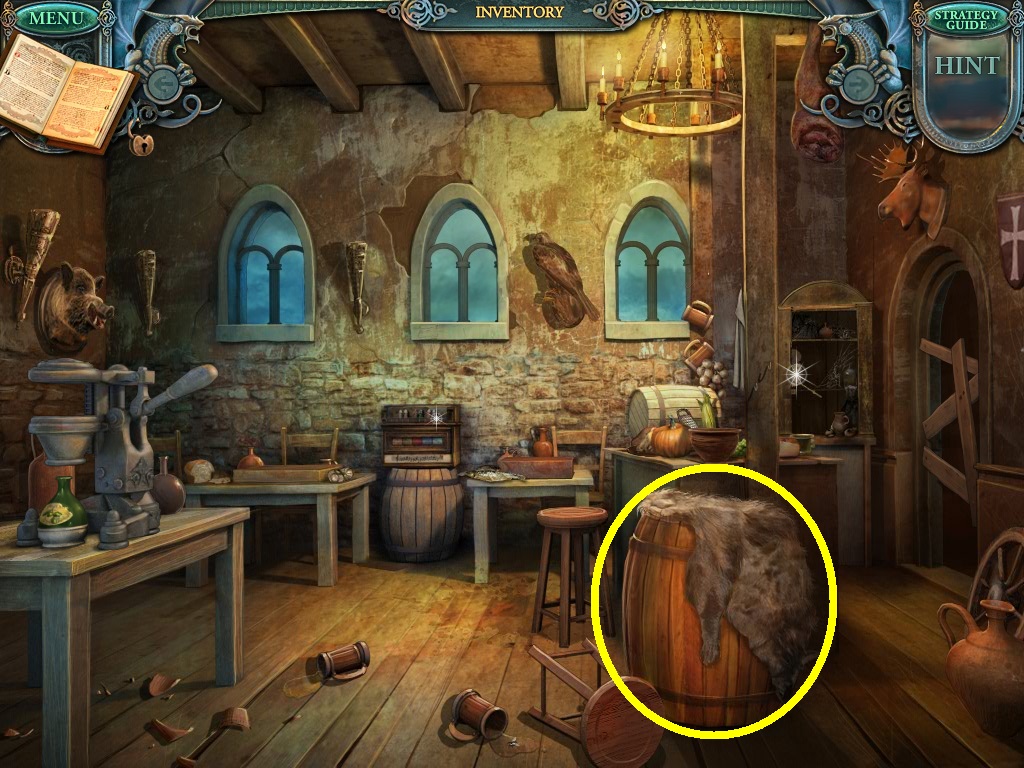
- Zoom into the barrel (yellow circle).
- Use the card from the inventory in the bottom slot to open a puzzle.
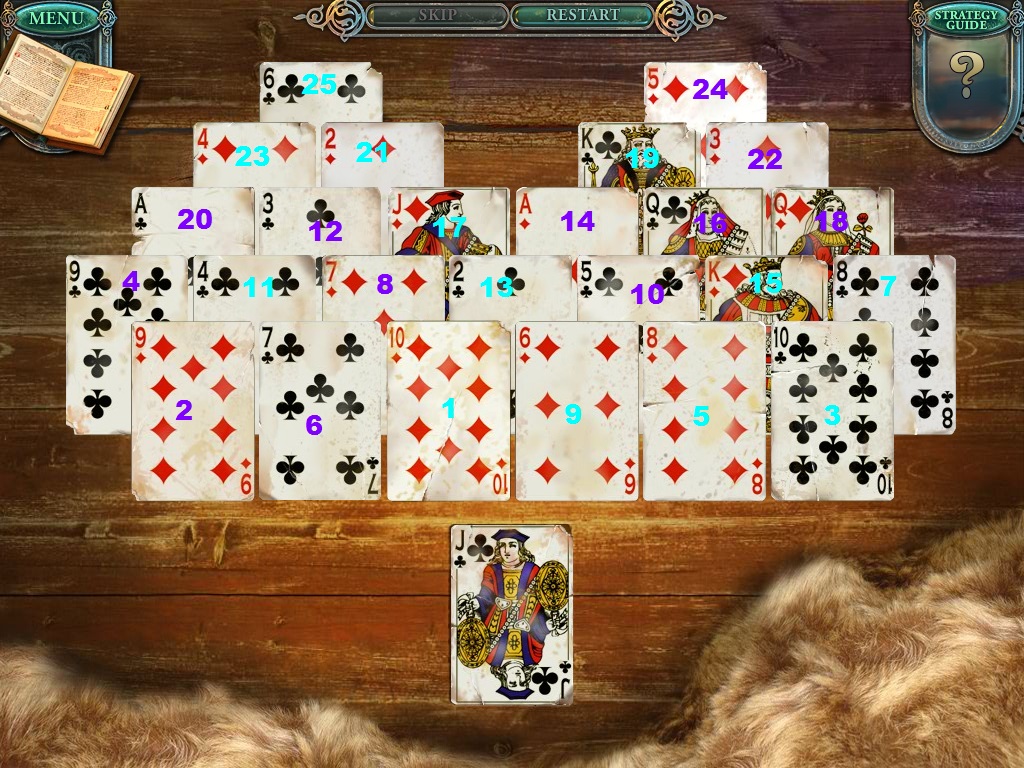
- The solved puzzle is shown above.
- Play solitaire.
- Click the cards to move them.
- Only uncovered cards and the top cards can be played.
- You can move the cards to the stack only if they are one number higher or lower than the card they are moved on top of.
- Suits do not matter.
- Move all the cards from the formation to the stack.
- Odd numbers are aqua and evens are purple.
- Once it is solved pay attention to the design on the wood.
- Pick up the safe handle.
- Go to the toy shop.
- Click on the toy room safe (yellow circle).
- Use the safe handle from the inventory to open a puzzle.
- Solve the puzzle as shown above to open the safe.
- Twist the knobs to toggle pictures.
- Pick up the wooden figurine.
- Go to the clock tower plaza.

- Insert the wooden figurines from the inventory into their right slots.
- Pick up the fire sign plate.
- Go to the side street.
- Zoom into the box on the side street next to the toy room door.
- Insert the fire sign plate from the inventory.
- Solve the puzzle using the pattern above (yellow lines).
- Pick up the scroll and the magic powder.
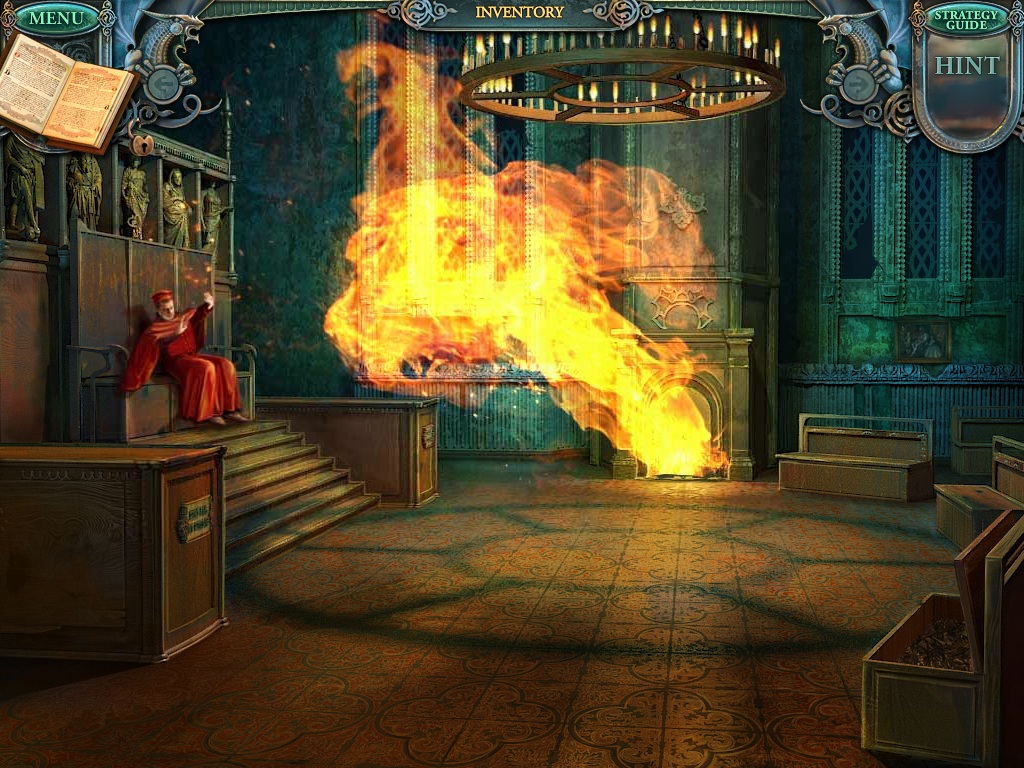
- Use the magic powder from the inventory to end the fire.
- Pick up the gem stone.
Comments will load when you reach this part of the walkthrough.