
Chapter Three: Welcome to the Austrian Town

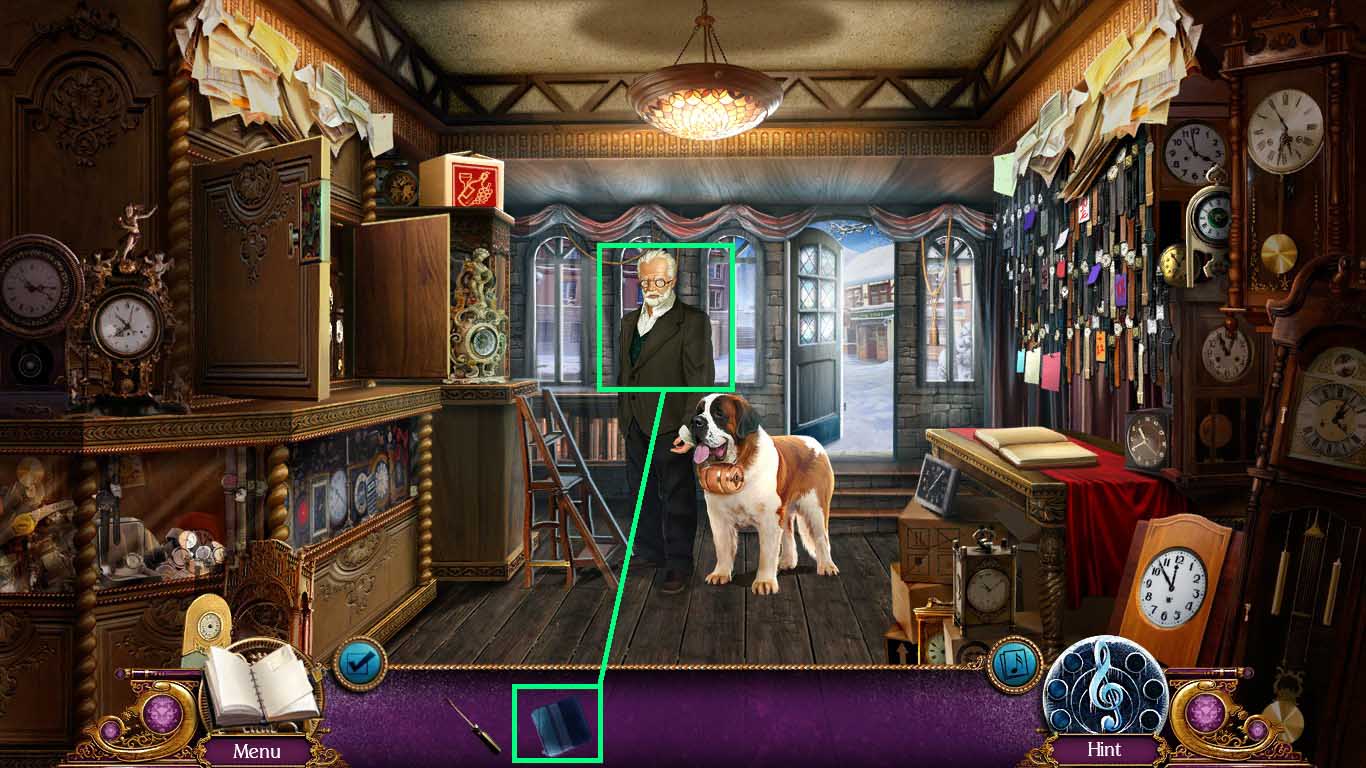
- Show the clock maker the thief’s note.
- Collect the scissors.
- Examine the shelf to access a hidden objects area.
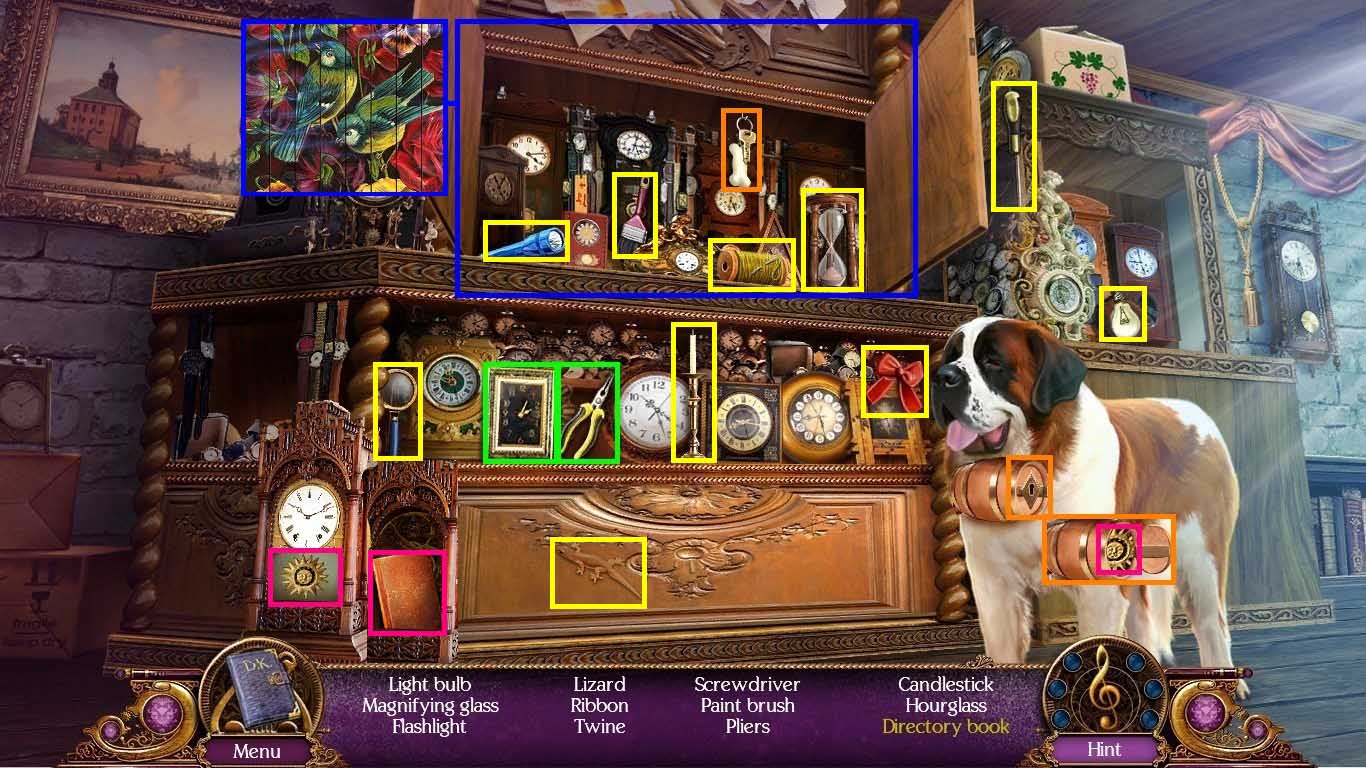
- Shift the clock to the left.
- Examine the top cabinet and recreate the picture.
- Insert the key into the lock.
- Collect the sun and insert it into the clock’s slot.
- Click the clock open and collect the directory book.
- Find the remaining items listed.
- Collect the directory.
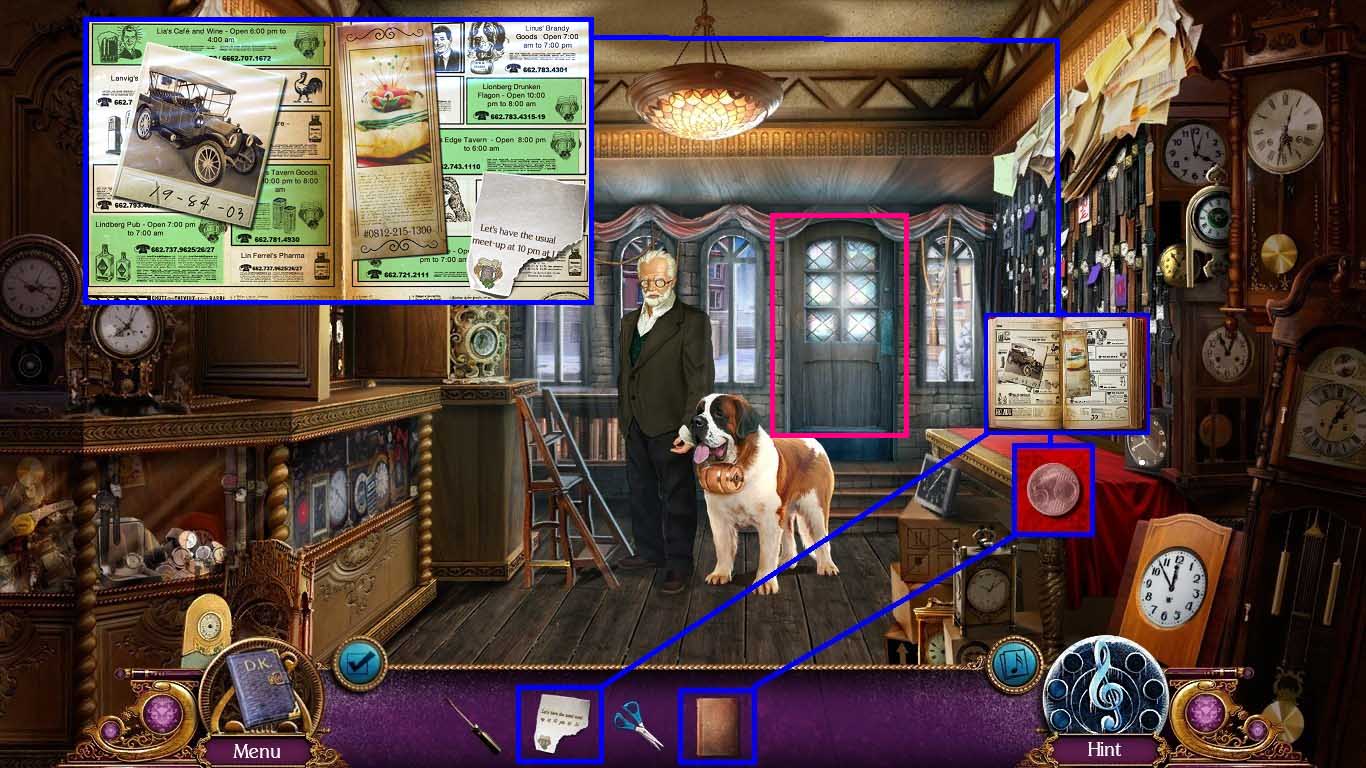
- Examine the desk.
- Collect the coin and place the directory onto the desk.
- Click the directory open and place the thief’s note onto it.
- A mini game will be triggered.
- To solve the puzzle choose locations that match the thief’s note.
- Open the door and go in.
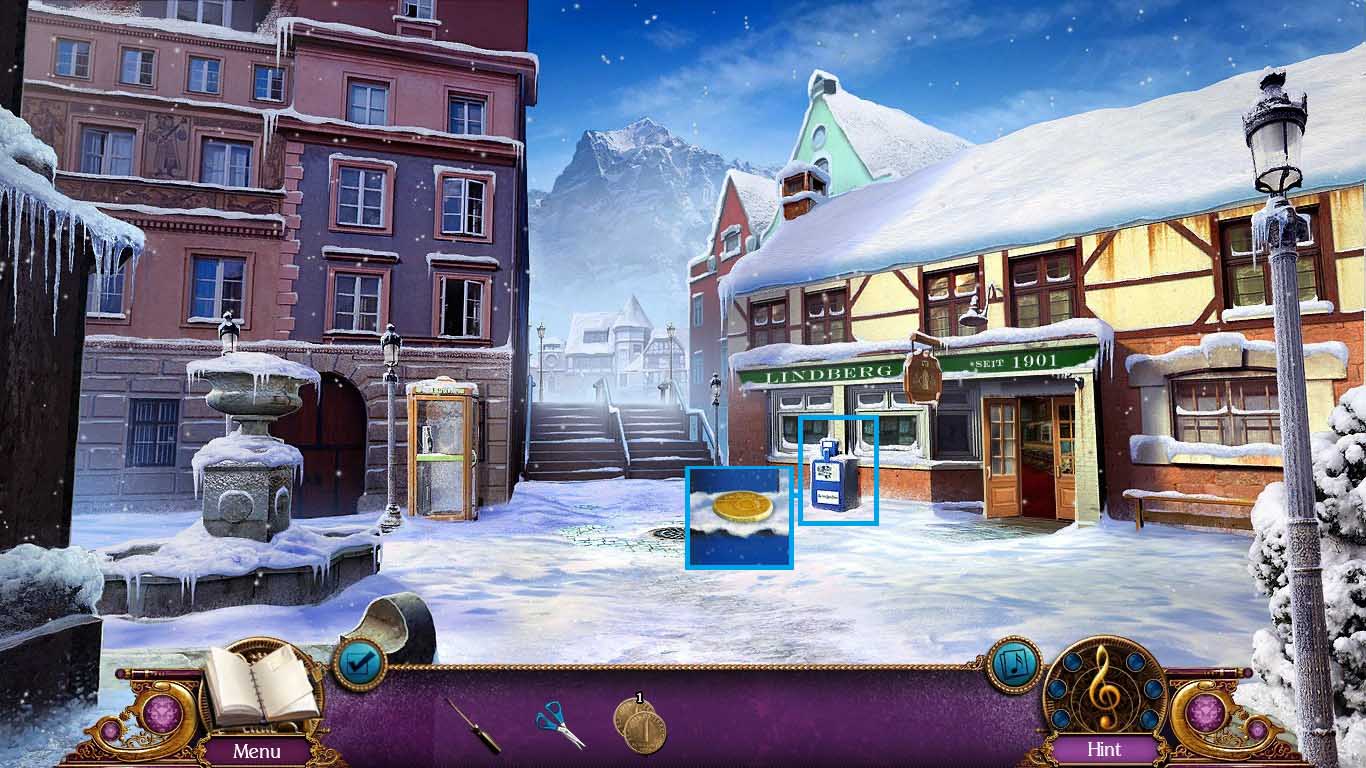
- Examine the newspaper stand.
- Collect the coin.
- Go right and go into the pub.
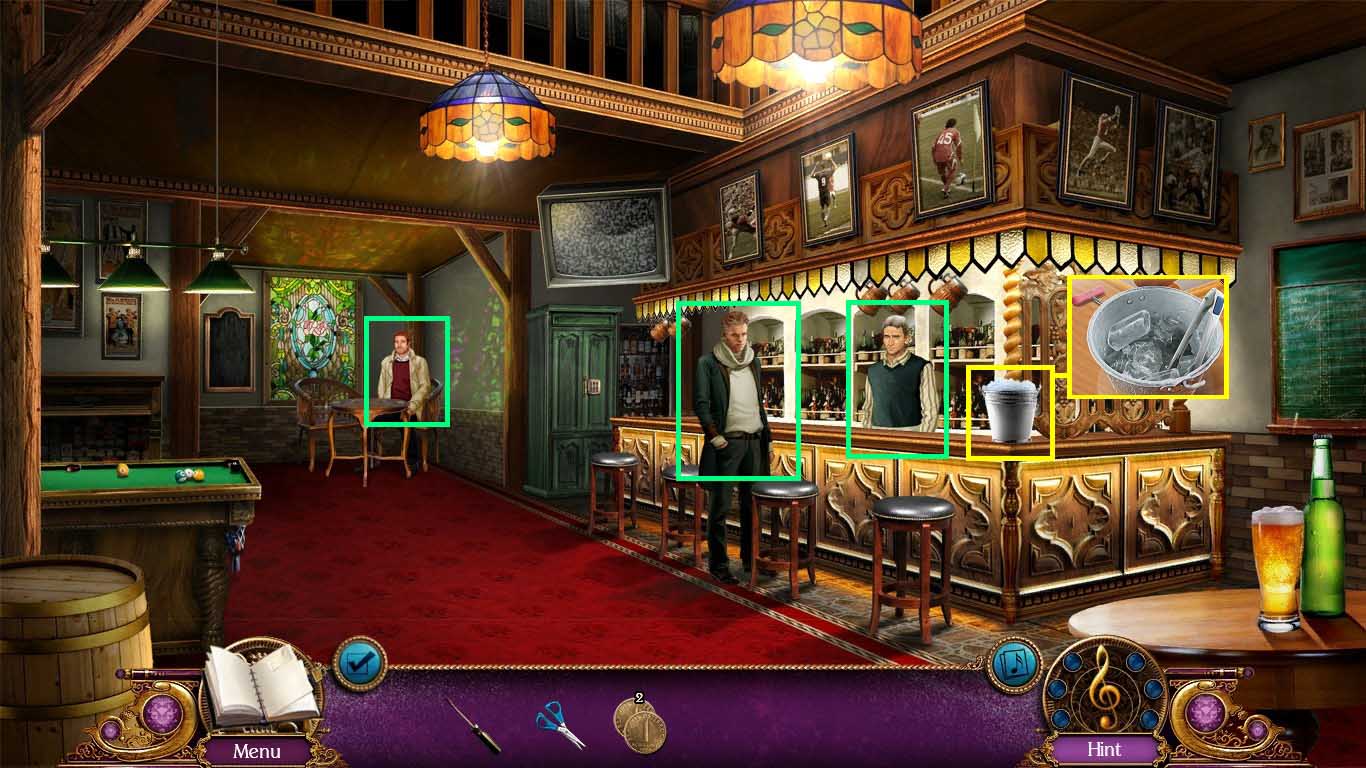
- Examine the bucket.
- Collect the corkscrew and the tongs.
- Click the bartender, the charming man and the customer.
- Walk down one time and move forward.
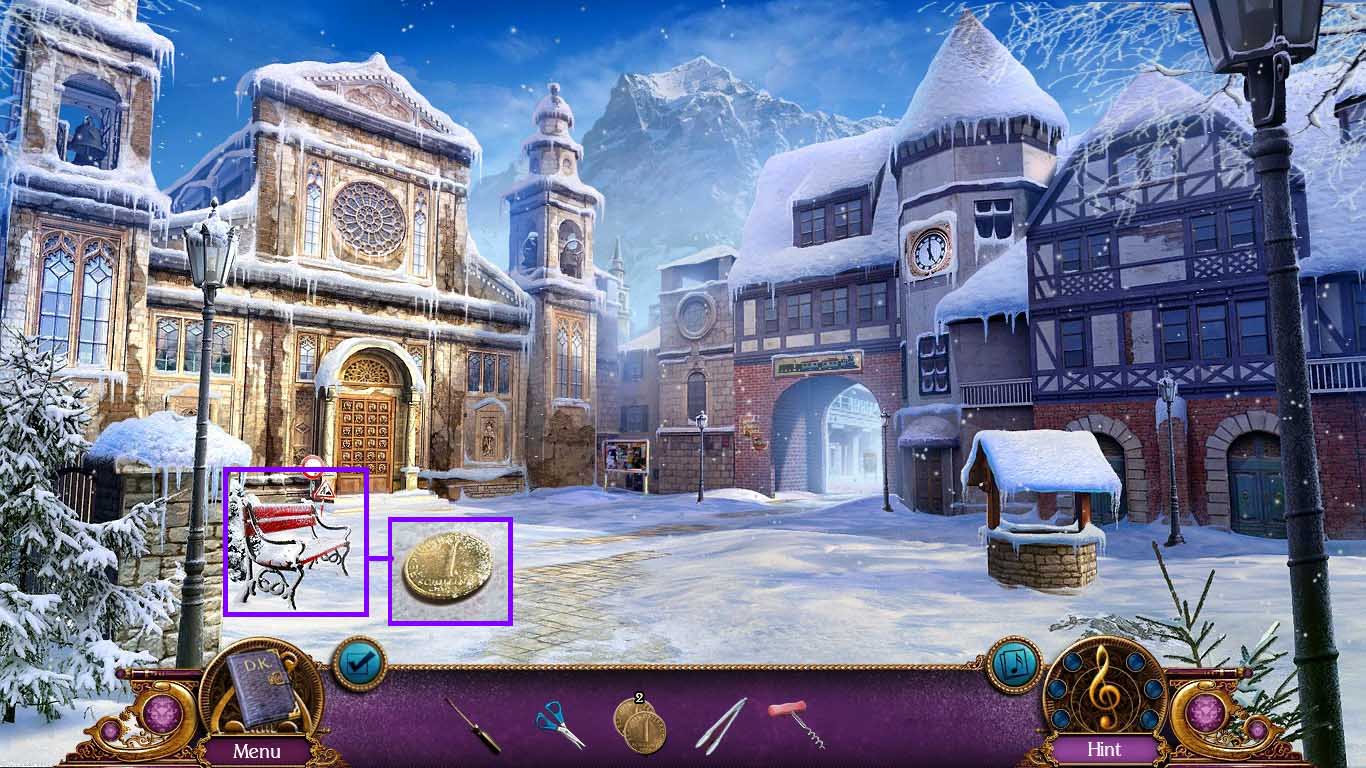
- Examine the bench.
- Collect the coin.
- Go right.
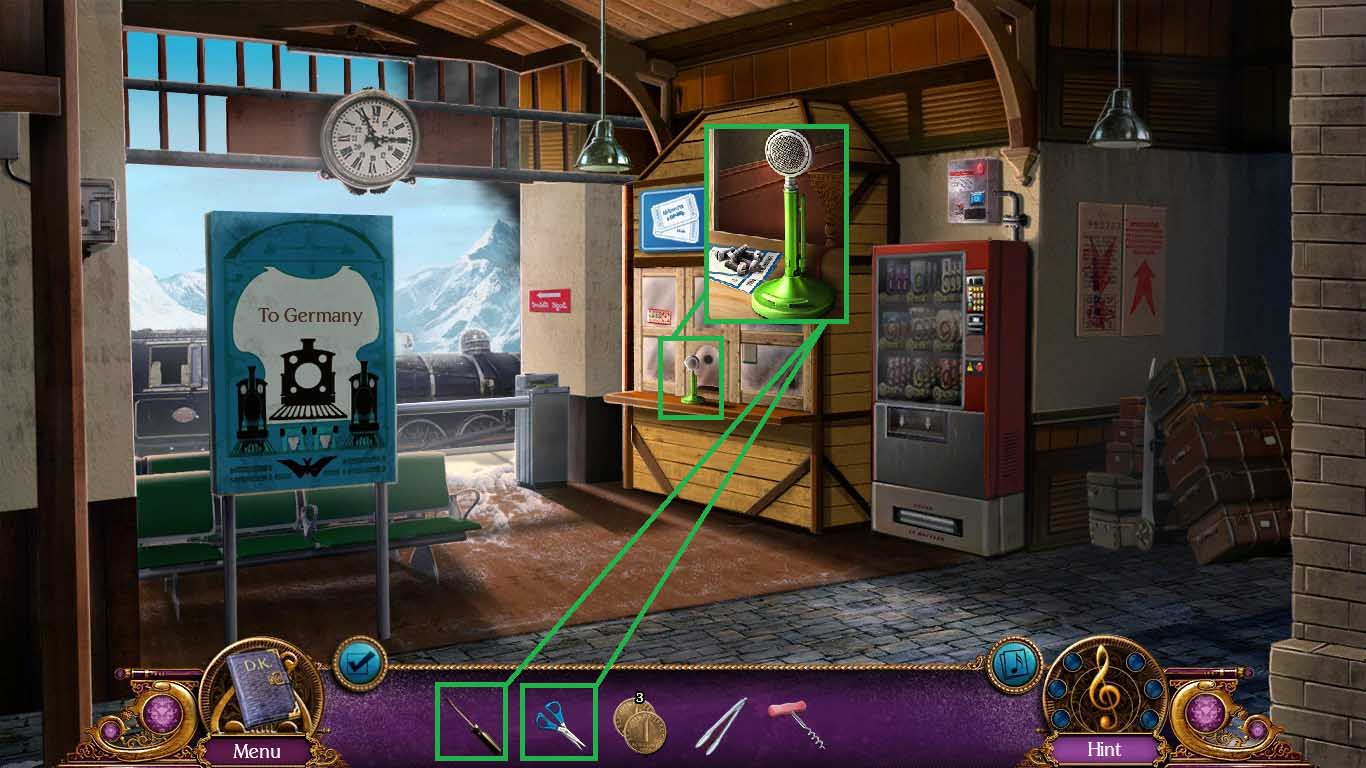
- Examine the speaker.
- Collect the screws.
- Pry open the speaker using the screwdriver.
- Cut the wires using the scissors.
- Collect the speaker piece.
- Walk down three times.
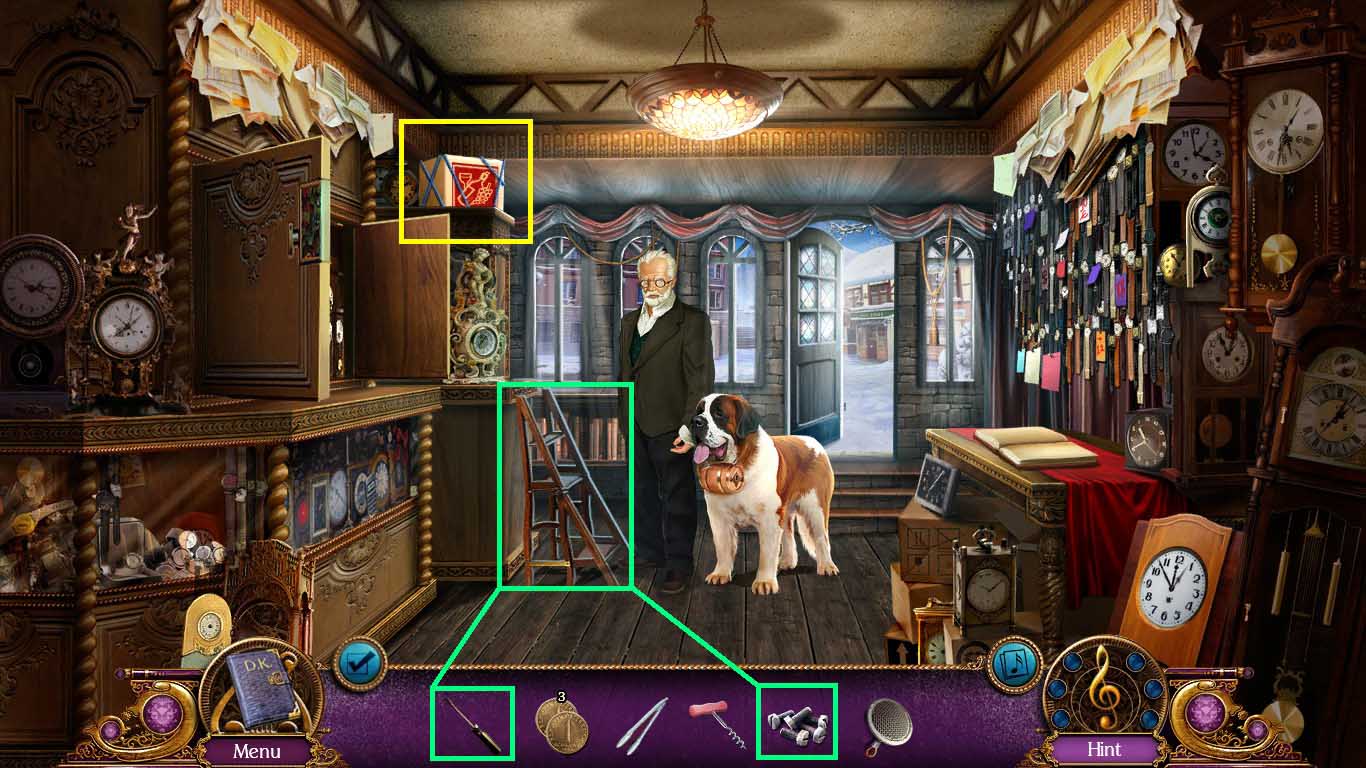
- Examine the stepladder.
- Insert the screws and tighten them using the screwdriver.
- Examine the box to access a mini game.
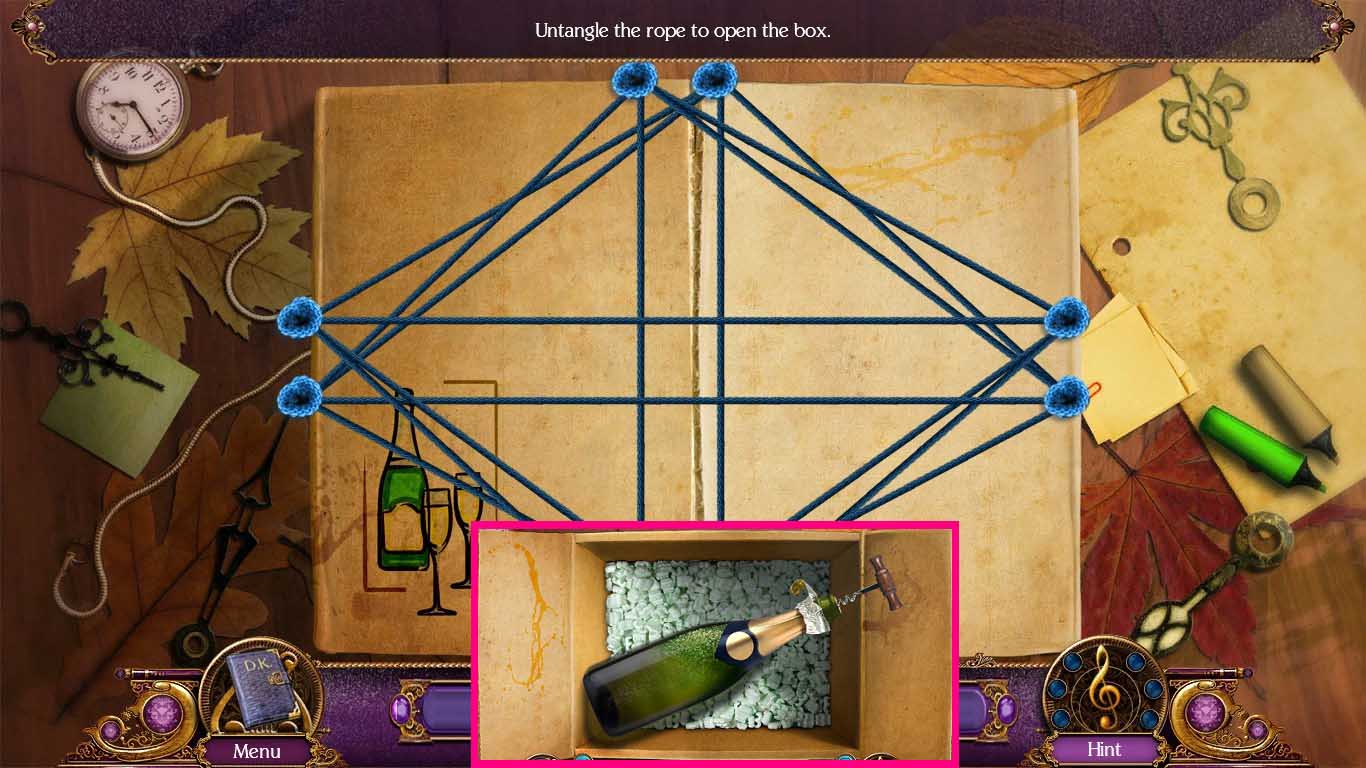
- Free the box by untangling the rope.
- Click the box open.
- Shake the bottle.
- Insert the corkscrew into the cork.
- Pull the corkscrew two times and collect the champagne.
- Move forward two times and go right.
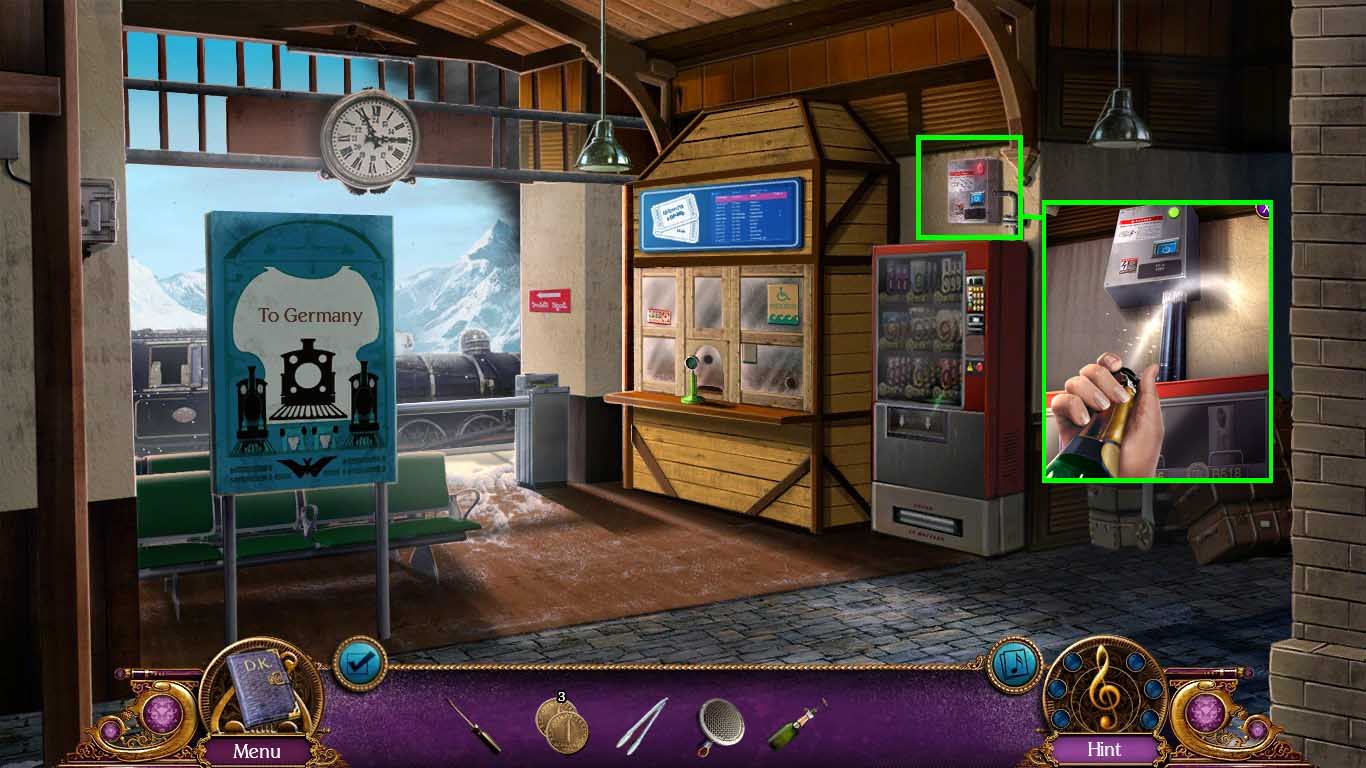
- Examine the power box.
- Place the champagne next to the power box and uncork the champagne.
- Walk down two times.
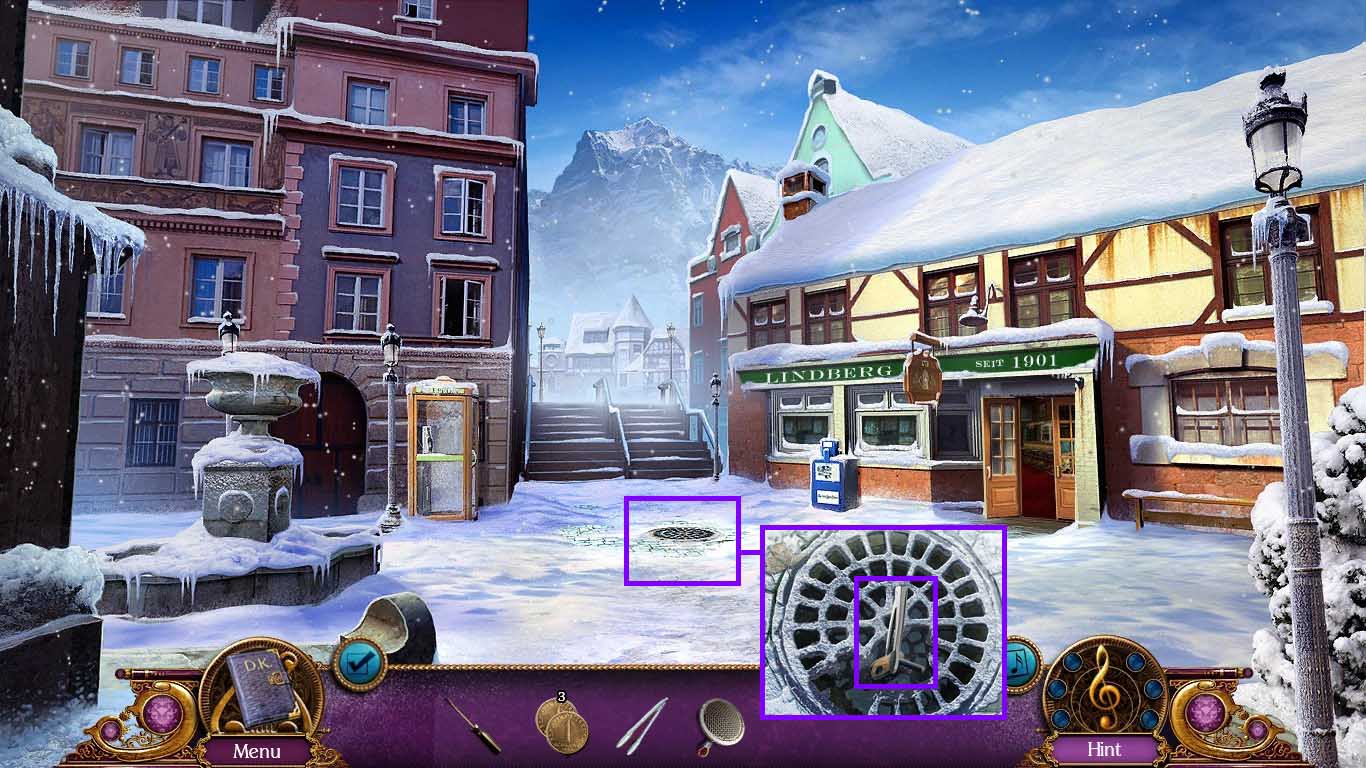
- Examine the grate.
- Use the tongs on the grate to collect the winder.
- Go forward.
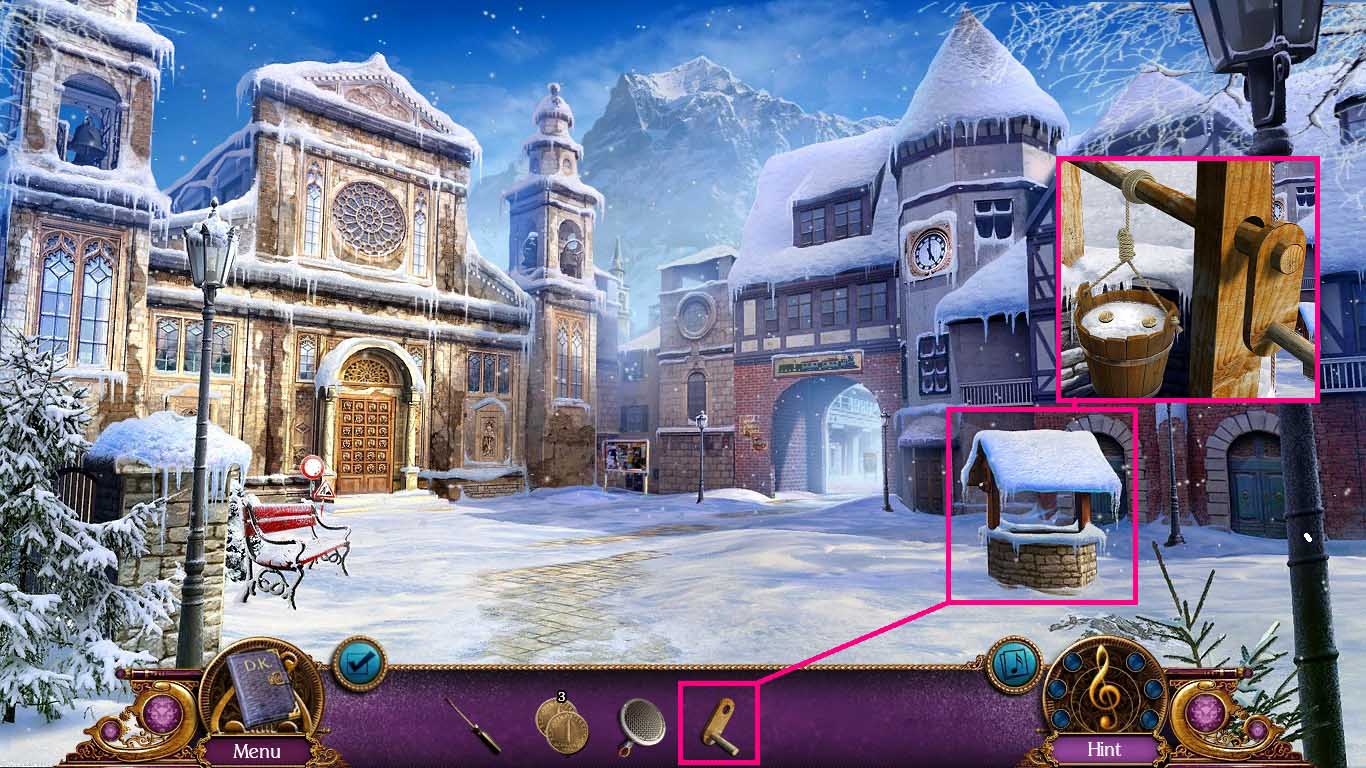
- Examine the well.
- Place the winder into the well.
- Click the winder and collect the 4th and 5th coins.
- Go right.
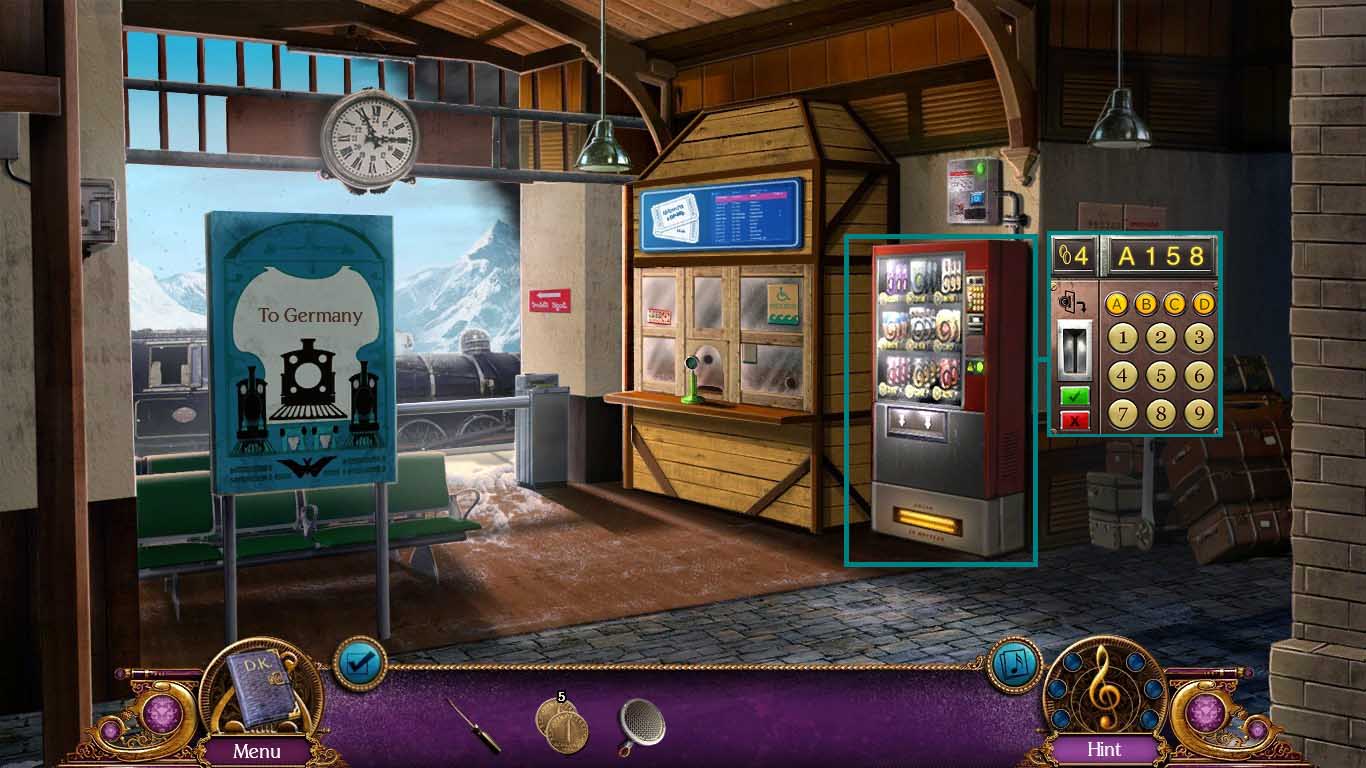
- Examine the vending machine control pad.
- Insert 4 coins.
- Punch in code A158, click the check mark.
- Collect the peanuts.
- Walk down two times and move right.
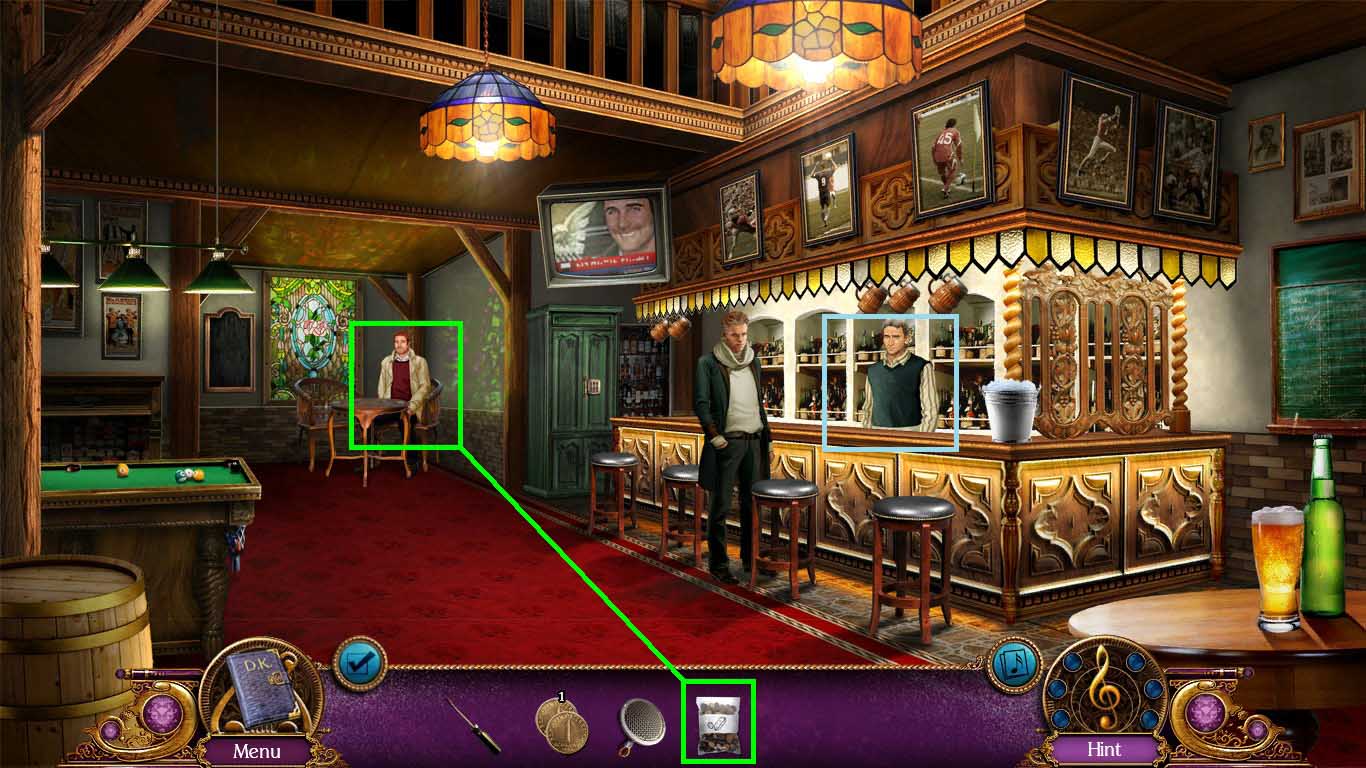
- Give the customer the peanuts.
- Click the bar keeper and collect the waiter’s number.
- Walk down one time.
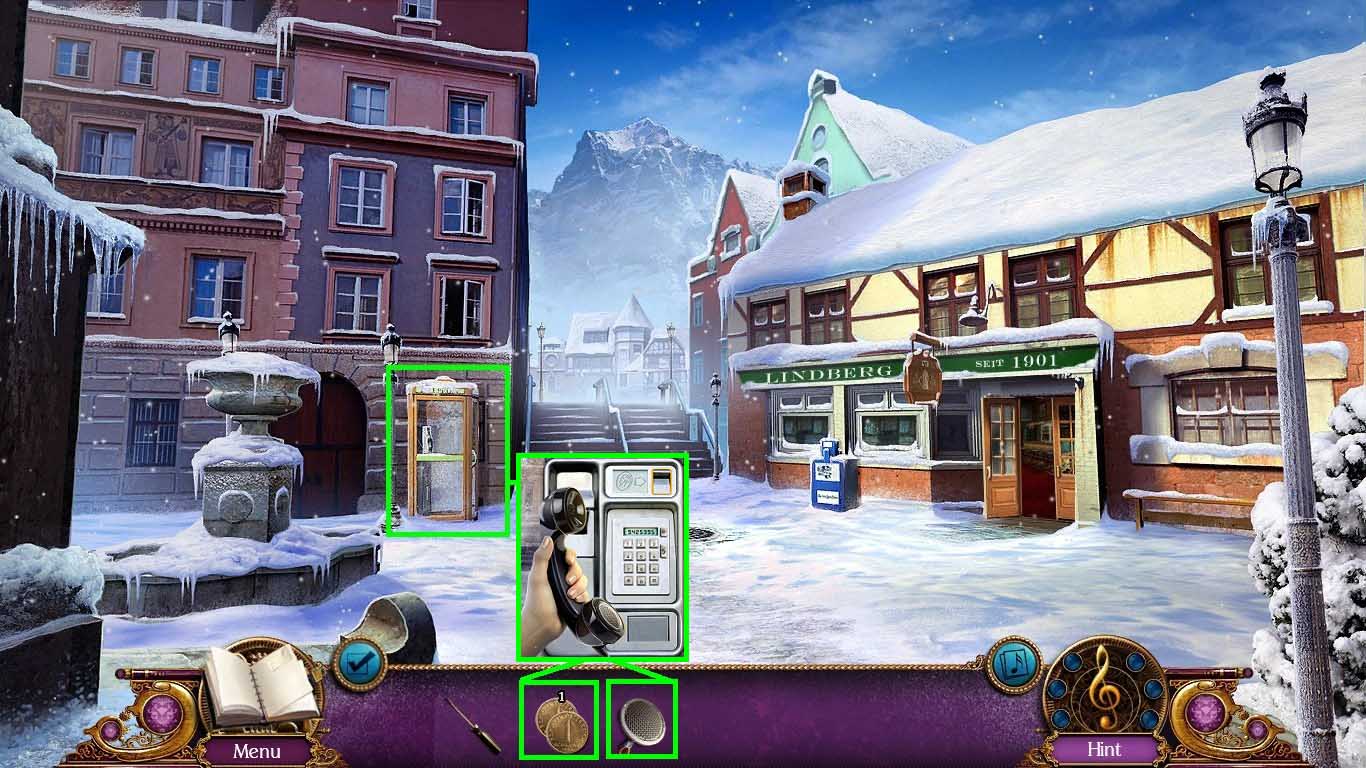
- Examine the payphone.
- Click the receiver and place the speaker piece onto it.
- Insert 1 coin into the coin slot.
- Punch in number 9425395 and click ok.
- Go right.
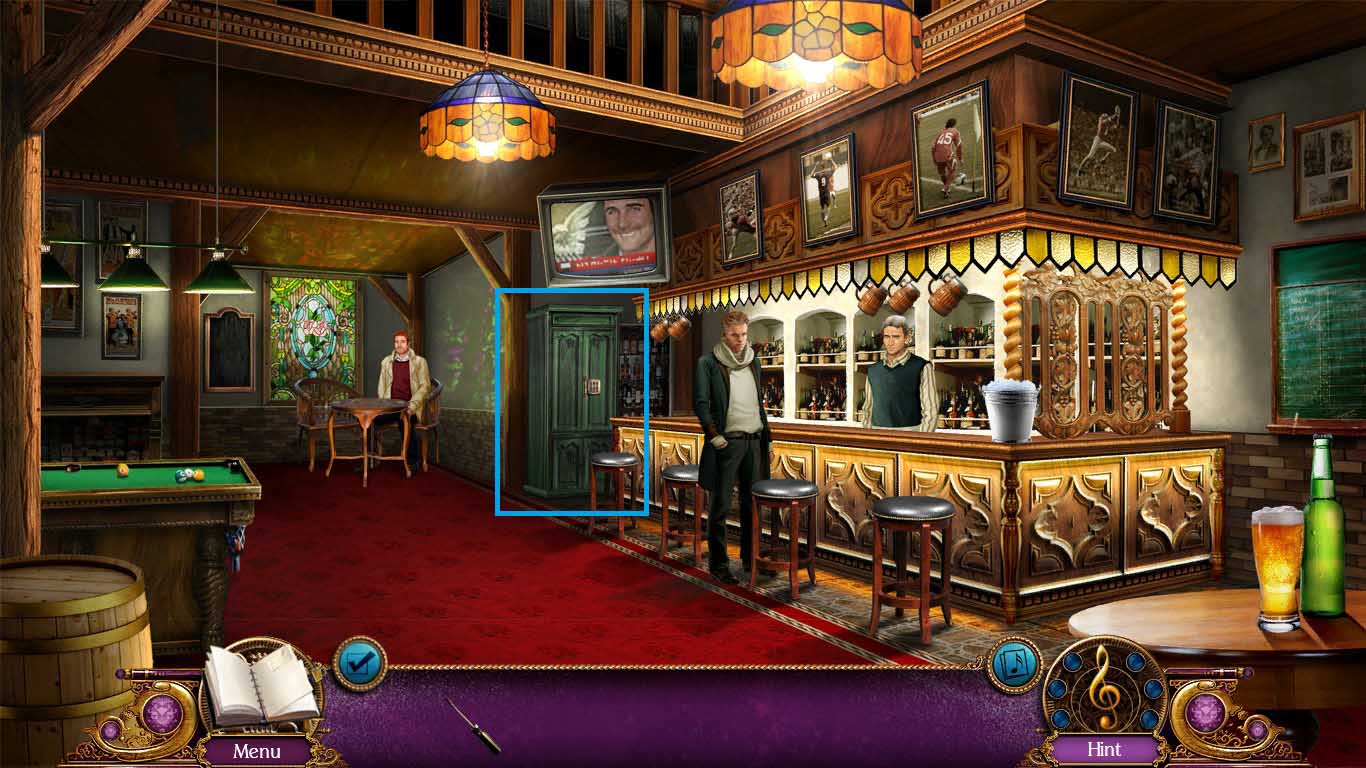
- Examine the cabinet.
- Punch in the code 474529 for the cabinet to open.
- Move into the hidden objects area.
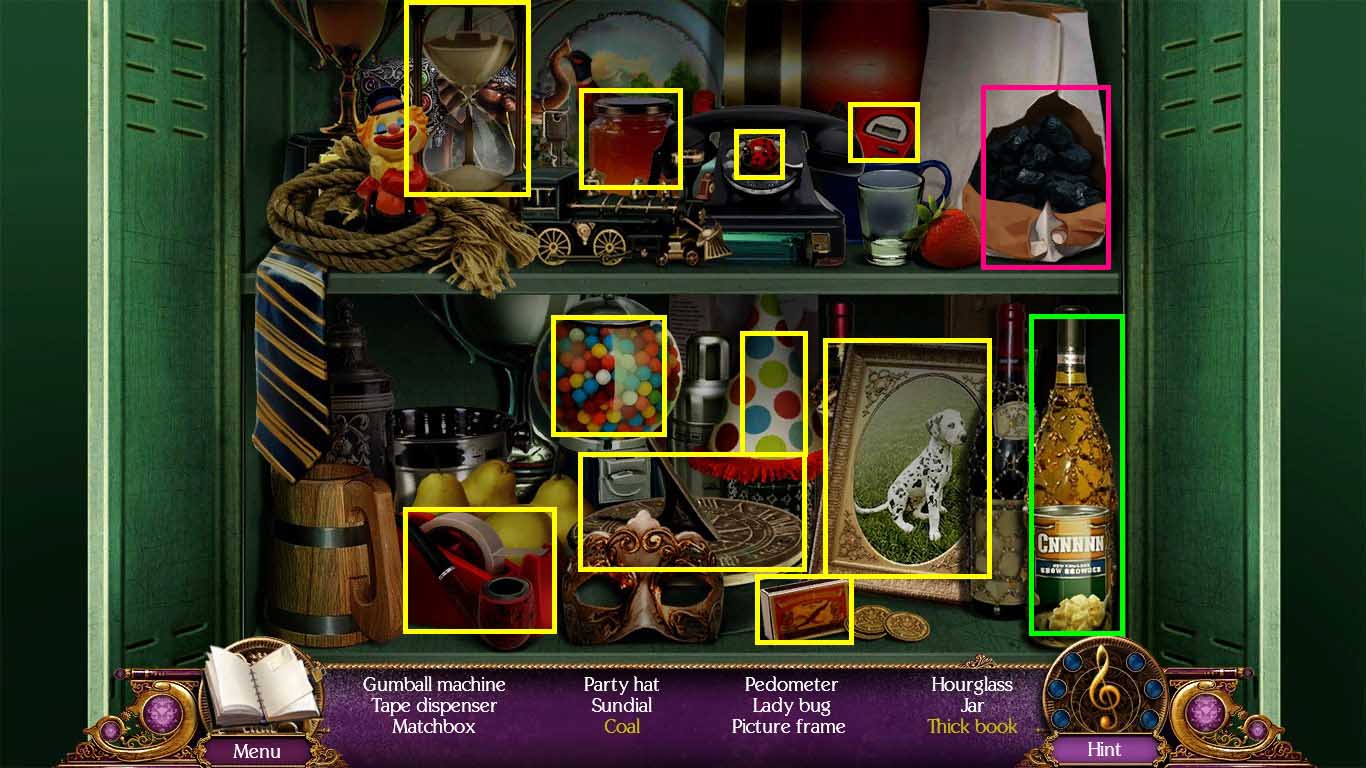
- Click the bag open.
- Move the bottles.
- Collect the picture frame and the book behind it.
- Find the remaining items on the list.
- Click the book open and click the page one time to collect the thief’s handkerchief.
- Exit the cabinet and walk down two times.
- Give the clock maker the thief’s handkerchief.
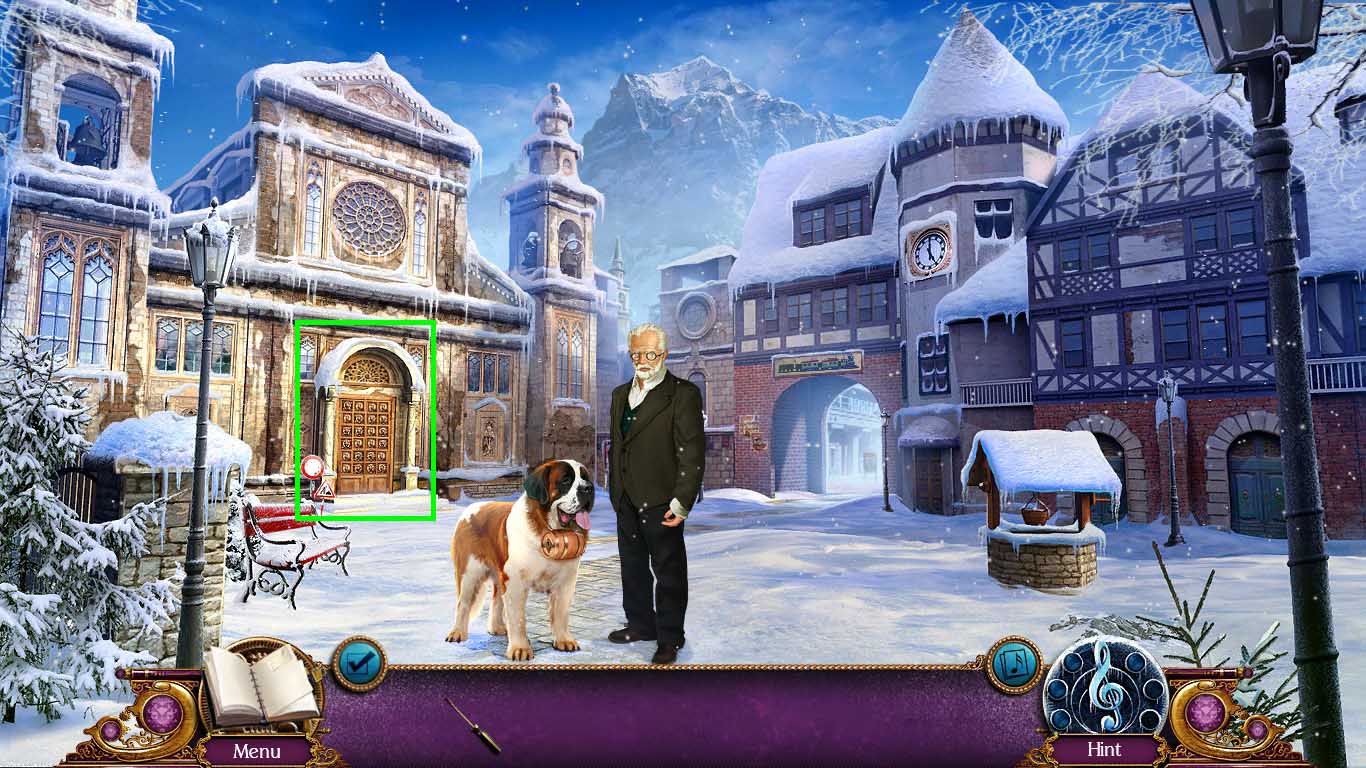
- Examine the chapel door to access a mini-game.
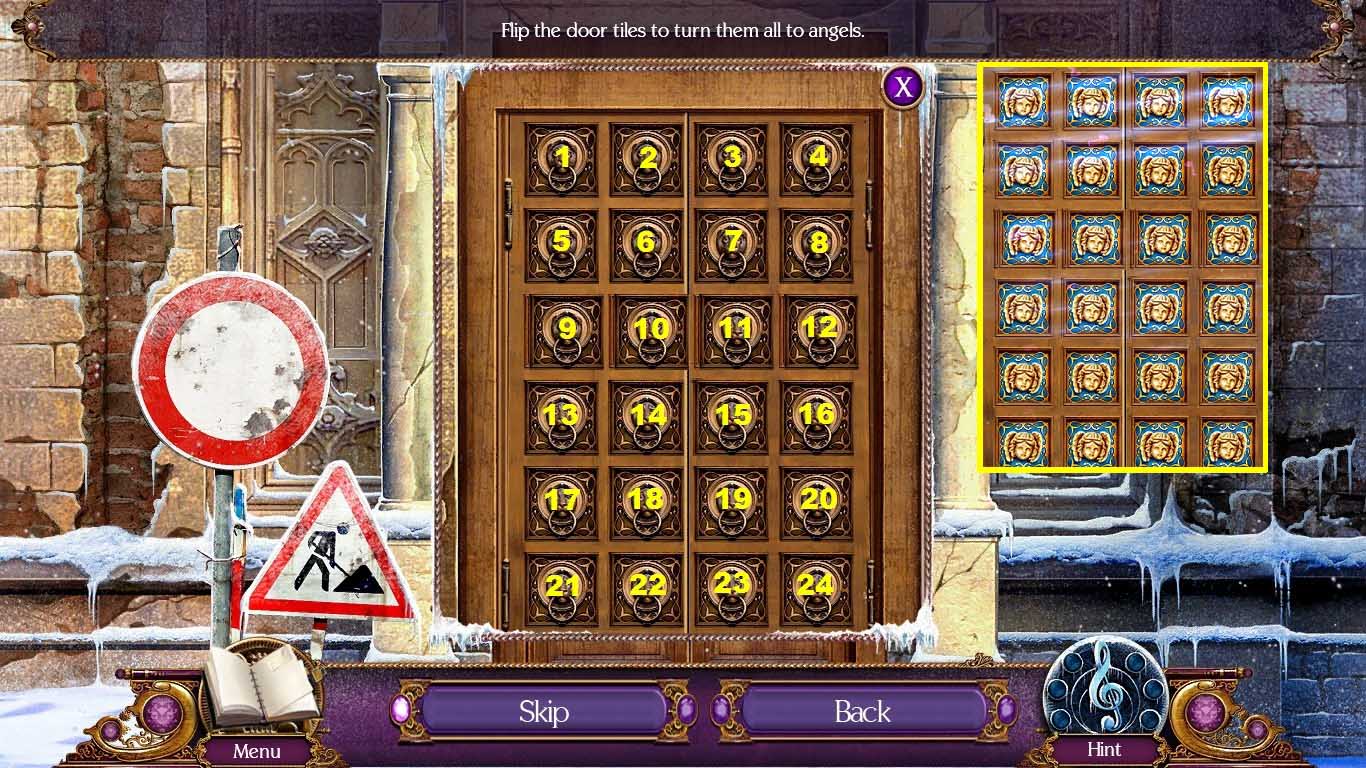
- Click the door tiles so that every tile displays an angel.
- Use the following pattern to solve this puzzle.
- 8 – 5 – 2 – 21 – 18 – 24 – 21 – 18 – 21 – 15 – 14 – 10 – 8 – 11 – 4 – 5 – 2 – 1.
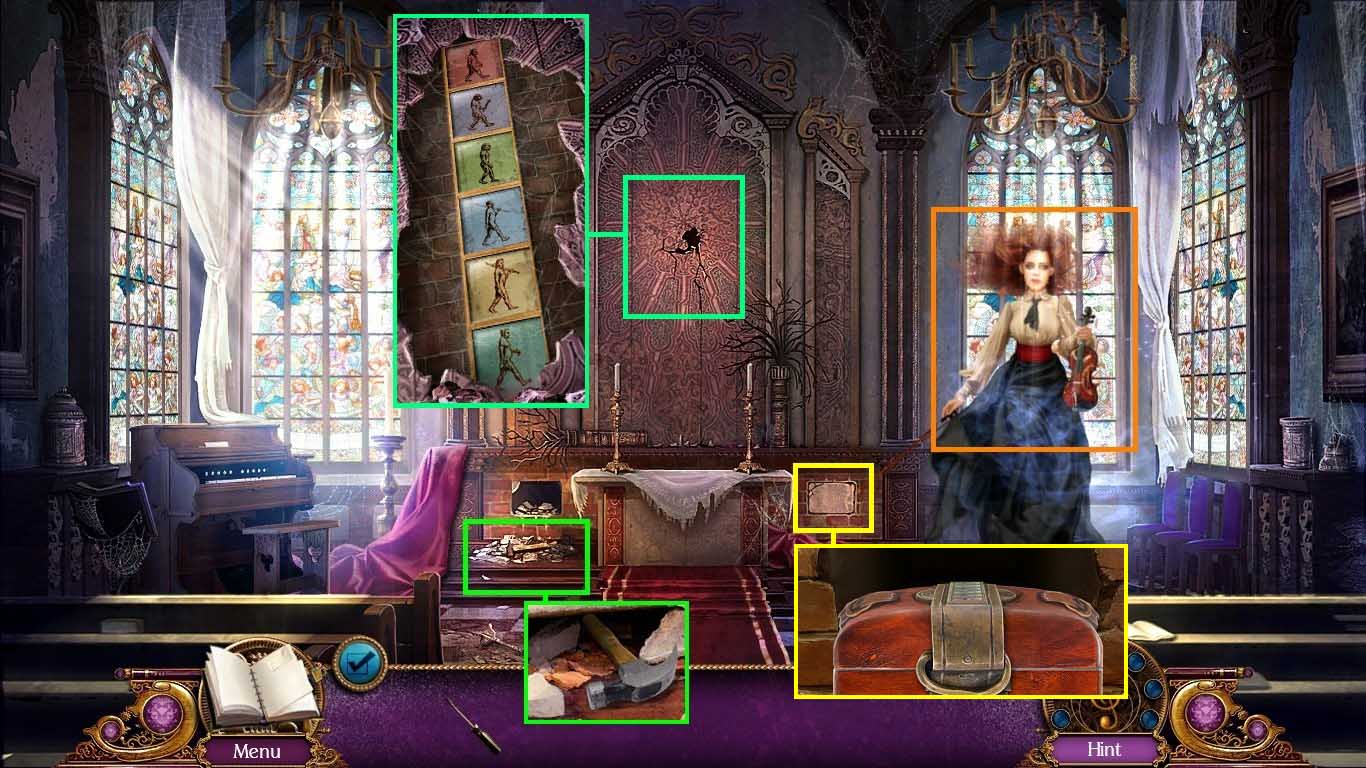
- Click the ghost.
- Examine the rock pile and collect the hammer.
- Examine the mural; break it using the hammer 3 times.
- Take notice of the mural.
- Examine the stone slab.
- Break it using the hammer two times.
- Click and zoom into the chest to access a mini-game.
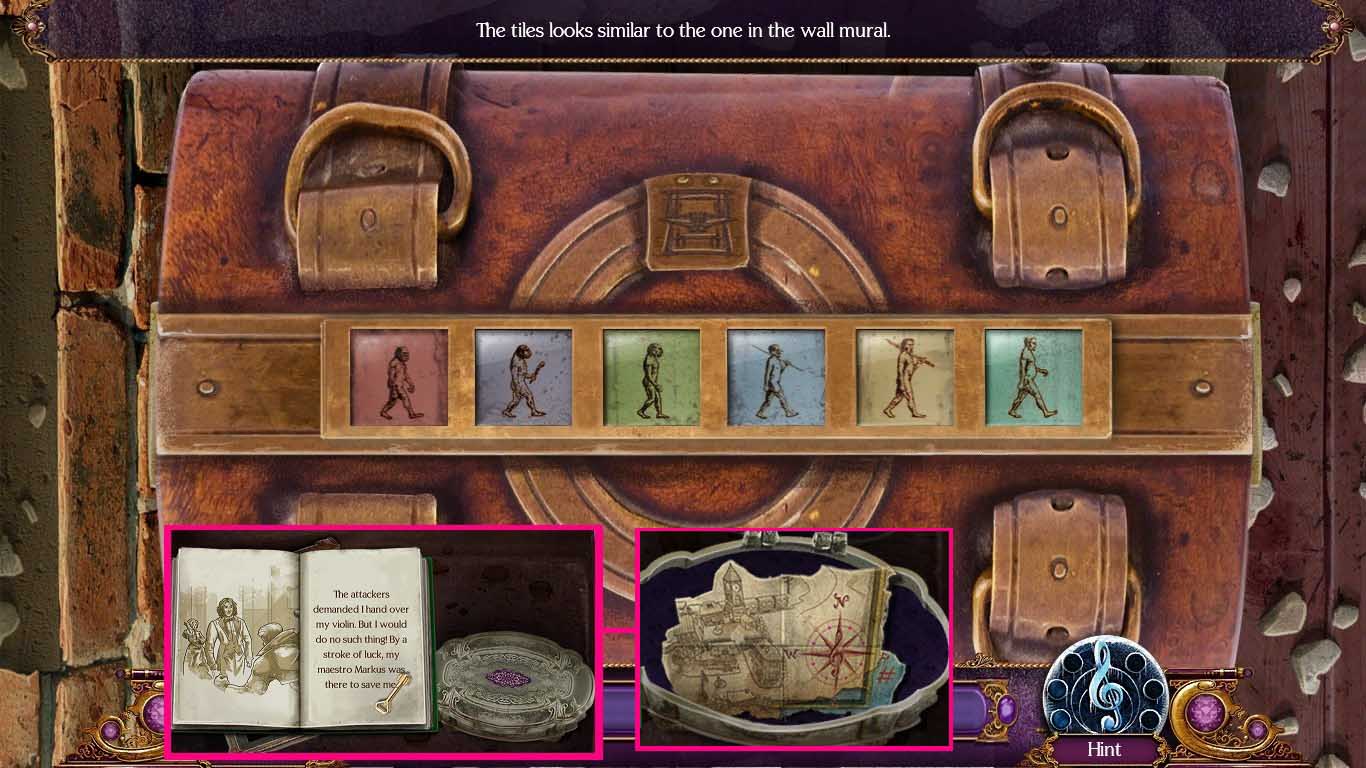
- Click the tiles to change the images.
- Positioning will be randomized.
- Solve as shown above.
- Examine the chest.
- Click the book pages two times and collect the small key.
- Open the box with the small key and collect the music sheet.
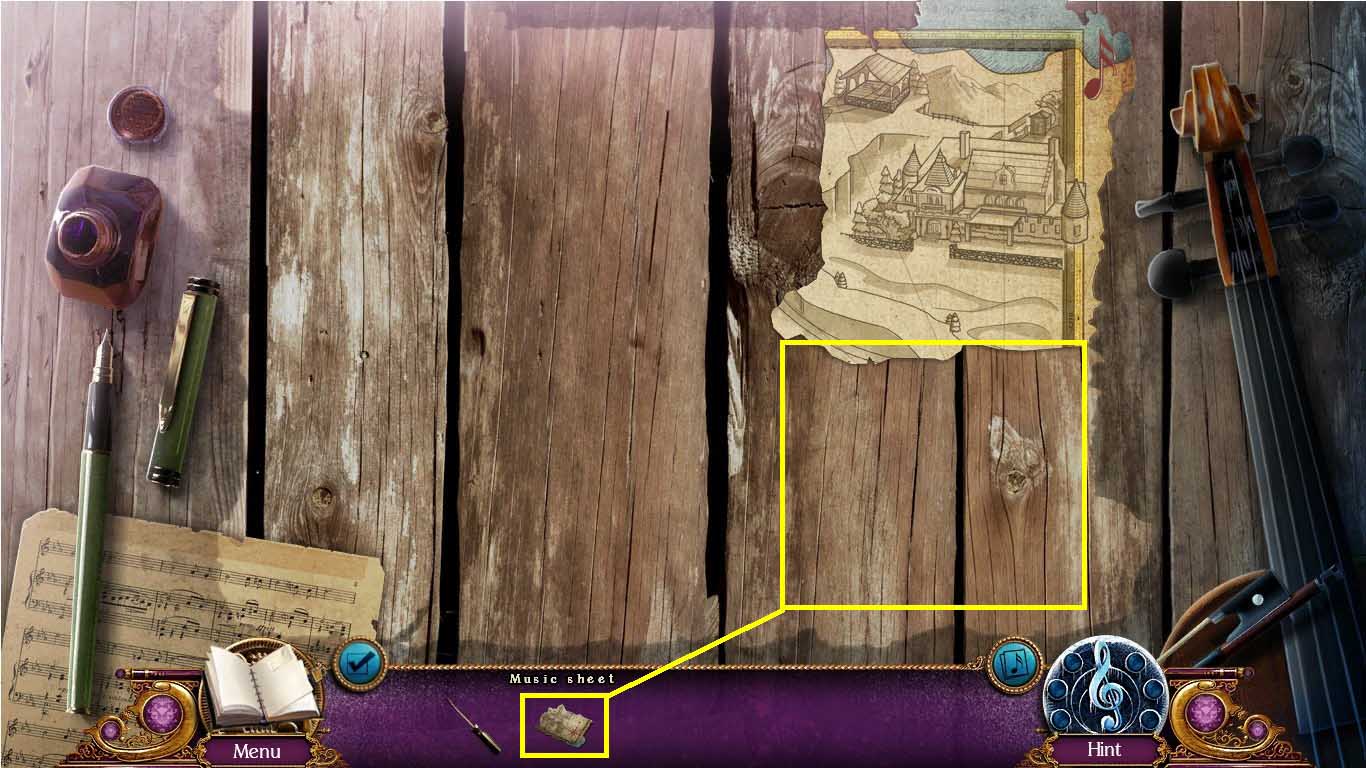
- Place the music sheet onto the map.
Comments will load when you reach this part of the walkthrough.