

Chapter Two: Lavender Fields
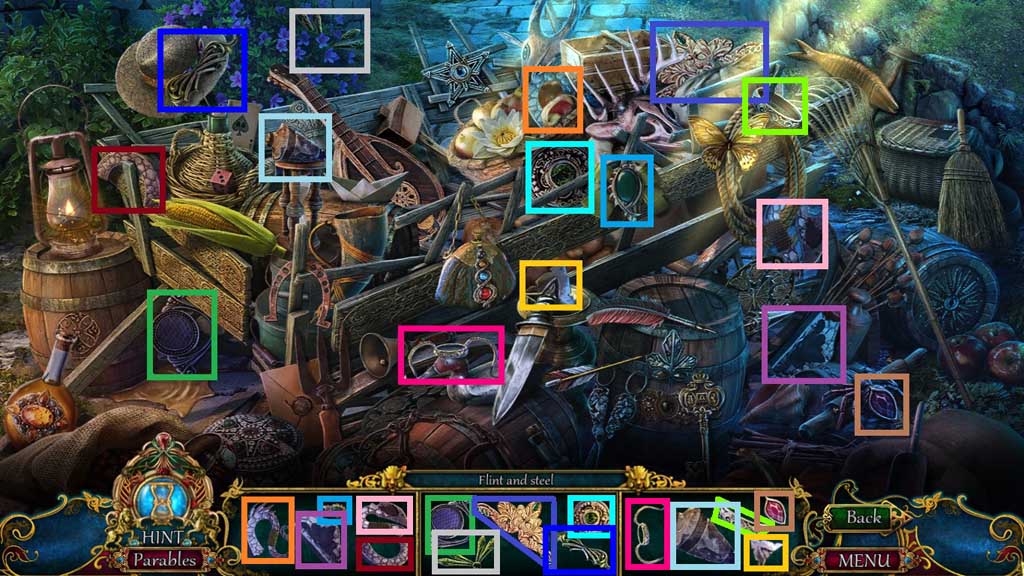
- Find the items.
- Collect the flint and steel.
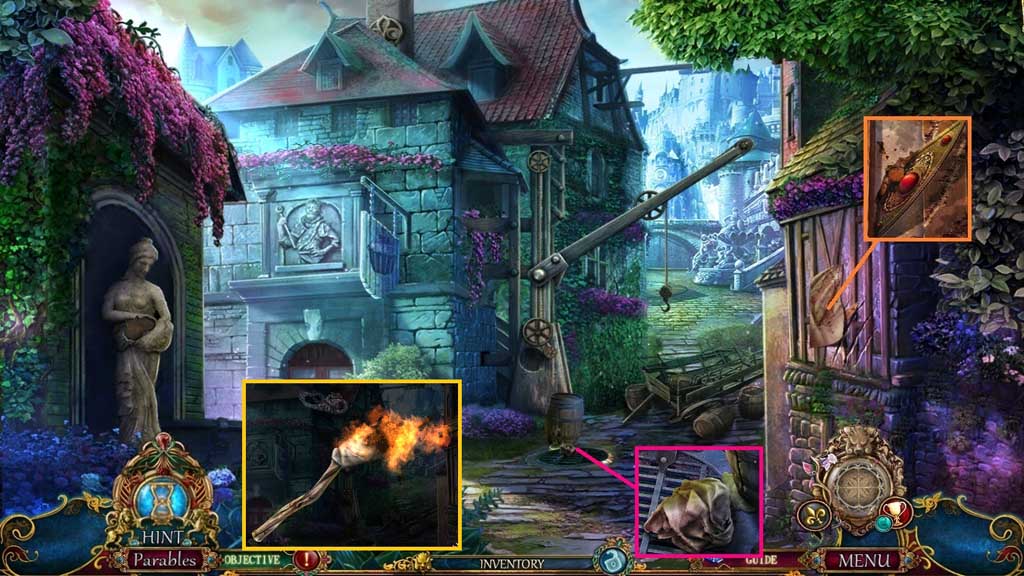
- Click the map; collect the jeweled shard.
- Collect the oily cloth and place it onto the branch.
- Select the flint and steel to ignite the branch; collect the torch.
- Move to the Lavender Fields.
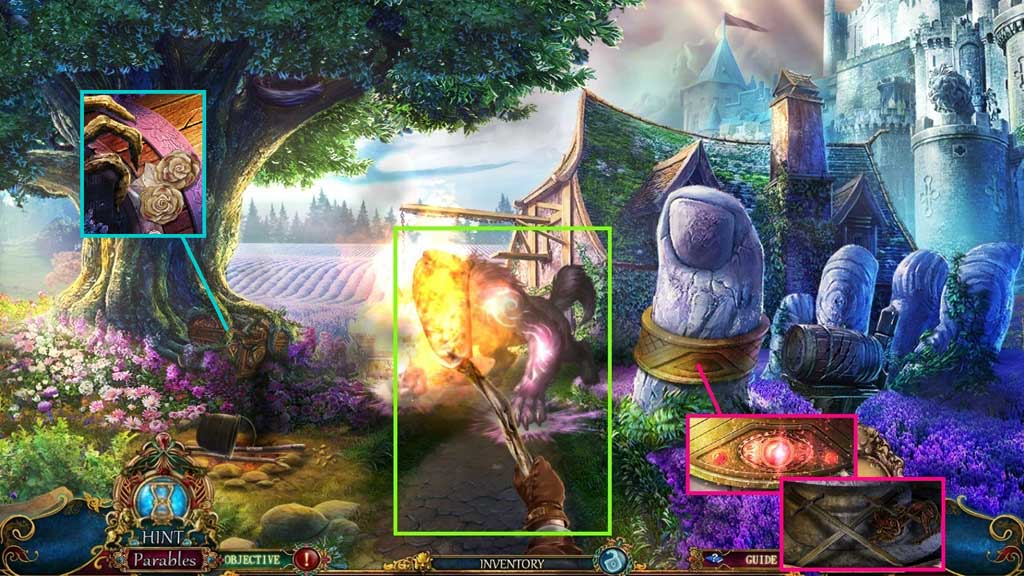
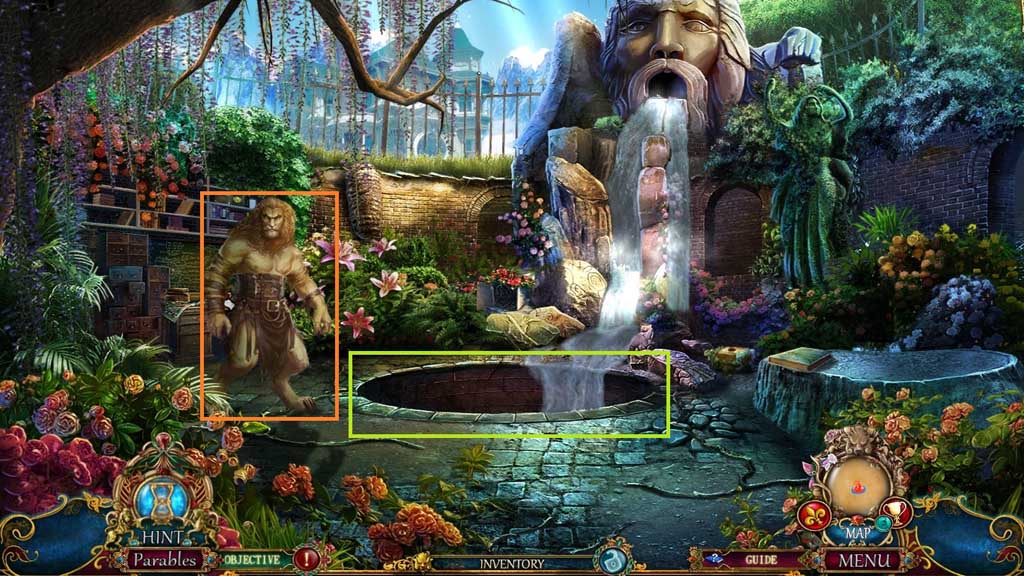
- Select the torch to use on the wolf.
- Insert the jeweled shard; collect the swords emblem and the ruby ferret.
- Click the fingers; collect the marbled flowers.
- Move down once.
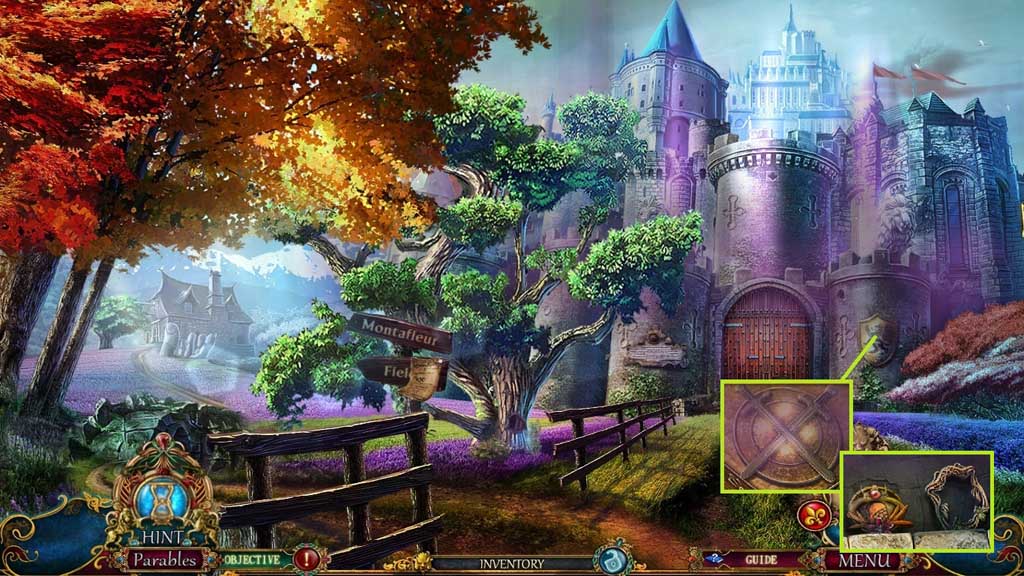
- Insert the swords emblem.
- Collect the wheat crest and the wooden frame.
- Move ahead once.
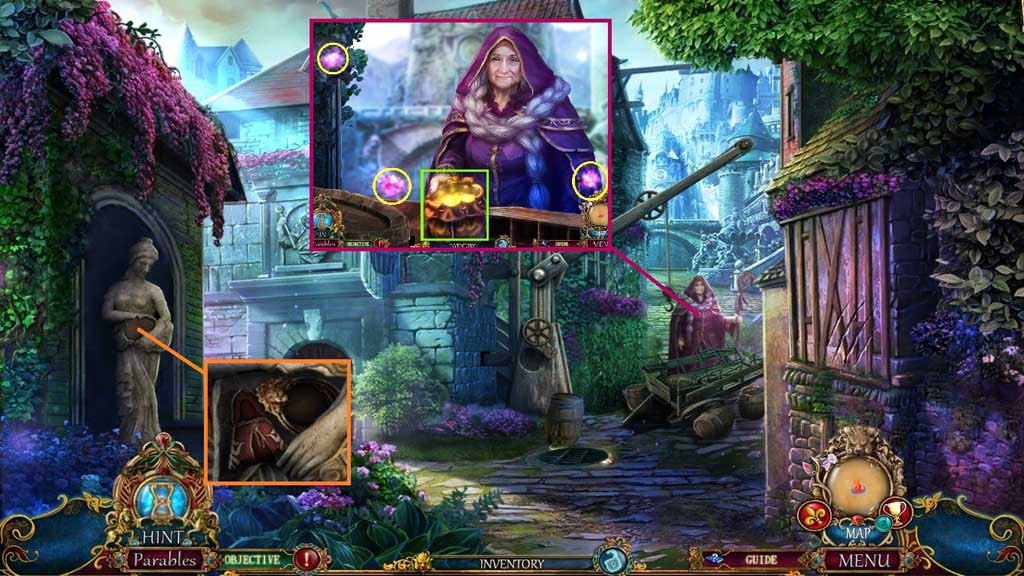
- Speak to the old lady.
- Collect the golden sand and use it 3x’s on the glowing orbs.
- Collect the pouch of golden sand.
- Insert the marble flowers into the statue.
- Collect the cloak emblem and the broken pendant.
- Move to the Lavender Fields.
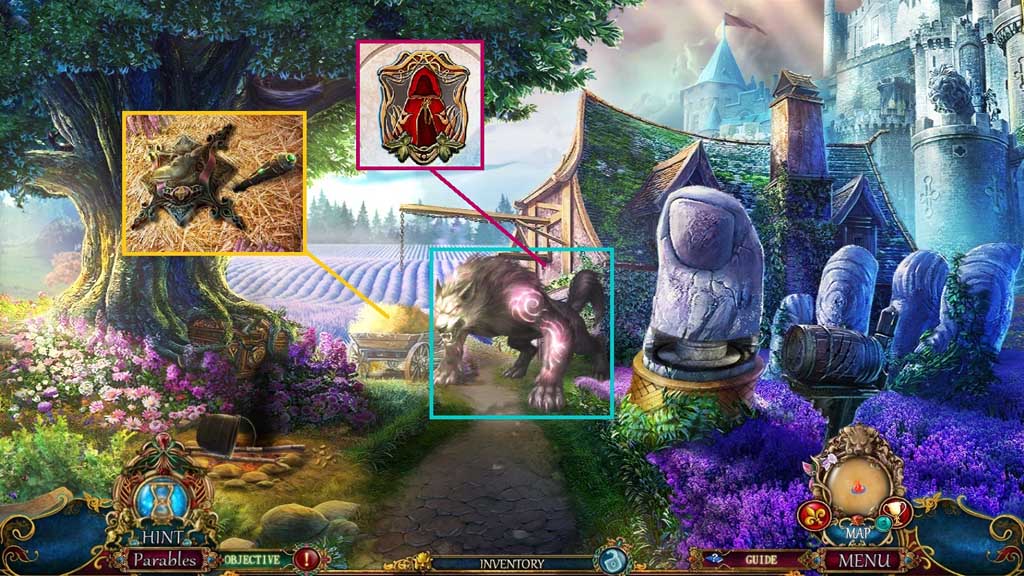
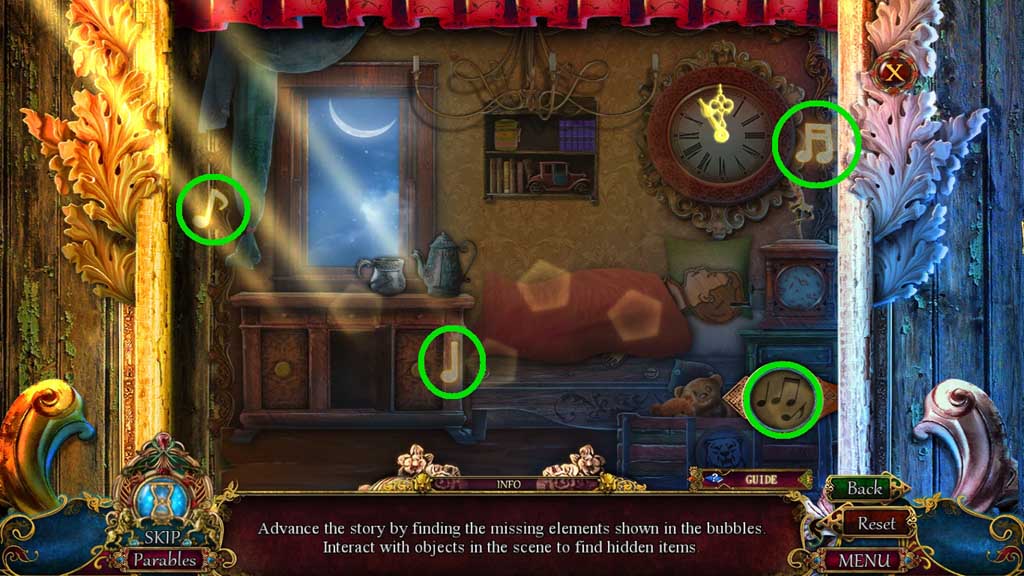
- Select the pouch of golden sand to use on the wolf.
- Click the hay 3x’s.
- Collect the doe crest and the faucet handle.
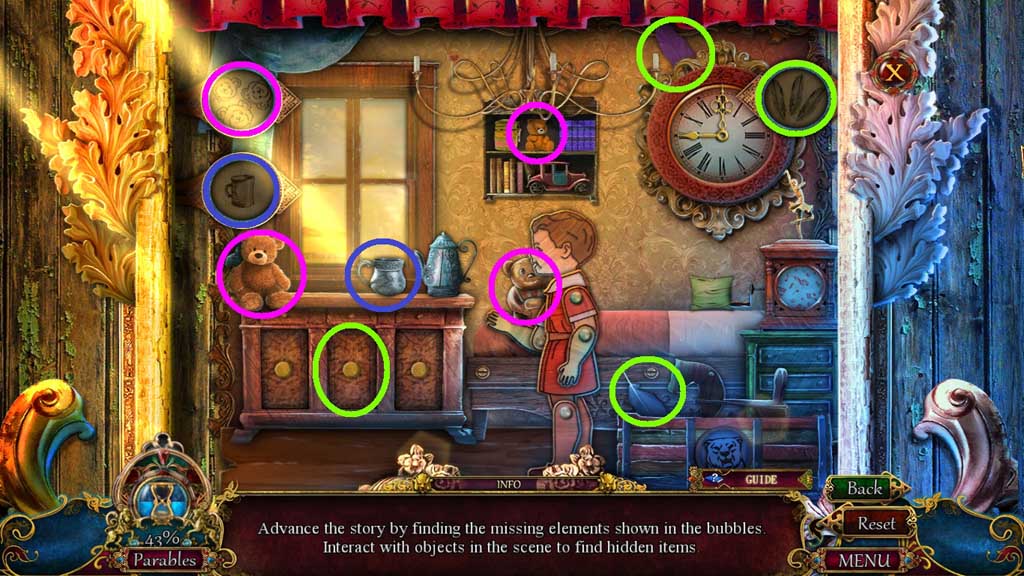
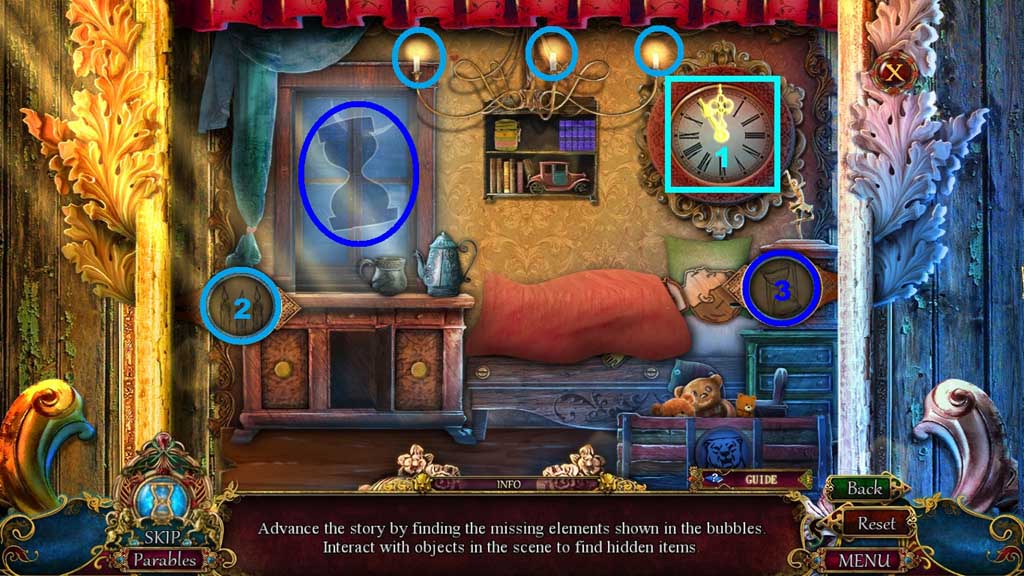
- Insert the cloak emblem and the wooden frame to trigger a mini game.
- Solve the game by following the prompts correctly and locating the items shown.
- Move into the Abandoned Cottage.
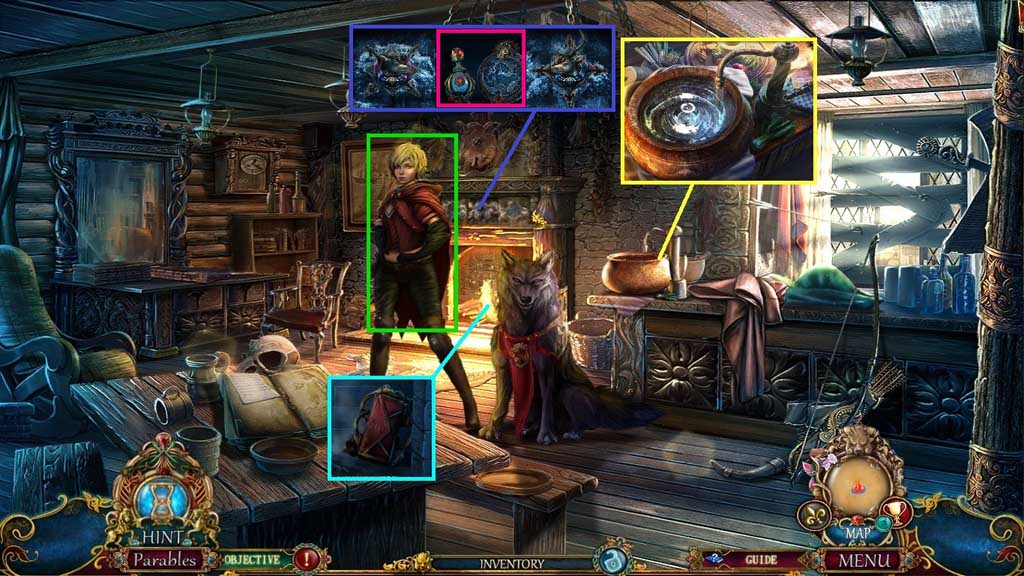
- Speak to Ruth.
- Attach and click the faucet handle; collect the pot with water and use it to douse the fire.
- Collect the envelope emblem.
- Insert the doe and stag crests; collect the ocean perfume and the deer token.
- Move down once.
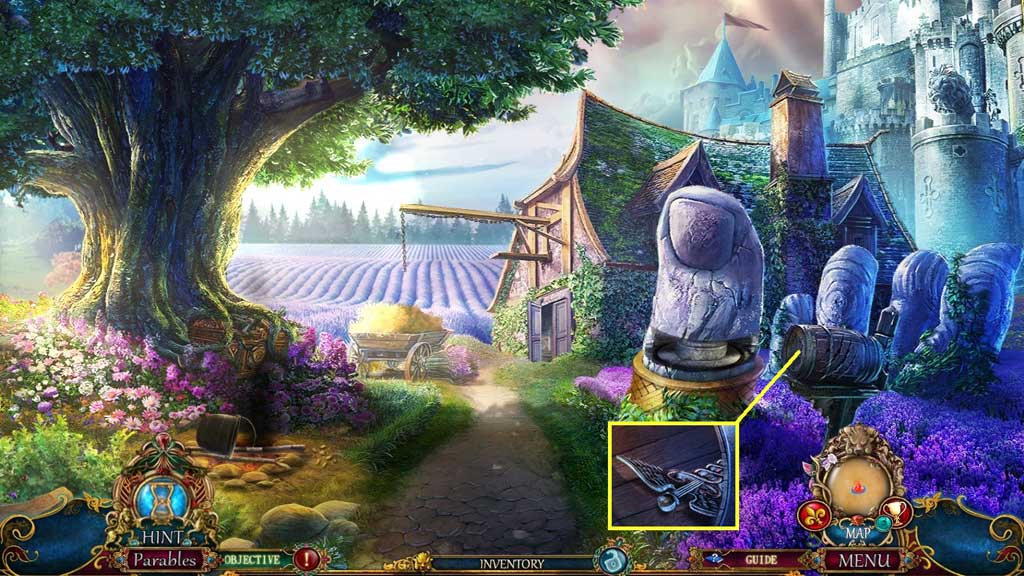
- Insert the envelope emblem.
- Collect the caduceus.
- Move to the Abandoned Cottage.
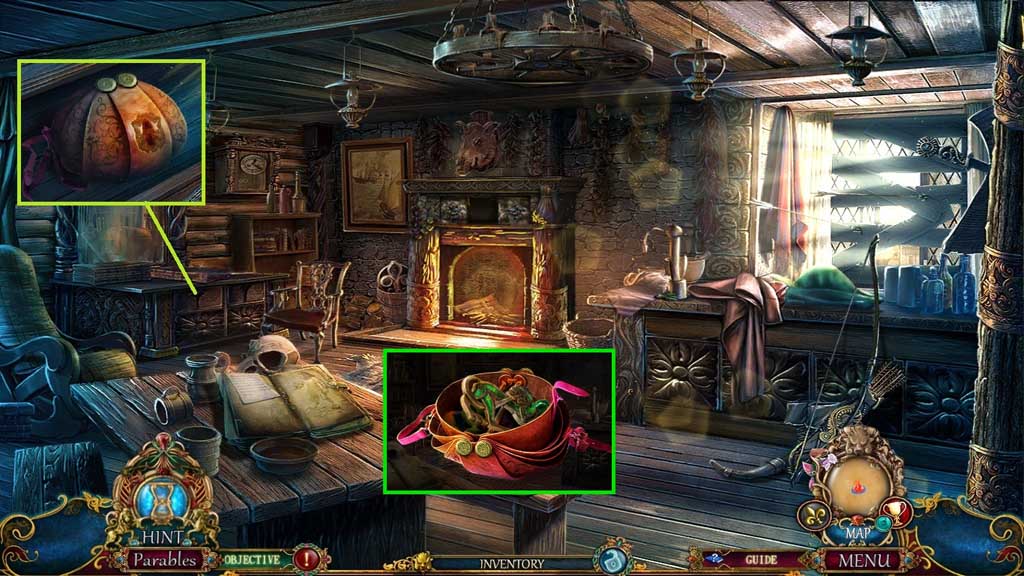
- Insert the caduceus; collect the leather pouch and click it open.
- Collect the jade ferret.
- Move down once into the Lavender Fields.
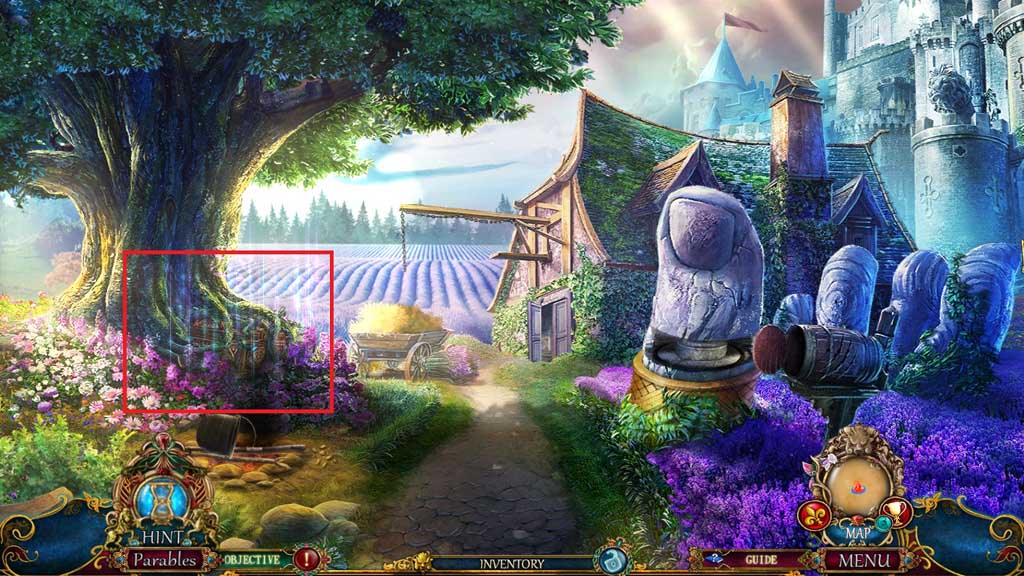
- Insert the jade and ruby ferrets to trigger a hidden objects area.
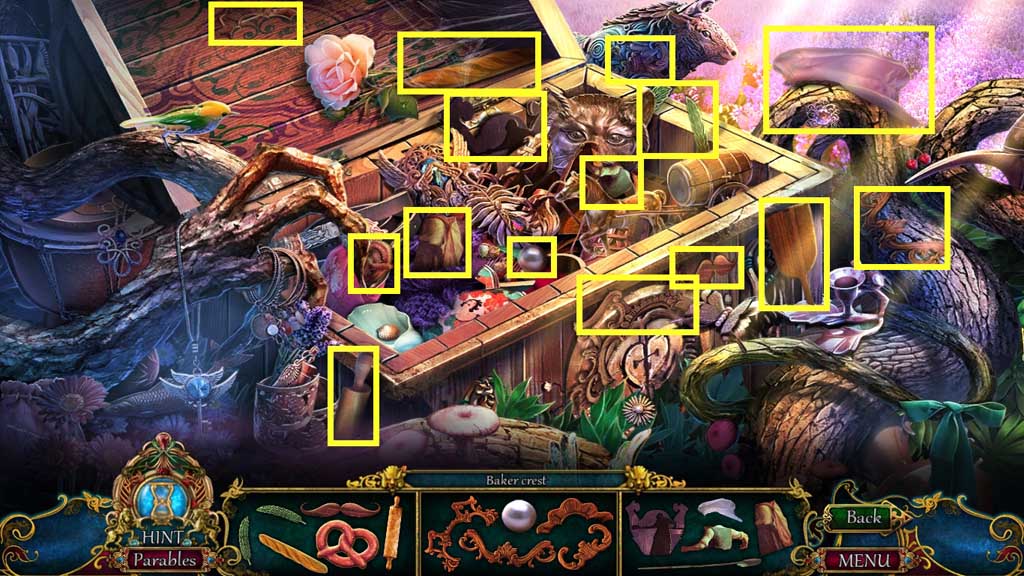
- Find the items.
- Collect the bakers crest.
- Move to Main Street.
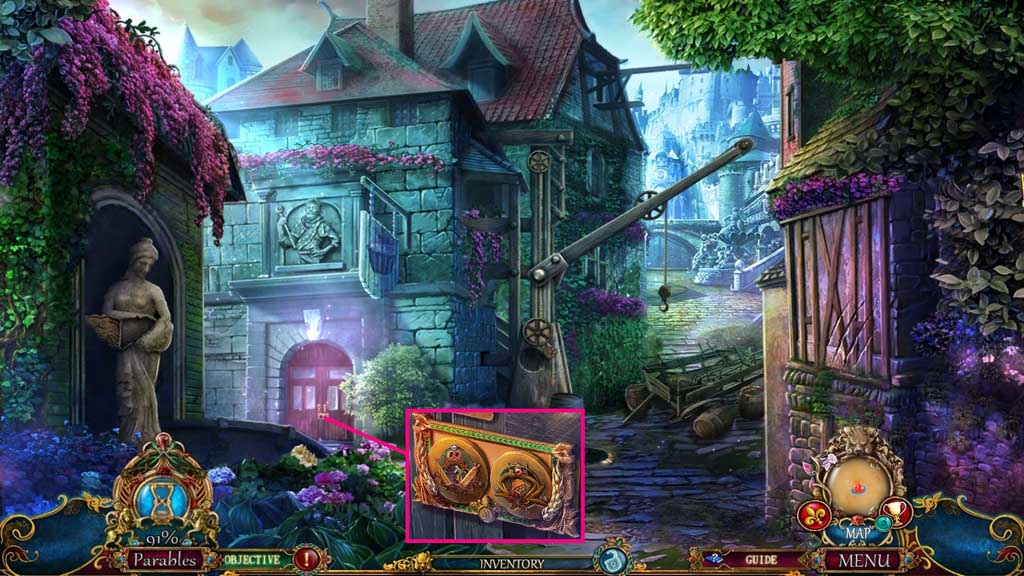
- Insert the wheat and bakers crests.
- Move into the Bakery.
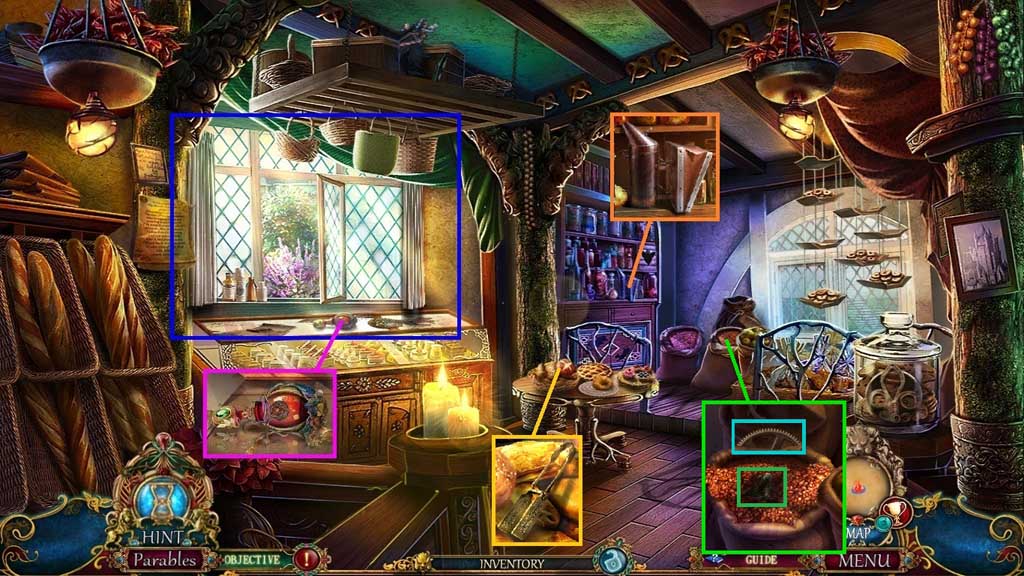
- Click the curtains.
- Collect the orchid perfume and the smoker.
- Click the breads aside; collect the tongs.
- Click the gains 2x’s; collect the frog and the gear with crank.
- Move down once.
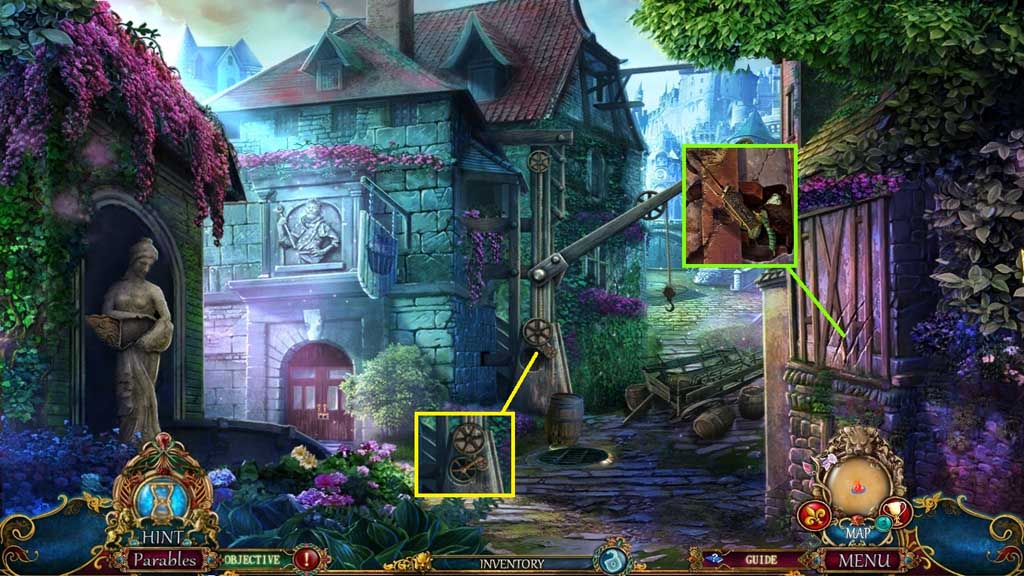
- Select the tongs to collect the dragonfly.
- Attach the gear with crank.
- Move ahead once.
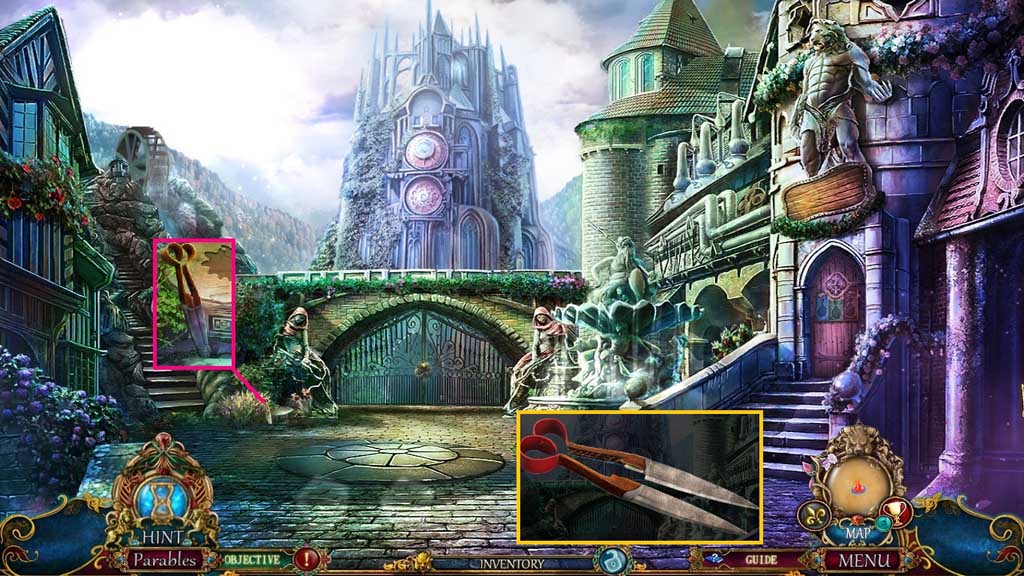
- Collect the shears and click them 3x’s.
- Move to the Shrine.
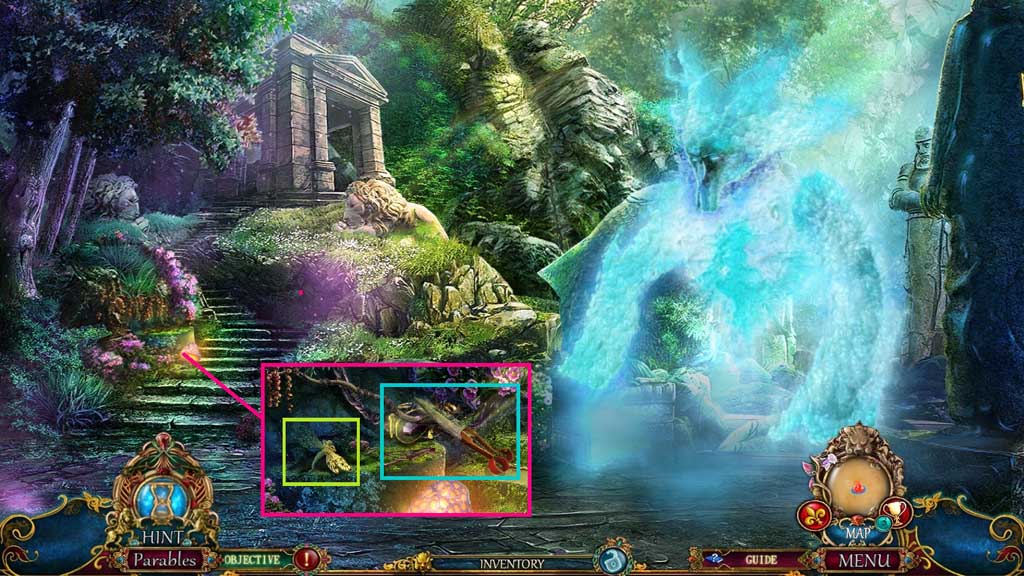
- Collect the fairy emblem.
- Select the shears to collect the heron.
- Move down once.
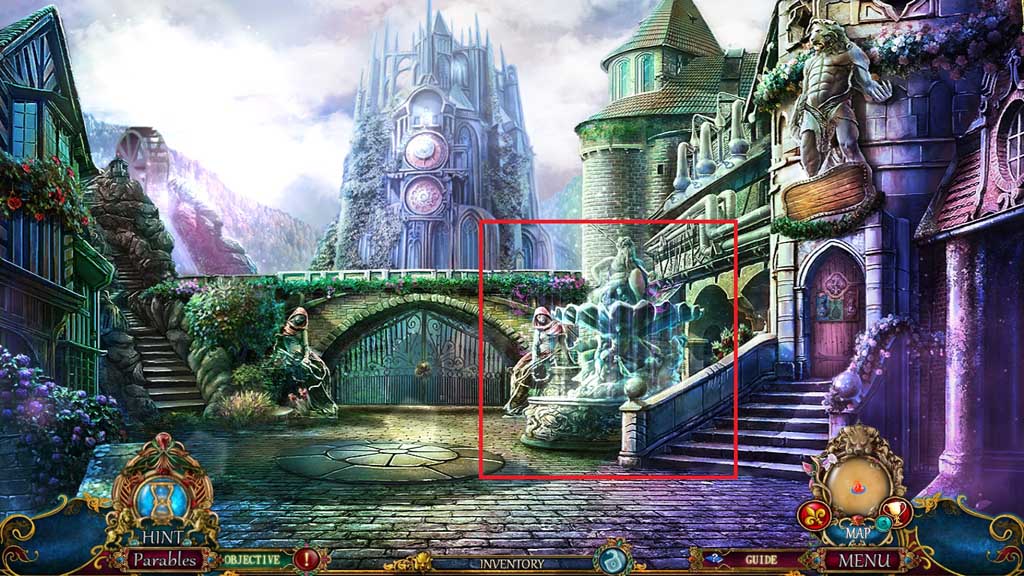
- Insert the dragonfly, the frog and the heron to trigger a hidden objects area.
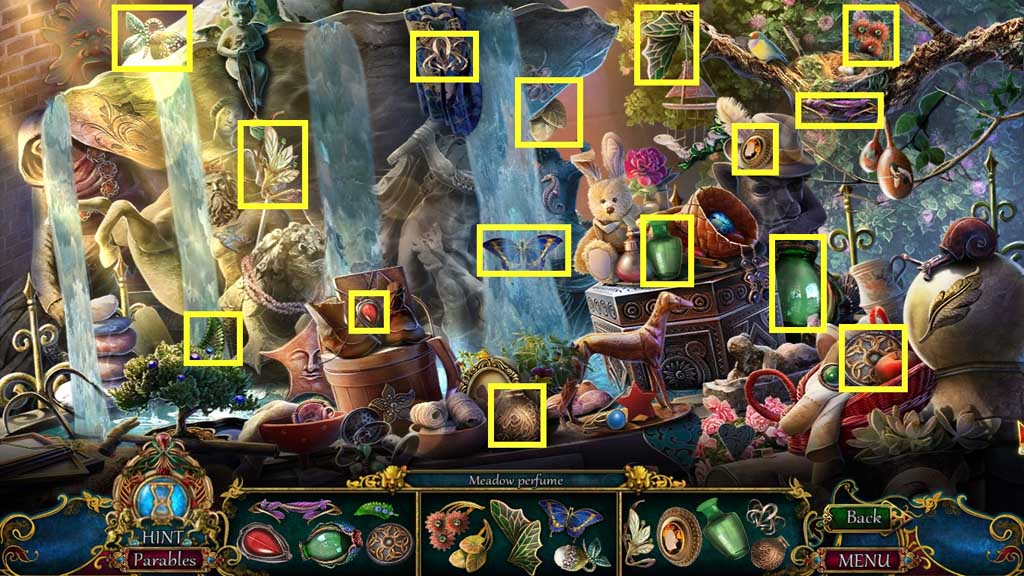
- Find the items.
- Collect the meadow perfume.
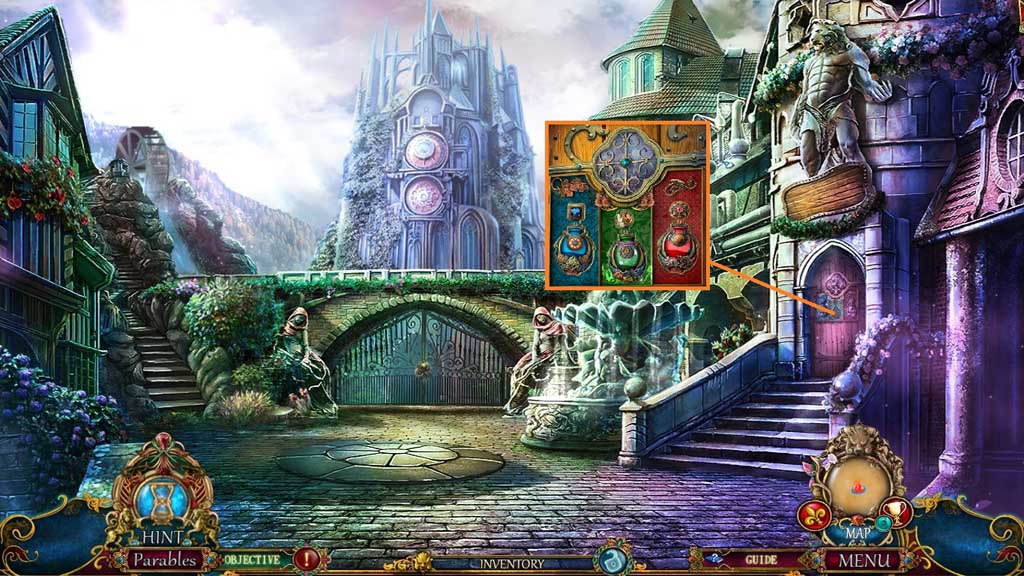
- Insert the ocean, meadow and orchid perfumes.
- Move into the Perfume Shop.
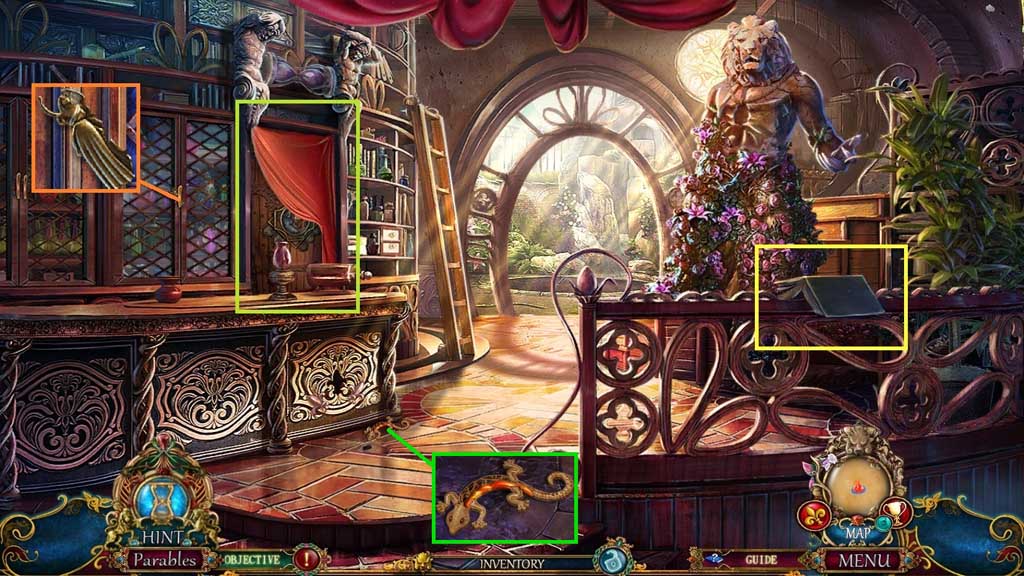
- Collect the golden goddess and the jeweled gecko.
- Click the curtain.
- Examine the book.
- Move ahead once.
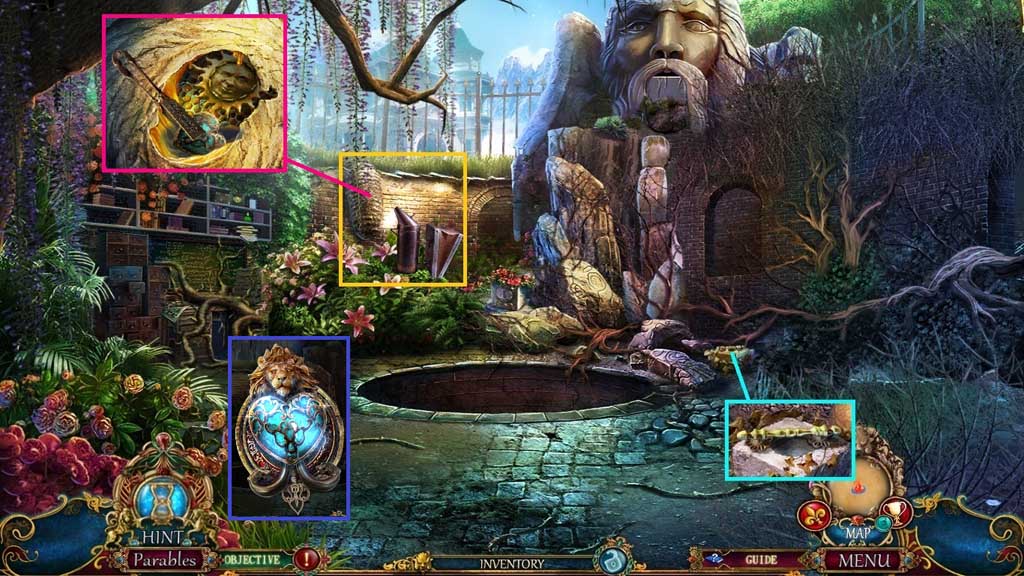
- Collect the brass handle.
- Select the smoker to use on the hive.
- Select the tongs to collect the gem heart and the golden sun.
- Insert the gem heart into the broken pendant.
- Move down once.
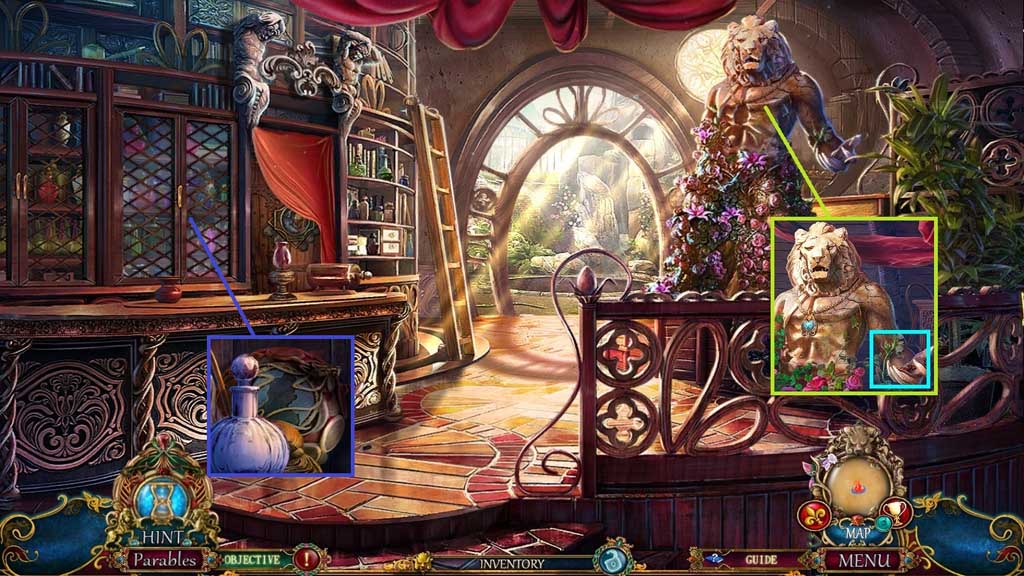
- Insert the lion heart pendant; collect the clock hand.
- Attach the brass handle; collect the floral orb.
- Move down once.
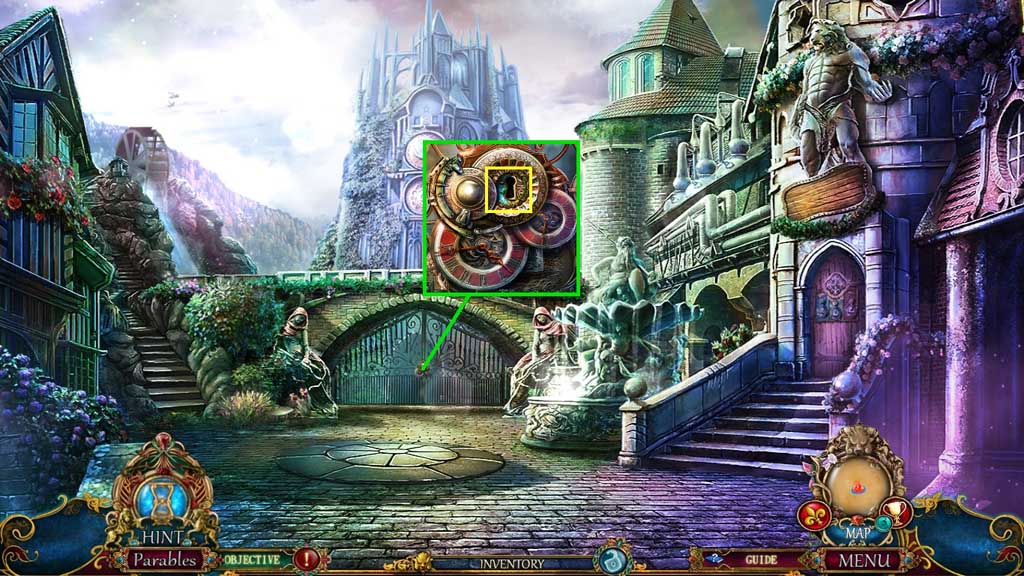
- Attach the clock hand.
- Collect the crescent moon.
- Move into the Perfume Shop.
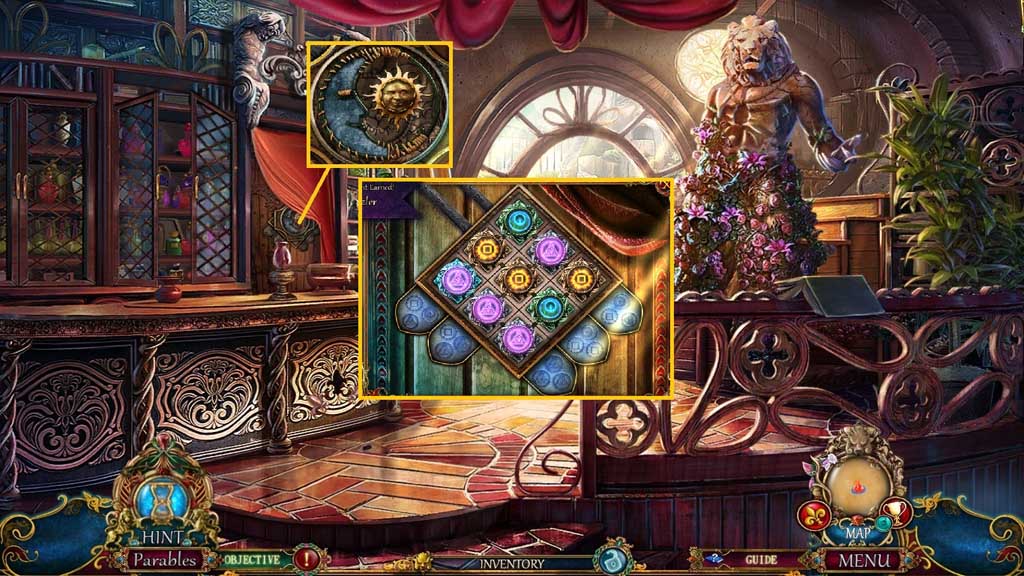
- Insert the golden sun and the crescent moon to trigger a mini game.
- Solve the game by arranging the rows and columns correctly as shown.
- Move into the Perfume Lab.
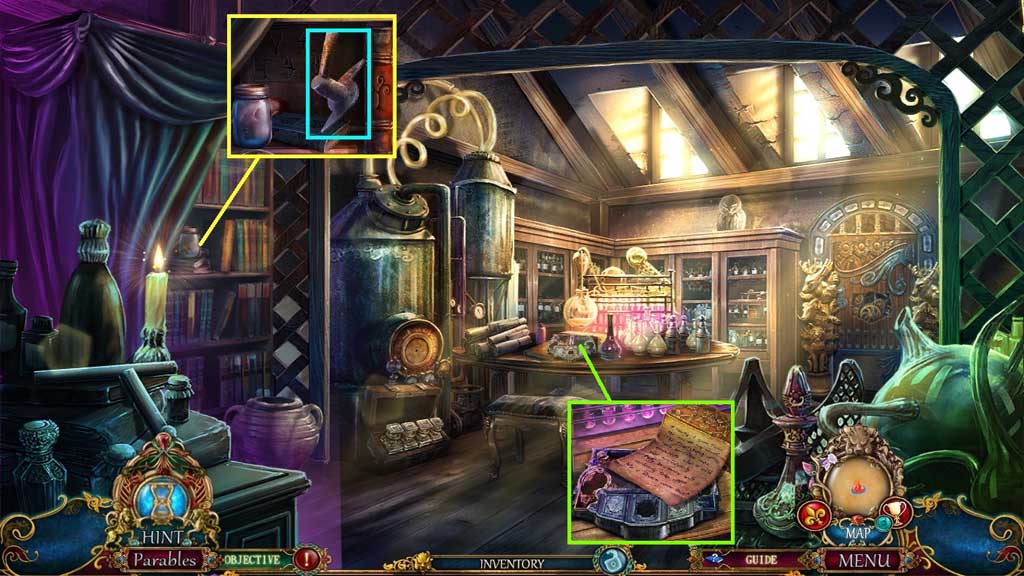
- Click the curtain.
- Click the jar aside; collect the small lever.
- Read the note and collect the mechanical board.
- Move down once into the Perfume Shop.
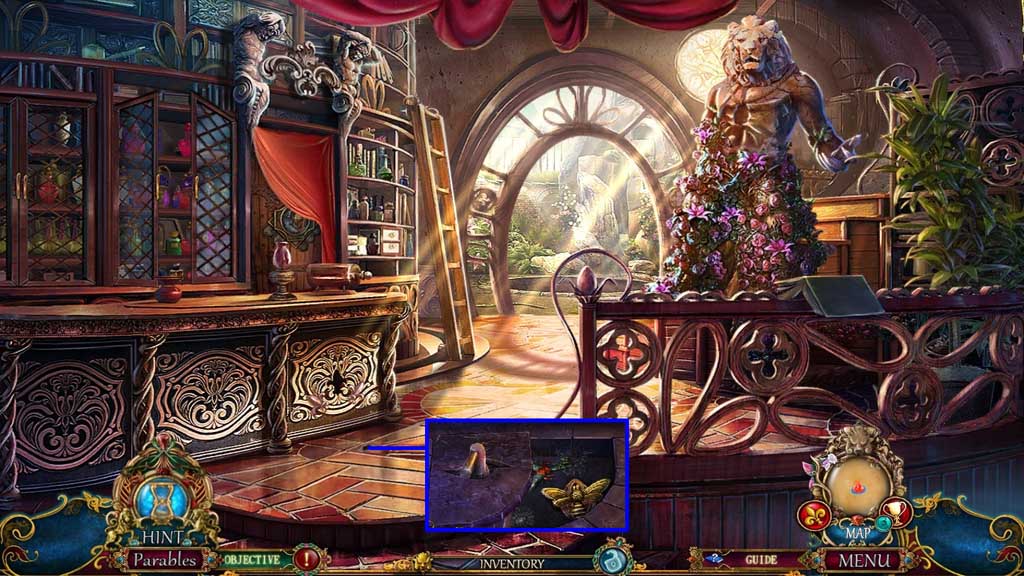
- Insert and click the small lever.
- Collect the golden bee and the fly key.
- Move to Main Street.
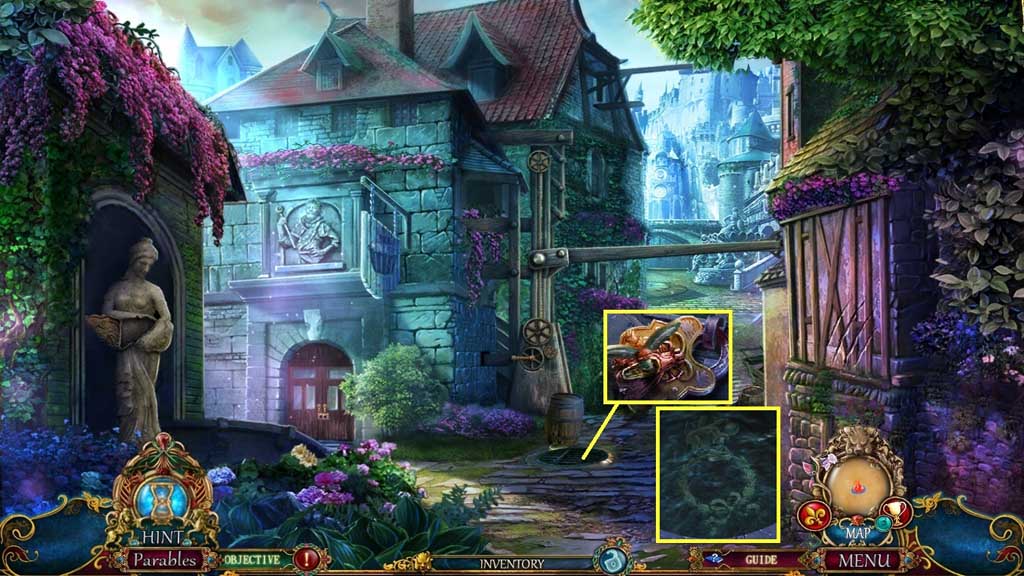
- Insert and click the fly key.
- Collect the bear fragment and the golden wreath.
- Move to the Bakery.
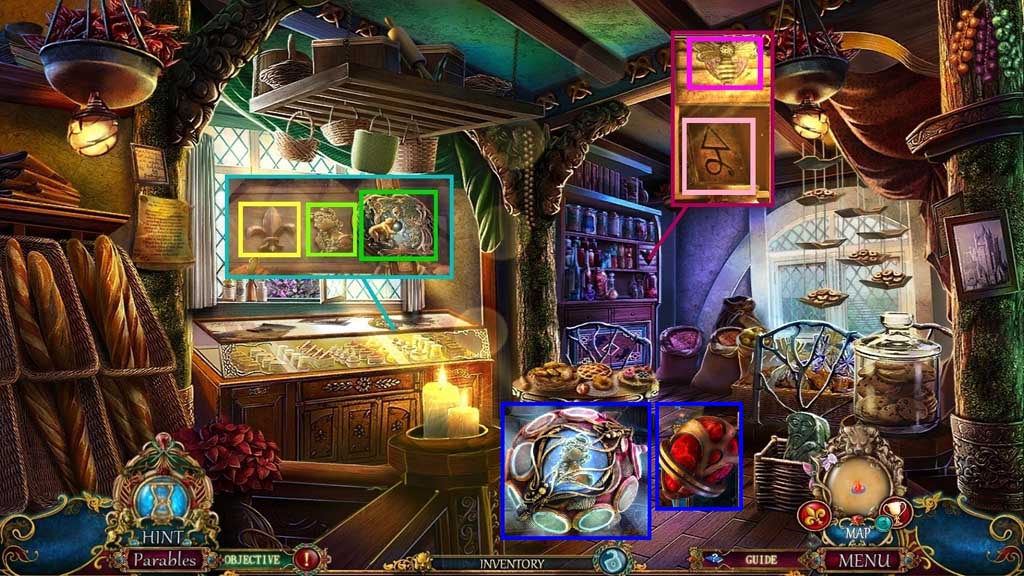
- Insert the bear fragment; collect the fleur-de-lis and the brass portrait.
- Insert the golden bee; collect the distilling book.
- Place the brass portrait onto the floral orb; collect the growth crystal.
- Move to the Perfume Shop.
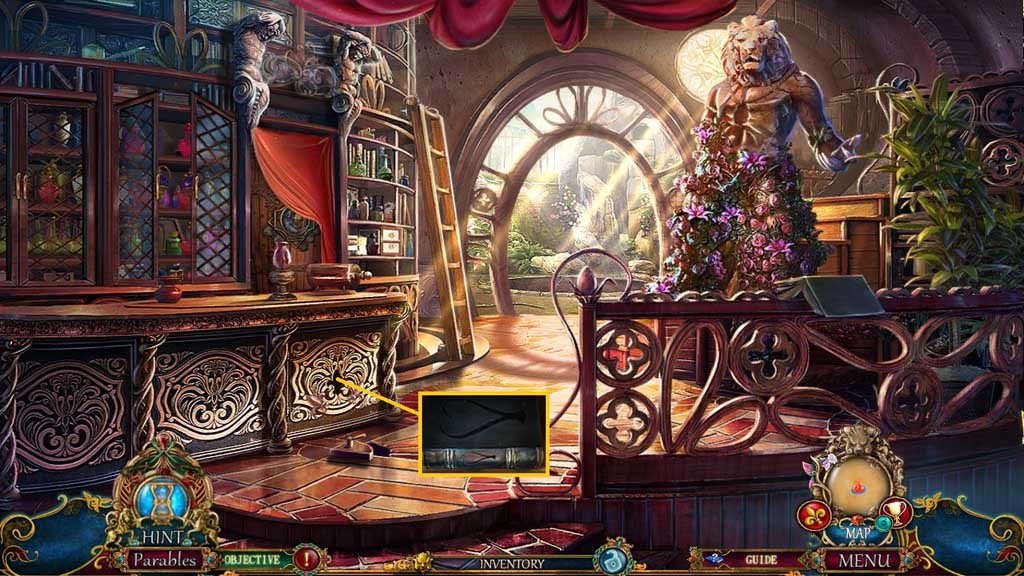
- Insert the fleur-de-lis; collect the chemistry book.
- Move into the Perfume Lab.
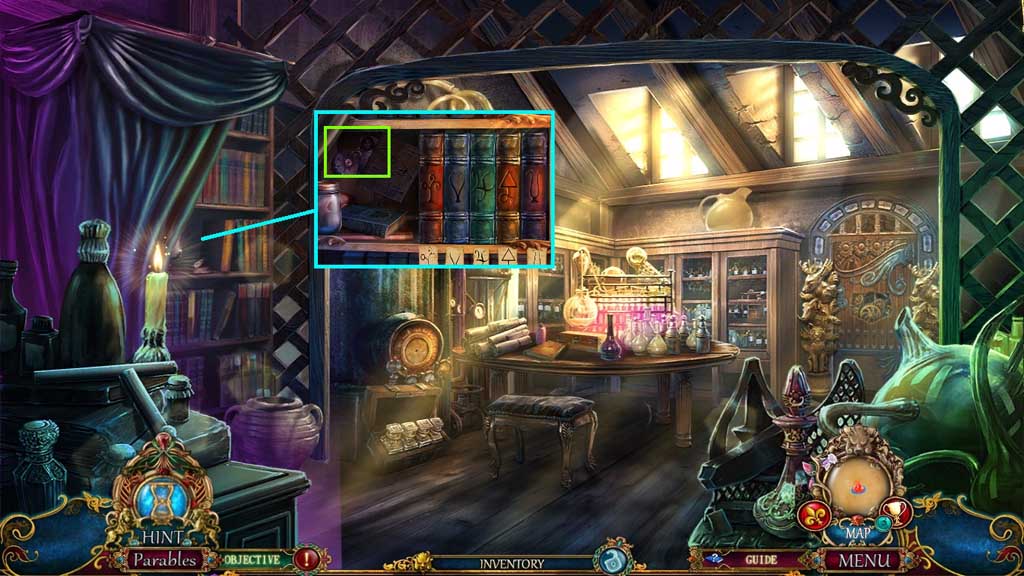
- Insert the distilling and the chemistry books.
- Collect the jeweled flower and the man fragment.
- Move to the Backyard Garden.
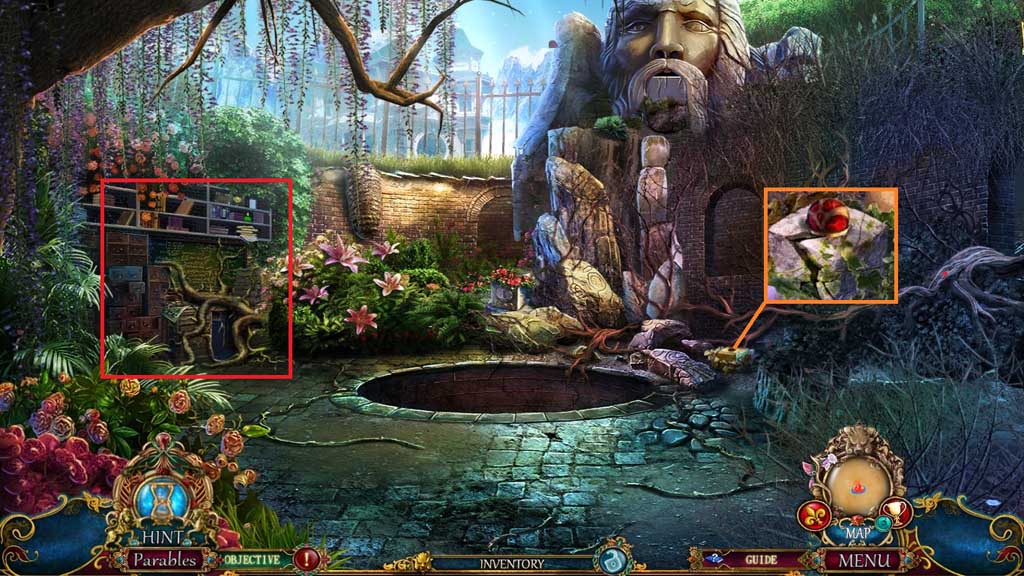
- Place the growth crystal to trigger a hidden objects area.
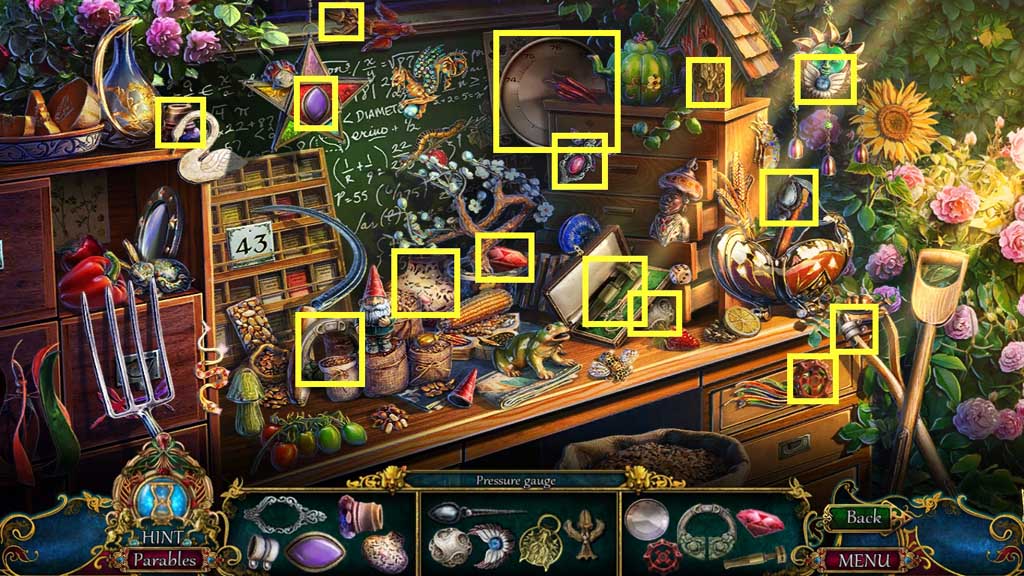
- Find the items.
- Collect the pressure gauge.
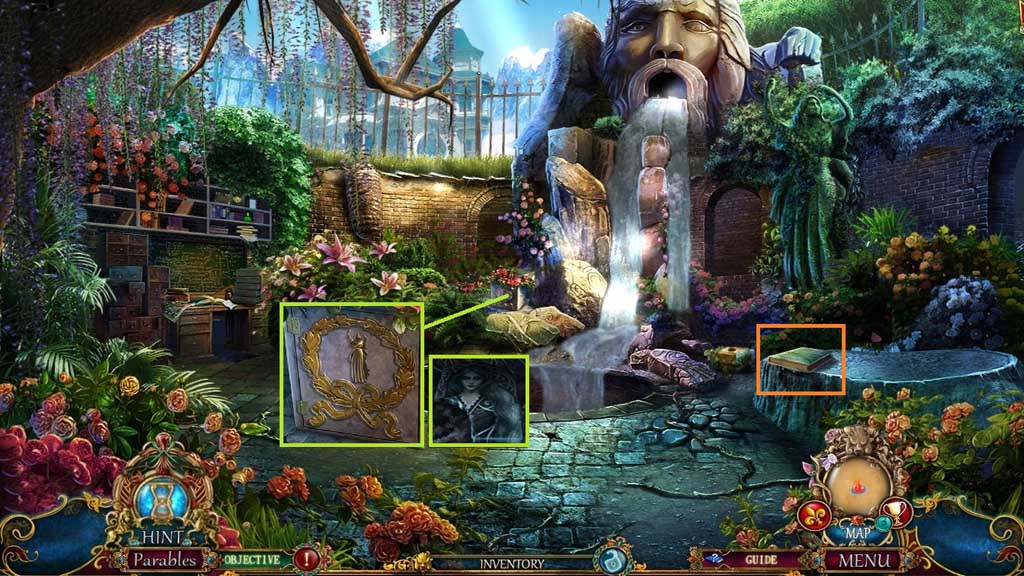
- Examine the book.
- Insert the golden goddess and the golden wreath.
- Collect the woman fragment.
- Move to the Perfume Lab.
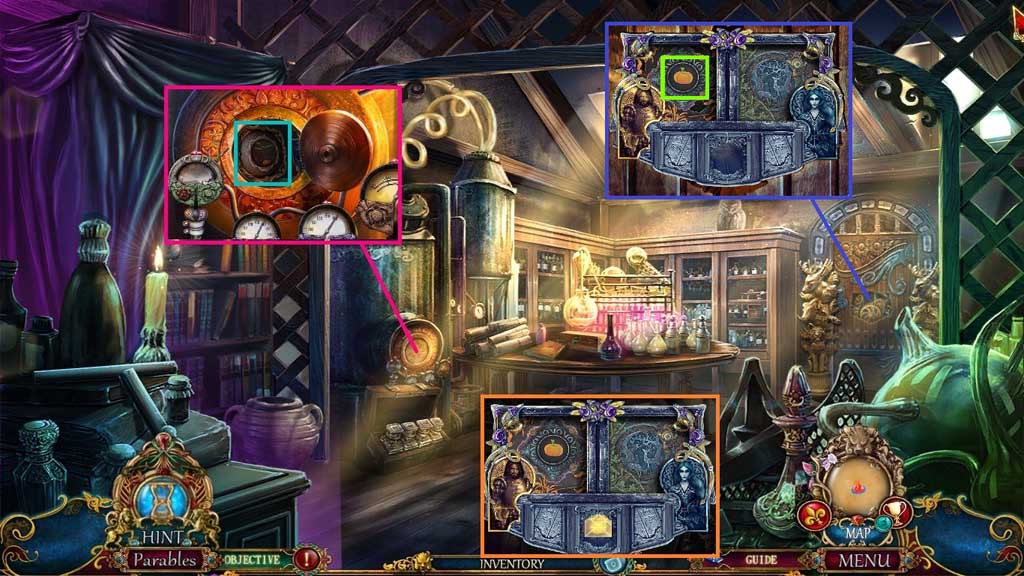
- Attach and click the pressure gauge; collect the pumpkin token.
- Insert the deer and pumpkin tokens and the man and woman fragments into the mechanical board.
- Insert the mechanical board into the door and click the pumpkin token to trigger a mini game.
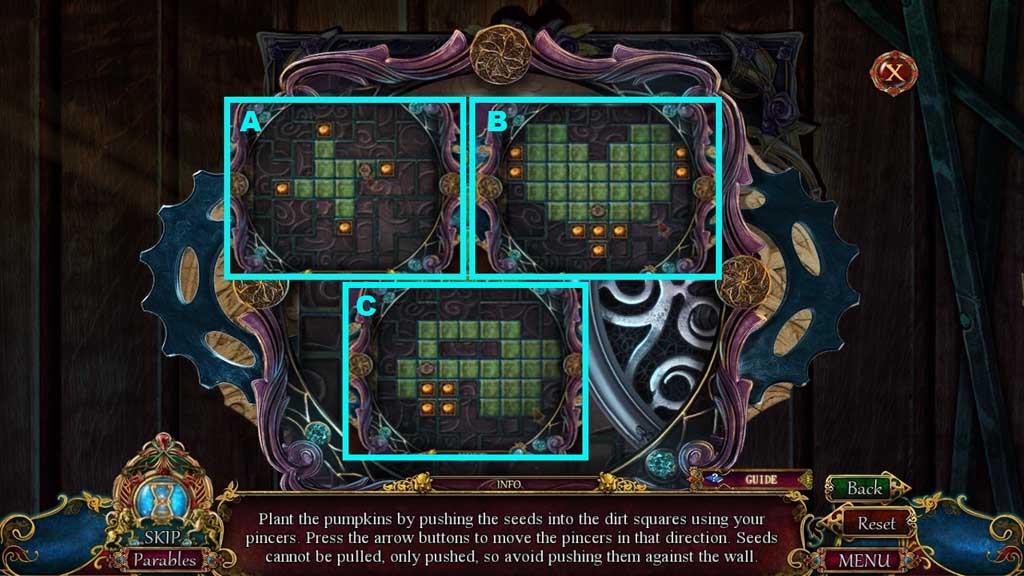
- Solve the game by using the arrows to guide the seeds correctly.
- Solution A: D x 2 – U – L x 2 - R – U x 2 – D – R x 2
- Solution B: D x 2 – U x 2 – L x 2 – D – R – U – R – D – R – U – R – U x 2 – L x 2 – D – R x 2 – L - D x 2 – L x 2 – U x 2 – L x 2 – D – R x 2 – L – D x 2 – L x 2 – U – R – D – R – U x 2 – L – U – R x 2 – L – D x 3 – L x 4 – U – L - U x 2 – R x 2 – D – L x 2 – R x 3 – D – R x 2 – U x 2 – L – D x 2 – R – D – L – U – L - D – L – U – R – U – L x 2 – D – L – U – R – U – L
- Solution C: R x 2 – D x 2 – R x 2 – U x 2 – L x 3 – R x 2 – U x 2 – L x 4 – D x 3 – U x 3 – R x 4 – D x 2 – L x 3 – R x 2 – D x 2 – R – U – R – L x 2 – R – U x 2 – L x 4 – D x 2 – L – D – R – U – R – D – L – U x 3 – R x 4 – D x 2 – L x 3 – R x 3 – U x 2 – L x 4 – D x 2 – L – D – R – U – R x 6 – U – L – D – L x 5 – U x 2 – R x 4 – D – R – D – L x 4 – R x 3 – U x2 – L x 4 – D x2
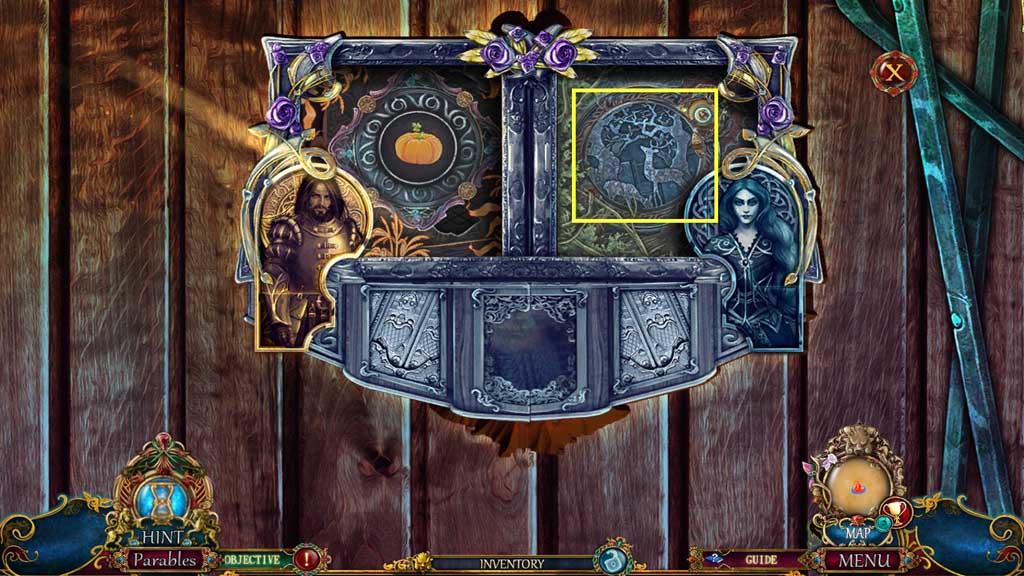
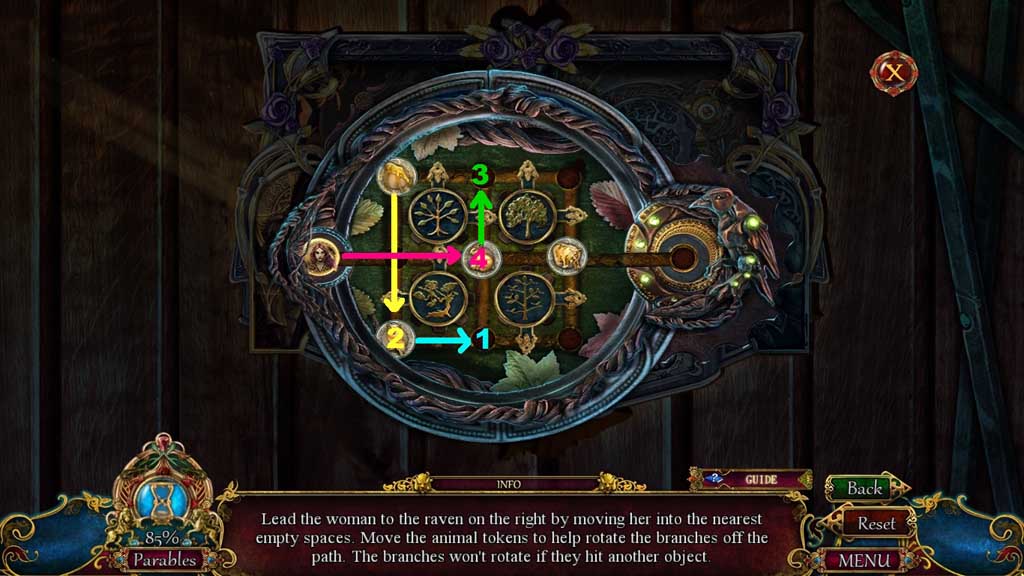
- Click the deer token to trigger another mini game.
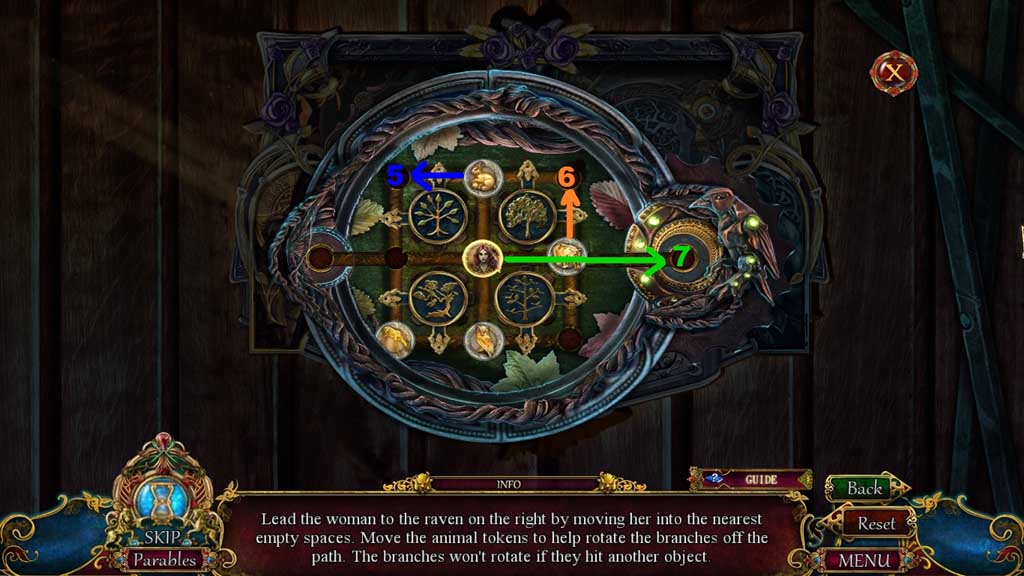
- Solve the game by guiding the woman to the correct spot.
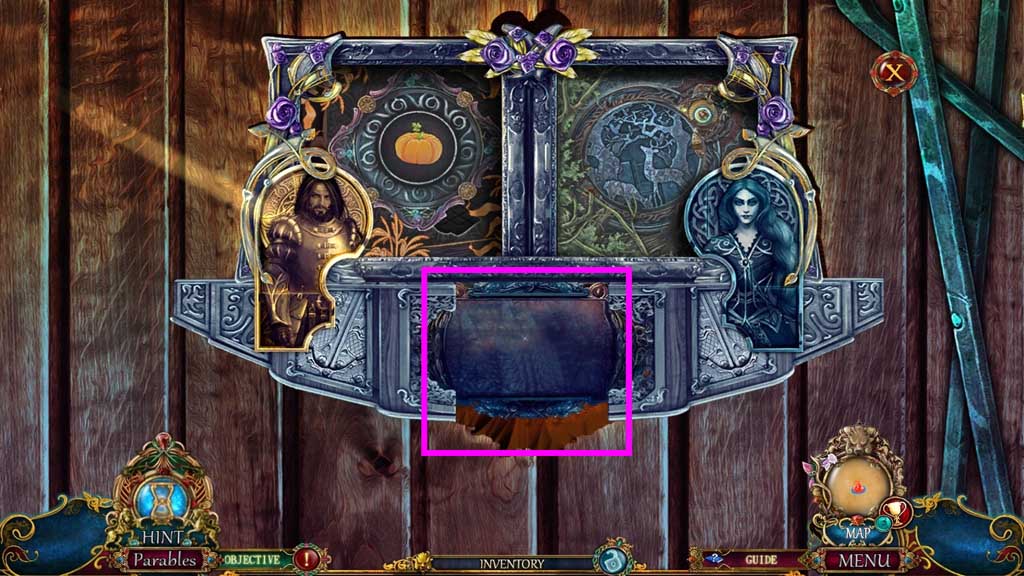
- Click the blank space to trigger a mini game.
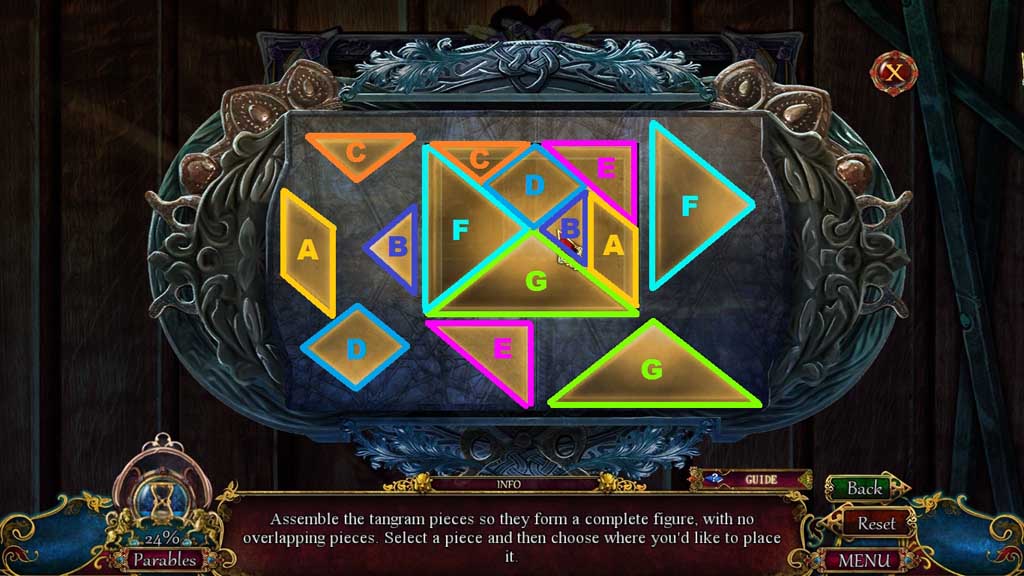
- Solve the game by assembling the pieces correctly to complete the shape.
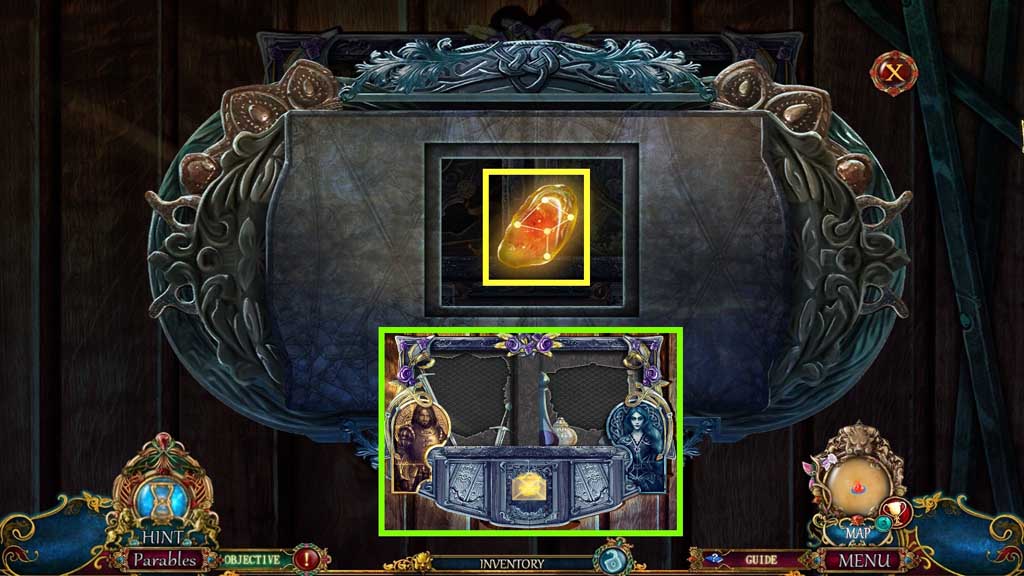
- Click the engraved tablet; collect the Orion stone and the mechanical board.
- Speak to Eric.
- Enter the Wine Cellar.
Comments will load when you reach this part of the walkthrough.