

Chapter Five: Water World
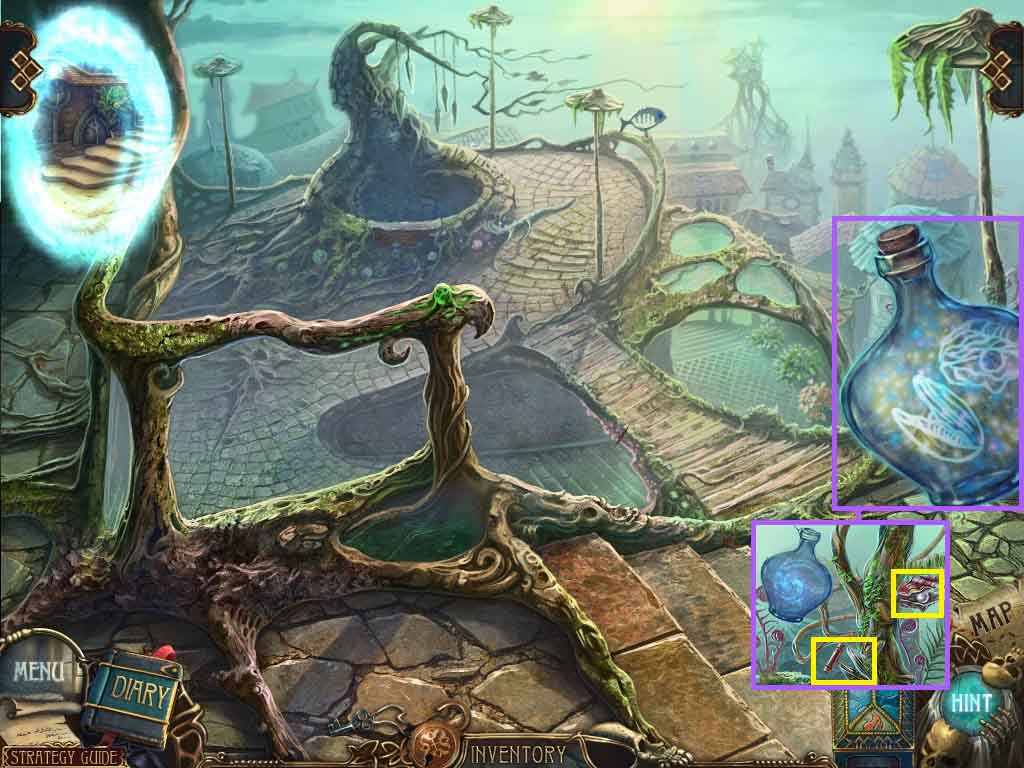
- Place the magic bottle onto the tree and once again on the close-up.
- Collect the pearl and the corkscrew.
- Move ahead.
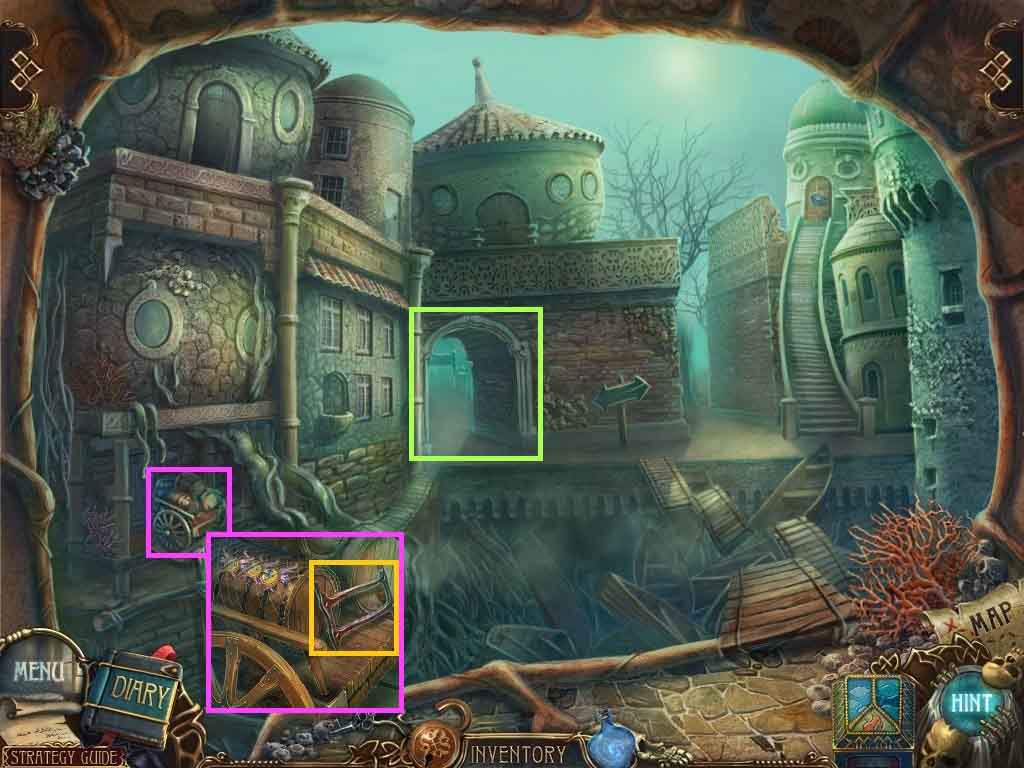
- Examine the cart; collect the ladder part.
- Enter the archway.
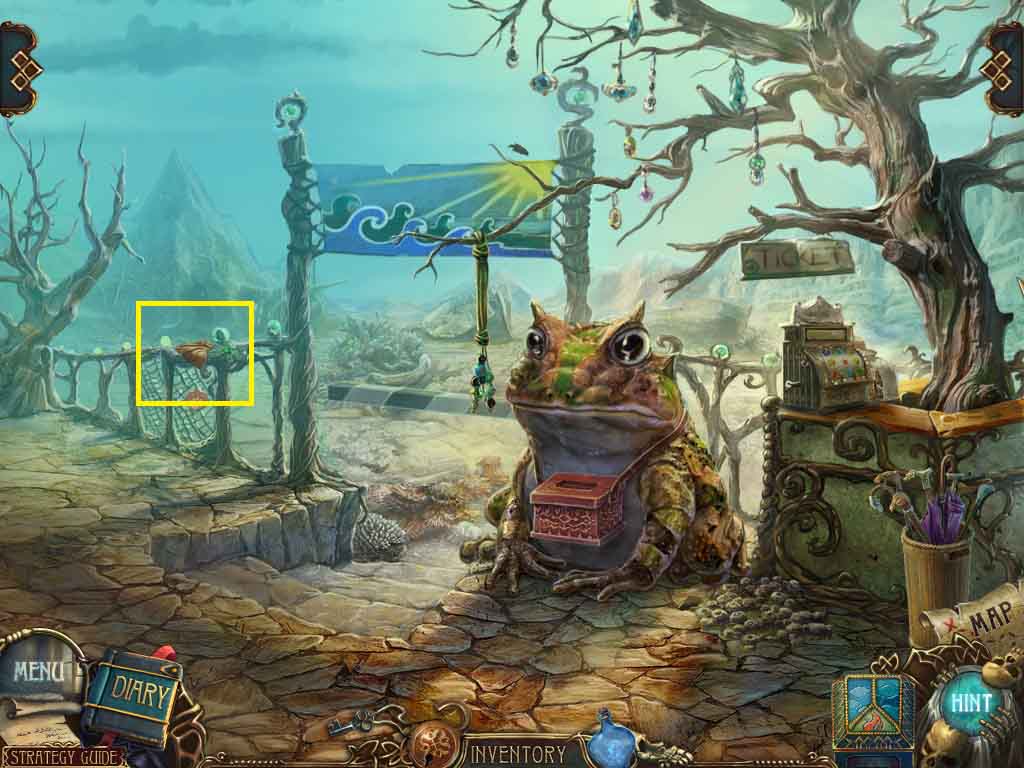
- Examine the railing.
- Collect the rag.
- Move down one time.
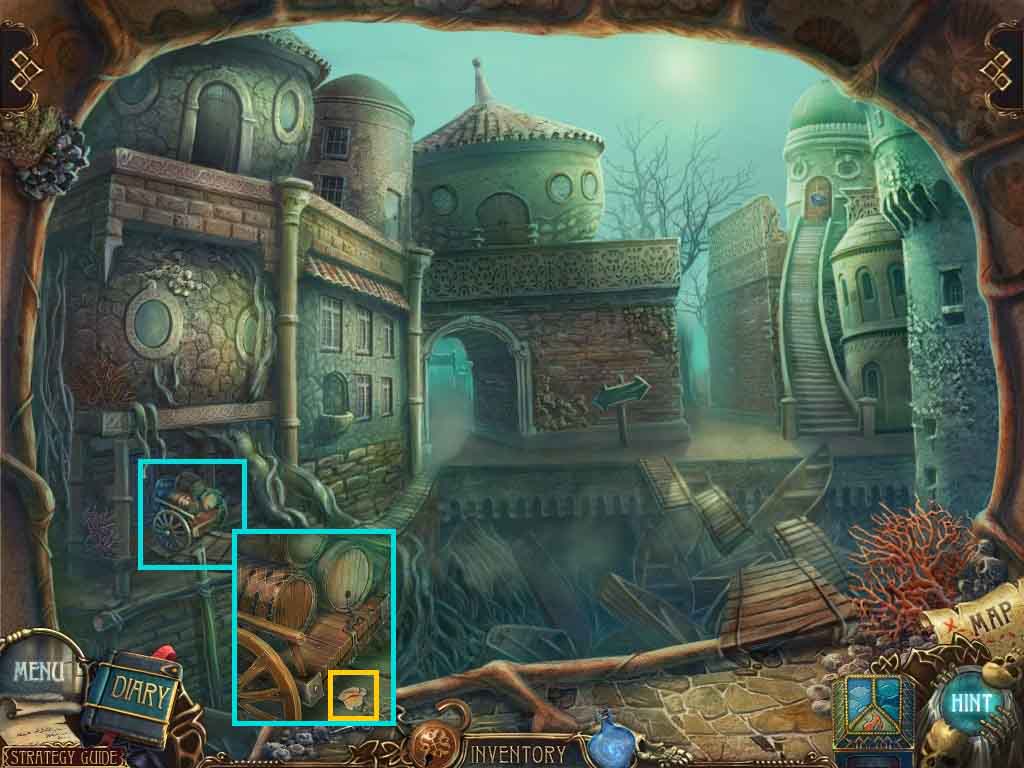
- Examine the cart.
- Uncork the cork using the corkscrew.
- Place the rag onto the water to collect the wet rag.
- Move to the right.
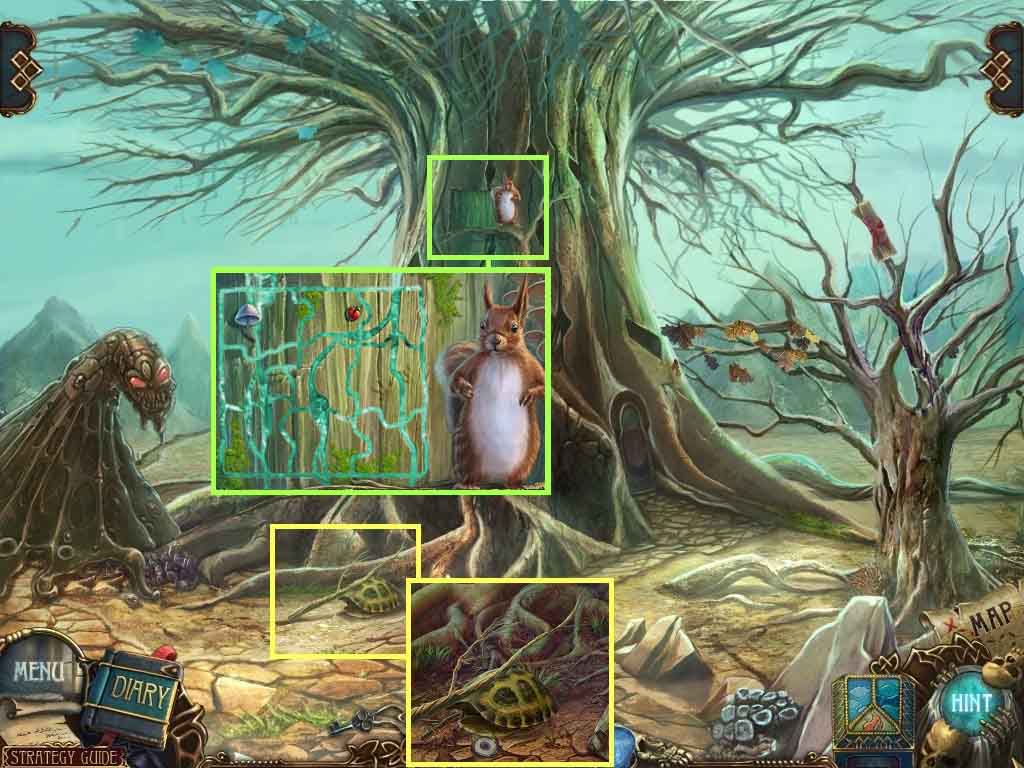
- Examine the roots; collect the branch.
- Click the shell; collect the eye.
- Zoom into the tree and insert the picture part.
- A puzzle will trigger.
- Place the pieces in the correct spaces.
- Move into the tree house.
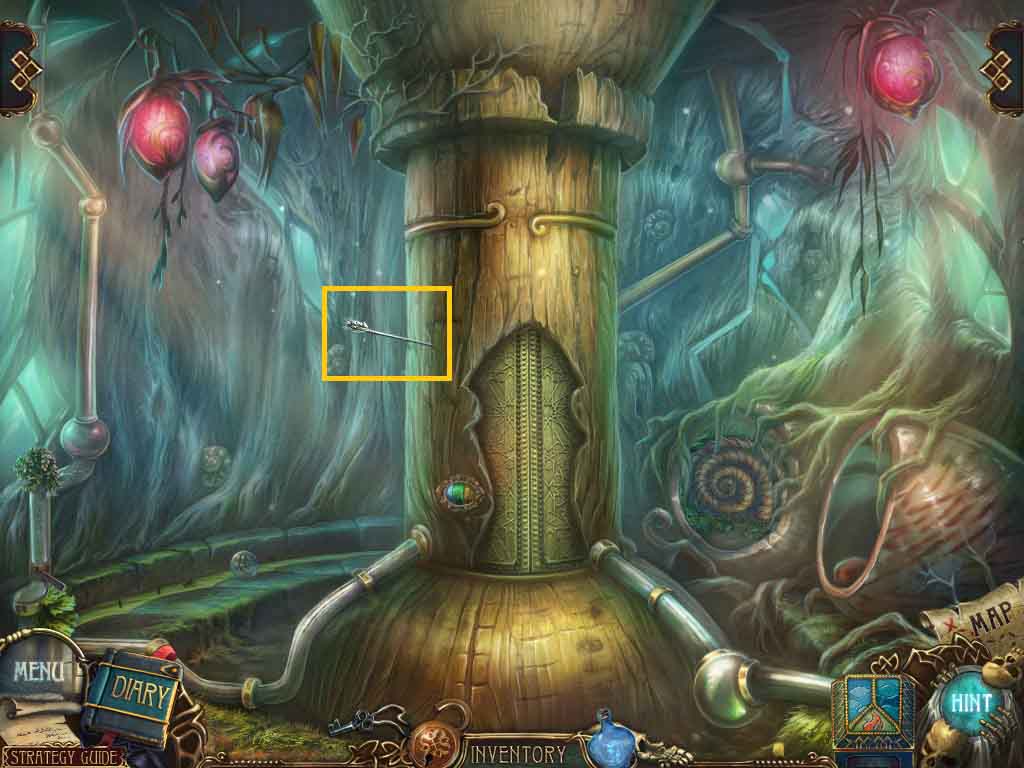
- Collect the arrow.
- Move down two times.
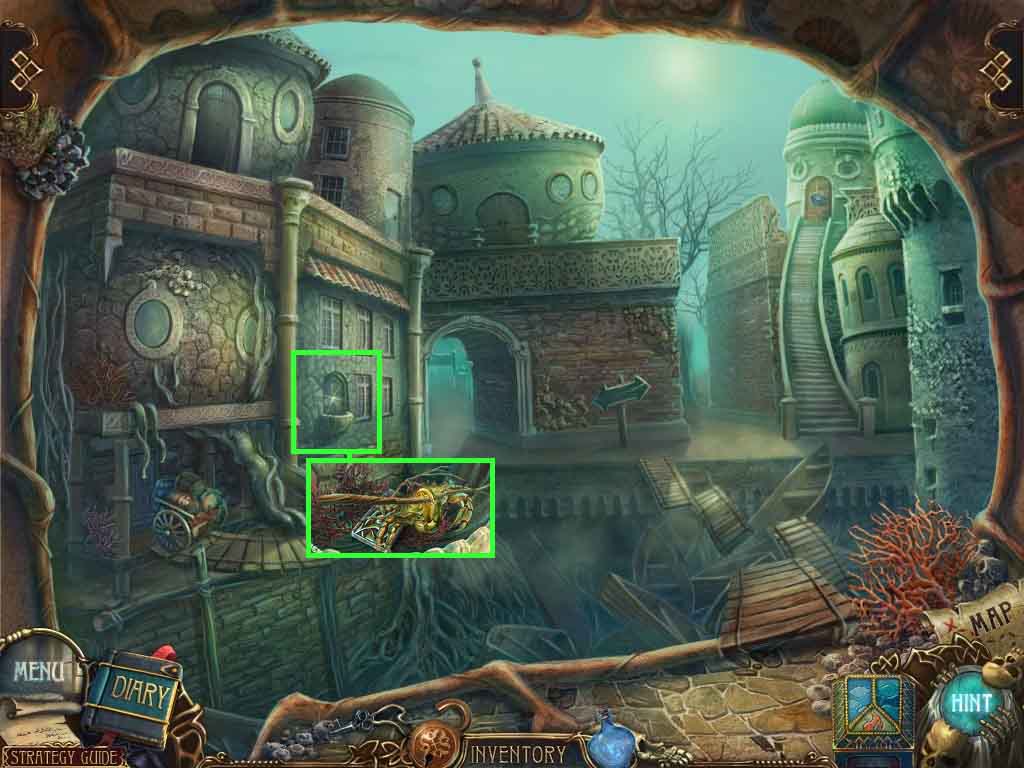
- Examine the fountain.
- Collect the crab using the branch.
- Collect the well part.
- Move down one time.
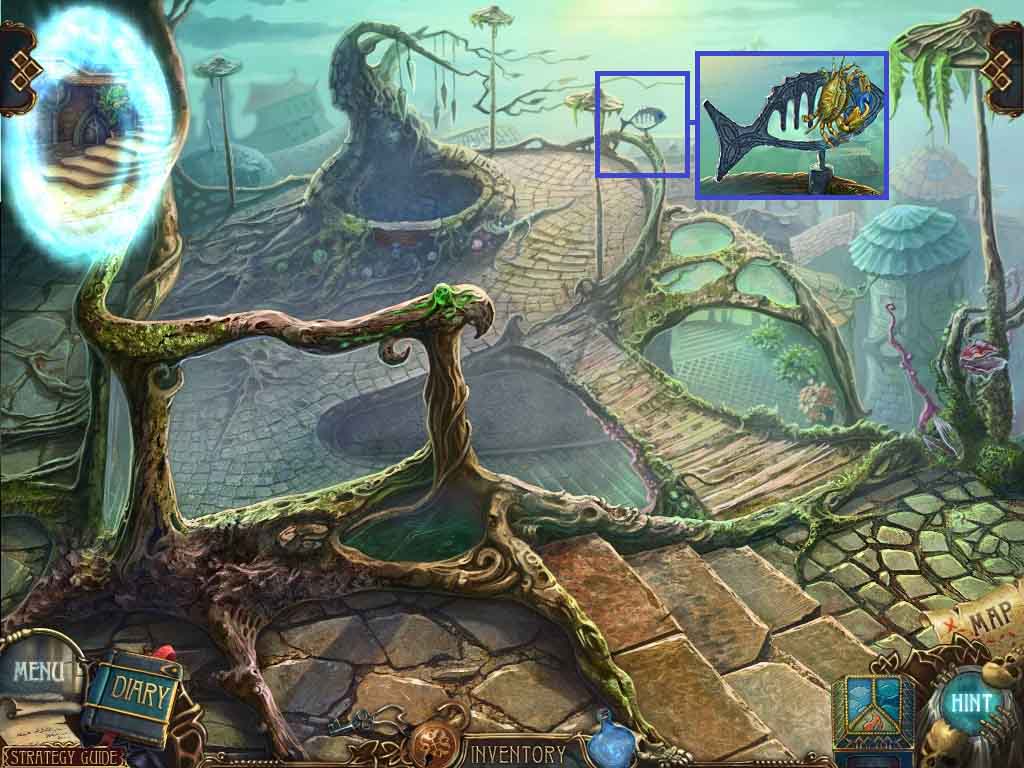
- Examine the fish.
- Select the crab to use on the fish; collect the eye.
- Move ahead.
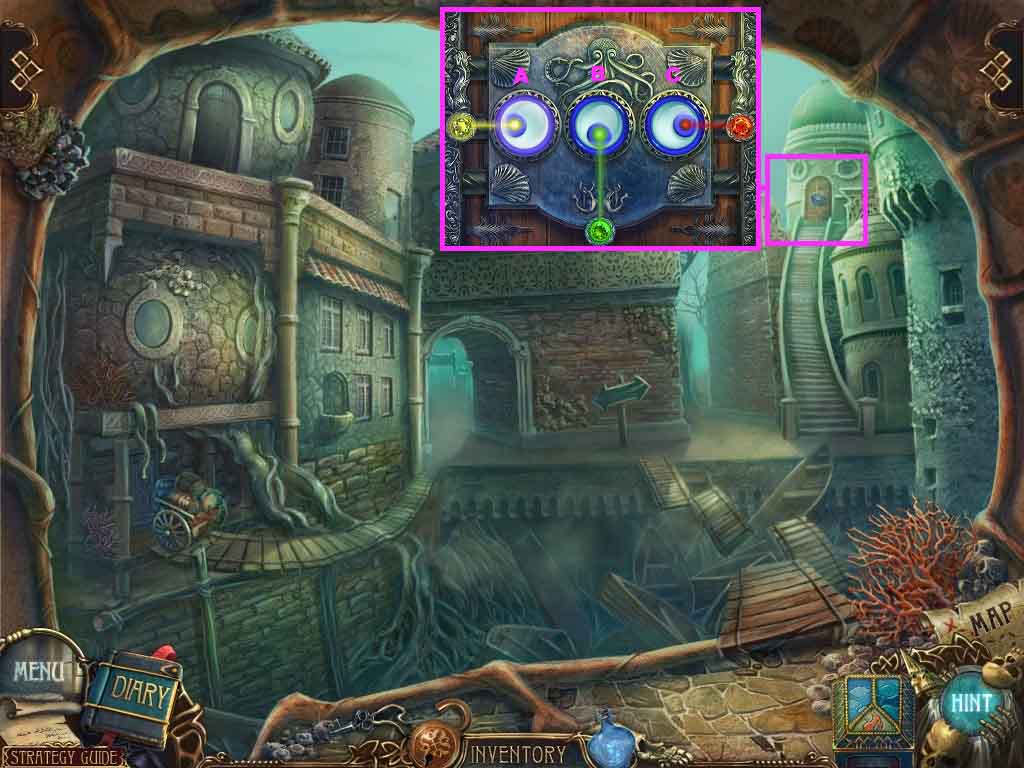
- Examine the top door.
- Insert the 2 eyes to trigger a puzzle.
- Click the eyes to point toward the correct stones.
- Click as follows to solve:
- B – C – C – C – C
- Enter the doorway.
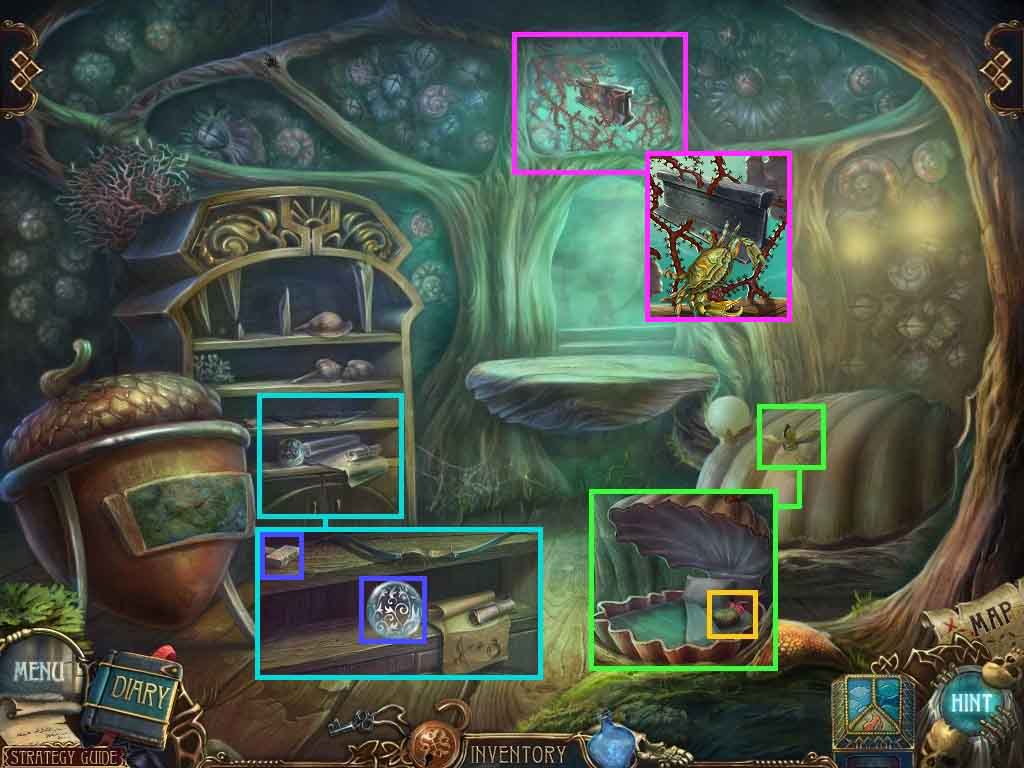
- Zoom into the shell and place the pearl onto the stand.
- Click the sheet; collect the patterned stone.
- Click the pillow; collect the ribbon.
- Zoom into the shelf.
- Click the sphere, click the letter and collect it.
- Collect the tap knob.
- Zoom into the coral.
- Lay the crab onto the coral; collect the beam.
- Go to the inside of the tree house.
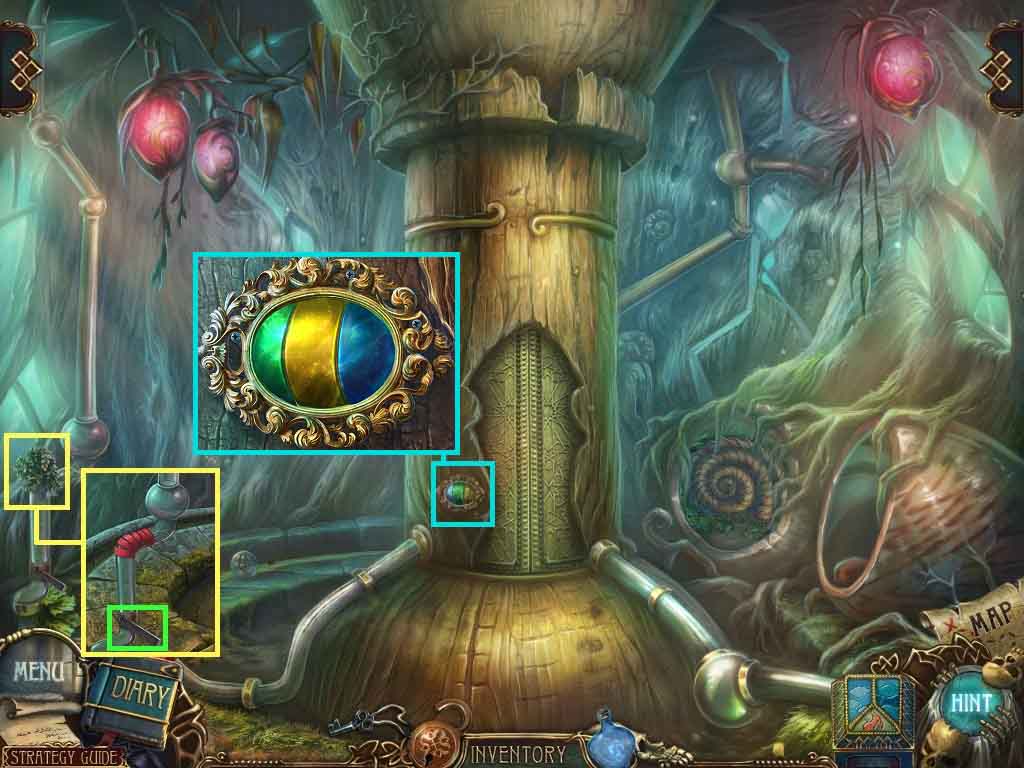
- Zoom into the pipe; remove the flowers.
- Lay the ribbon onto the crack; click the handle.
- Examine the panel; click the colors to green – yellow – blue.
- Move into the elevator.
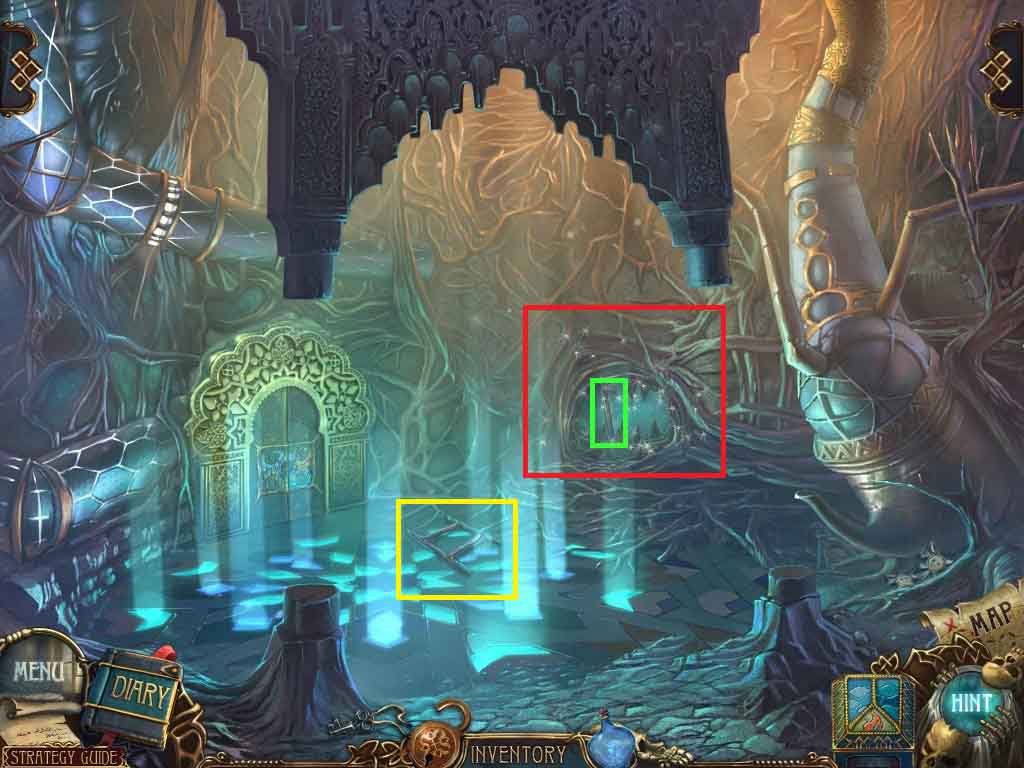
- Collect the ladder part.
- Zoom into the jaws and place the beam onto it.
- Click the hidden objects area.
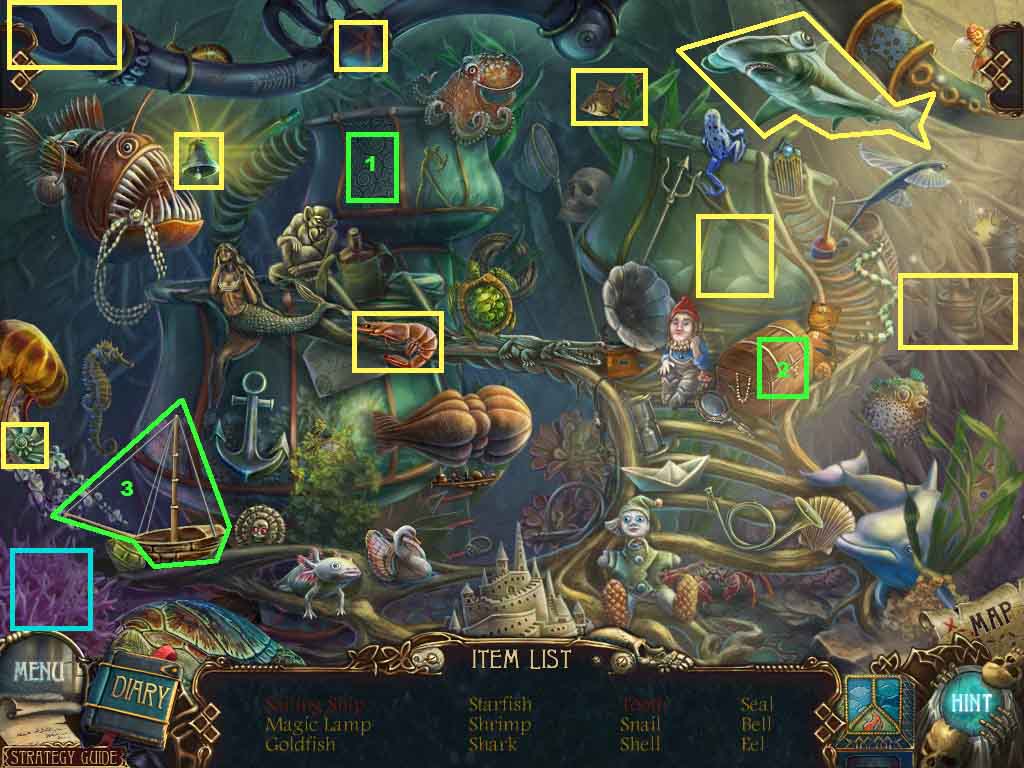
- Find the listed items.
- Click the panel to uncover the key.
- Insert the key into lock.
- Collect the sail and attach it to the ship; collect the sailing ship.
- Click the coral; collect the tooth.
- Collect the shell.
- Move down one time.
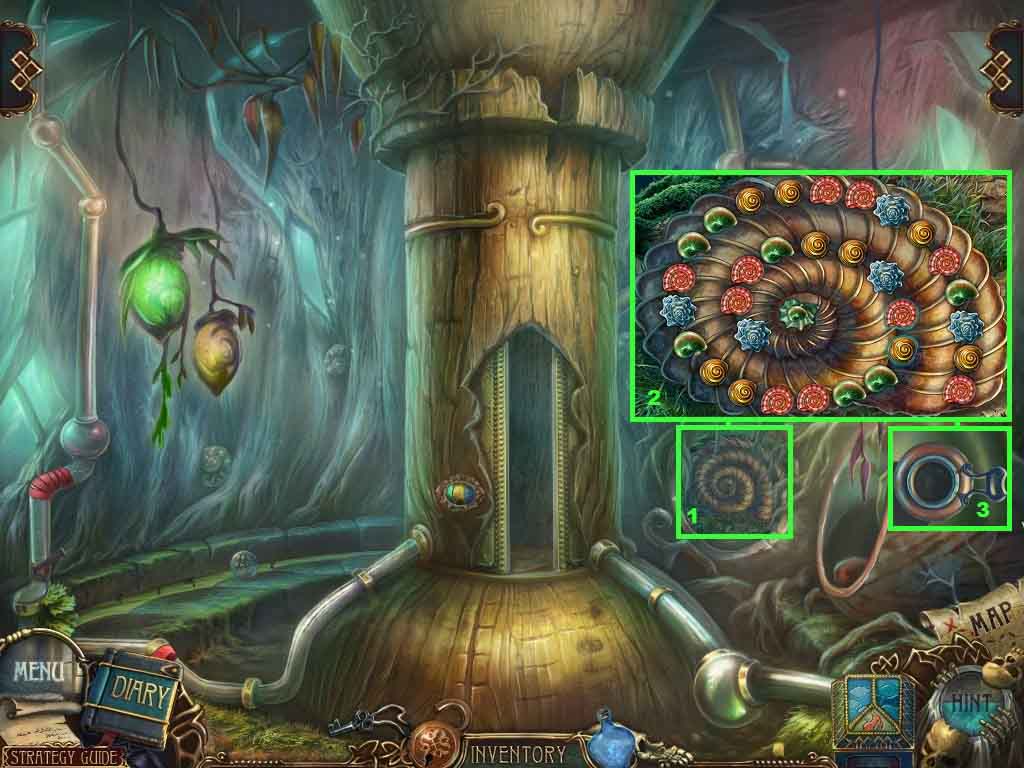
- Examine the shell; insert the shell to trigger the puzzle.
- Aim the shells towards the shells of the same color to remove them from the board.
- The solution is random.
- Collect the empty lantern.
- Move into the elevator.
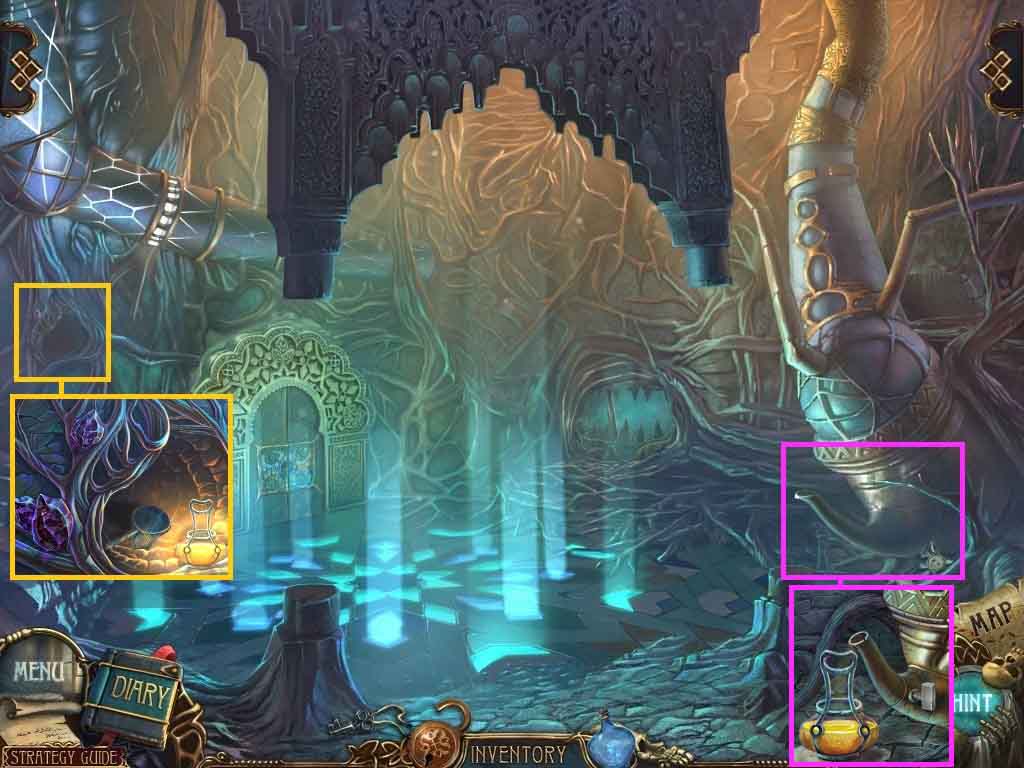
- Examine the teapot.
- Attach the tap knob onto the spout.
- Lay the empty lantern onto the stump.
- Click the knob; collect the lighting lantern.
- Examine the wall; insert the lighting lantern onto the wall and collect the scoop net.
- Move down one time.
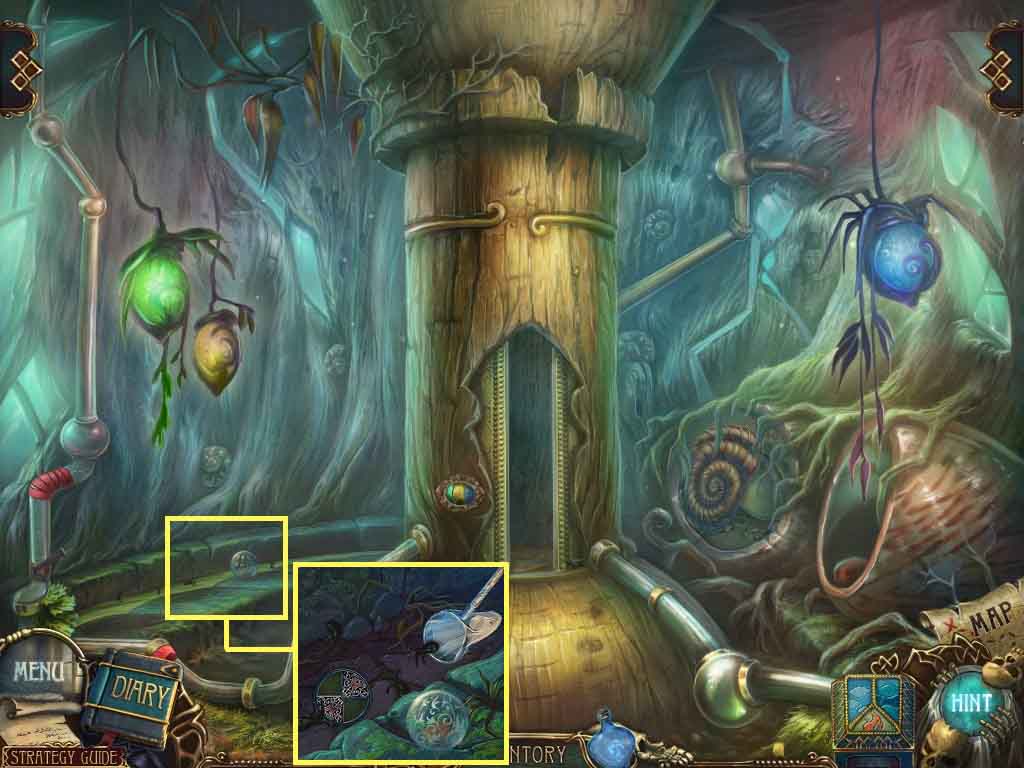
- Zoom into the crack.
- Click the sphere, click the note and collect it.
- Collect the tadpoles using the scoop net.
- Collect the magic disk.
- Move into the elevator.
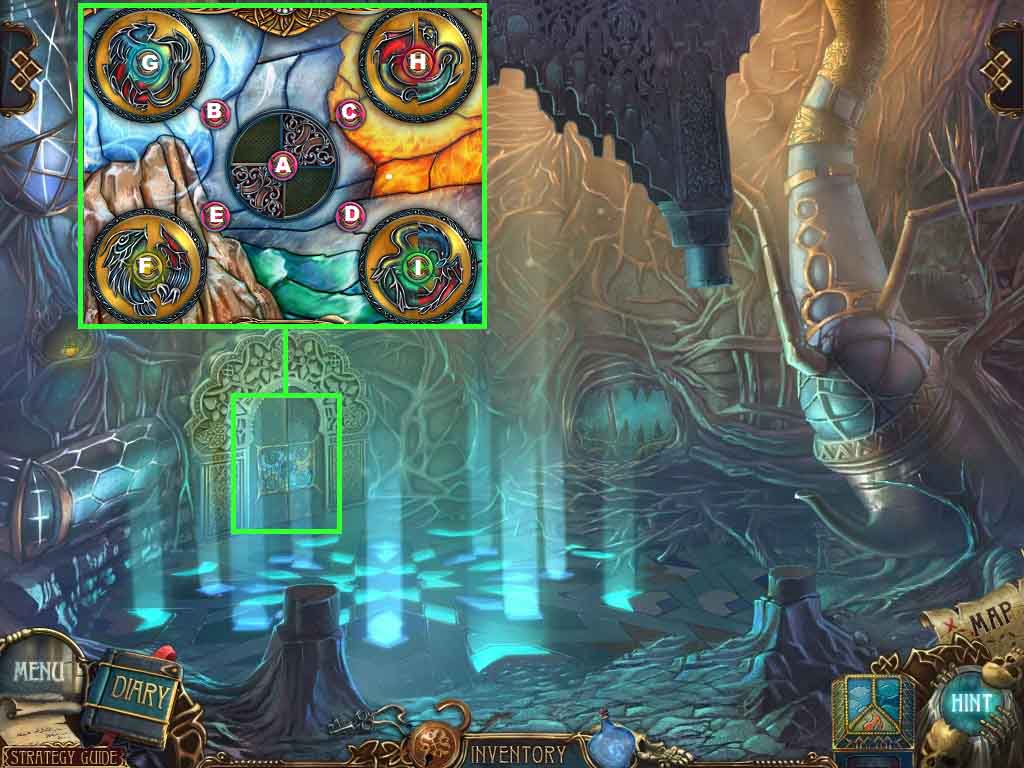
- Examine the door; insert the magic disk to trigger a puzzle.
- To solve the puzzle click the arrows as follows:
- D - A – F 3X’S – E – A – D – A- E – F 3X’S – E – C – A 2X’S – E – A – I 2X’S – D – A – C- H 3X’S – C – A 3X’S – D – A 2X’S – B – A – F 3X’S – E – A 2X’S – E – F 3X’S – A 2X’S – C – H 3X’S – C – A 2X’S – E – A 3X’S – G 3X’S –B – A 2X’S – B – A 2X’S – I 3X’S – D – A 2X’S – G 2X’S- B – A 2X’S – A 3X’S- H 3X’S – C – A 2X’S – C – A – B – A 2X’S- G – B – A 2X’S – B – G 3X’S – A 2X’S – B.
- Enter the doorway.
Comments will load when you reach this part of the walkthrough.