

Chapter Three: Fire World
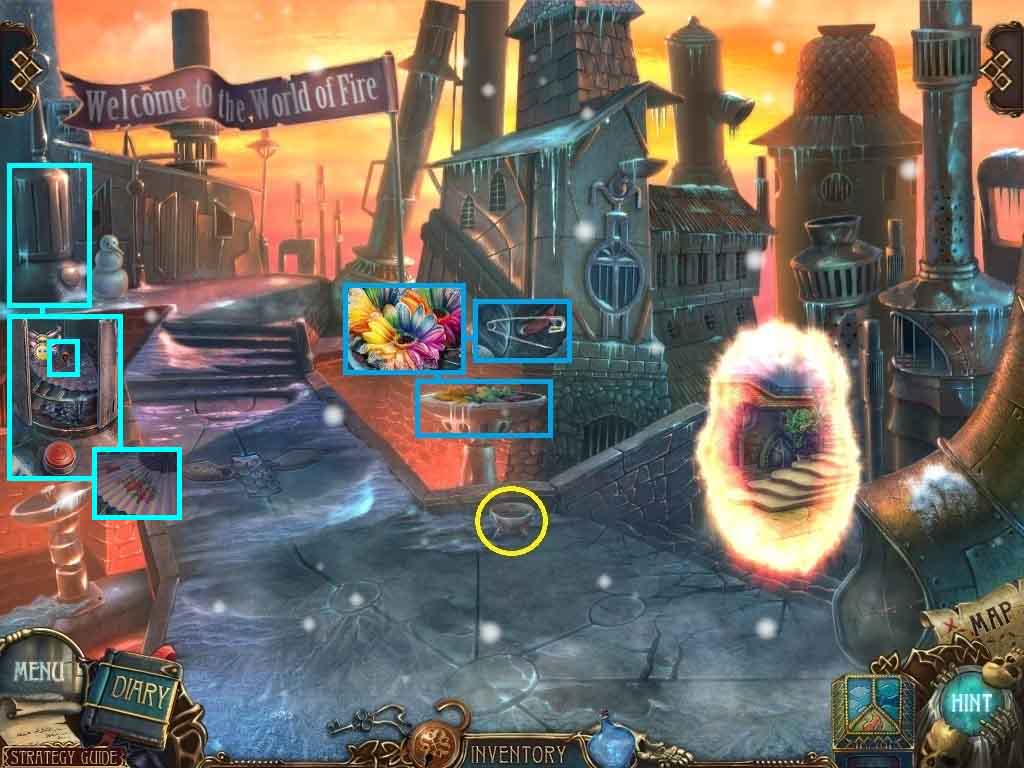
- Collect the bowl.
- Zoom into the flowers; select the spoon to remove them.
- Collect the pin.
- Zoom into the device.
- Click the button and then click the spider.
- Clear the dirt using the duster.
- Collect the fan.
- Move ahead.
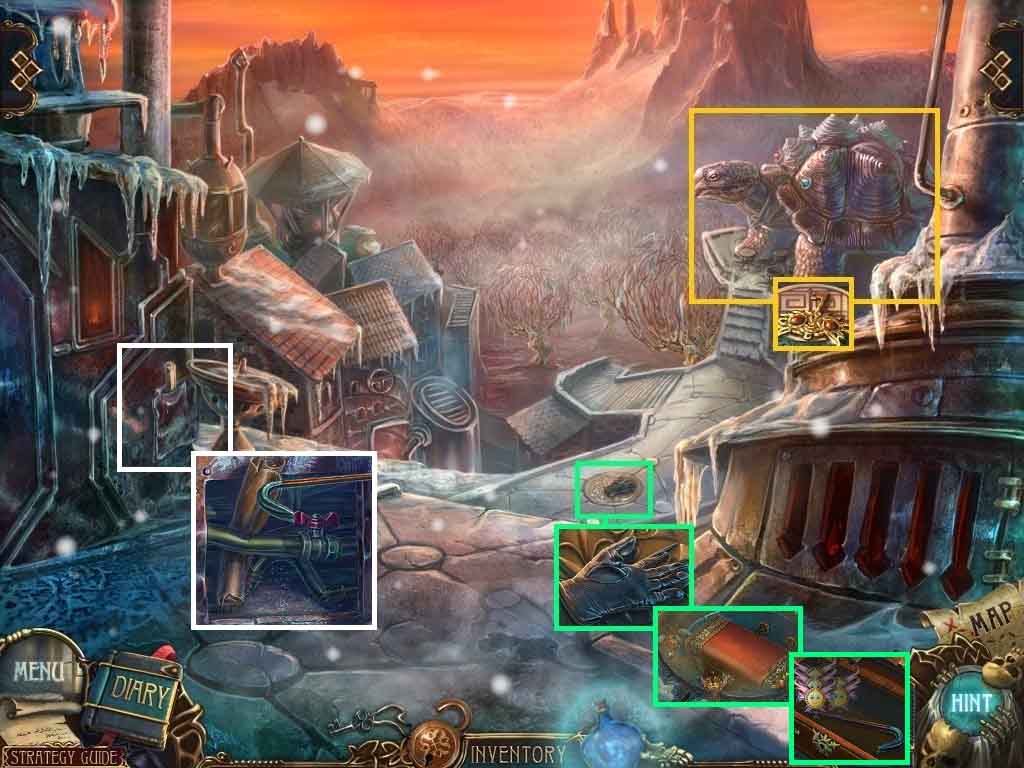
- Examine the turtle; collect the key.
- Zoom into the manhole cover; collect the glove.
- Place the metal eaters onto the manhole cover.
- Insert the pin into the lock; collect the crowbar.
- Examine the metal sheet and use the crowbar to tear it.
- Collect the drum skin.
- Move down one time.
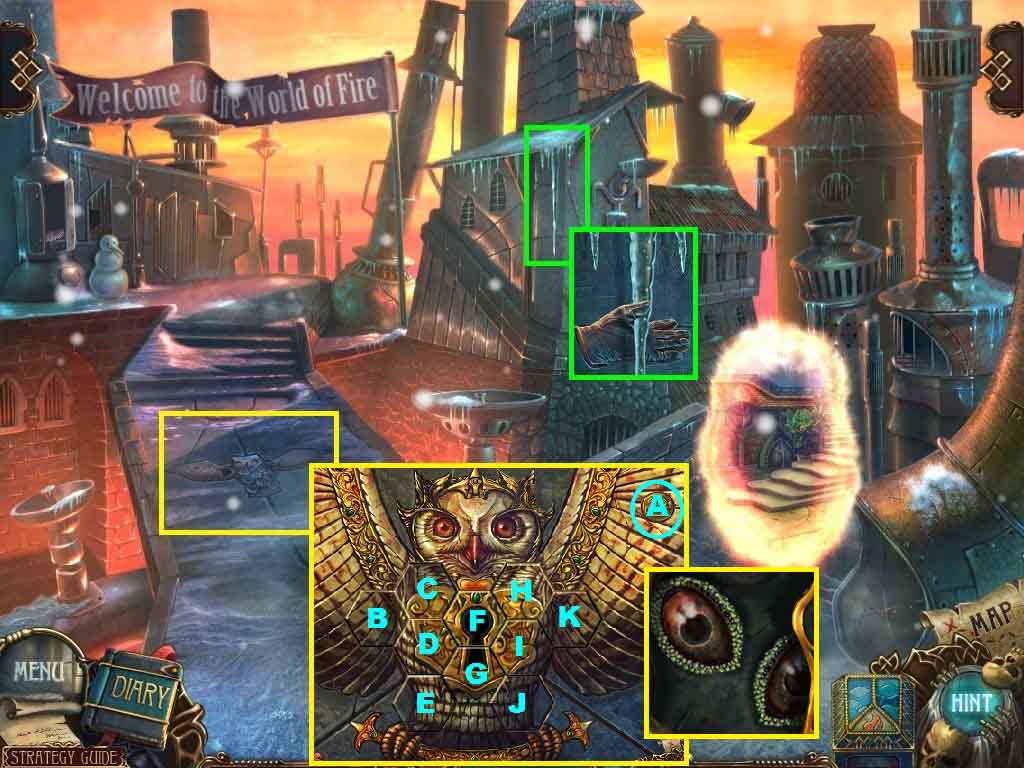
- Examine the icicle; collect the glove.
- Examine the owl; insert the puzzle part to activate a puzzle.
- Switch the puzzle tiles as follows: (F – B) (K – G) ( I – J ) ( D – B ) ( C - E ) ( I – K ) ( H – D )
-
Then turn the tiles by placing them onto the arrows as follows:
- C: 4x’s
- H: 5 x’s
- K: 4 x’s
- I: 5x’s
- J: 5 x’s
- G: 5x’s
- F: 4x’s
- D: 4x’s
- B: 5x’s
- E: 5x’s
- Insert the key into the keyhole and collect the turtle eyes.
- Move ahead.
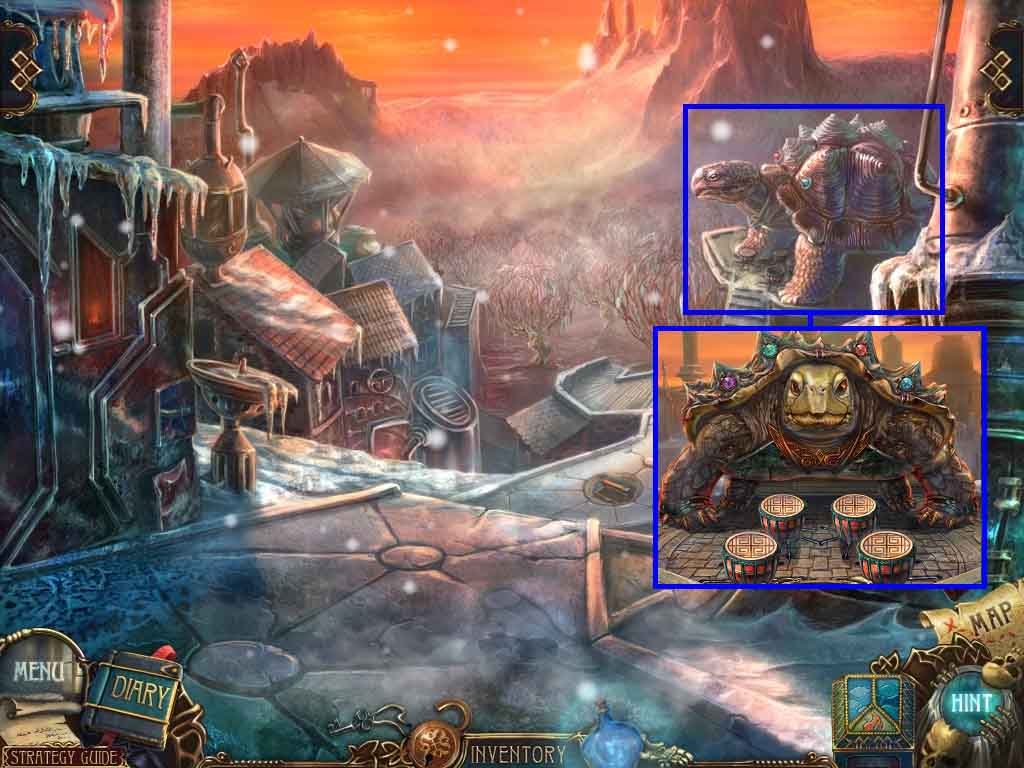
- Zoom into the turtle; insert the turtle eyes.
- Drape the drum skin onto the drum to trigger a puzzle.
- Click the drums in the correct sequence.
- The solution is random.
- Once the puzzle is completed, move ahead.
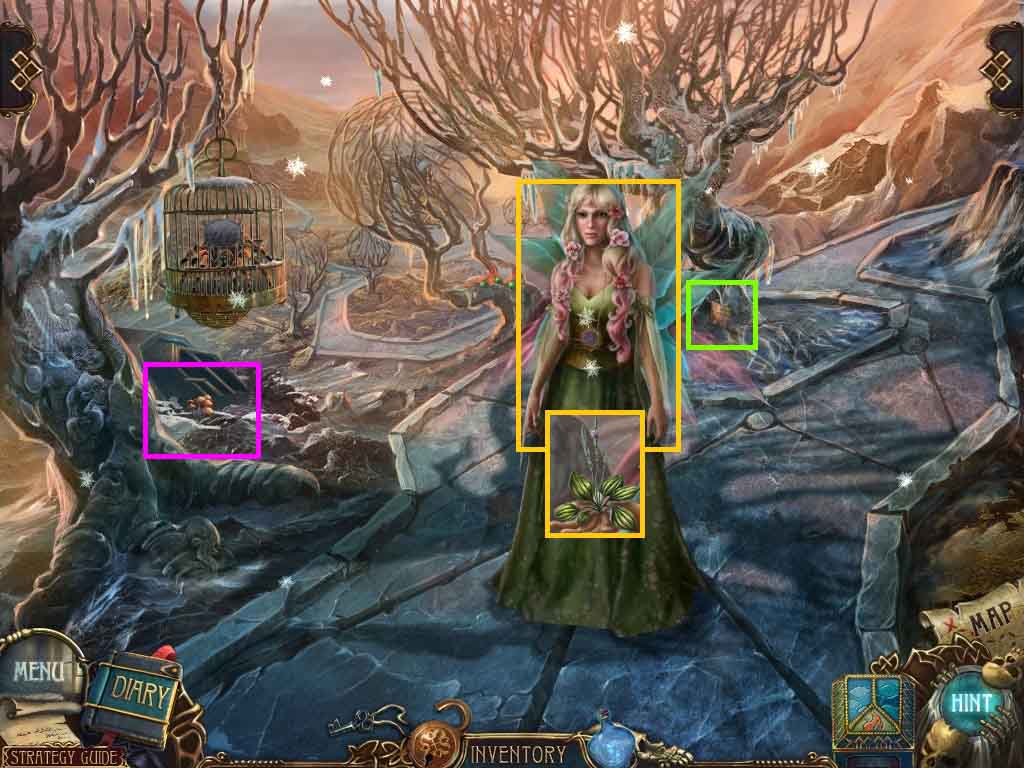
- Speak to the fairy.
- Give the fairy the amulet; collect the healing rib grass.
- Zoom into the ground; collect the mushroom.
- Zoom into the tree base; collect the recipe half.
- Move to the right.
- Click the hidden objects area.
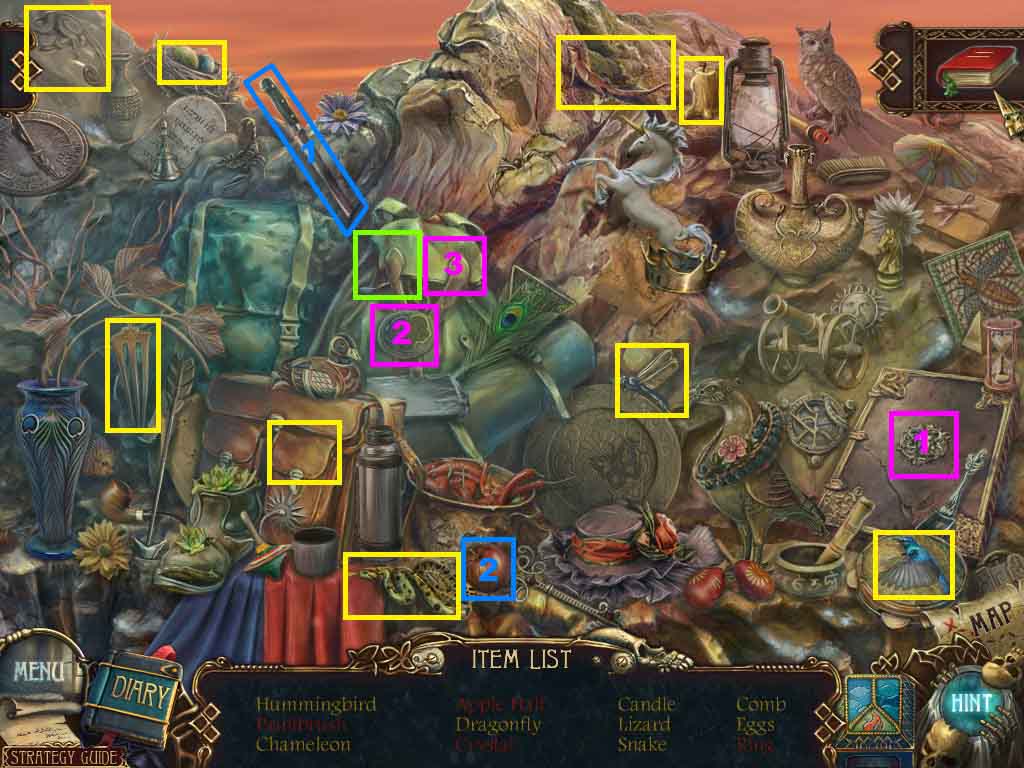
- Find the listed items.
- Click the backpack; collect the crystal.
- Click the pocket; collect the ring.
- Select the knife and slice the apple; collect the apple half.
- Insert the symbol onto the bag; collect the paintbrush.
- Collect the crystal.
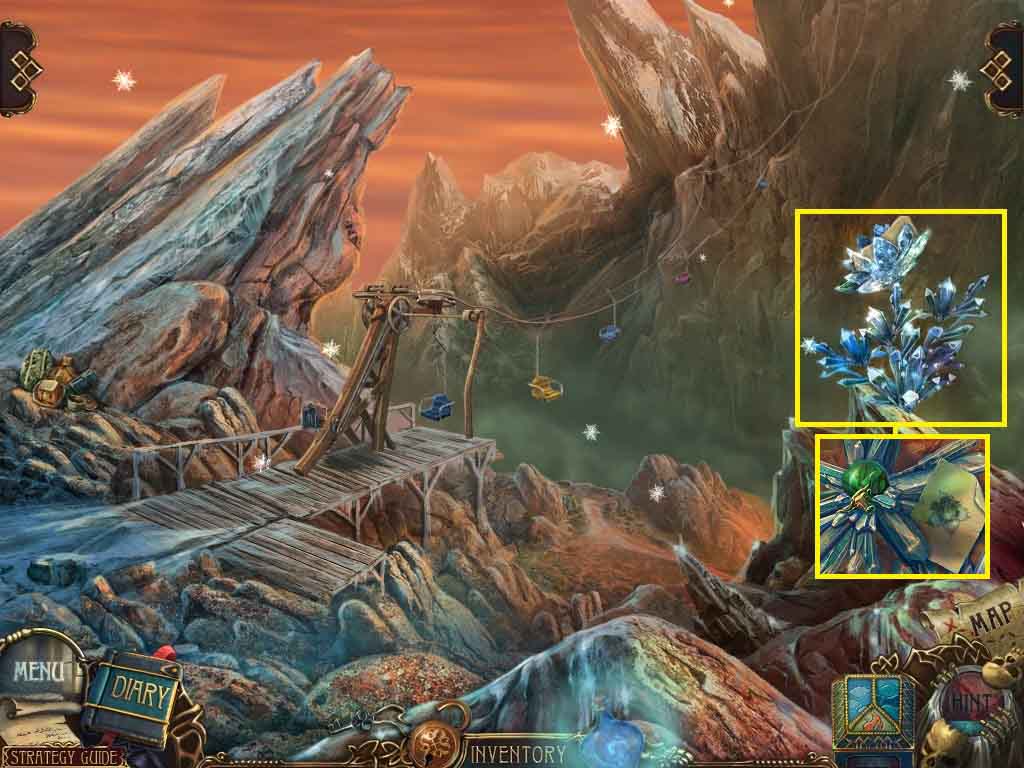
- Pour the magic bottle onto the crystal flowers.
- Collect the note and the bull’s head.
- Move down one time.
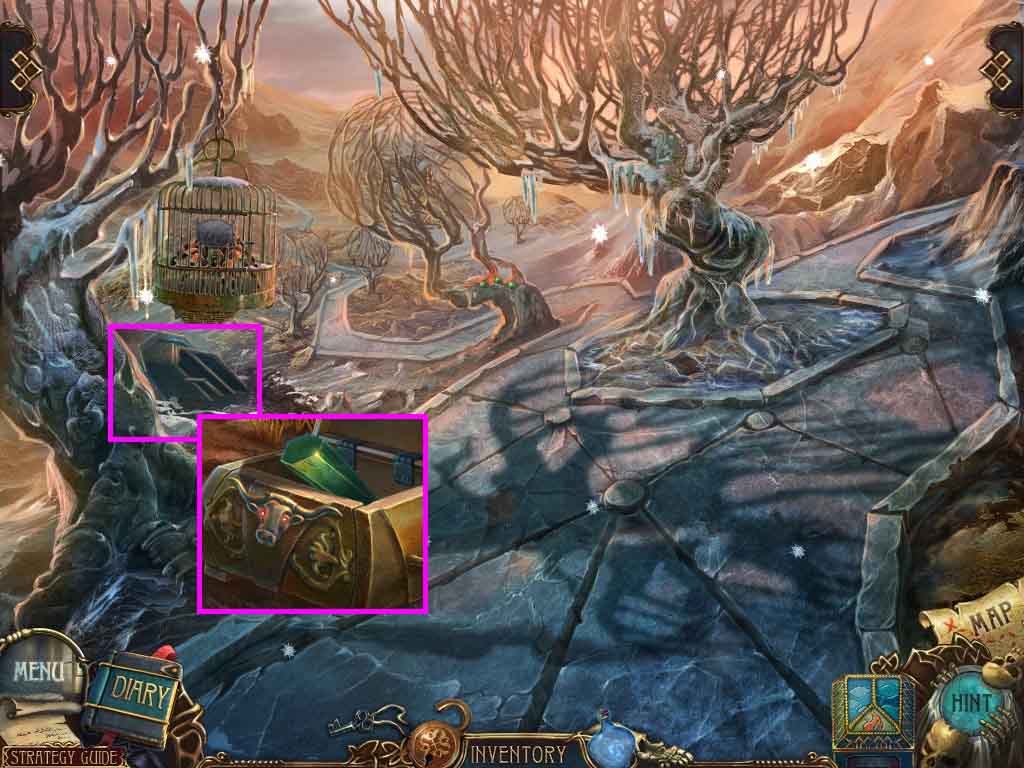
- Examine the gold chest.
- Click the chain and insert the bull’s head.
- Collect the crystal.
- Move to the right.
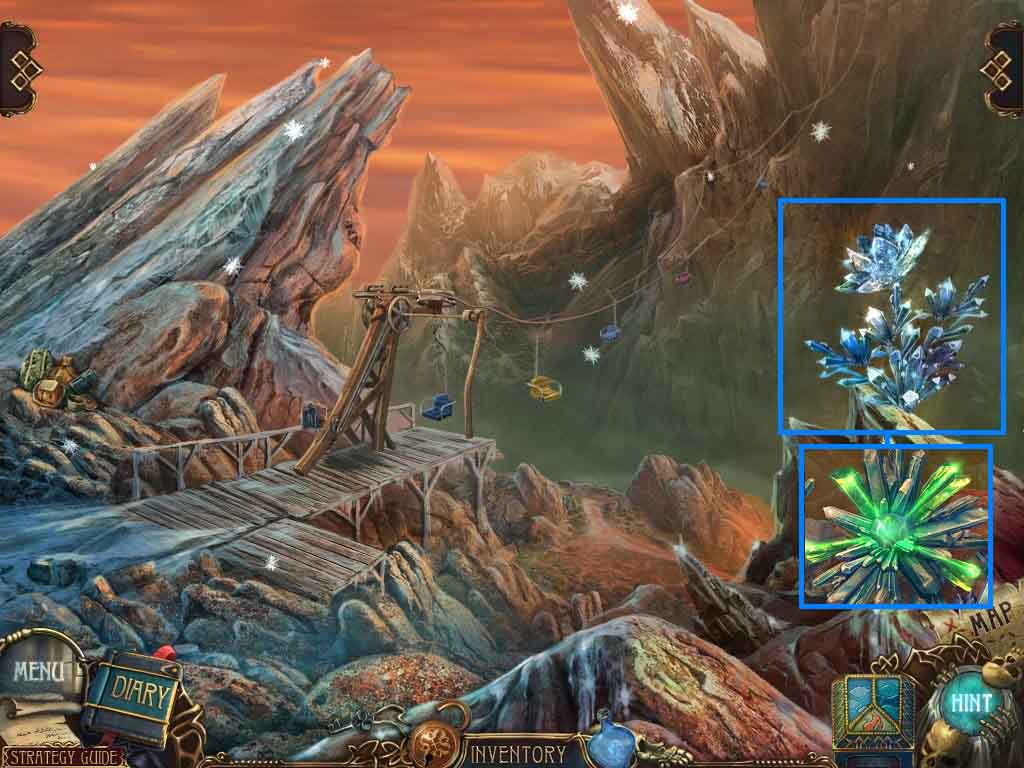
- Examine the crystals; insert the 2 crystals.
- Select the magic bottle to pour onto the crystals; collect the green ball.
- Move down one time.
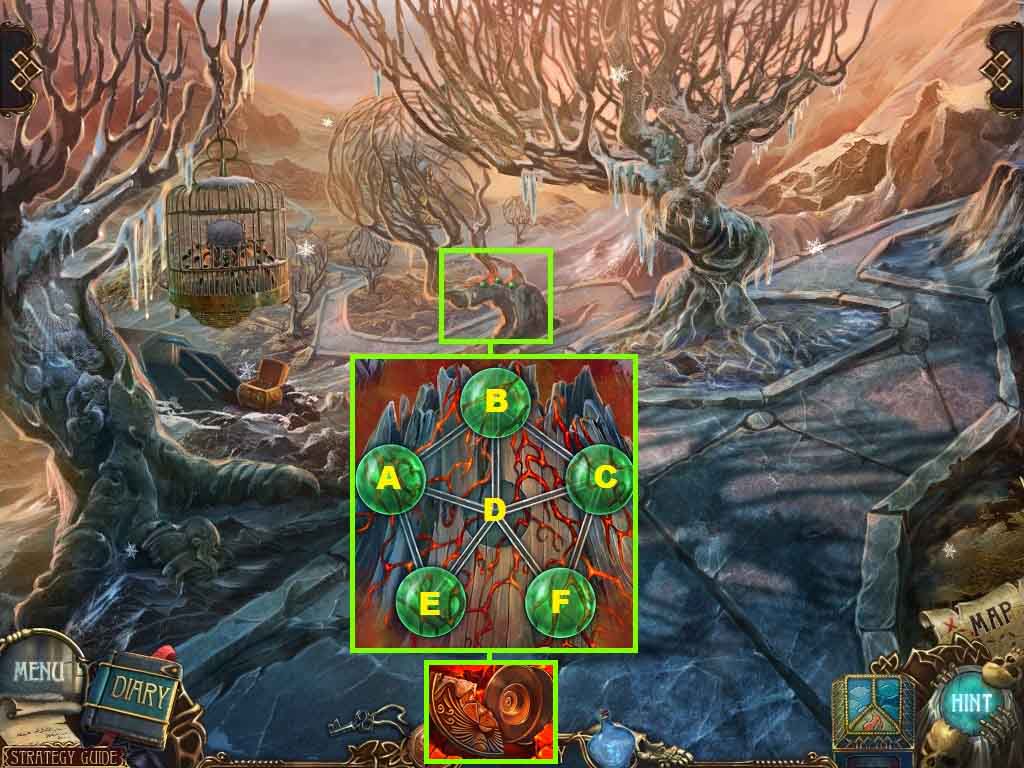
- Examine the volcano.
- Click the branches and insert the green ball to trigger the puzzle.
- To solve the puzzle click the balls as follows:
- A – E – D – B – A –E –D – C – B –A – E – D – B- C – F –D – B- C –F –D
- Collect the amulet piece and the spool.
- Move down one time.
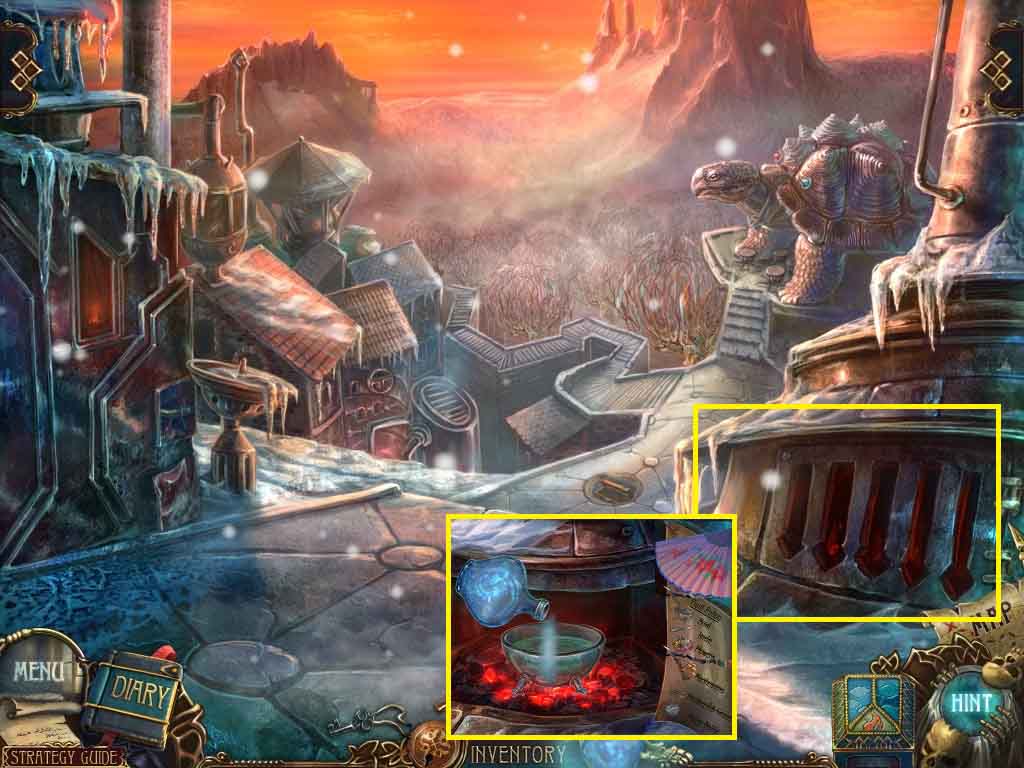
- Place the magic bottle onto the furnace door; click it open.
- Connect the half recipe to its other half.
- Select the fan and use it on the coals.
- Place the bowl into the furnace.
- Put the following items in this order into the bowl.
- Icicle – flowers – mushrooms – healing rib grass
- Pout the magic bottle contents into the bowl; collect the plant-revival potion.
- Move ahead and turn right.
- Click the hidden objects area.
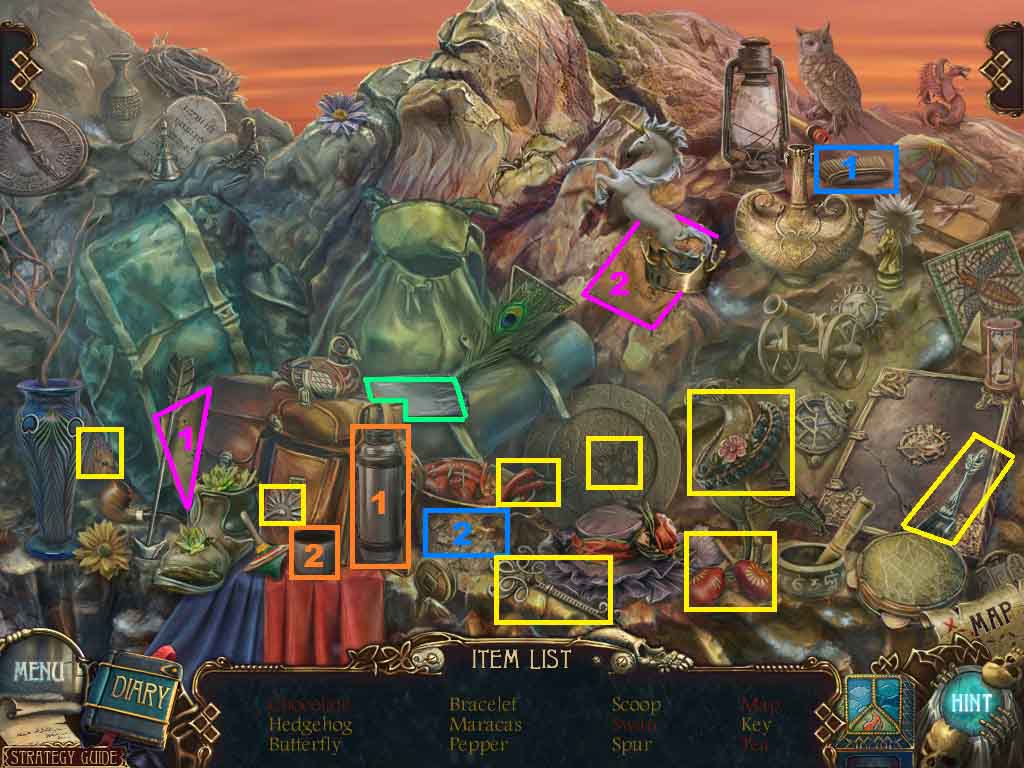
- Find the listed items.
- Connect the 2 map pieces; collect the map.
- Click the wrapper; collect the chocolate.
- Select the brush and scrub the pot; collect the swan.
- Click the thermos; collect the tea.
- Collect the scoop.
- Move down twice.
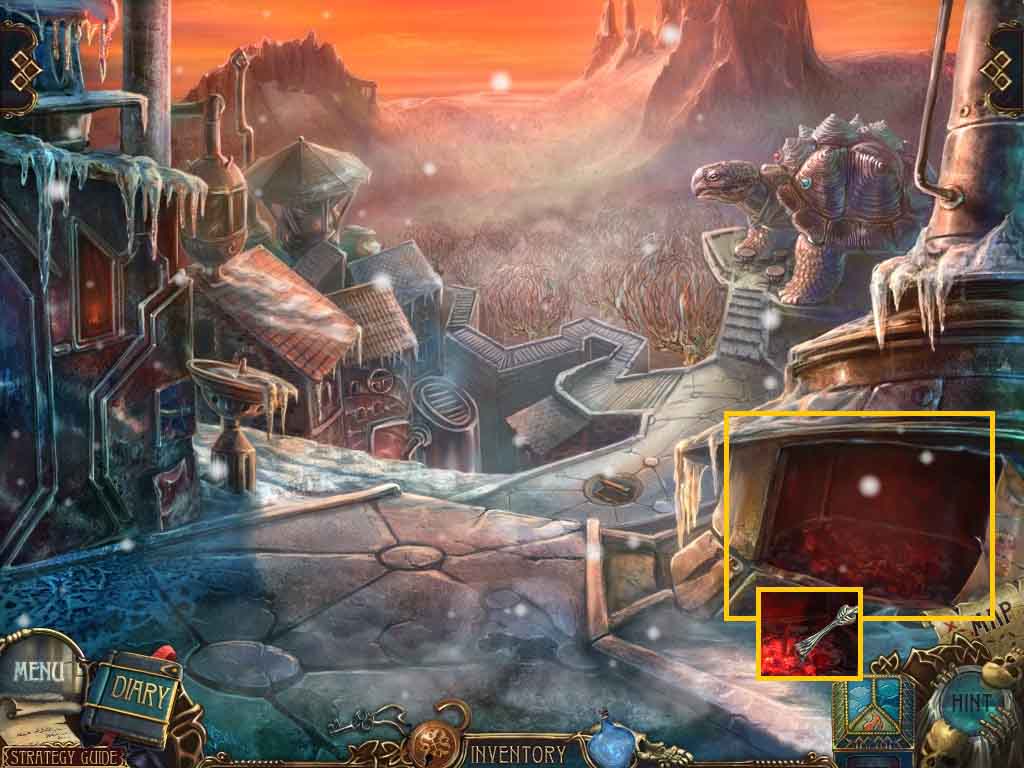
- Examine the furnace; use the scoop to collect the scoop with coal.
- Move ahead.
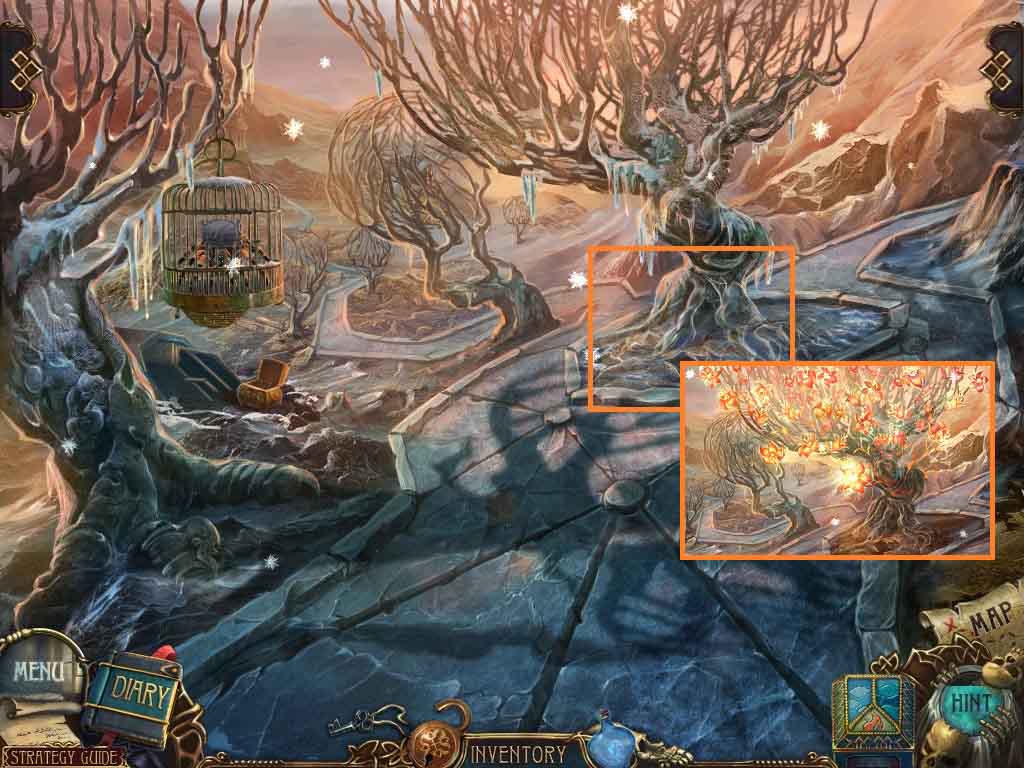
- Examine the base of the tree.
- Place the scoop with coal onto it; collect the shovel.
- Pour the plant-revival potion onto the roots.
- Collect the fire flower.
- Move down once.
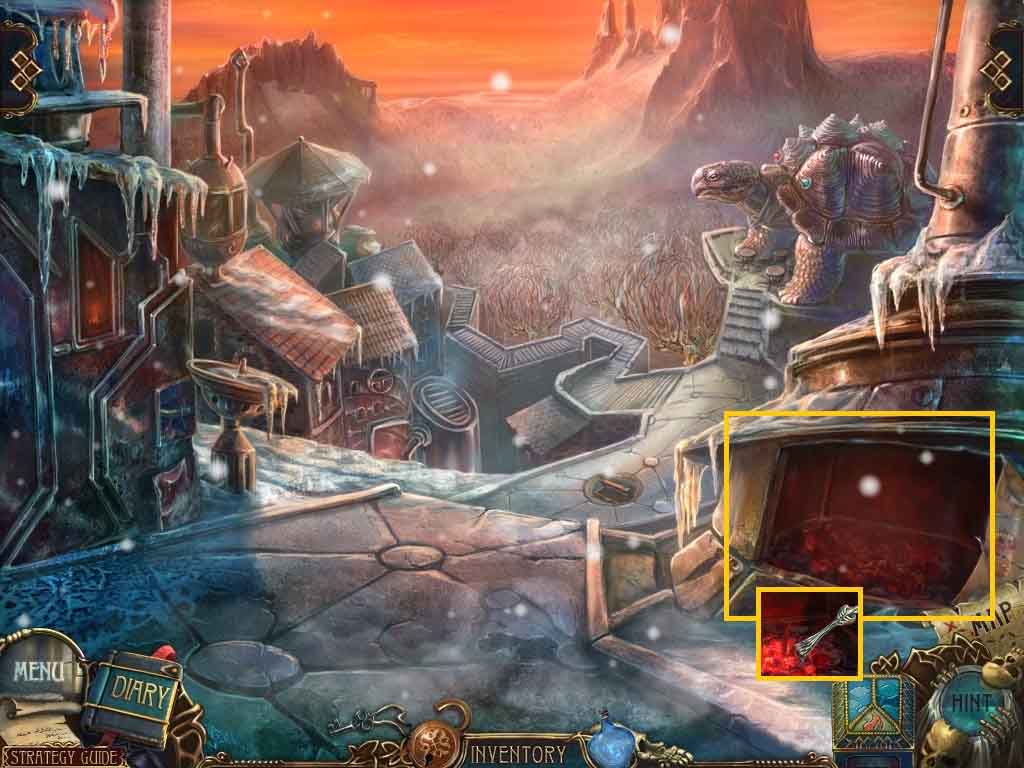
- Examine the furnace; use the scoop to collect the scoop with coal.
- Move ahead 2 times.
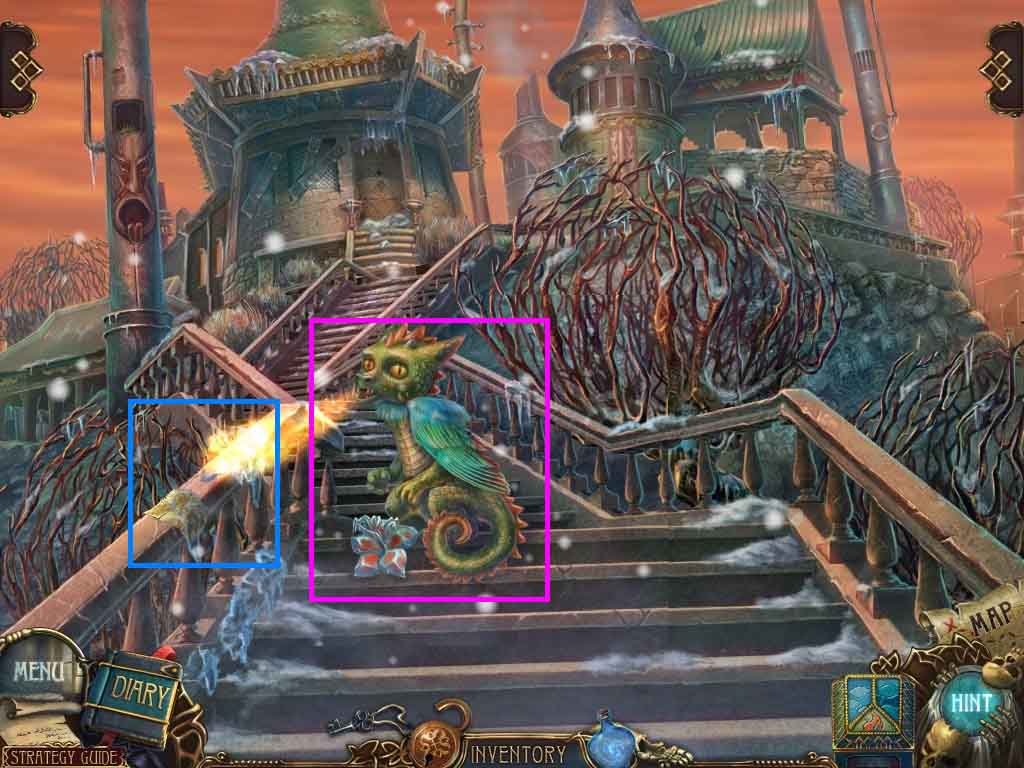
- Examine the dragon; click it and give him the fire flower.
- Examine the railing; collect the clue and the shutters moon.
- Move ahead.
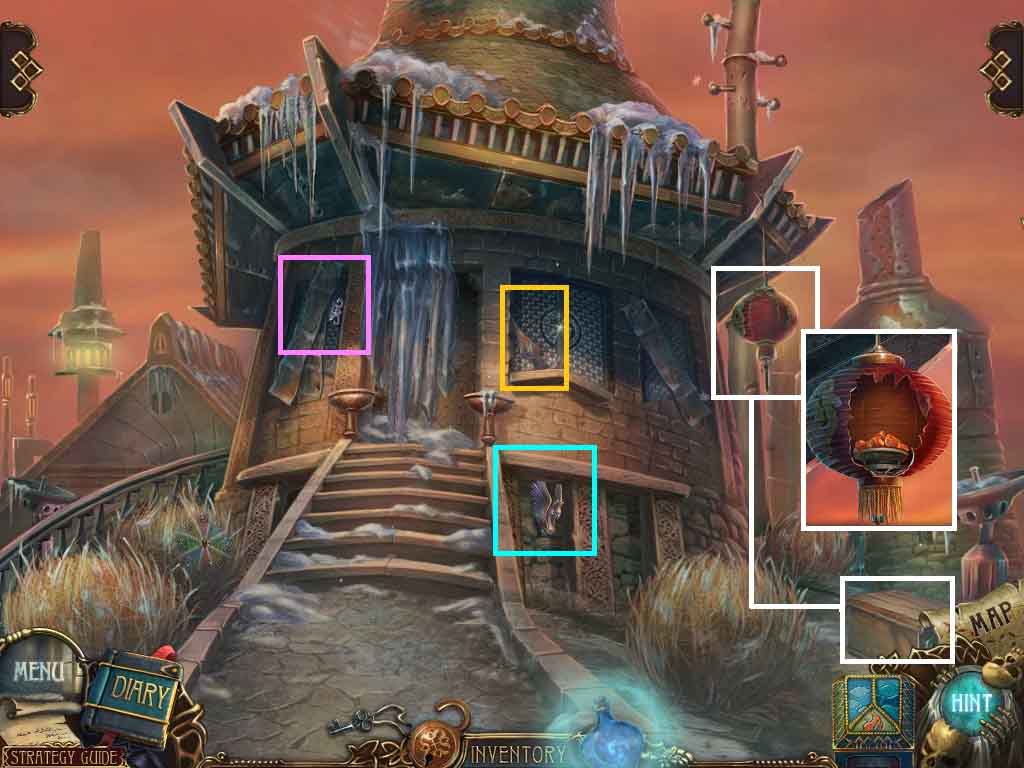
- Examine the shutters; collect the bellows.
- Examine the window; collect the nameplate.
- Place the magic bottle onto the peacock and then again on the close-up.
- Collect the peacock.
- Click the crate.
- Examine the lantern and click it.
- Place the scoop with coal into it and collect the lamp.
- Move down 2 times.
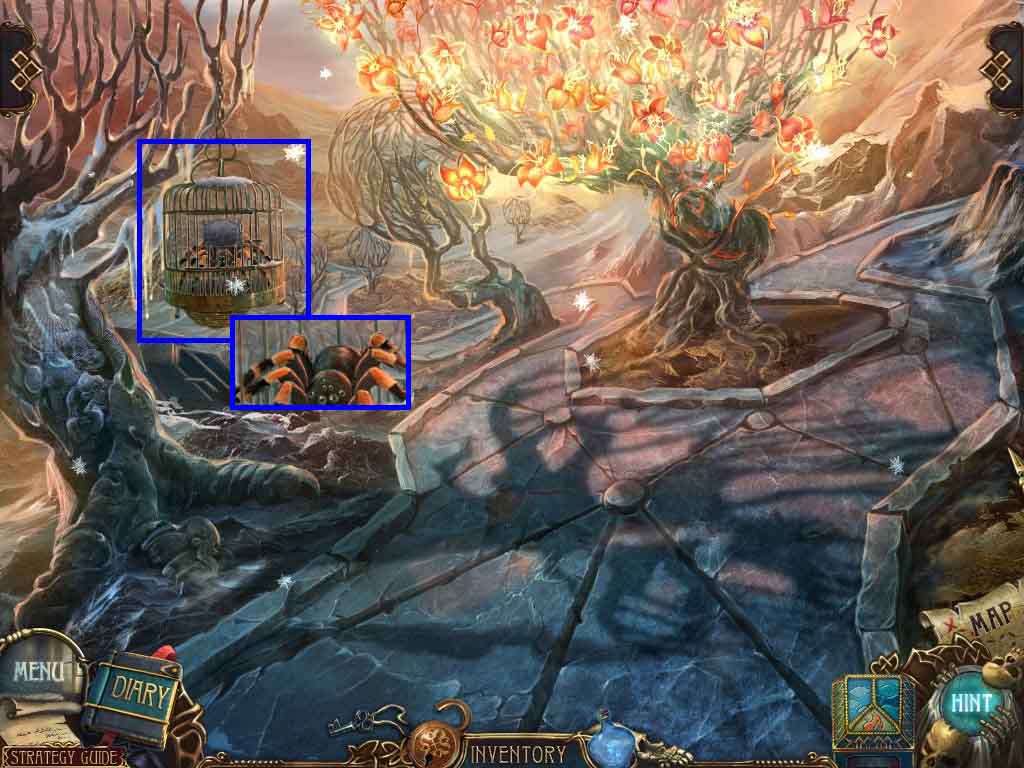
- Examine the cage; insert the nameplate.
- Collect the spider.
- Move ahead 2 times.
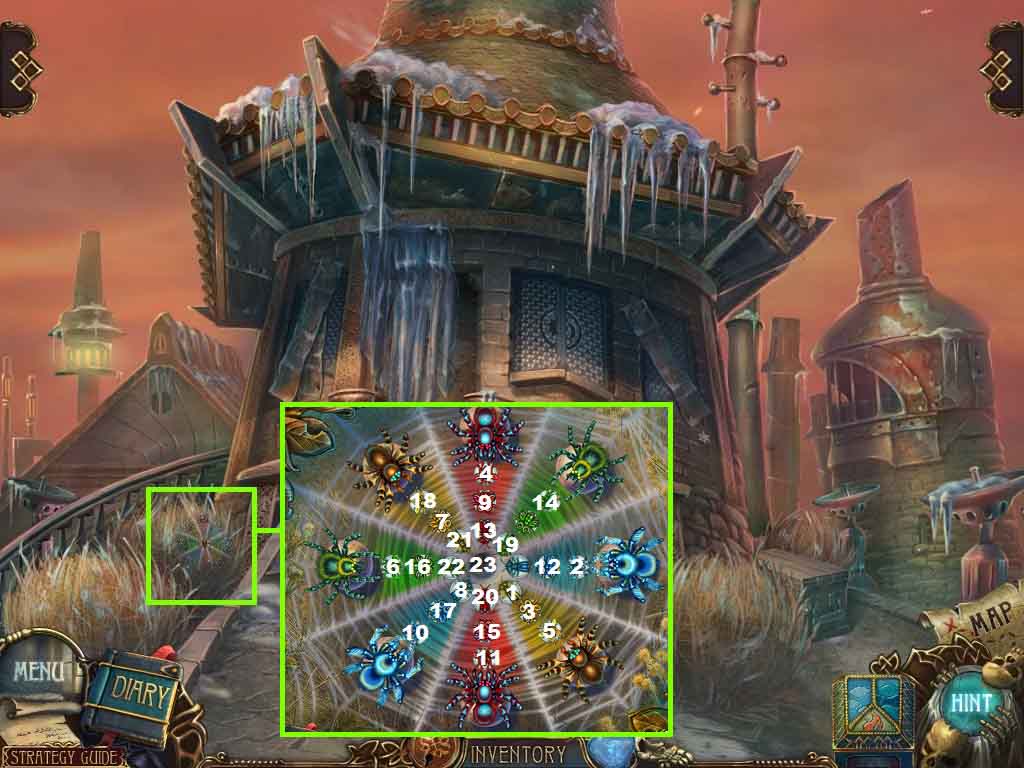
- Examine the spiders; insert the spider to trigger a puzzle.
- Click the spiders in the following order to solve the puzzle.
- Collect the spider web.
- Move down once.
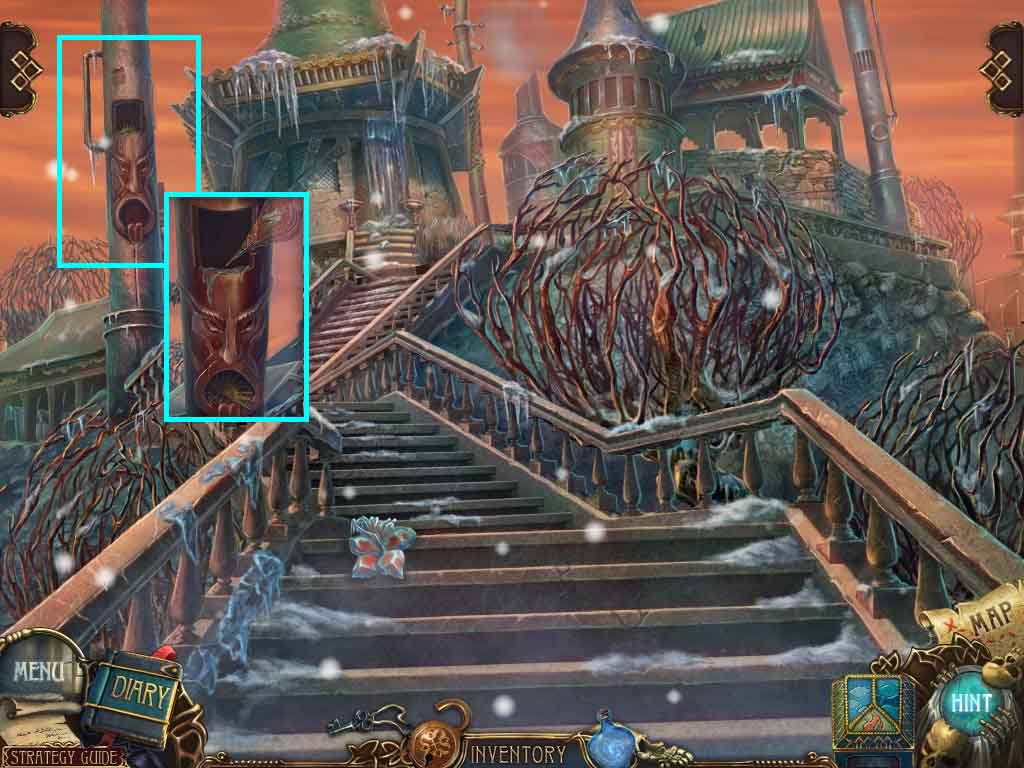
- Examine the pole; insert the spider into its mouth.
- Insert the bellows into the hole above; collect the shutters sun.
- Move ahead.
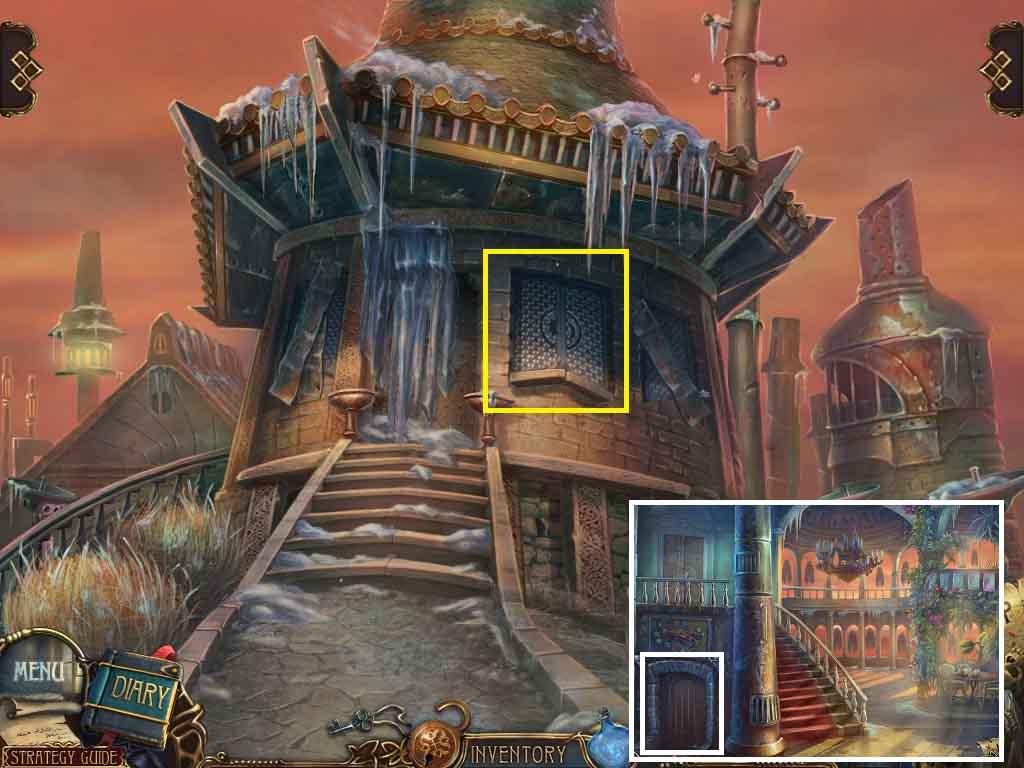
- Examine the right window.
- Insert the shutters moon and shutters sun.
- Enter the window.
- Move through the lower door when inside.
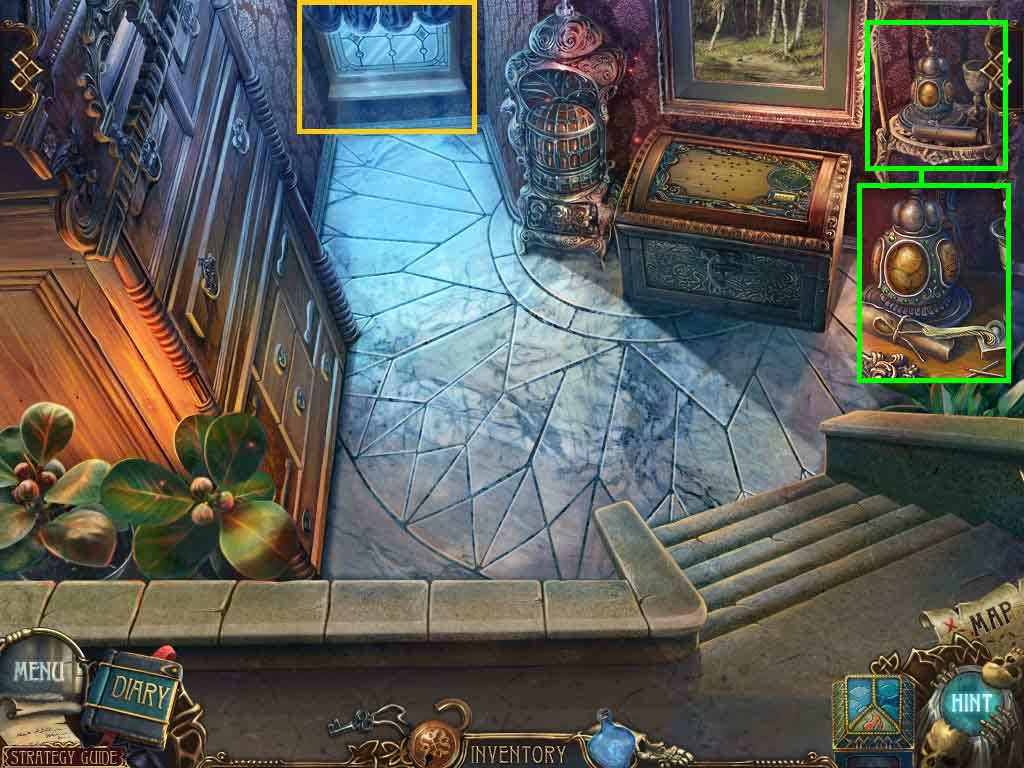
- Click the window open.
- Zoom into the stand; collect the handle.
- Click the top; collect the cookie.
- Click the jar 3 times.
- Move down one time.
Comments will load when you reach this part of the walkthrough.