
Bonus Chapter
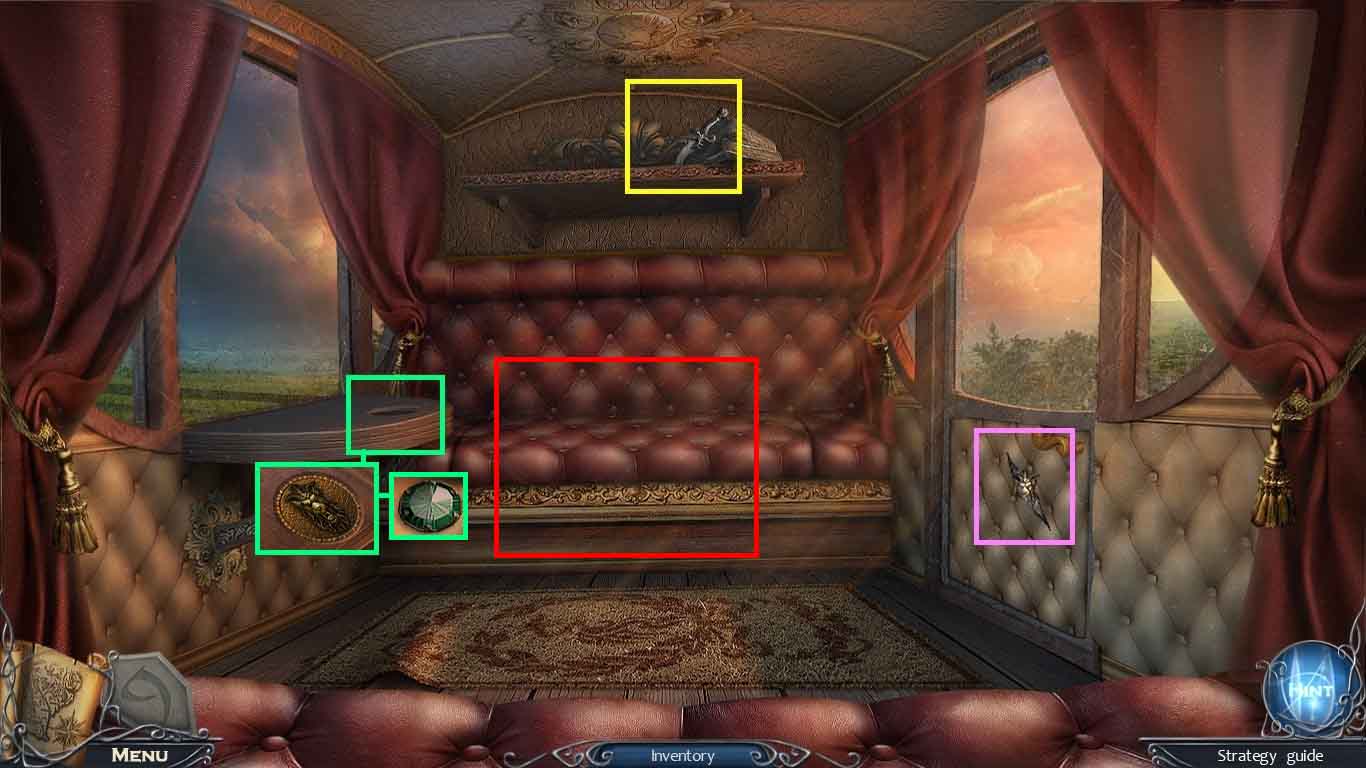
- Zoom into the shelf; collect the knife.
- Zoom into the door and use the knife on the trim.
- Collect the gilded lion.
- Zoom into the table and place the gilded lion onto it.
- Click the gilded lion and collect the gem.
- Zoom into the bench seat and insert the gem.
- Zoom into the seat compartment to access a hidden objects area.
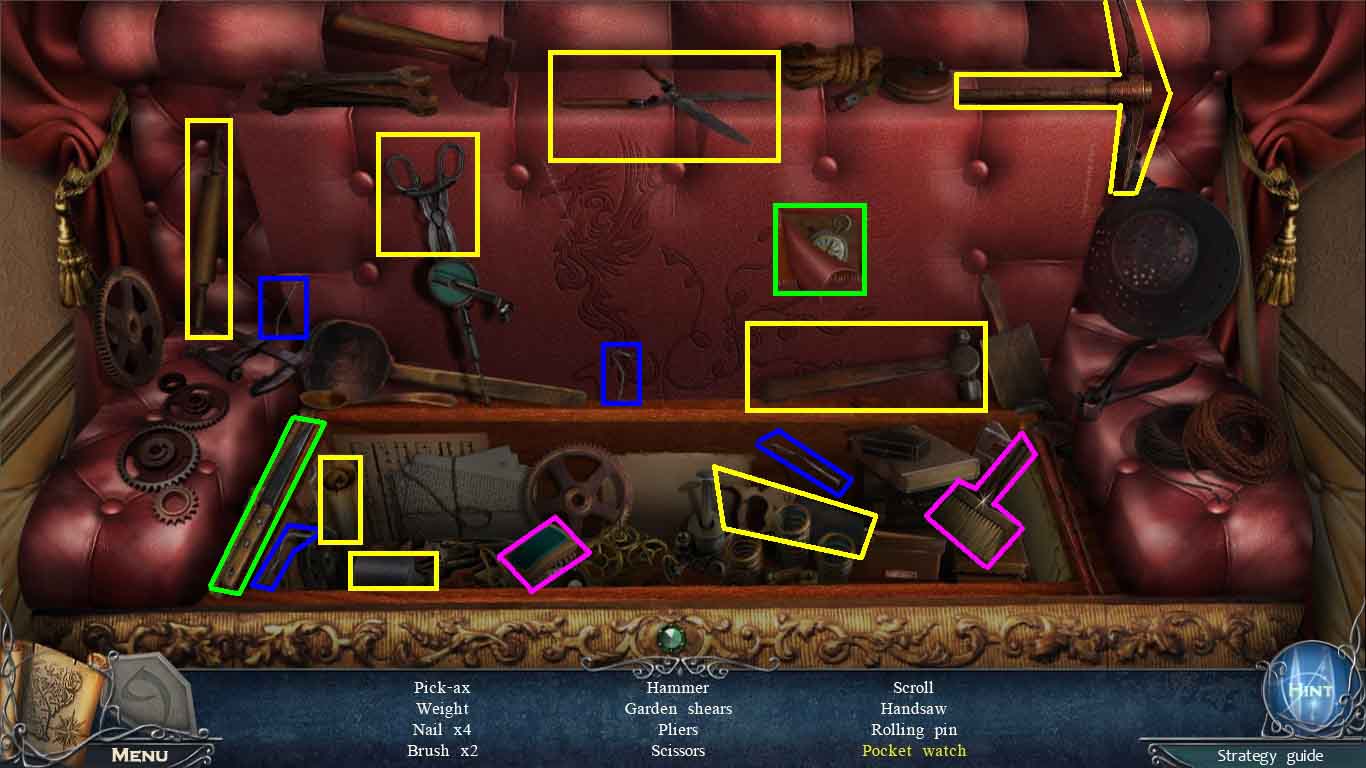
- Find the listed items.
- Cut the patch with the knife; collect the pocket watch.
- Collect the tool box.
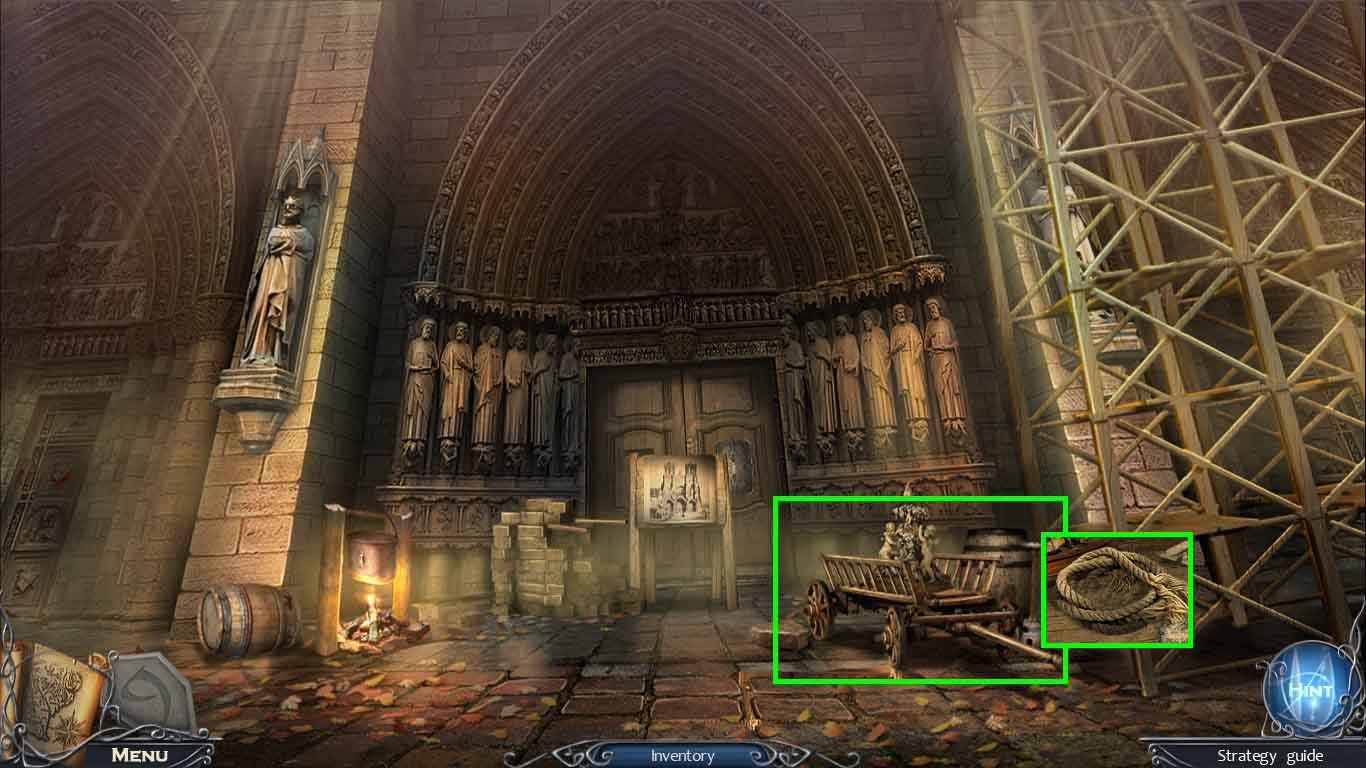
- Go forward after the train ride.
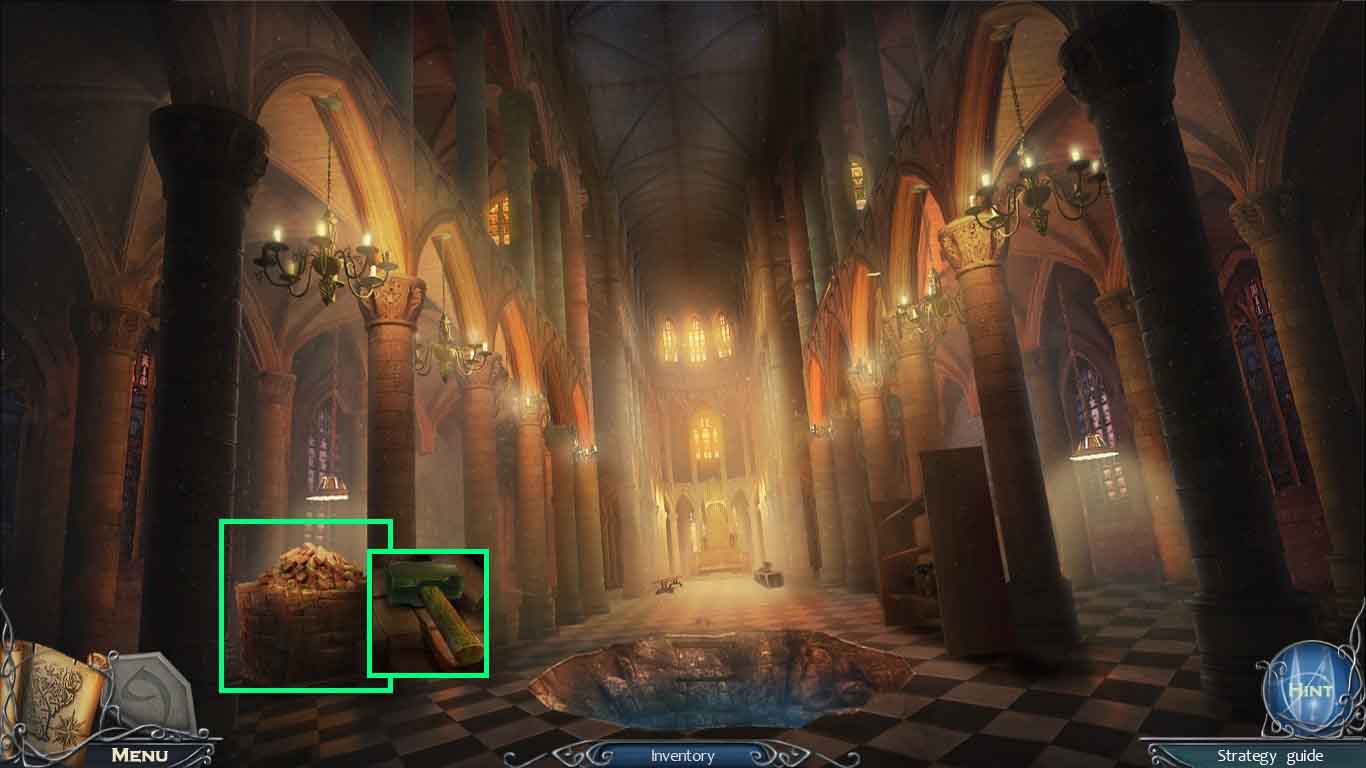
- Zoom into the cart; click the items and collect the rope.
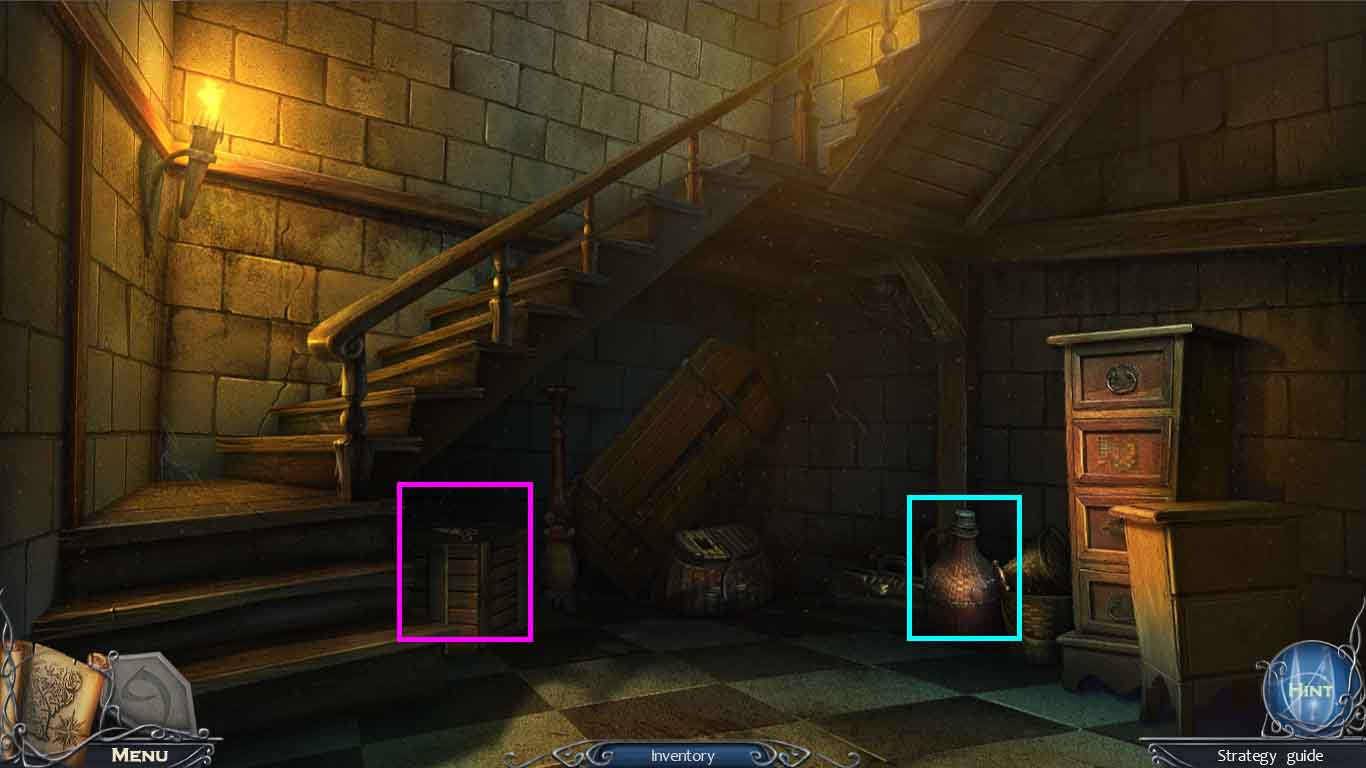
- Move back once and go down to the crypt; move down the left path.
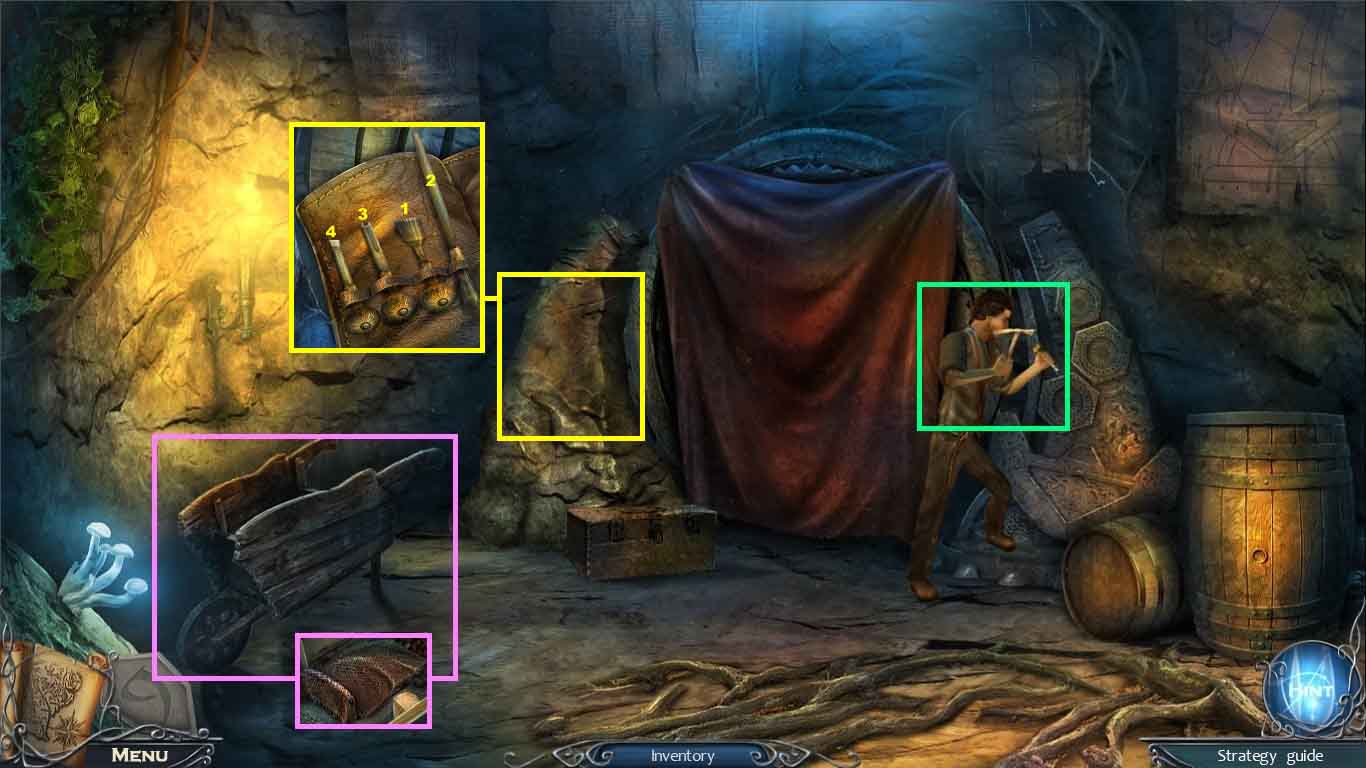
- Zoom into the wheelbarrow; collect the rag.
- Talk to the man.
- Use the tool box on the stone wall to activate a puzzle.
- Select the tools in the right order.
- Collect the key.
- Move back one time and go forward.
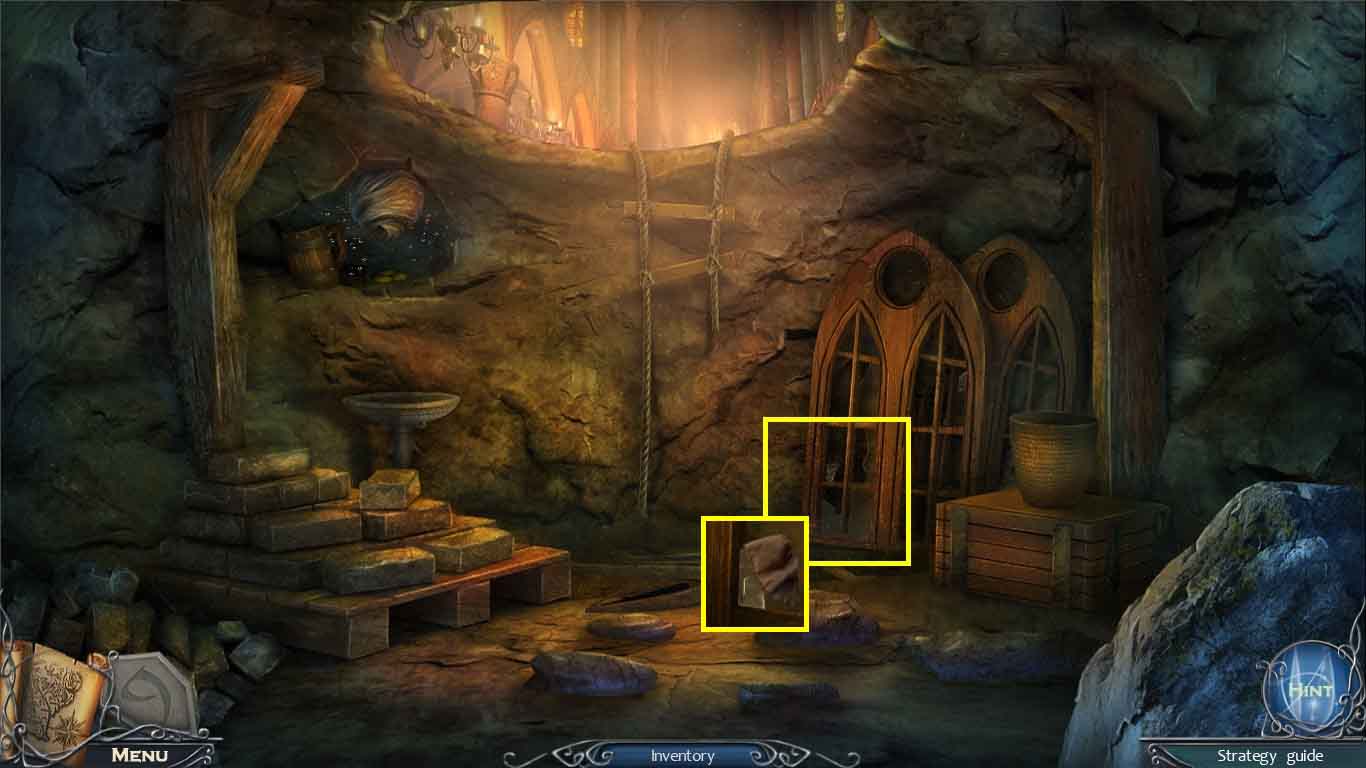
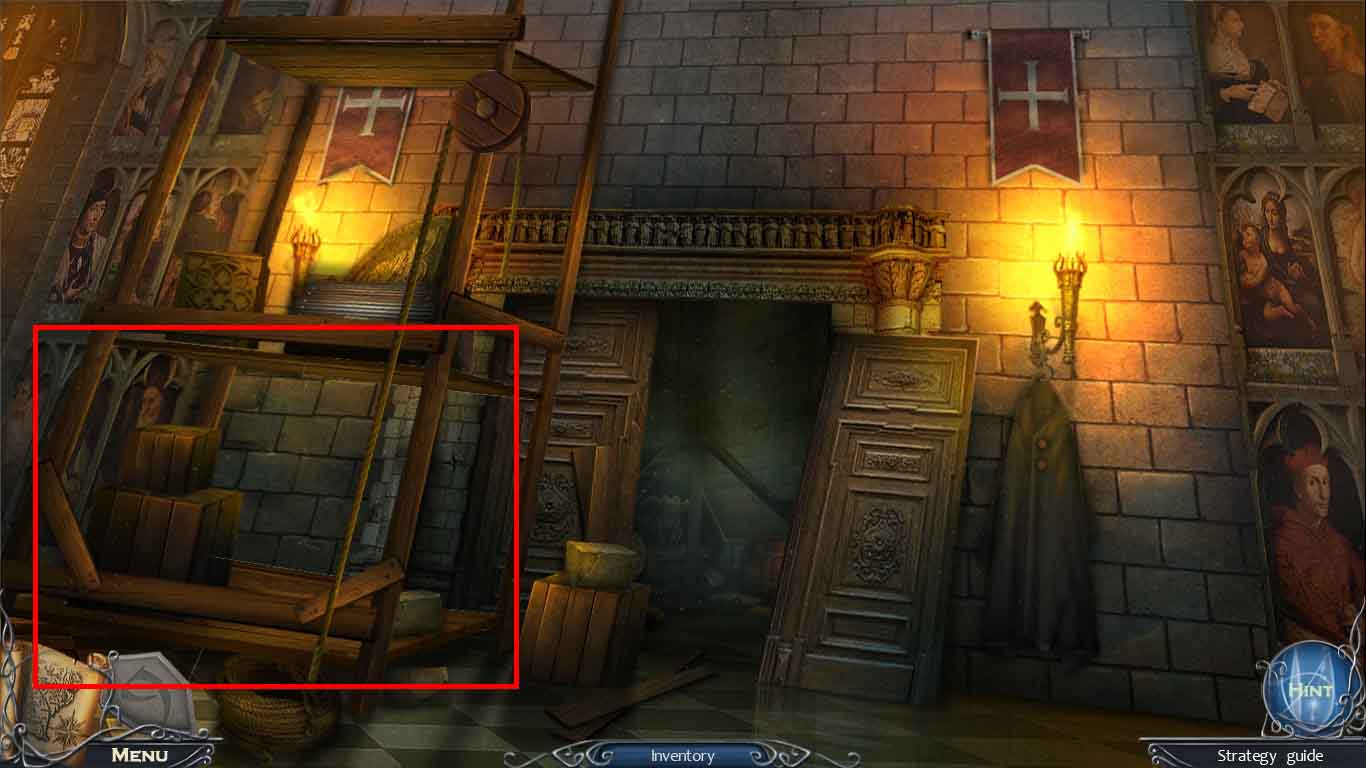
- Zoom into the frames.
- Collect the glass scrap using the rag.
- Move back once.

- Zoom into the crate.
- Use the glass scrap and the key on the lock.
- Collect the saw.
- Move to the Notre Dame Façade.
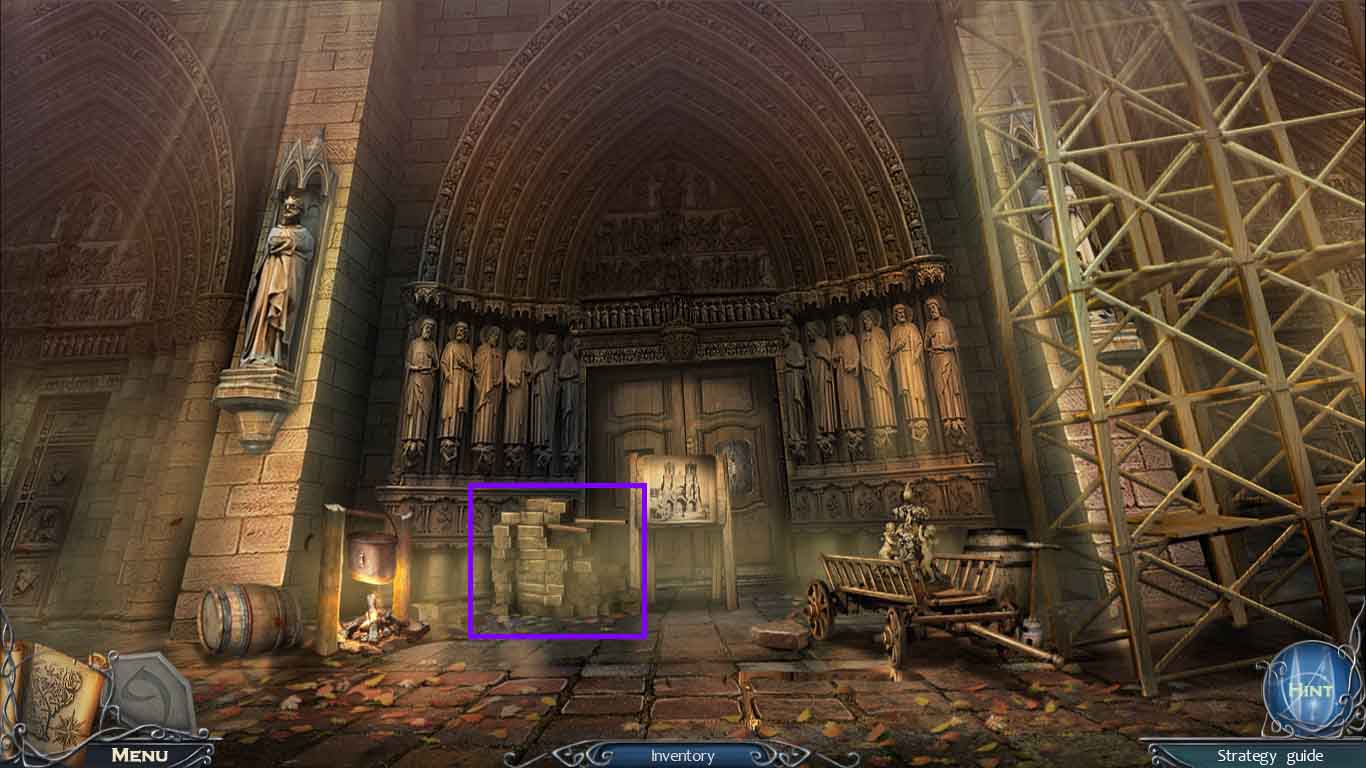
- Zoom into the brick pile; collect 2 cut boards using the saw.
- Move to the underground.
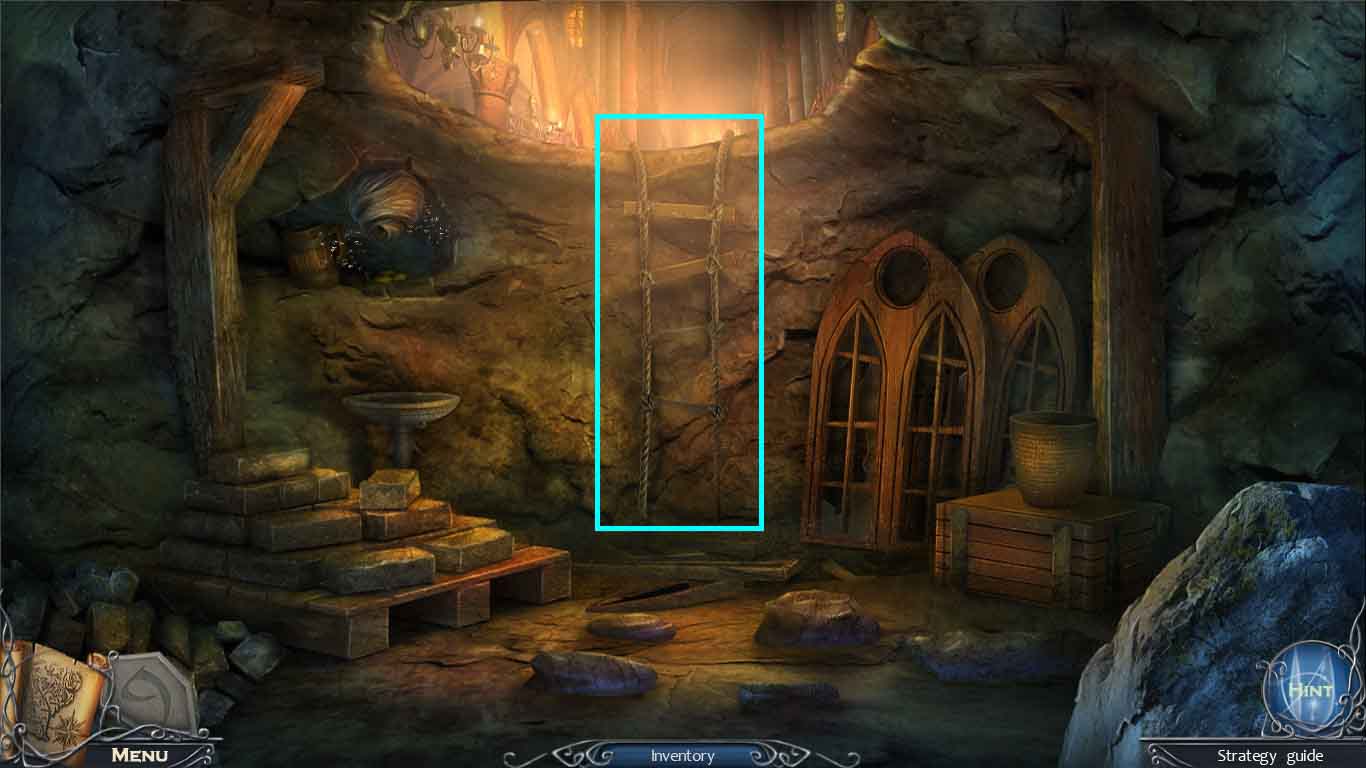
- Put the rope and the 2 cut boards onto the rope ladder.
- Move up the ladder.
- Go up and left into the north tower entrance.

- Collect the jug.
- Zoom into the sacks; collect the hay.
- Move back once go to the right and move forward to the south tower stairwell.
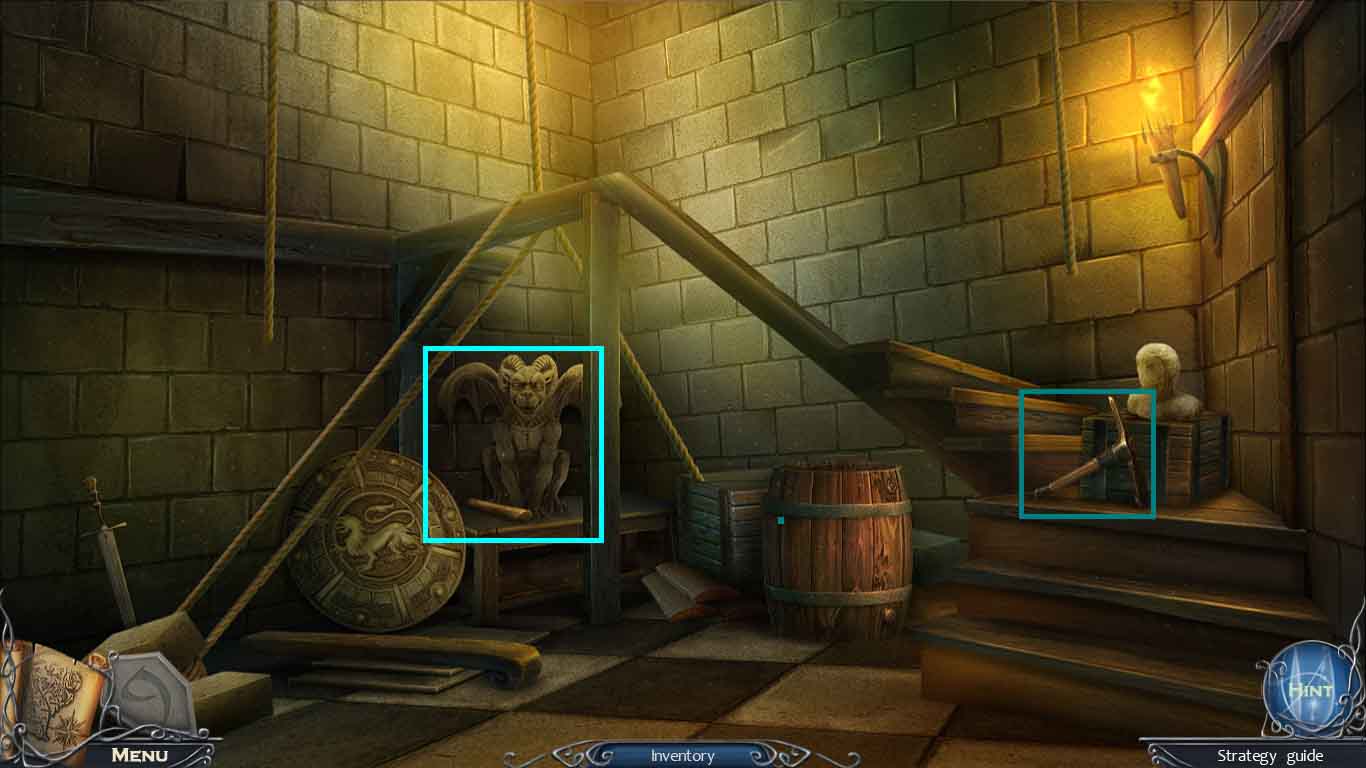
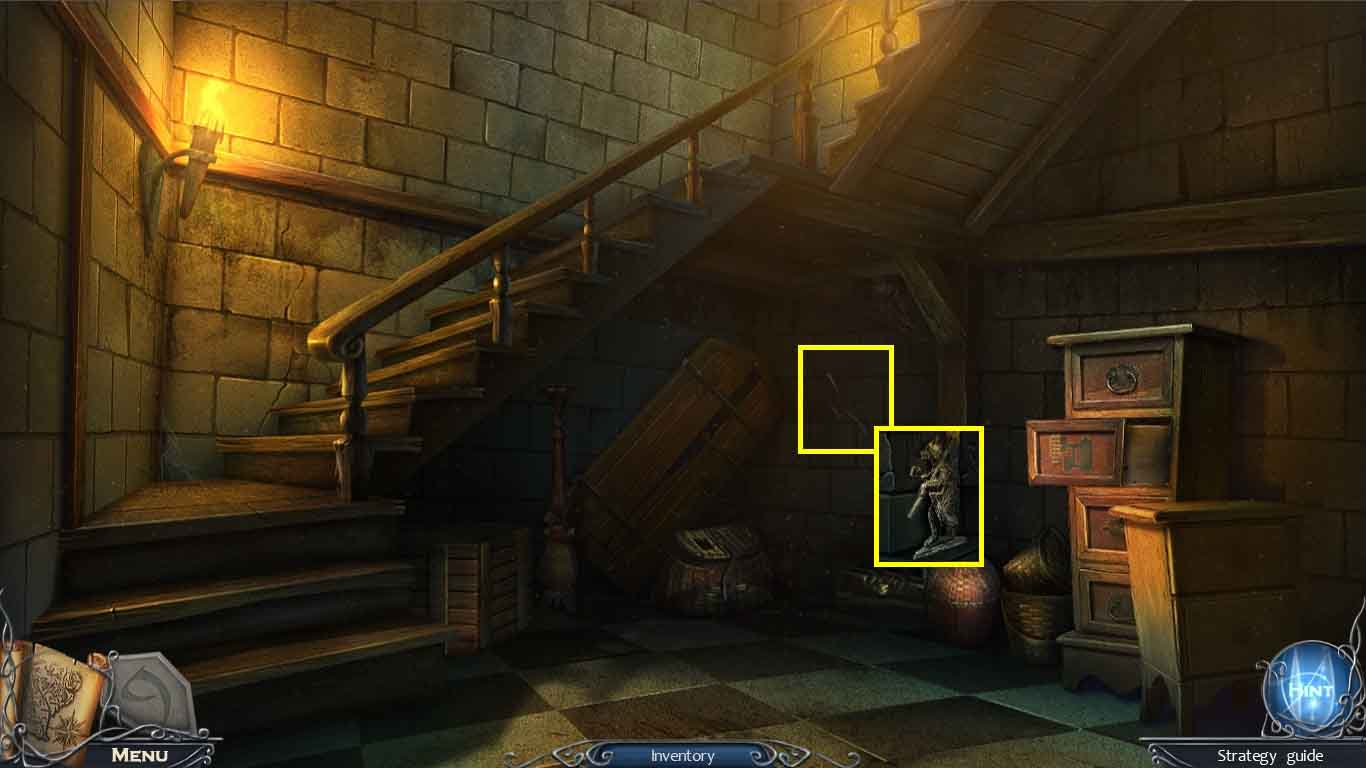
- Examine the gargoyle; collect the hammer handle.
- Collect the pick-ax.
- Move back 3 times.
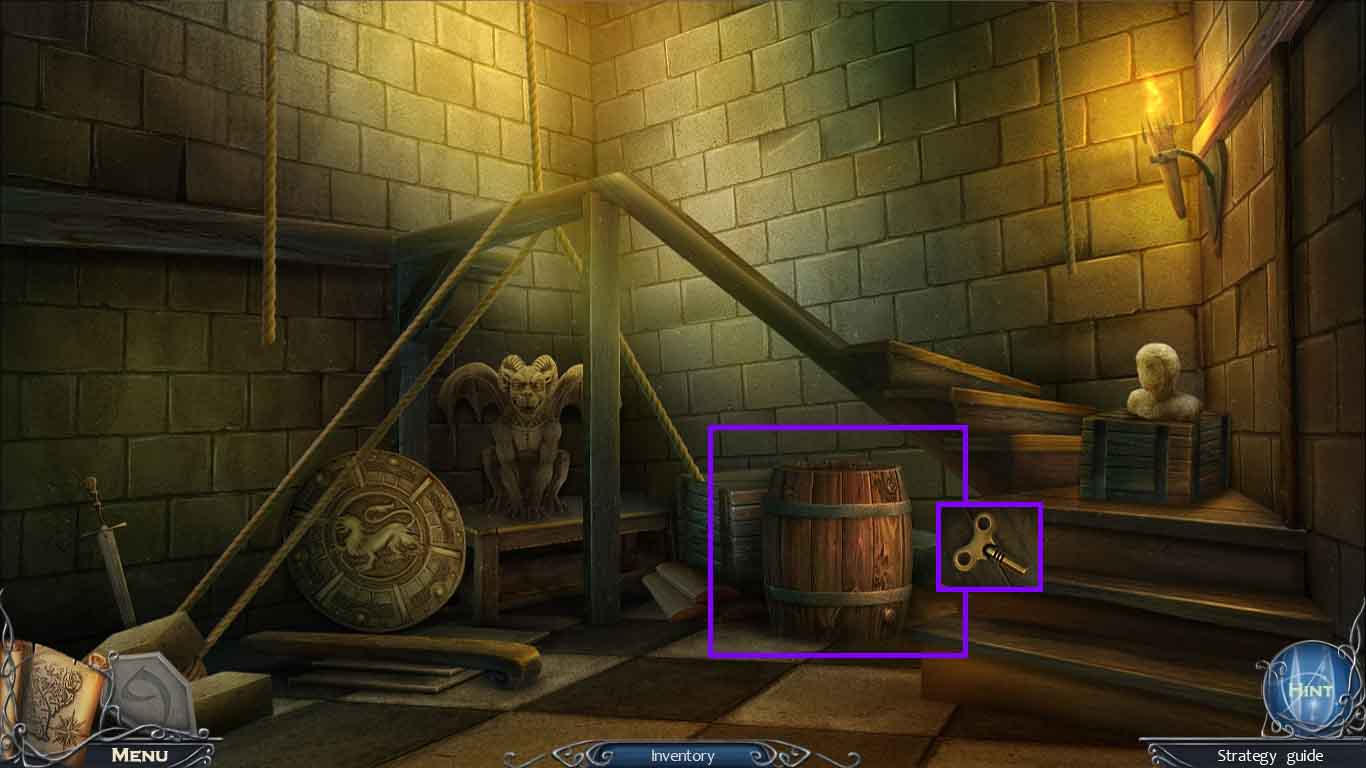
- Zoom into the pile of bricks.
- Put the hammer handle onto the hammer head; collect the sledgehammer.
- Move forward and go to the right.
- Hit the scaffolding using the sledgehammer.
- Zoom into the chest to access a hidden objects area.
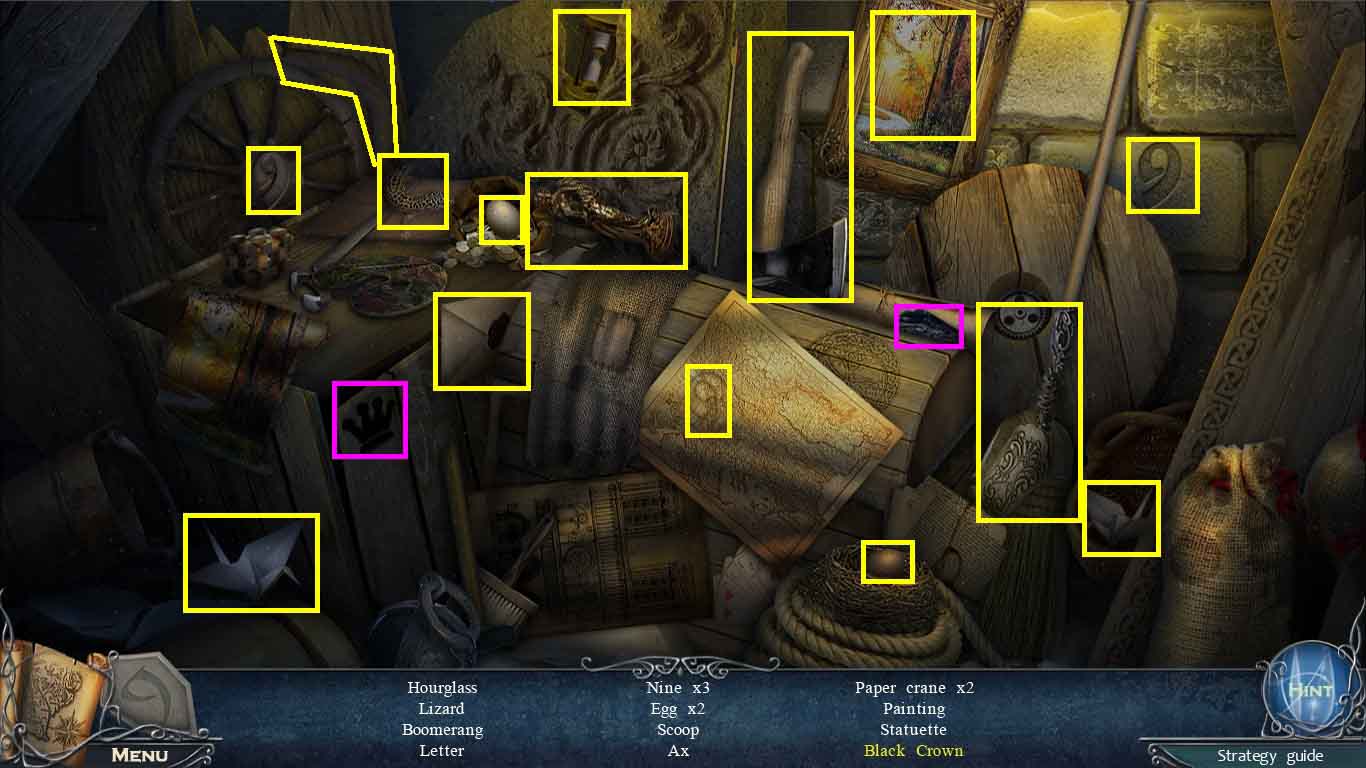
- Find the listed items.
- Use the charcoal on the crown; collect the black crown.
- Collect the scoop.
- Move to the crypt.
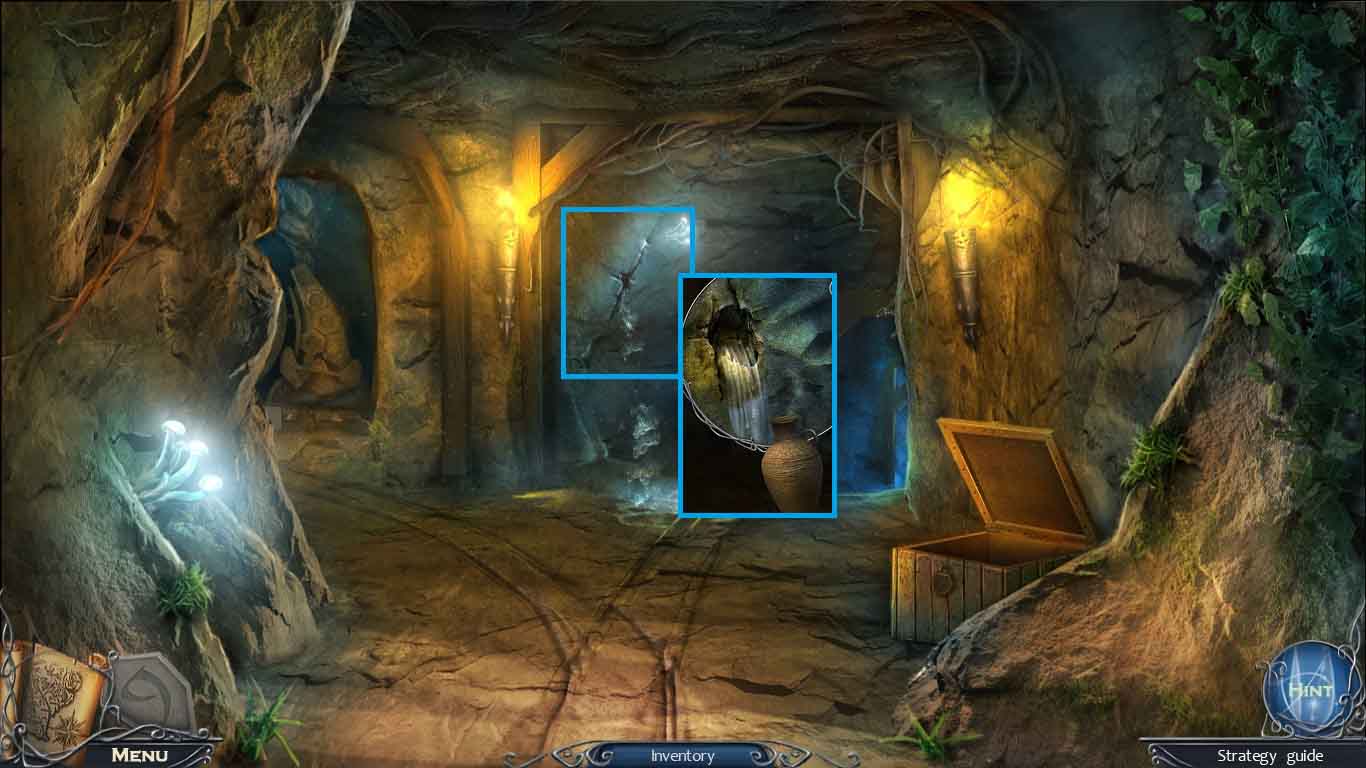
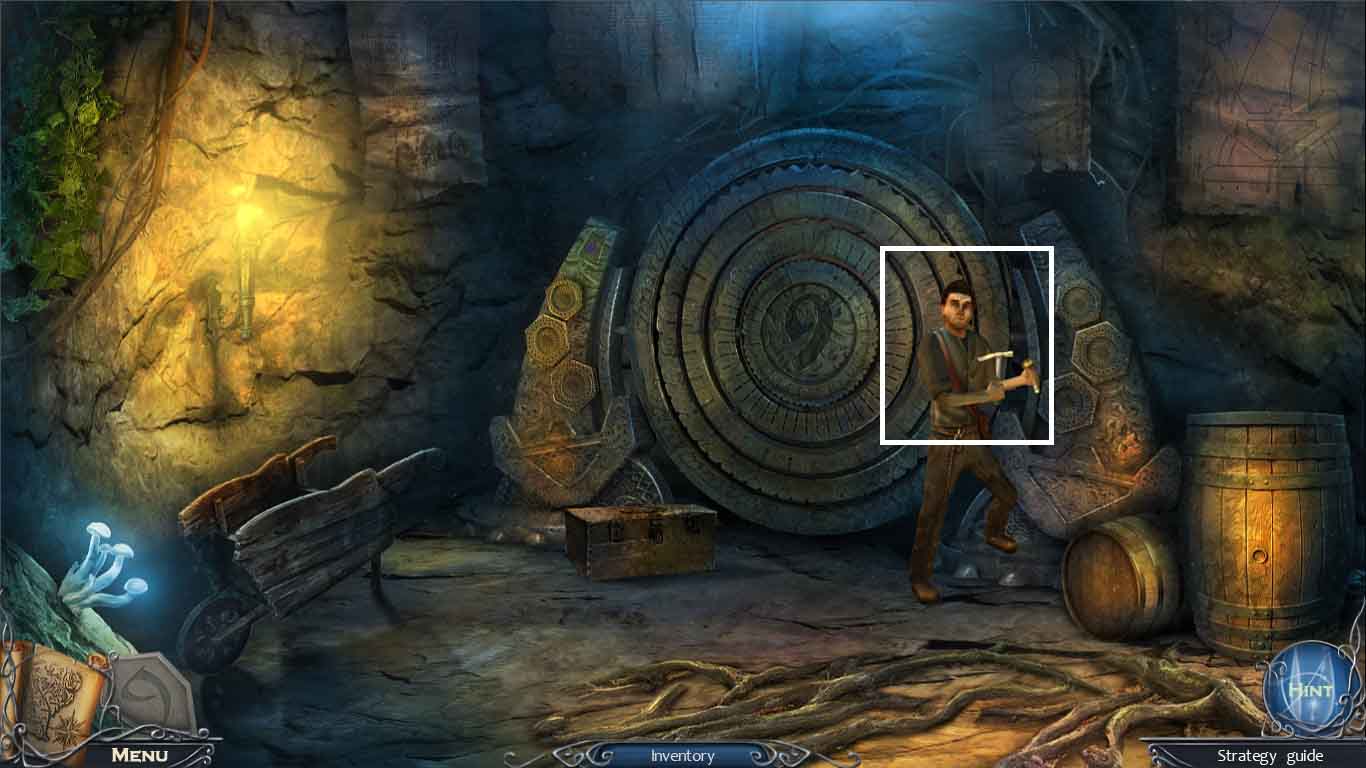
- Zoom into the cracked wall and use the pick ax on it.
- Place the jug into the water; collect the jug of water.
- Move to the Notre Dame façade.
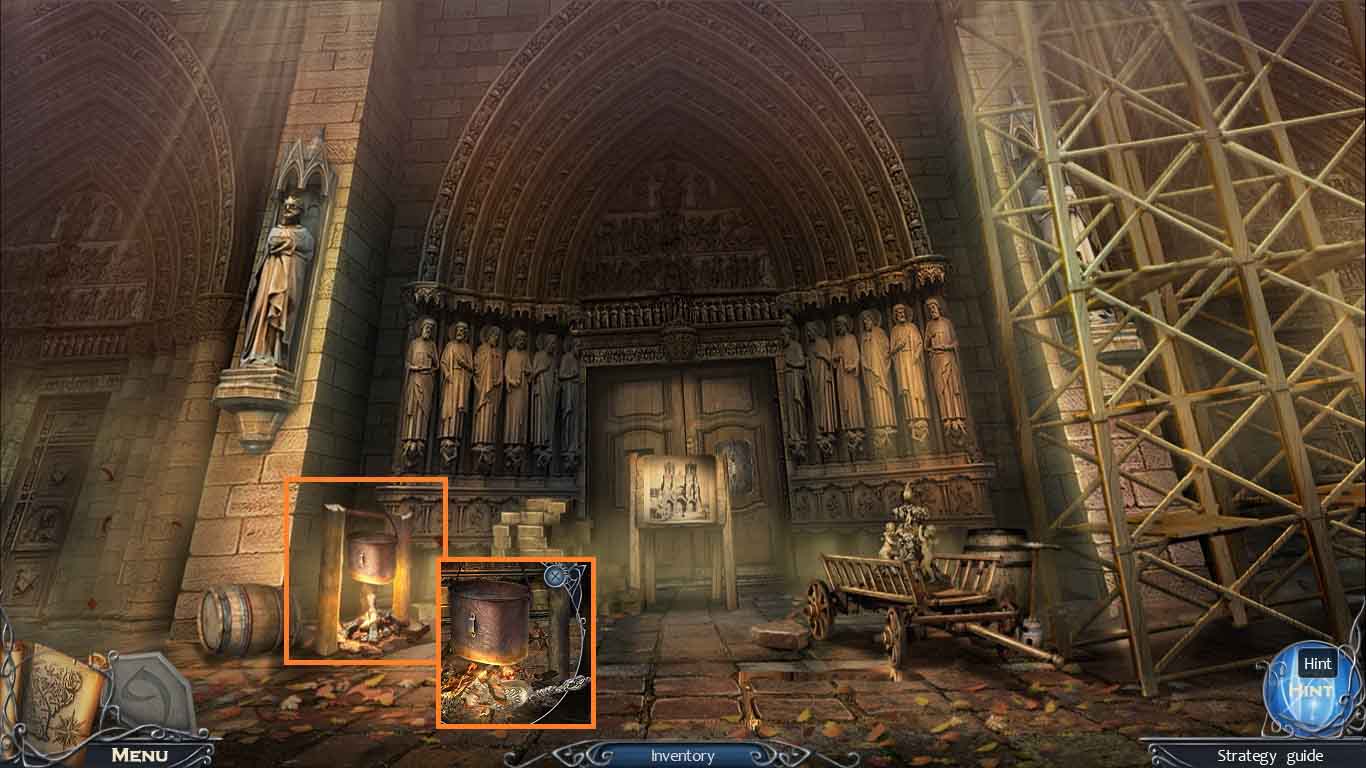
- Zoom into the fire.
- Select the scoop to get the coals.
- Move to the underground.
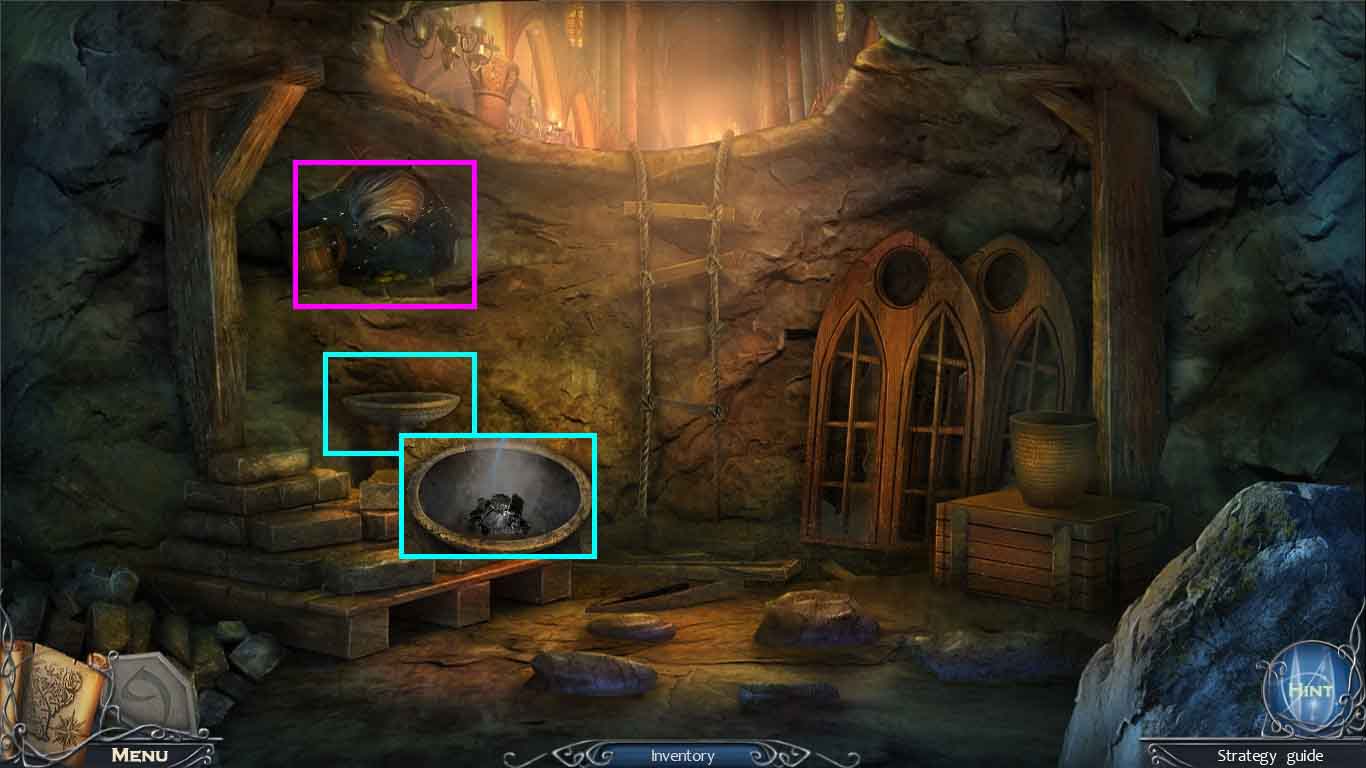
- Zoom into the bowl.
- Put the hay, the coals and the jug with water into the bowl.
- Zoom into the hive; collect the coins.
- Move to the Notre Dame Plaza.
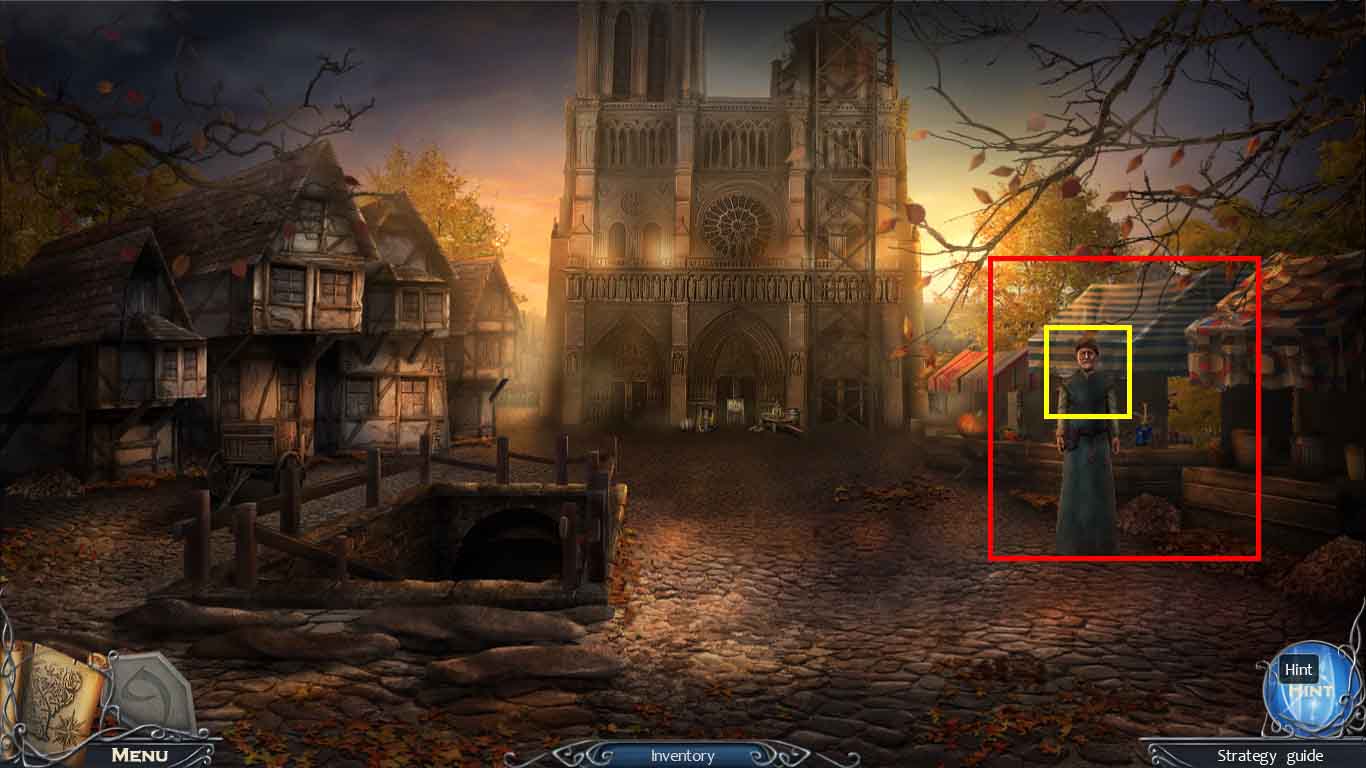
- Give the merchant the coins.
- Zoom into the stall to access the hidden objects area.
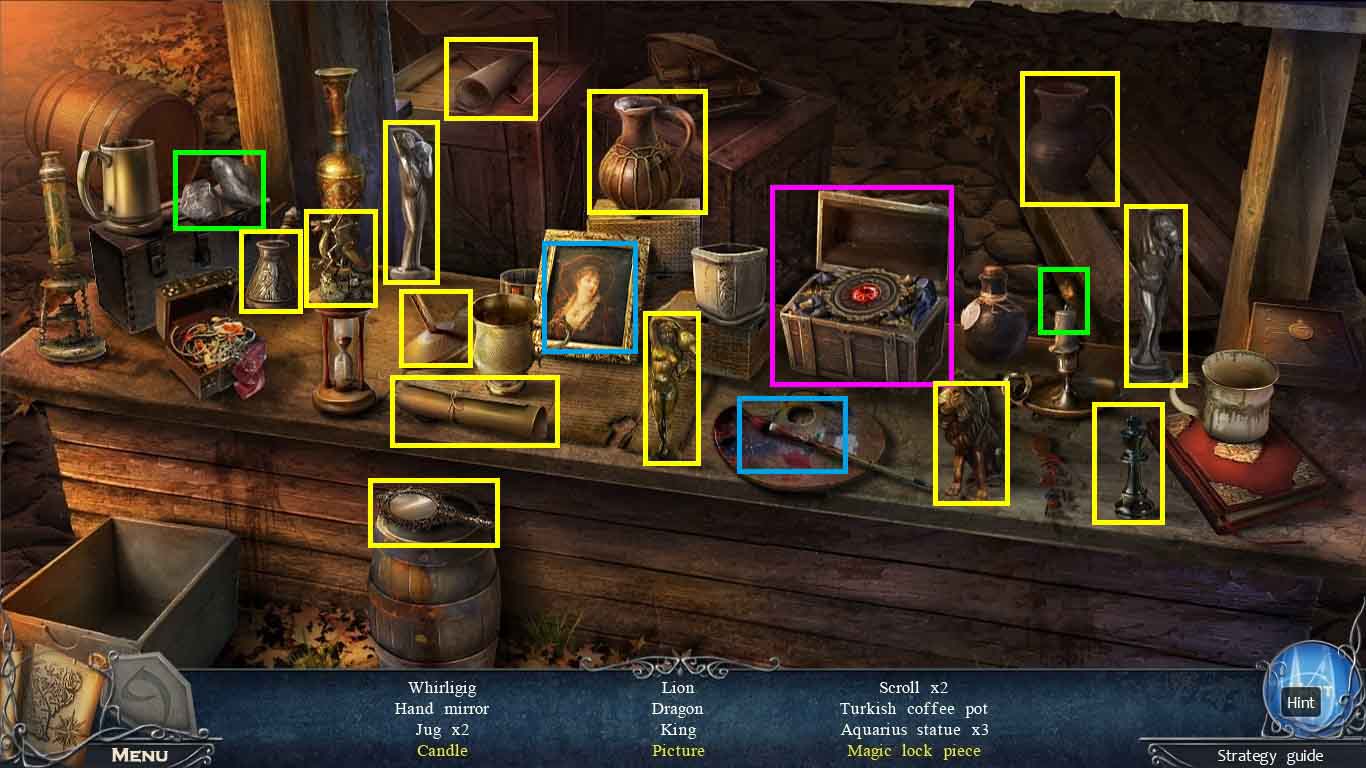
- Find the listed items.
- Click the trunk; collect the magic lock piece.
- Swipe the paintbrush on the canvas; collect the picture.
- Use the flint on the candle; collect the candle
- Collect the magic key.
- Move to the north tower entrance.
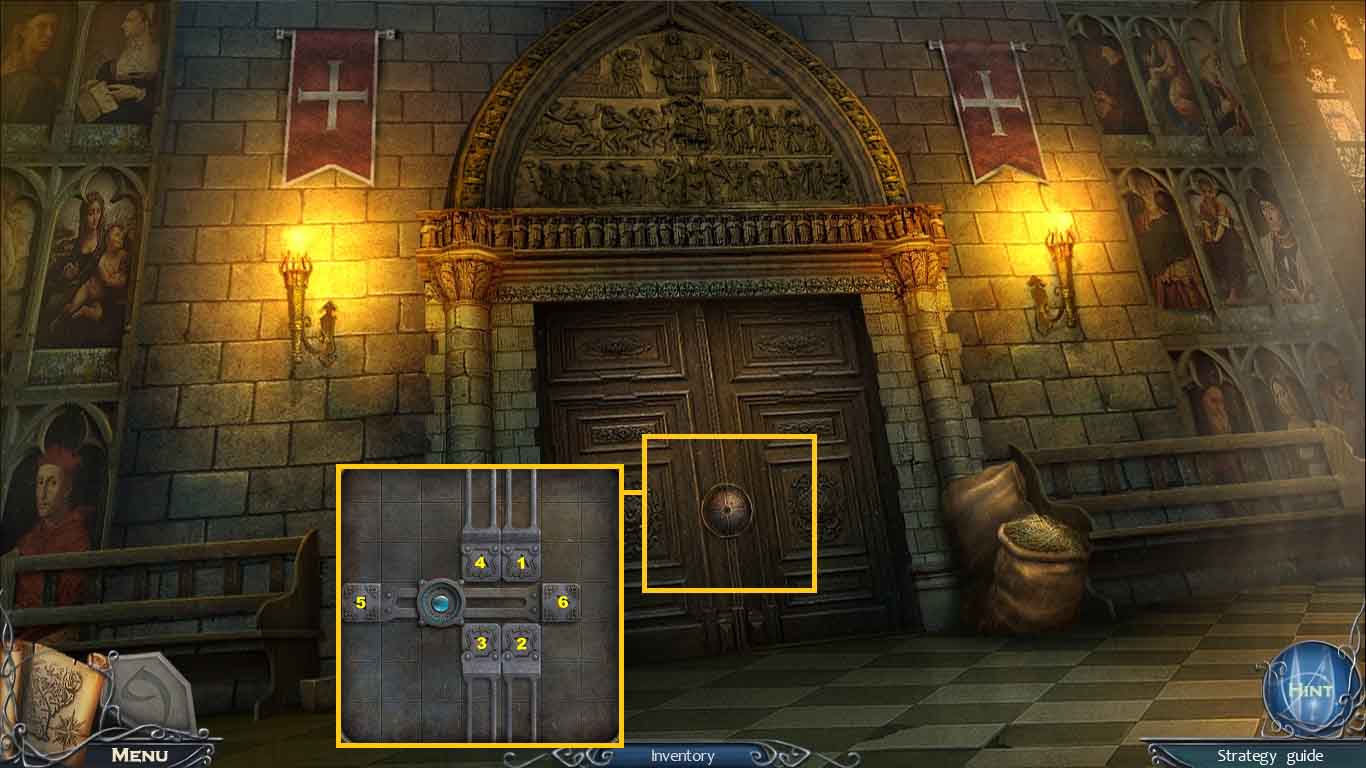
- Zoom into the door.
- Insert the magic key to activate a puzzle.
- Move the gem into the circle.
- To solve, click the arrows as follows: 1 – 6 – 2 – 5 – 4 – 6 – 3 – 5
- Move forward.
- Zoom into the crate; collect the scissors.
- Zoom into the jug; collect the corkscrew.
- Move upstairs to the south floor gallery; collect the gear.
- Move to the south tower entrance.

- Zoom into the cloak.
- Collect the button using the scissors.
- Move forward.
- Zoom into the barrel.
- Use the corkscrew to uncork the cork.
- Collect the toy key.
- Move back two times and move forward.
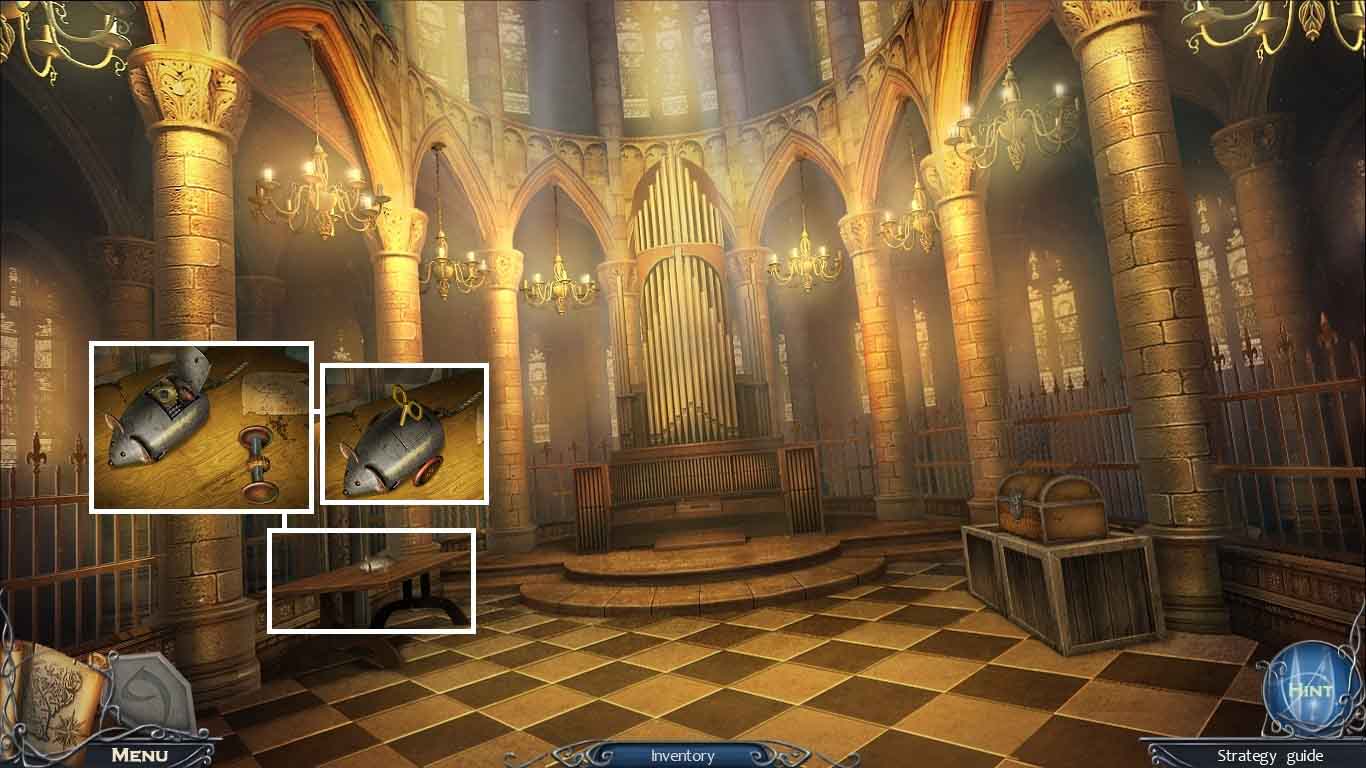
- Zoom into the table.
- Place the gear into the toy mouse and the button onto the axle.
- Put the axle on the toy mouse and click the lid.
- Insert the toy key into the slot; collect the mouse.
- Move to the 2nd floor gallery.
- Use the mouse on the guard.
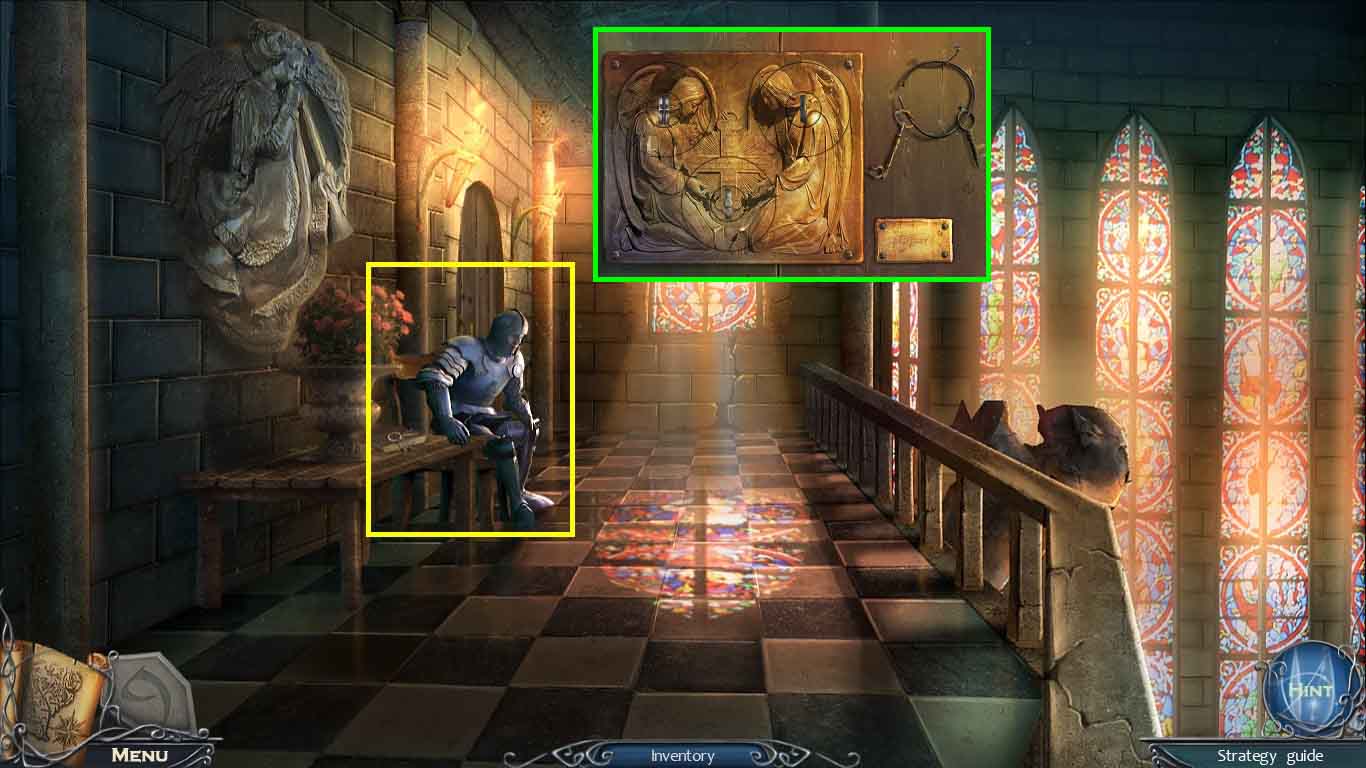
- Zoom into the table; collect the bunch of keys.
- Zoom into the door and insert the bunch of keys to activate a puzzle.
- Insert the keys and rotate the disks to finish the picture.
- Move through the door.
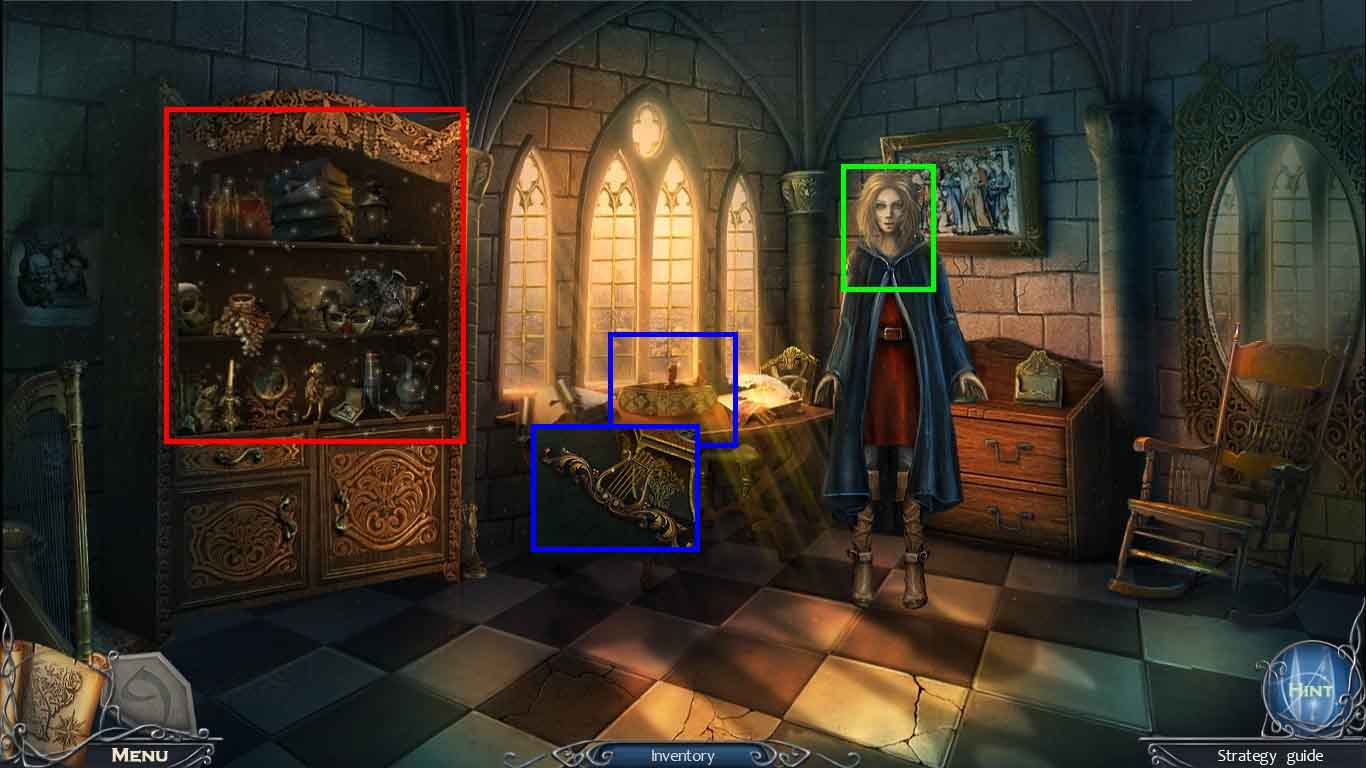
- Talk to the girl.
- Zoom into the table; collect the lyre emblem.
- Zoom into the cupboard to access the hidden objects area.
- Find the listed items.
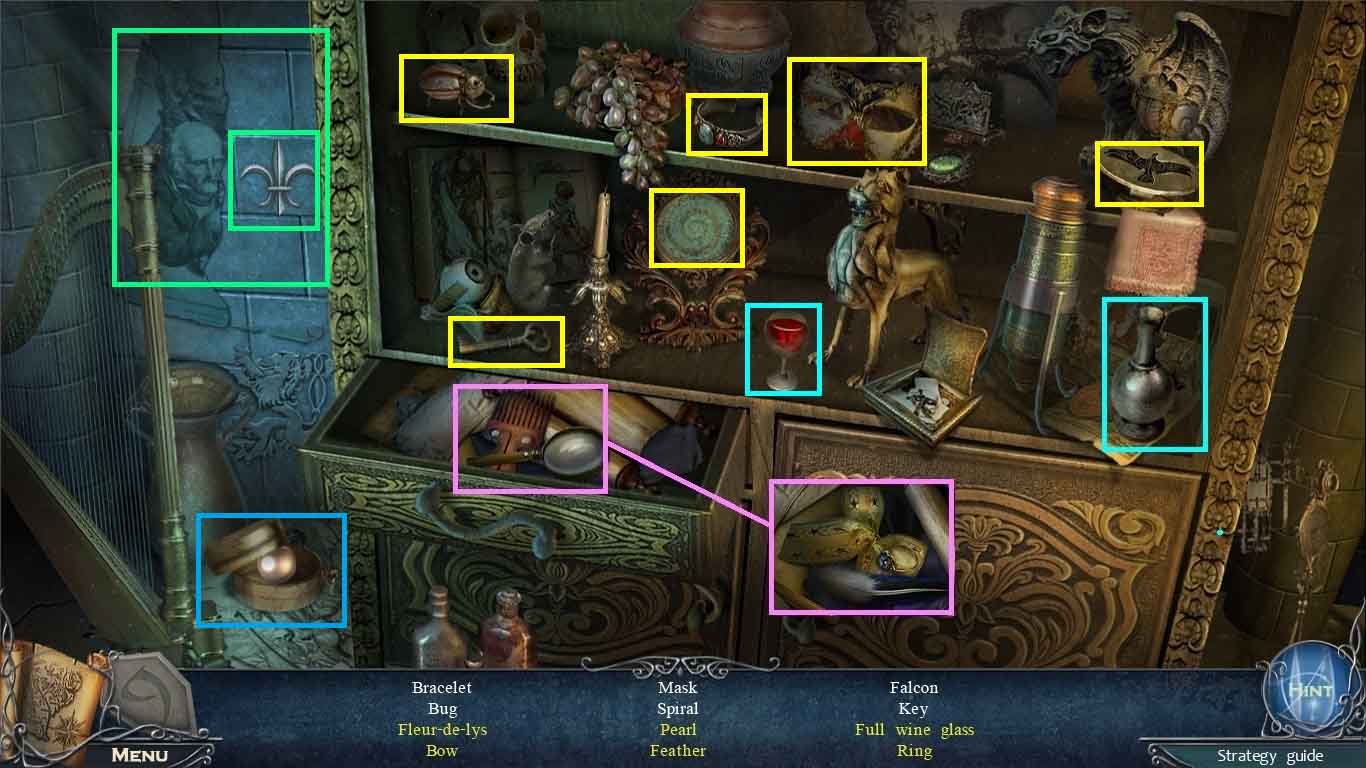
- Click the drawer and zoom in.
- Click the items to collect the ring, feather and bow.
- Use the carafe on the glass; collect the wineglass.
- Click the container; collect the pearl.
- Click the poster; collect the fleur-de-lis.
- Collect the falcon mold.
- Move to the organ hall.
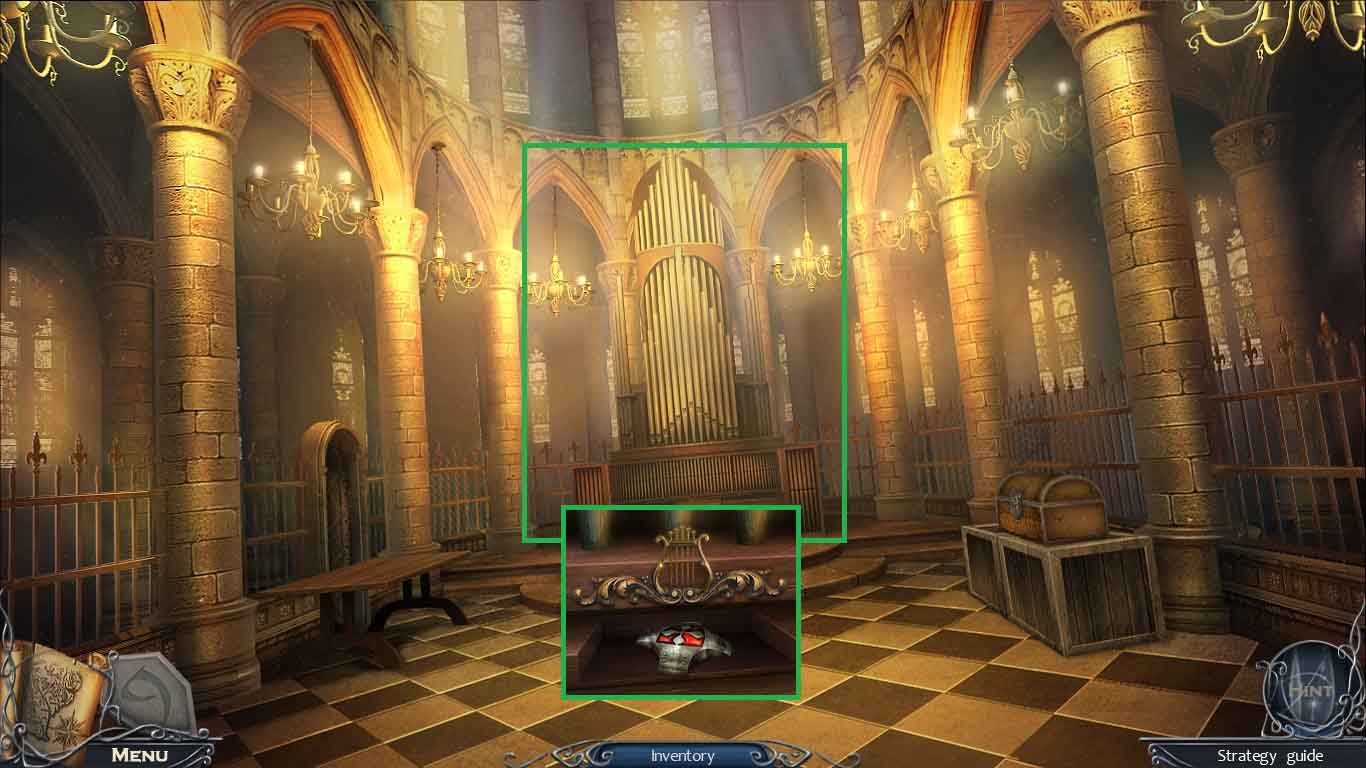
- Zoom into the organ and insert the lyre emblem.
- Collect the jewel block.
- Move to the north tower stairwell.
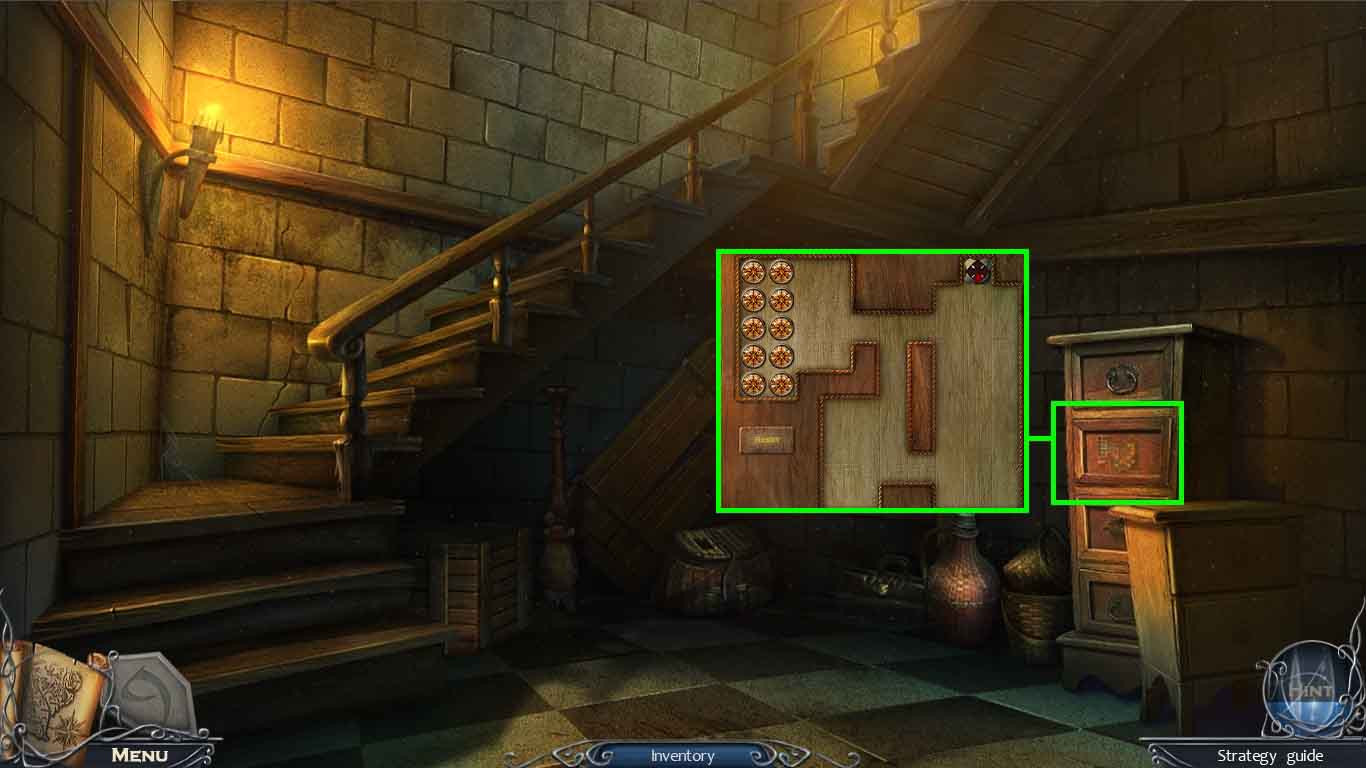
- Zoom into the drawer and put the jewel block into it to activate a puzzle.
- Move the gem stones to the recesses.
- Solve by clicking the arrows.
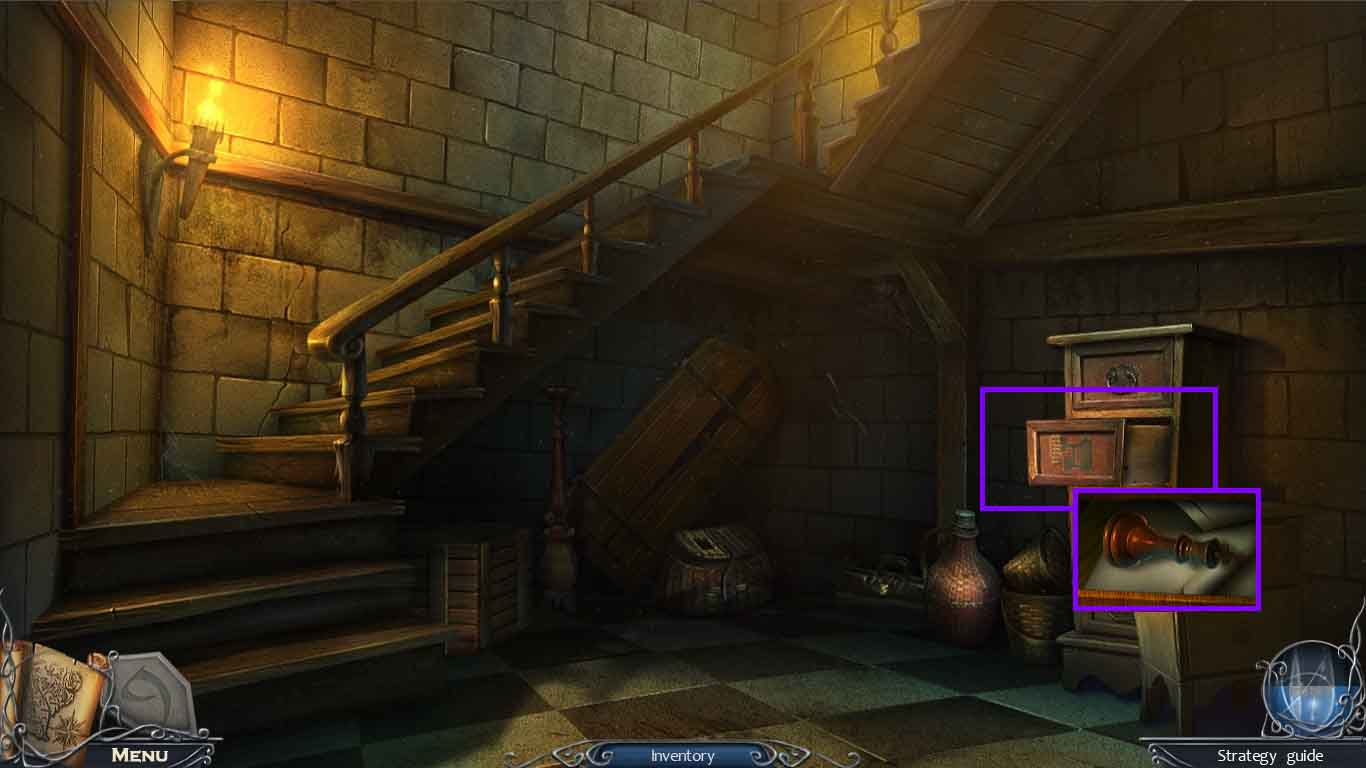
- Zoom into the drawer; collect the chess piece.
- Move to Bianca’s room.
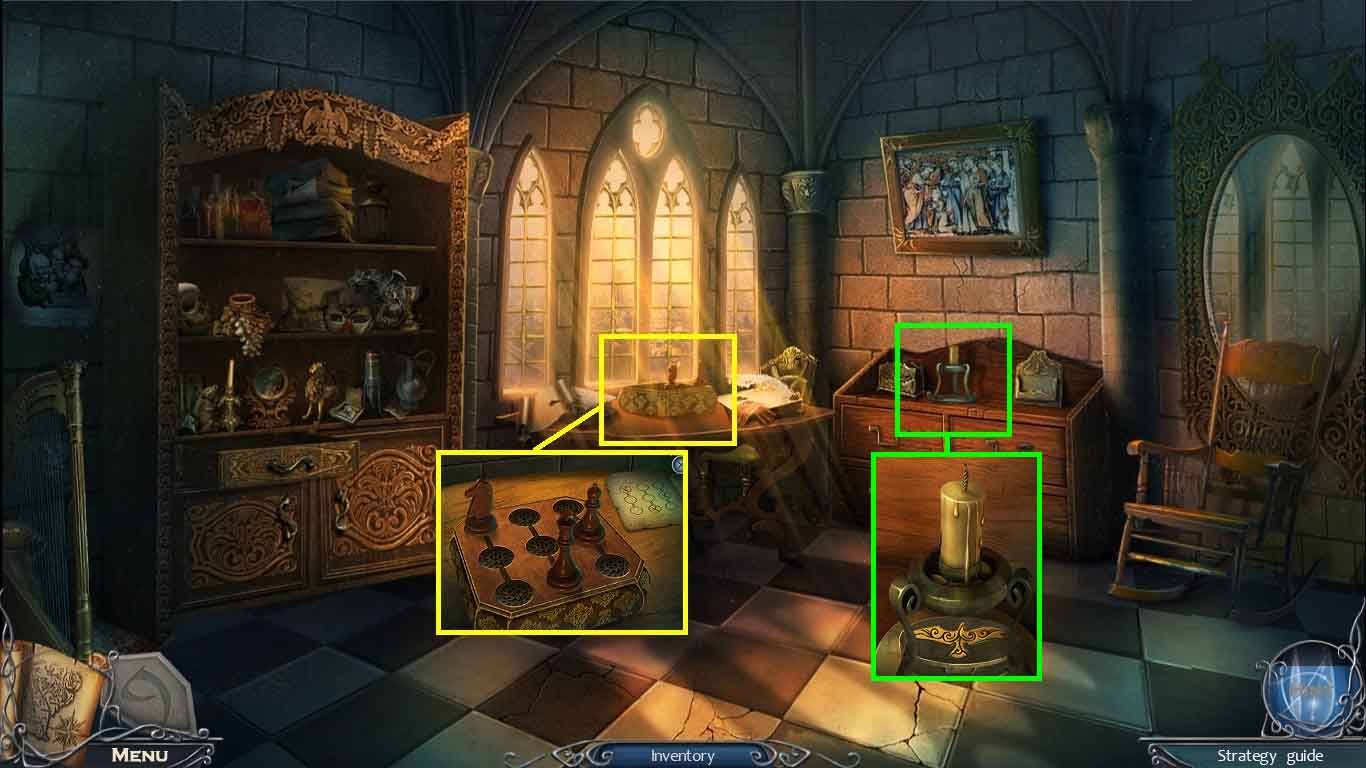
- Zoom into the table and put the chess piece onto the box.
- Move the pieces as depicted on the code.
- Collect the flint and steel.
- Zoom into the chest of drawer.
- Use the falcon mold, flint and steel on the candle; collect the falcon.
- Move back 2 times.
- Zoom into the wall; insert the falcon.
- Collect the bear.
- Move to the organ hall.
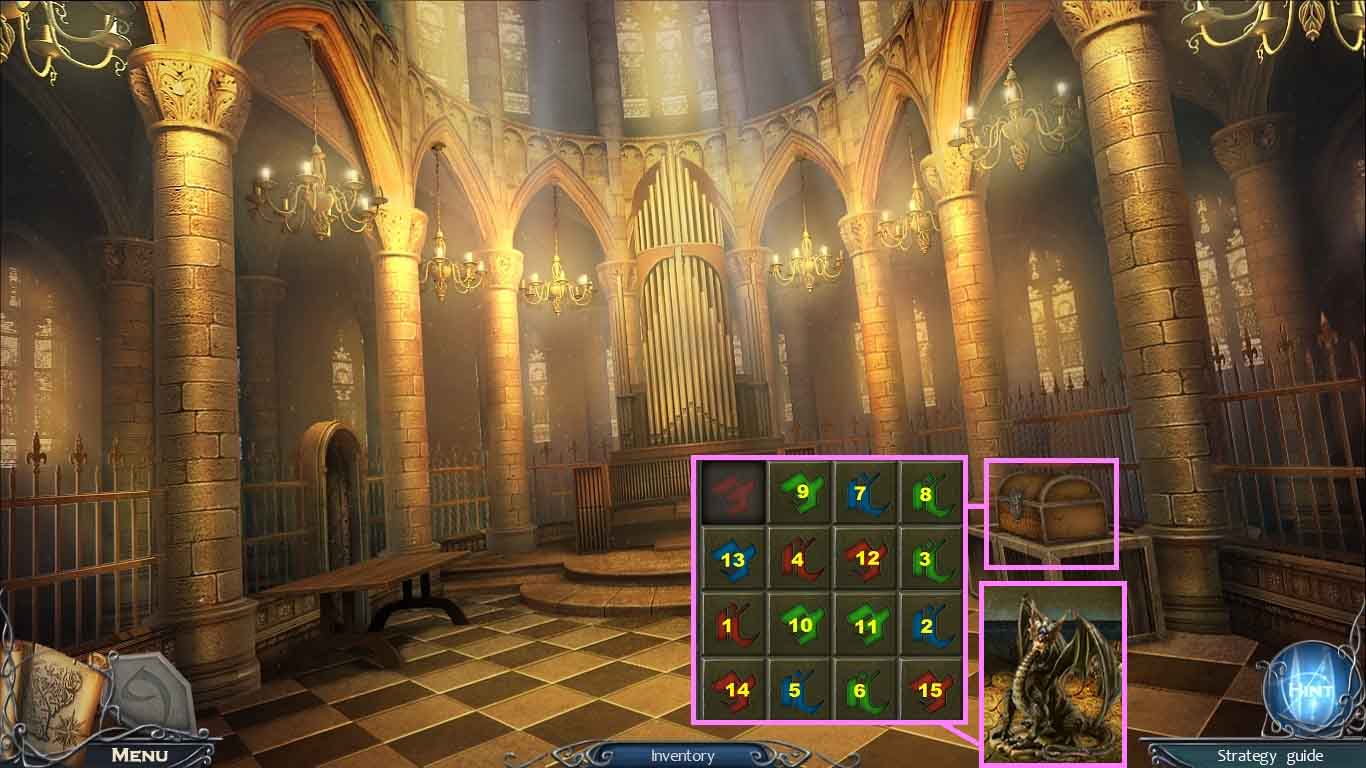
- Zoom into the chest; put the bear onto it to activate a puzzle.
- Click in all the buttons.
- Solve in the sequence shown.
- Zoom into the open chest; collect the dragon.
- Move back 2 times.
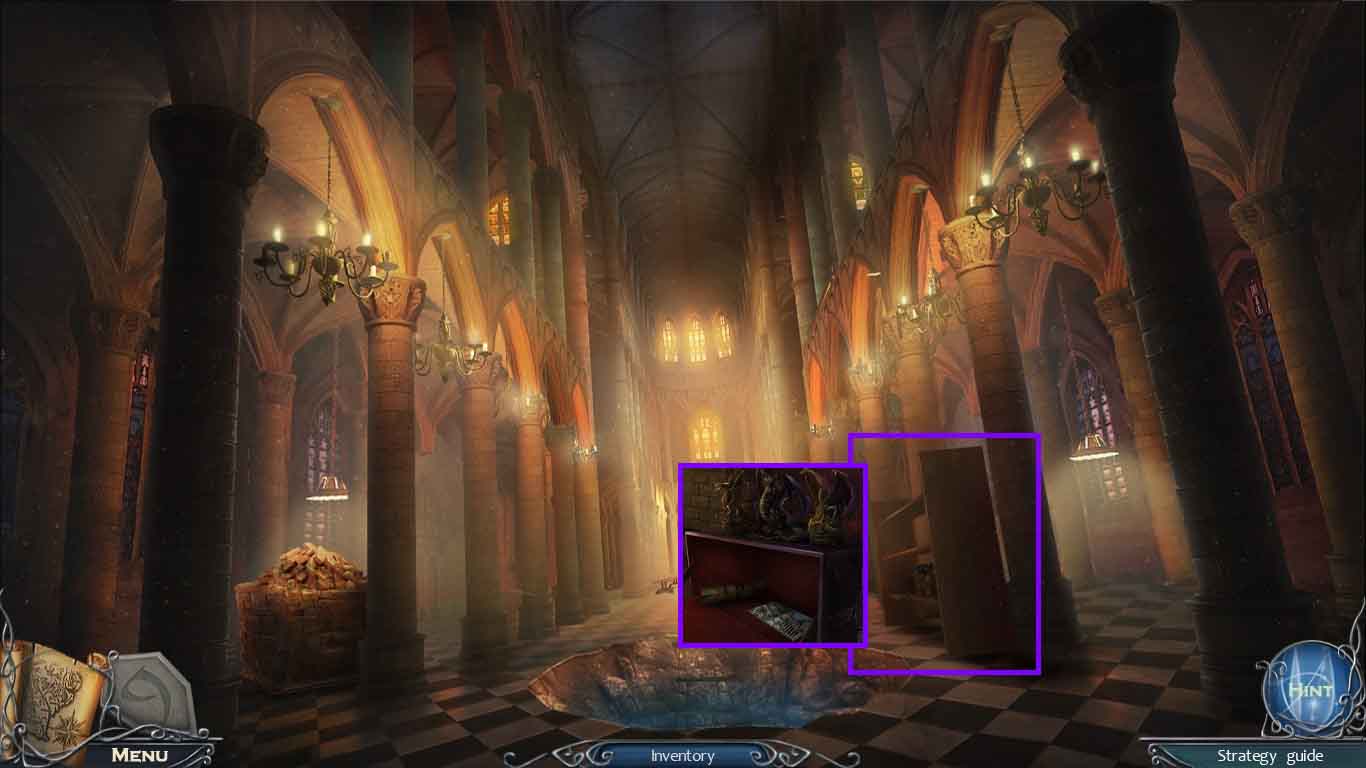
- Zoom into the shelf and insert the dragon.
- Collect the mosaic piece.
- Move to the 2nd floor gallery.
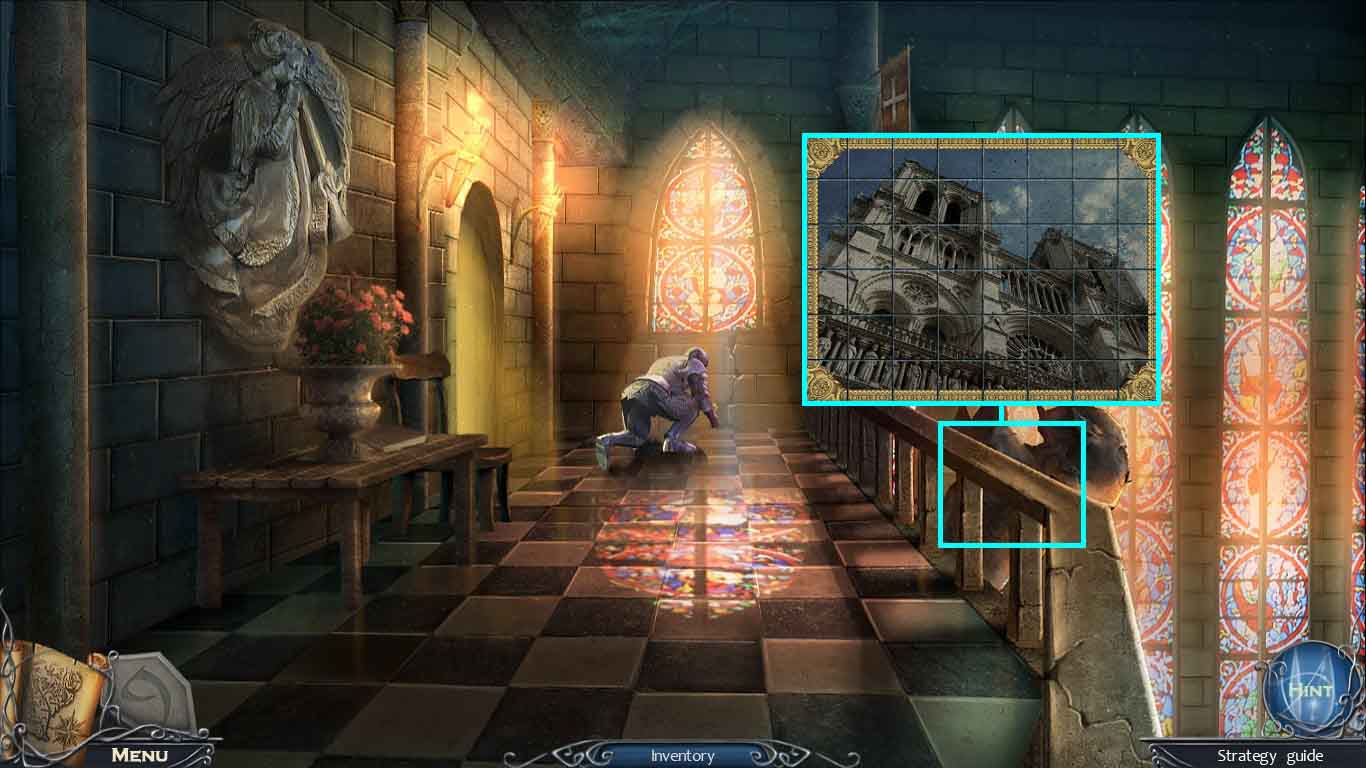
- Zoom into the railing.
- Put the mosaic piece onto the board to activate a puzzle.
- Move the pieces to finish the picture.

- Zoom into the wall; collect the amulet.
- Move to the window of inspiration.
- Give the man the amulet.
Congratulations! You have successfully completed 9: The Dark Side of Notre Dame Collector’s Edition!
Comments will load when you reach this part of the walkthrough.