

Chapter Two: Lake Side
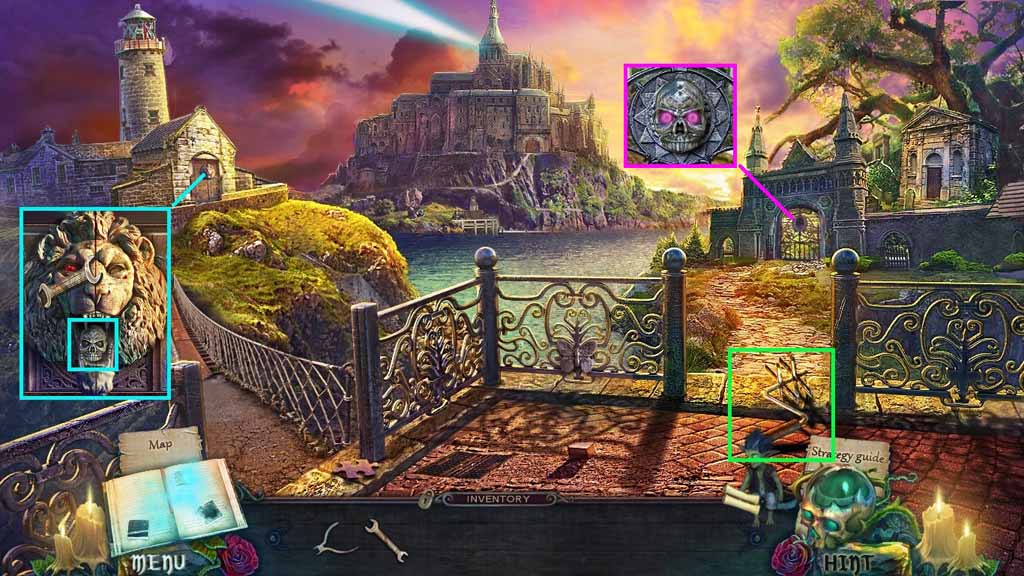
- Collect the crank.
- Use the wrench to remove the screw and collect the skull.
- Place the skull into the gate.
- Move to the right and click the hidden objects area.
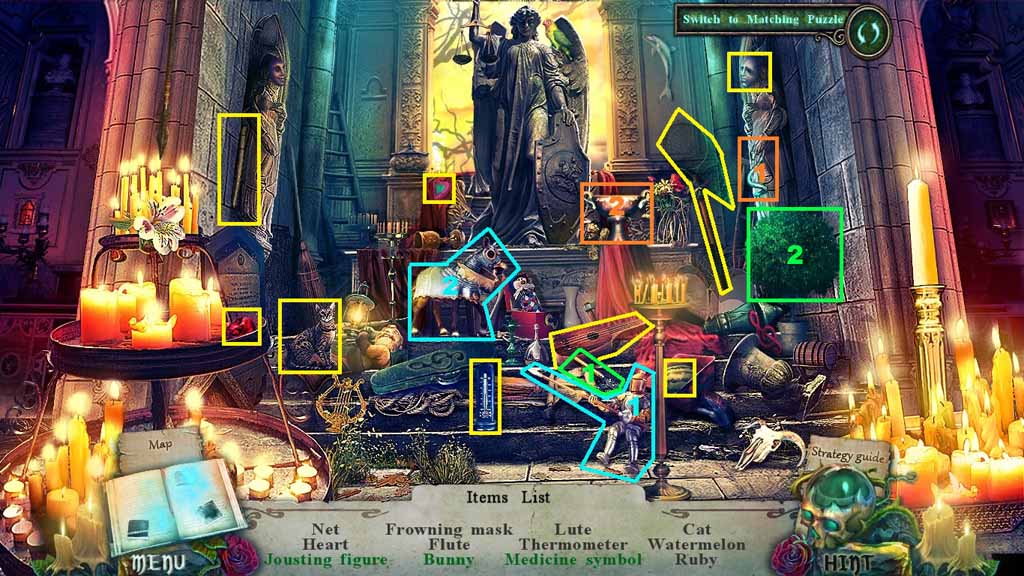
- Find the listed items.
- Select the knight and place it onto the horse; collect the jousting figure.
- Select the tree clippers to trim the tree; collect the bunny.
- Select the snake and place it onto the bowl; collect the medicine symbol.
- Collect the ruby.
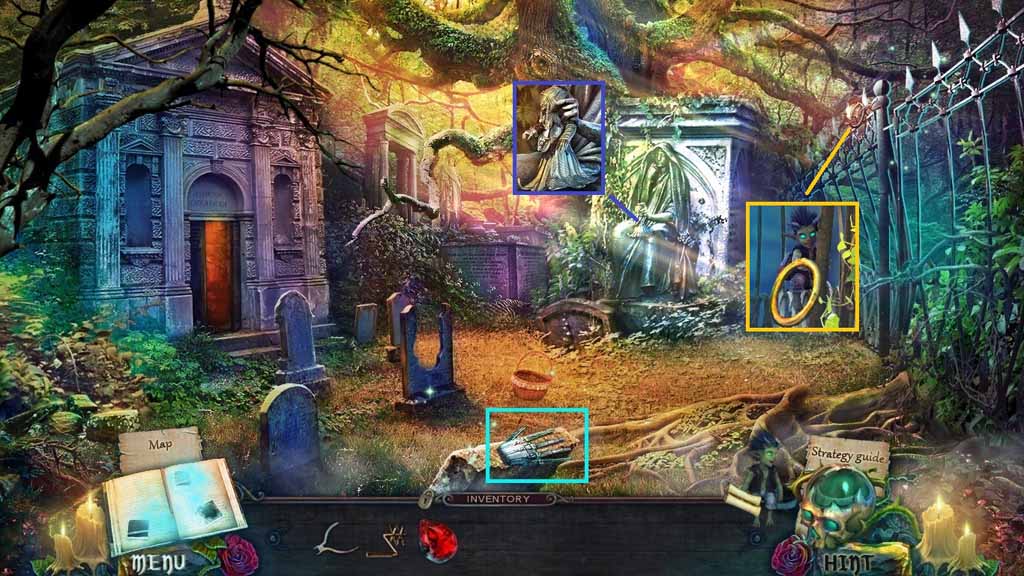
- Collect the hand key.
- Collect the witch figurine.
- Place the Imp down.
- Give the Imp the wire cutters and collect the ring.
- Move down one time.
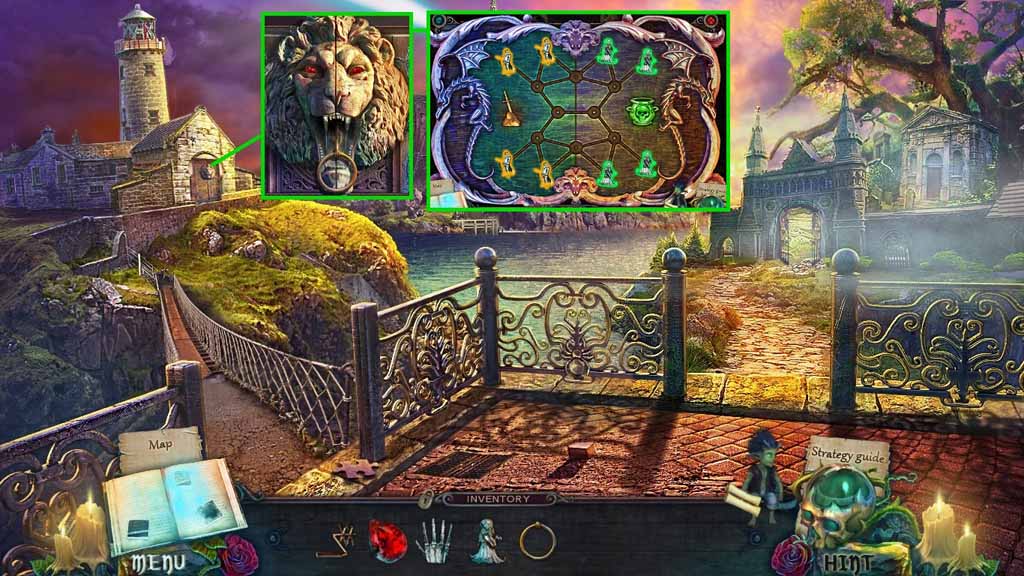
- Place the ruby into the slot and place the ring onto the chain.
- Click the ring and place the witch figurine down to trigger a mini-game.
- Solve the game by aligning the witches on the right side and the hunters on the left side.
- Move to the left.
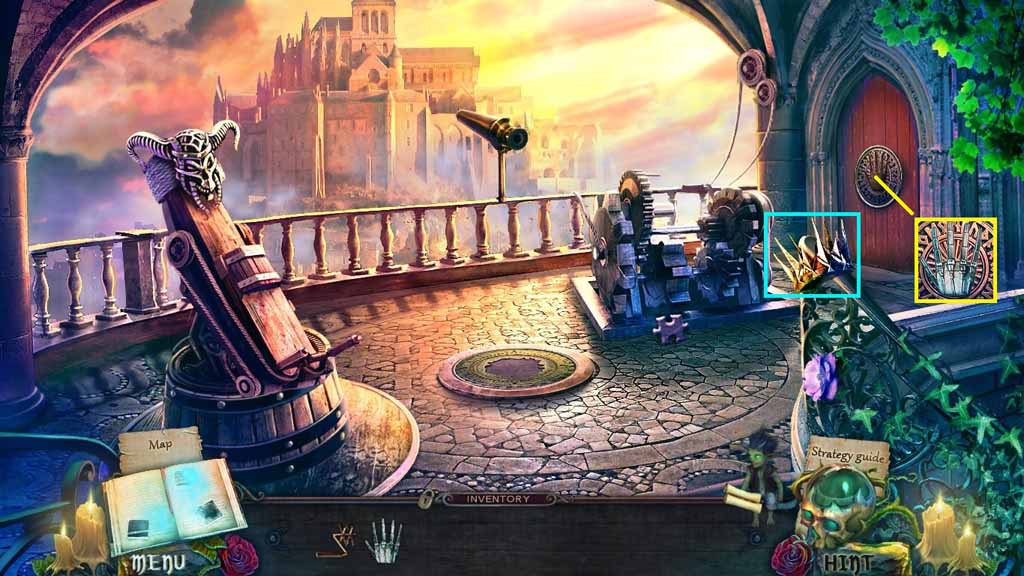
- Collect the crown.
- Insert the hand key into the groove.
- Move to the right.
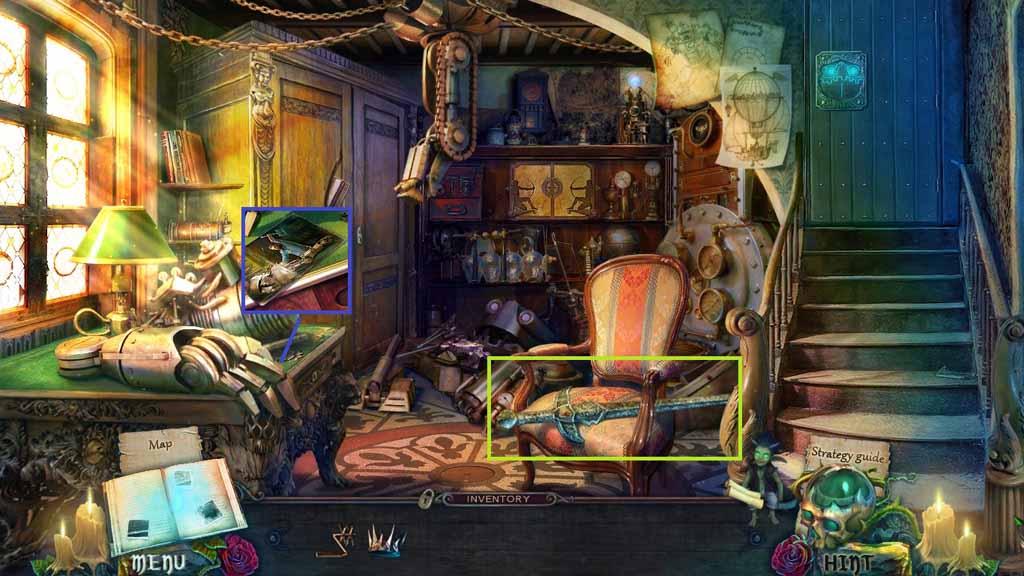
- Collect the stone sword.
- Examine the photo.
- Move down two times and go right.
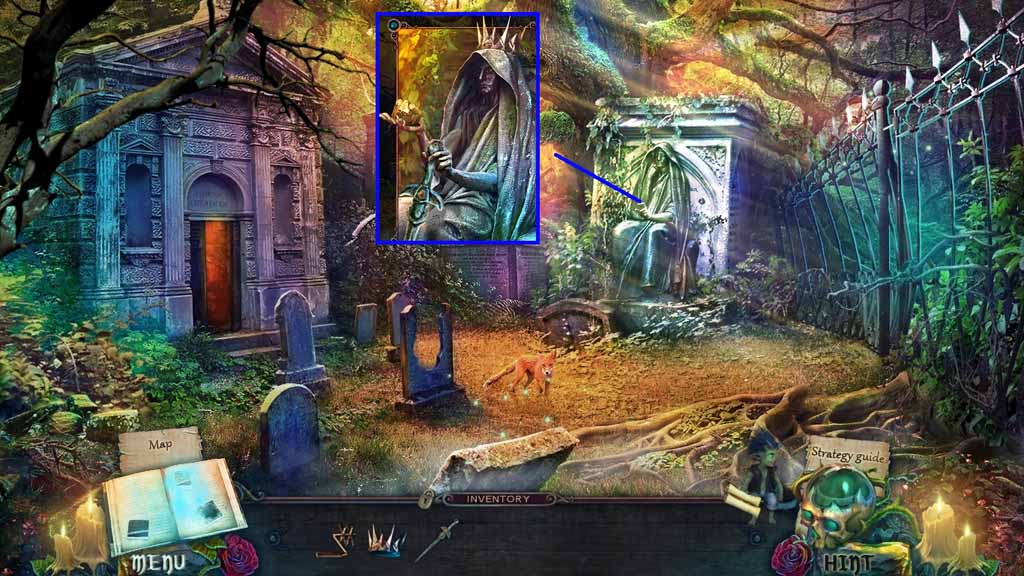
- Place the crown and the stone sword onto the statue.
- Collect the golem head.
- Move to the Workshop.
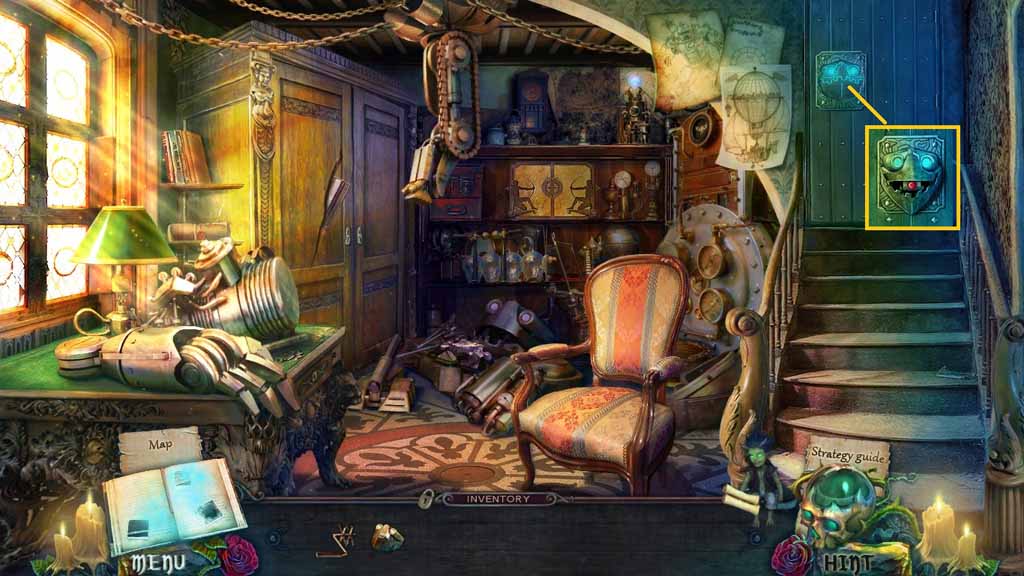
- Attach the golem head onto the door and click the button.
- Move upstairs.
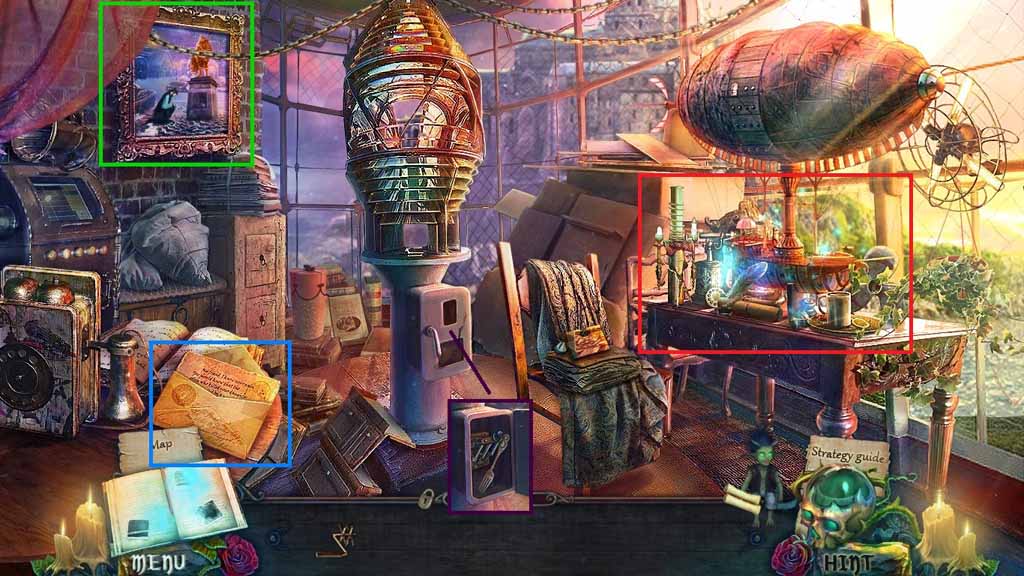
- Read the letter.
- Click the painting.
- Click the compartment and collect the silver fork.
- Click the hidden objects area.
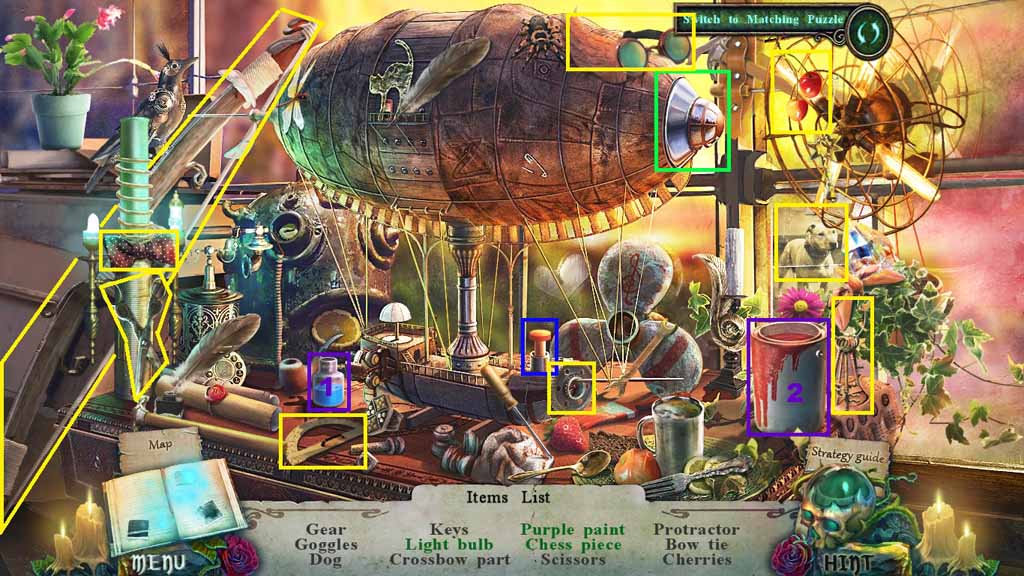
- Find the listed items.
- Click the front of the zeppelin; collect the light bulb.
- Select the blue liquid and pour it into the red paint; collect the purple paint.
- Click the button; collect the chess piece.
- Collect the crossbow part.
- Move down once.
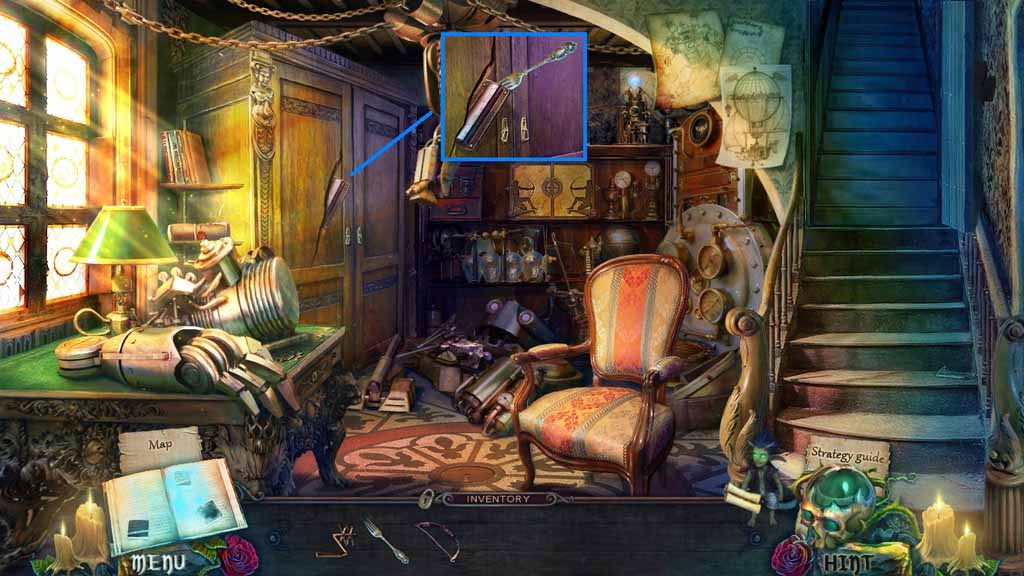
- Use the silver fork to collect the safe panel.
- Move down once.
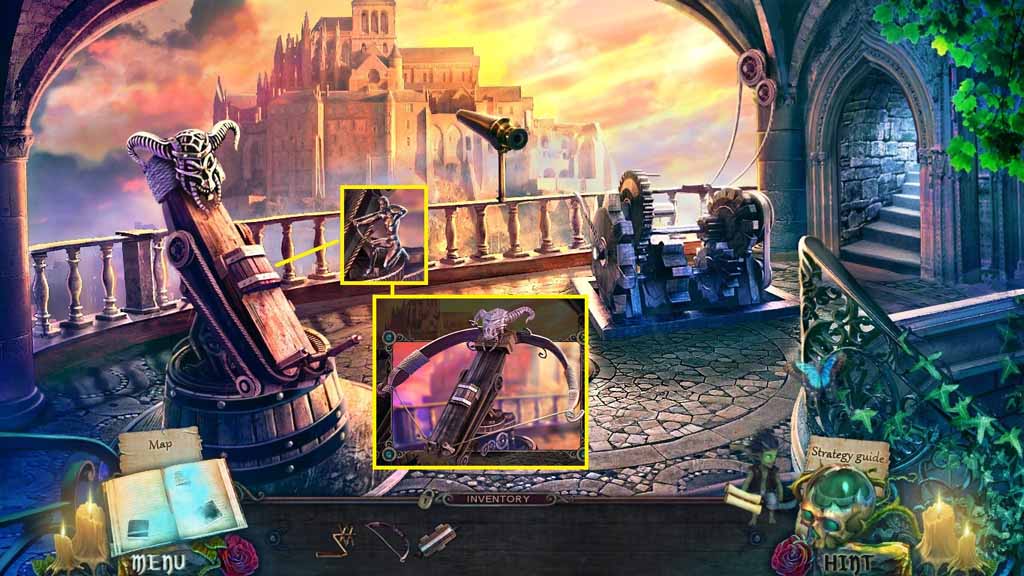
- Attach the crank onto the crossbow and collect the archer figurine.
- Place down the crossbow part.
- Move to the right and then go upstairs.
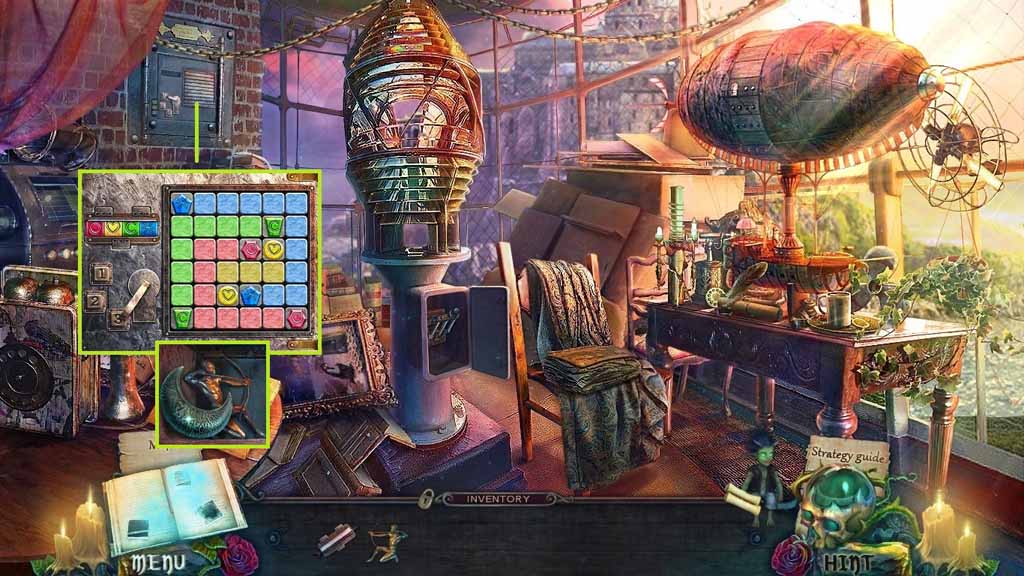
- Attach the safe panel onto the safe to trigger a mini-game.
- Solve the game by connecting the crystals while making sure that none of the lines cross one another. Then click the color codes correctly to open the safe.
- Collect the silver moon and the archer figurine.
- Move down once.
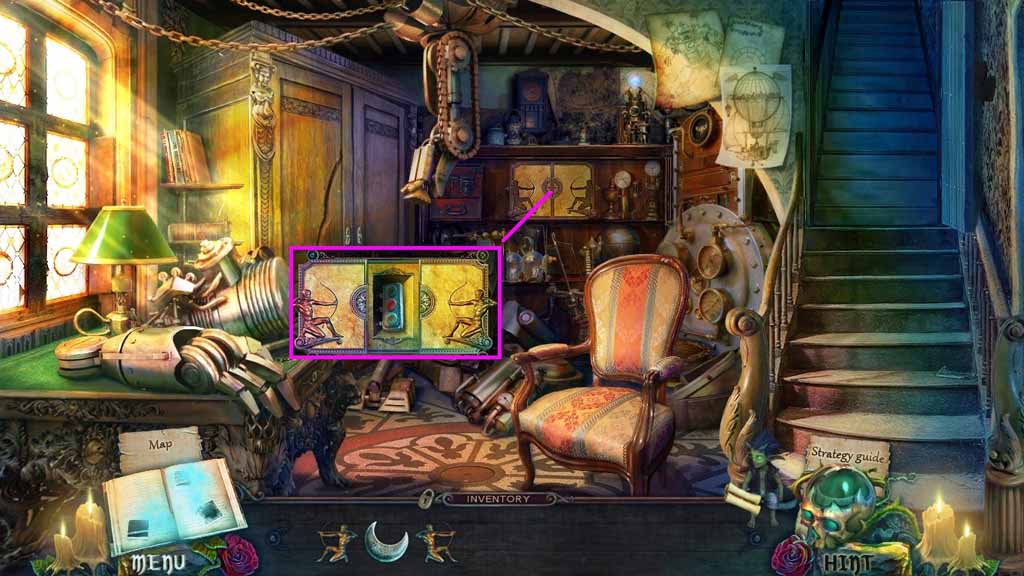
- Insert the two archer figurines into the grooves.
- Collect the remote-control.
- Move down once.
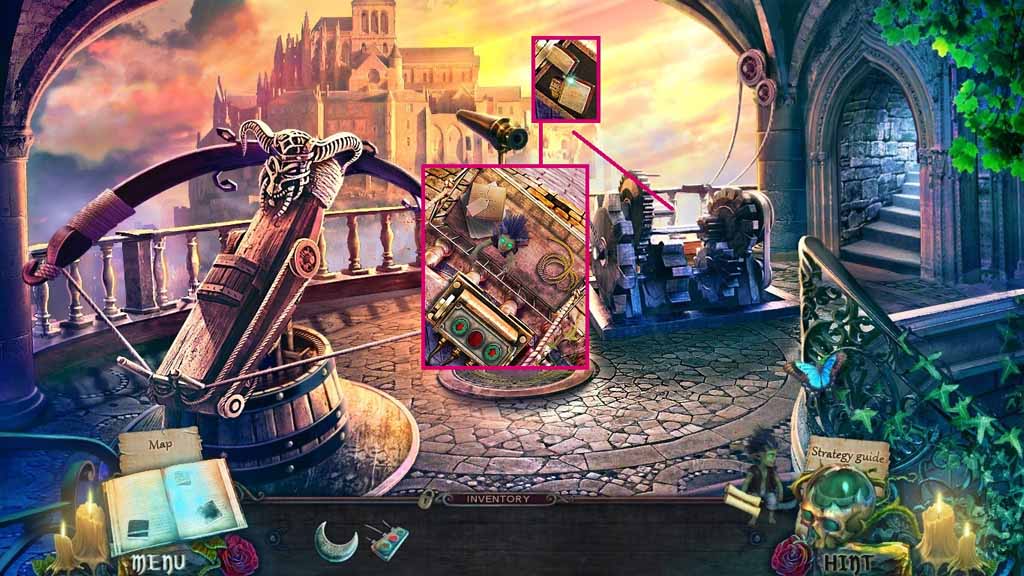
- Place the Imp down and collect the lighter.
- Place the remote-control onto the elevator and click the buttons.
- Collect the silver key.
- Move to the right.
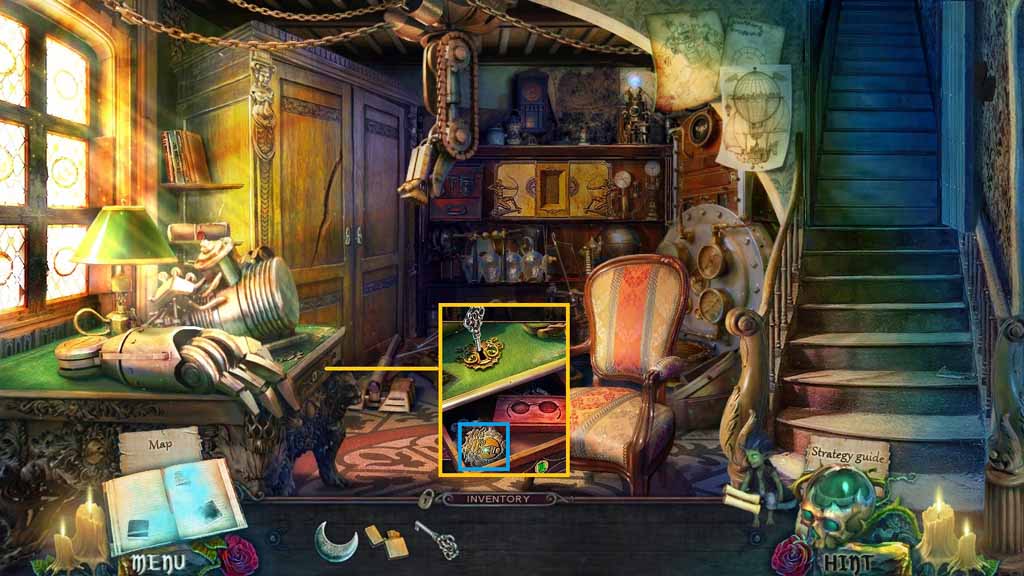
- Place the silver key into the lock and click it once.
- Collect the witch’s face.
- Move down once.
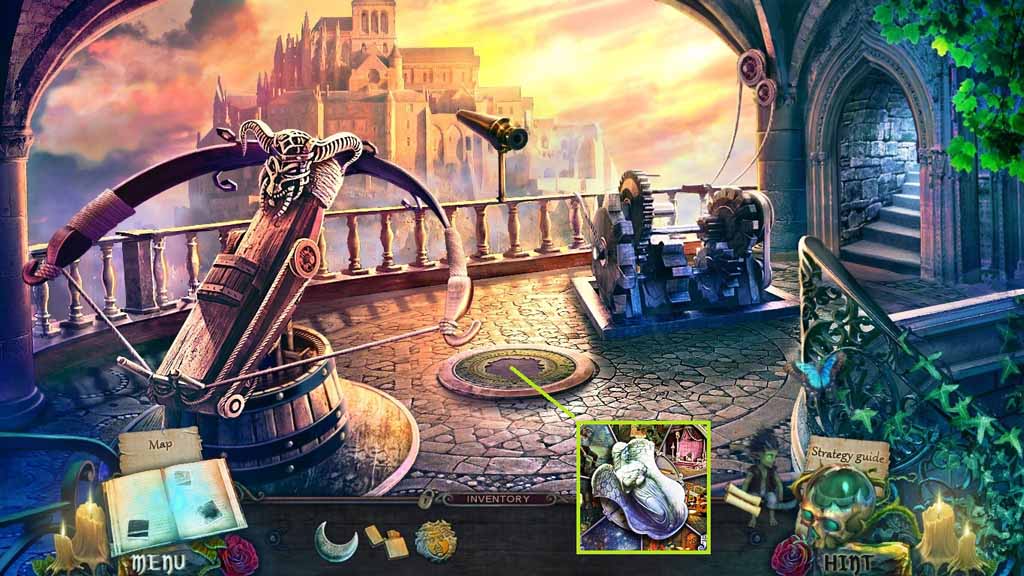
- Insert the witches face into the groove and collect the angel.
- Move down once in turn right then click the hidden objects area.
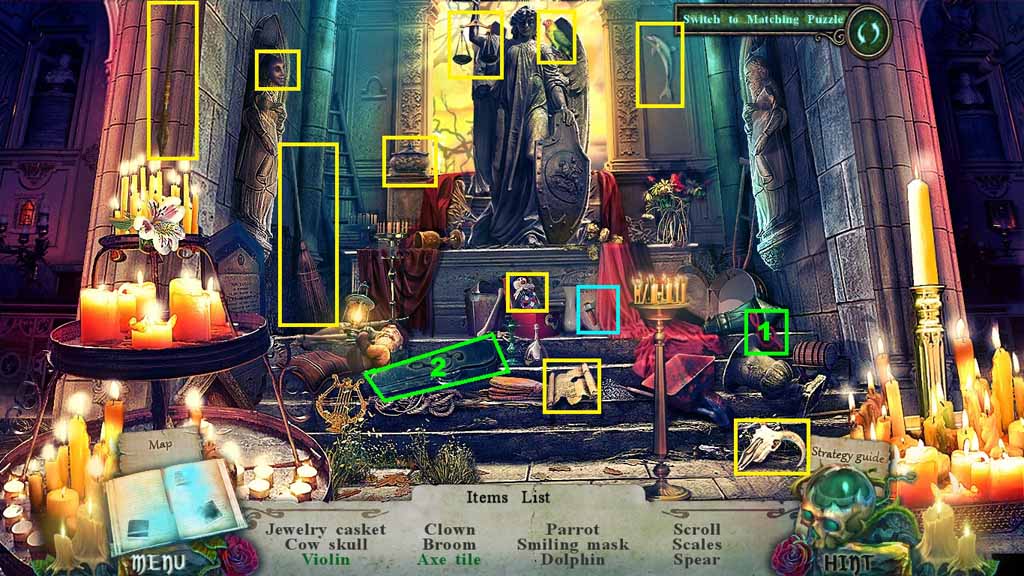
- Find the listed items.
- Select the treble clef and insert it into the case; collect the violin.
- Click the cloth; collect the axe tile.
- Collect the axe tile.
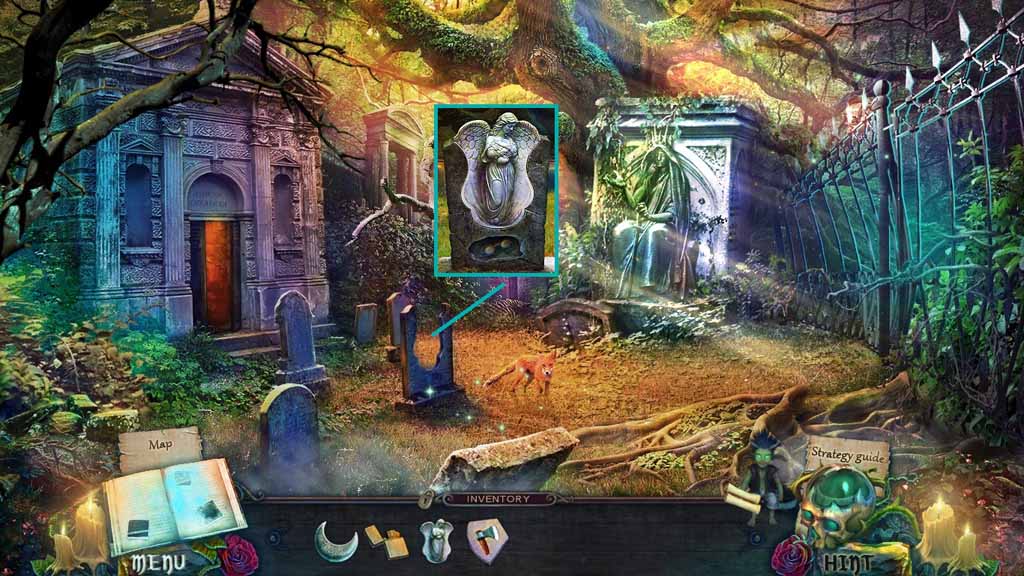
- Place the angel down and collect the glasses.
- Move to the Workshop.
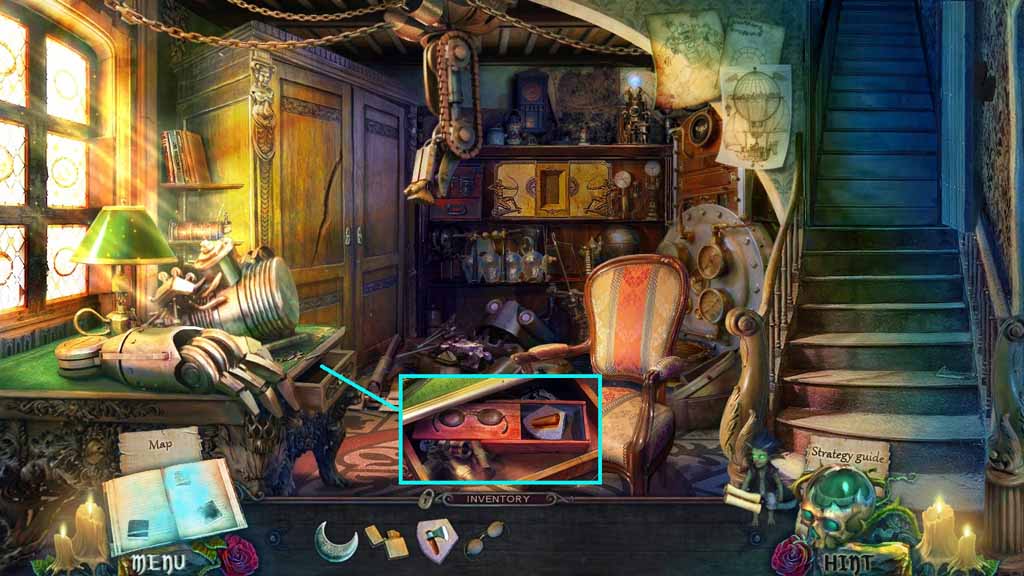
- Place the glasses into the case and collect the fabric tile.
- Move down once.
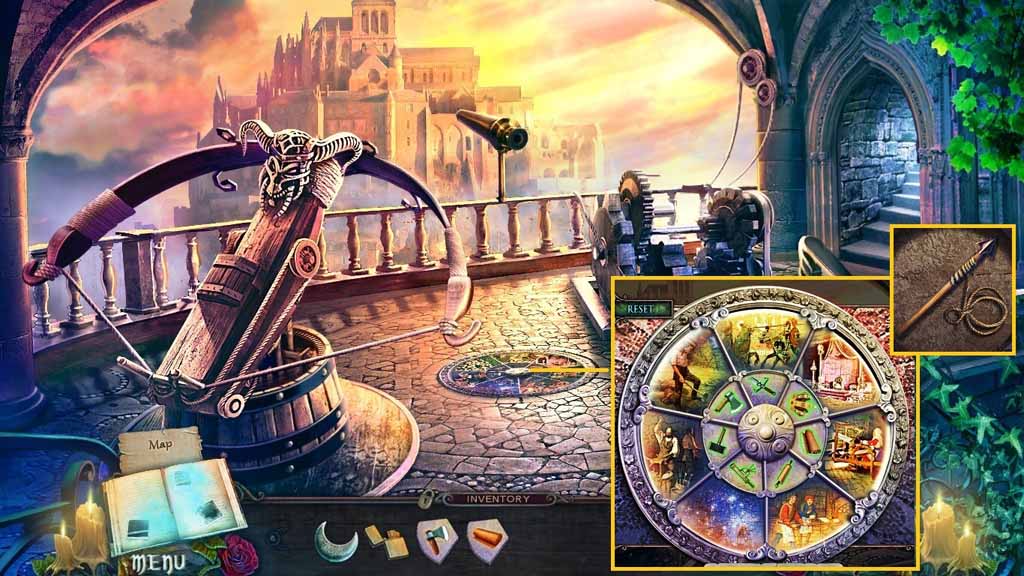
- Place the axe and fabric tiles onto the board to trigger a mini-game.
- Solve the game by arranging the tiles to match the outer segments of the images.
- Collect the javelin with rope.
Comments will load when you reach this part of the walkthrough.