

Chapter Six: Upper Street
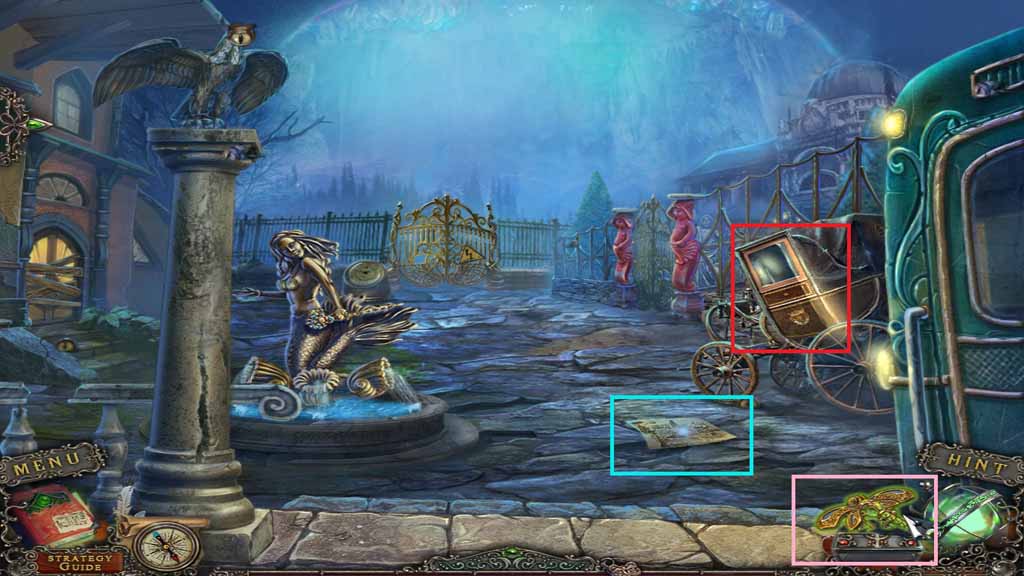
- Click the dragonfly.
- Collect the note.
- Click the carriage to trigger a hidden objects area.
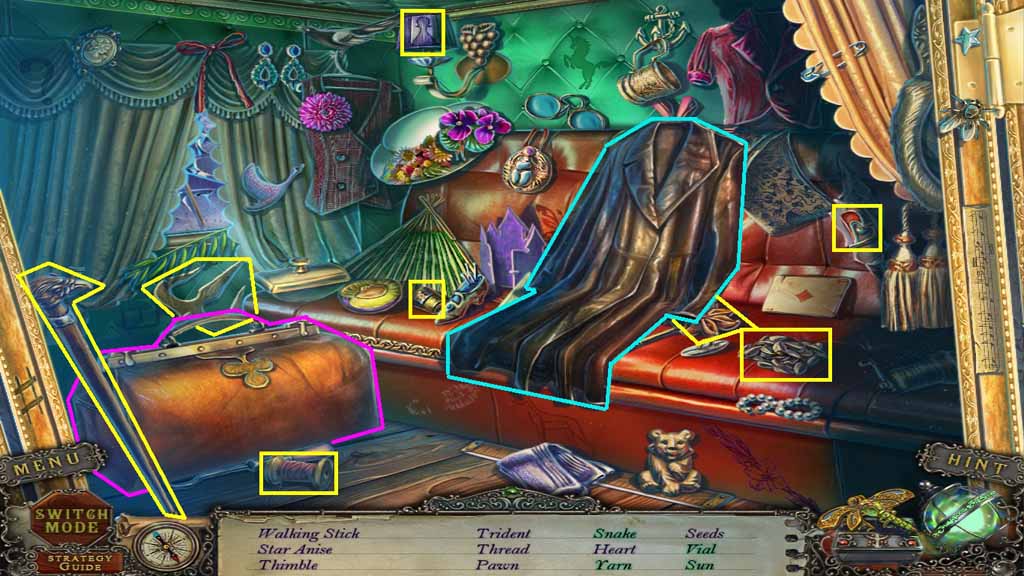
- Find the listed items.
- Click the luggage; collect the yarn and the vial.
- Click the coat; collect the snake and the sun.
- Collect the trident.
- Move ahead.
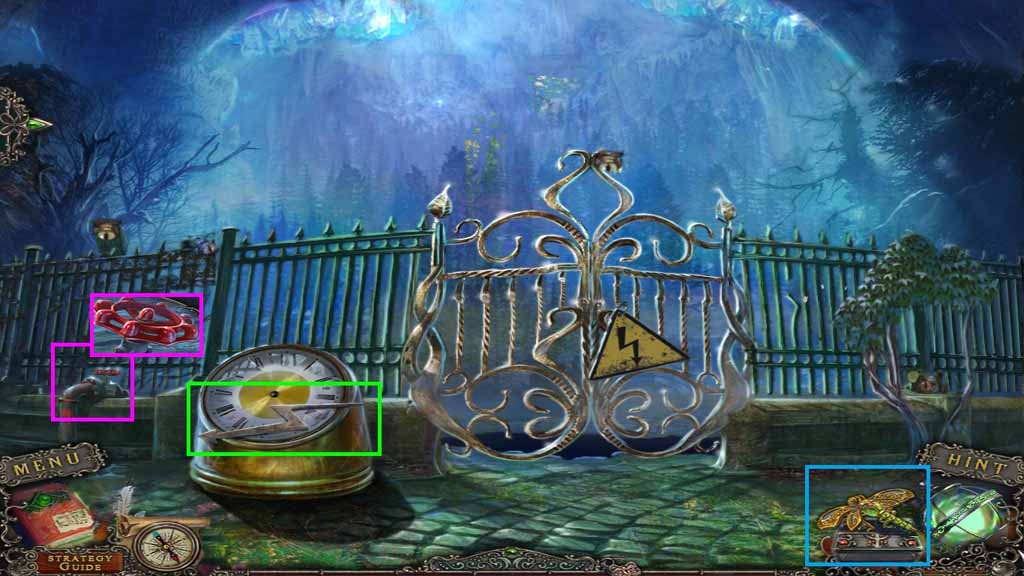
- Click the dragonfly.
- Collect the lightning.
- Collect the valve.
- Move down once and to the right.
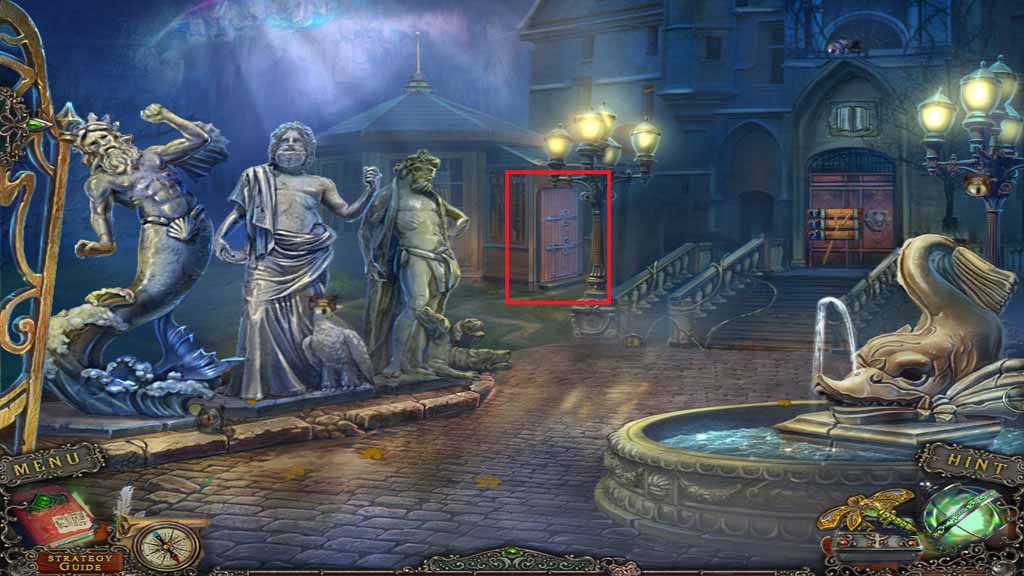
- Click the shed to access a hidden objects area.
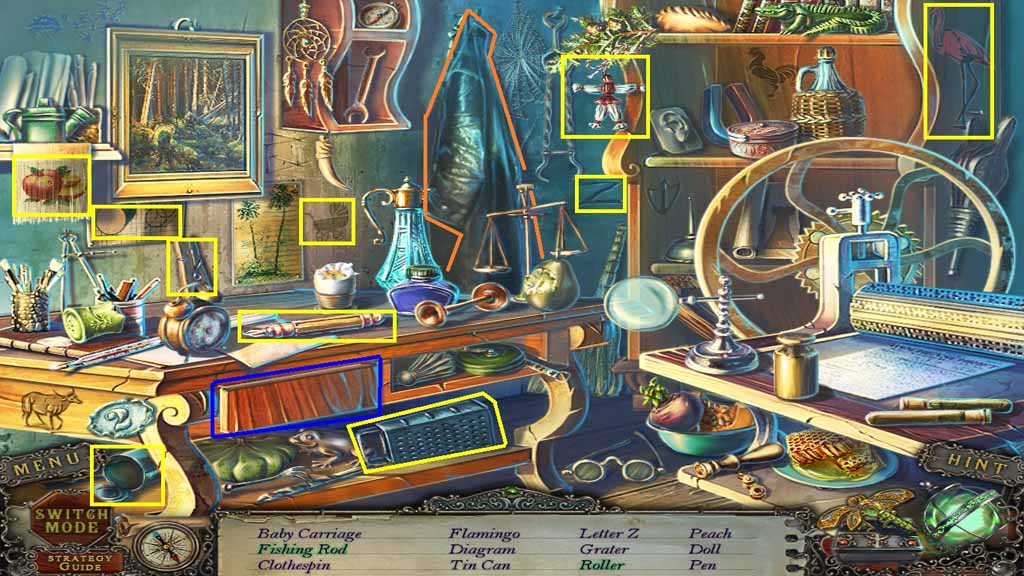
- Find the listed items.
- Click the coat; collect the fishing rod.
- Click the drawer; collect the roller.
- Collect the fishing rod.
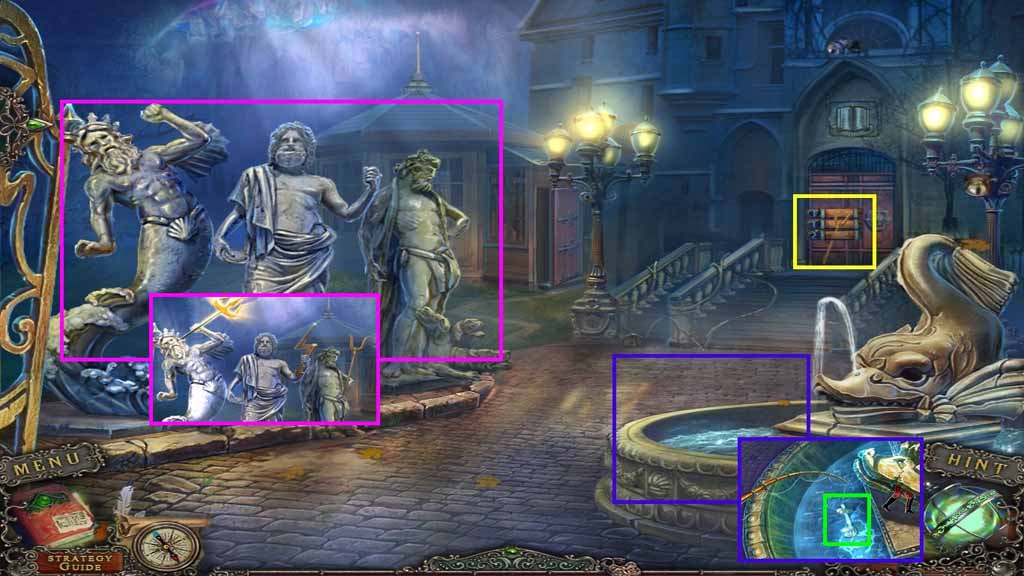
- Collect the pitchfork.
- Select the fishing rod to collect the glass cutter.
- Place the trident, pitchfork and the lightning onto the statues.
- Rearrange them starting from left to right as follows: trident – lightning – pitchfork
- Move into the Library.
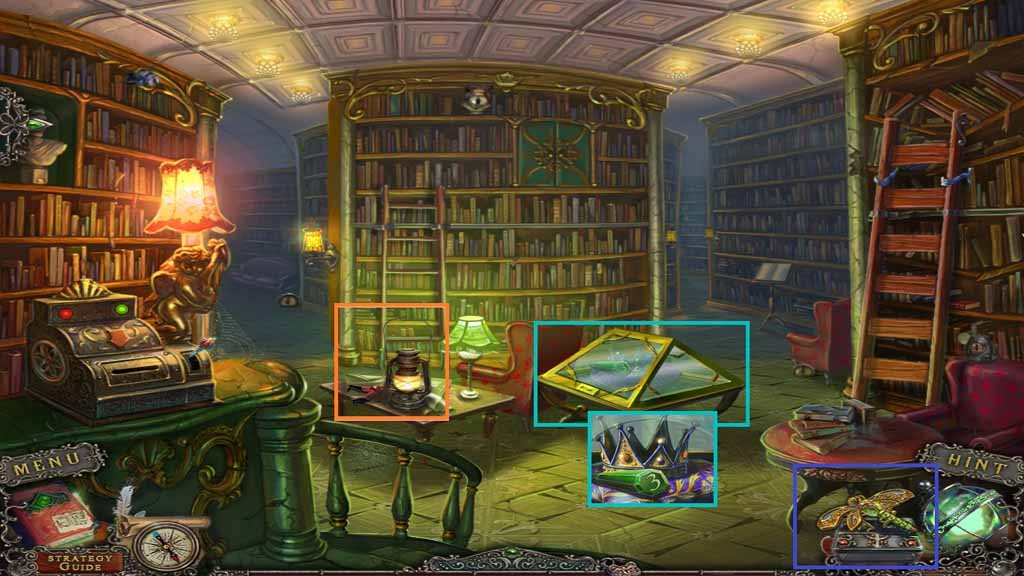
- Click the dragonfly.
- Collect the lamp and 2 / 3 tin soldiers.
- Select the glass cutter to cut the display open.
- Collect the numbered crystal and the crown.
- Move down 2 times and move ahead.
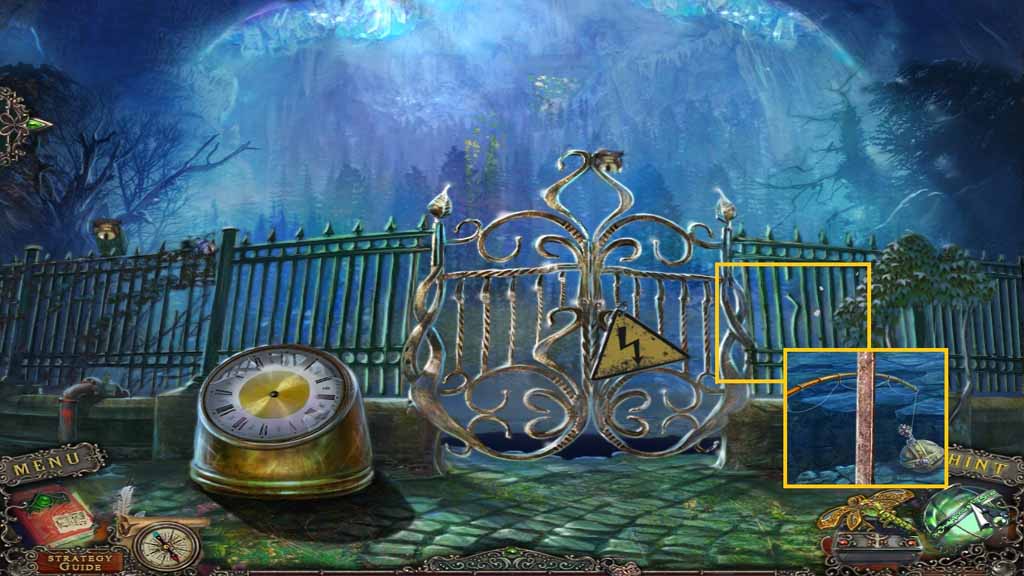
- Select the fishing rod to collect the royal orb.
- Move back once.
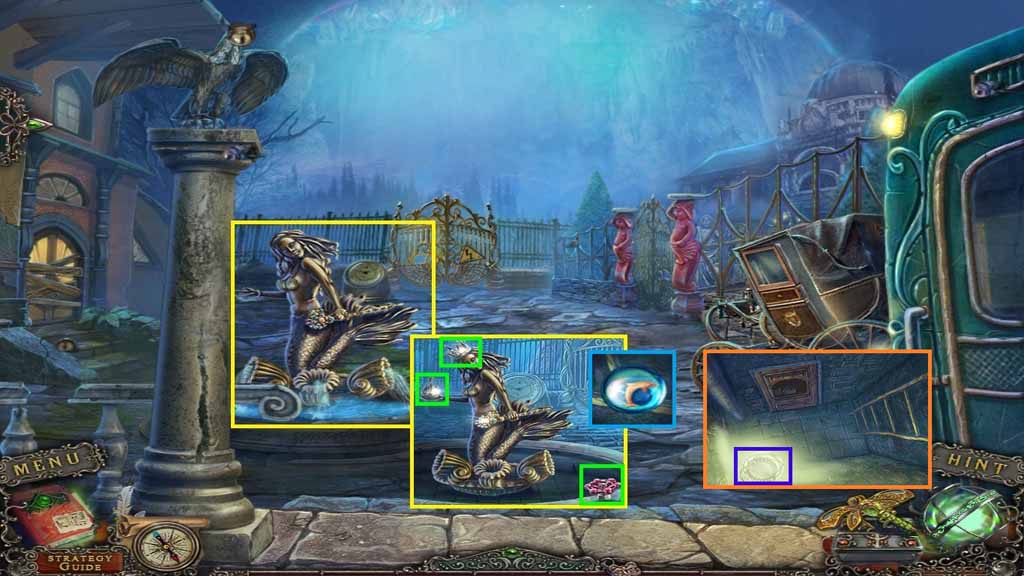
- Place the valve onto the stem and click it once.
- Place the crown onto the statue and the orb into her hand.
- Collect the dolphin eye.
- Select the lamp to use in the shaft.
- Move to the right through the gates.
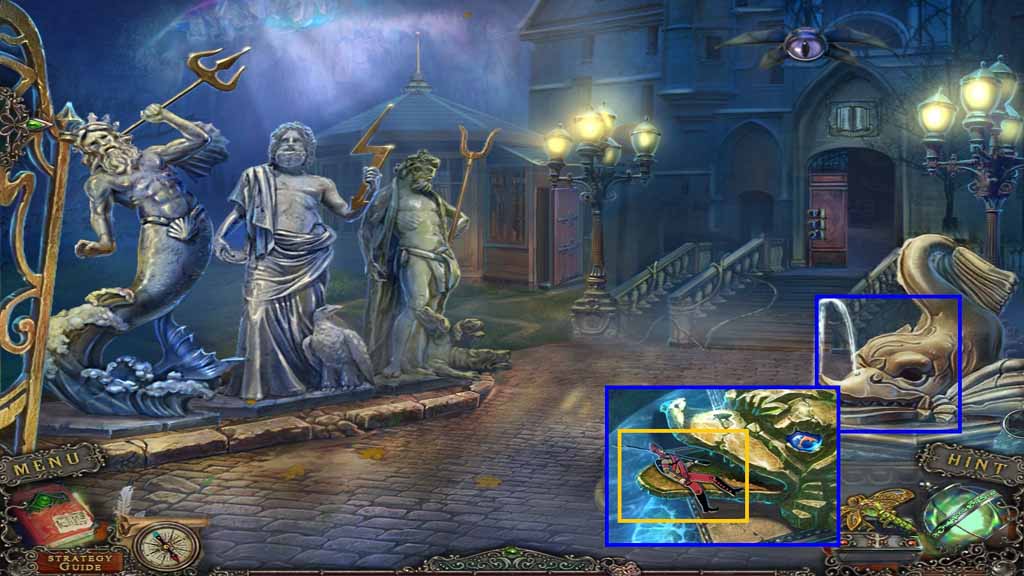
- Insert the dolphin eye into the socket.
- Collect 3 / 3 tin soldiers.
- Move down once.
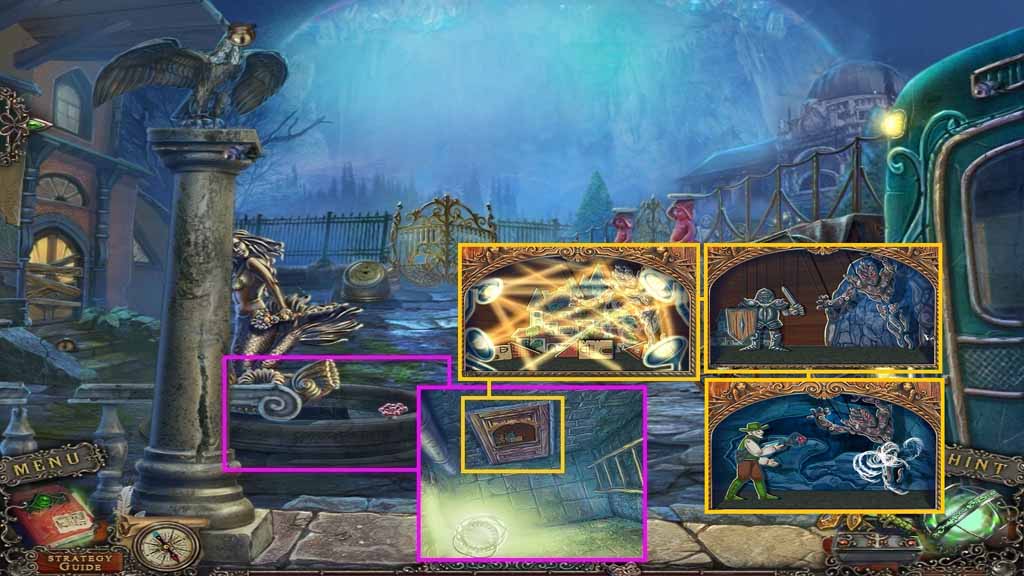
- Insert the 3 the soldiers into the diorama to trigger a puzzle.
- Solve the puzzle by placing the objects where they belong.
- Enter the tunnel in the shaft.
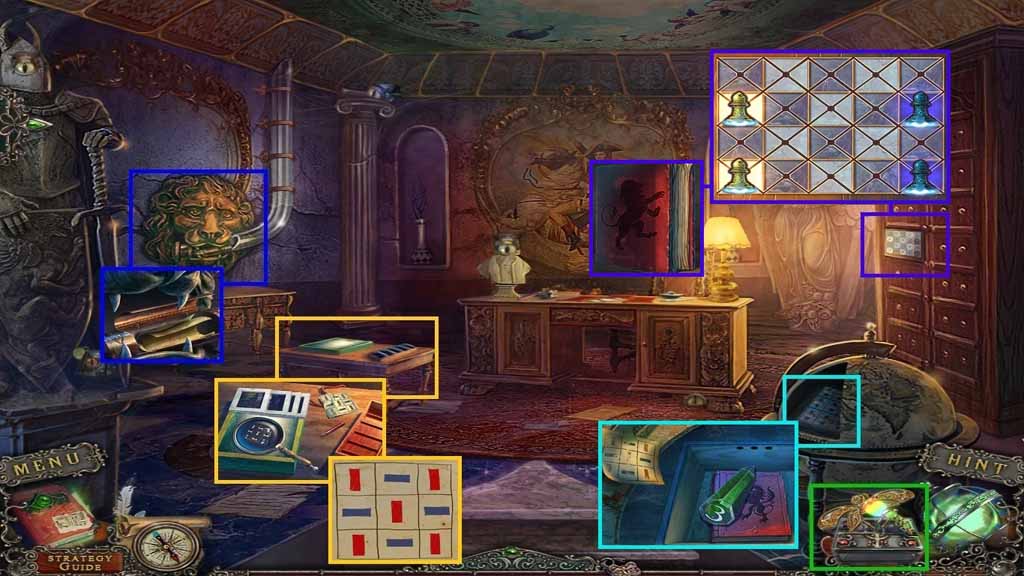
- Click the dragonfly.
- Click the tube; collect the library card.
- Insert Tim’s magnifier into the light box; click the slides.
- Each slide will reveal a code; collect the code.
- Slide the bars to match the code.
- Collect the 2nd numbered crystals and 1 / 3 red books.
- Click the drawer to trigger a puzzle.
- Solve the puzzle by switching the pieces to the opposite sides.
- Collect the 2 / 3 red books.
- Move down once and move through the gates.
- Click the shed to access a hidden objects area.
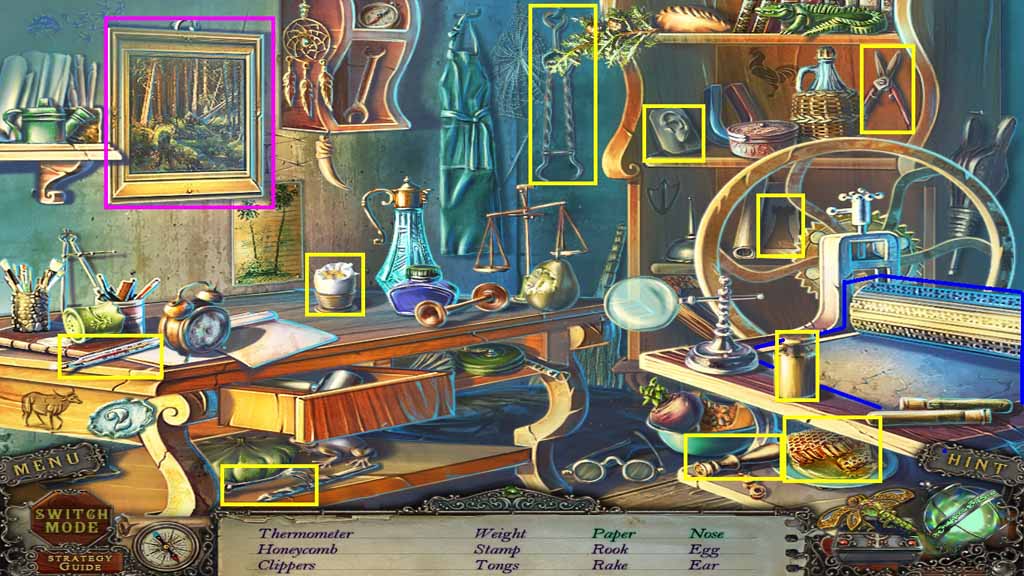
- Find the listed items.
- Click the frame; collect the nose.
- Click the machine; collect the paper.
- Collect the clippers.
- Move ahead.
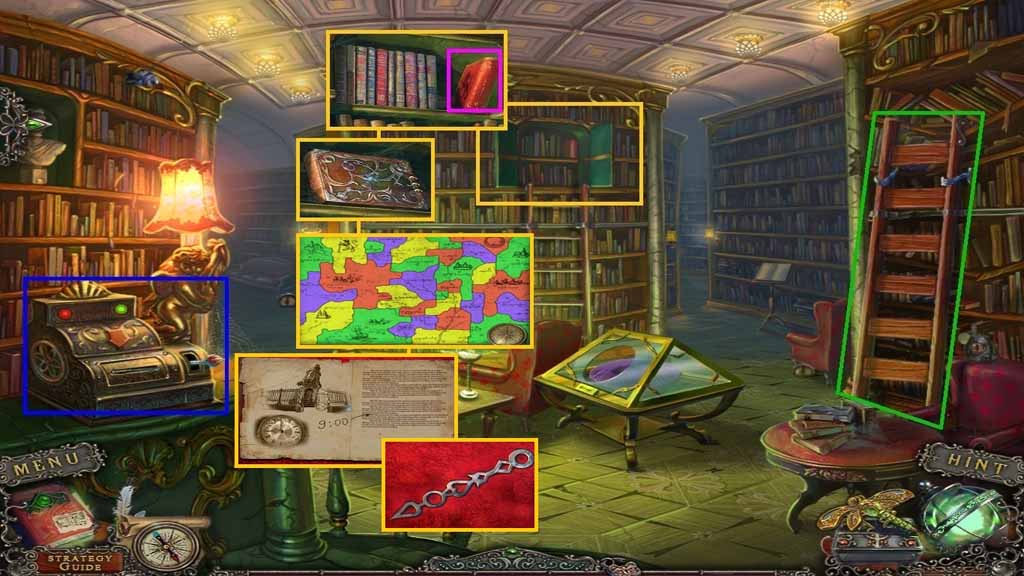
- Select the clippers to cut the wire; collect the ladder.
- Insert the library card into the machine and click the handle.
- Collect 3 /3 red books.
- Click the books and click the journal 2 times to trigger a puzzle.
- Solve the puzzle by arranging the plots of land so the no 2 colors that are the same touch.
- Collect the note and the minute hand.
- Move back 2 times and click the carriage to trigger a hidden objects area.
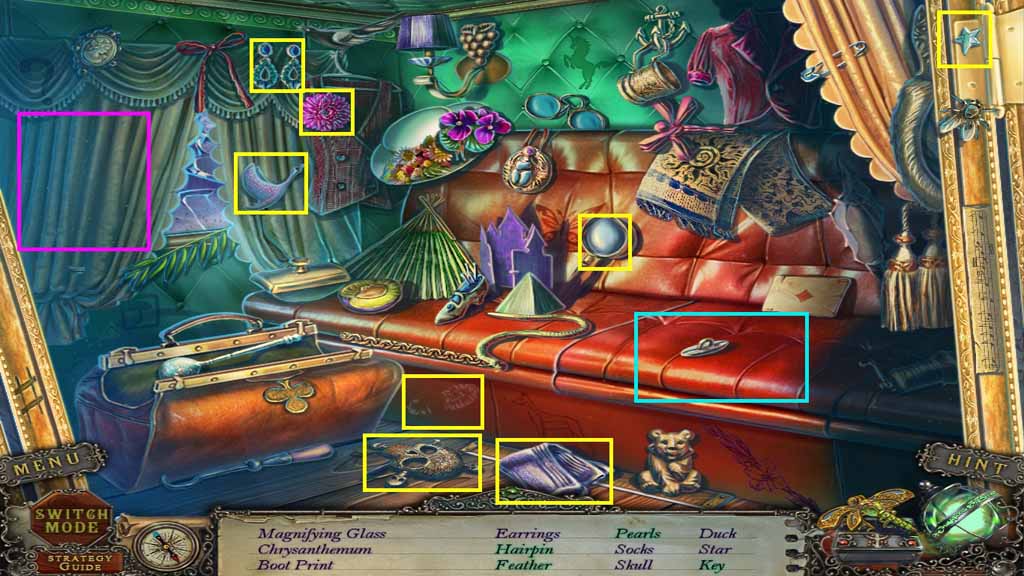
- Find the listed items.
- Click the curtain; collect the hairpin and the feather.
- Click the seat and collect the pearls and the key.
- Collect the skull.
- Move into the fountain and move ahead.
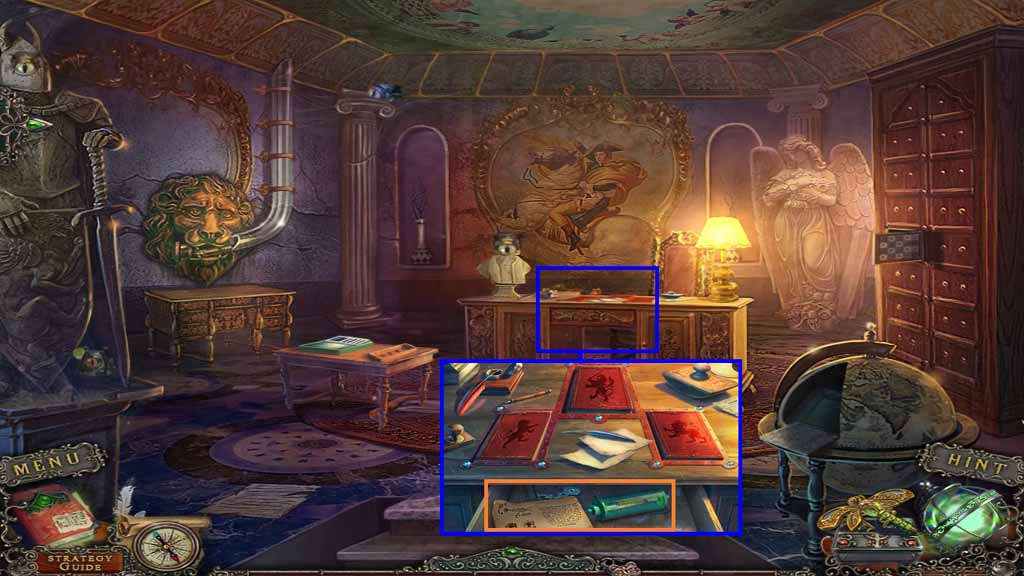
- Lay the 3 red books onto the desk.
- Click each book.
- Collect the note, the hour hand and the golem-destroyer part.
- Move down once and move ahead.
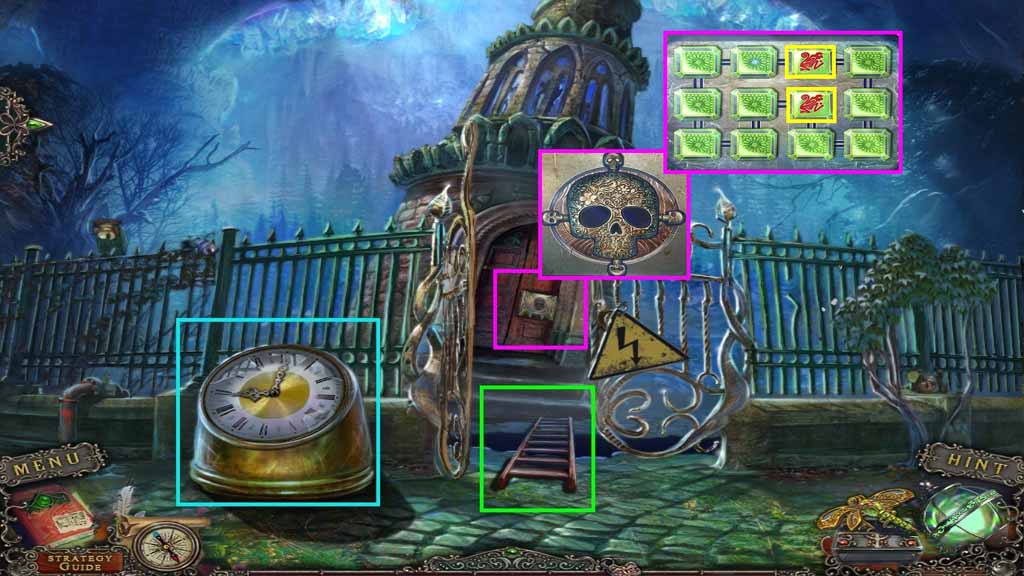
- Insert the minute and hour hands into the clock.
- Move the hands to 9:00.
- Lay the ladder across the chasm.
- Move across.
- Place the skull into the lock and click it to trigger a puzzle.
- Solve the puzzle by finding the matching pairs.
- Move ahead.
Comments will load when you reach this part of the walkthrough.