

Chapter 4: The Flying Islands
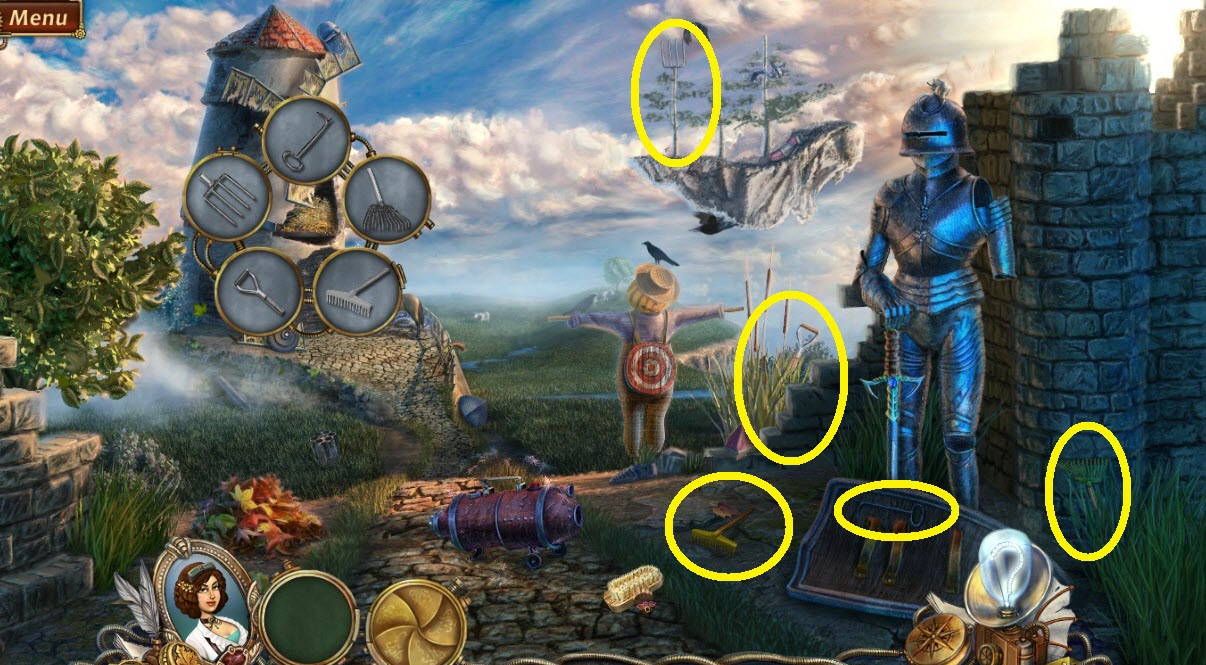
- Find the Straw Key Objects (yellow circles).
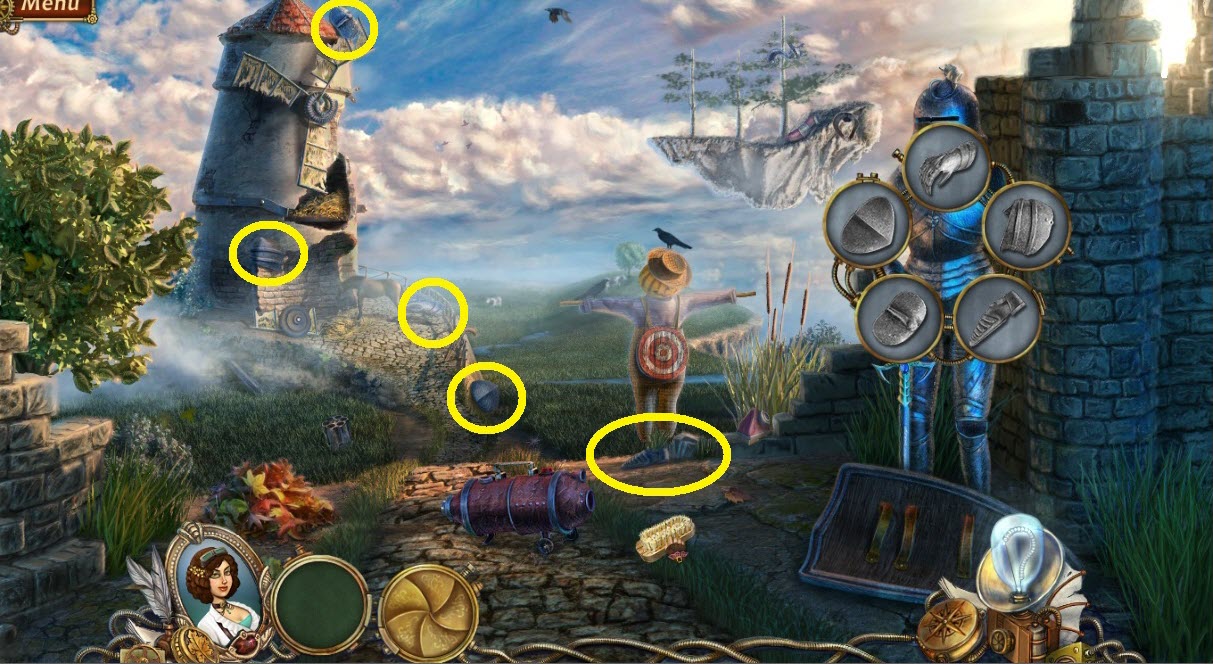
- Find the Armor Key Objects (yellow circles).
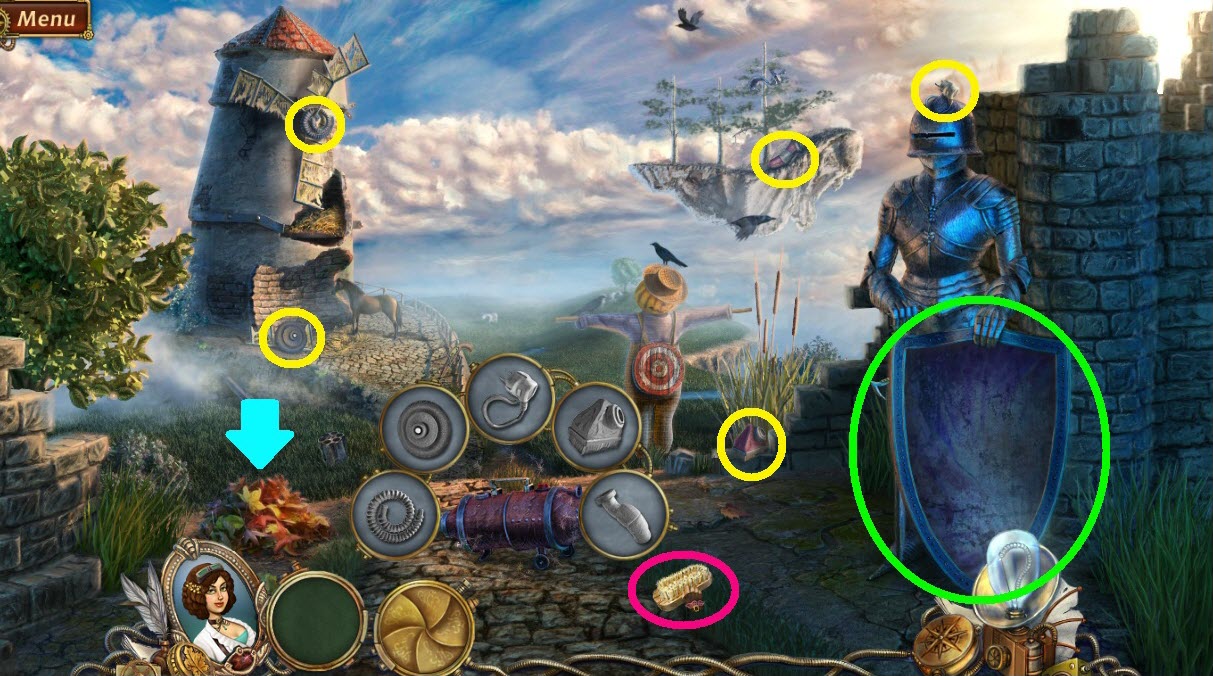
- Clean the shield mirror (green circle) with the brush (pink circle), a portal will open.
- Find the Vacuum Key Objects (yellow circles).
- Pick up the key (aqua arrow) under the leaves.
- Go to backwards world.
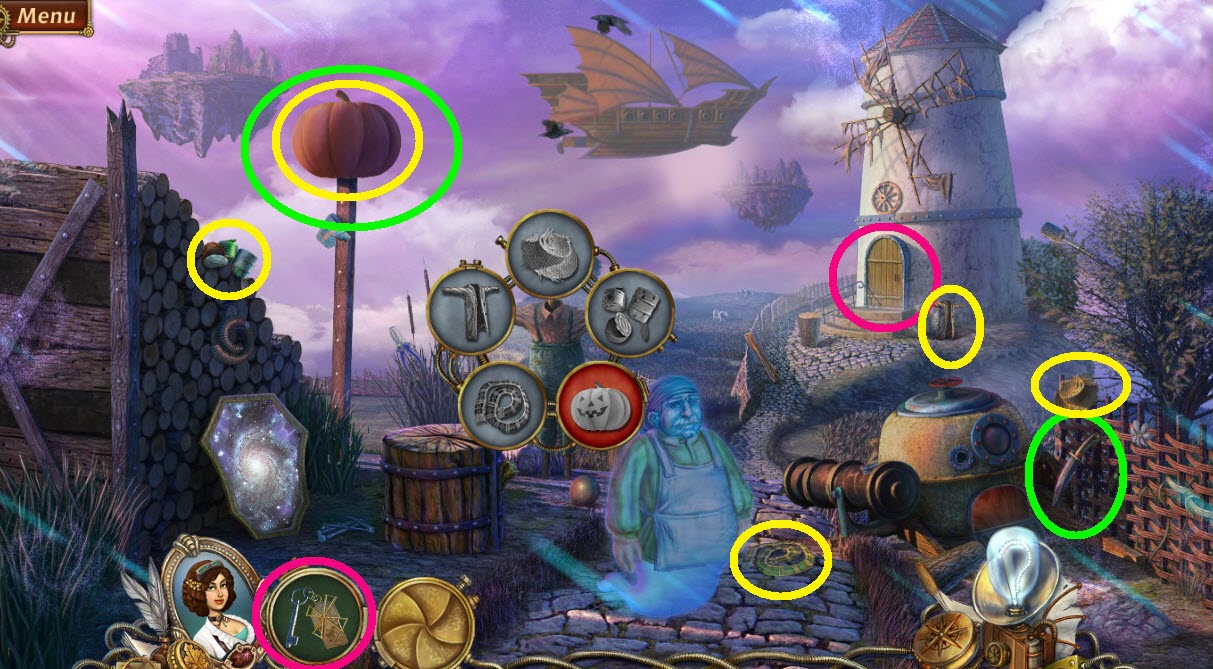
- Open the windmill door with the key (pink circles).
- Carve the pumpkin with the knife (green circles).
- Find the Scarecrow Key Objects (yellow circles).
- Pick up the bullet.
- Go into the windmill.
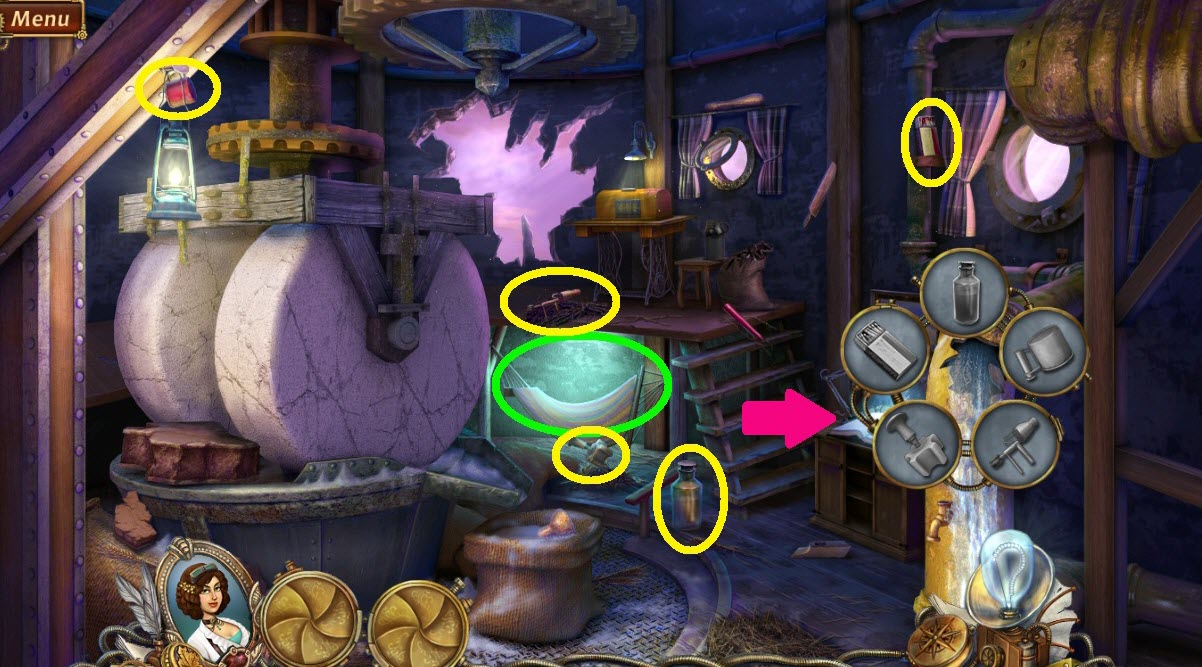
- Click the hammock (green circle).
- Find the Water Pipe Key (yellow circles).
- Zoom into the table (pink arrow).
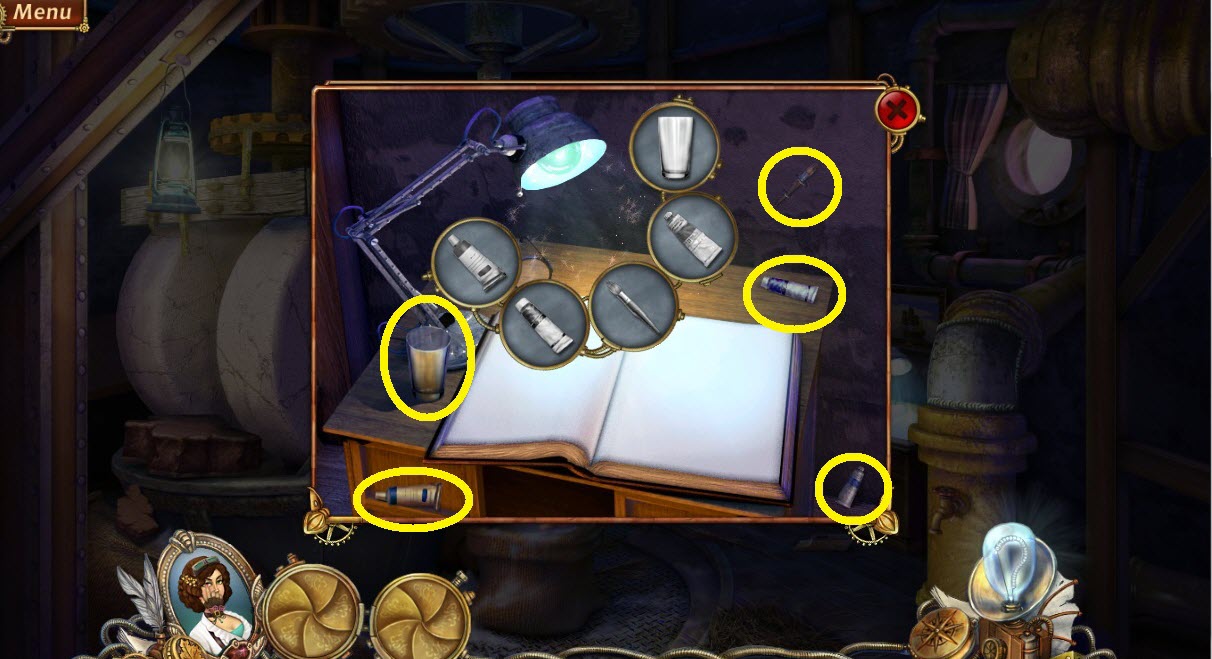
- Find the Paintbrush Key Objects (yellow circles).
- Zoom into the book.
- Keep the clues for later use and remember they are random each time you play.
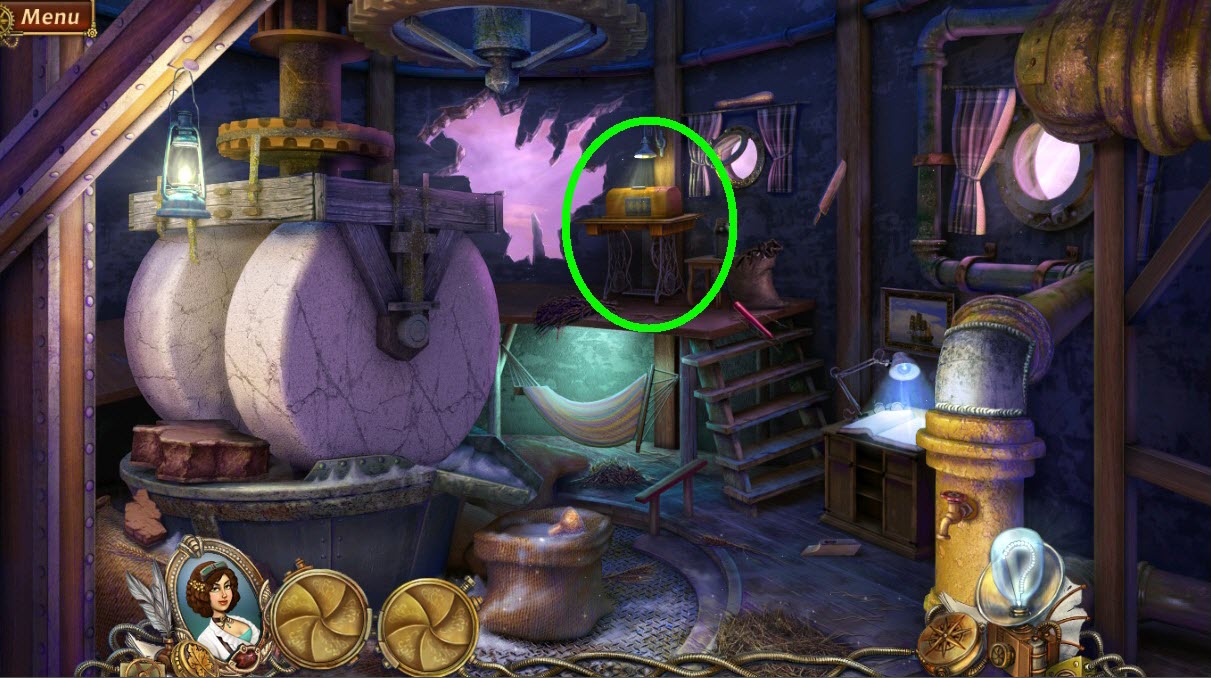
- Zoom into the sewing machine (green circle).
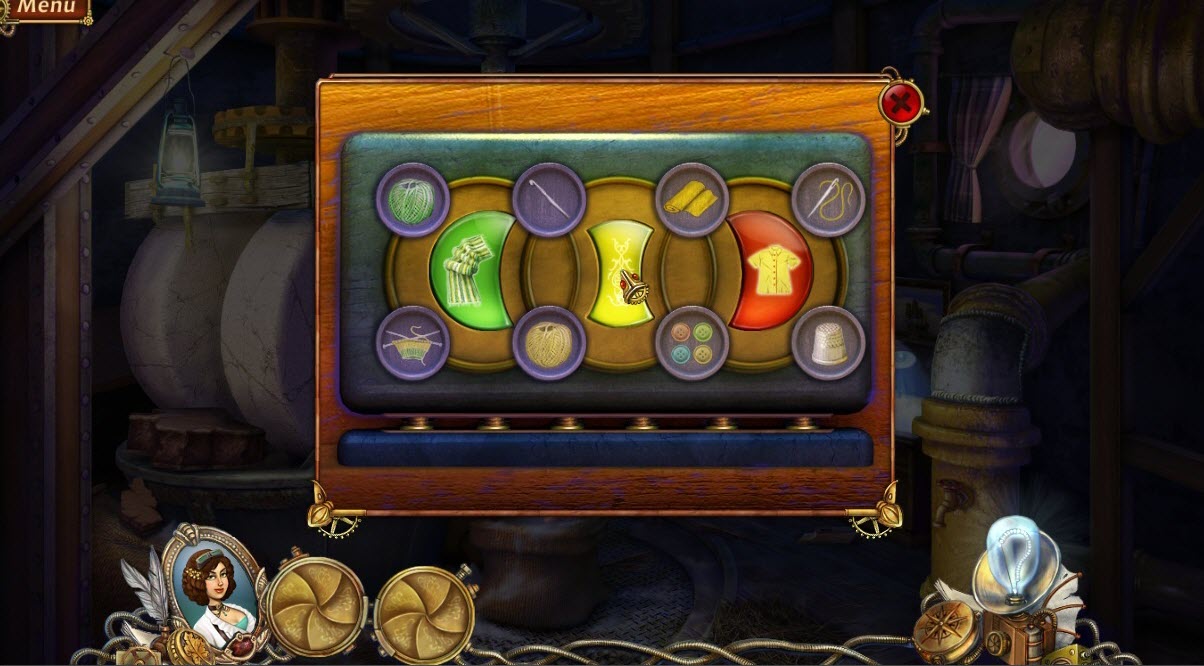
- Form a pattern similar to the one shown in the screen shot.
- Don’t forget the arrangement is random.
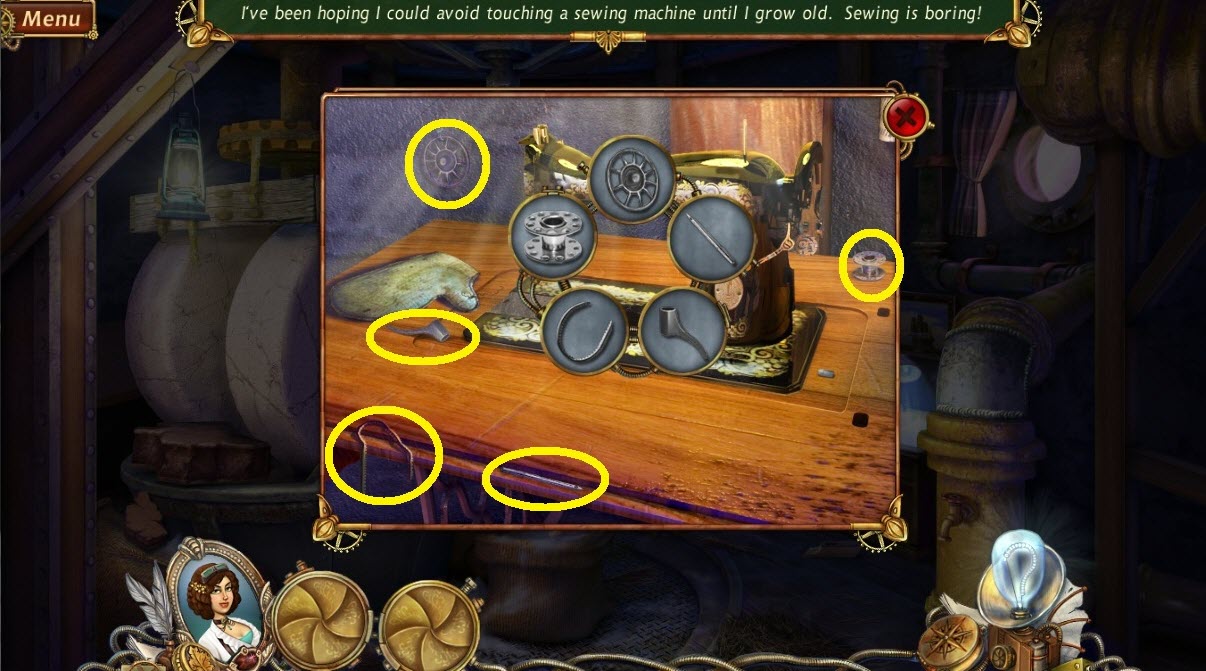
- Find the Sewing Key Objects (yellow circles).
- Go back to the first scene.
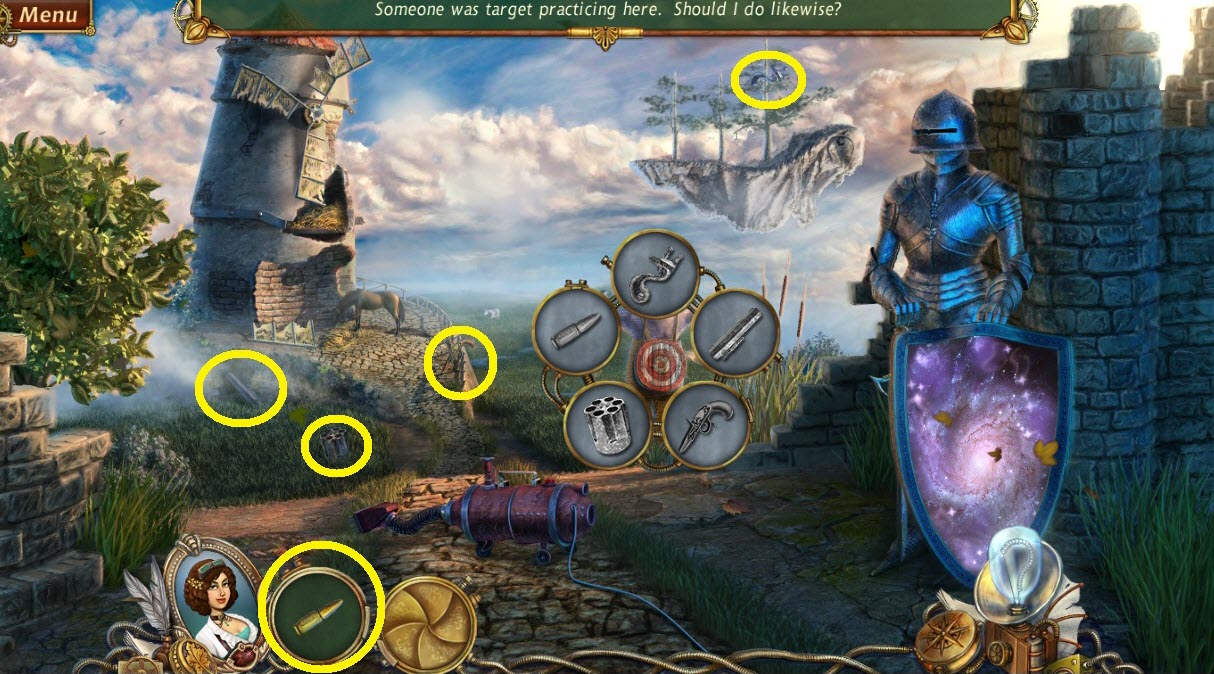
- Find the Gun Key Objects (yellow circles).
- Pick up the mallet that falls to the scarecrows foot.
- Go back to the backwards world.
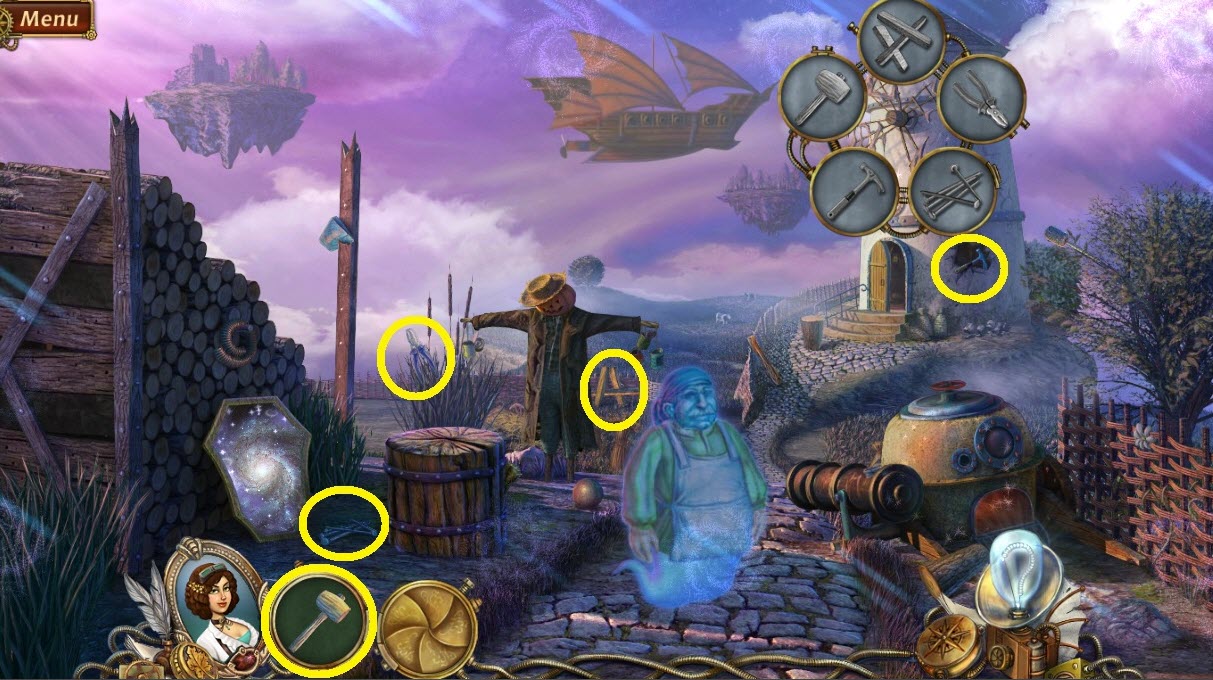
- Find the Windmill Key Objects (yellow circles).
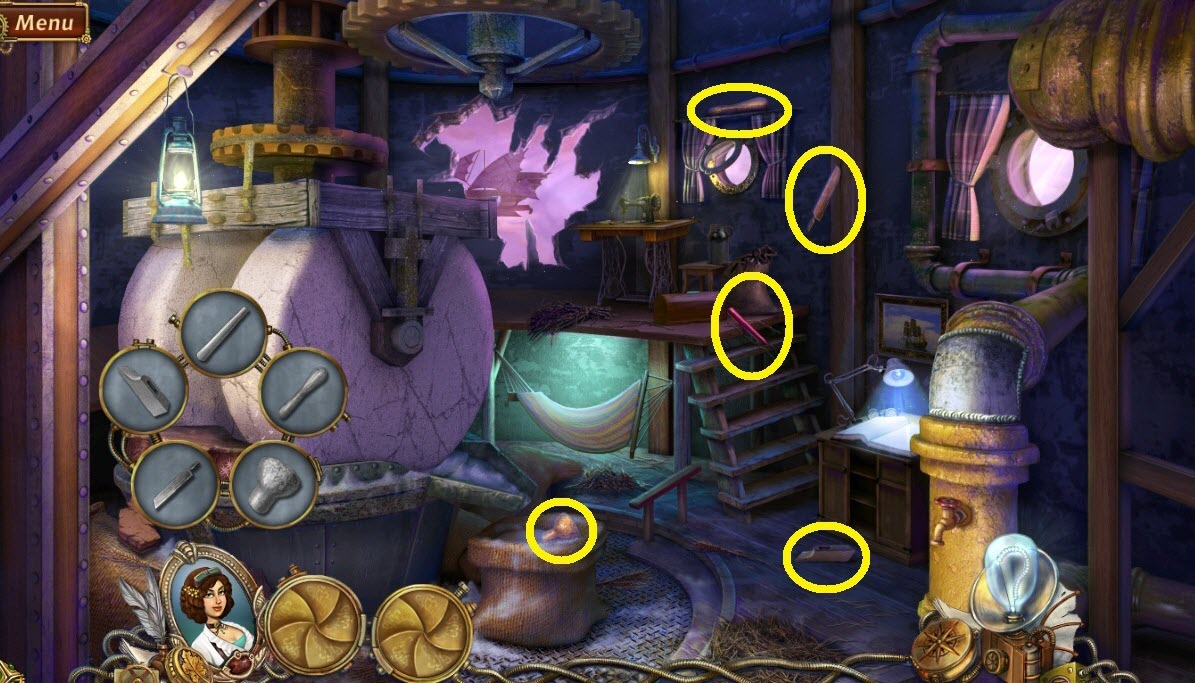
- Find the Sledgehammer Key Objects (yellow circles).
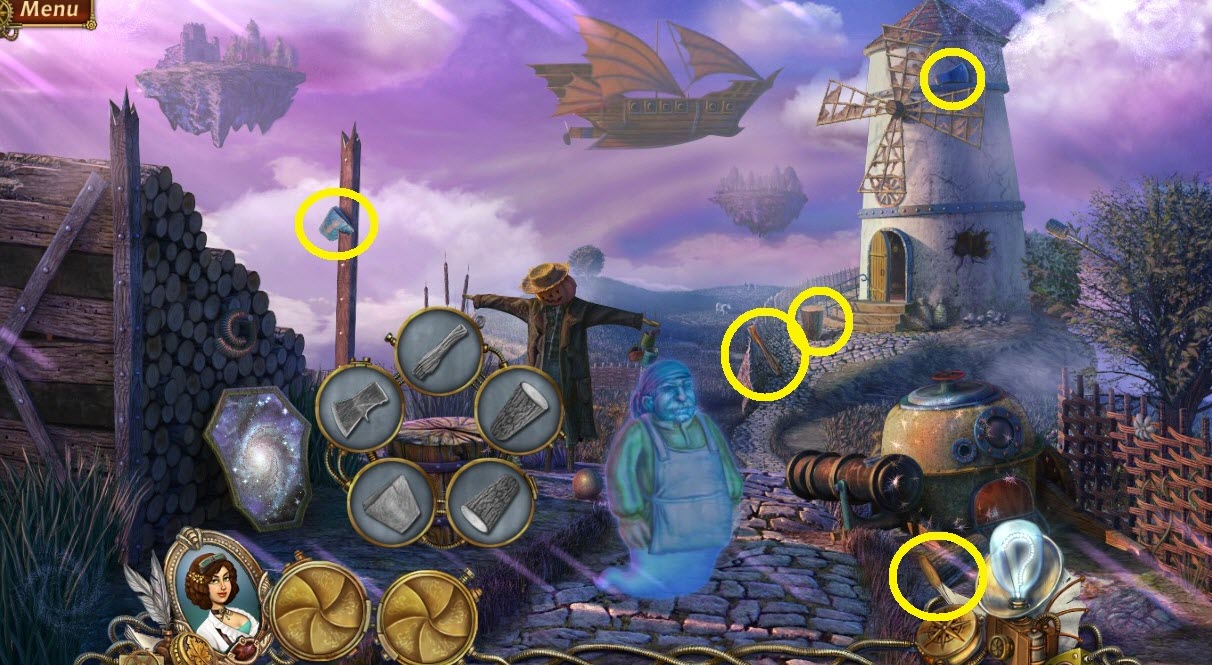
- Find the Axe Key Objects (yellow circles).
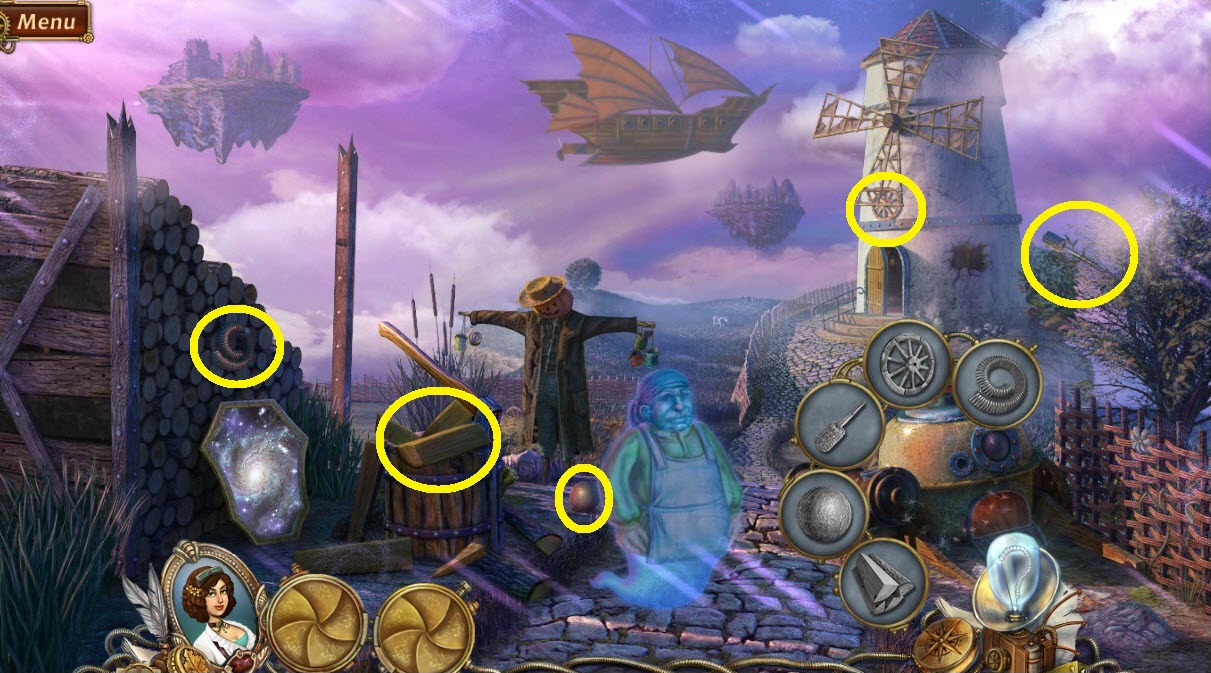
- Find the Cannon Key Objects (yellow circles).
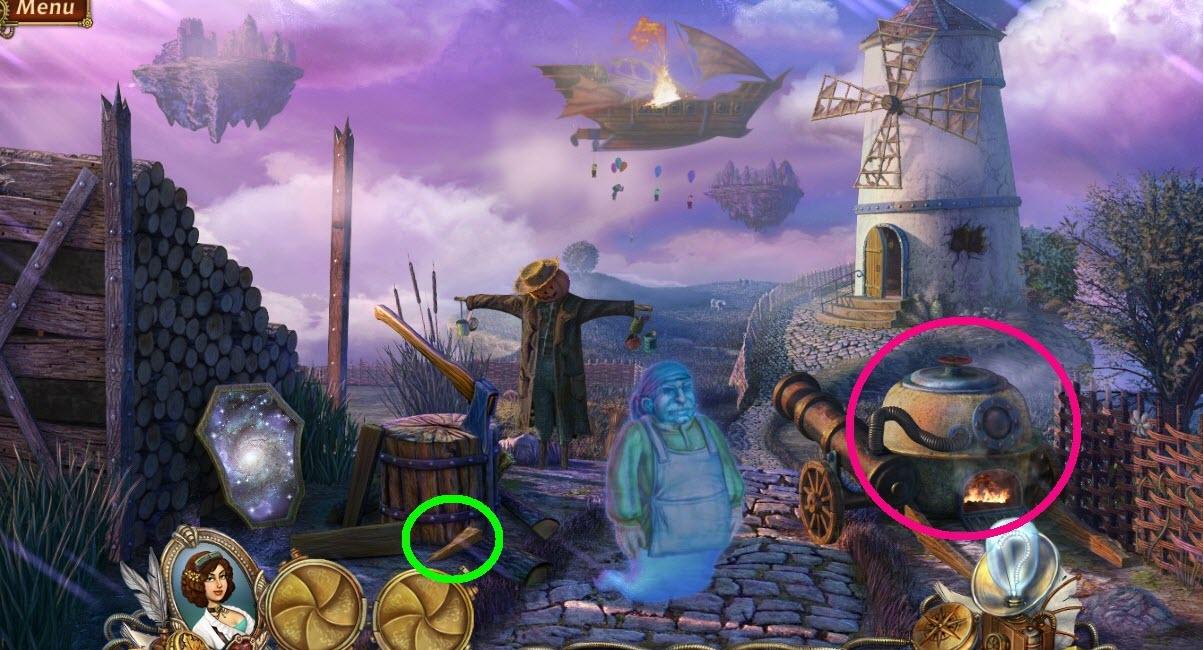
- Light the splinter (green circle) on the fire (pink circle).
- Go into the floating ship.
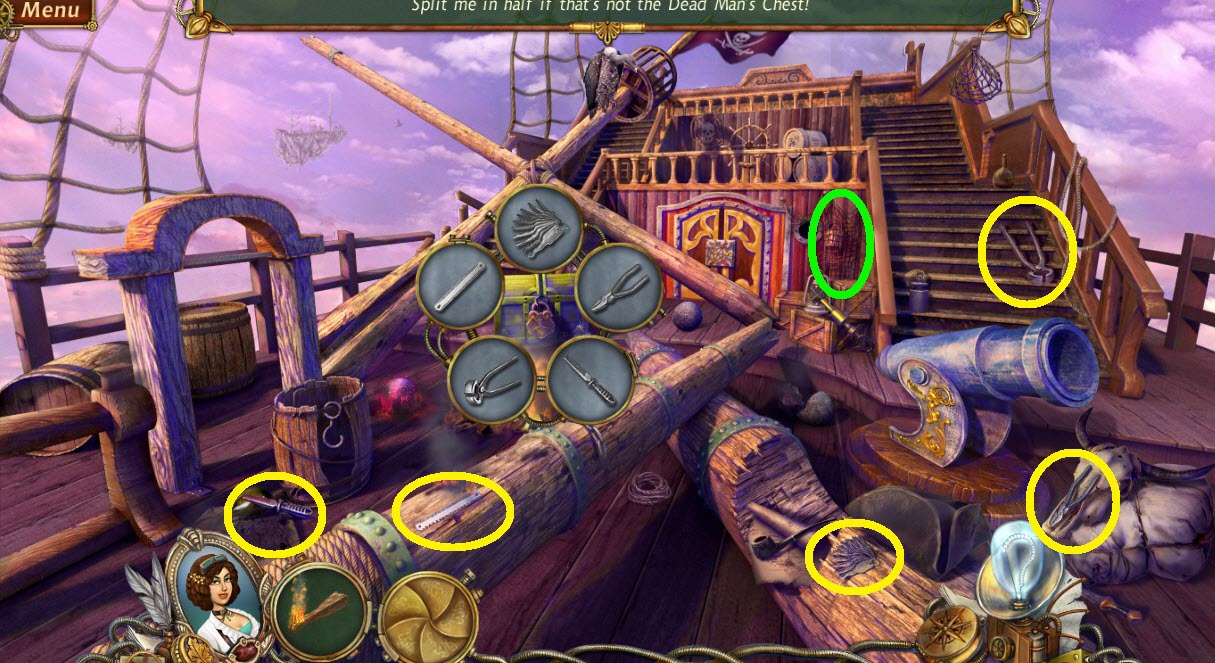
- Find the Chest Key Objects (yellow circles).
- Pick up the bucket (green circle).
- Go back into the windmill.
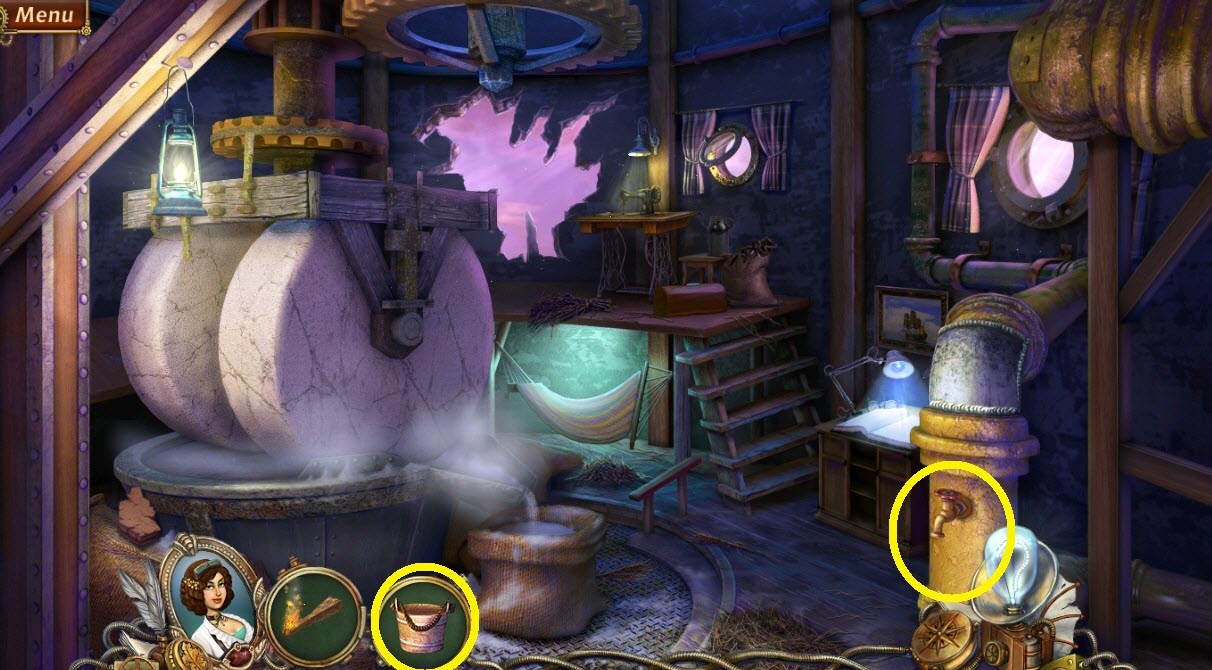
- Put the bucket under the faucet (yellow circles).
- Go back to the floating ship.
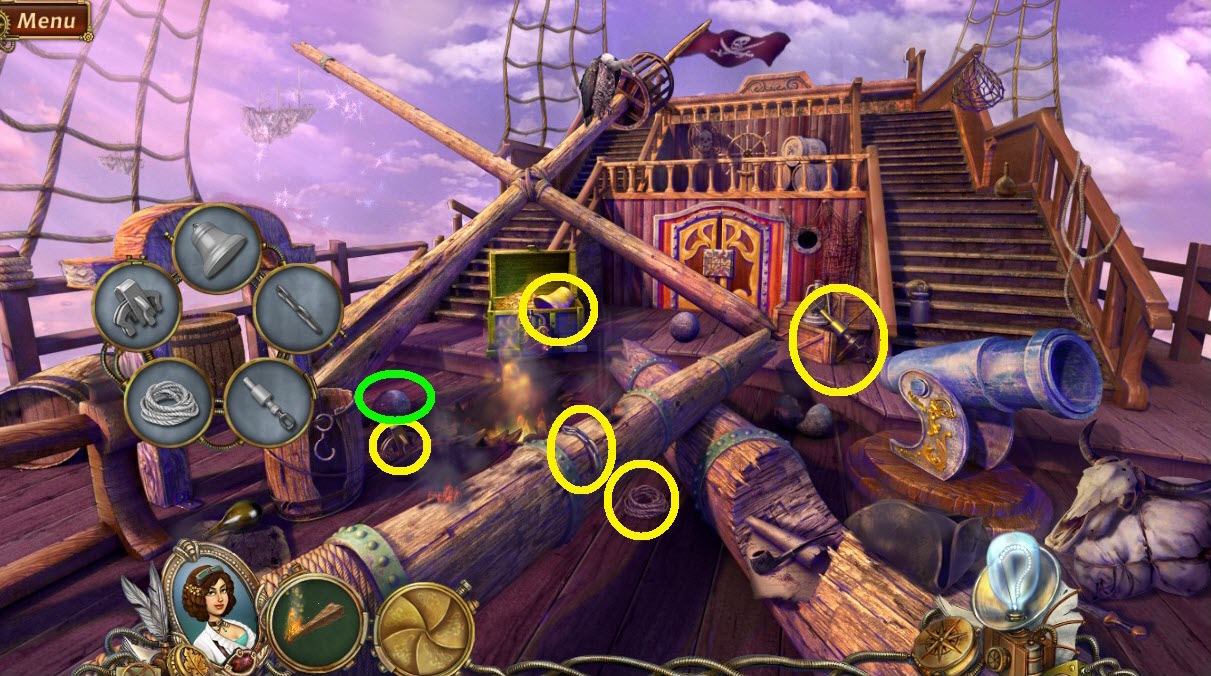
- Use the bucket of water to pour over the cannon ball (green circle).
- Find the Bell Key Objects (yellow circles).
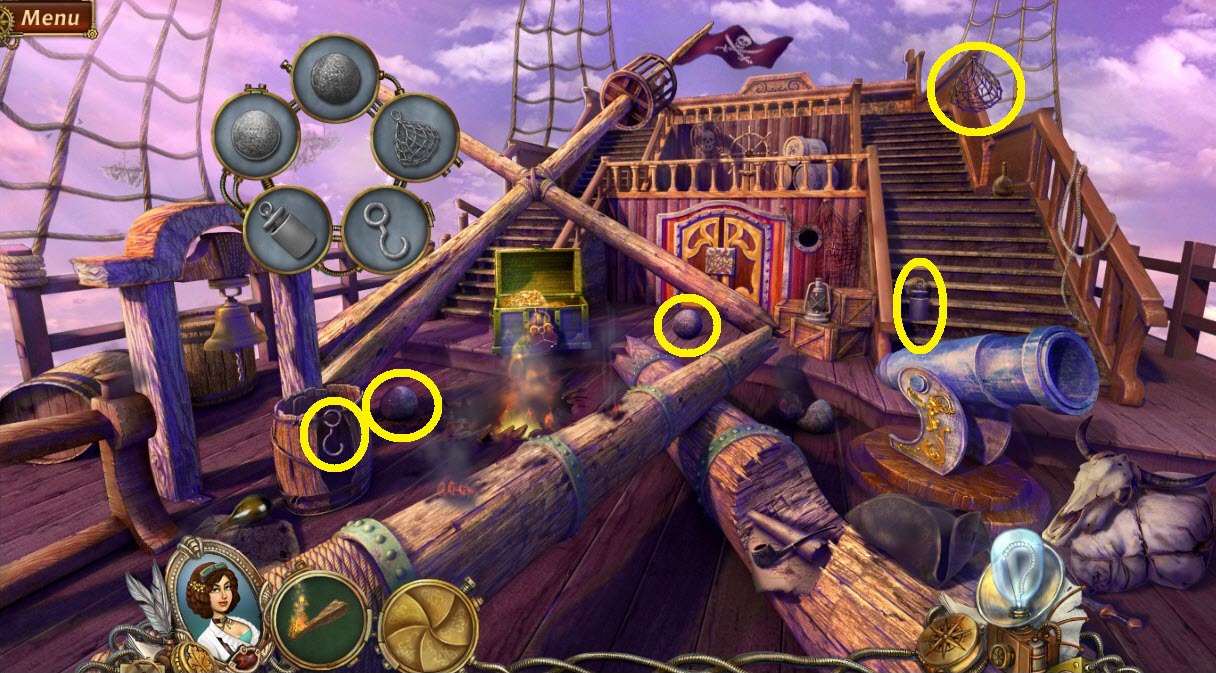
- Find the Weight Key Objects (yellow circles).
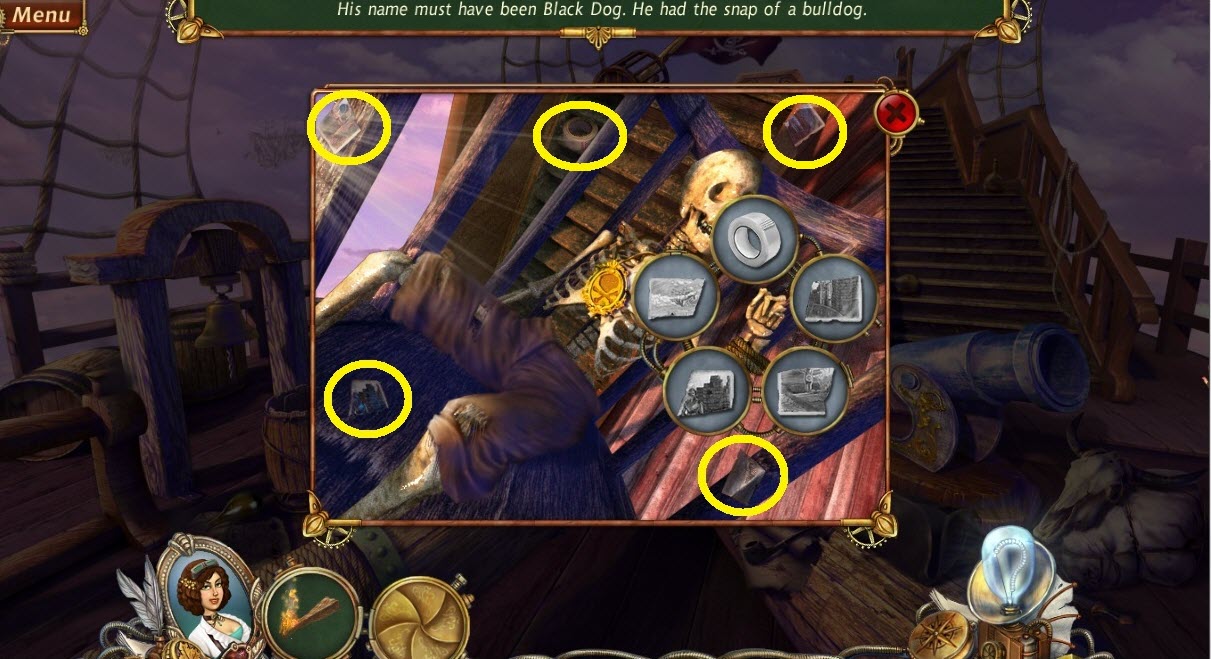
- Zoom into the mast.
- Find the Hand Key Objects (yellow circles).
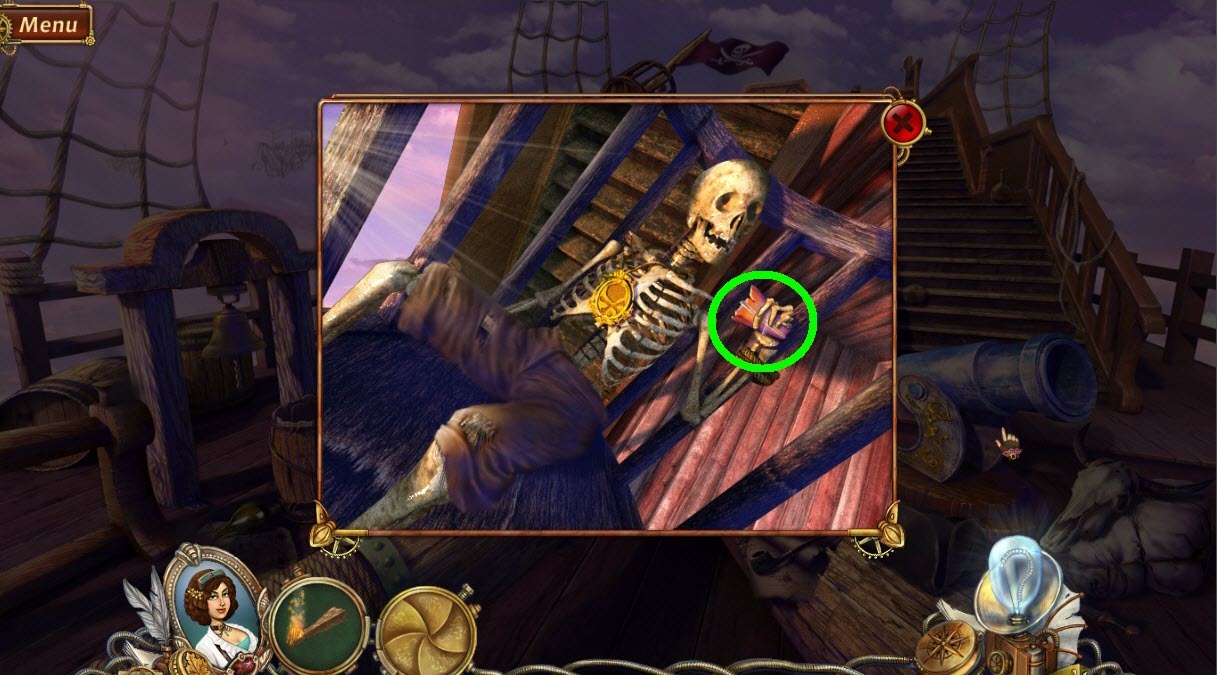
- Zoom into the photo (green circle).
- Go back to the first scene.
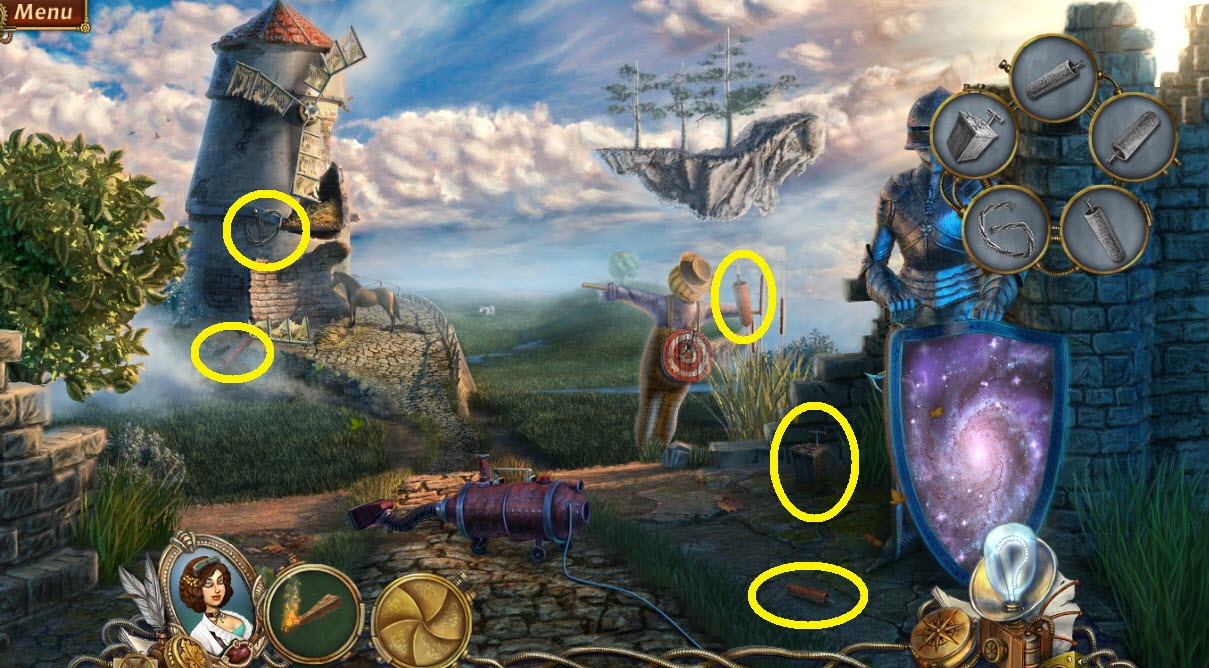
- Find the Dynamite Key Objects (yellow circles).
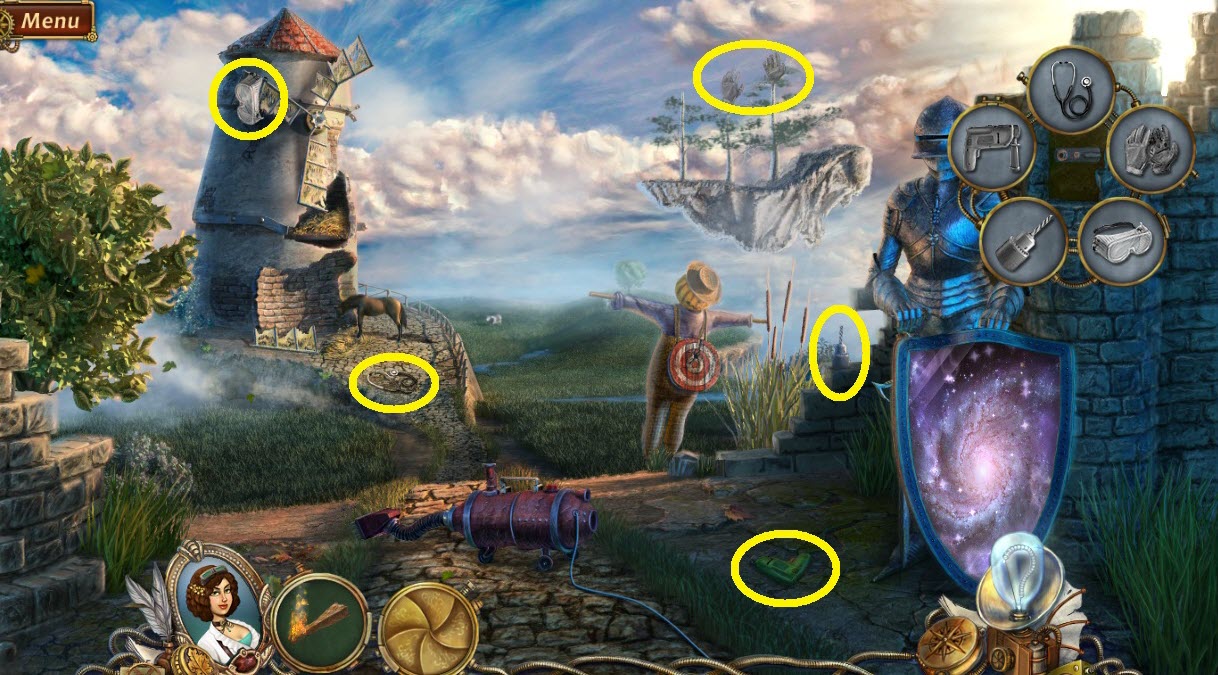
- Find the Drill Key Objects (yellow circles).
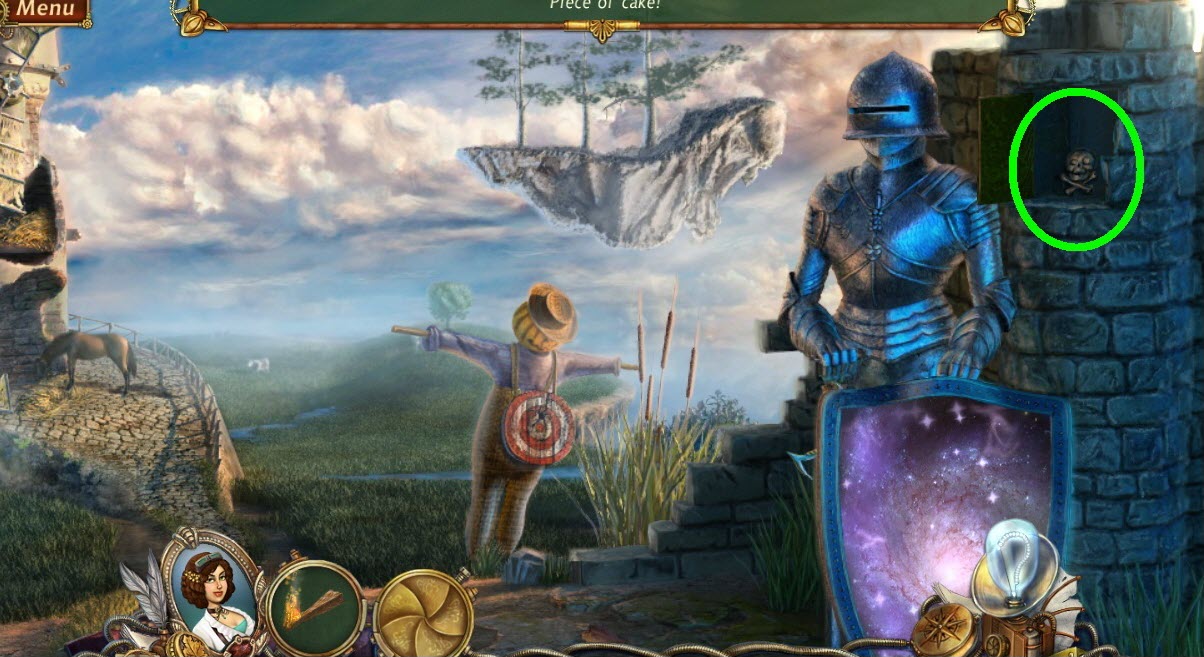
- Pick up the Lockets skull (green circle).
- Go back to the floating ship.
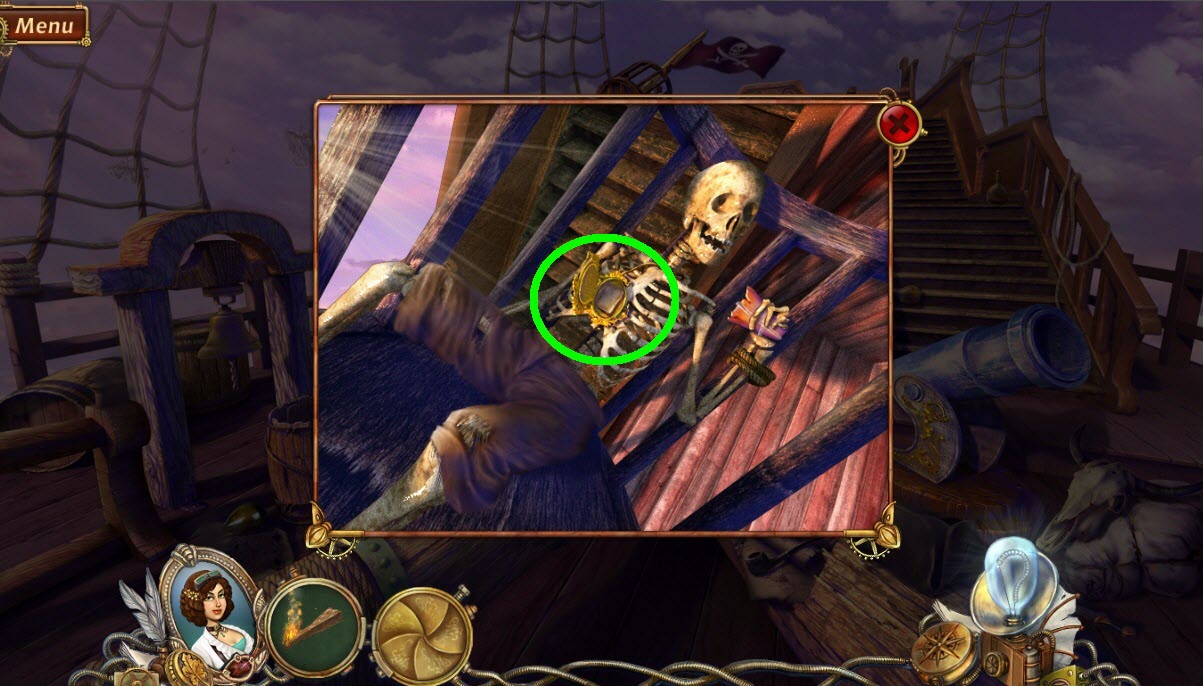
- Zoom into the mast.
- Put the Locket Skull into the necklace.
- Read the note (green circle).
- Remember the clue and that it will be random with each play.
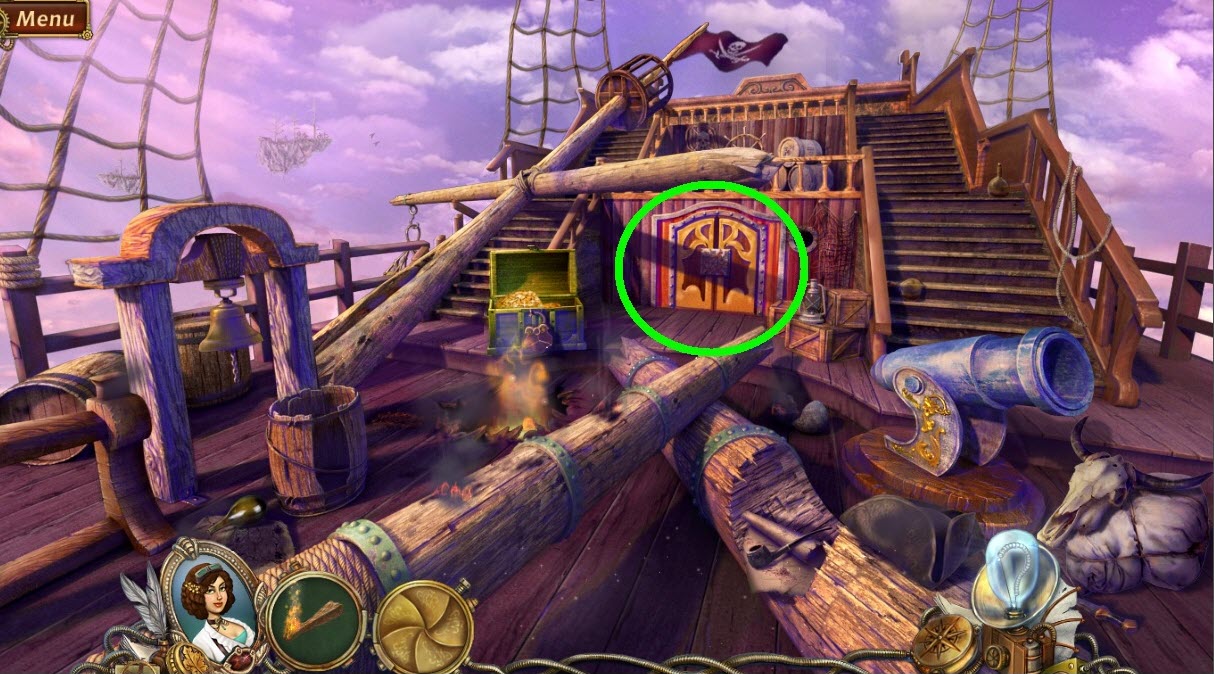
- Zoom into the locked door (green circle) to reveal a puzzle.
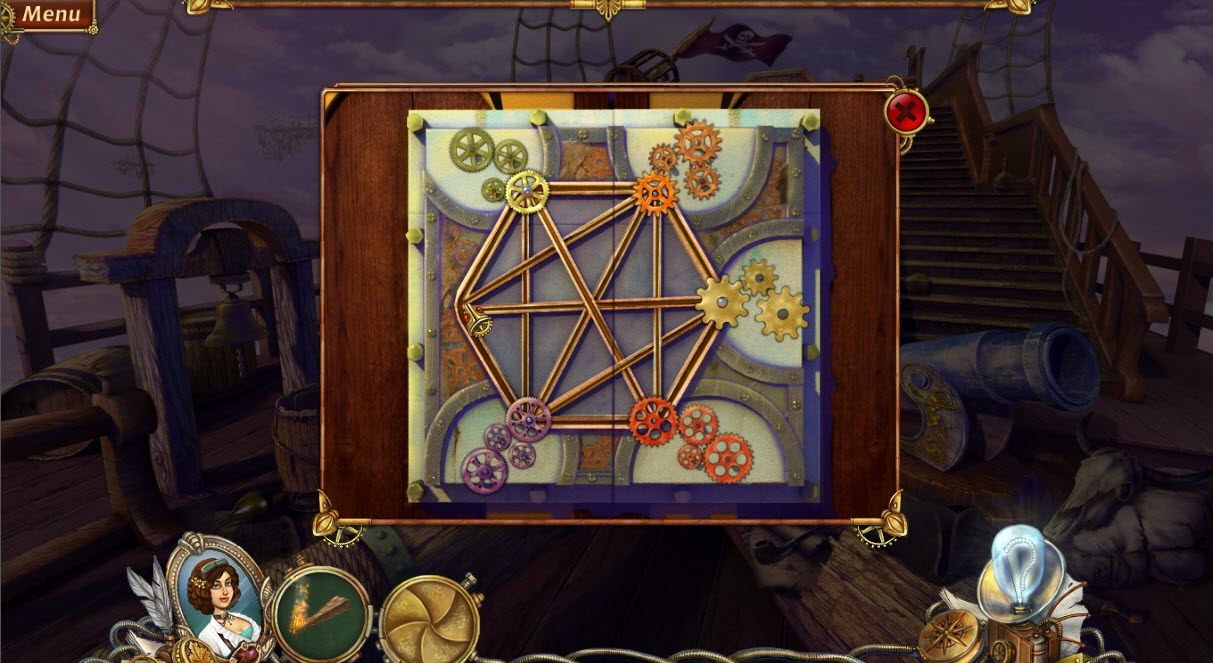
- The beginning positions will be random.
- Use the screen shot as an example solution.
- Go into the cabin.
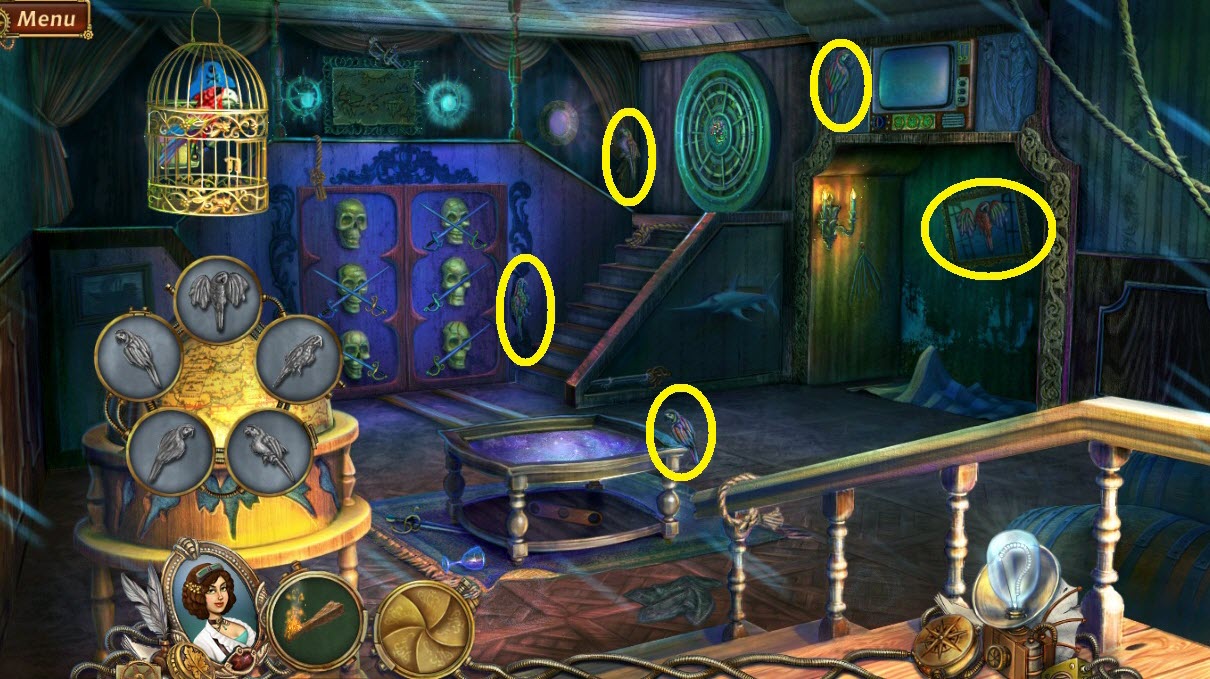
- Find the Globe Key Objects (yellow circles).
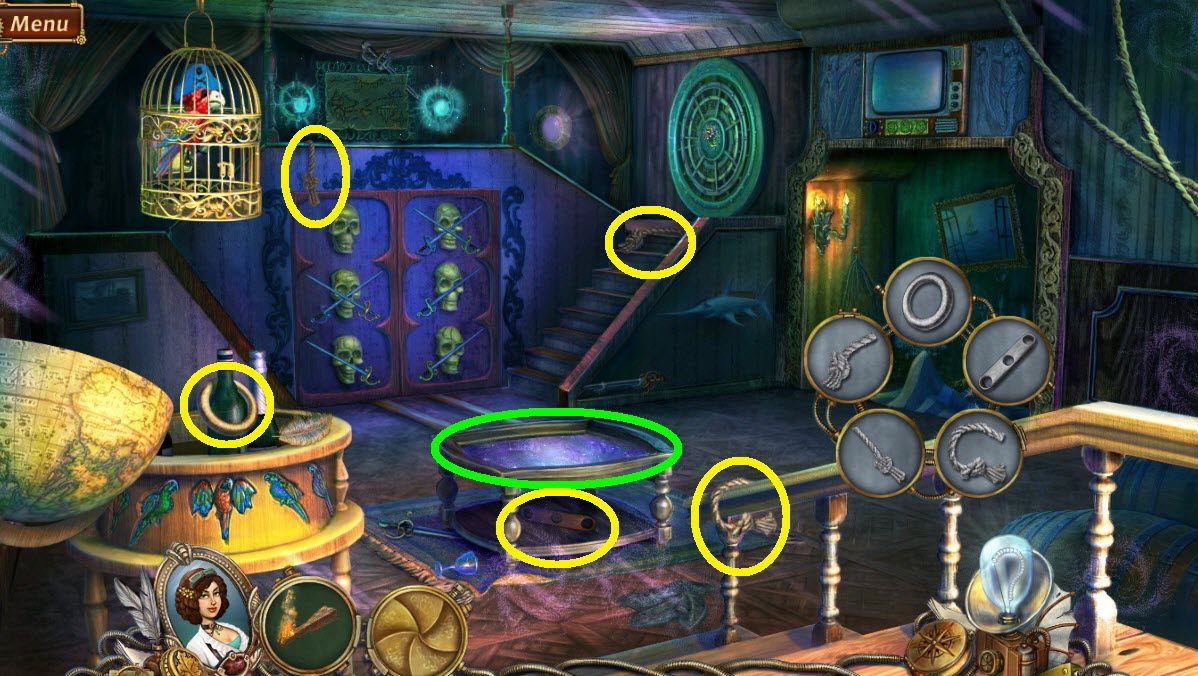
- Find the Rug Key Objects (yellow circles).
- Go into the portal (green circle).
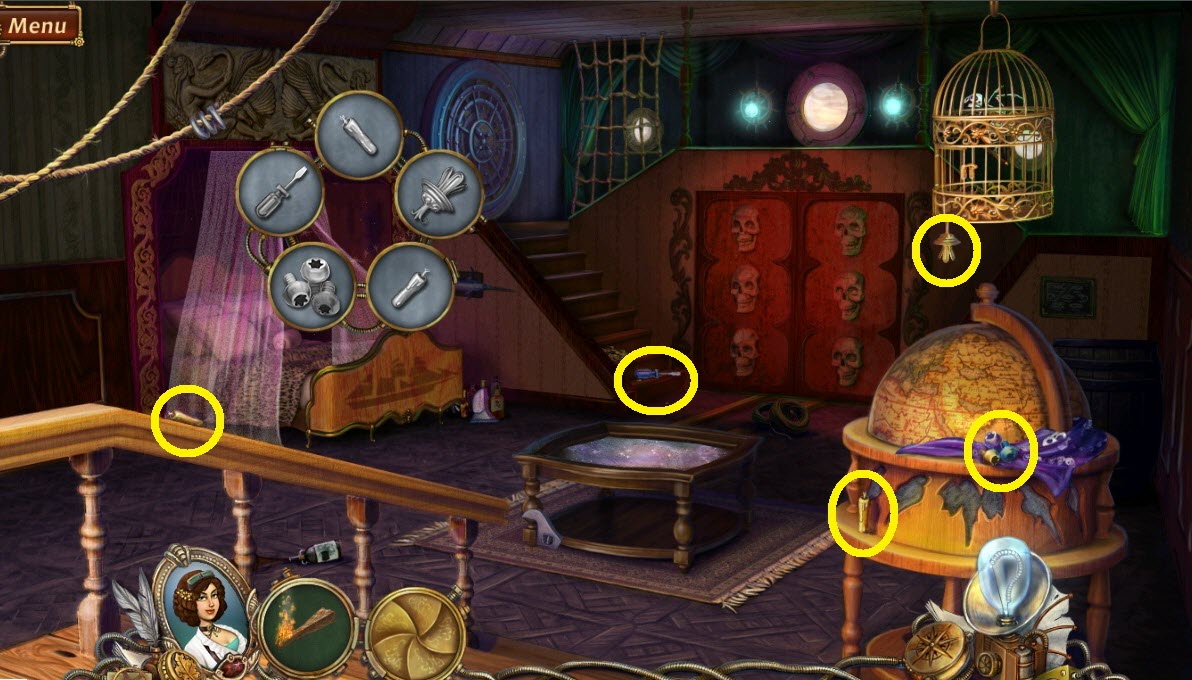
- Find the Lamp Key Objects (yellow circles).
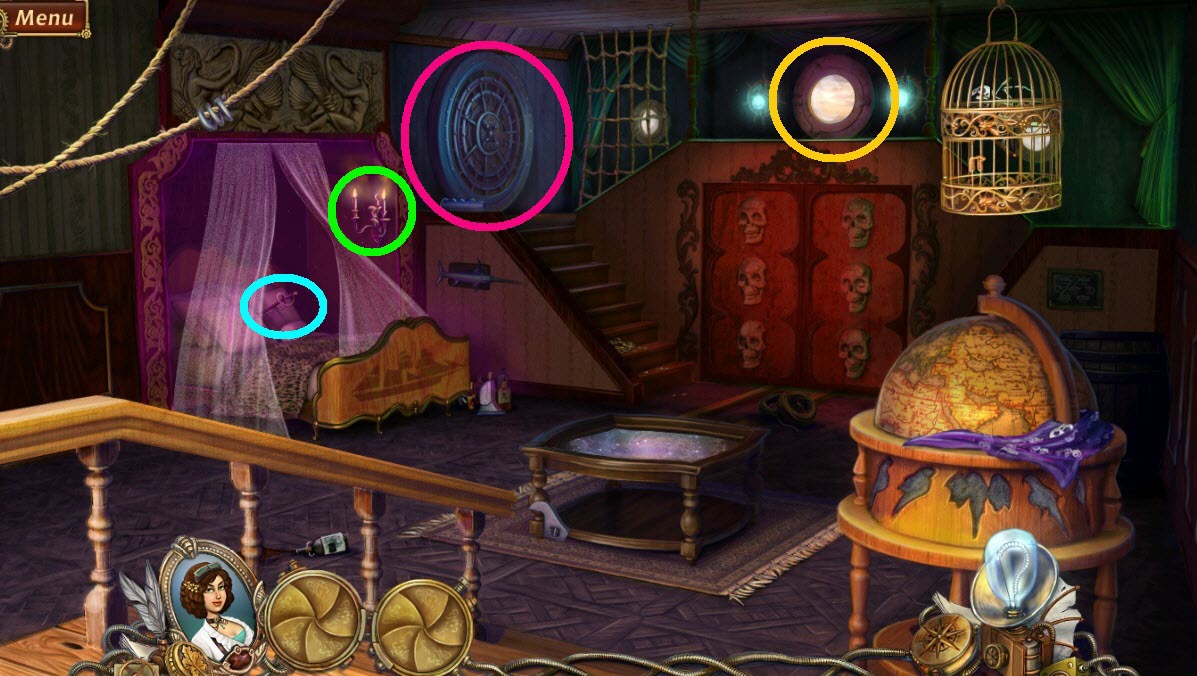
- Light the lamp (green circle) with the lit splinter.
- Open the curtain and pick up the sabre (aqua circle).
- Notice the port hole (orange circle).
- Zoom into the safe (pink circle).
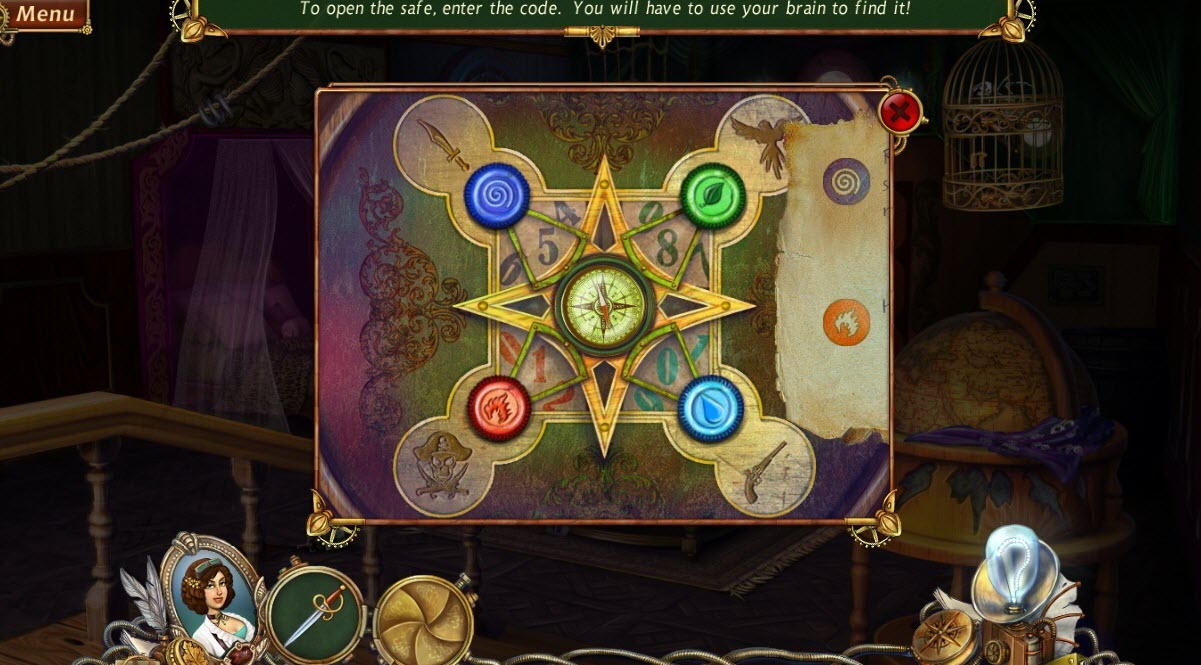
- Put in the saved codes from the windmill and skeleton hand.
- (Don’t forget these will be random every play.)
- Go into the safe.
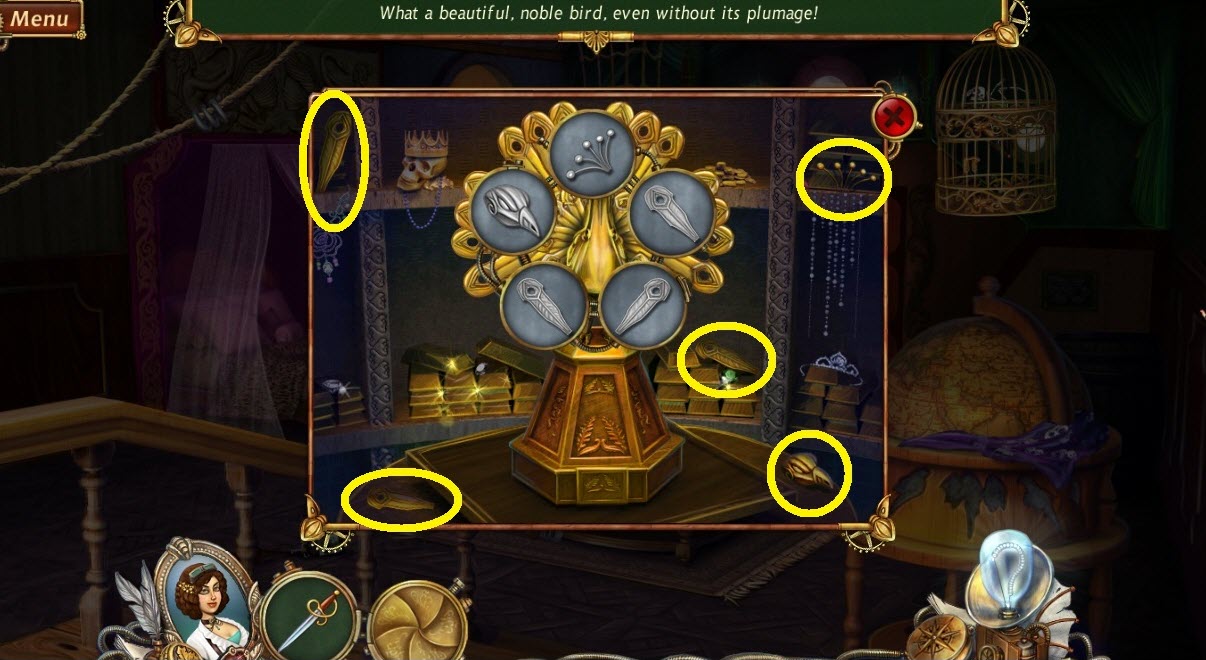
- Find the Peacock Key Objects (yellow circles).
- Pick up the key.
- Zoom to the portal window.
- Leave through the portal table in the middle of the floor.
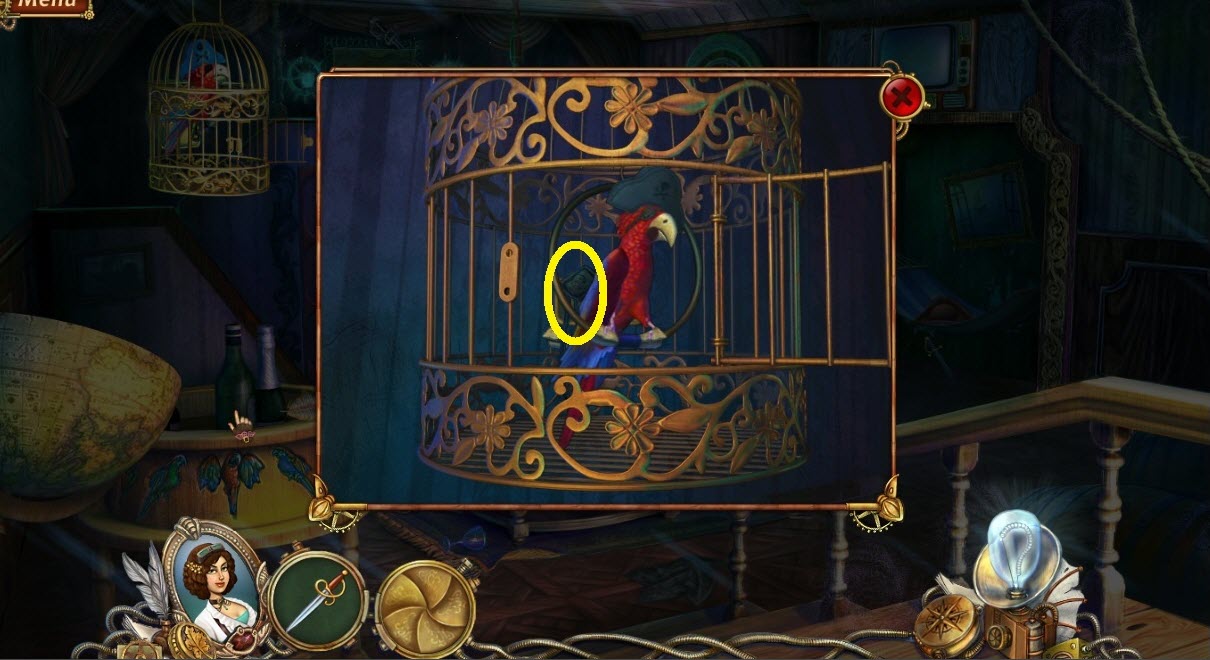
- Zoom to birdcage, unlock it with the key.
- Pick up the eye patch (yellow circle).
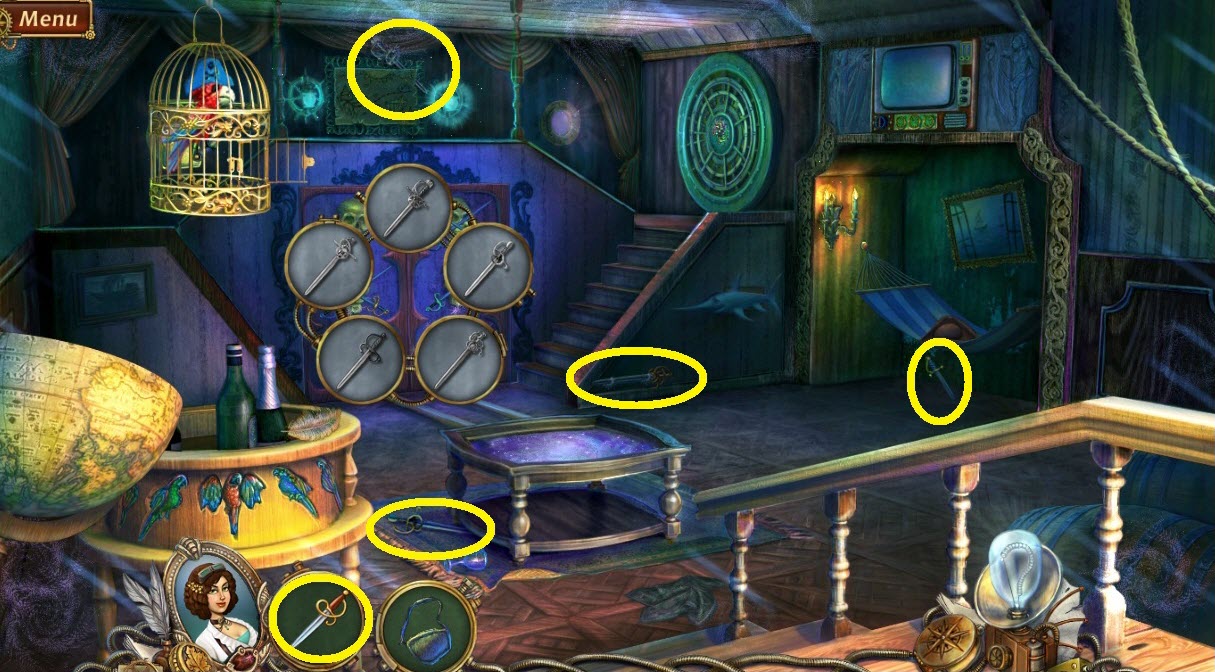
- Find the Closet Door Key Objects (yellow circles).
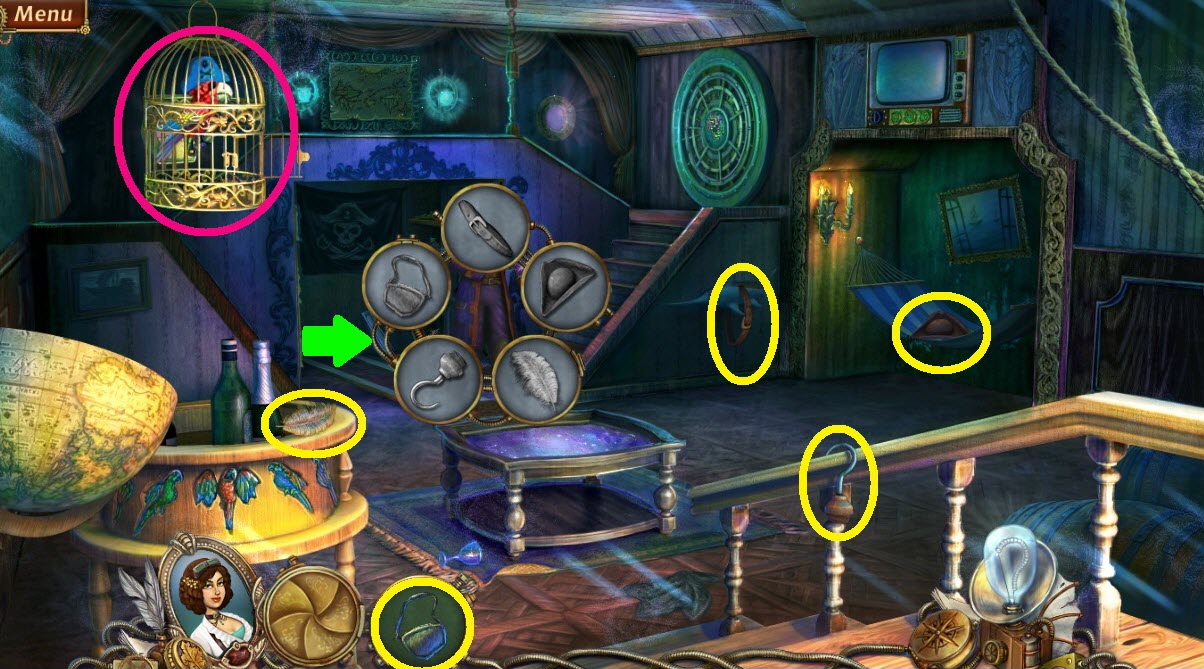
- Pick up the wrench (green arrow).
- Find the Captain Key Objects (yellow circles).
- Zoom into bird cage (pink circle) and pick up the ruby.
- Go through the portal.
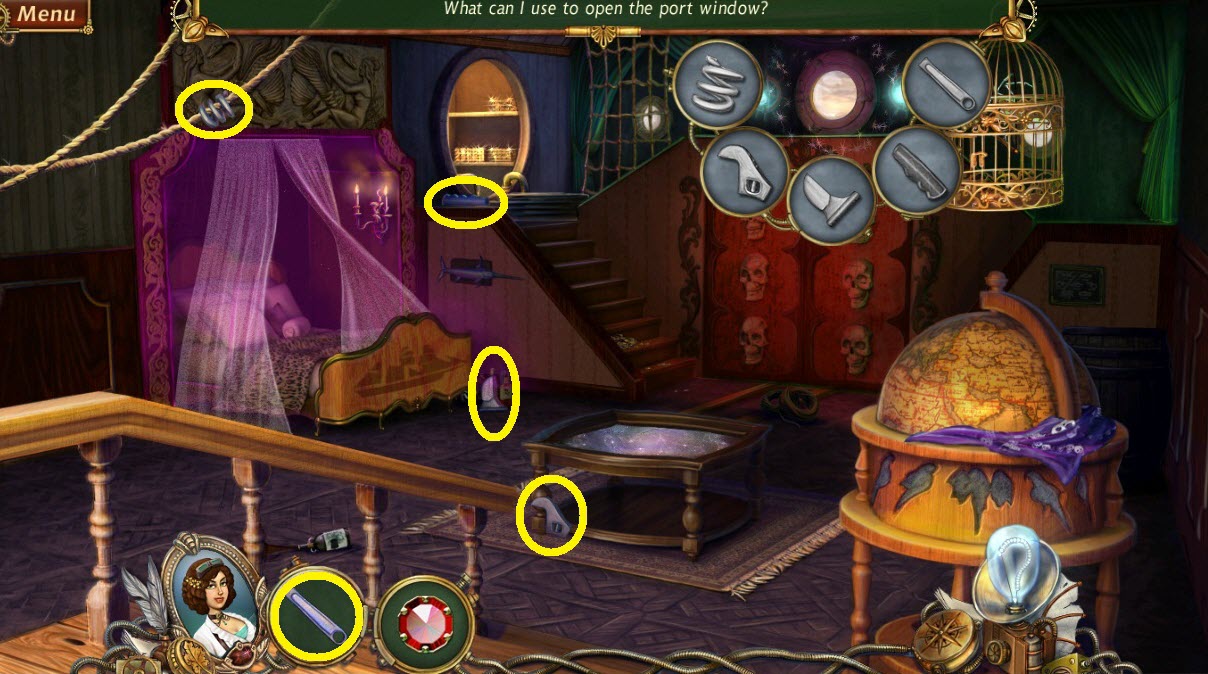
- Find the Porthole Key Objects (yellow circles).
- Pick up the emerald.
- Go through the portal.
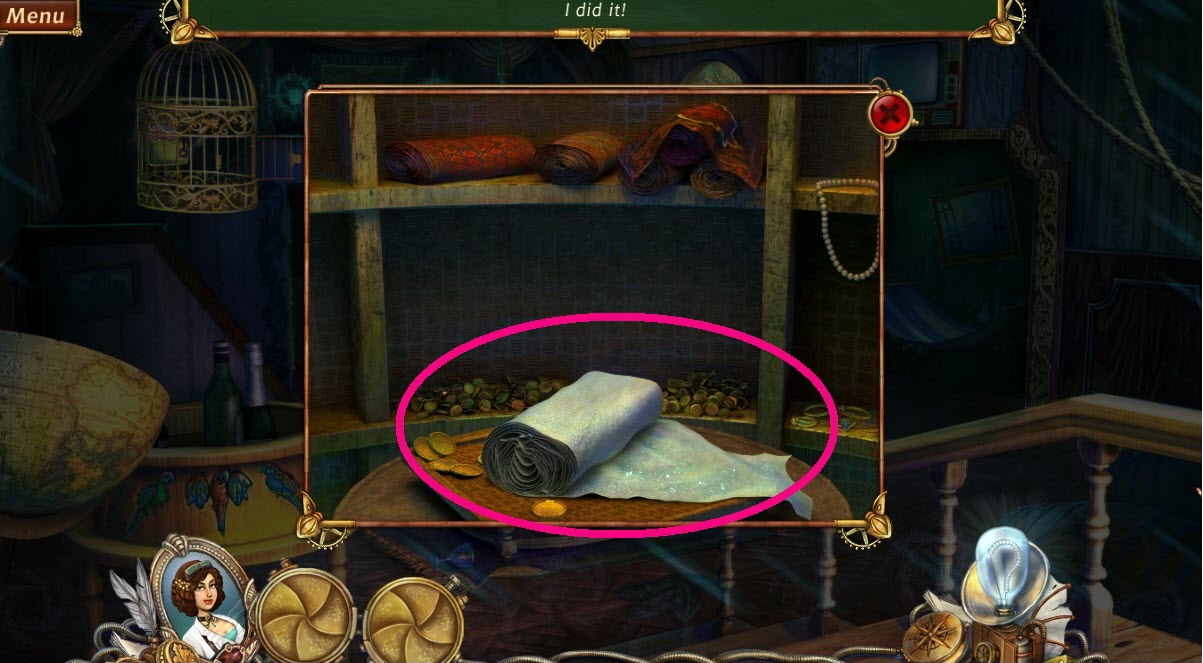
- Zoom to the safe.
- Put the emerald and ruby into the missing spaces.
- Zoom into the safe.
- Pick up the silk (pink circle).
- Go back to the windmill.
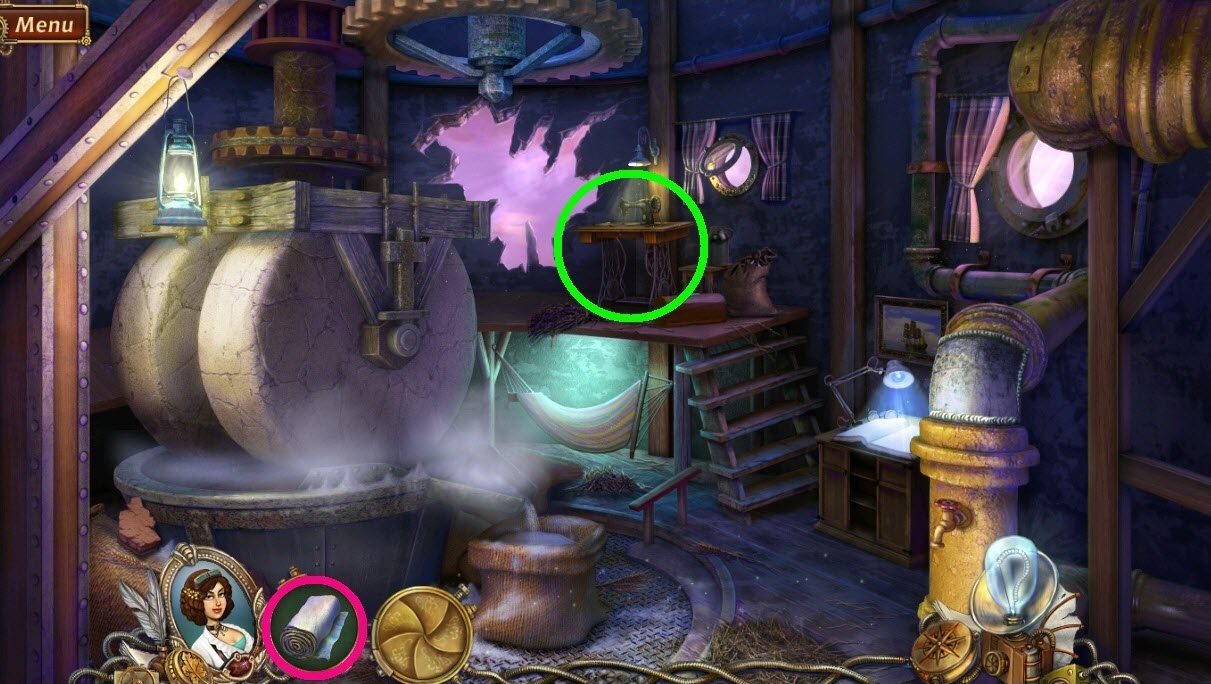
- Go to the sewing machine (green circle).
- Place the silk (pink circle) into it to create the sail.
- Leave the windmill.
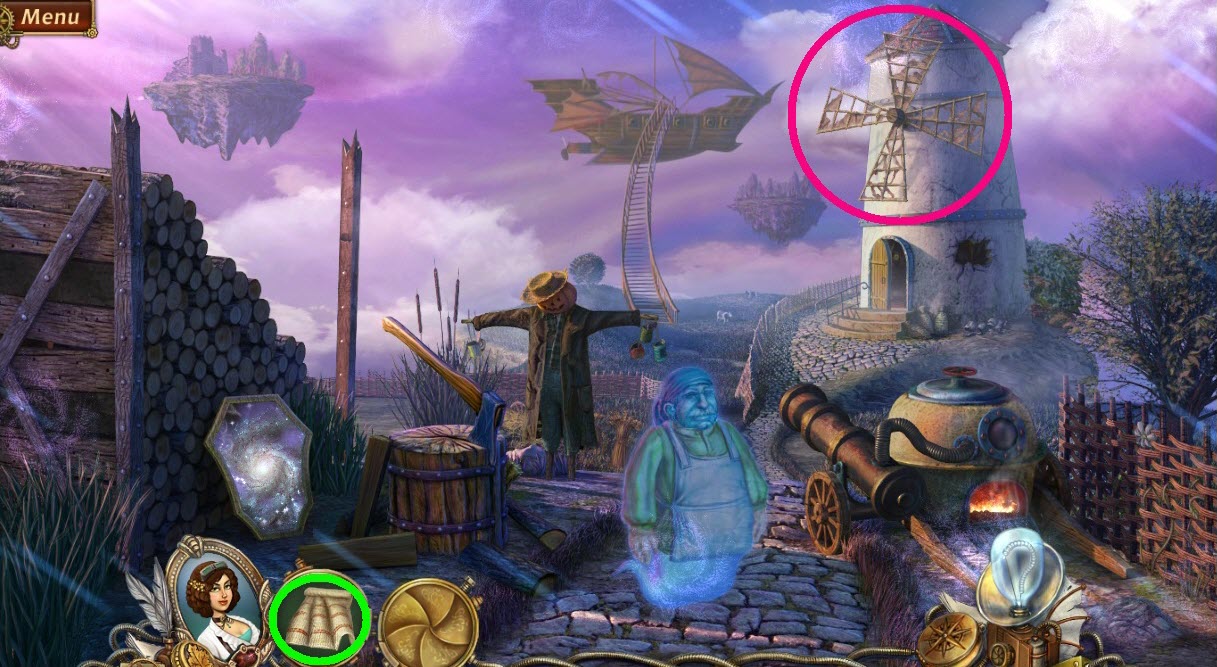
- Put the sail (green circle) on the mill (pink circle).
- Get the film negative.
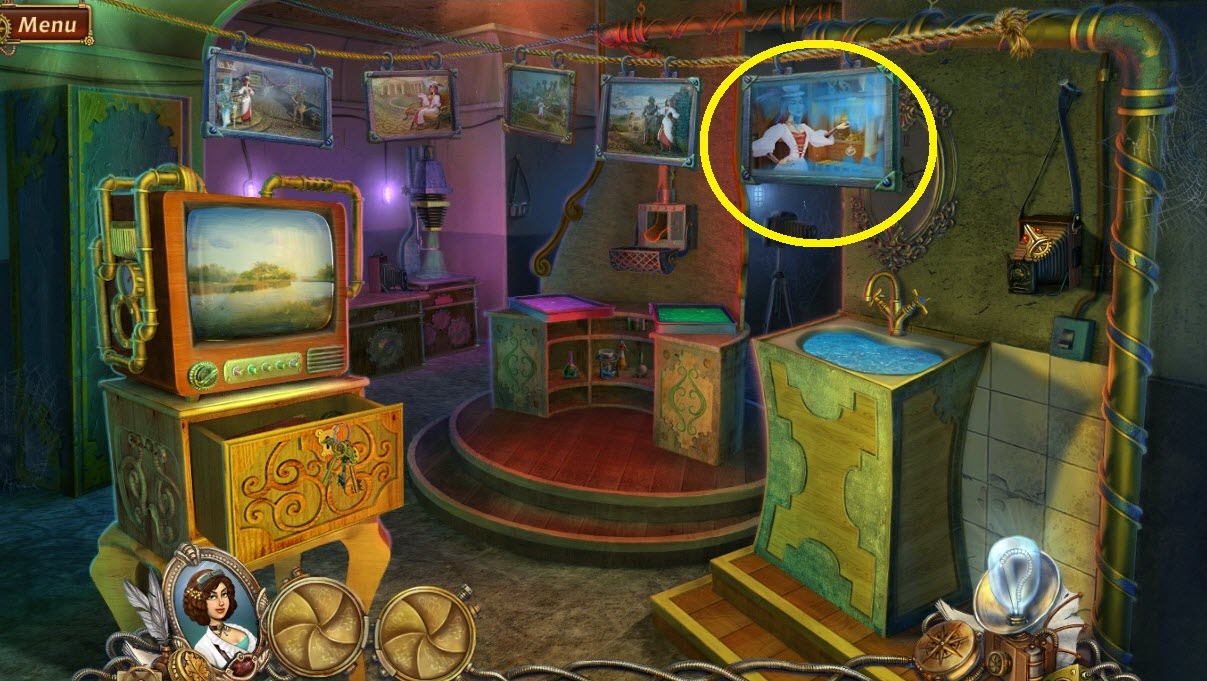
- Develop the film as you have the previous negatives.
- Wash and hang the print in its frame (yellow circle).
Comments will load when you reach this part of the walkthrough.