

Chapter Eight: Ahoy Matey
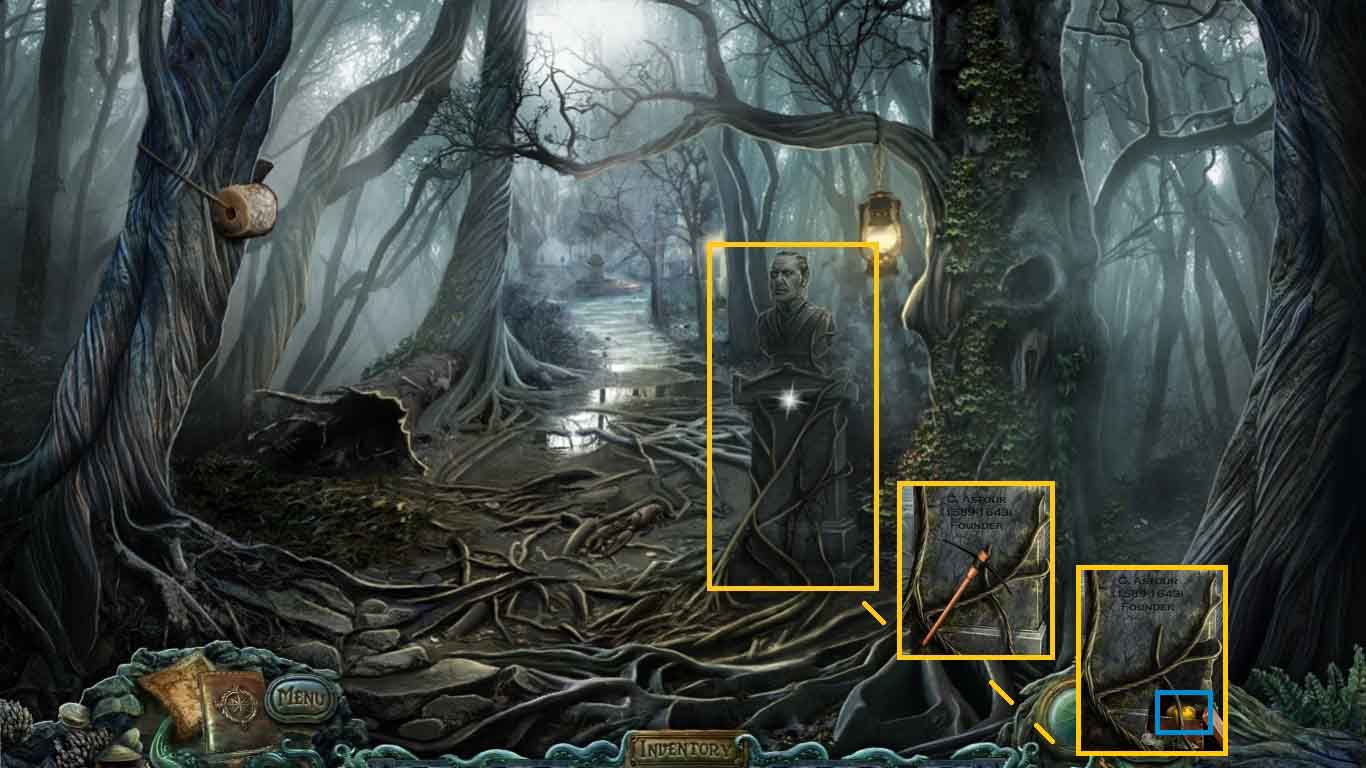
- Move to the gate and move ahead.
- Click the statue.
- Select the pickaxe and use it on the statue base.
- Click the box and collect the heart of castor.
- Move to the Hargrove house and move toward the path on the right.
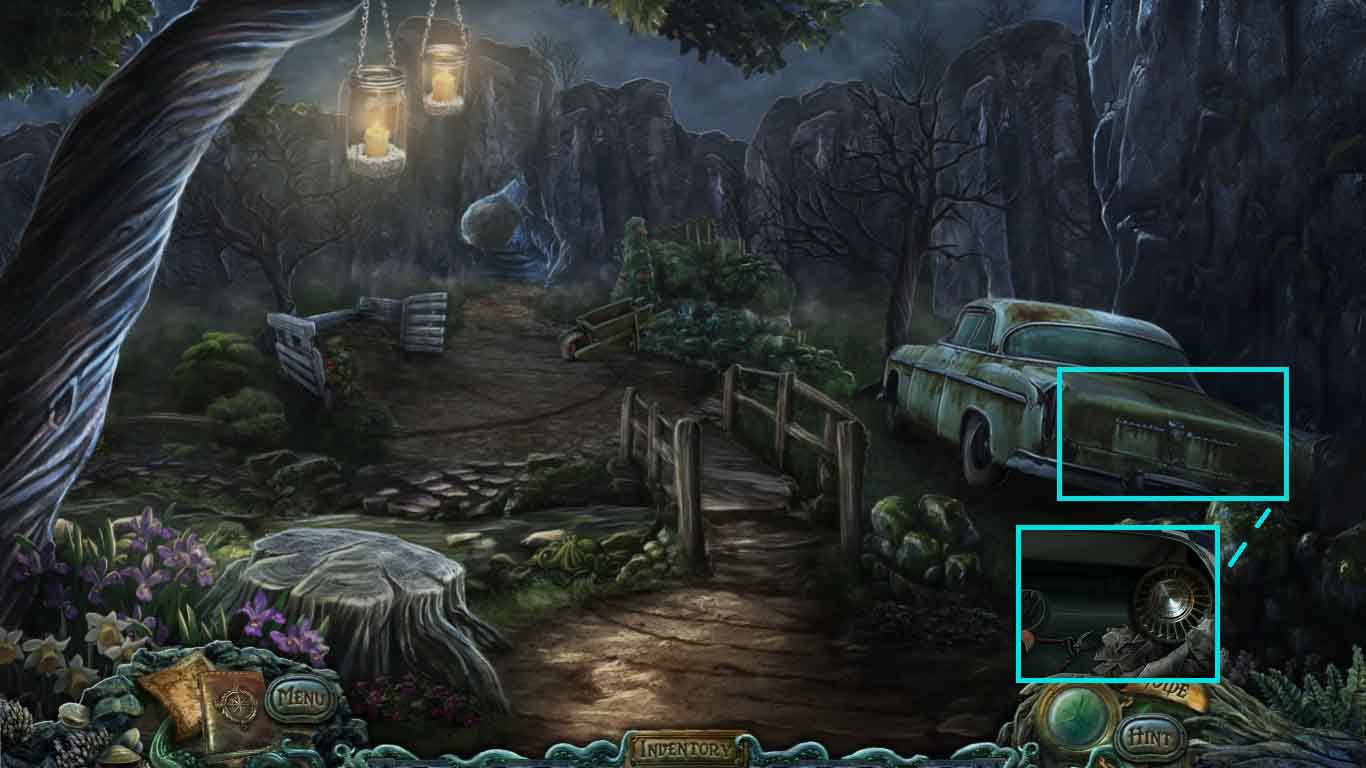
- Click the trunk and insert the car key.
- Collect the hubcap and the pruners.
- Move ahead.
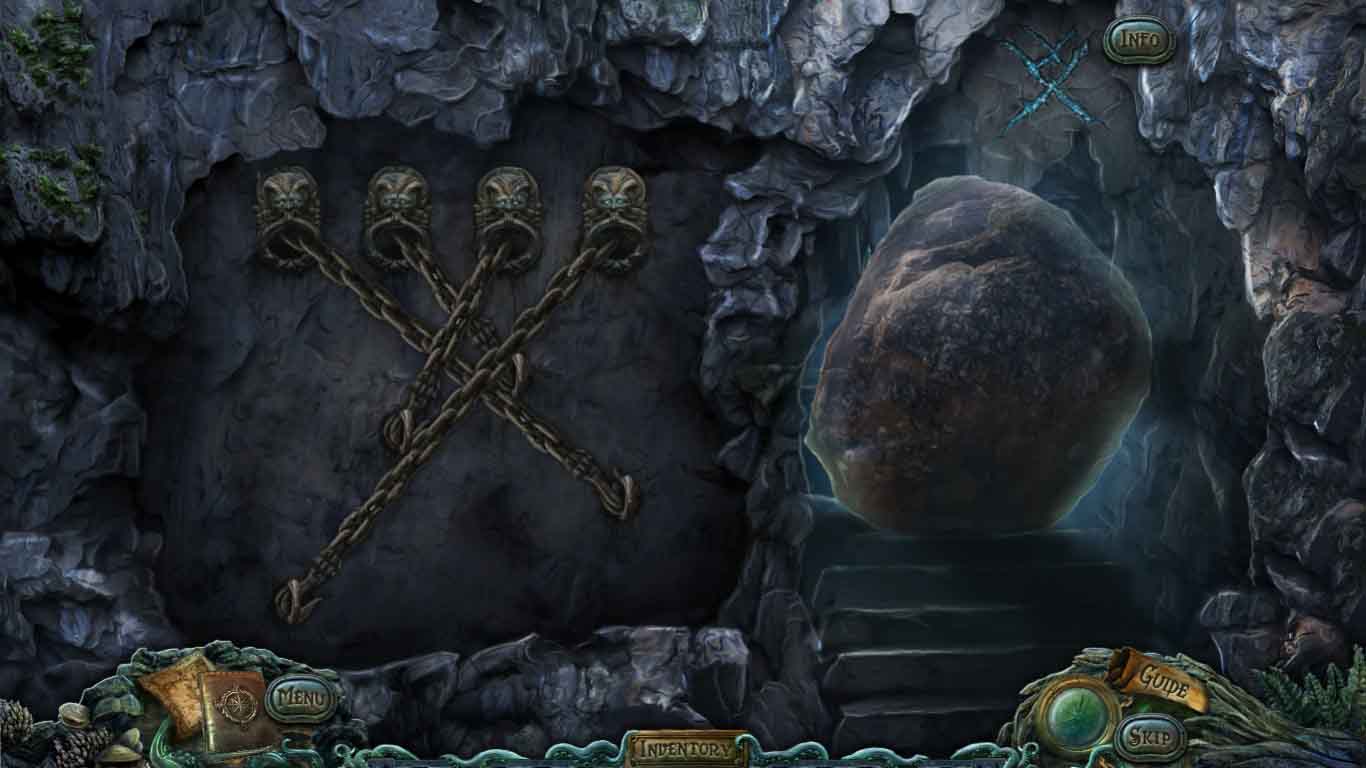
- Attach the metal eyelet onto the rocks to trigger a puzzle.
- To solve the puzzle match the hooks to the chains as shown.
- Move through the passage way.
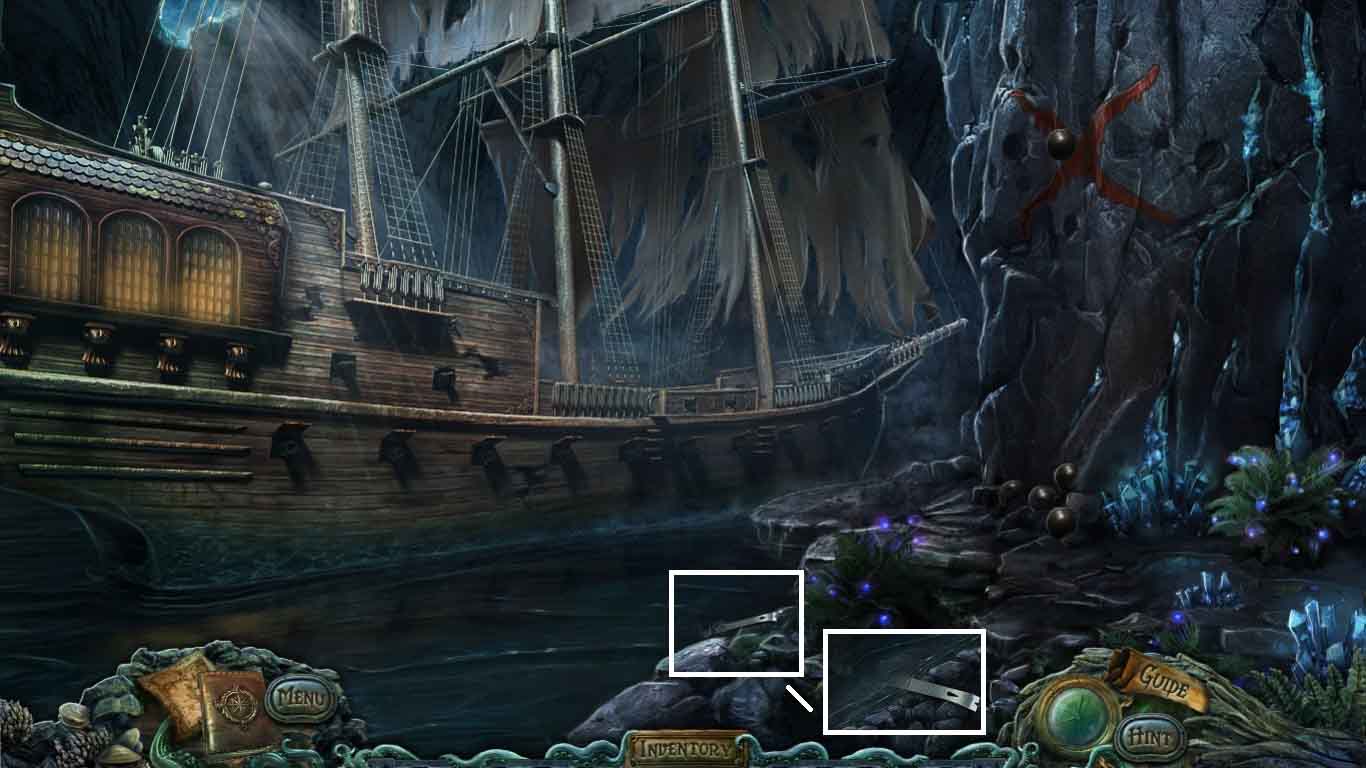
- Click the shore.
- Collect the pry bar.
- Move back 4 times.
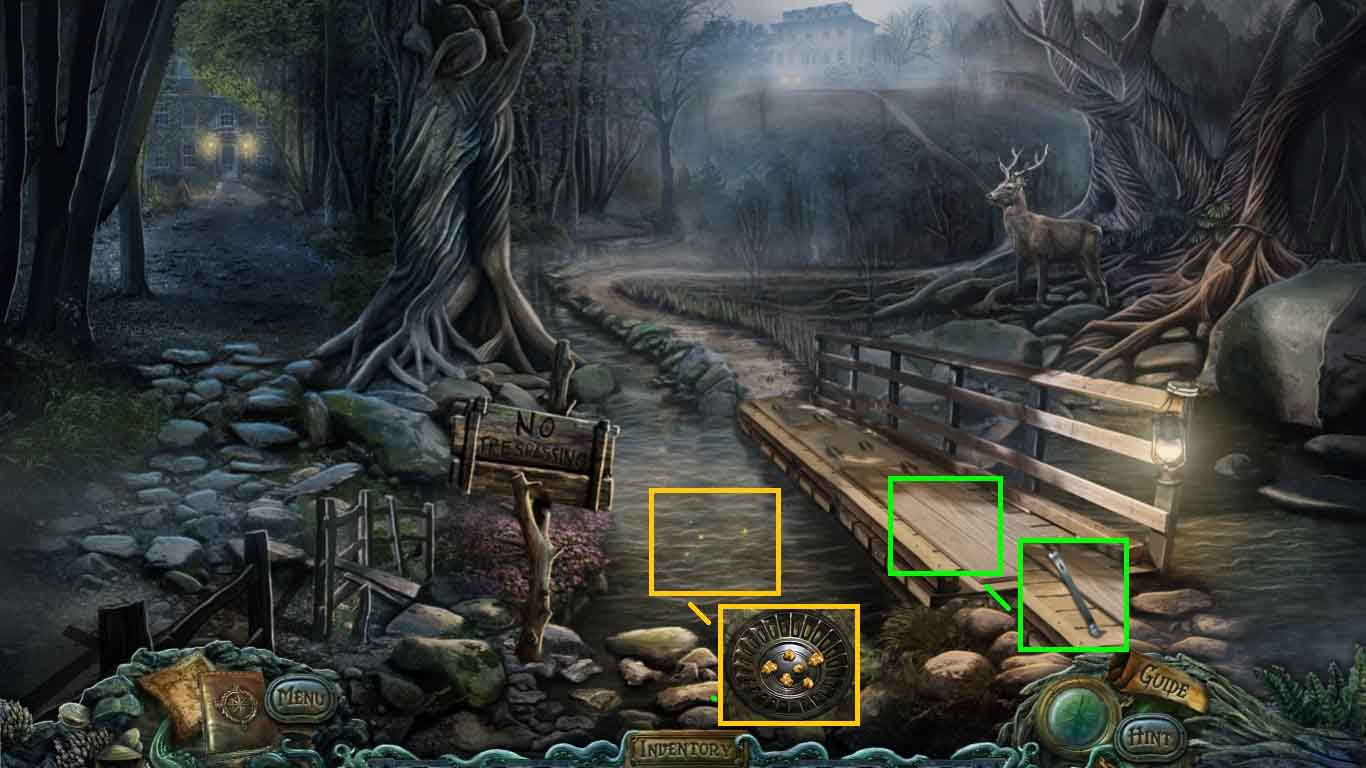
- Select the pry board to use on the loose board.
- Collect the wooden board.
- Click the stream.
- Use the hubcap to collect the gold nuggets.
- Move to the pirate ship.
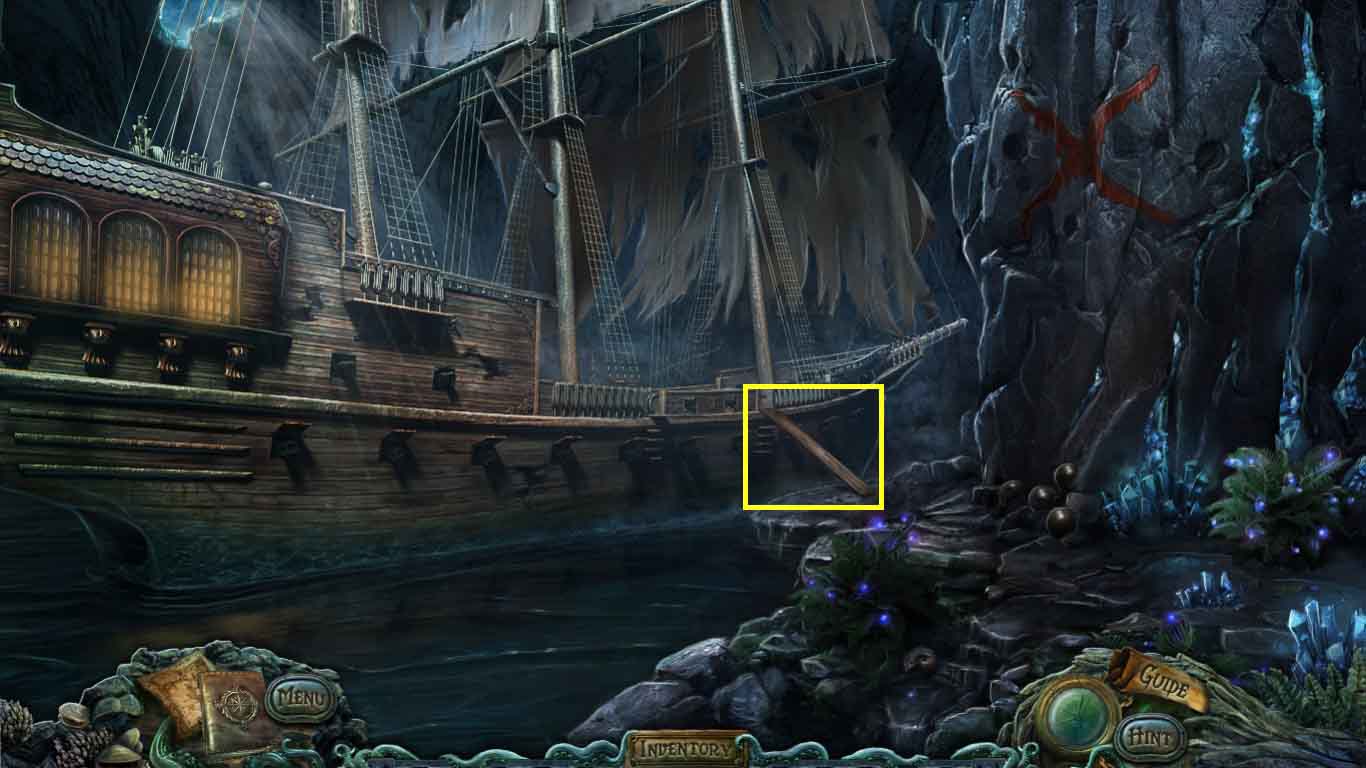
- Lay the wooden board onto the gap.
- Move to the ship.
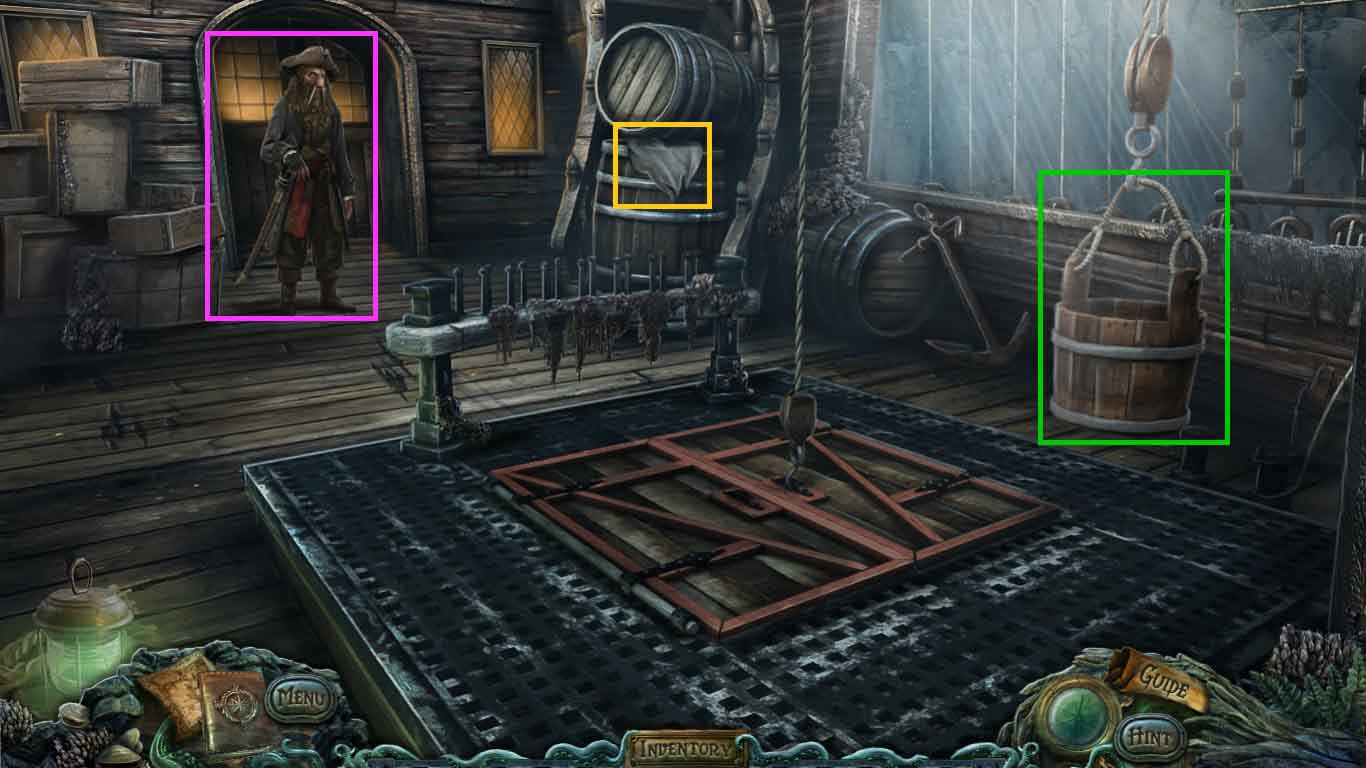
- Speak to the captain.
- Collect the empty bucket and the burlap sack.
- Move back once.
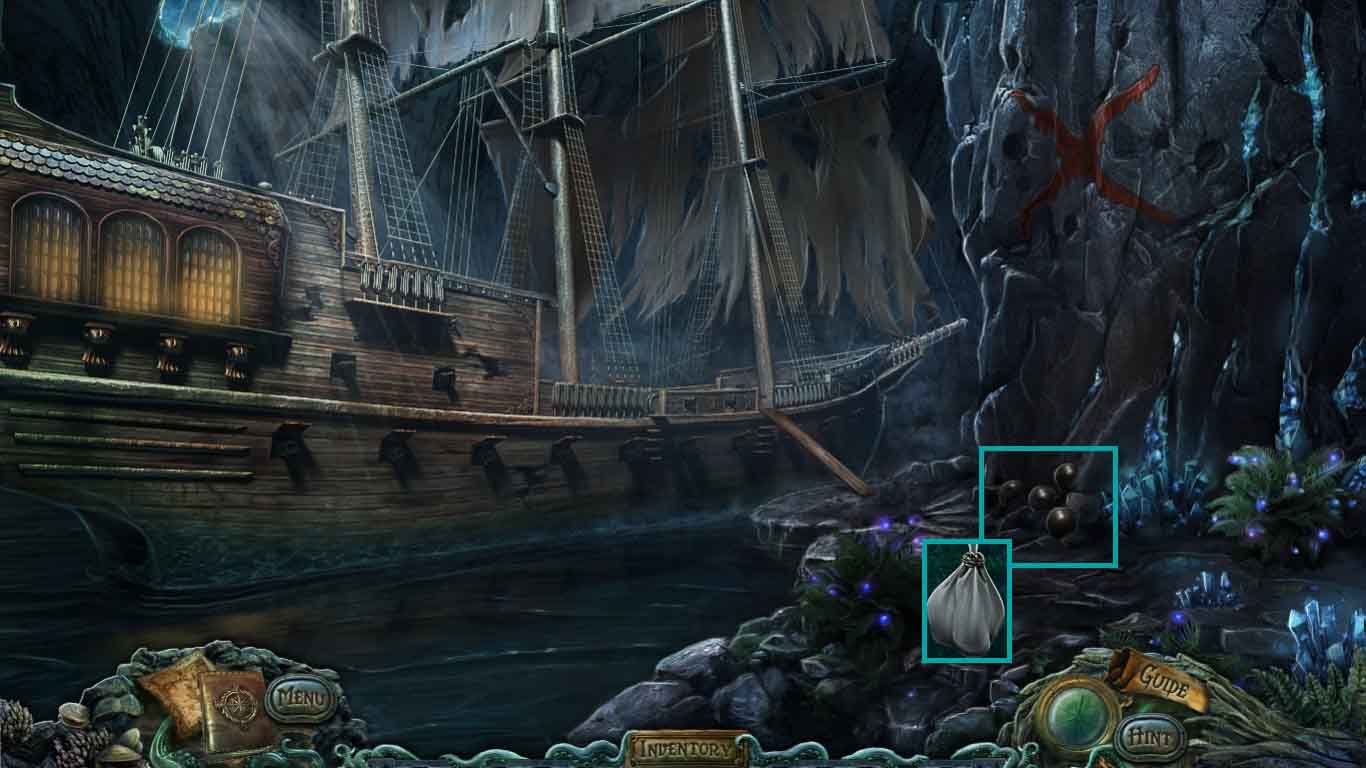
- Click the cannonballs.
- Place the burlap sack onto the balls; collect the bag of cannonballs.
- Move to the pirate ship.
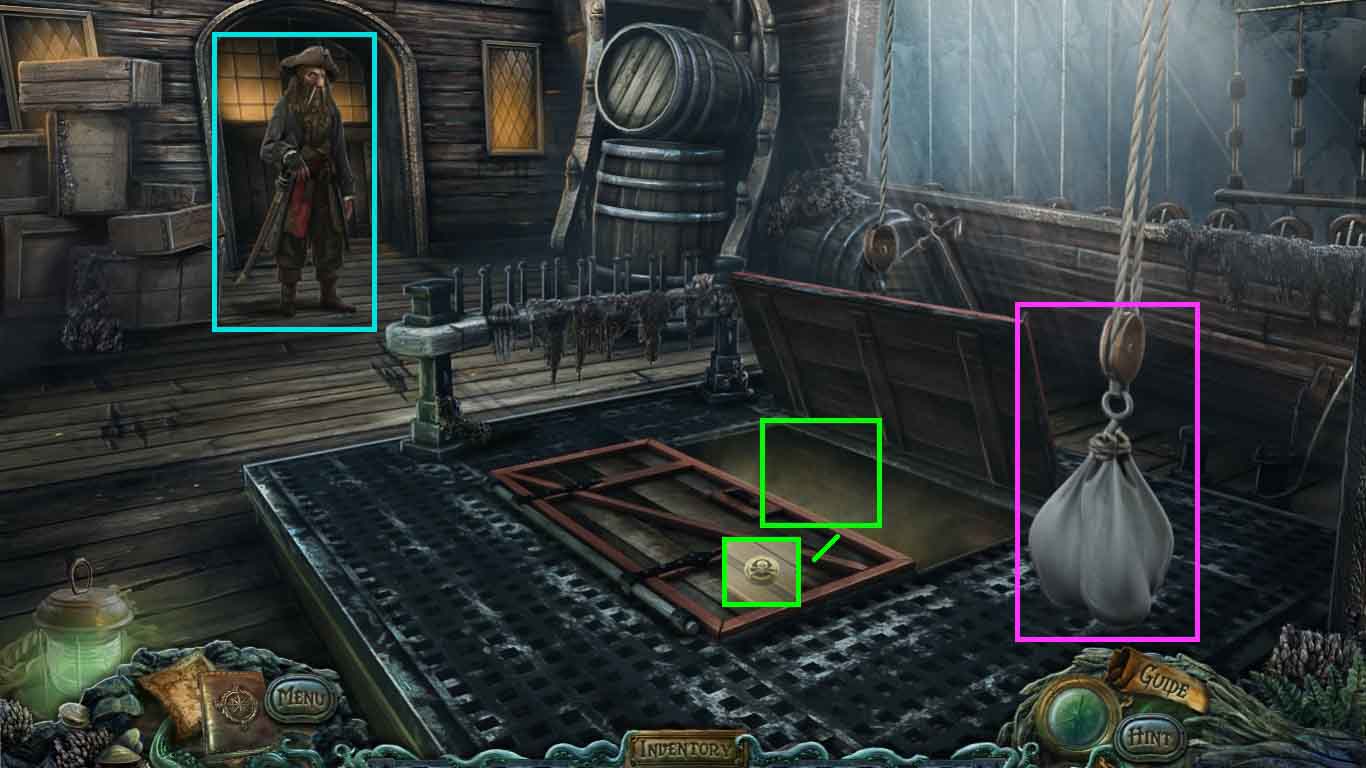
- Hang the bag of cannonballs onto the hook.
- Click the cargo hold and collect the pirate medallion.
- Speak to the Captain.
- Move into the captain’s quarters.
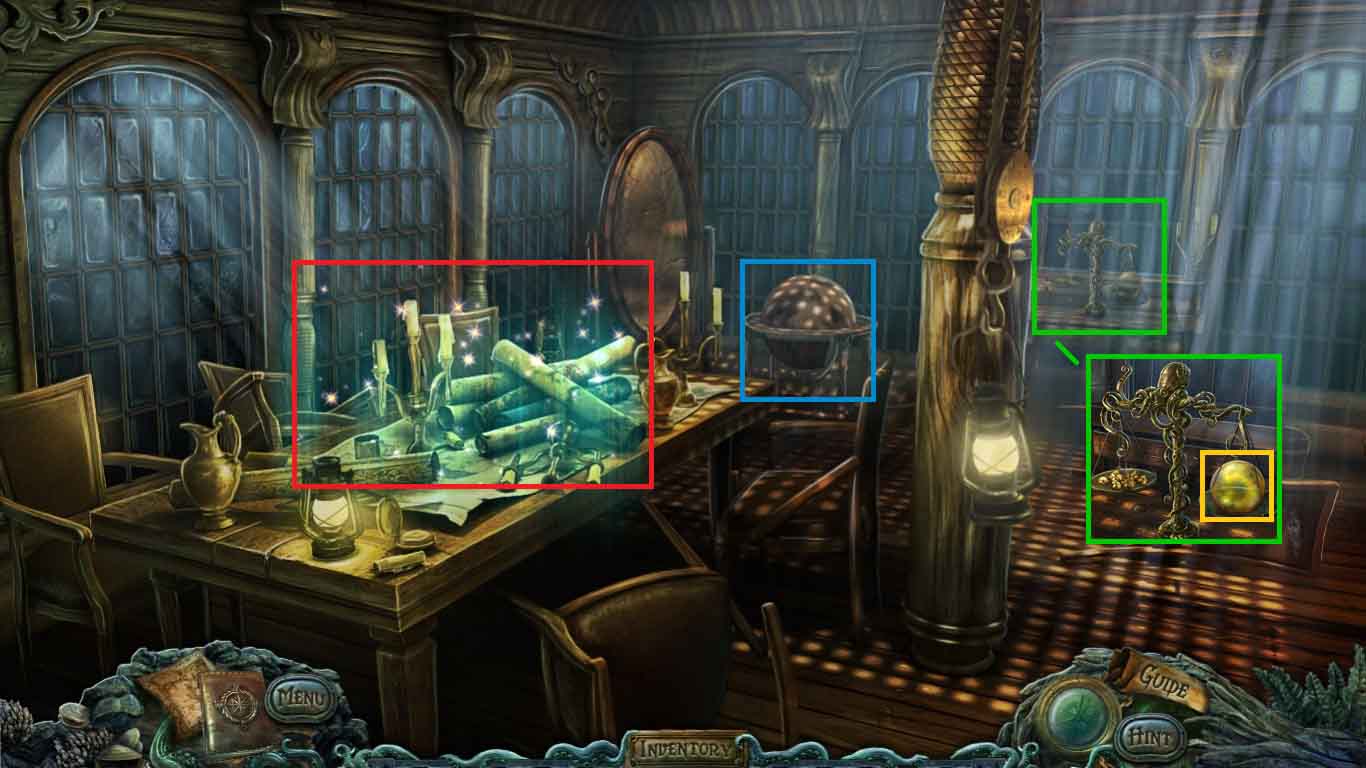
- Collect the globe.
- Click the scales and place the gold nuggets onto it.
- Collect the greed of castor.
- Click the table to access a hidden objects area.
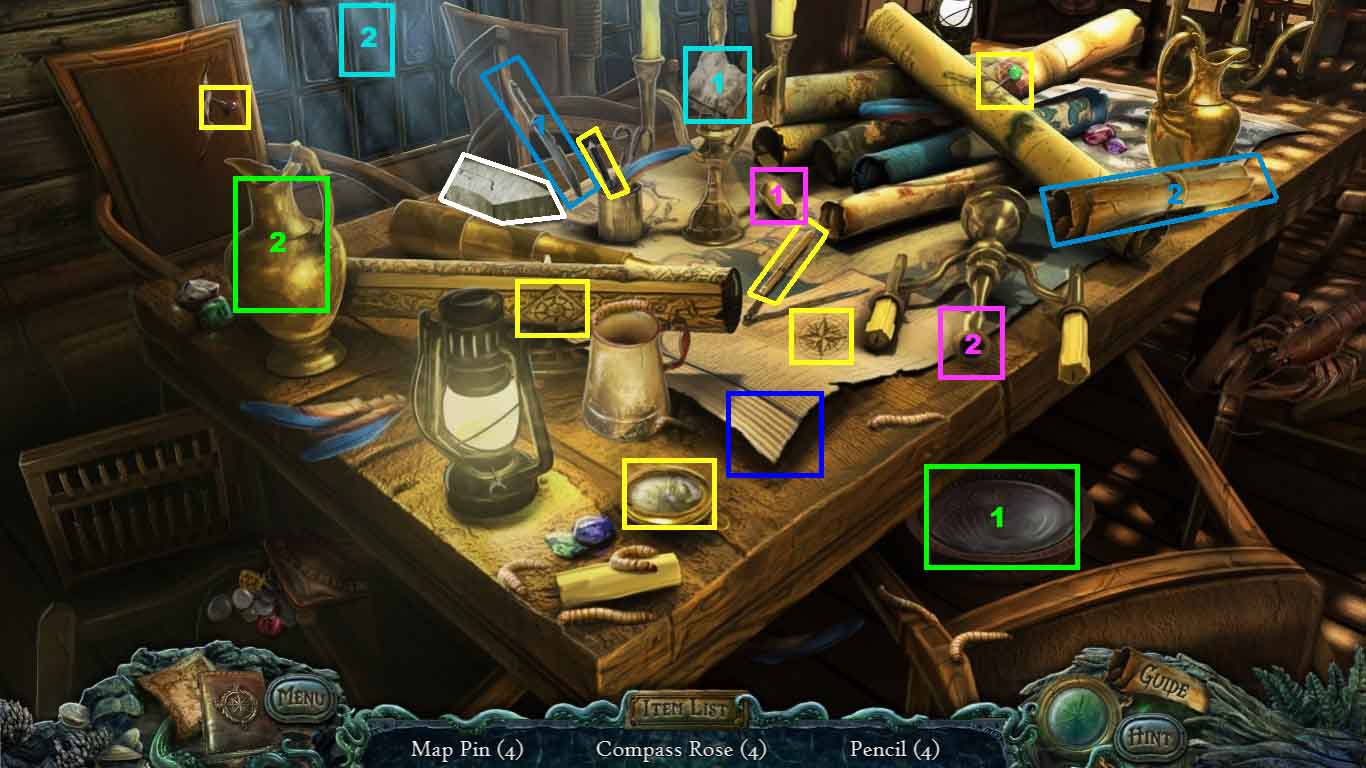
- Find the listed items.
- Select the knife to use on the scroll; collect the map pin.
- Select the cloth to use on the window; collect the compass rose.
- Select the bowl of water to use on the vase; collect the pencil.
- Select the map to collect the pencil.
- Click the compass to collect the compass rose.
- Insert the candle into the candelabra; collect the map pin.
- Collect the keystone.
- Move to the library and go inside.
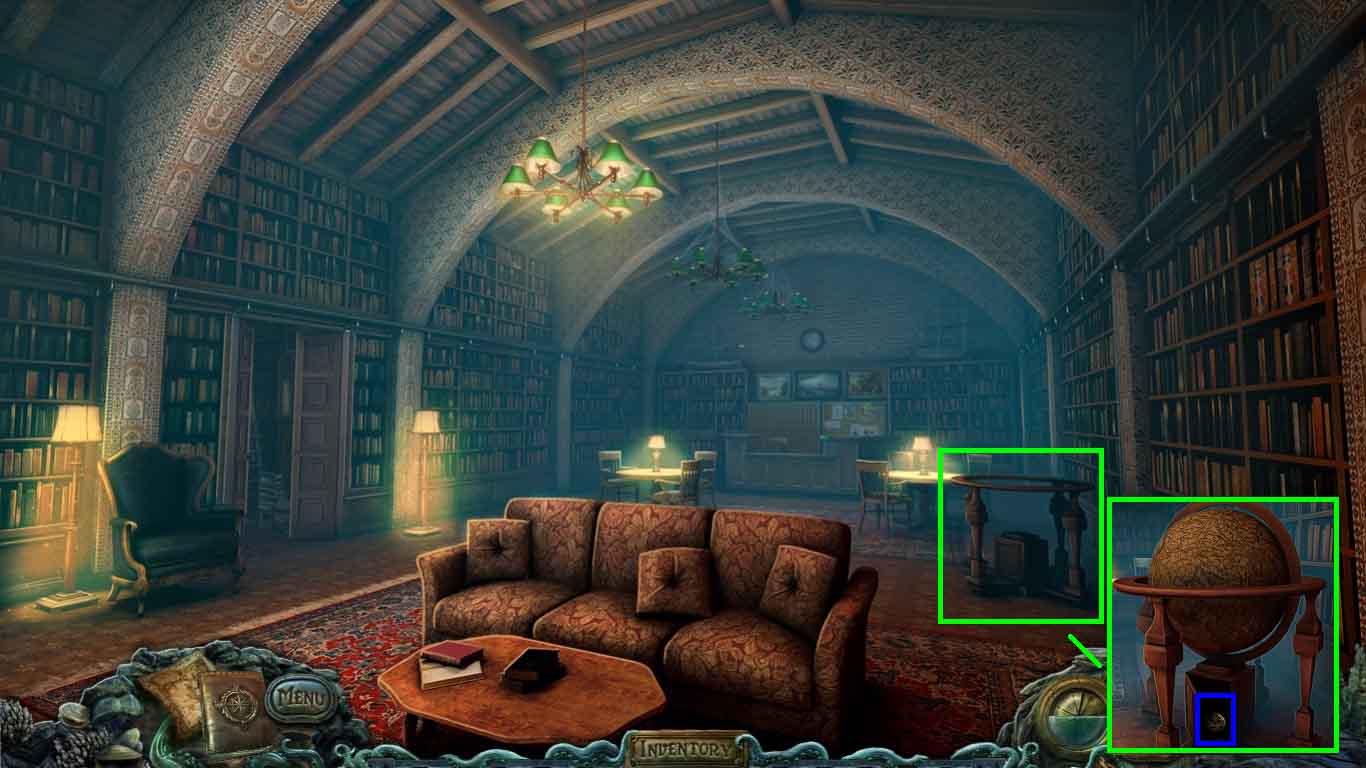
- Click the stand and place the globe onto it.
- Collect the ship’s wheel medallion.
- Move to the wharf, enter the tackle shop and move to the treasure room.
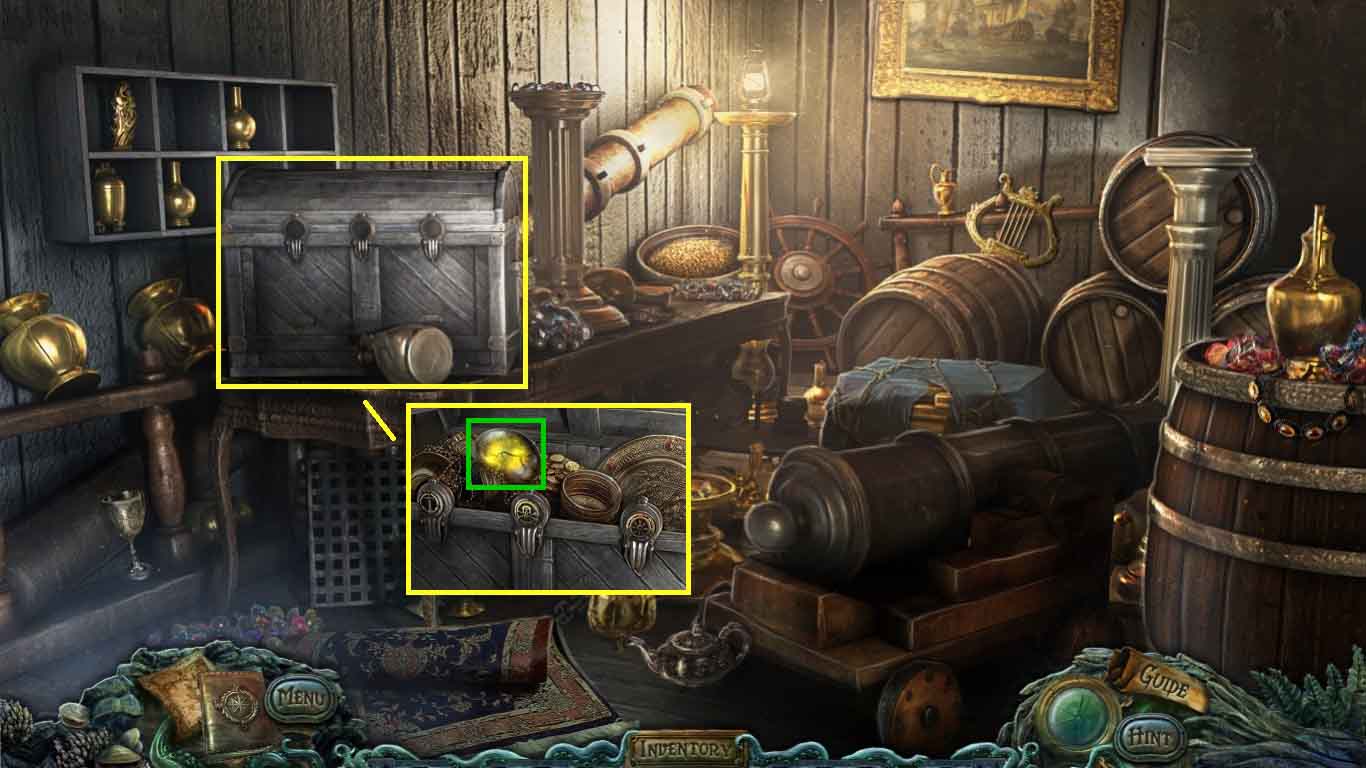
- Click the chest and insert the ship’s wheel medallion, the pirate medallion and the anchor medallion.
- Collect the mind of castor.
- Move to the pirate ship.
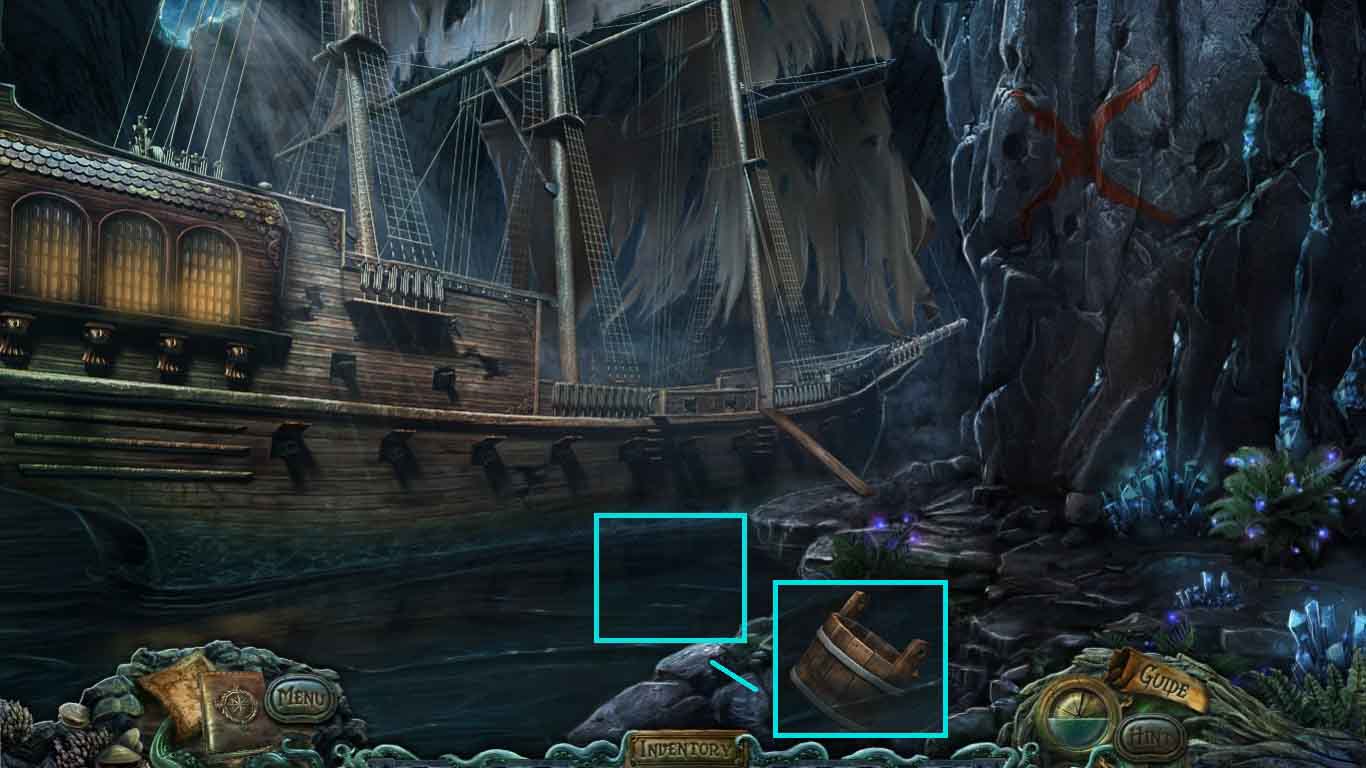
- Click the shoreline.
- Dip the empty bucket into the water; collect the full bucket.
- Move to the kitchen in Hargrove house.
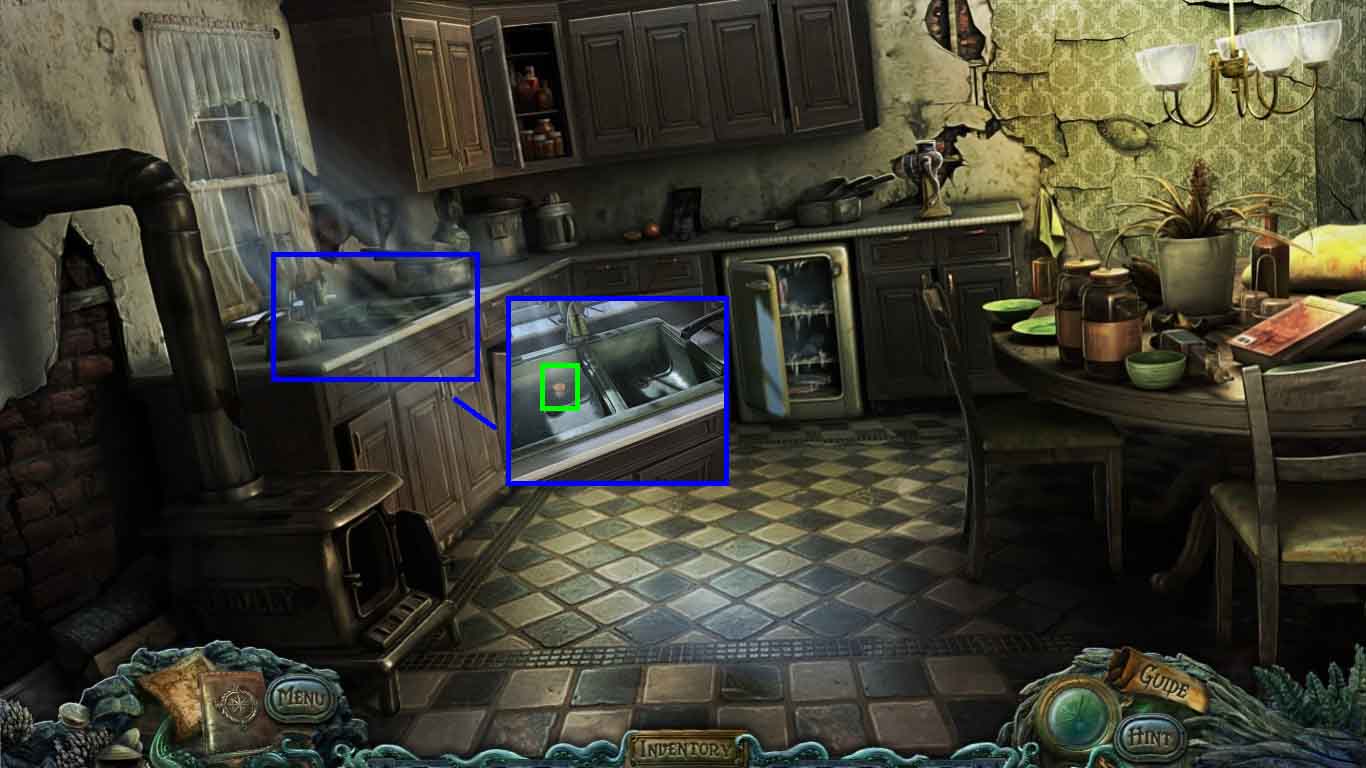
- Click the sink.
- Pour the full bucket into the left bowl.
- Collect the cork.
- Move to Astour Manor.
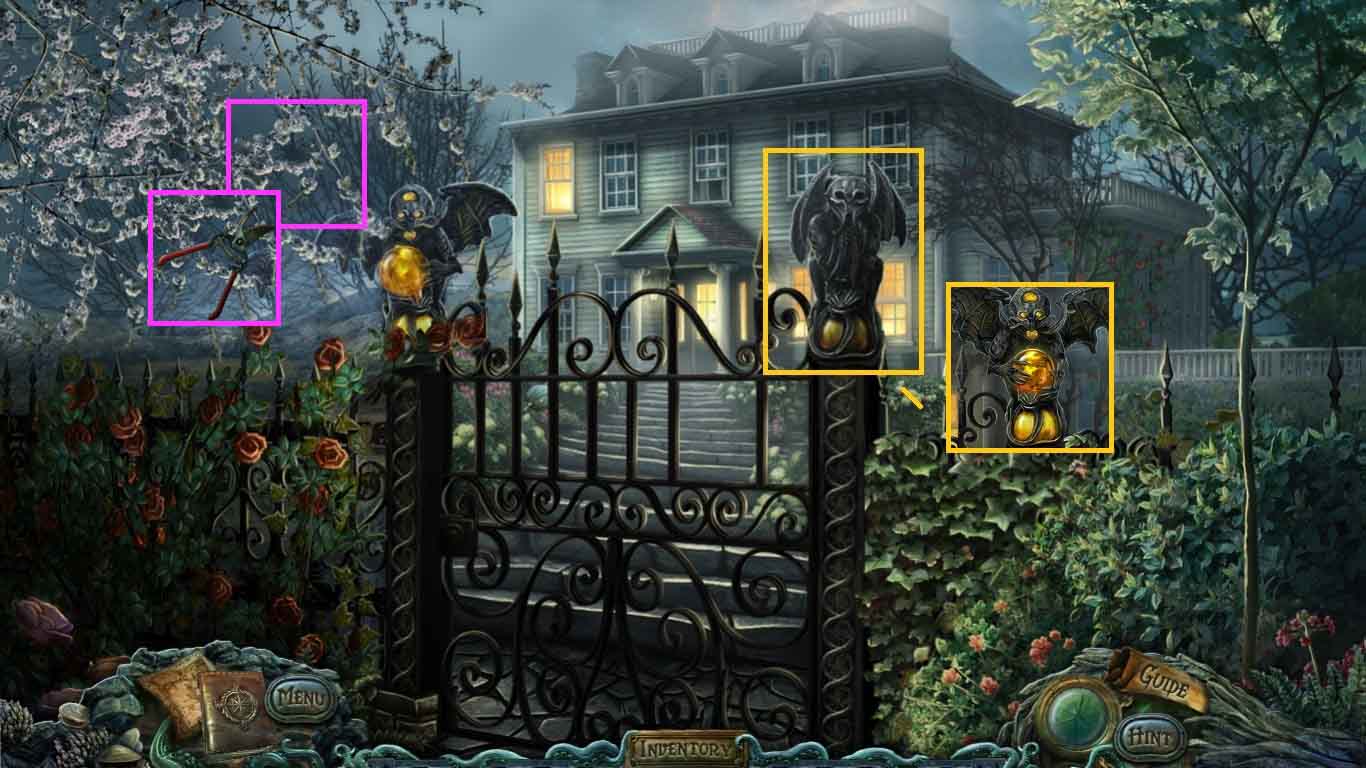
- Click the gate guardian.
- Insert the following items in the order listed:
- Eye of castor – mind of castor – heart of castor – greed of castor
- Select the pruners to collect the belladonna.
- Move forward.
Comments will load when you reach this part of the walkthrough.