

Chapter One: Pilgrim’s Hook
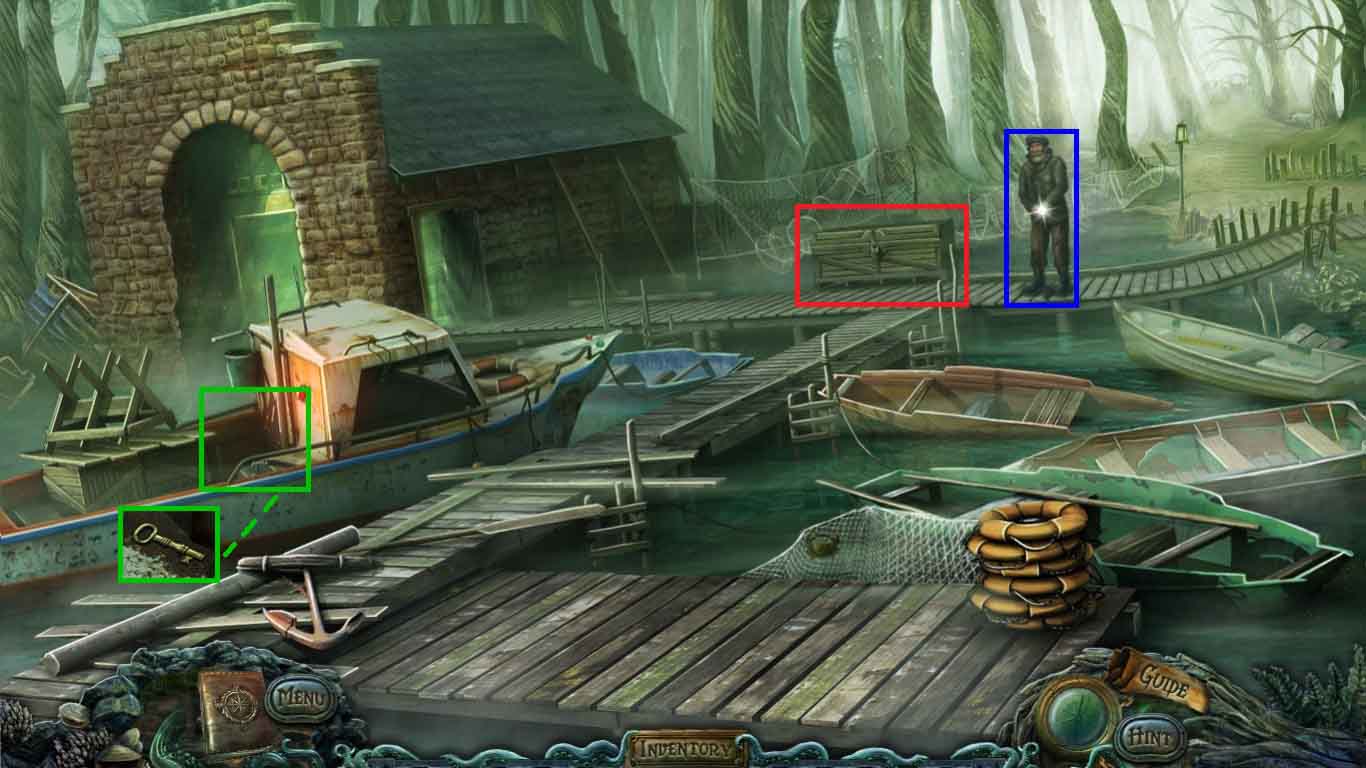
- Click the boatman.
- Click the boat and collect the trunk key.
- Click the trunk and insert the trunk key; click the key.
- Click the hidden objects area.
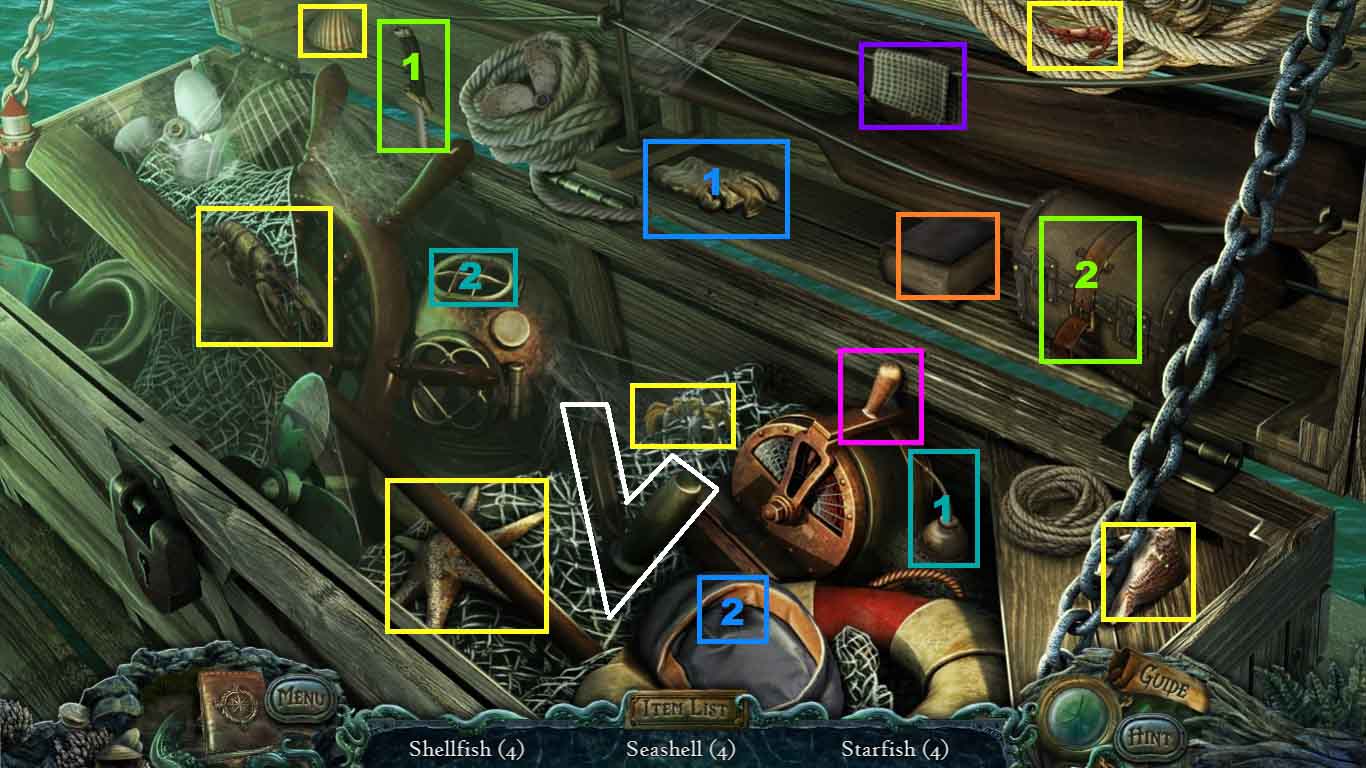
- Find the listed items.
- Click the book; collect the starfish.
- Select the knife and use it on the strap; collect the seashell.
- Pour the oilcan onto the helmet; collect the starfish.
- Click the lever; collect the seashell.
- Select the glove to collect the shellfish.
- Click the cloth; collect the starfish.
- Collect the winch handle.
- Move to the left into the boathouse.
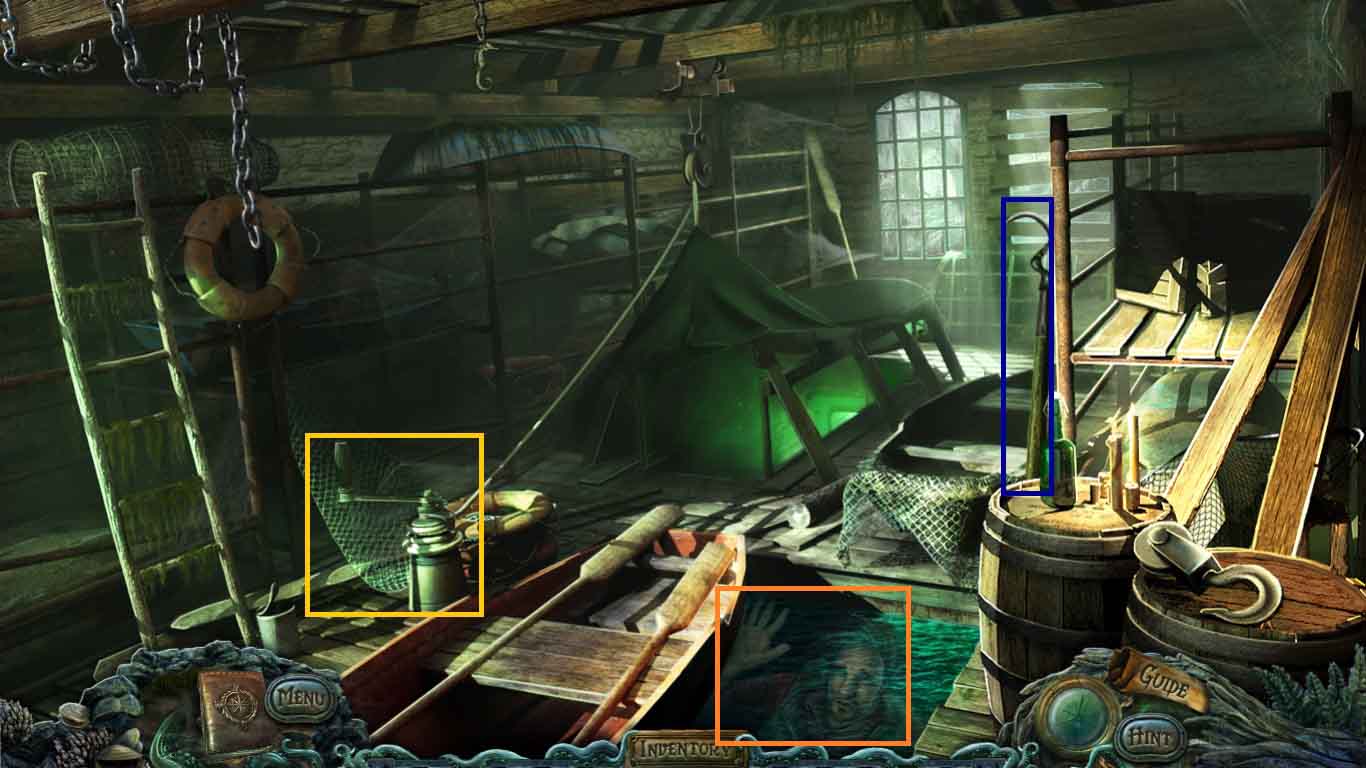
- Collect the pole hook.
- Click the winch and insert the winch handle; click the handle.
- Zoom into the apparition.
- Move ahead into the cellar.
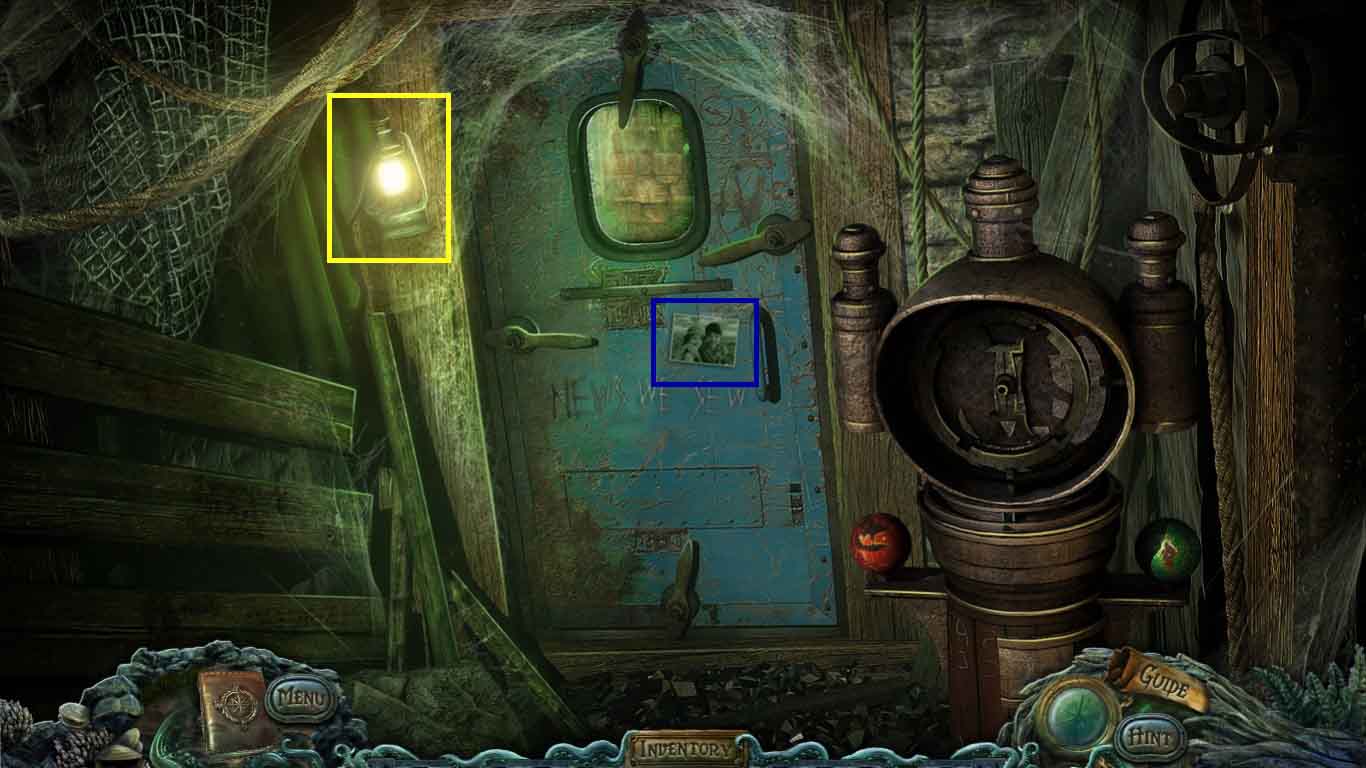
- Collect the lantern and the photo.
- Move back 2 times.
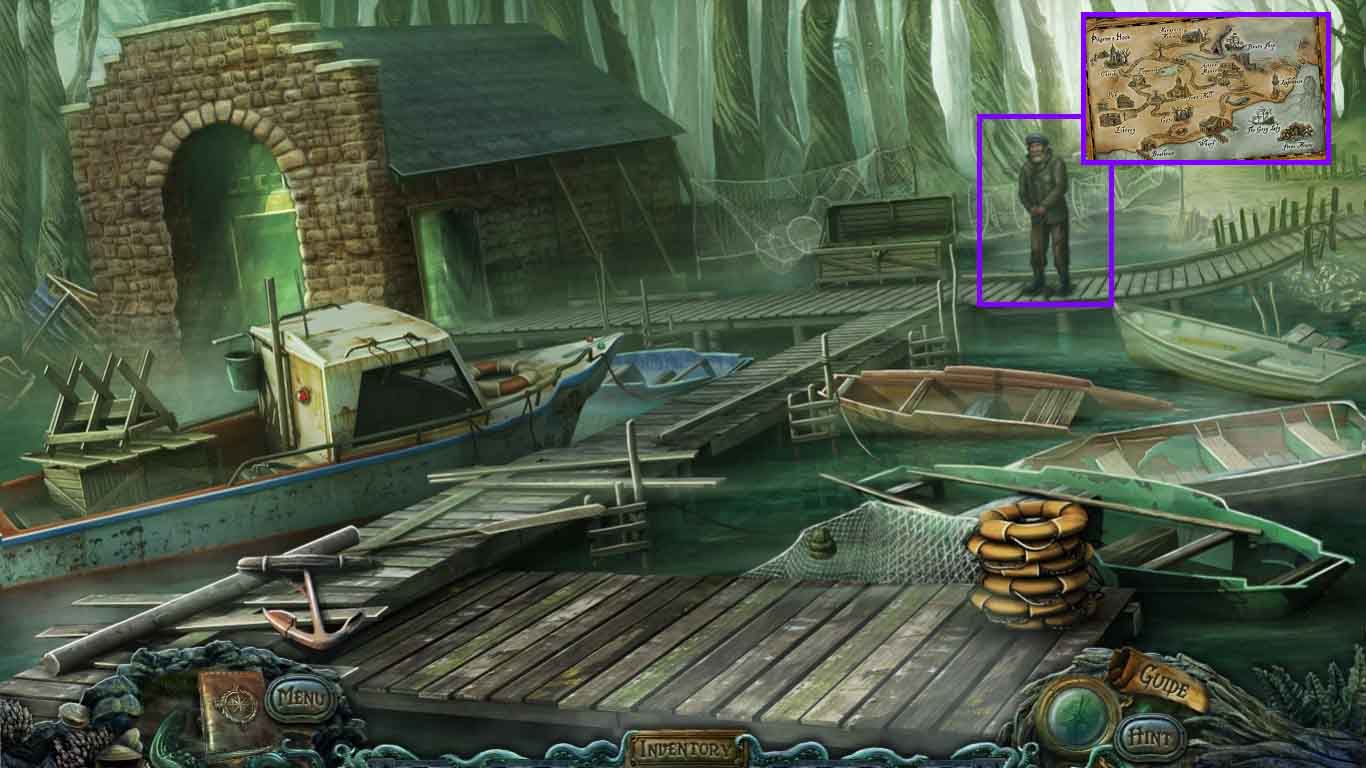
- Give the boatman the lantern and collect the map.
- Move ahead to the beach.
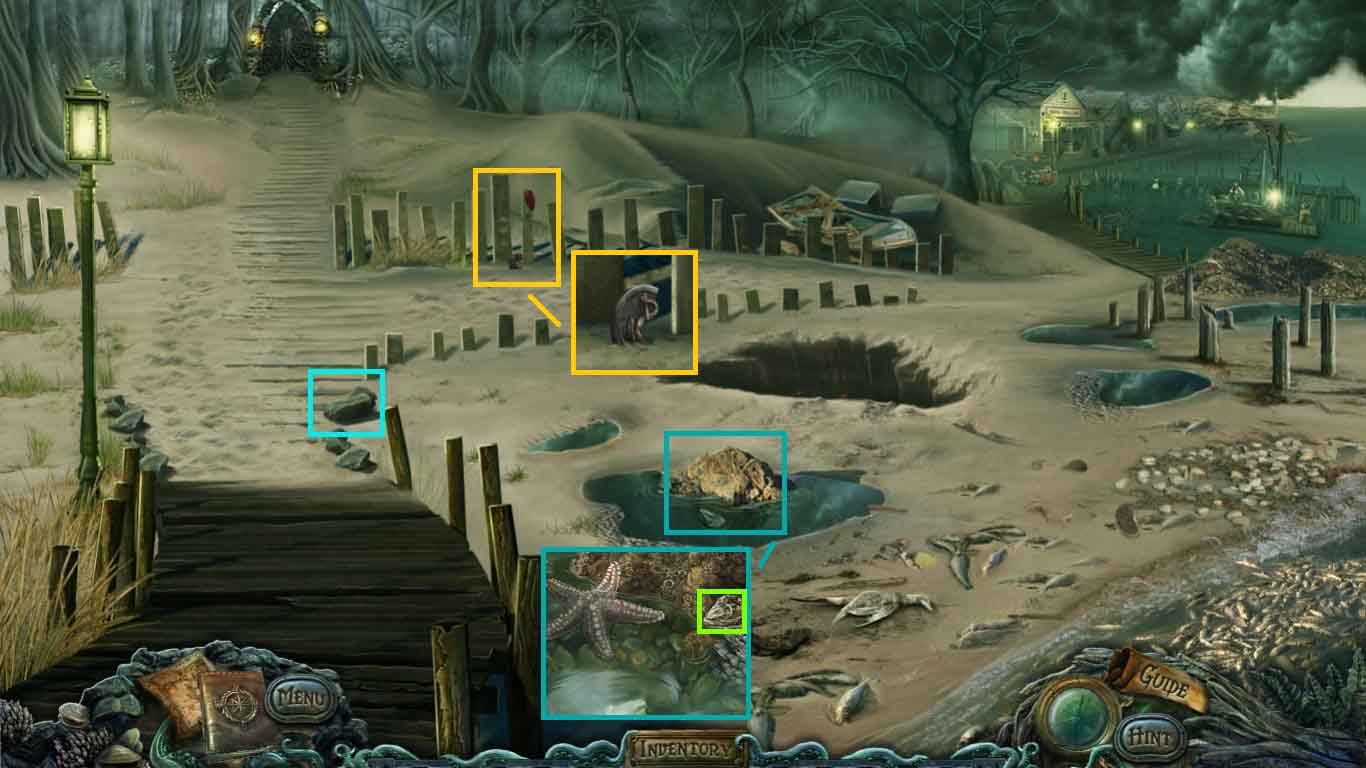
- Collect the rock.
- Click the puddle; collect the oyster.
- Click the fence; collect the sigil piece.
- Move toward the path on the left.
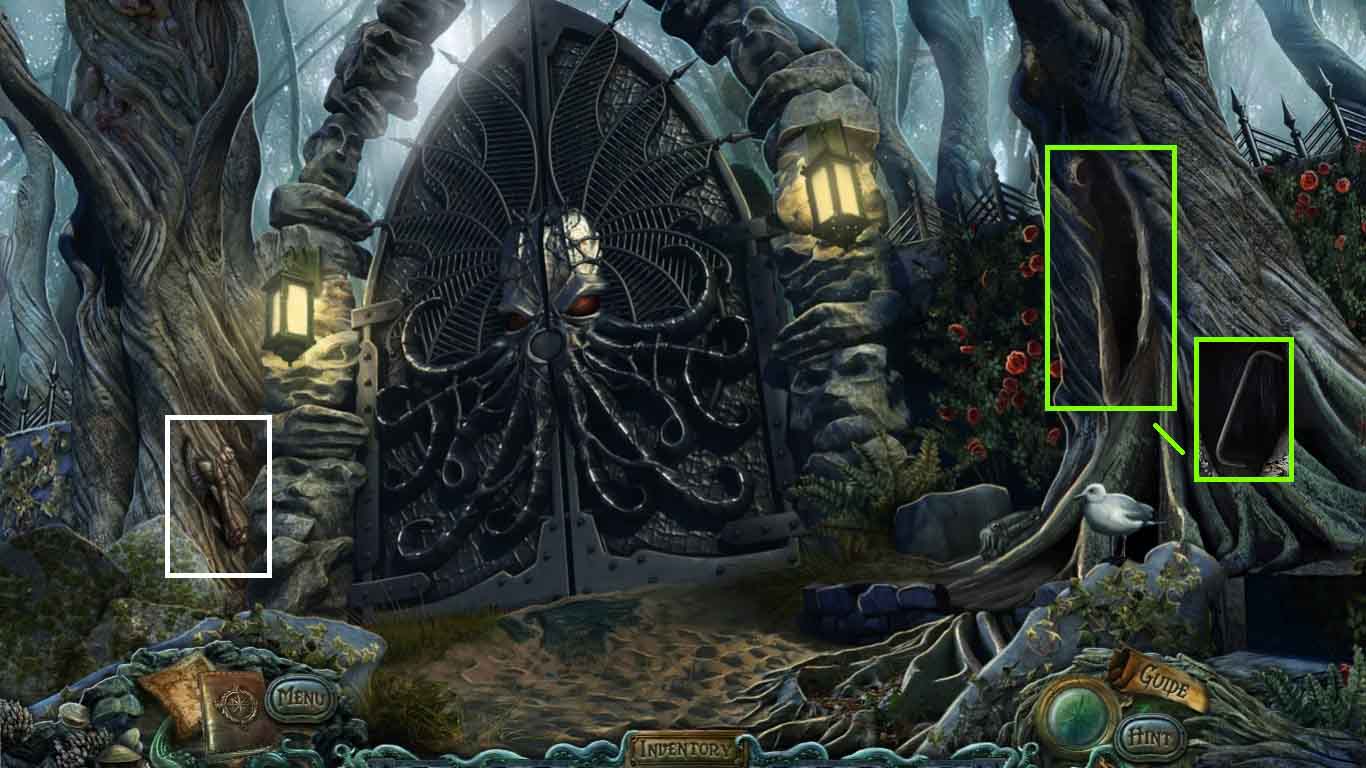
- Collect the axe.
- Click the tree hollow; collect the iron rungs 1 / 4.
- Move back once and move right to the wharf.
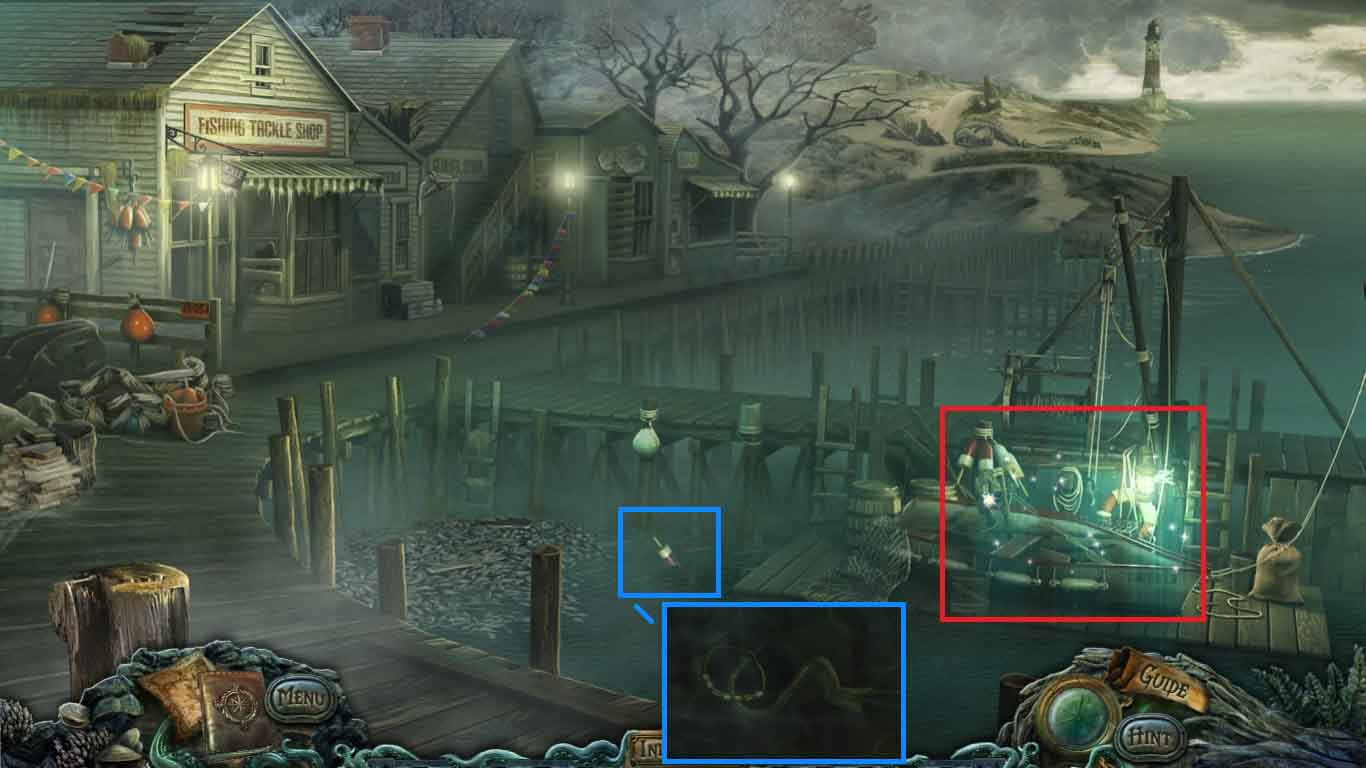
- Click the buoy.
- Select the pole hook to collect the shell bracelet.
- Click the boat to access a hidden objects area.
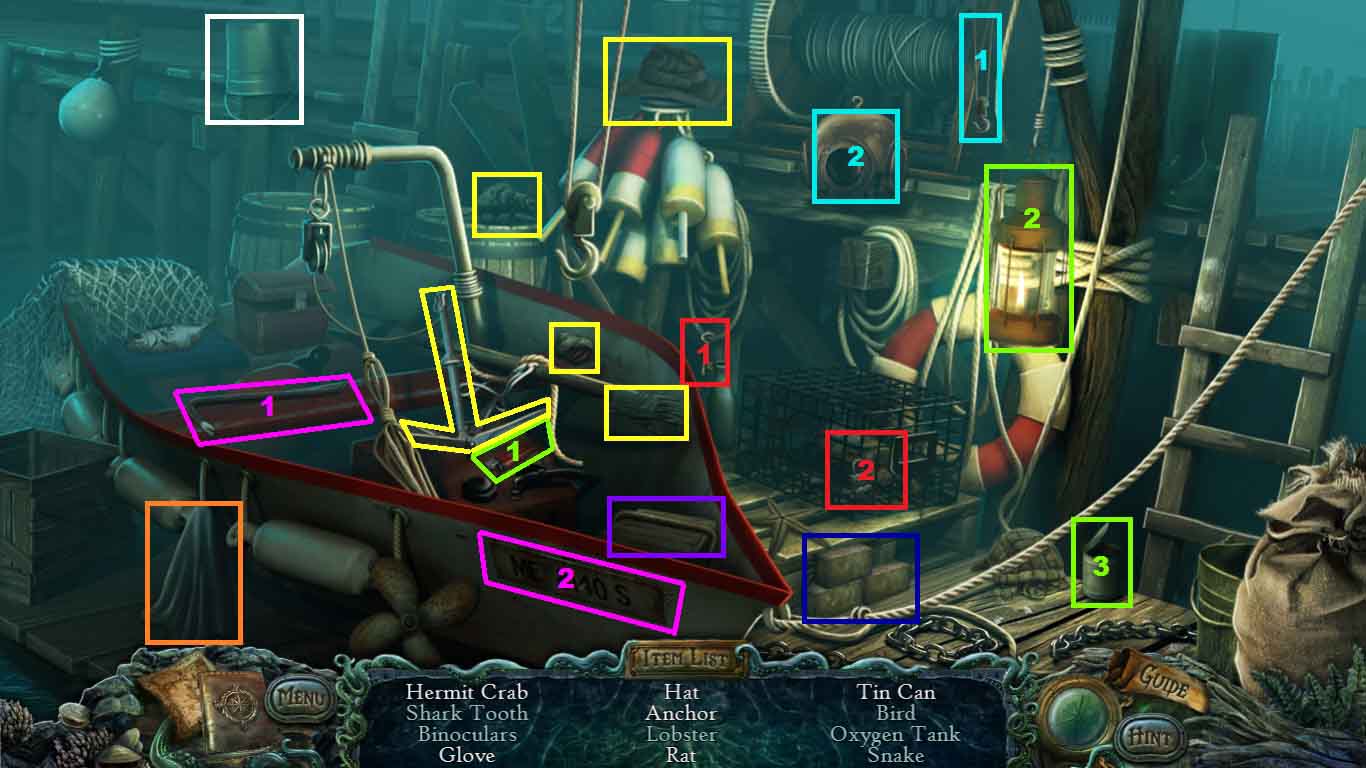
- Find the listed items.
- Select the lighter to use on the lantern; collect the tin can.
- Attach the hook to the helmet; collect the bird.
- Click the bucket; collect the snake.
- Click the cloth; collect the oxygen tank.
- Select the crowbar and use it on the sign; collect the shark tooth.
- Click the 3 bricks; collect the binoculars.
- Insert the key into the cage; collect the lobster.
- Collect the iron rungs 2 / 4.
- Move ahead 2 times into the lighthouse.
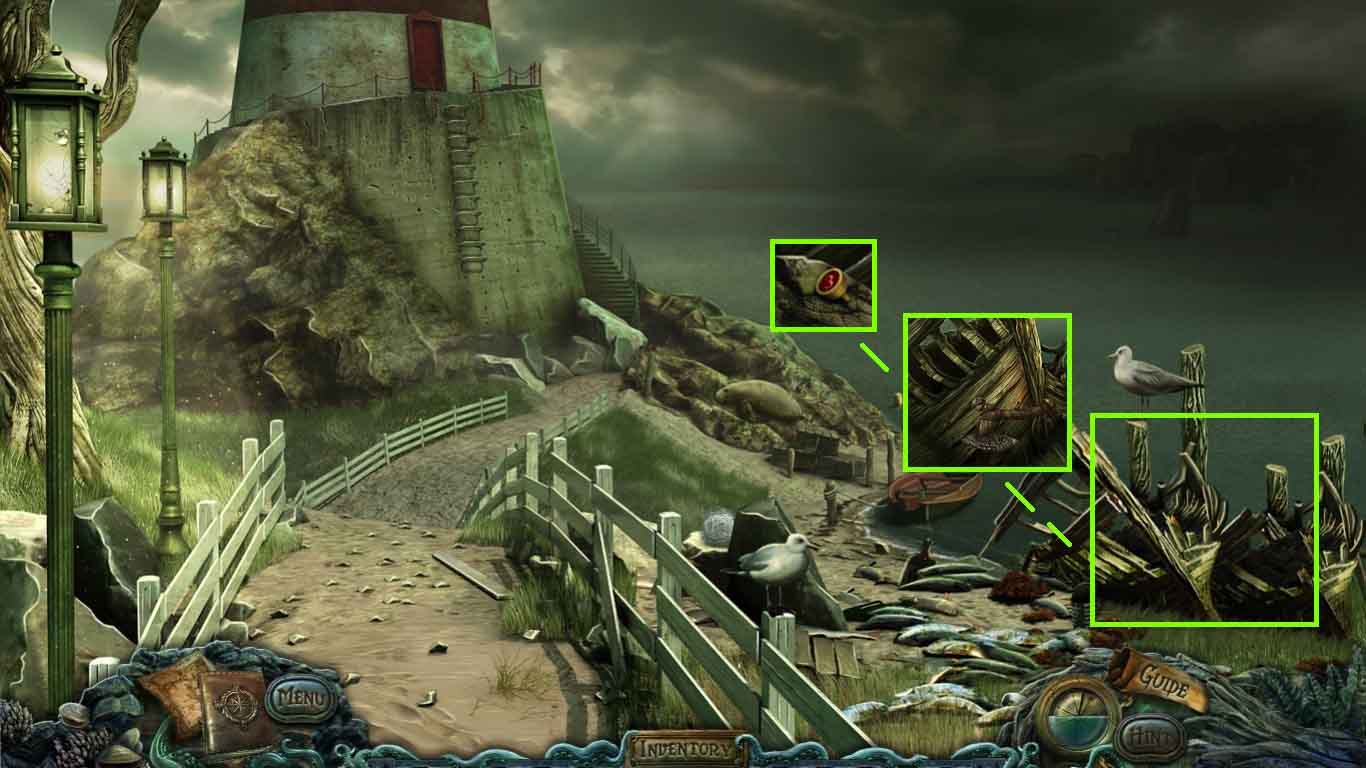
- Zoom into the smashed boat.
- Select the rock or the axe to break it open and collect the register key.
- Move back 2 times.
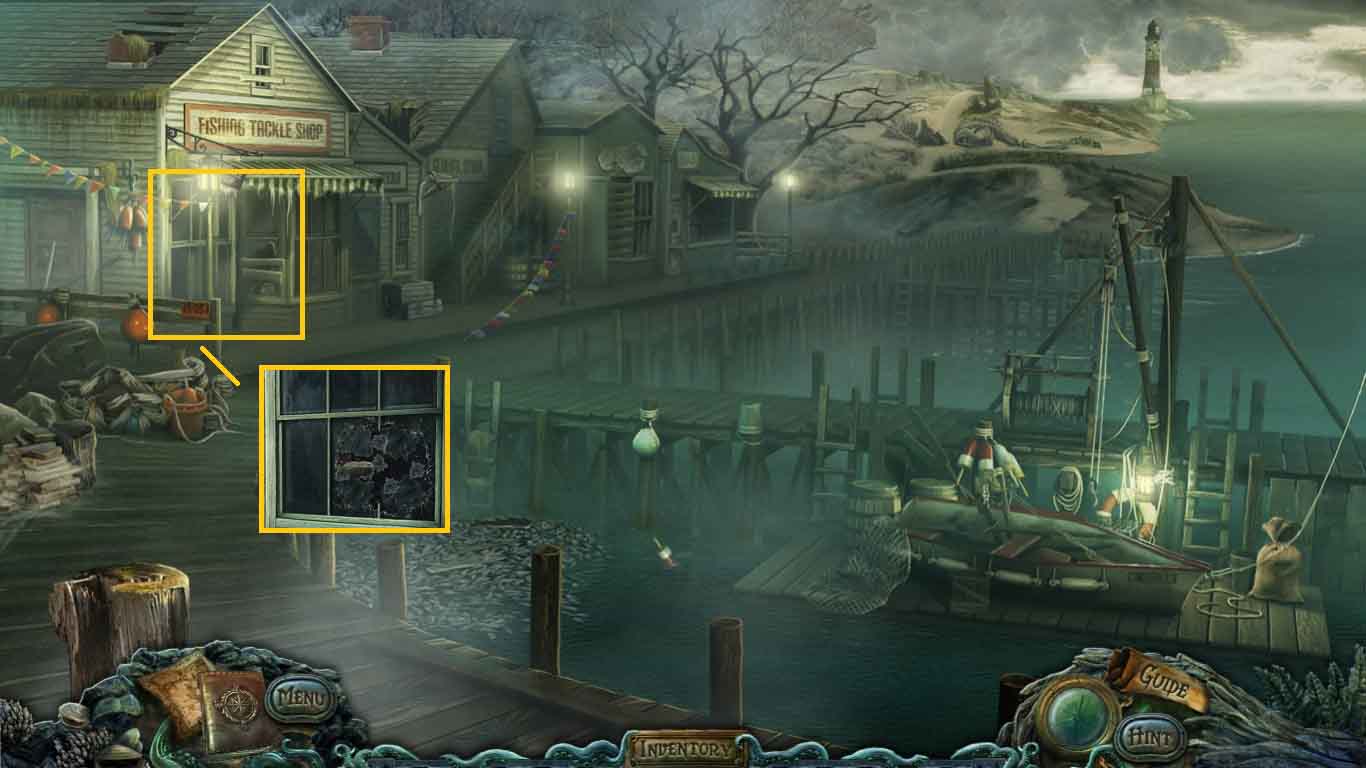
- Zoom into the tackle shop.
- Smash the window using either the rock or the axe and go into the shop.
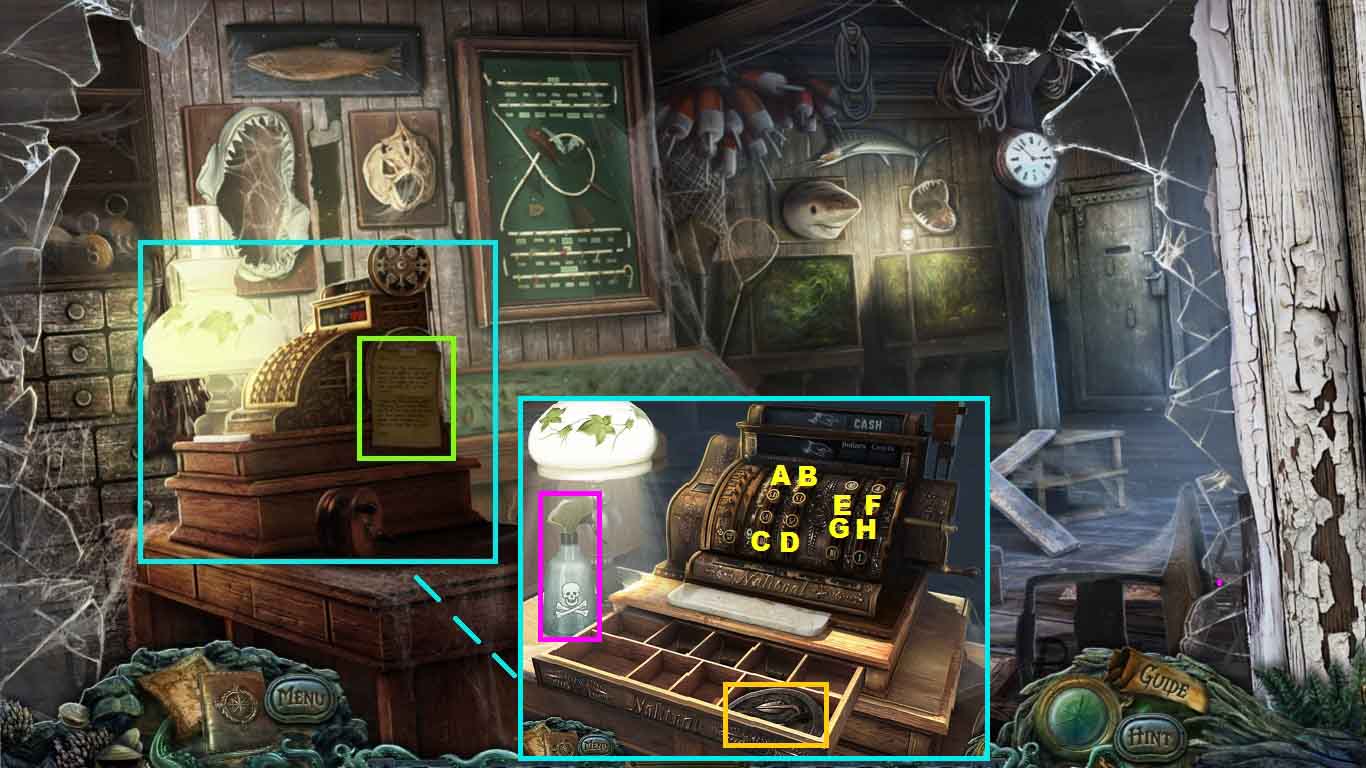
- Collect the note.
- Click the register; collect the empty spray bottle.
- Insert the register key into the register to trigger a puzzle.
- Click the keys in the sequence shown.
- Collect the 2nd sigil piece.
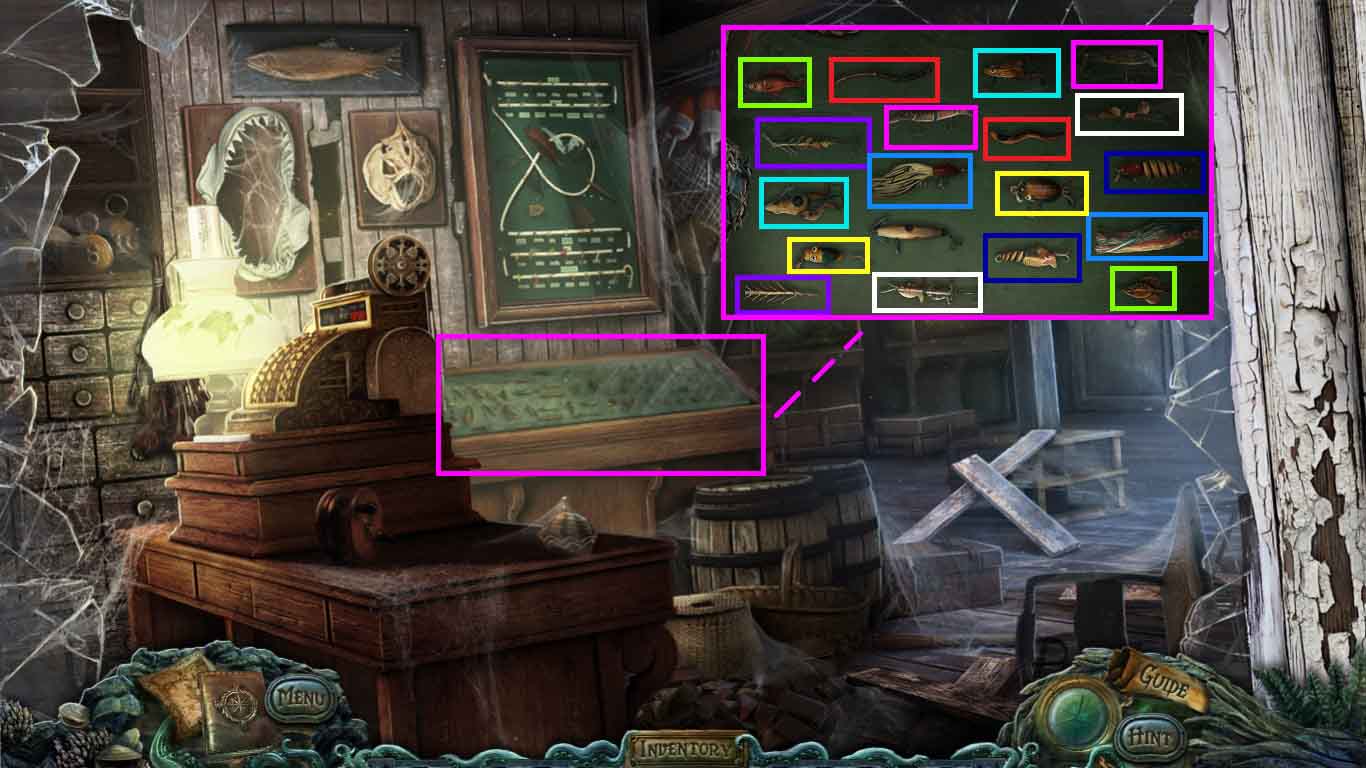
- Zoom into the display case to trigger a puzzle.
- Find the matching sets.
- Collect the fishing lure.
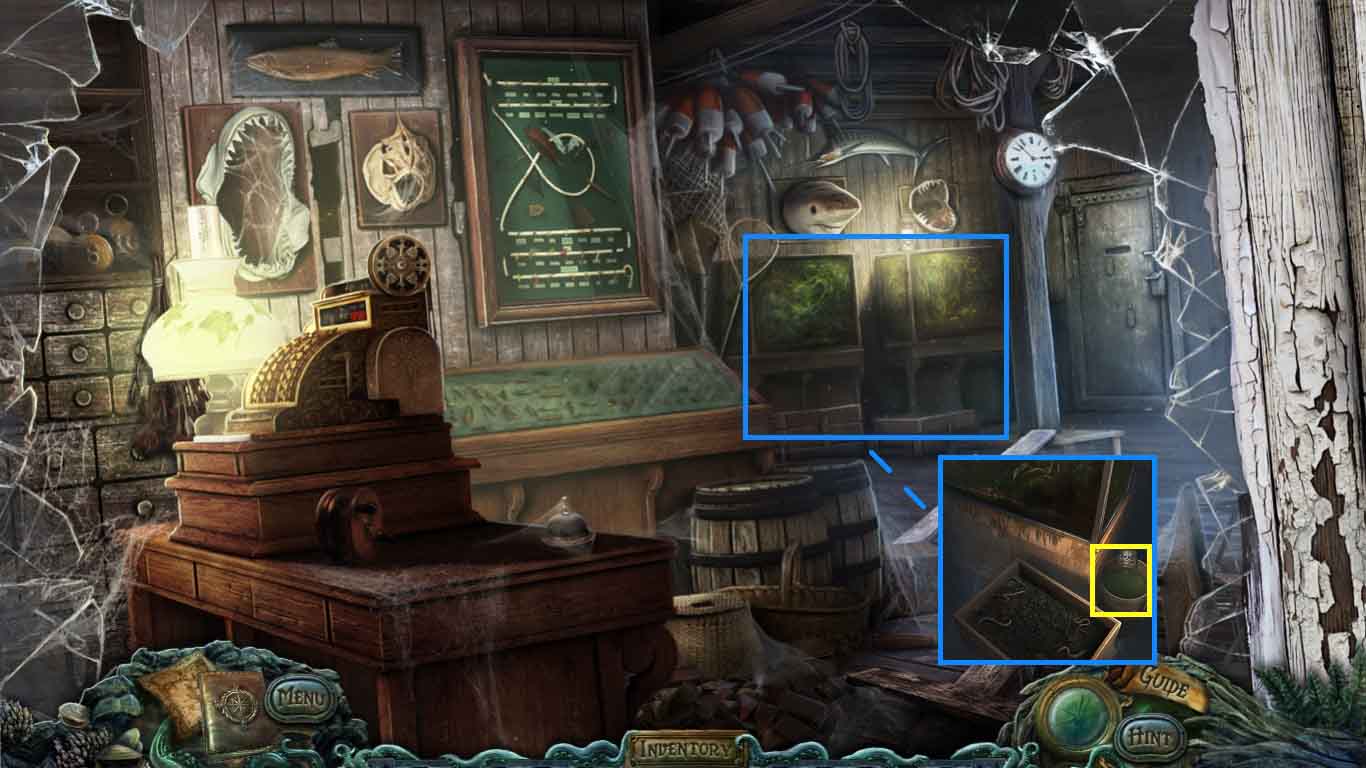
- Zoom into the aquariums.
- Dip the empty spray bottle into the bucket; collect the weed killer.
- Move back 2 times and move up to the gate.
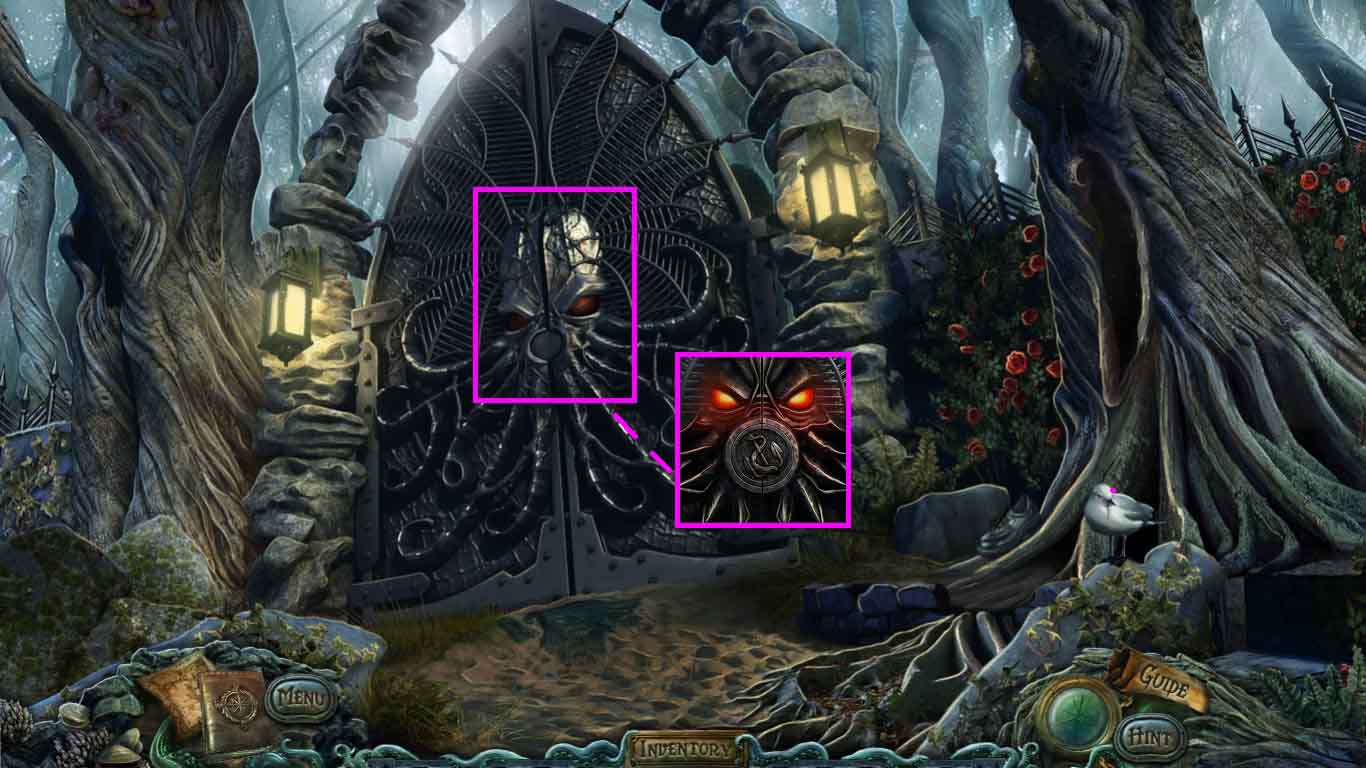
- Click the gate; insert the 2 sigil pieces.
- Move ahead and go forward through the gate.
Comments will load when you reach this part of the walkthrough.