
Chapter Four: Into the Castle
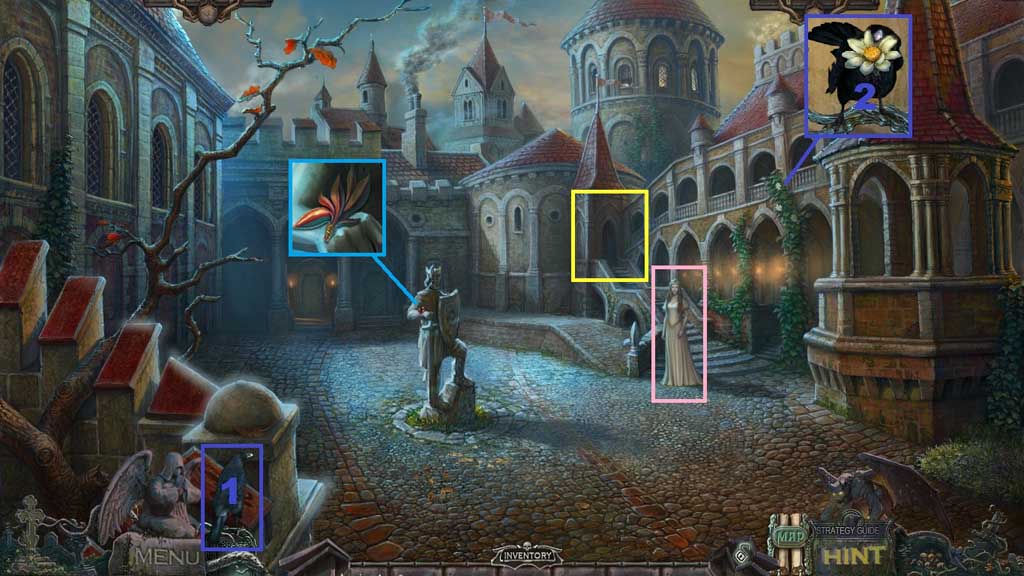
- Speak to Liannah and give her the letter.
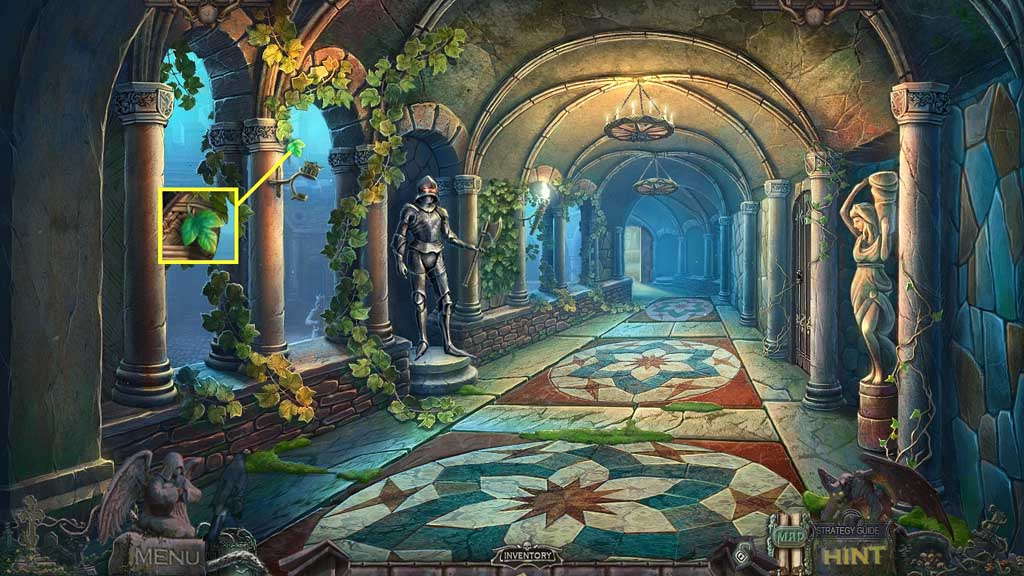
- Select the raven to collect the white flower.
- Collect the perfume bottle cap.
- Move ahead once.
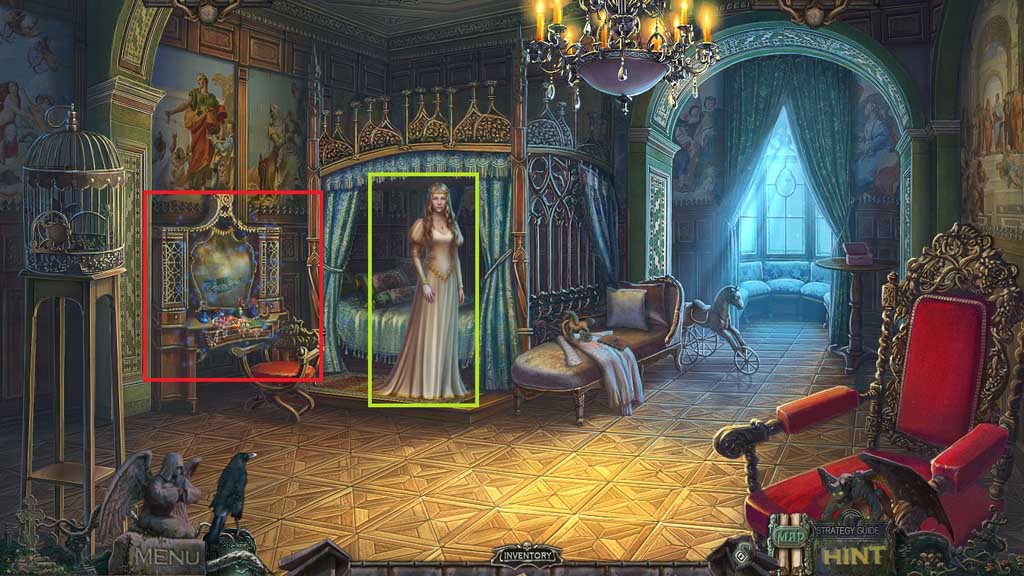
- Speak to Liannah.
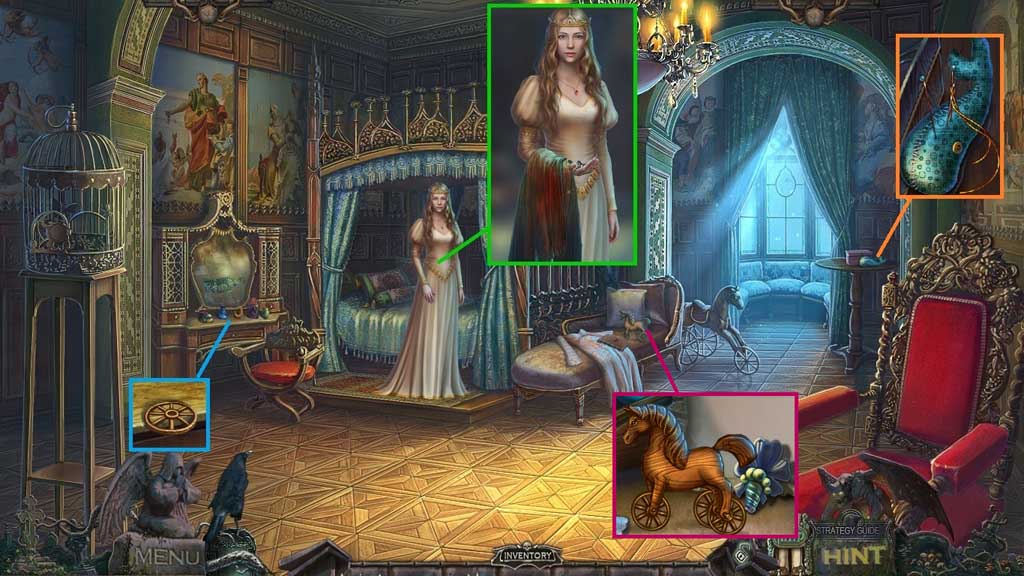
- Collect the torn cloak and the guard insignia.
- Collect the toy wheel and the needle; use the needle on the torn cloak.
- Select the toy wheel to repair the toy horse; collect the perfume bottle cap.
- Move down once and to the right.
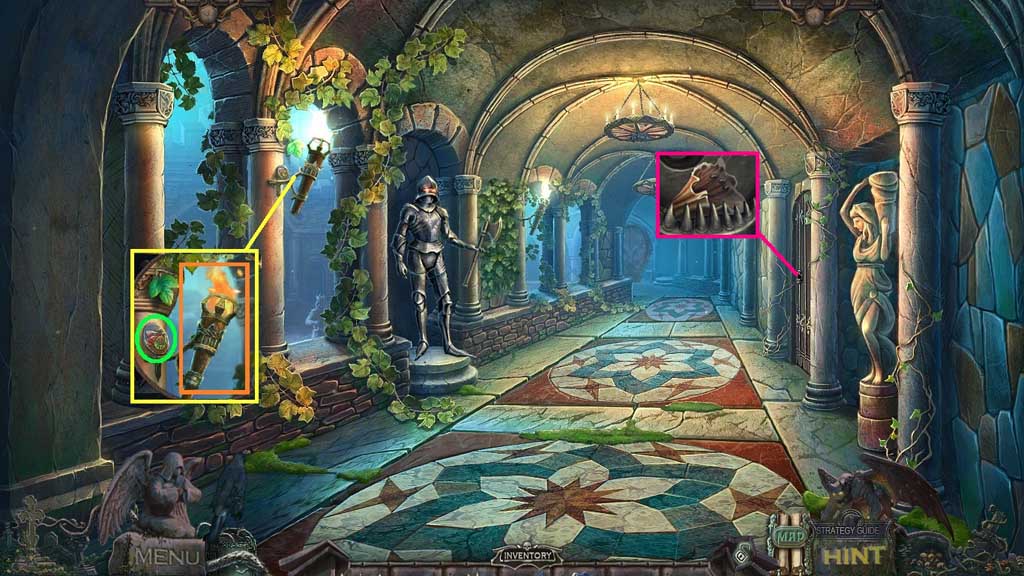
- Select the cloak to use anywhere on the scene.
- Collect the butterfly token, the torch and the perfume bottle cap.
- Move down once and ahead once.
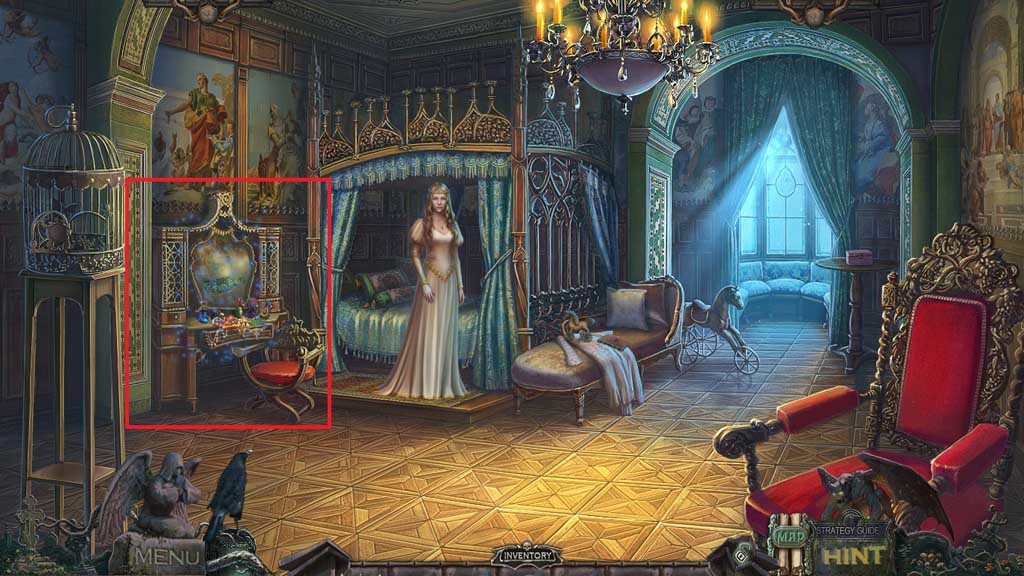
- Attach and click the perfume bottle caps.
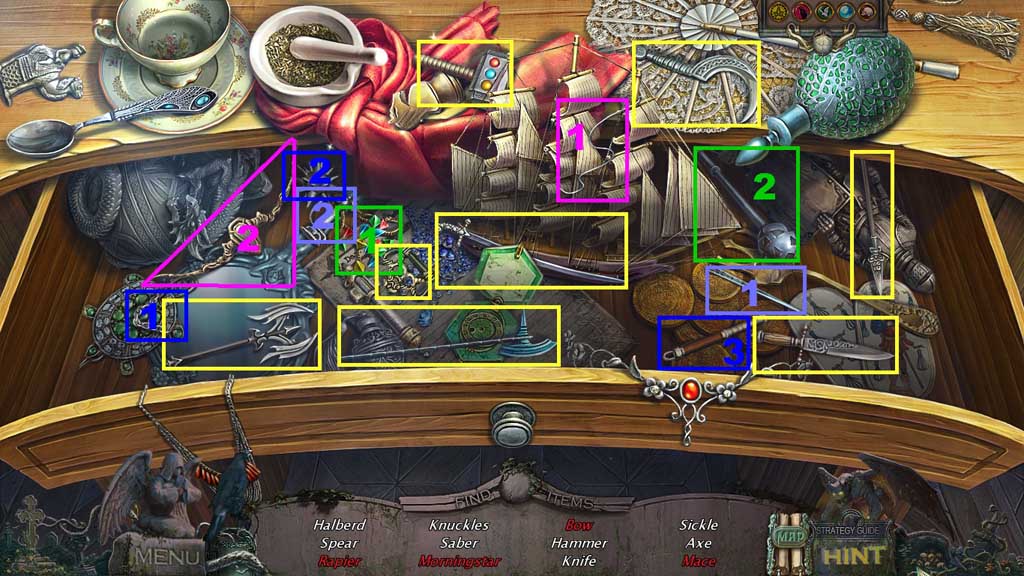
- Click the hidden objects area.
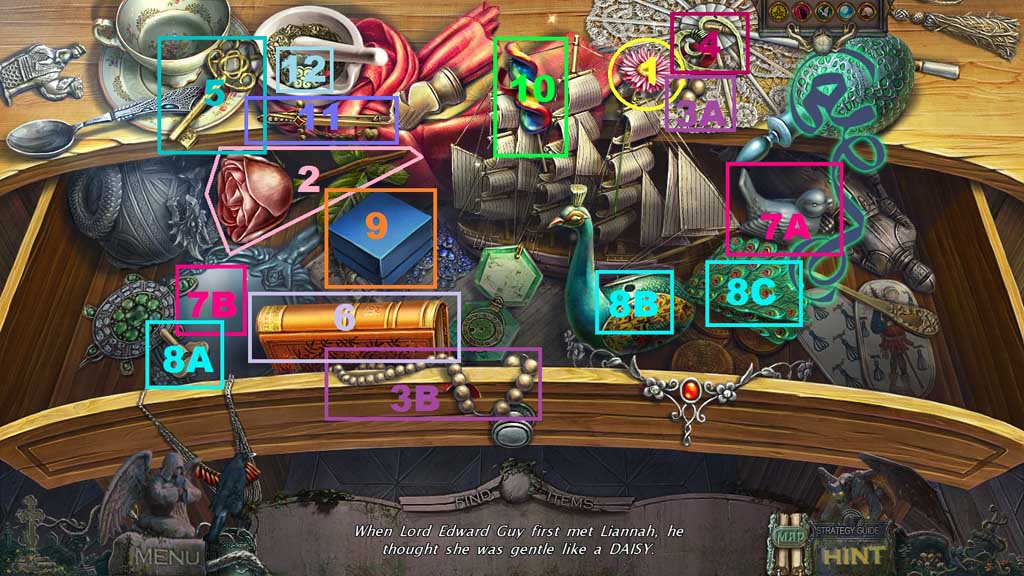
- Find the items and click the fragments beneath them.
- Collect the ribbon.
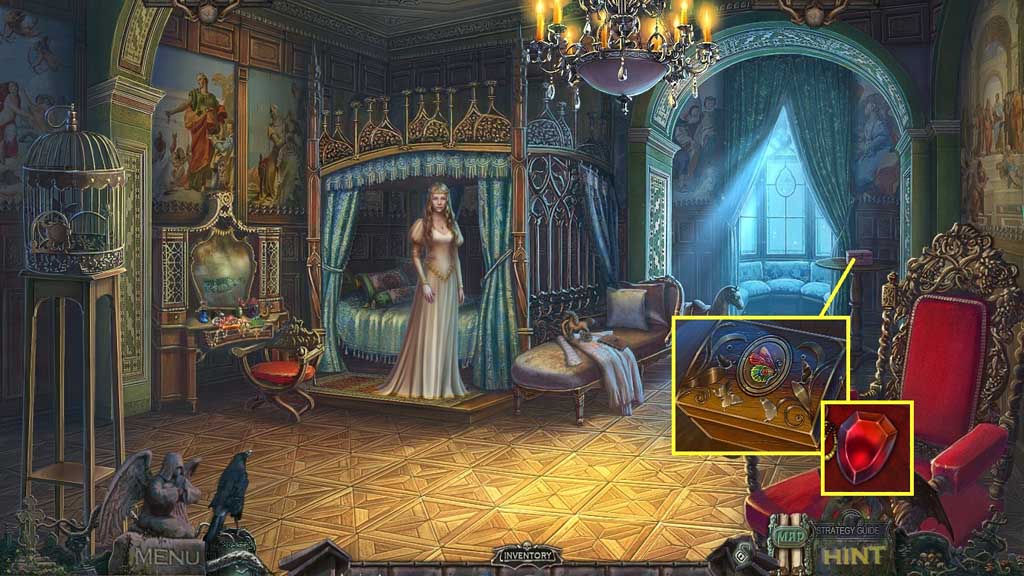
- Insert the butterfly token; collect the shield gem.
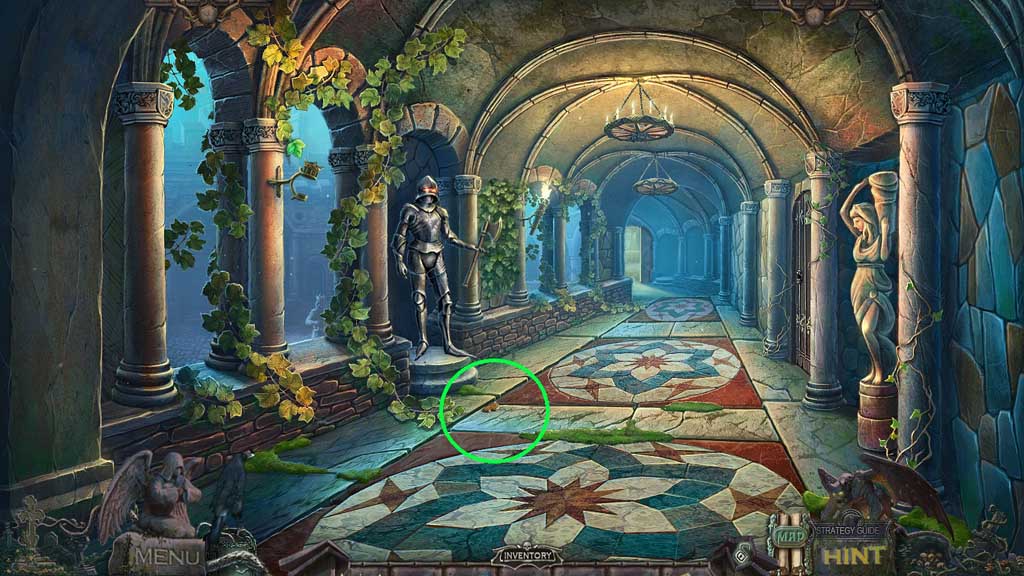
- Move down once.
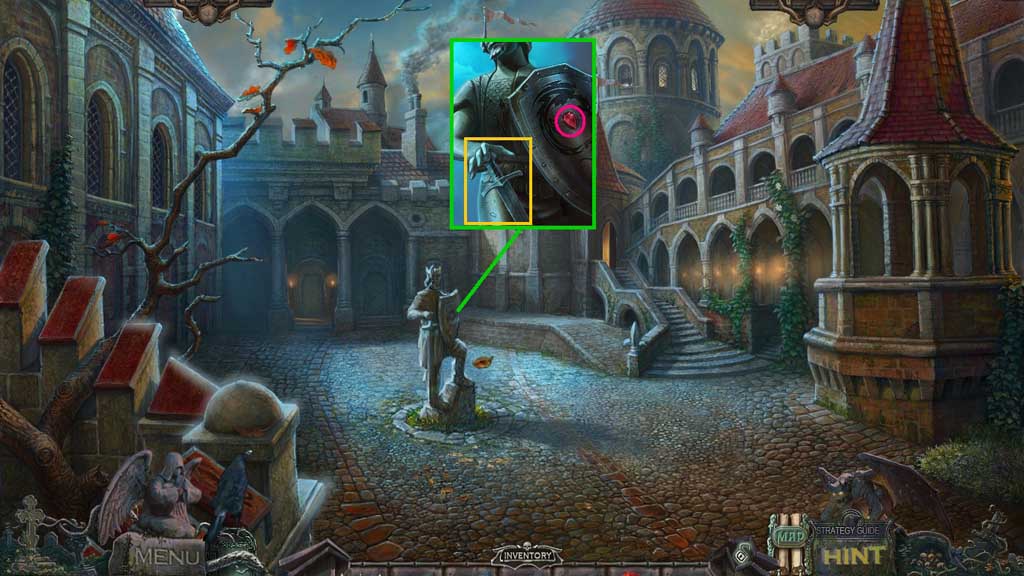
- Insert the shield gem; collect the sword.
- Move to the right and ahead once.
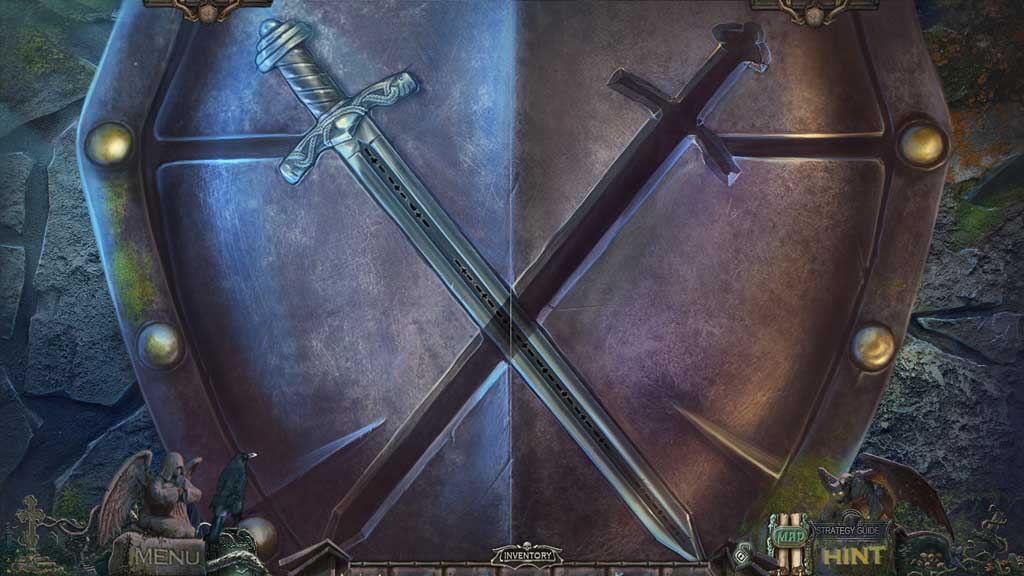
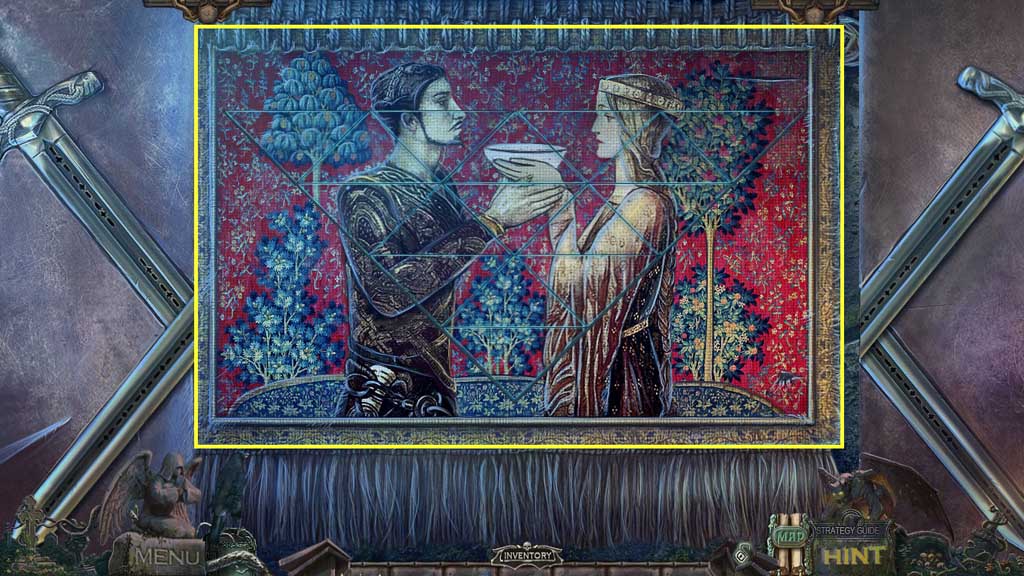
- Insert the sword to trigger a mini game.
- Solve the game by arranging the tiles to complete the image.
- Move ahead.
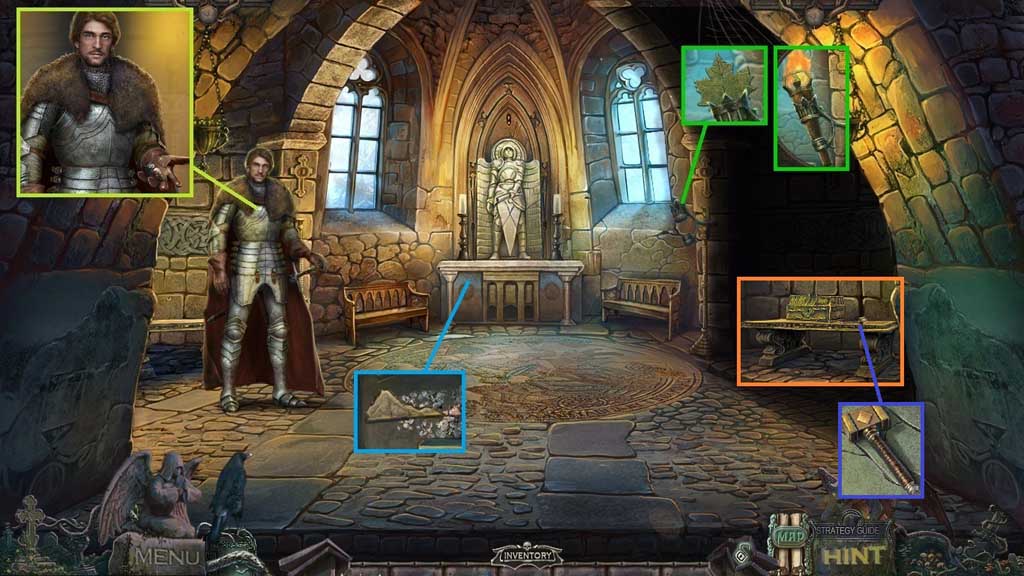
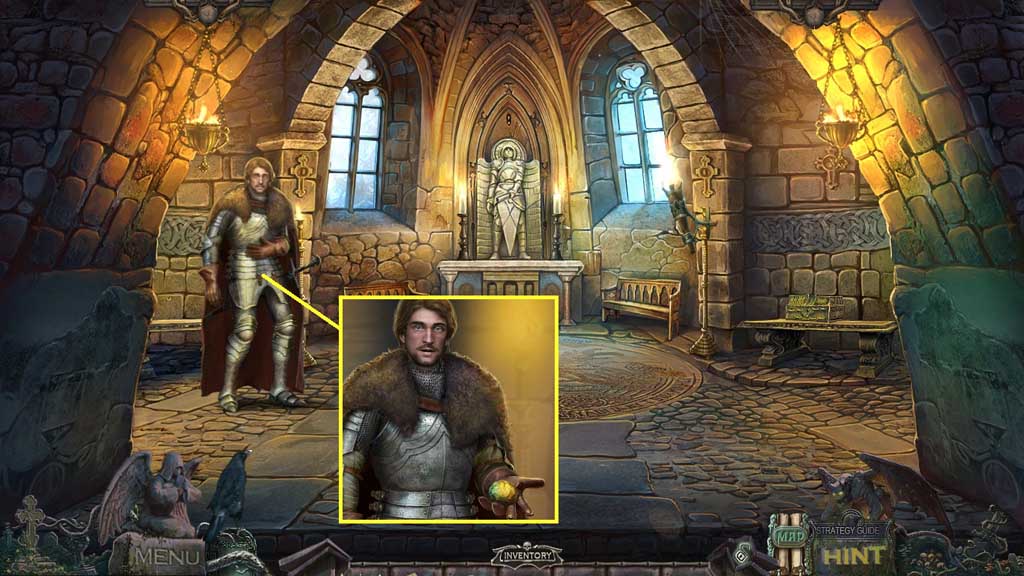
- Speak to Edward.
- Give him the ribbon; collect the pendant.
- Collect the stone leaf and place the torch.
- Collect the fragment and the toy hammer.
- Move down once.
- Zoom into the conversation.
- Move ahead.
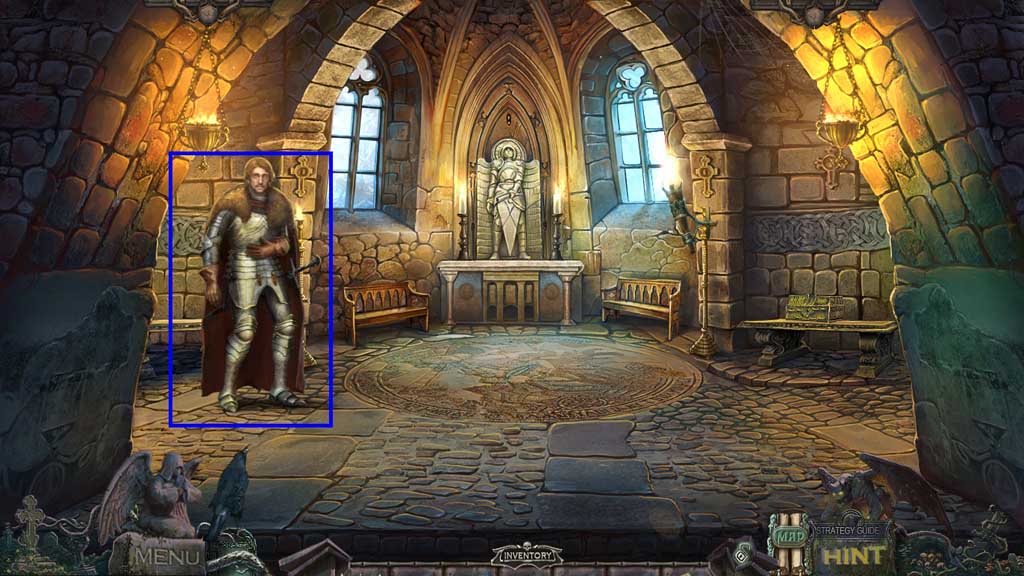
- Speak to Edward.
- Move down once.
- Collect the cauldron emblem half.
- Move to Liannah’s Chamber.
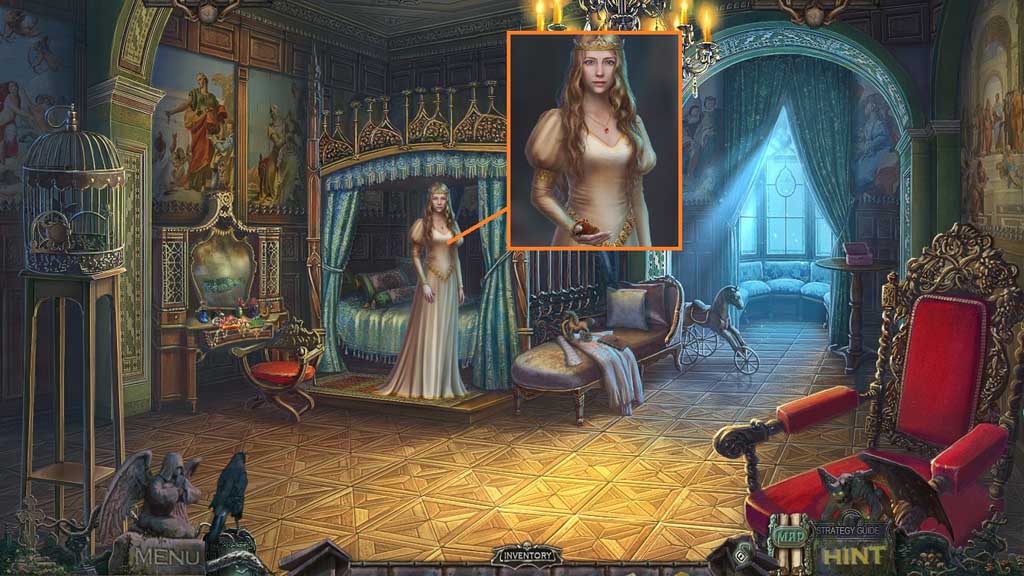
- Give Liannah the pendant; collect the cauldron emblem half and attach the halves together.
- Move down once.
- Insert the cauldron emblem.
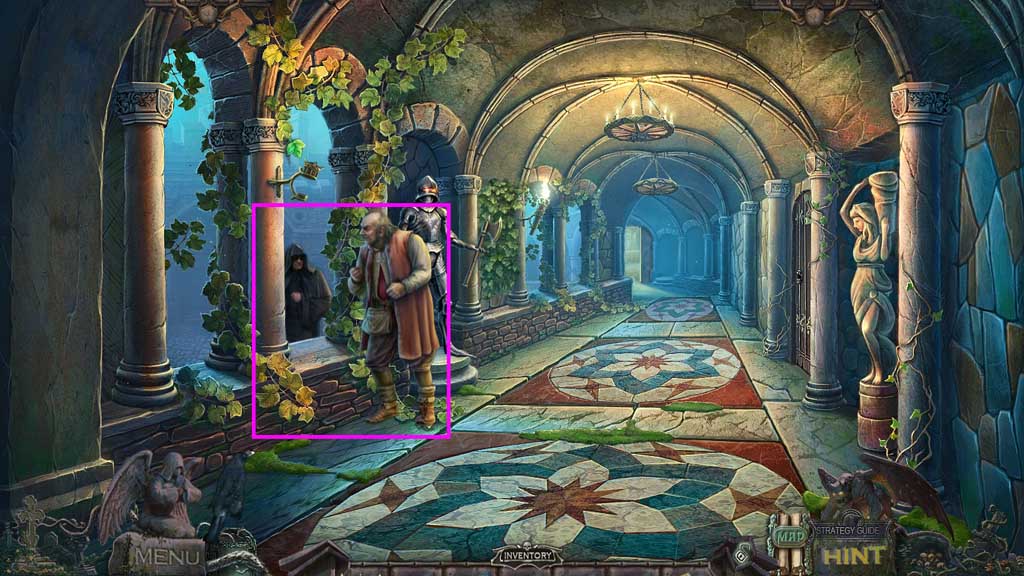
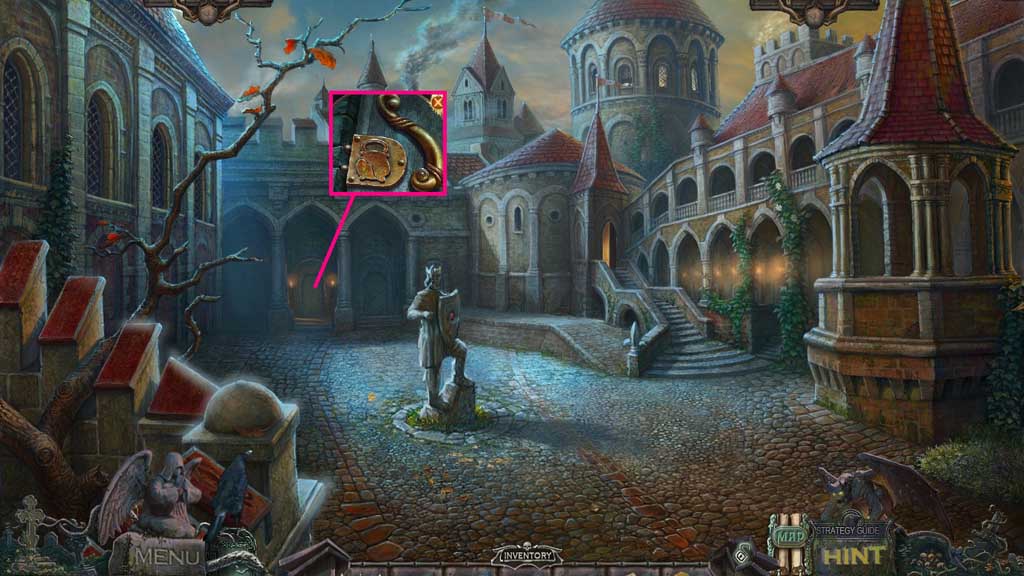
- Move into the doorway.
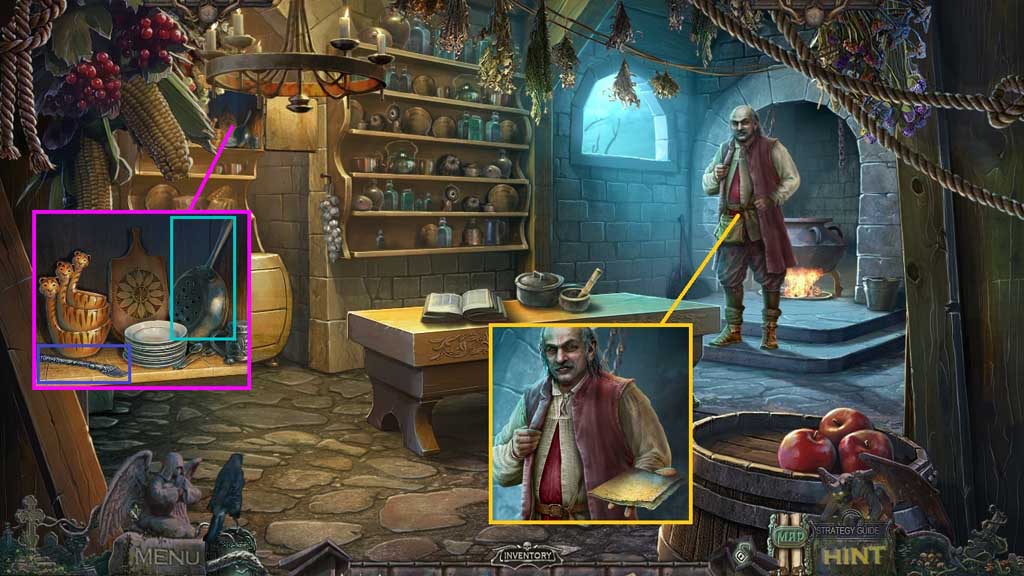
- Speak to the servant and give him the guard insignia; collect the order.
- Collect the knife and the colander.
- Move down once and to the right.
- Select the knife to collect the leaf.
- Move to Liannah’s Chambers.
- Give the order to Liannah.
- Click the hidden objects area.
- Find the items.
- Collect the sickle.
- Move down once and to the right.
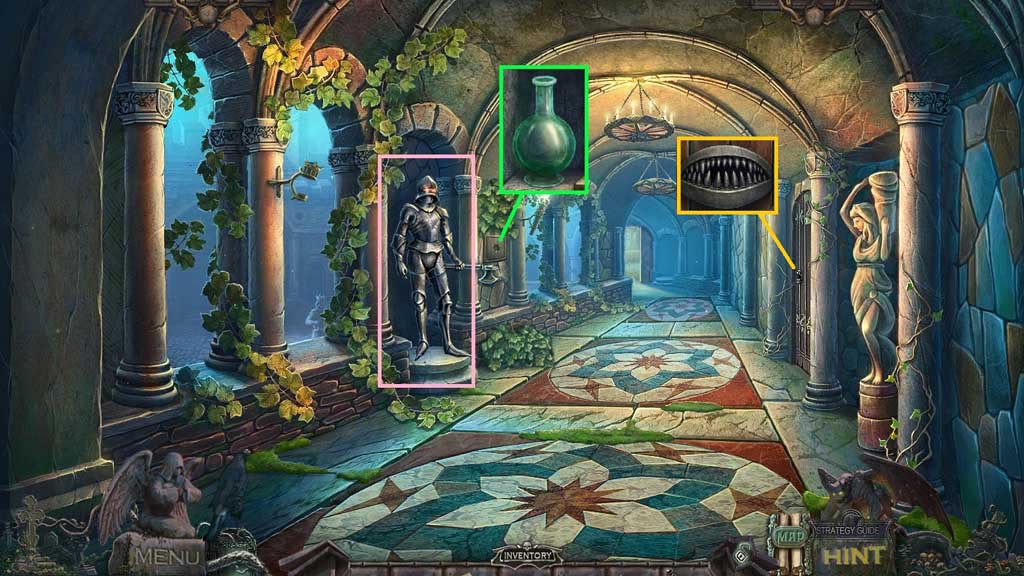
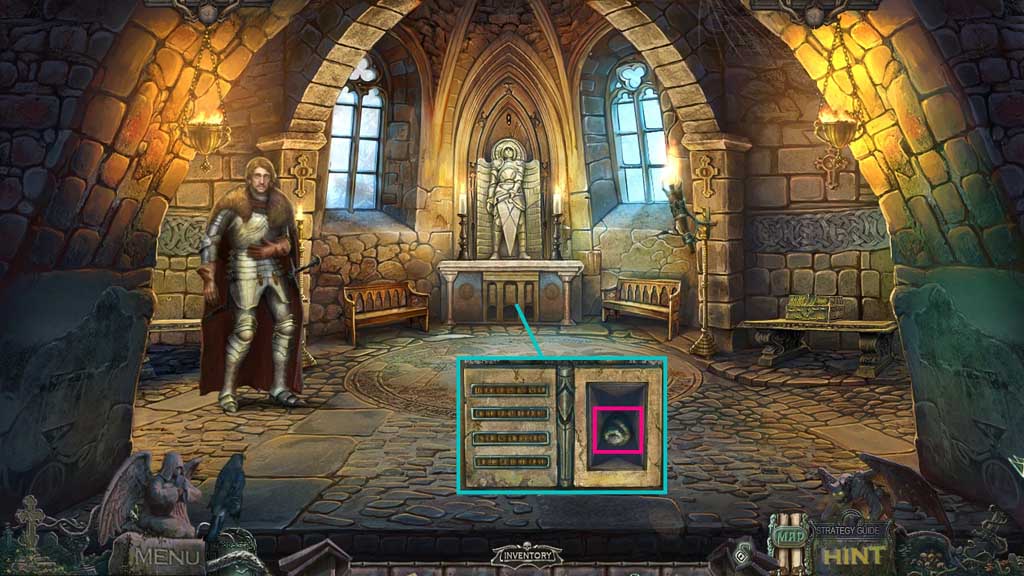
- Click the knight.
- Insert the stone leaf; collect the bottle.
- Insert the sickle into the lock.
- Move to the right.
- Collect the buttons.
- Move down once and ahead once.
- Attach the buttons.
- Collect the shell.
- Move down 2x’s and ahead once.
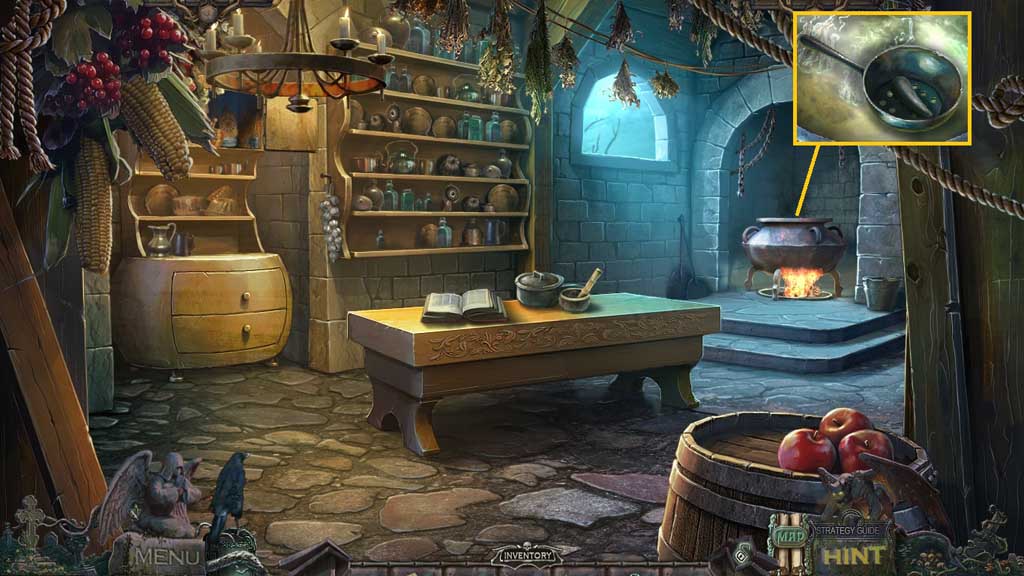
- Dip the colander into the cauldron to collect the bear tooth.
- Move down once and to the right 2x’s.
- Select the bear tooth to collect the recipe part.
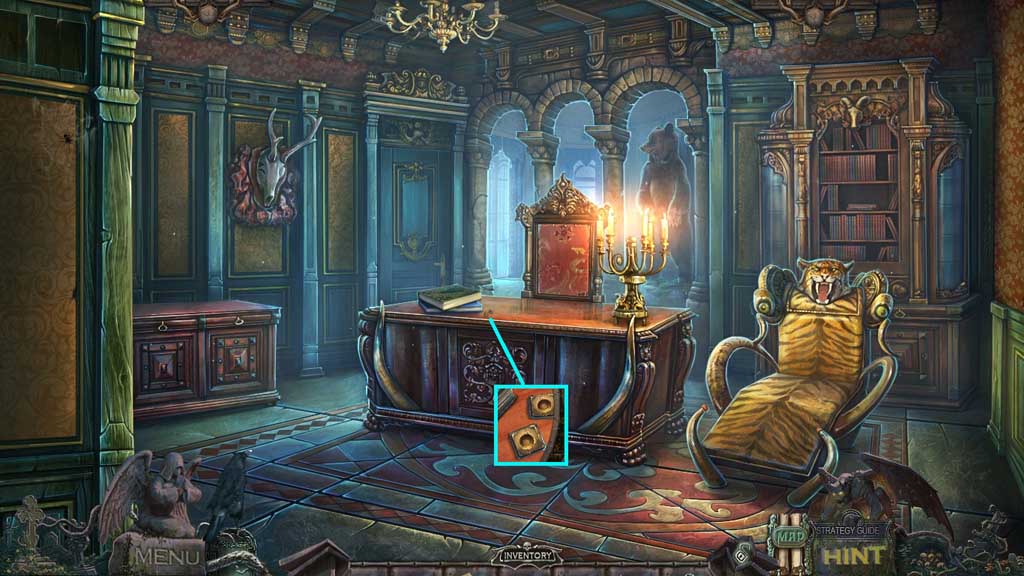
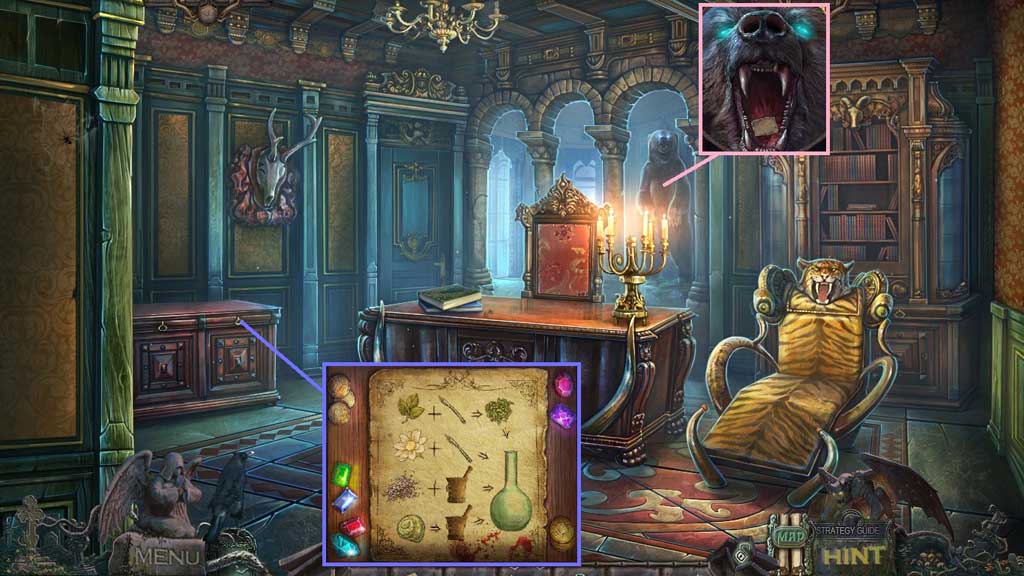
- Click the drawer.
- Place the recipe part to trigger a mini game.
- Solve the game by reassembling the recipe.
- Collect the antidote recipe.
- Move down 2x’s and ahead once.
- Place down the antidote recipe, the leaf, the white flower, the fragment, the shell, the bottle and the knife.
- Select the knife to cut the leaf and the flower and place them into the bottle.
- Place the fragment and the shell into the mortar and crush it then pour it into the bottle.
- Collect the antidote.
- Move down once to the right and ahead once.
- Give Edward the antidote; collect the gold.
- Move down once.
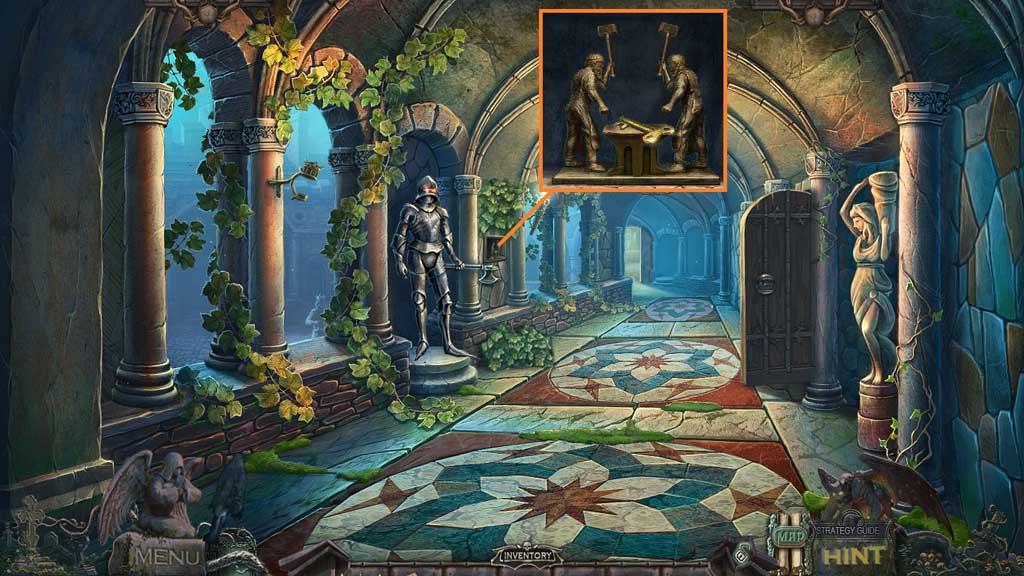
- Place the toy hammer and the gold.
- Collect the key.
- Move ahead.
- Insert and click the key.
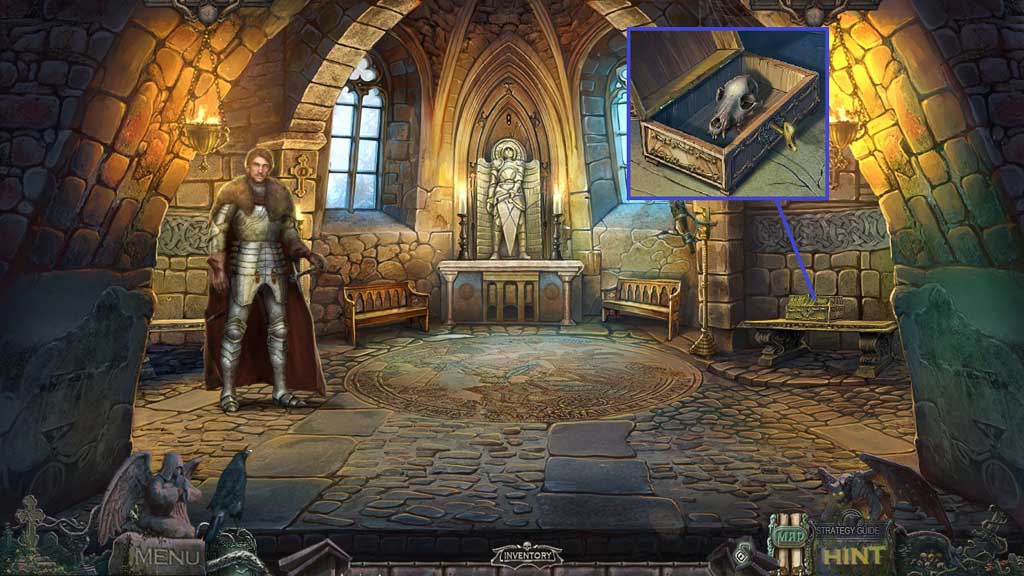
- Collect the rat skull.
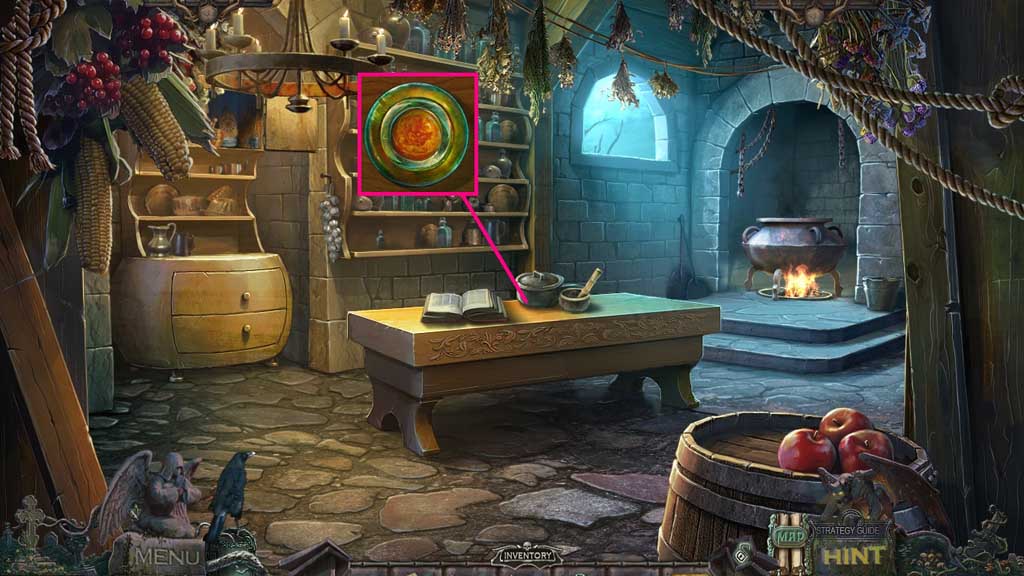
- Move down once and to the right.
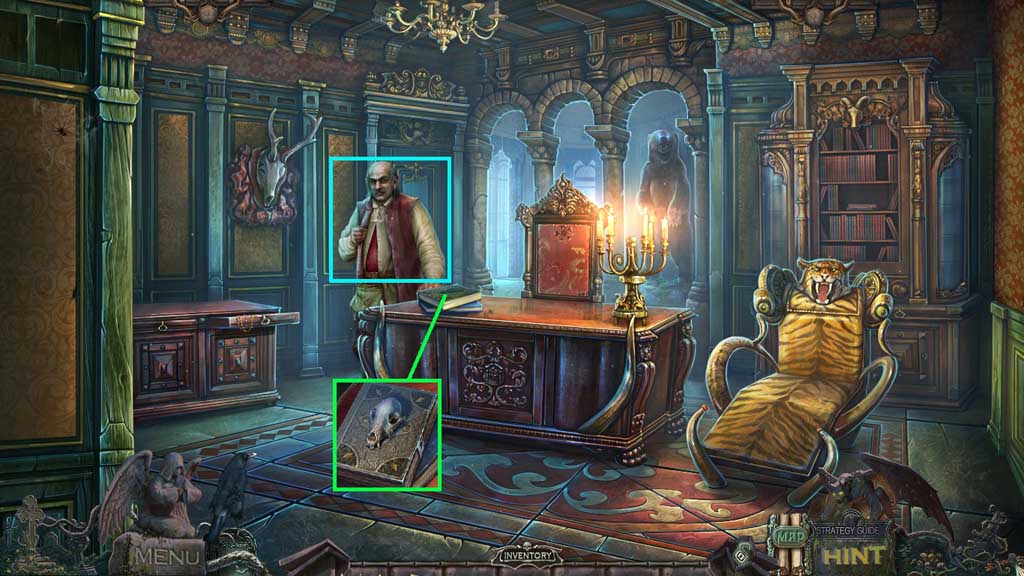
- Select the rat skull to insert into the book.
- Click the page.
- Collect the prisoner’s diary.
- Speak to servant.
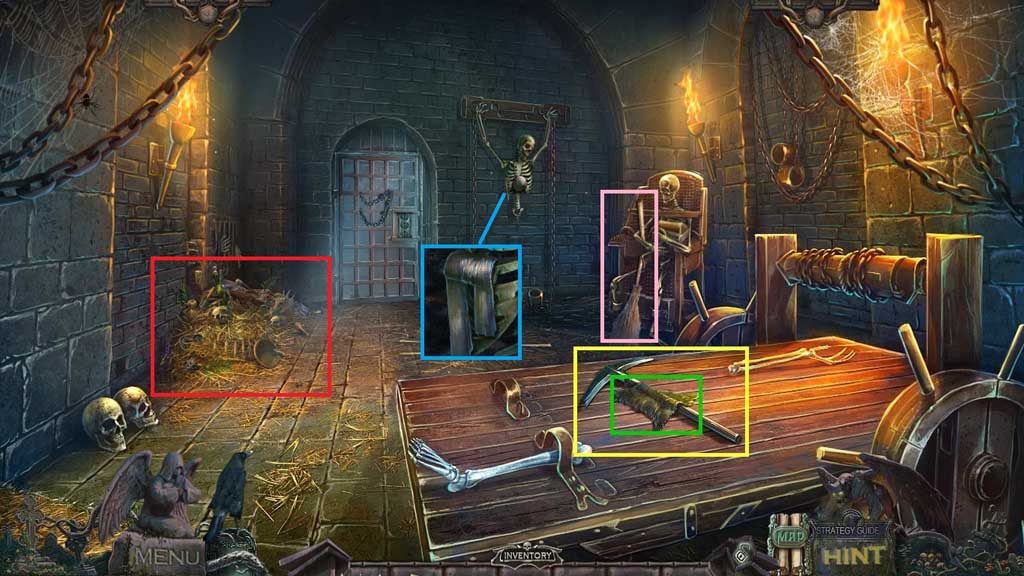
- Collect the rag, the mattock, the band and the broken broom.
- Attach the band and the broken broom; select it to trigger a hidden object area.
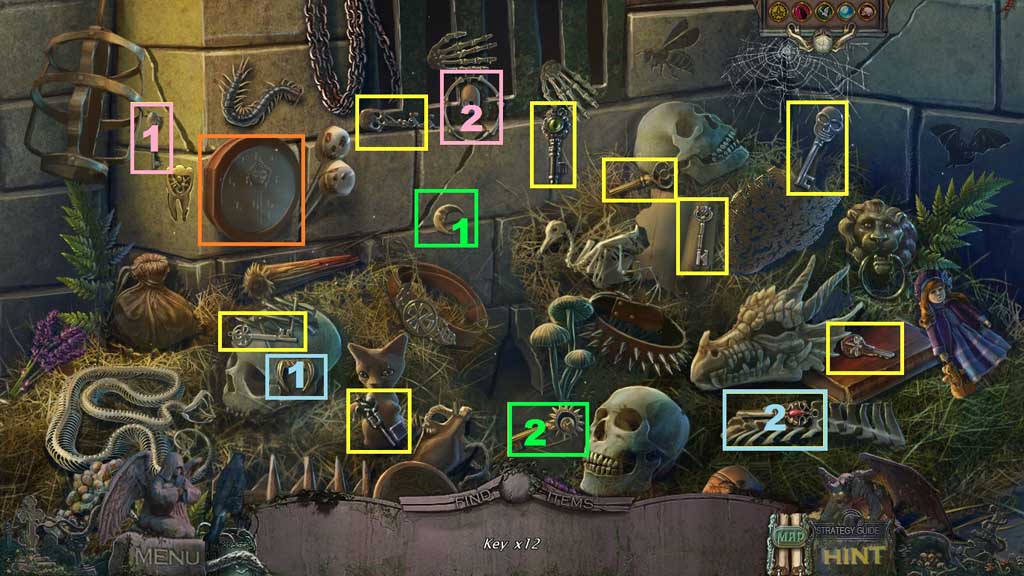
- Find the items.
- Collect the keys.
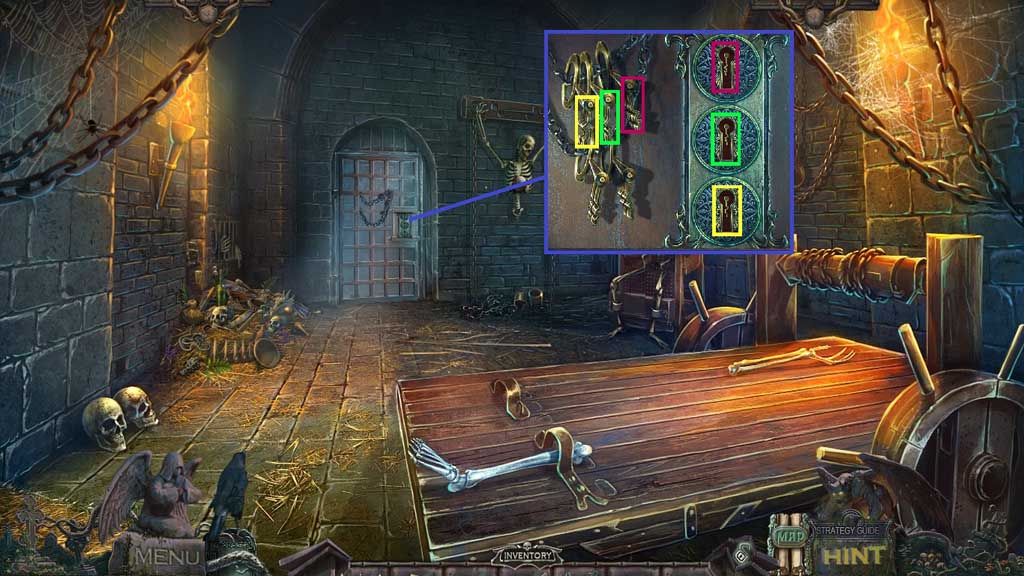
- Insert the keys to trigger a mini game.
- Solve the game by placing the keys into the correct locks.
- Move ahead.
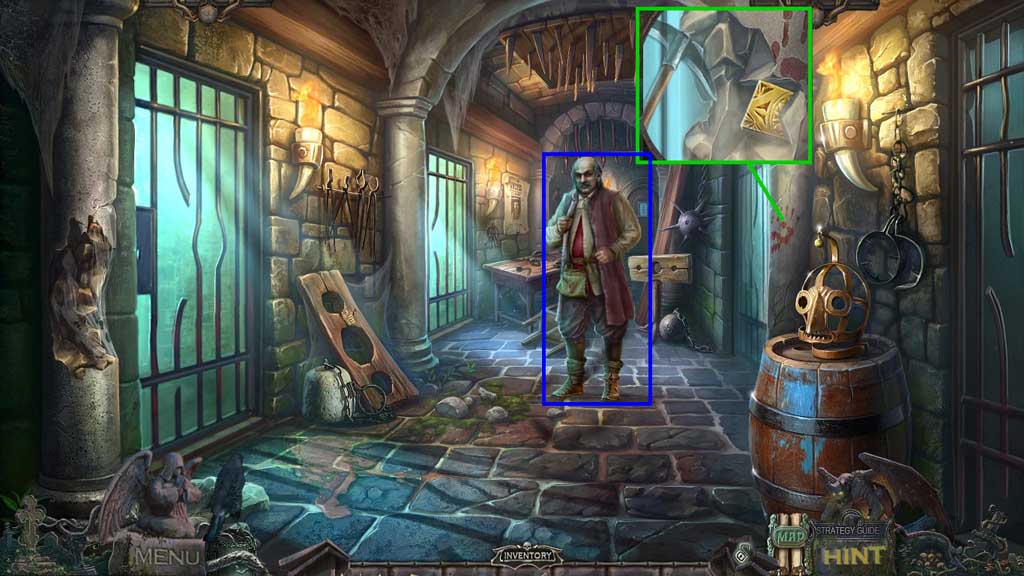
- Speak to the servant.
- Select the mattock to collect the pattern plate.
- Move down once and click the hidden objects area.

- Find the items.
- Collect the crowbar.
- Move ahead.
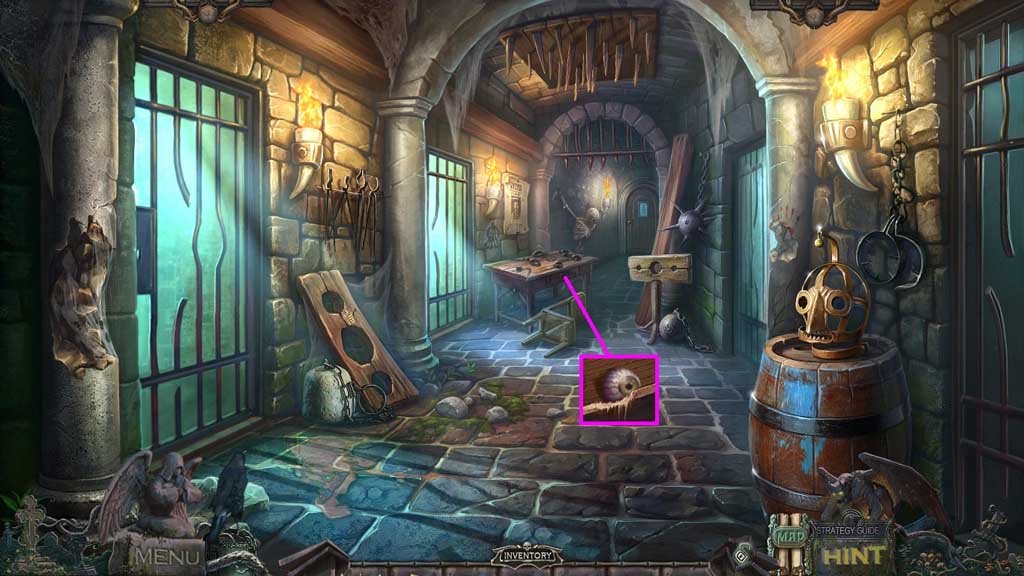
- Select the crowbar to open the drawer.
- Collect the eye.
- Move down once.

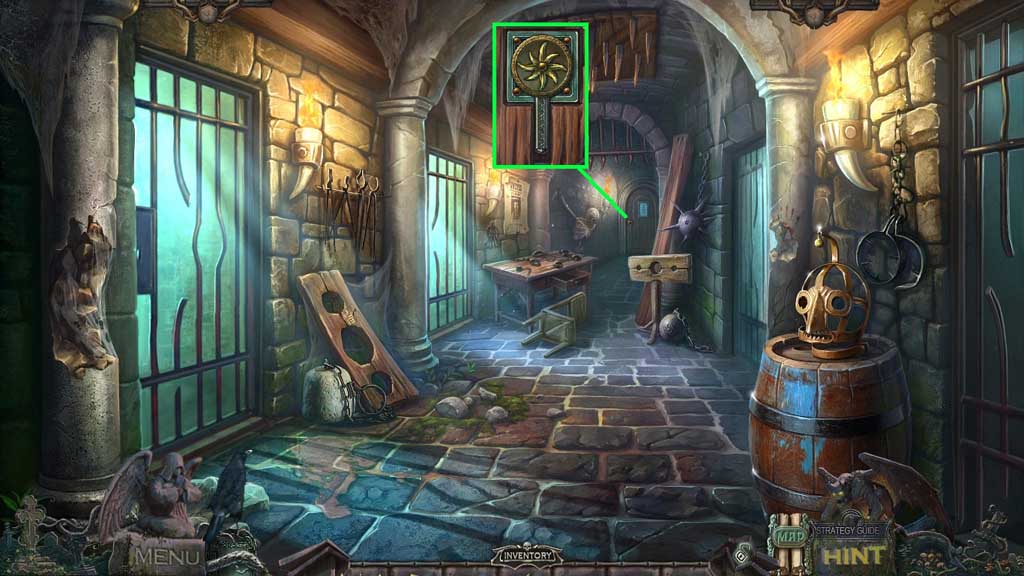
- Insert the eye; collect and insert the pattern plates.
- Collect the star crest.
- Move ahead.
- Insert the star crest.
- Move ahead.
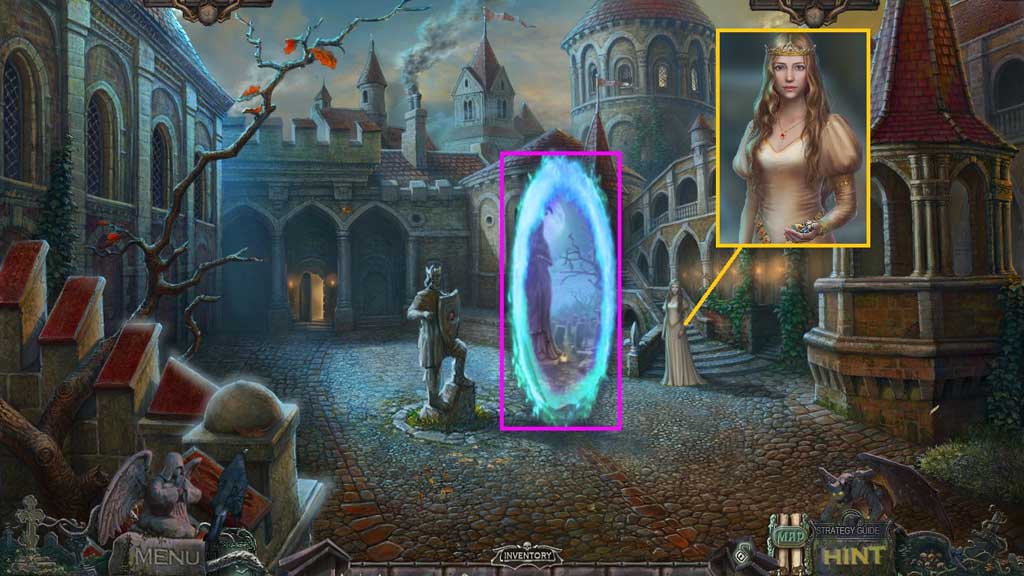
- Speak to Liannah and give her the prisoner’s diary.
- Collect the amulet gems.
- Move into the portal.
Comments will load when you reach this part of the walkthrough.