

Chapter Two: School Daze
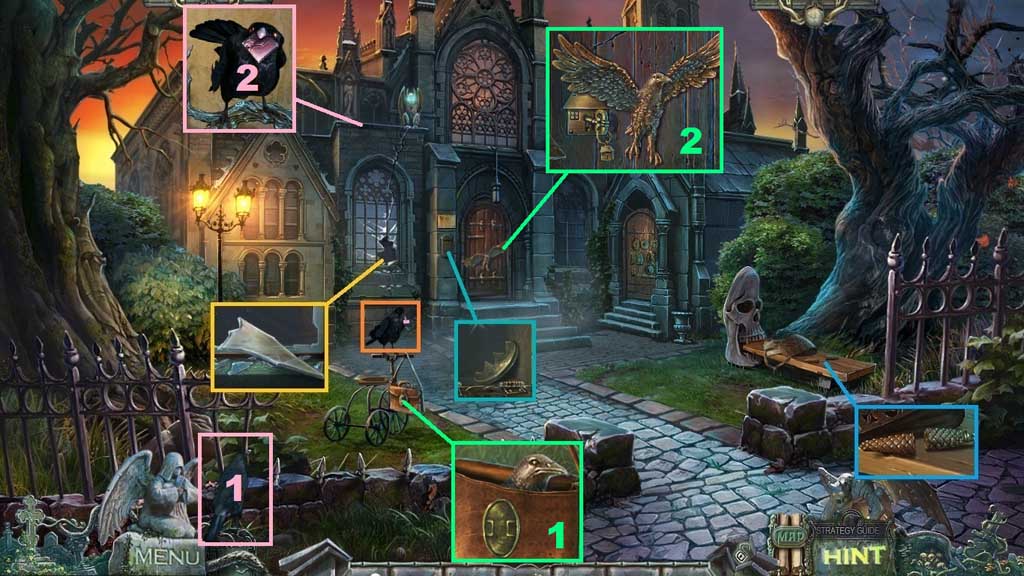
- Click anywhere in the scene.
- Select the shawl to collect the glass shard.
- Collect the broken clock weight.
- Click the mailbox; collect the lock part.
- Click the raven.
- Select the raven to collect the puzzle piece.
- Insert and click the lock part.
- Collect the raven’s head and insert it into the door.
- Insert the school key and click it once.
- Enter the School.
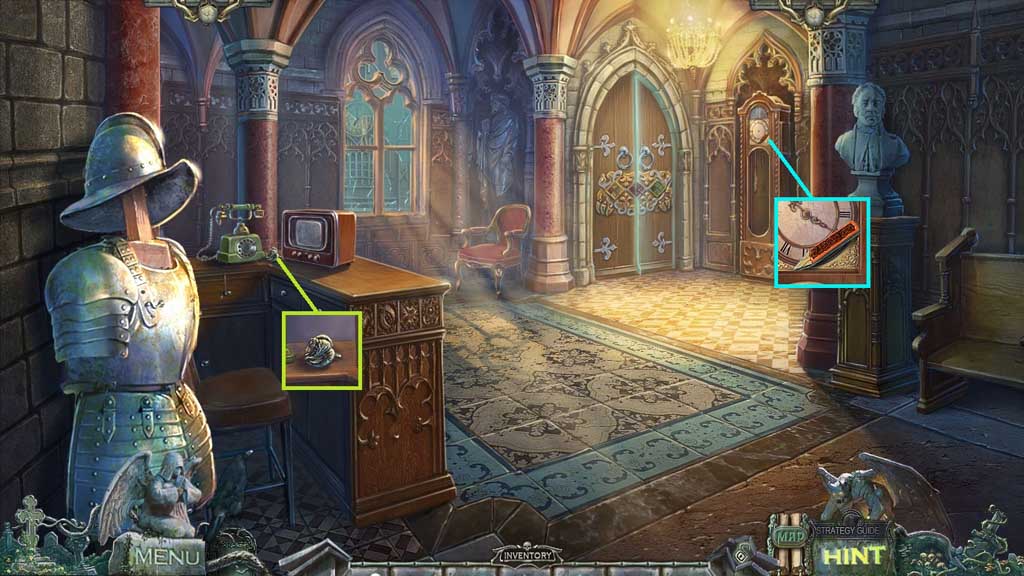
- Click the scene.
- Collect the snake handle.
- Click the clock face; collect the pencil key.
- Move down once.
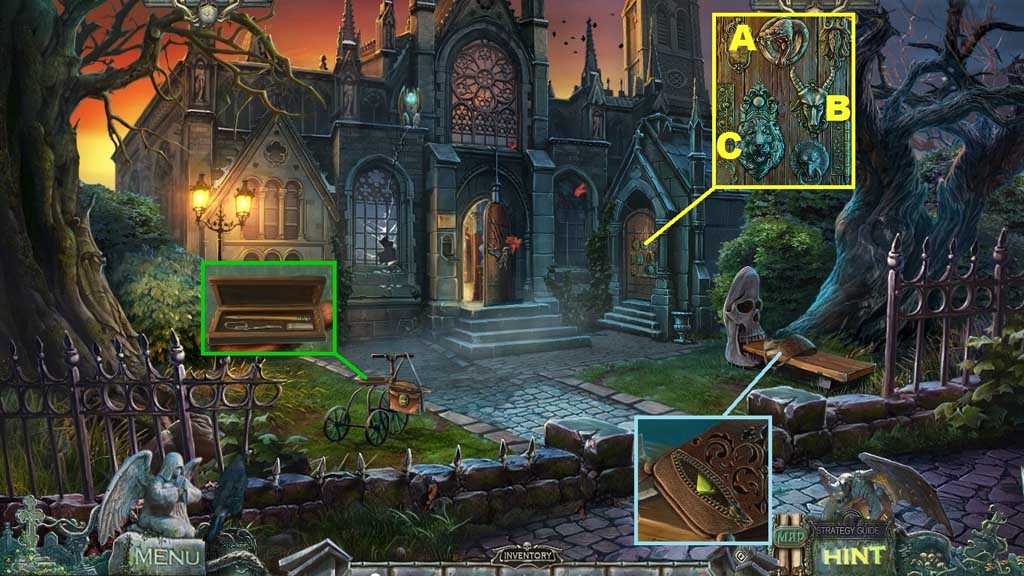
- Insert the pencil key; collect the paper clip and use it to open the zipper.
- Collect the puzzle piece.
- Attach the snake handle.
- Click the handles in ABC order.
- Move into the newly opened doorway.
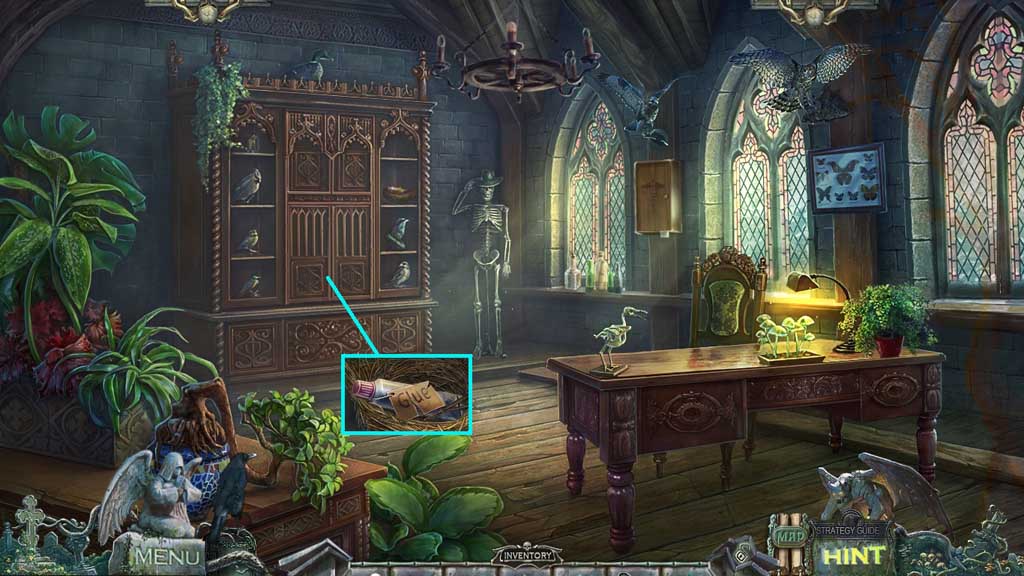
- Collect the glue and use it on the broken clock weight.
- Move down once and to the left.
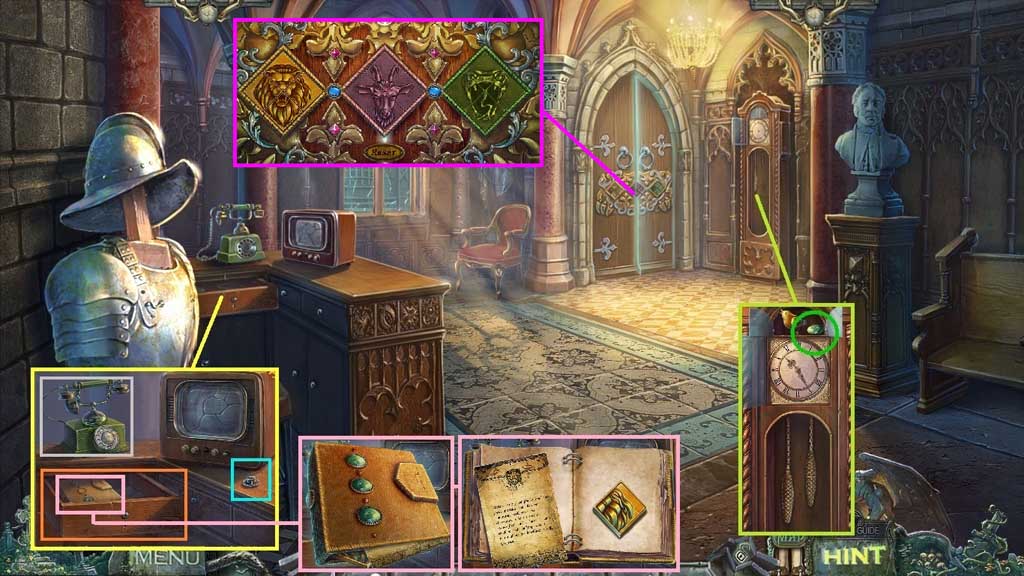
- Attach the clock weight; collect the gem.
- Select the paper clip to open the drawer lock; click the phone and collect the knob.
- Click the book and insert the gem.
- Collect the puzzle piece and insert them into the door to trigger a mini game.
- Solve the game by arranging the tiles correctly.
- Move ahead.
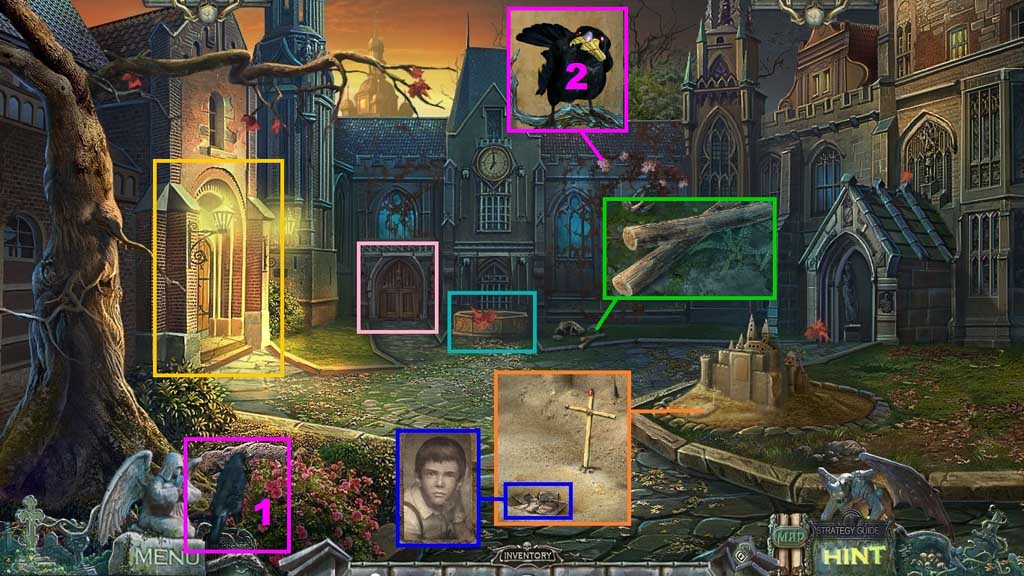
- Click the scene.
- Click the well, then the door.
- Select the shovel to remove the dirt; click the photo and reassemble the pieces.
- Collect the planks.
- Select the raven to collect the globe part.
- Move into the Classroom.
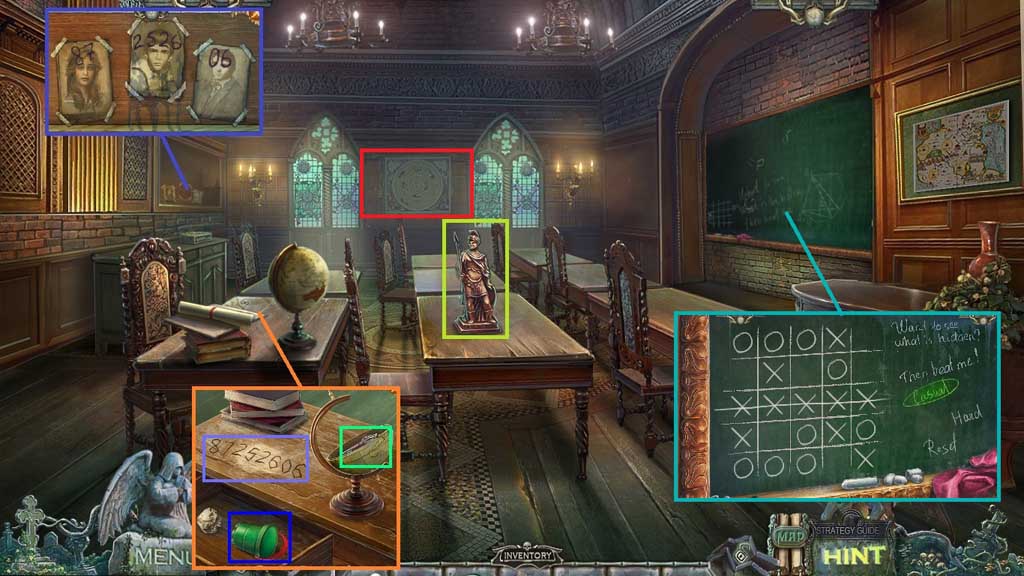
- Collect the statue.
- Insert the photo.
- Insert the globe part; collect the silver key.
- Select the glass shard to etch the desk; collect the sand bucket.
- Select the chalk to trigger a mini game.
- Solve the game by creating a line of 5 X’s before the opponent can block you.
- The solution is random.
- Click the hidden objects area.
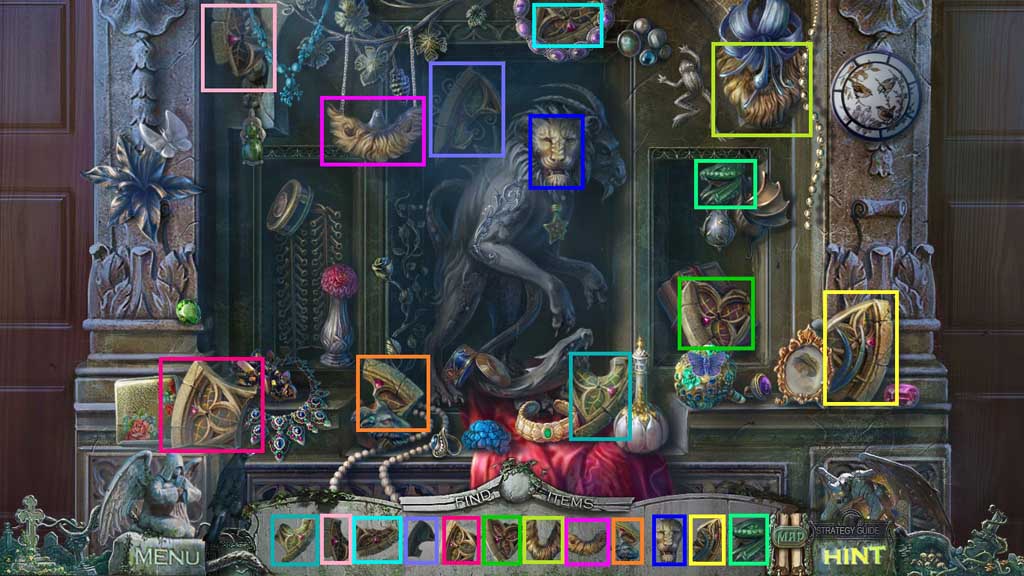
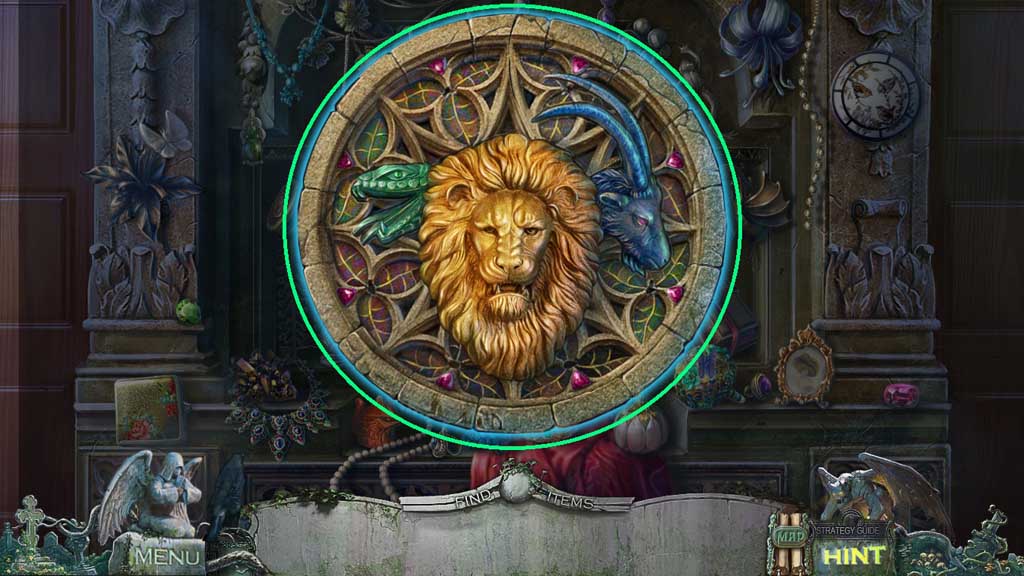
- Find the items.
- Collect the chimera disk.
- Move down once.
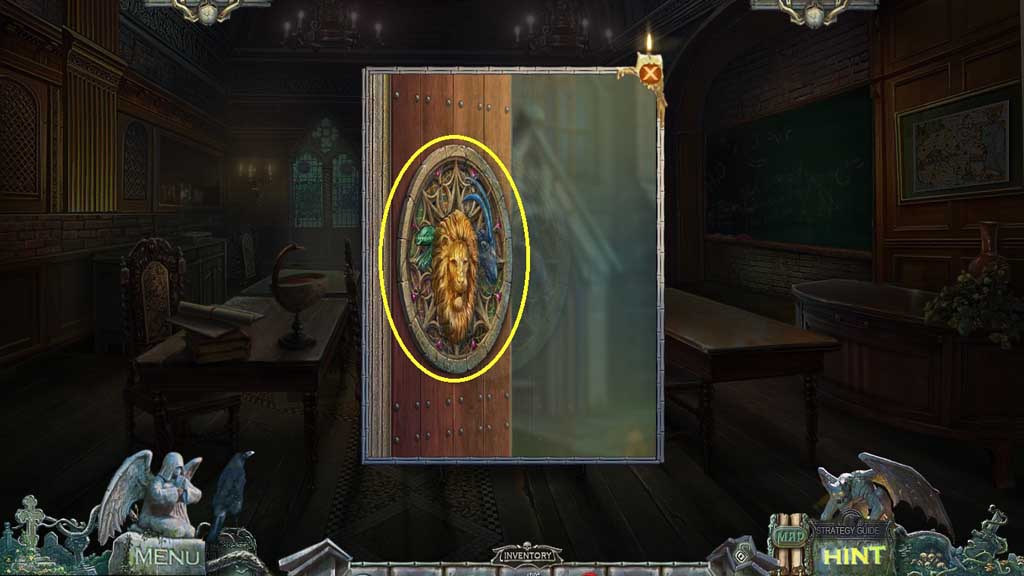
- Insert the chimera disk.
- Move down once.
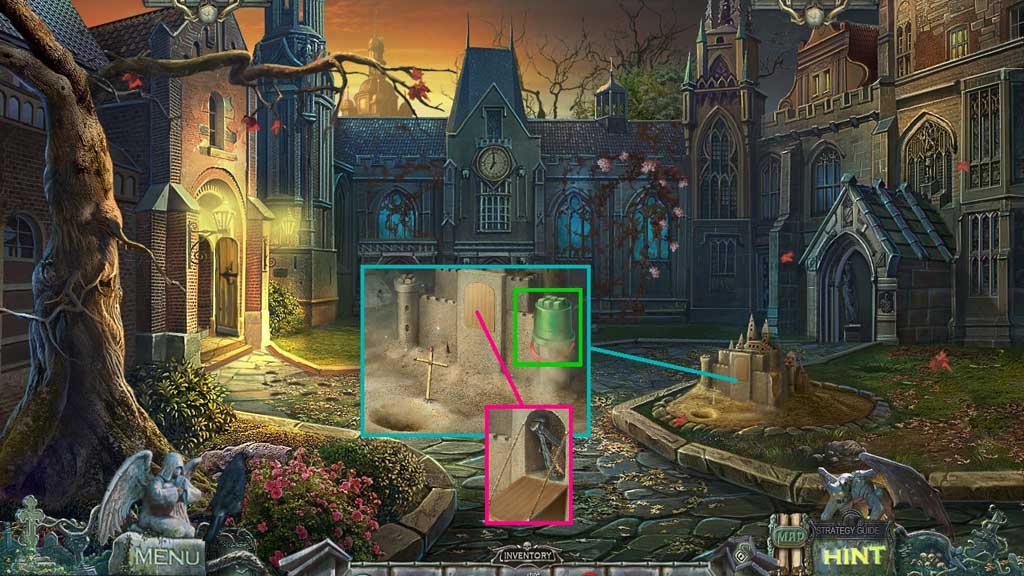
- Select the sand bucket and place it onto the sand castle; collect the pincers and the golden key.
- Move down once.
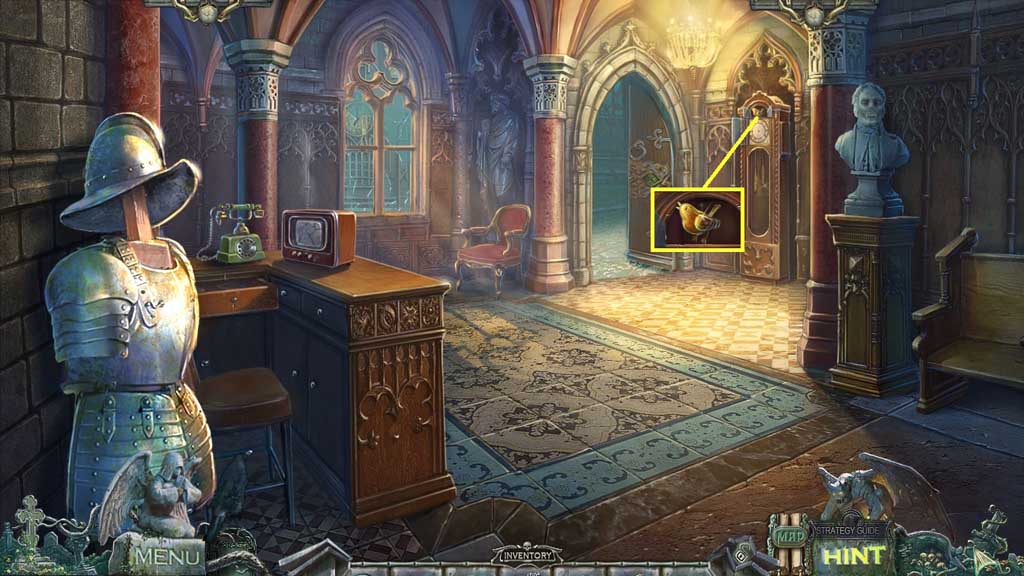
- Select the pincers to collect the bird.
- Move ahead and to the left; click the hidden objects area.
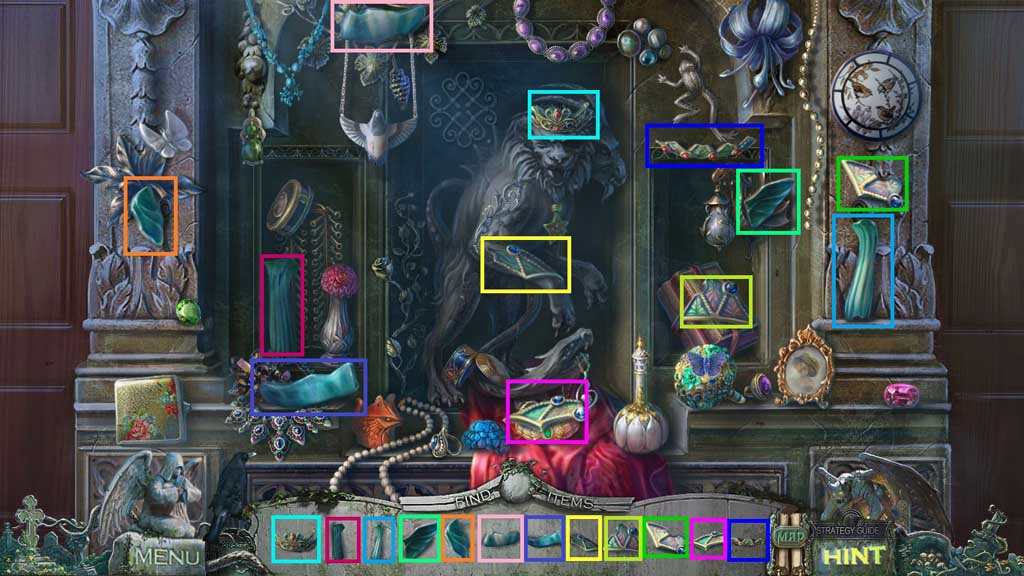
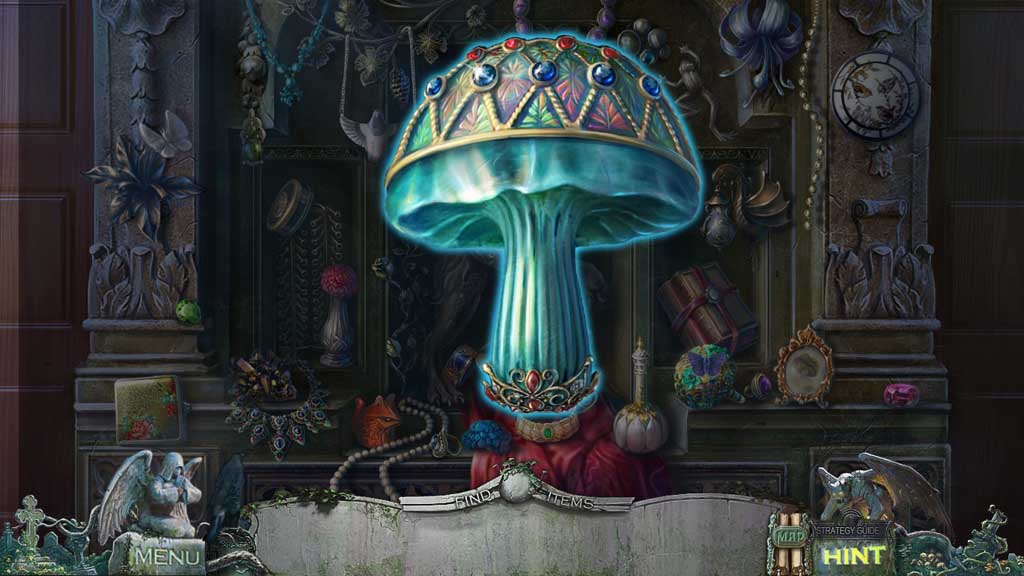
- Find the items.
- Collect the crystal mushroom.
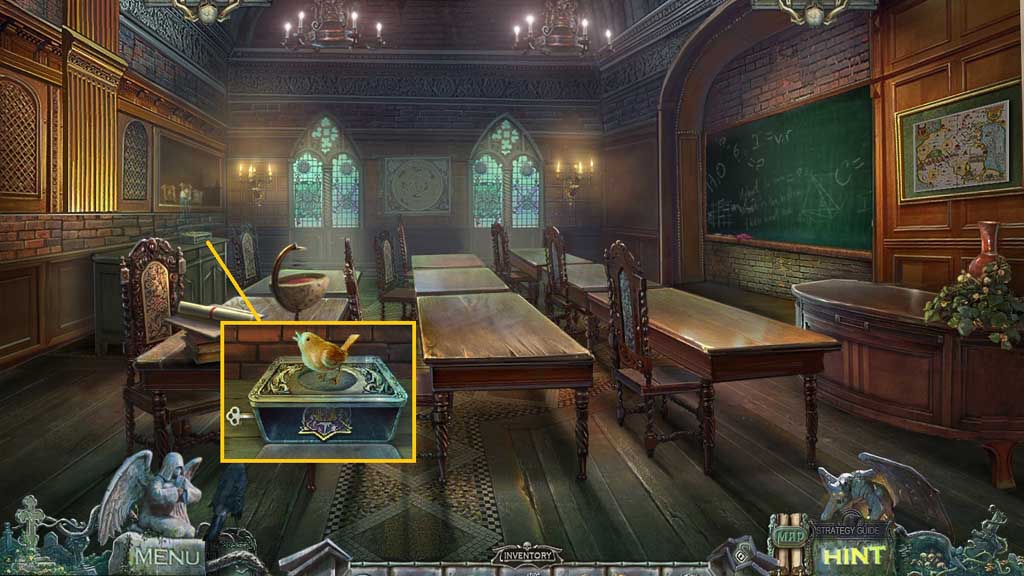
- Place the bird; collect the school shield.
- Move down 3x’s and to the right.
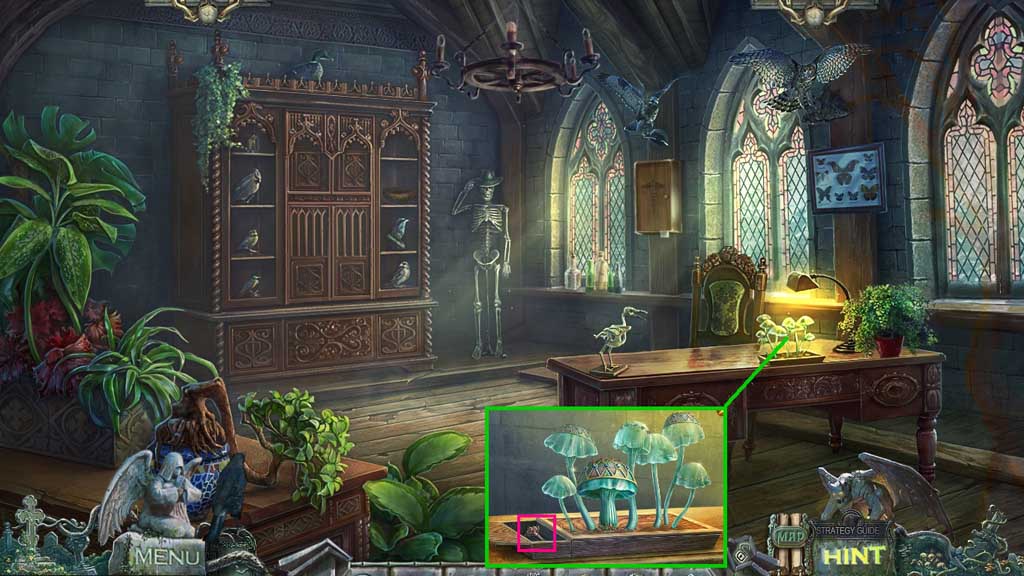
- Insert the crystal mushroom.
- Collect the copper key.
- Move down once and ahead 2x’s.
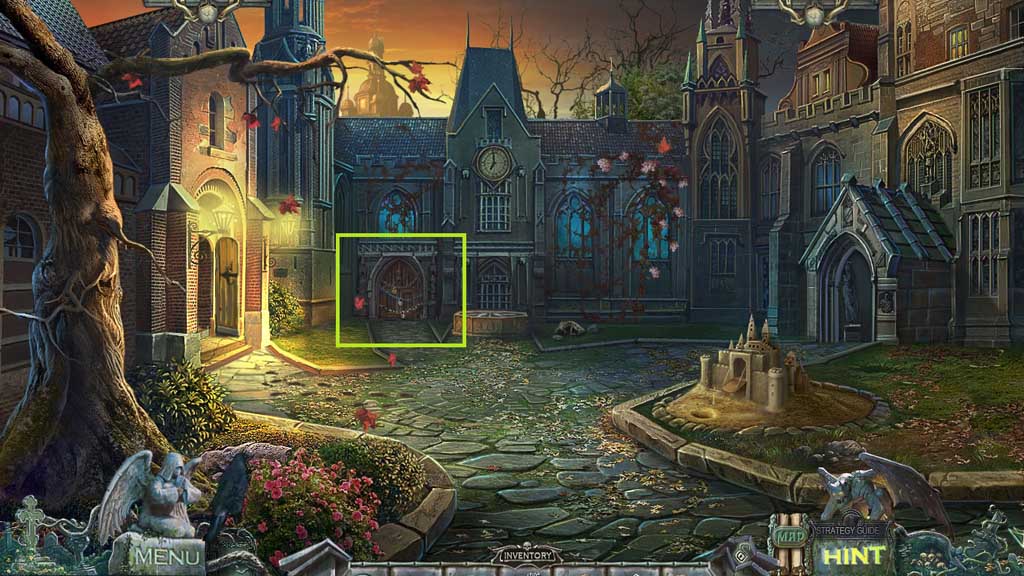
- Insert the golden, silver and copper keys.
- Move into the doorway.
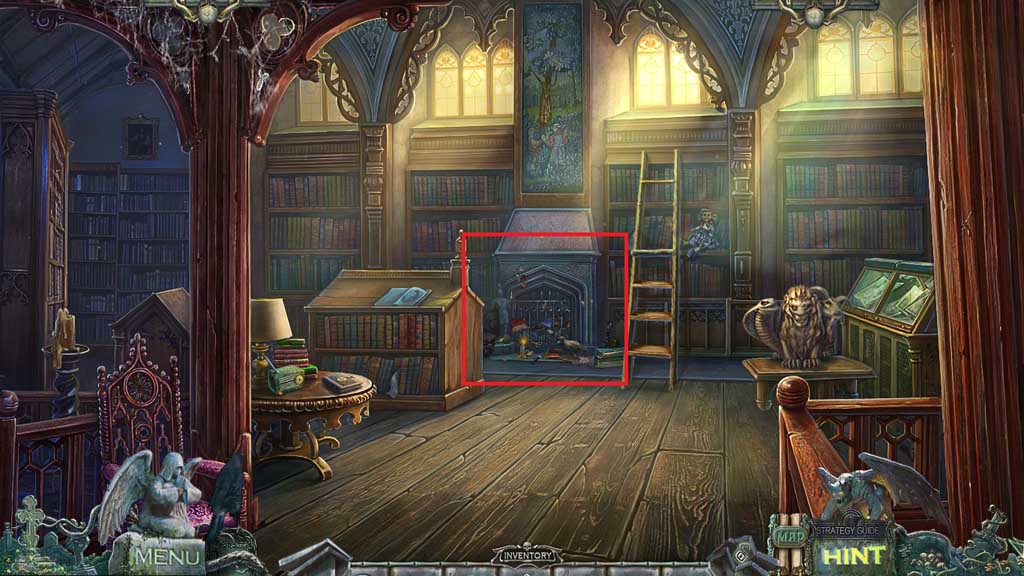
- Place the statue onto the fireplace to trigger a hidden objects area.
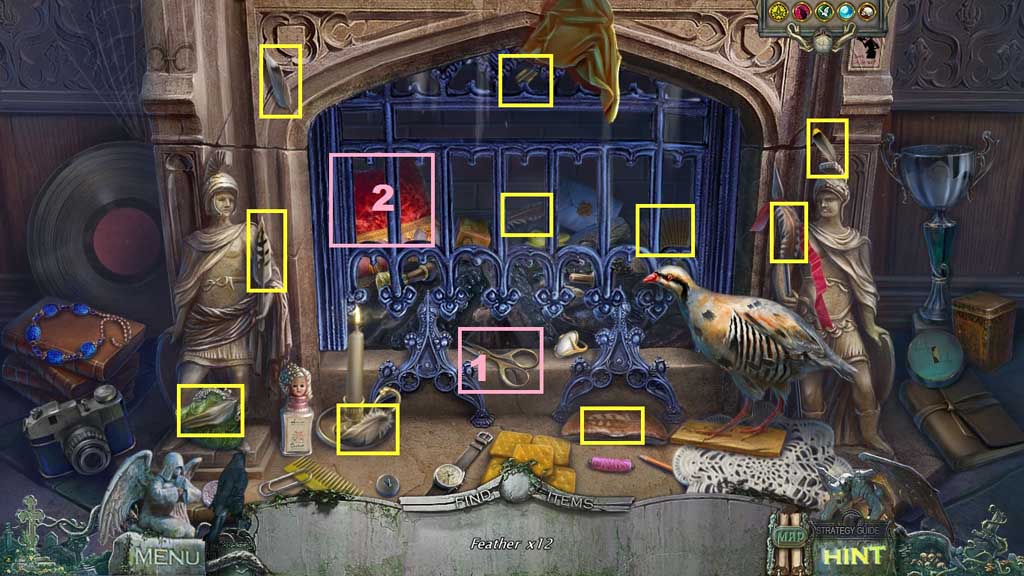
- Find the items.
- Collect the stuffed bird.
- Move down 3x’s and to the right.
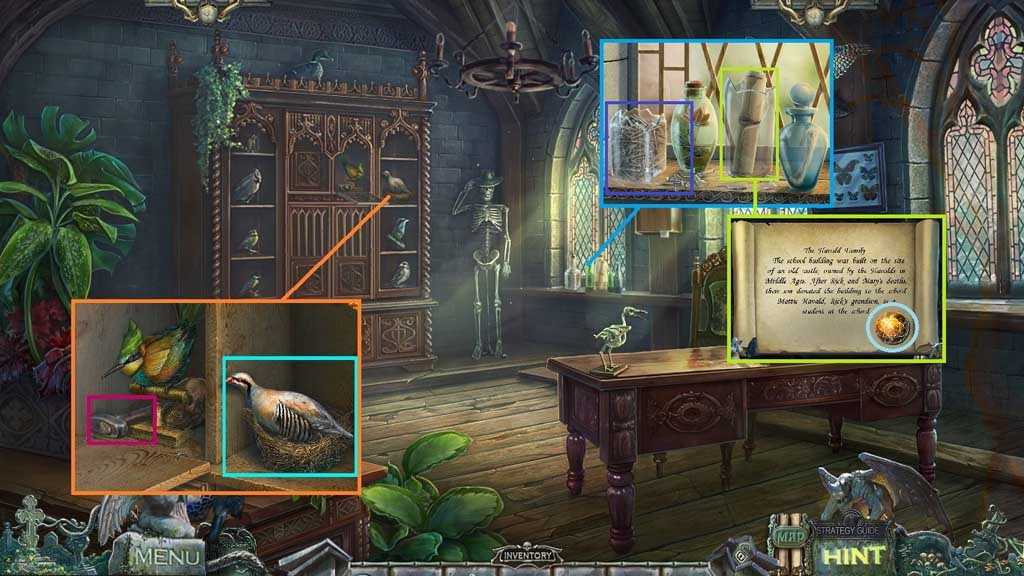
- Place the stuffed bird into the nest; collect the hammer and use it to smash the bottles.
- Collect the nails and the sun gem.
- Move down once and ahead 3x’s.
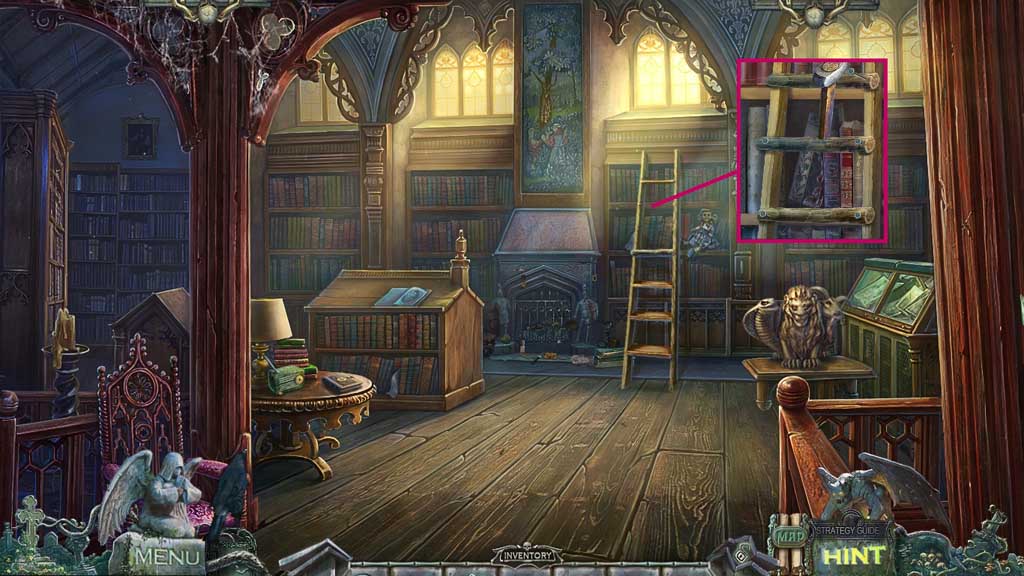
- Select the planks, nails and the hammer to repair and collect the ladder.
- Move down once.
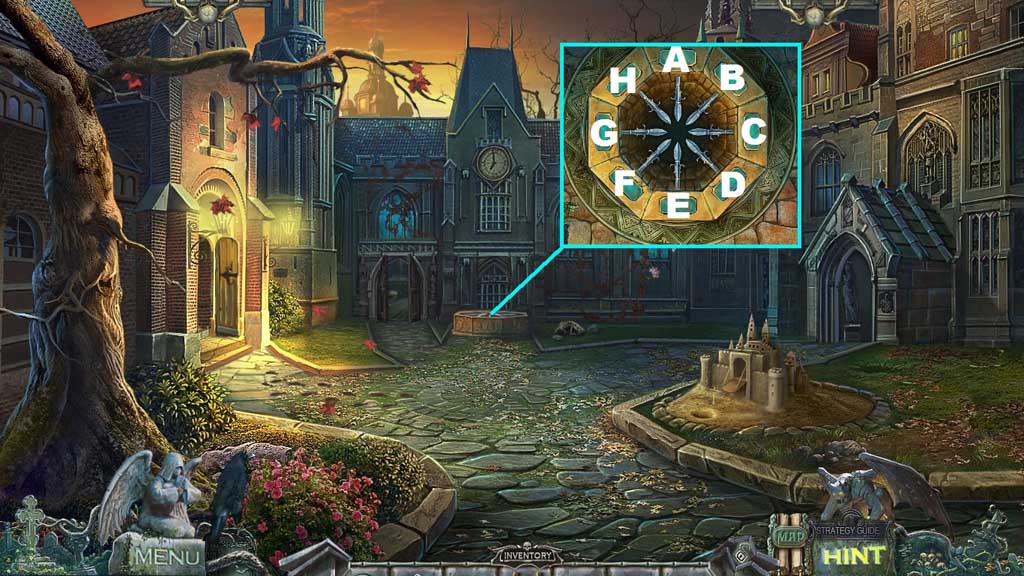
- Insert the school shield to trigger a mini game.
- Solve the game by clicking the buttons in the correct sequence.
- Use the following sequence to solve: B – C – D – E – F – G – H – A
- Select the ladder to move down the well.
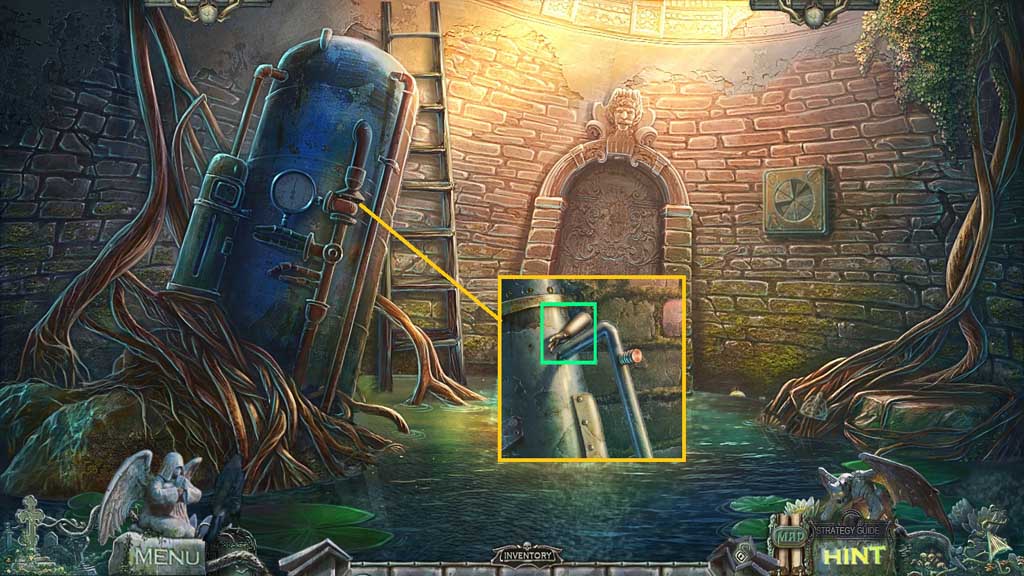
- Collect the doll’s arm.
- Move up and ahead once into the Library; click the hidden objects area.
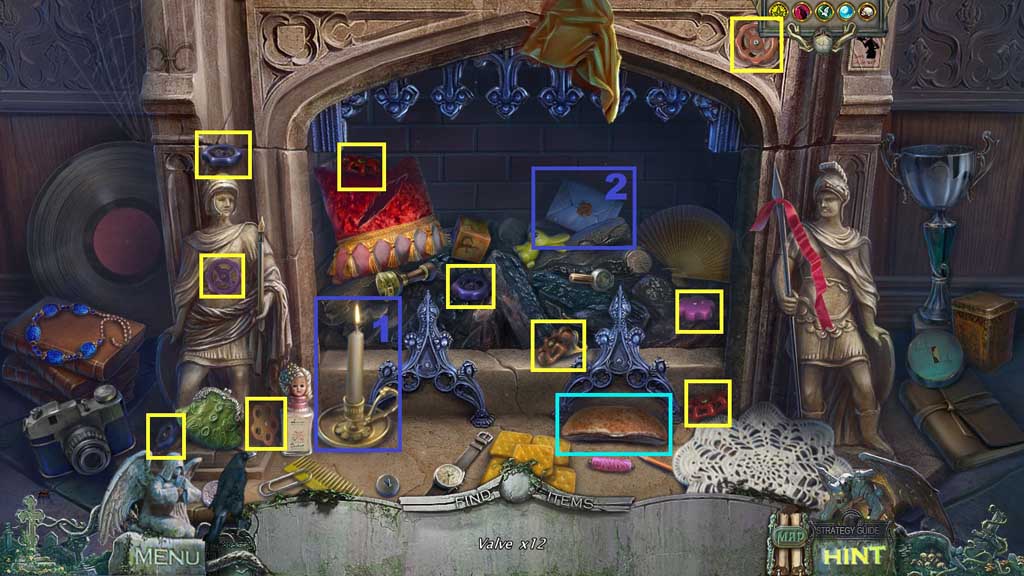
- Find the items.
- Collect the valve.
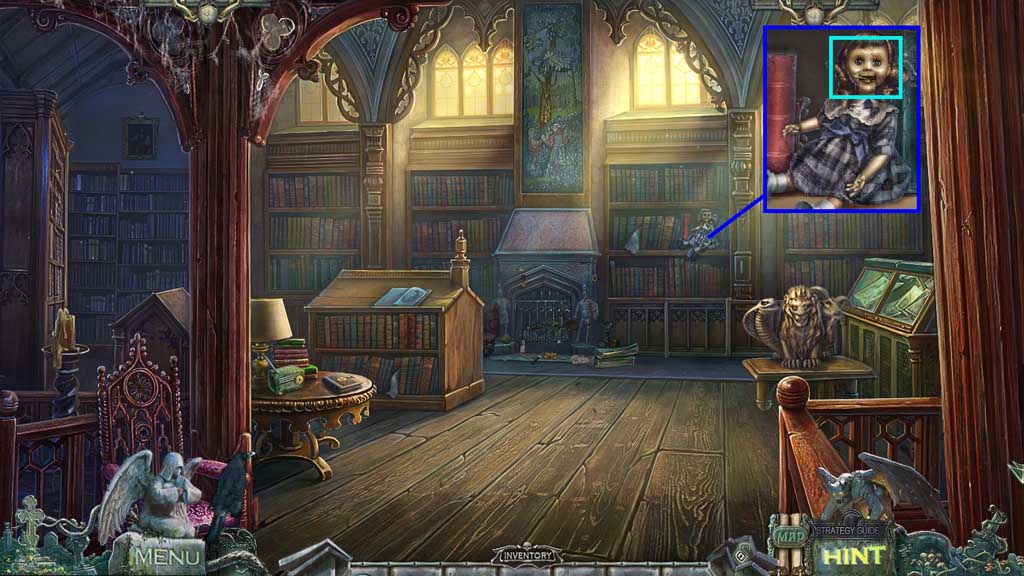
- Attach the doll’s arm.
- Collect the needle.
- Move down once.
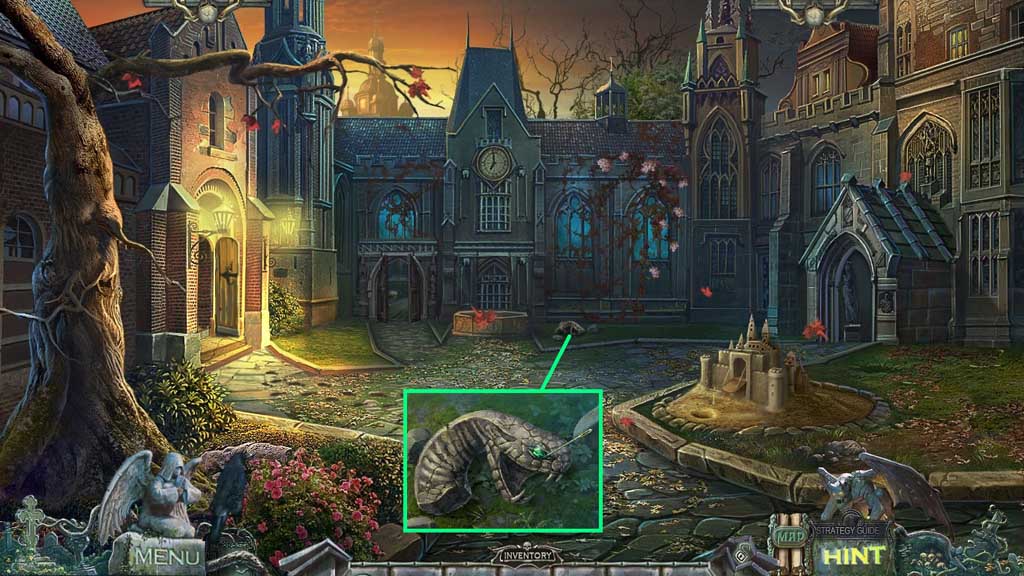
- Select the needle to collect the emerald eye.
- Move down the ladder into the Well.
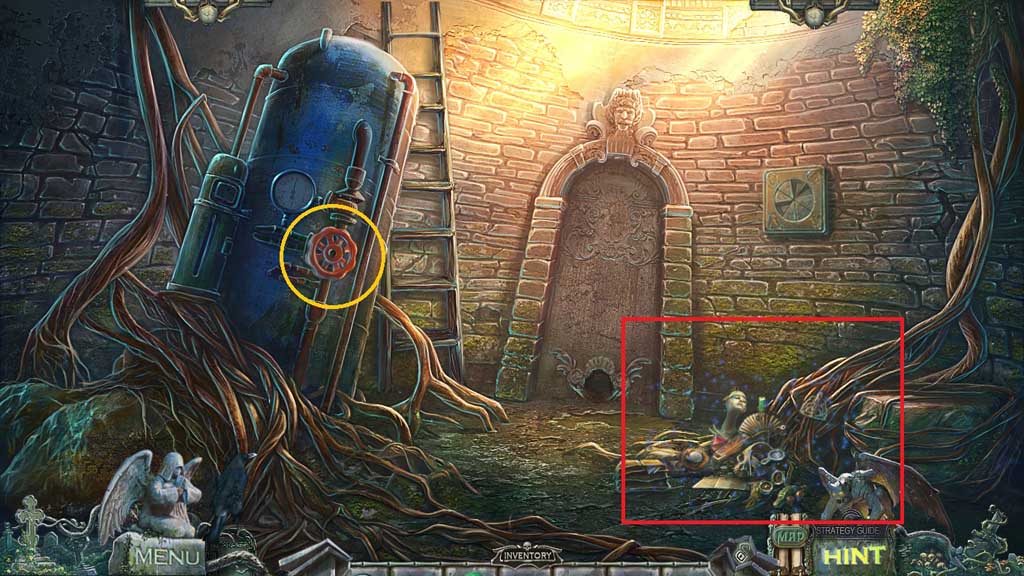
- Attach and click the valve to trigger a hidden objects area.
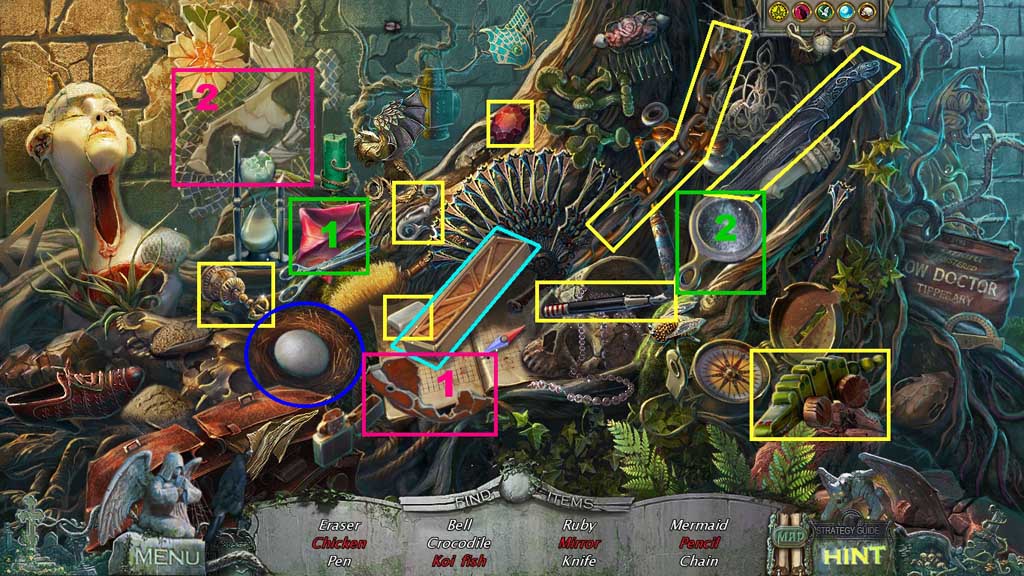
- Find the items.
- Collect the ruby eye.
- Move up the ladder and ahead once.
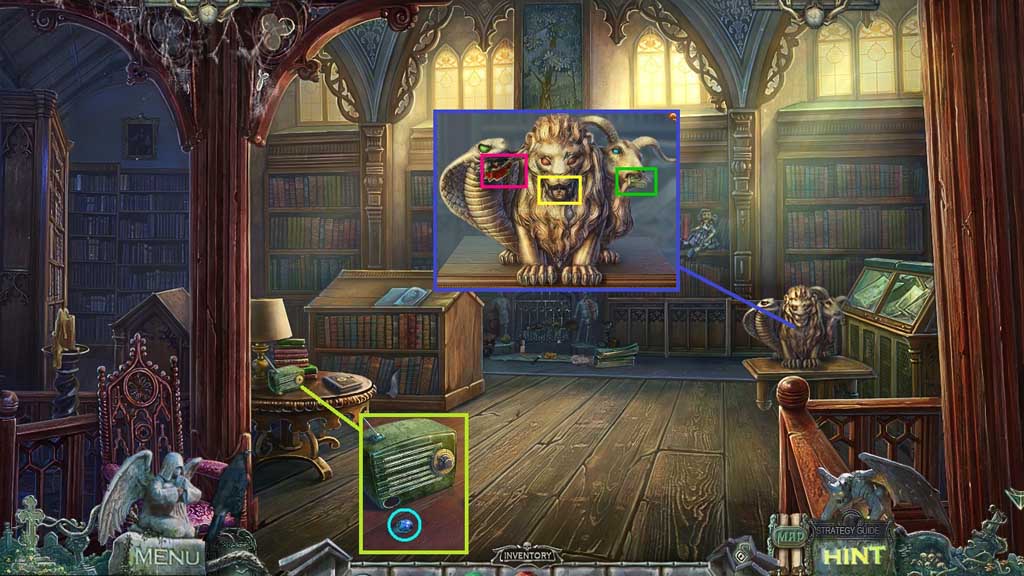
- Attach the knob onto the radio.
- Collect the sapphire eye.
- Insert the emerald, ruby and sapphire eyes.
- Collect the knight figurine, the angel and 1 /3 stone wedges.
- Move down once and into the Well.
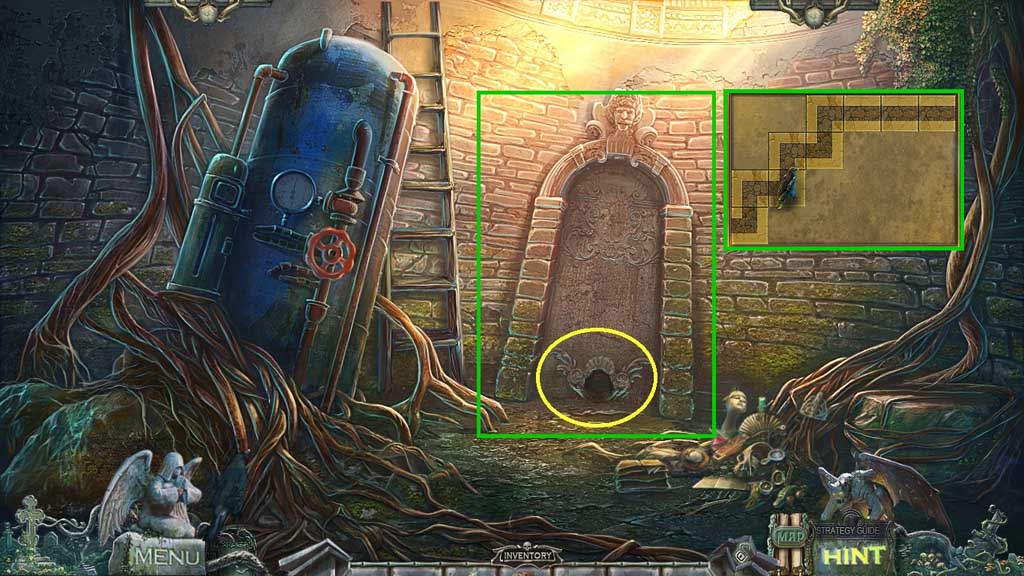
- Insert the angel; click the doorway to trigger a mini game.
- Solve the game by creating a path for the raven.
- Move ahead.
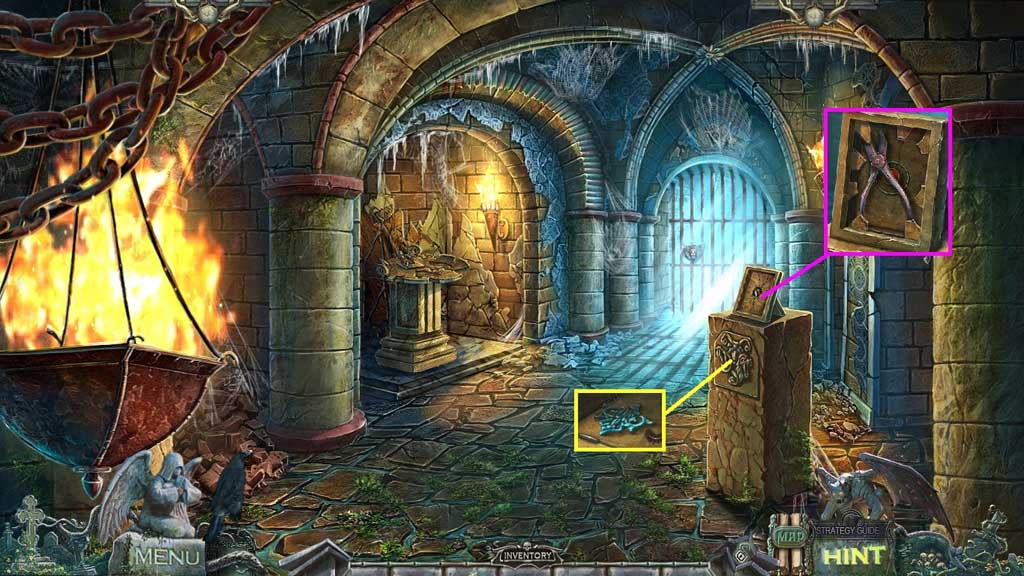
- Insert the sun gem.
- Collect the tongs.
- Click the button; collect the insignia.
- Move down once.
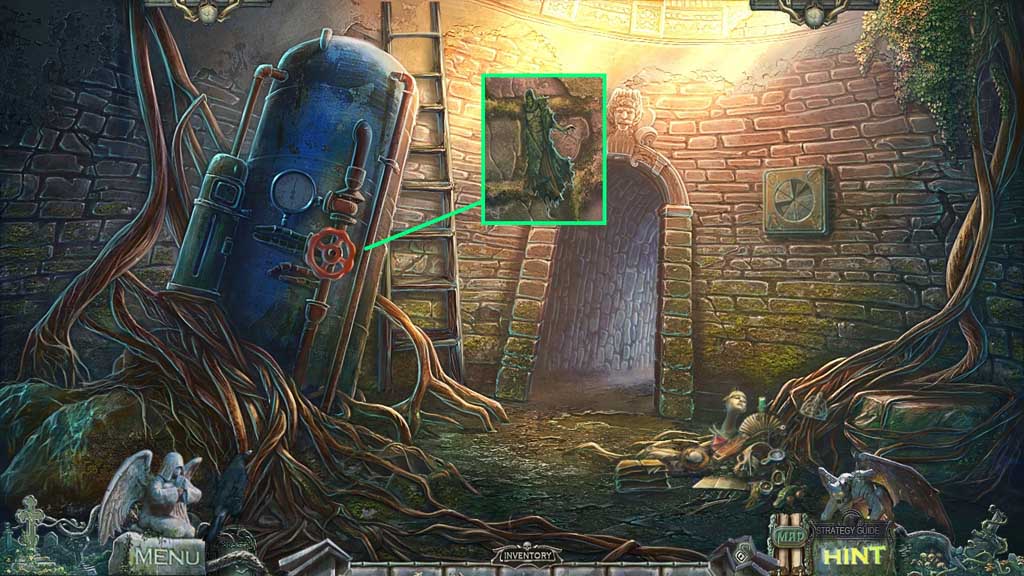
- Select the tongs to collect the ghost figurine.
- Move ahead.
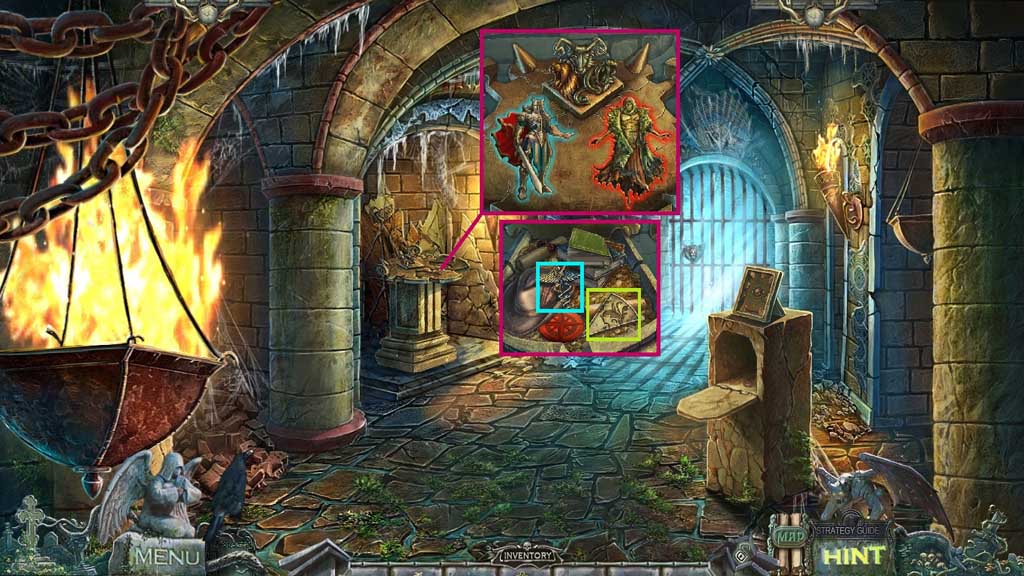
- Insert the knight and ghost figurines.
- Collect the caduceus and 2 /3 stone wedges.
- Move down once and click the hidden objects area.
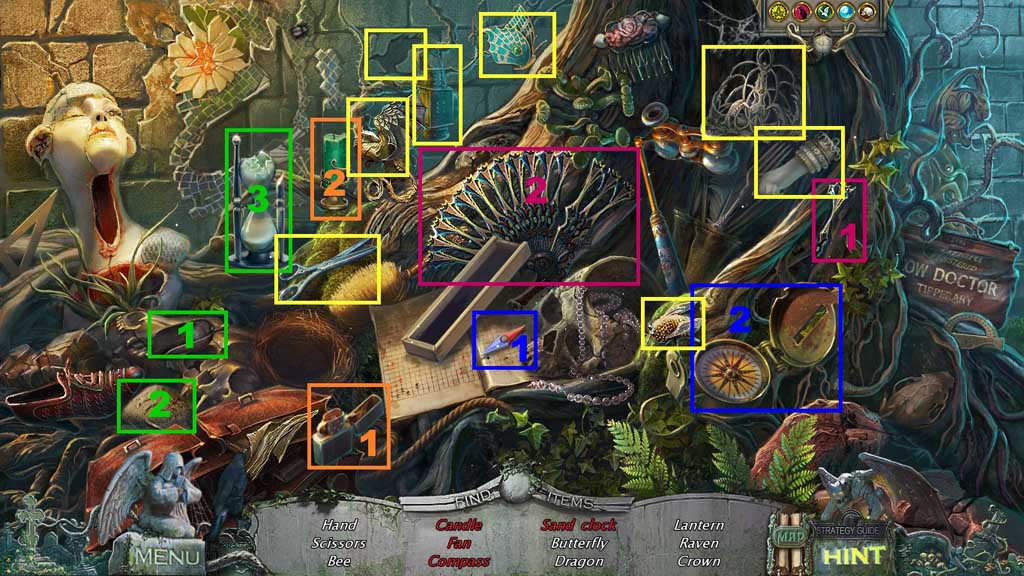
- Find the items.
- Collect the scissors.
- Move up the ladder; move down 2x’s and to the right.
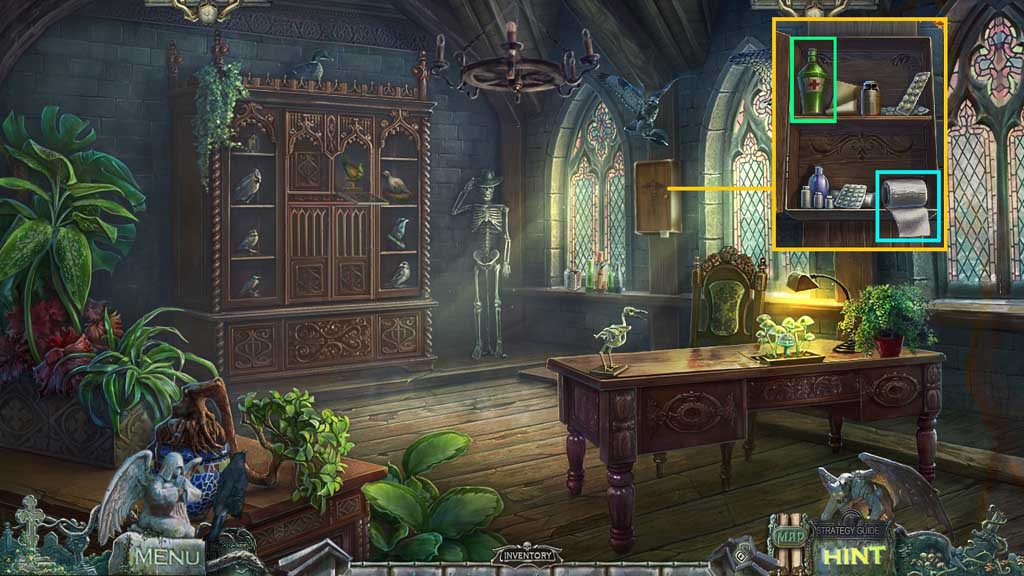
- Insert the caduceus; collect the medicine.
- Select the scissors to receive the bandage.
- Move down once and ahead 3x’s.
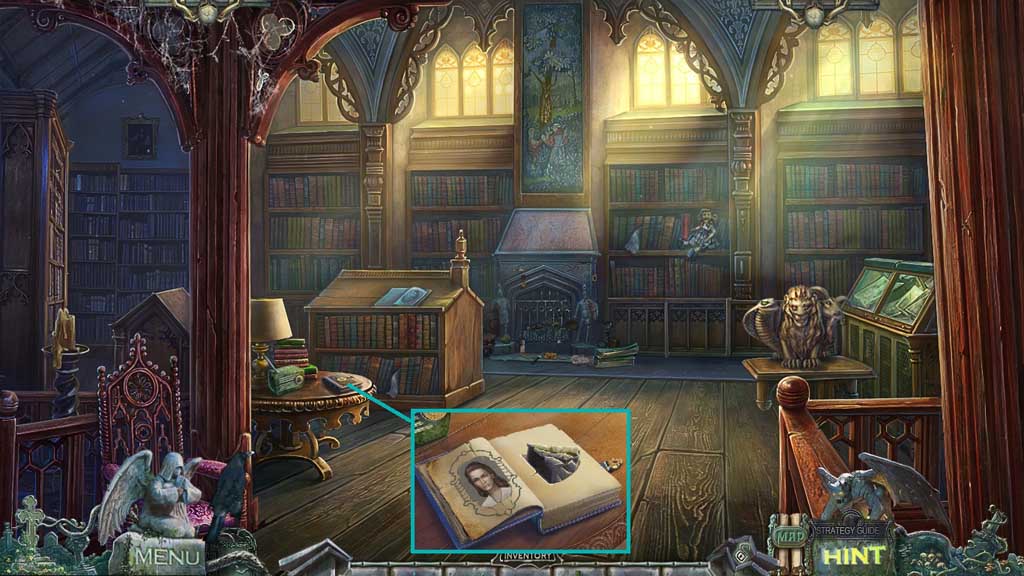
- Insert and click the insignia.
- Collect 3 /3 stone wedges.
- Move down once and into the Well.
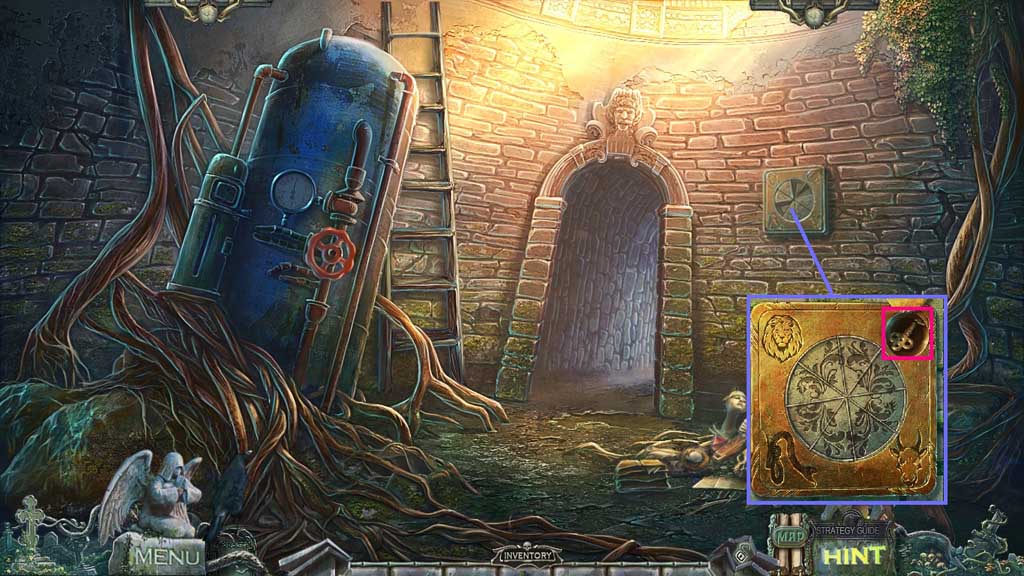
- Place the stone wedges.
- Collect the chimera key.
- Move ahead.
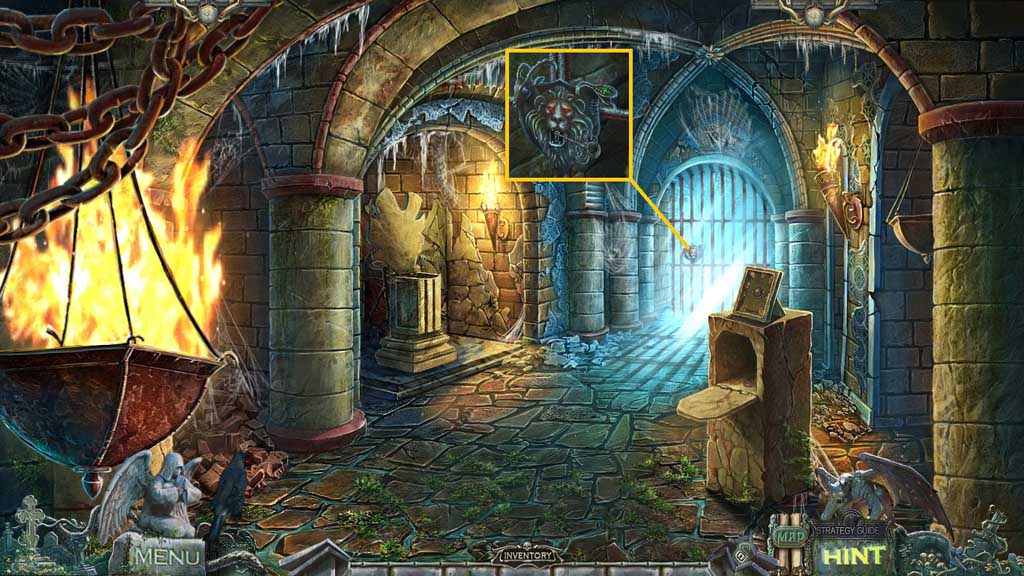
- Insert the chimera key.
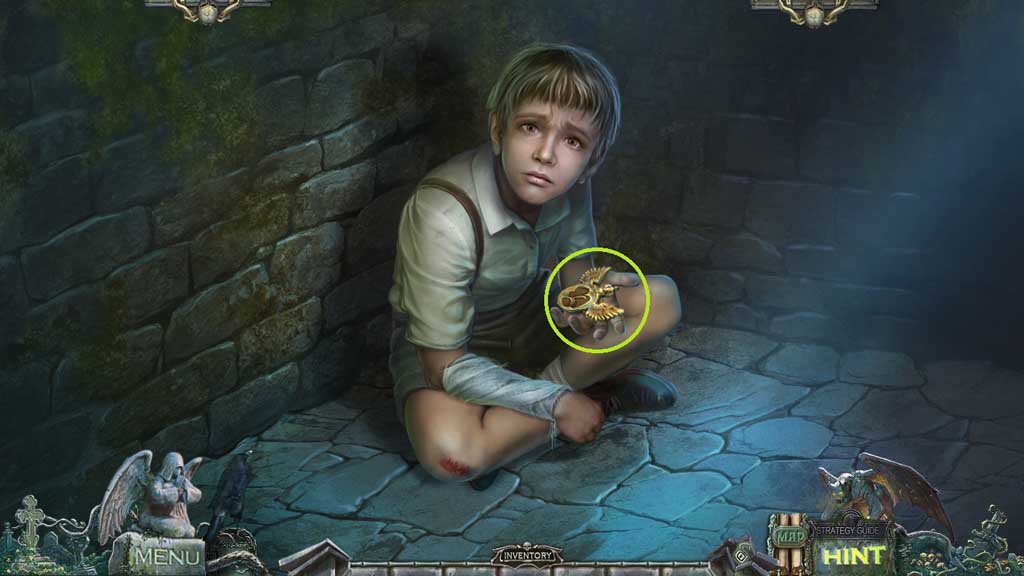
- Speak to the boy; give him the medicine and bandage his wound.
- Collect the ancient amulet.
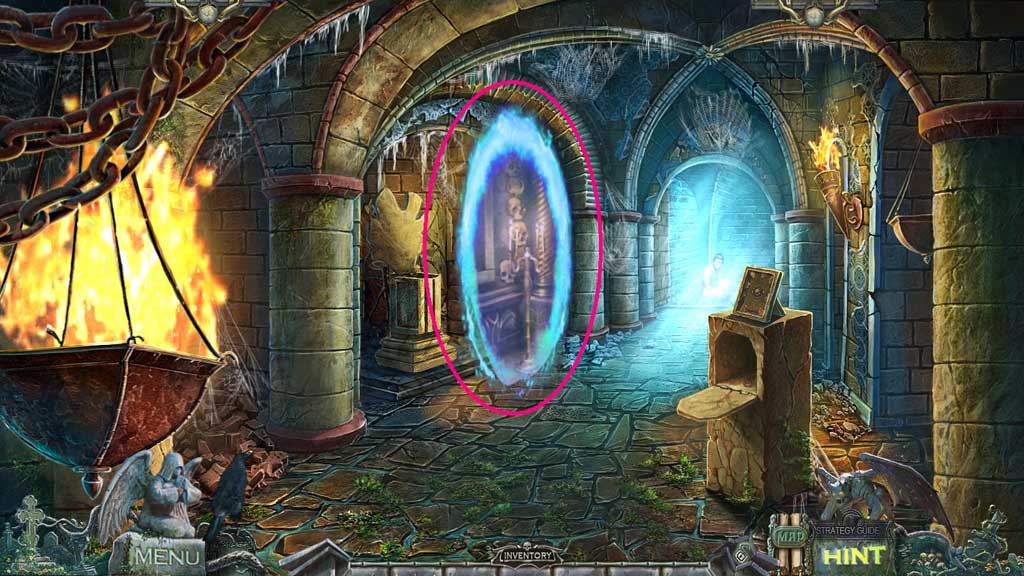
- Enter the portal and move down once.
Comments will load when you reach this part of the walkthrough.